Home>Home Appliances>Cleaning Appliances>How To Fix Mop Bucket Wringer
Cleaning Appliances
How To Fix Mop Bucket Wringer
Modified: September 1, 2024
Learn how to fix your mop bucket wringer with our expert tips and get back to efficient cleaning. Keep your cleaning appliances in top shape!
(Many of the links in this article redirect to a specific reviewed product. Your purchase of these products through affiliate links helps to generate commission for Storables.com, at no extra cost. Learn more)
Introduction
Welcome to the ultimate guide on fixing a mop bucket wringer. A mop bucket wringer is an essential tool for keeping your floors spotless and sanitary, but like any piece of equipment, it can encounter issues over time. Whether it’s a broken wringer mechanism, a loose handle, or other common problems, knowing how to troubleshoot and repair your mop bucket wringer can save you time and money.
In this comprehensive guide, we’ll delve into the inner workings of a mop bucket wringer, explore common issues that may arise, discuss the tools required for fixing it, and provide a step-by-step walkthrough to help you get your mop bucket wringer back in working order. By the end of this article, you’ll feel confident in your ability to diagnose and resolve issues with your mop bucket wringer, ensuring that your cleaning routine remains efficient and effective.
Key Takeaways:
- Keep your mop bucket wringer in top shape by understanding its components, recognizing common issues, and using the right tools for repairs. Regular maintenance saves time and money while ensuring effective cleaning routines.
- Master the art of fixing a mop bucket wringer with a step-by-step guide. From assessing issues to thorough testing, you can confidently troubleshoot and repair your cleaning equipment, contributing to sustainable practices.
Read also: 9 Amazing Mop Bucket With Wringer For 2025
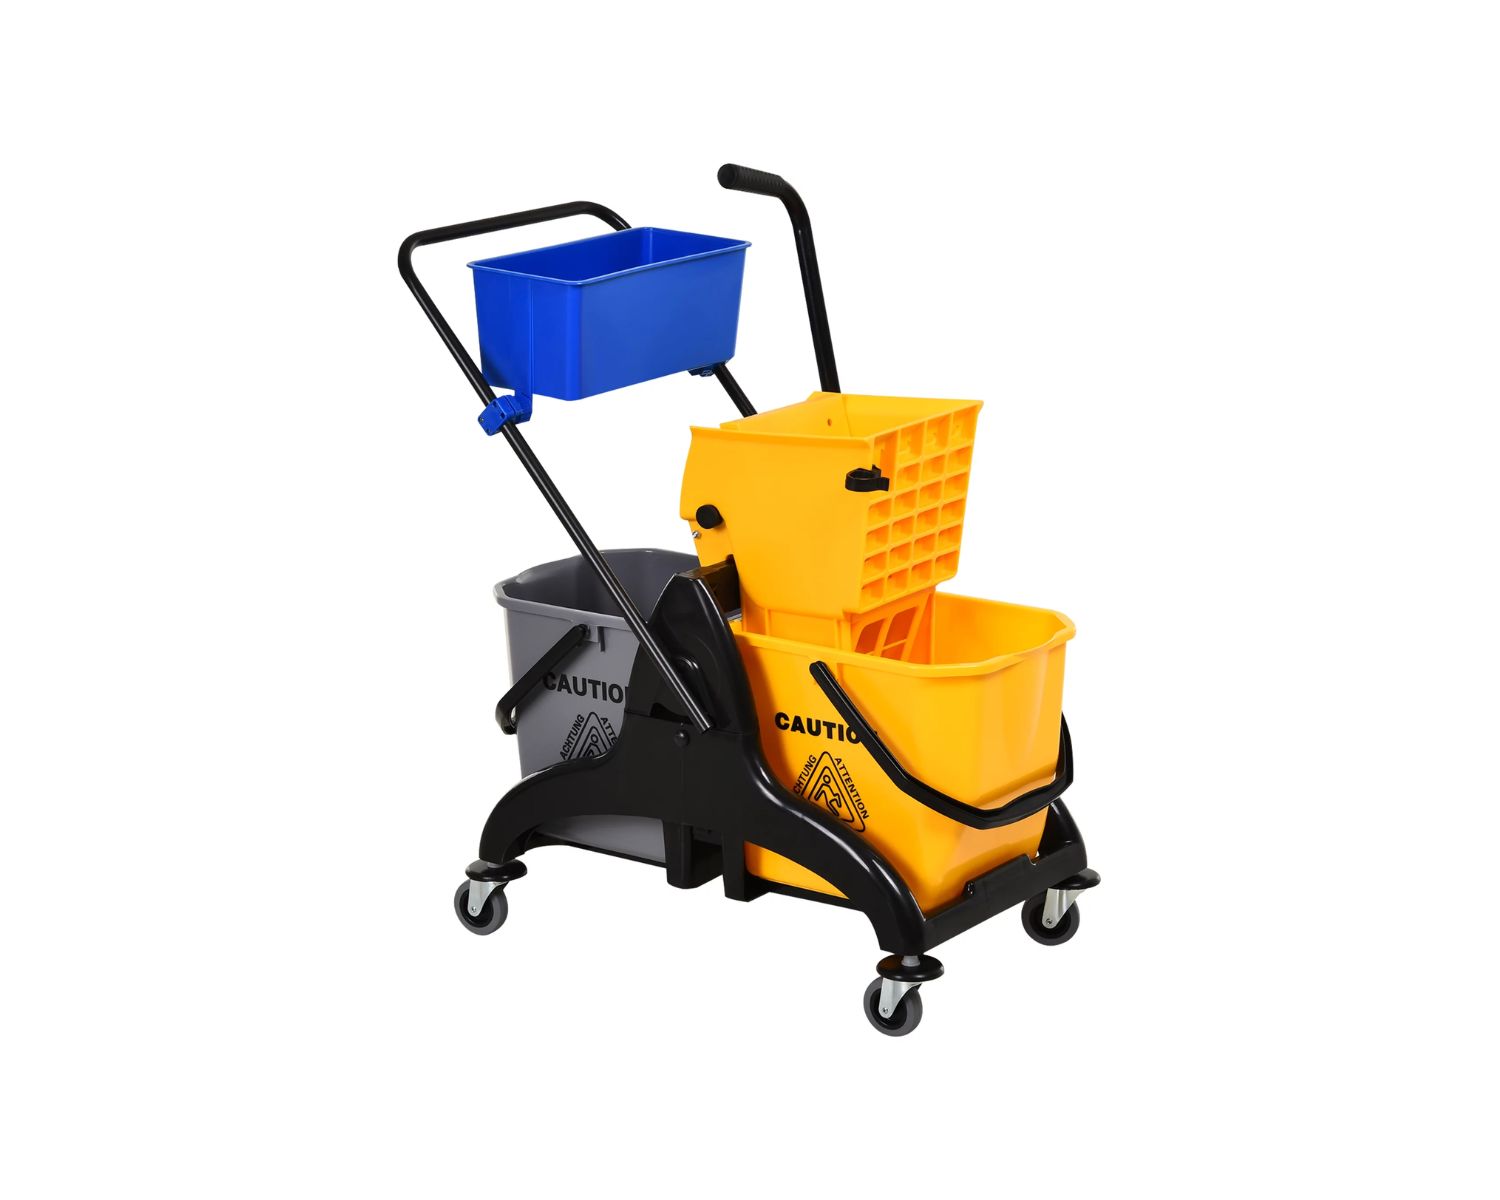
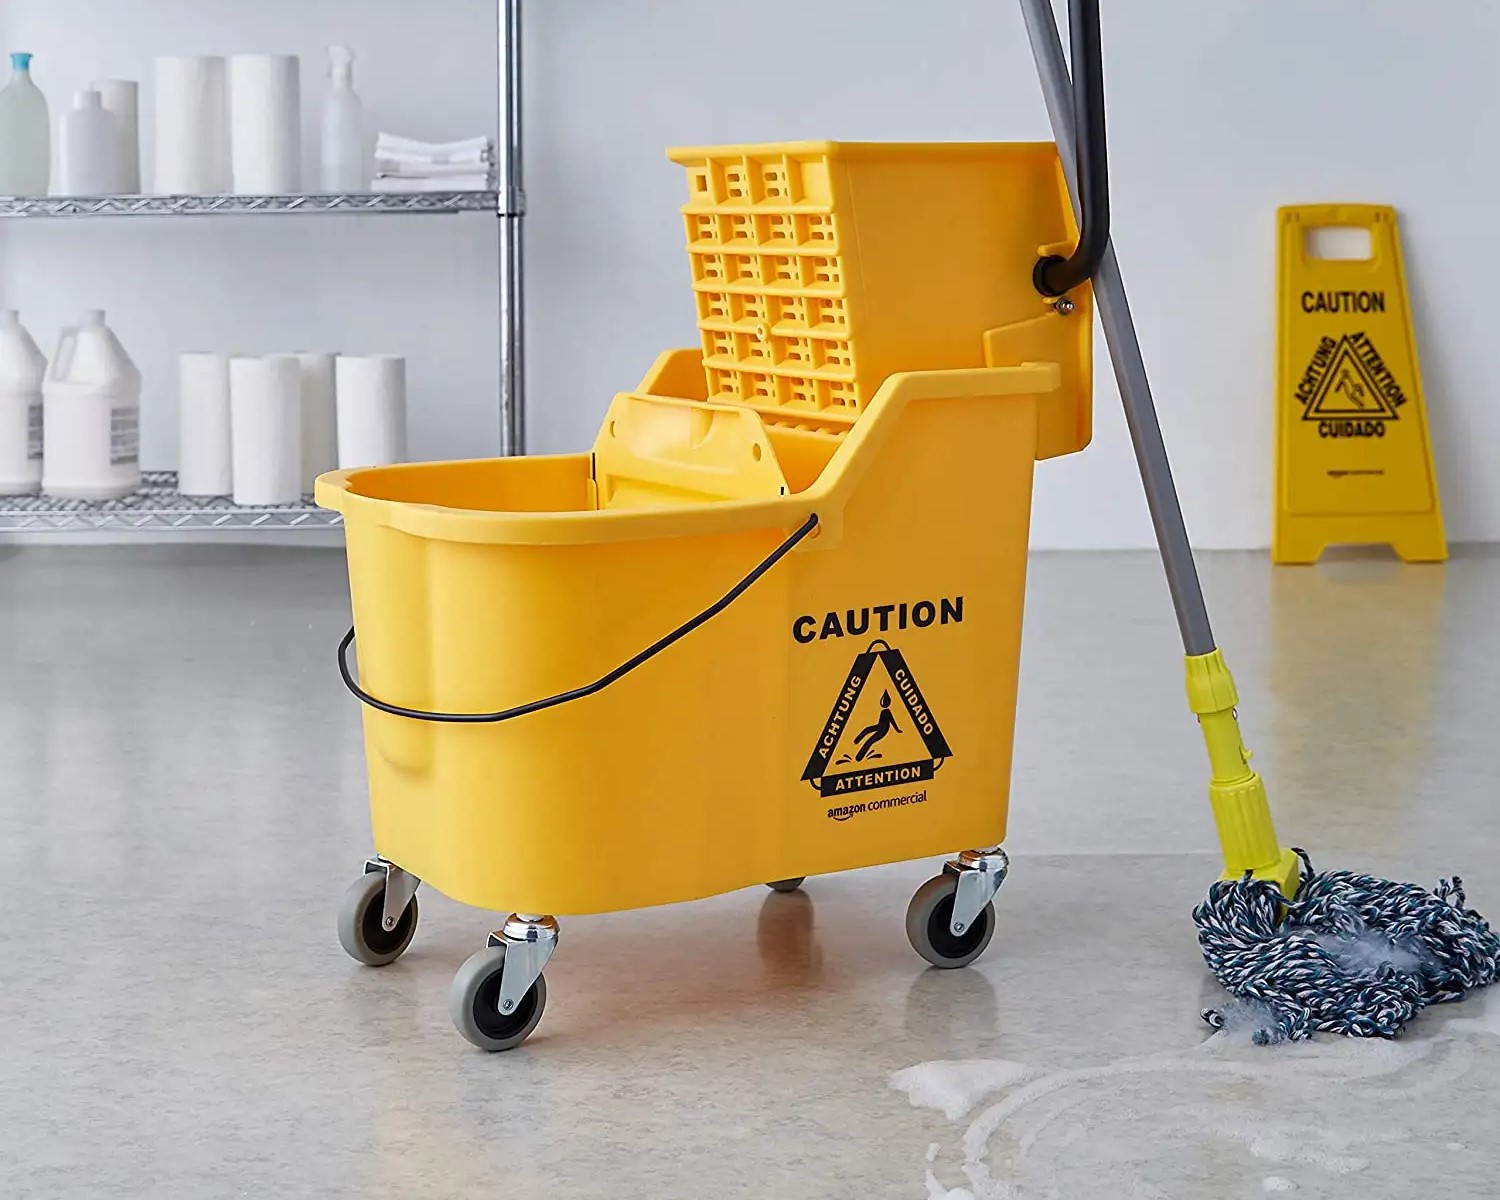
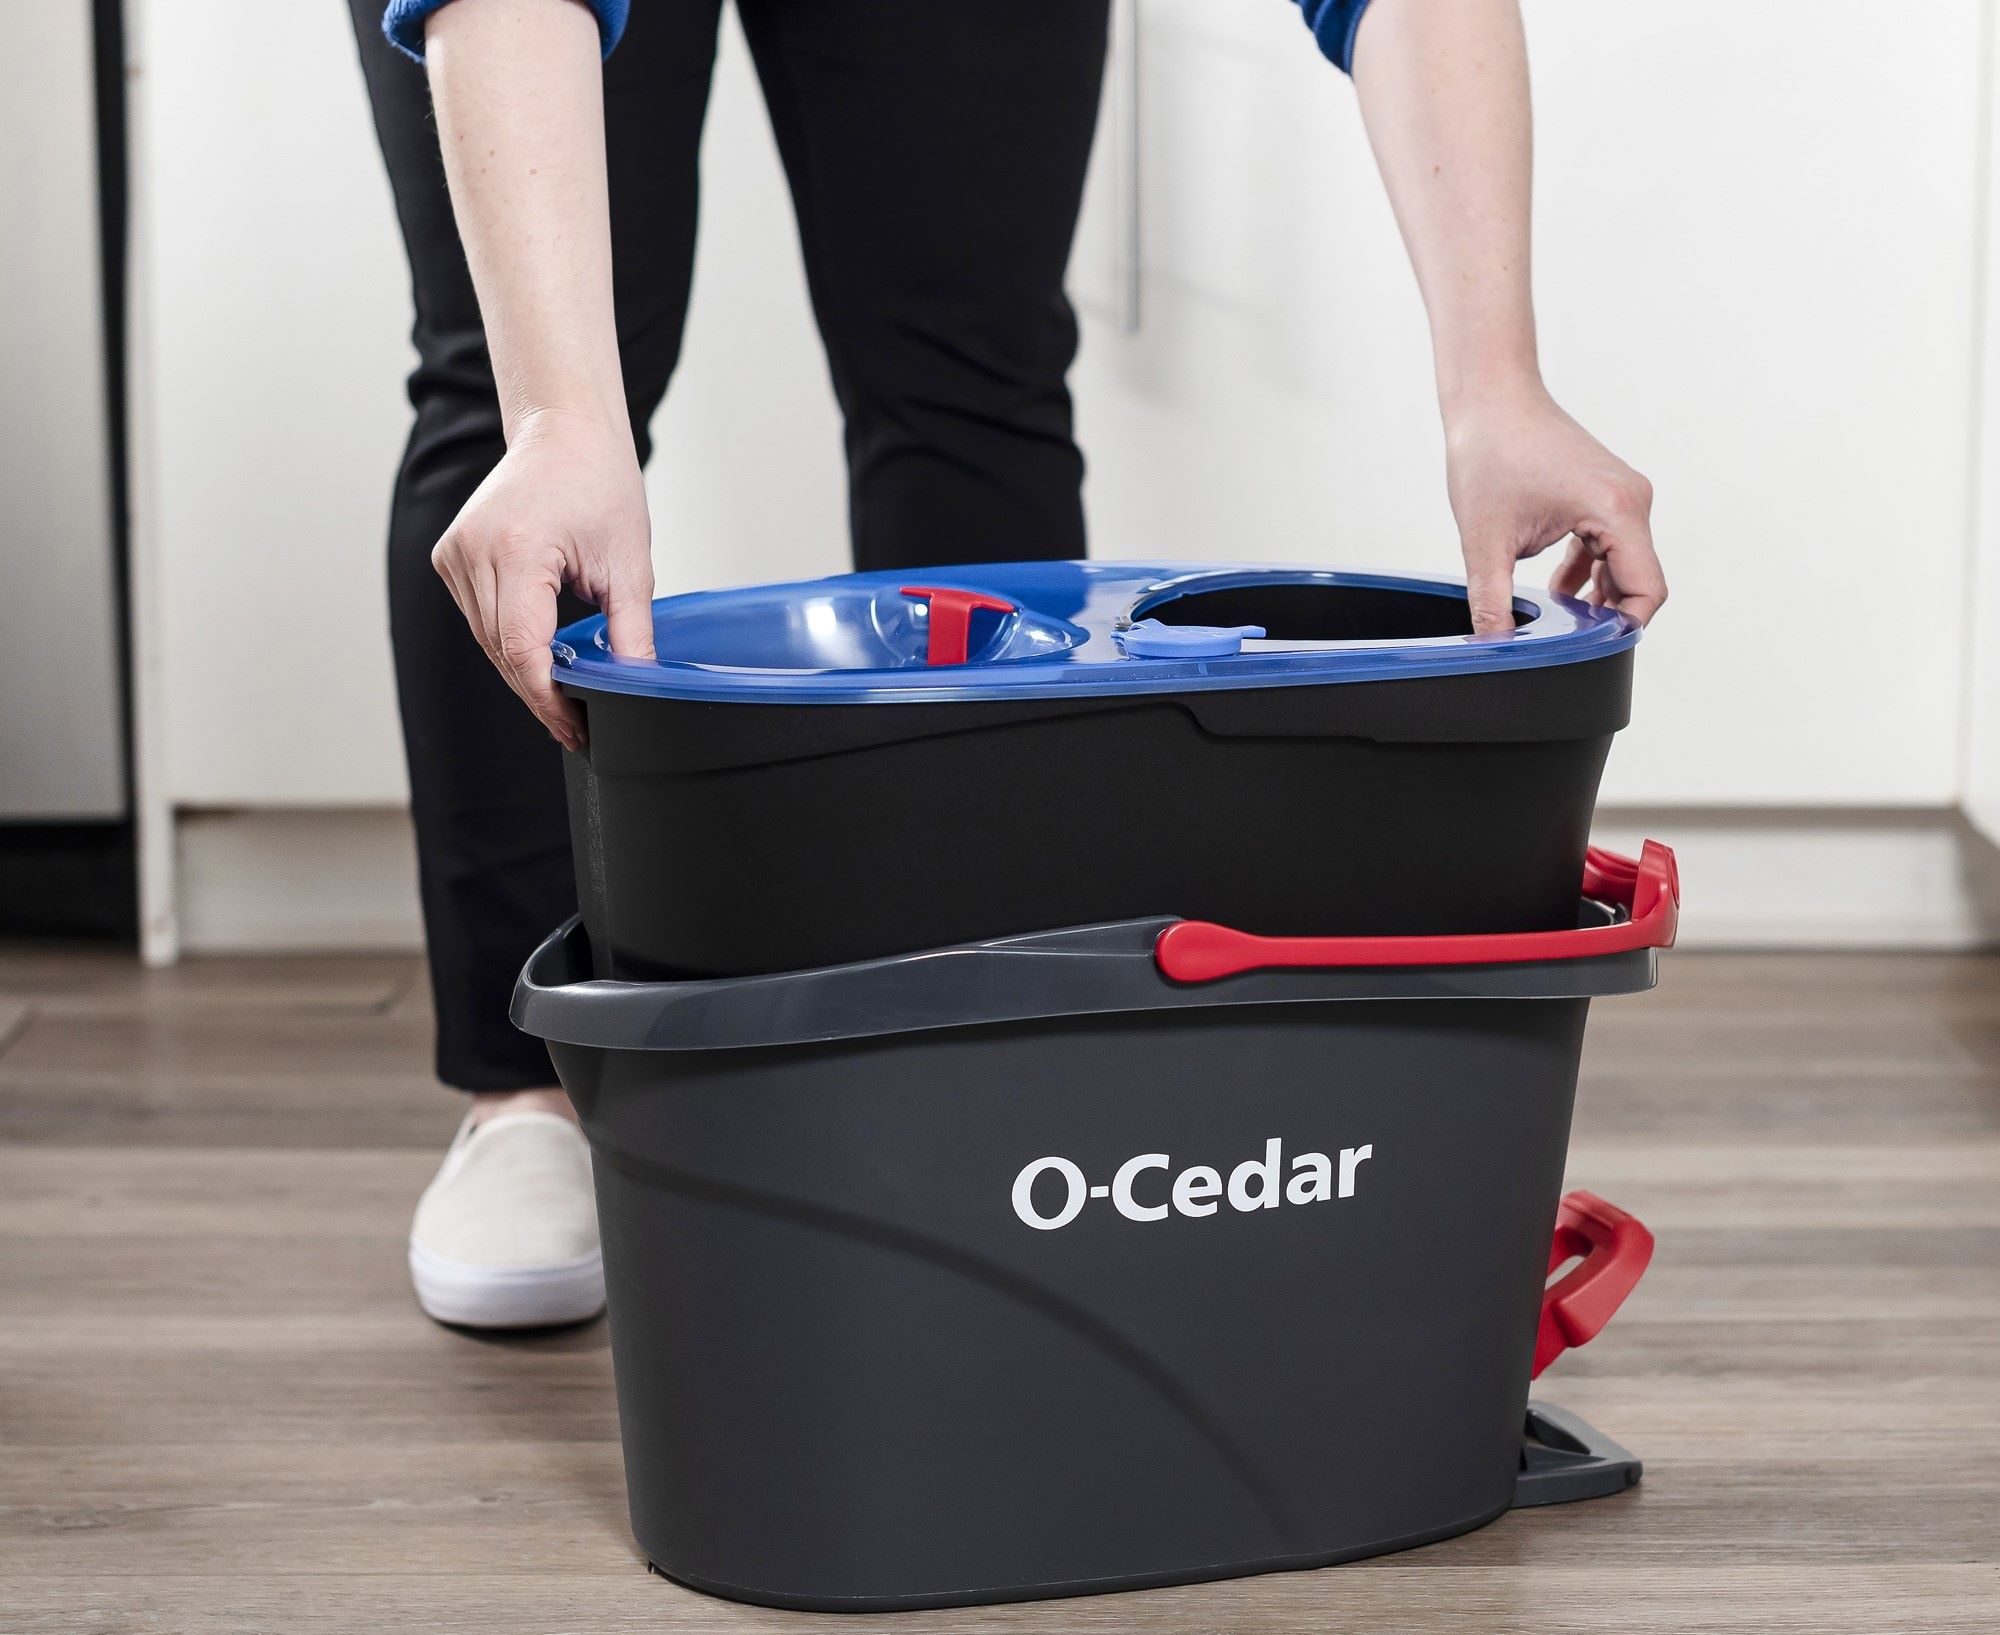
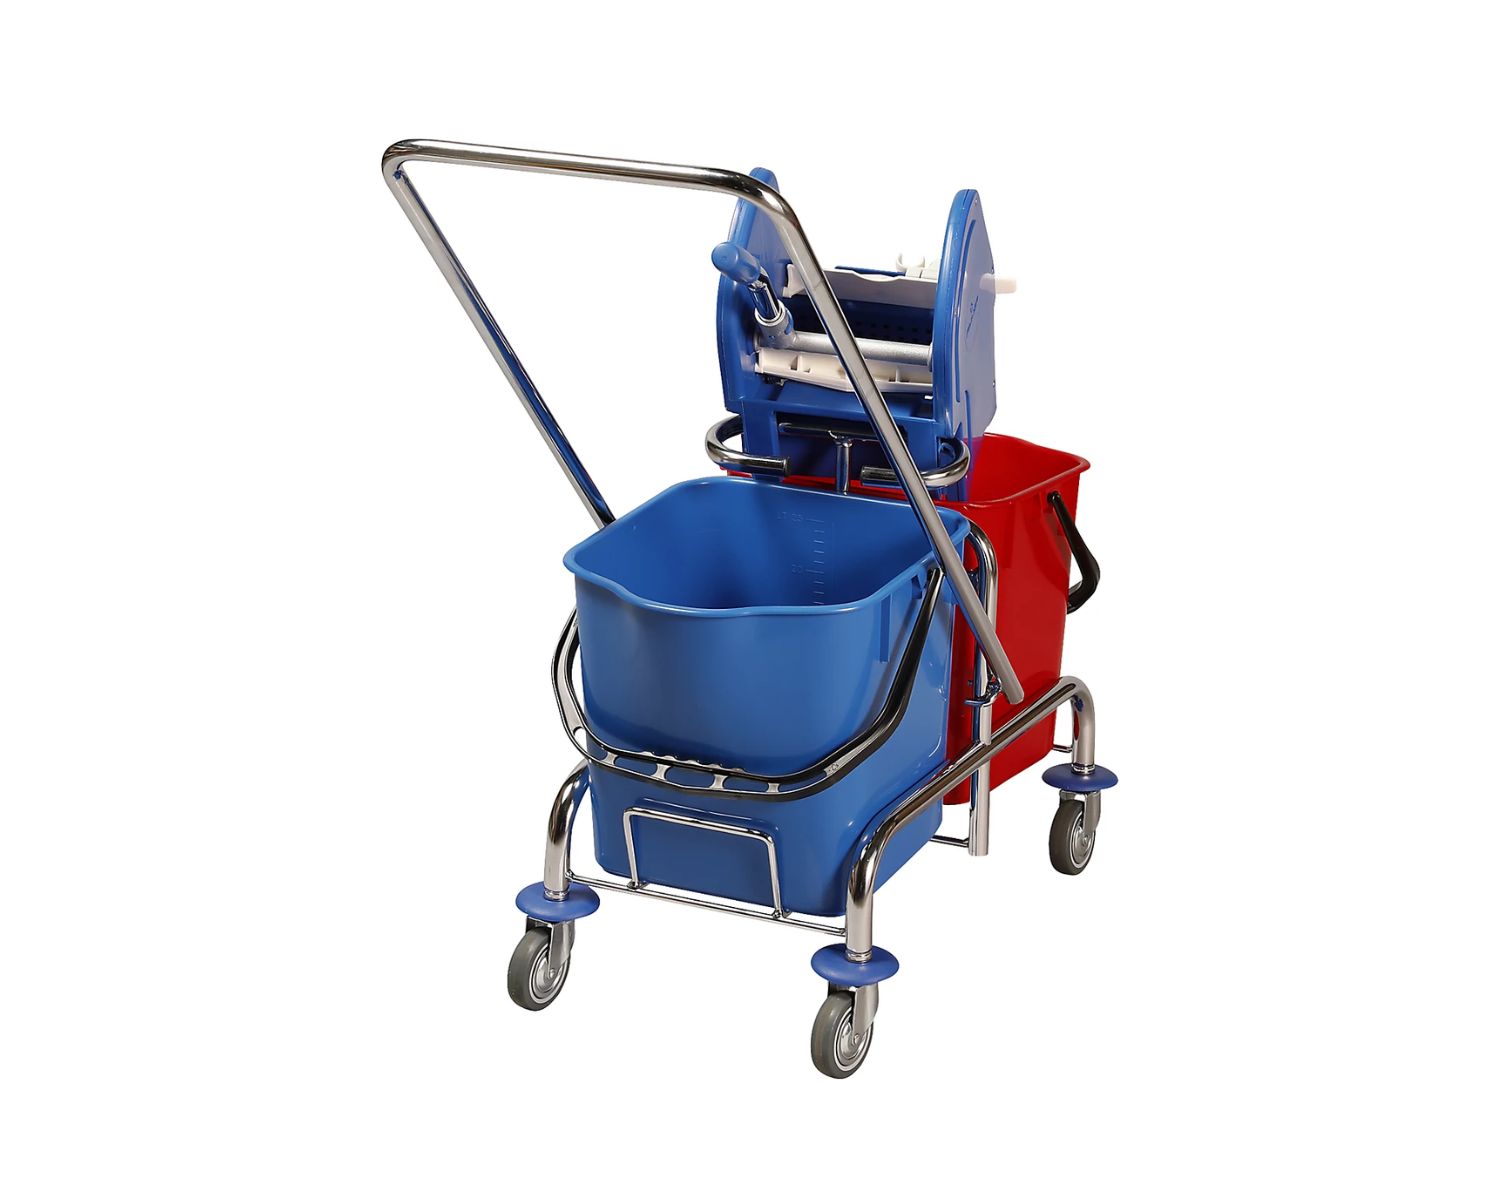
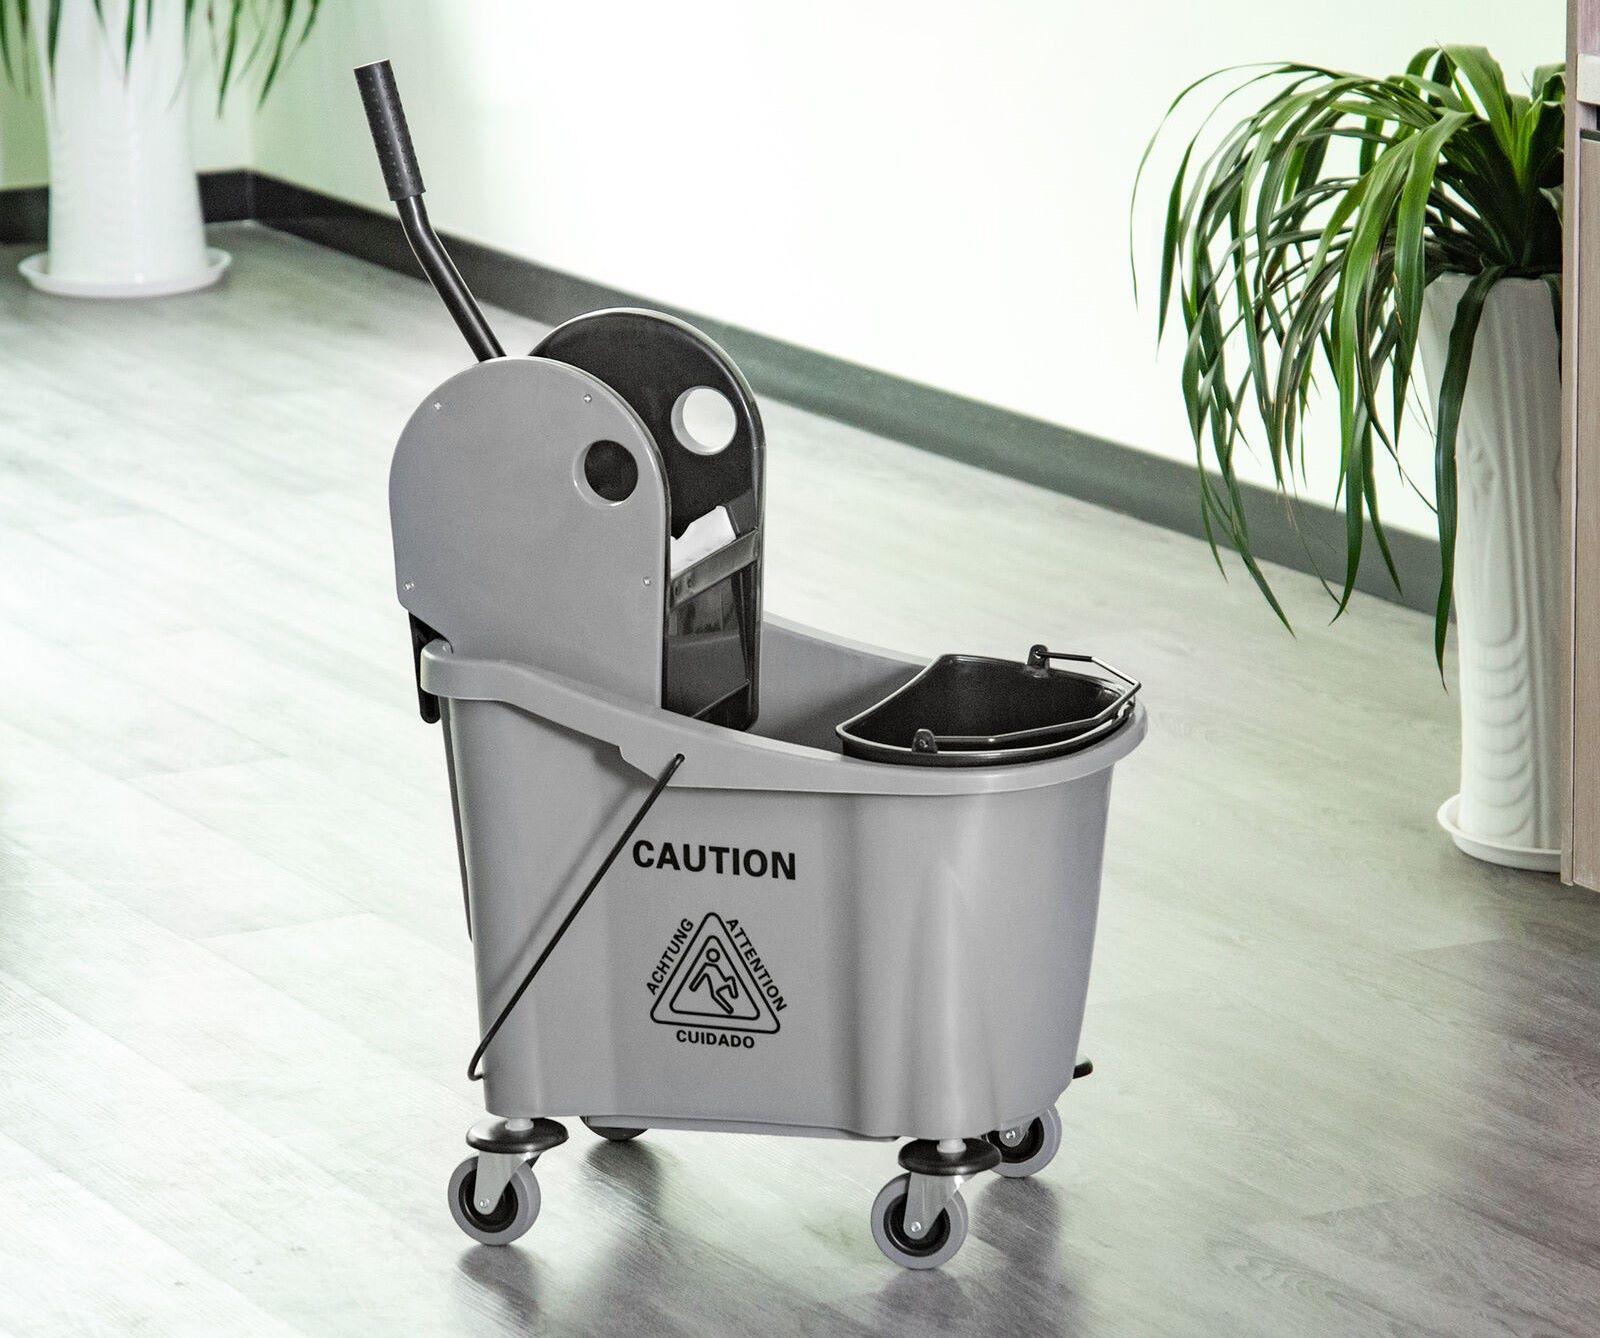
Understanding the Components of a Mop Bucket Wringer
Before delving into the process of fixing a mop bucket wringer, it’s crucial to understand its key components. A typical mop bucket wringer comprises several essential parts that work together to facilitate the wringing and draining of mop heads. These components include:
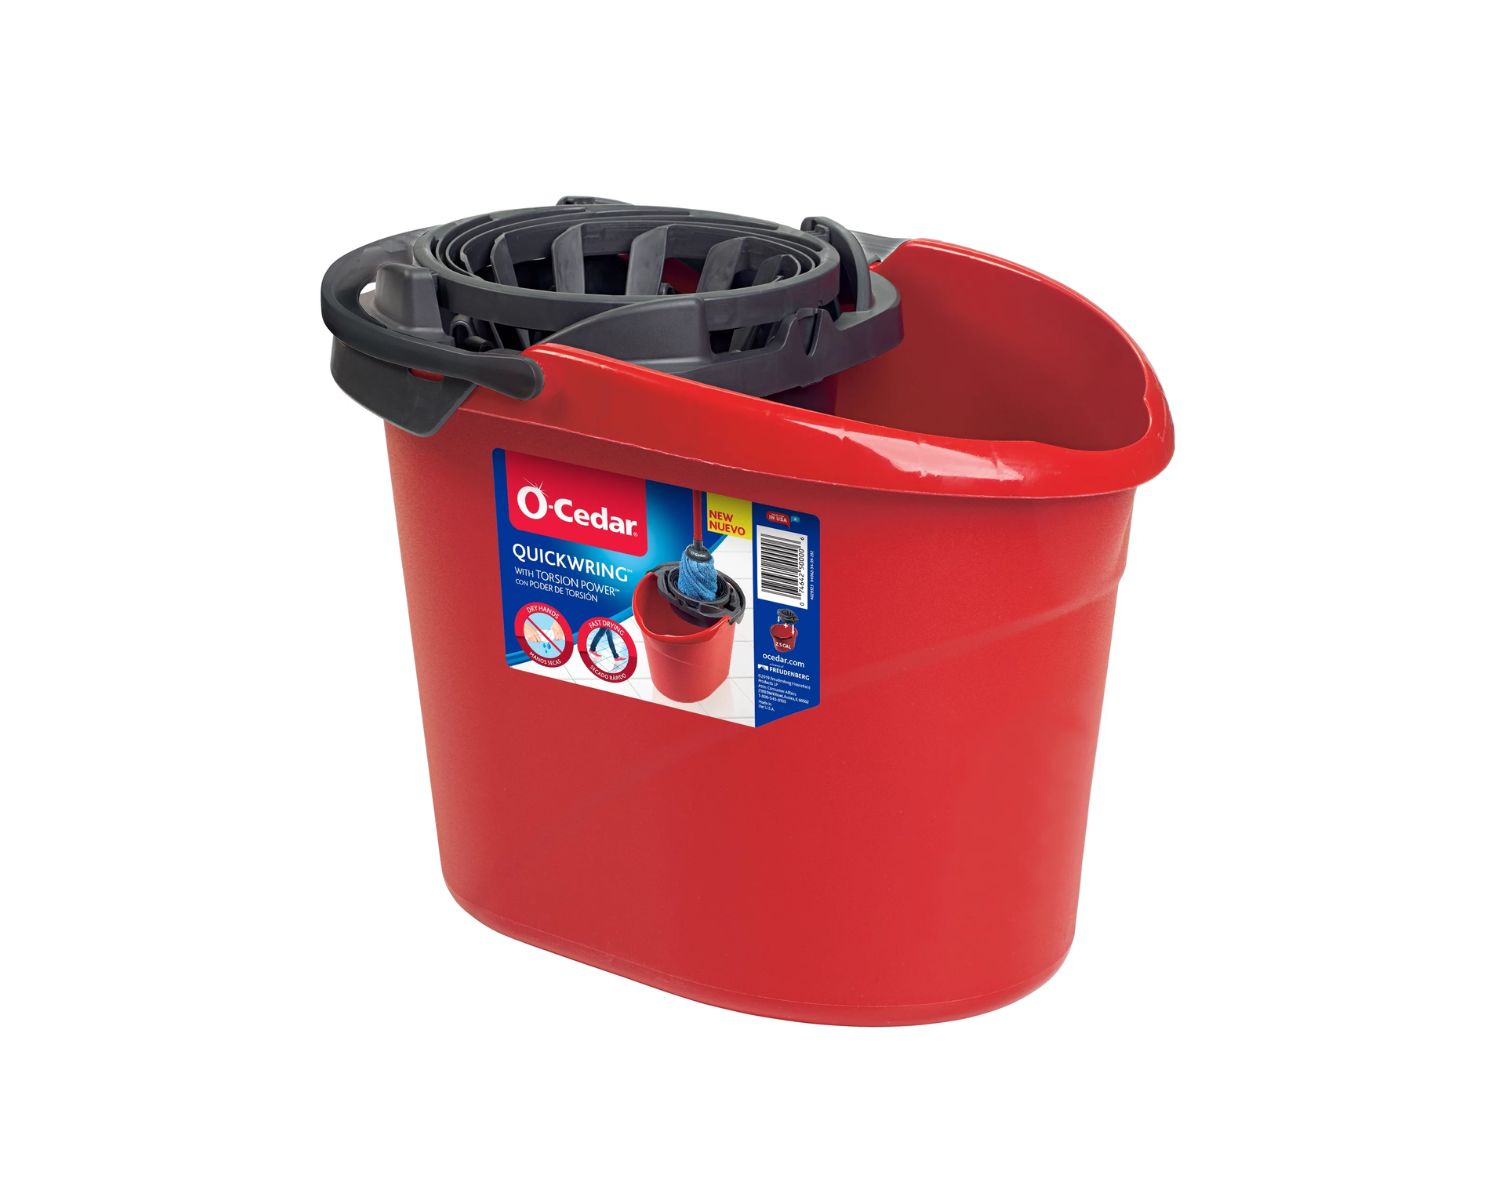
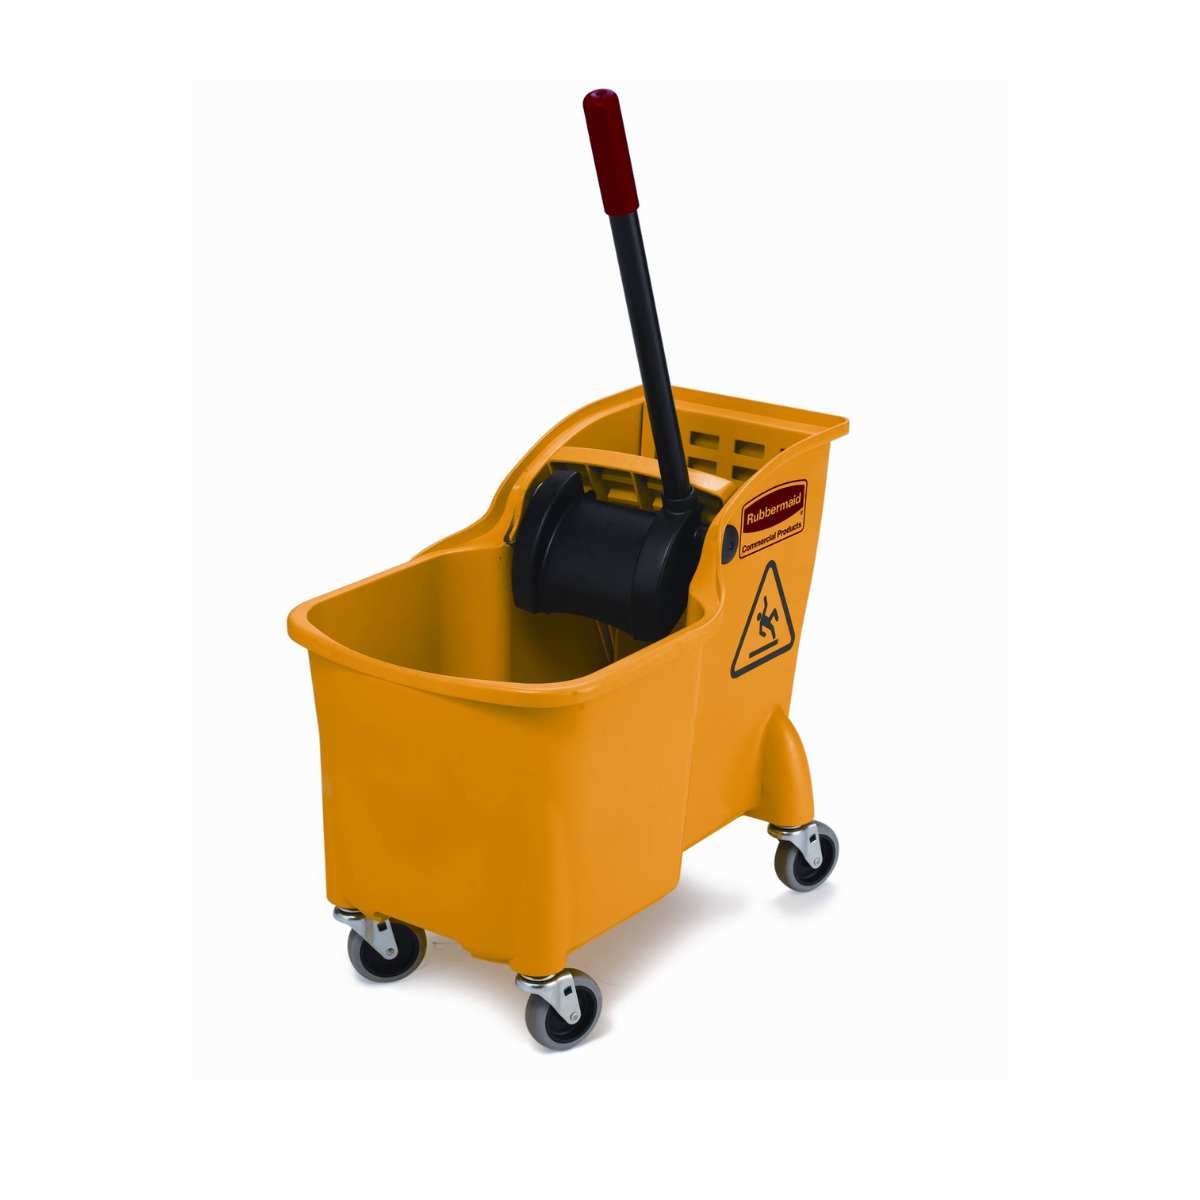
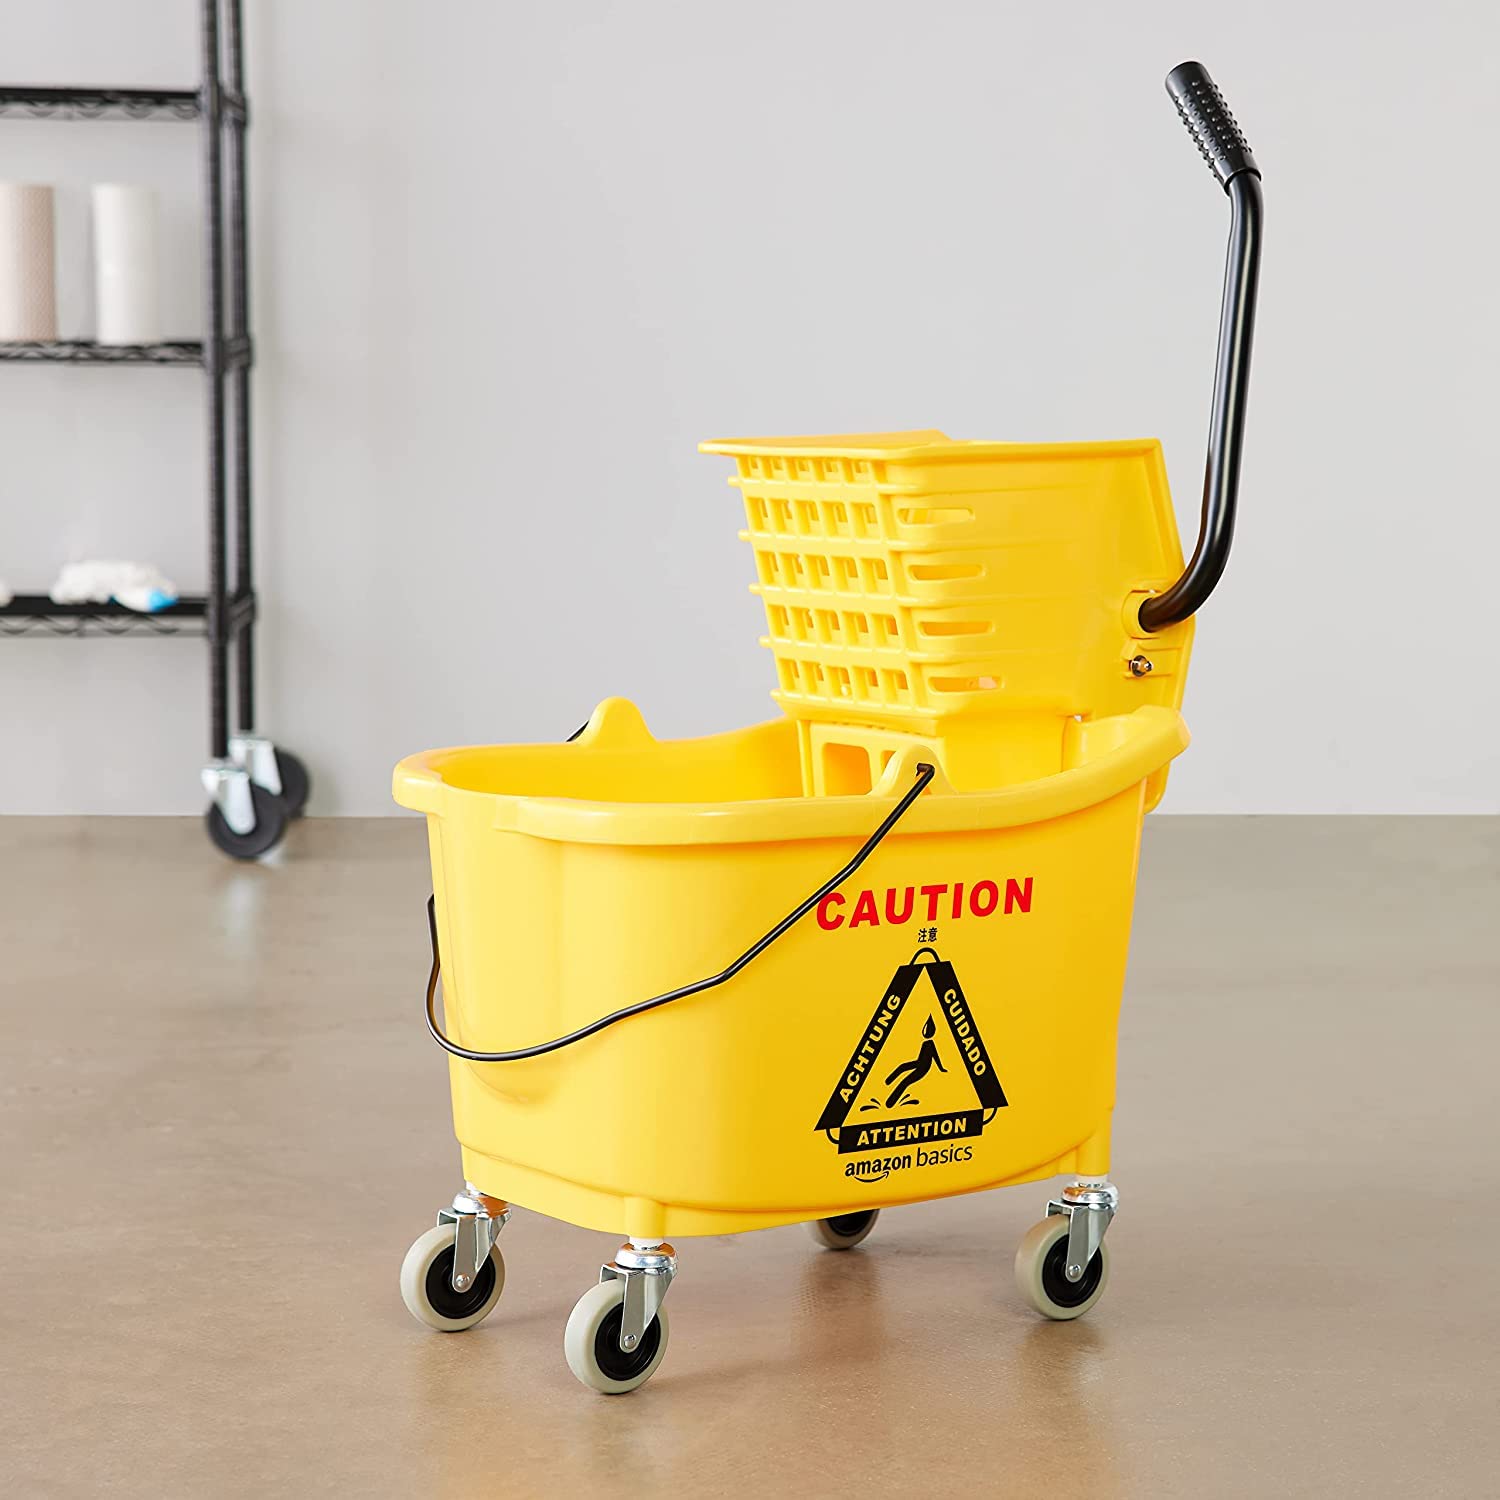
- Bucket: The main body of the mop bucket wringer, designed to hold water and cleaning solutions. It often features measurement markings for accurate dilution of cleaning agents.
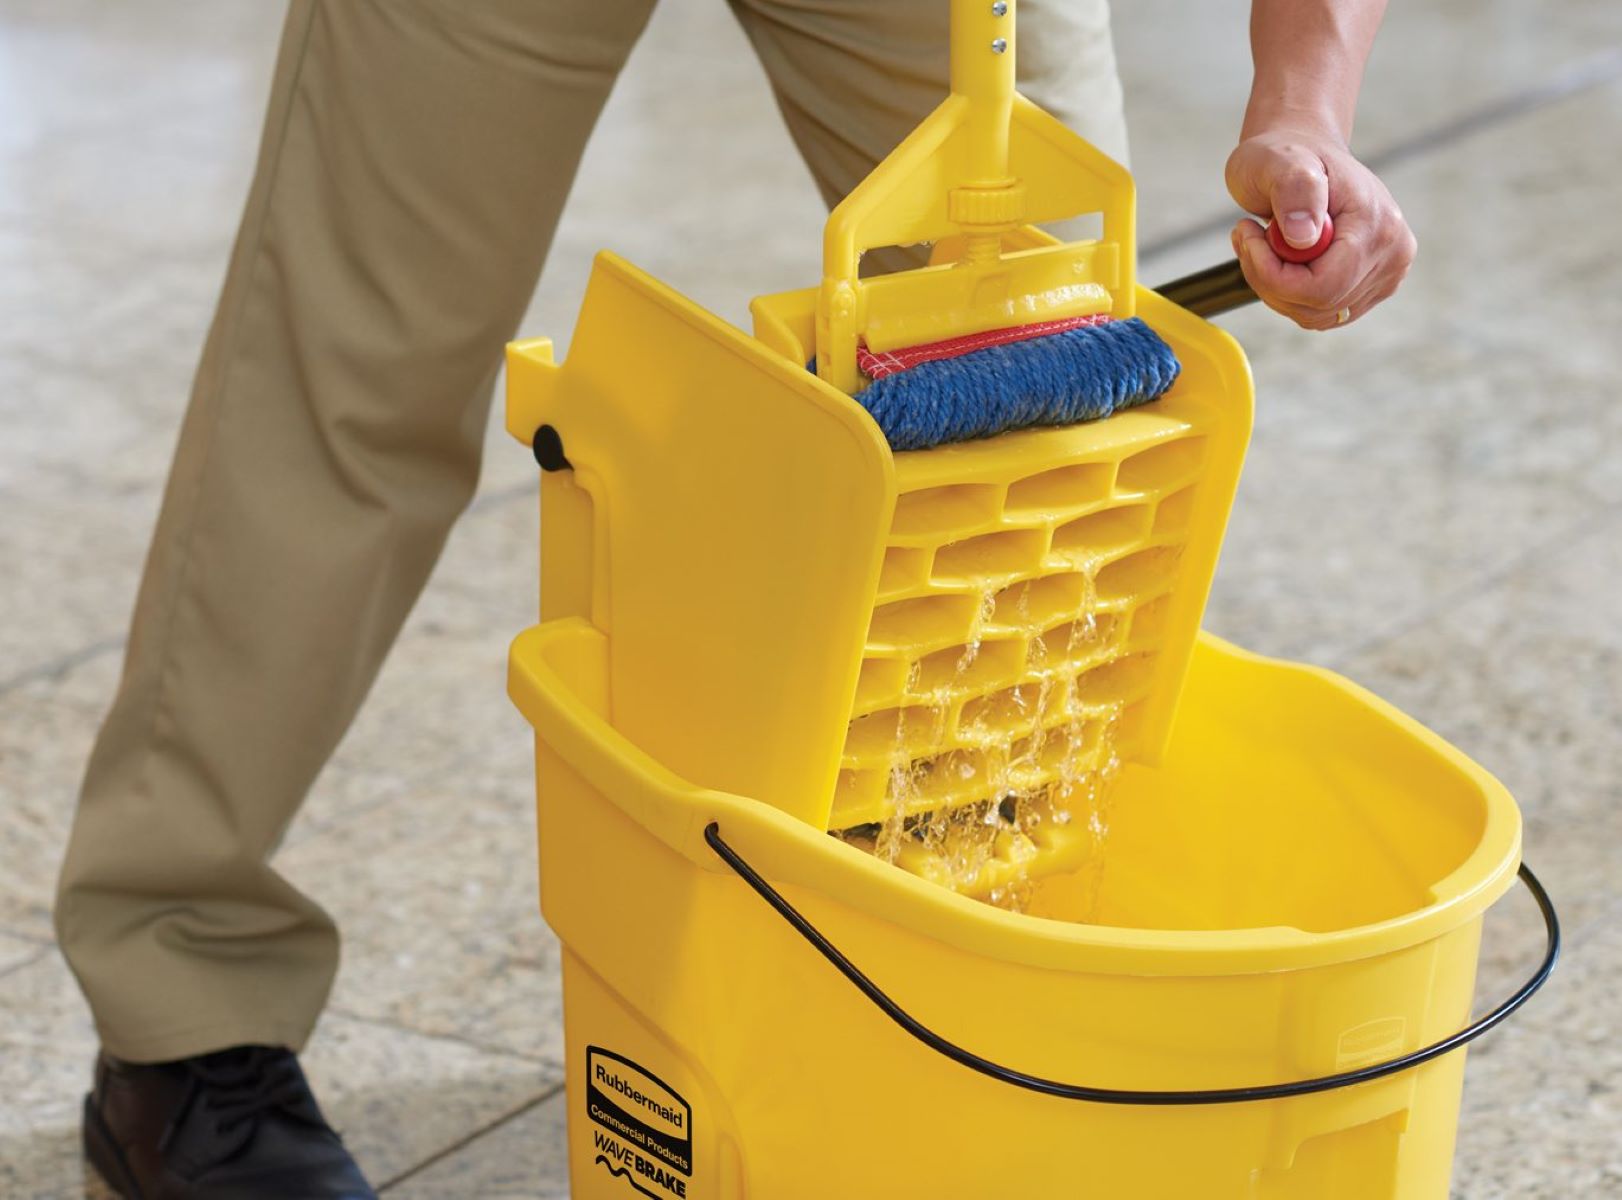
- Wringer Mechanism: This component is responsible for squeezing excess water from the mop head. It typically consists of two rollers, one fixed and one movable, operated by a lever or foot pedal.
- Handle: The handle allows for easy maneuvering of the mop bucket and wringer, enabling users to transport it from one location to another.
- Casters: Many mop bucket wringers are equipped with wheels or casters, enhancing mobility and maneuverability during cleaning tasks.
- Drainage Spout: Located at the bottom of the bucket, the drainage spout enables convenient emptying of the bucket’s contents.
By familiarizing yourself with these components, you’ll gain a clearer understanding of how the mop bucket wringer functions and be better equipped to identify potential issues that may arise.
Common Issues with Mop Bucket Wringer
Like any piece of equipment, mop bucket wringers are susceptible to various issues that can hinder their functionality. By recognizing these common problems, you can promptly address them and restore your mop bucket wringer to optimal working condition. Some prevalent issues include:
- Broken Wringer Mechanism: Over time, the wringer mechanism may become damaged or malfunction, making it difficult to effectively wring out the mop head.
- Loose or Wobbly Handle: A loose or wobbly handle can compromise the stability and maneuverability of the mop bucket wringer, posing a safety hazard and impeding its usability.
- Leaking Bucket: If the bucket develops cracks or holes, it can lead to leaks, causing water and cleaning solutions to spill onto the floor during use.
- Ineffective Drainage: A clogged or malfunctioning drainage spout can impede the efficient emptying of the bucket, resulting in standing water and potential hygiene issues.
- Worn-out Rollers: The rollers in the wringer mechanism may wear out over time, diminishing their ability to effectively squeeze out excess water from the mop head.
- Handle Alignment Issues: Misalignment of the handle or its attachment points can lead to difficulty in maneuvering the mop bucket wringer, affecting overall usability.
By being aware of these common issues, you can proactively inspect and maintain your mop bucket wringer, addressing any emerging problems before they escalate and impact your cleaning routine.
Tools Required for Fixing a Mop Bucket Wringer
When it comes to fixing a mop bucket wringer, having the right tools at your disposal is essential for a successful repair. Here are the tools you may need to address common issues with your mop bucket wringer:
- Screwdriver Set: A set of screwdrivers, including both flathead and Phillips head varieties, will enable you to disassemble and reassemble various components of the mop bucket wringer.
- Adjustable Wrench: An adjustable wrench is useful for tightening or loosening nuts, bolts, and other fasteners that may be causing issues with the handle or other parts of the wringer.
- Replacement Rollers: If the wringer mechanism’s rollers are worn or damaged, having replacement rollers on hand will allow you to swap them out and restore proper functionality.
- Sealant or Epoxy: In the case of a leaking bucket, sealant or epoxy can be used to patch up cracks or holes, preventing further leakage and extending the bucket’s lifespan.
- Plumbers’ Snake or Wire Brush: For addressing drainage issues, a plumbers’ snake or wire brush can help clear any obstructions in the drainage spout, ensuring proper water drainage.
- Lubricant: Applying lubricant to the moving parts of the wringer mechanism can improve its operation and prevent premature wear and tear.
- Replacement Handle: If the handle is loose or misaligned, having a replacement handle on standby will allow you to address this issue promptly.
By having these tools readily available, you’ll be well-prepared to tackle a range of issues that may arise with your mop bucket wringer, keeping it in optimal working condition for efficient cleaning tasks.
To fix a mop bucket wringer, first check for any debris or obstructions in the wringer mechanism. If it’s still not working, try lubricating the moving parts with a silicone-based lubricant.
Step-by-Step Guide to Fixing a Mop Bucket Wringer
Now that you’re equipped with the necessary tools, let’s walk through the step-by-step process of fixing common issues with a mop bucket wringer. Whether you’re addressing a broken wringer mechanism, a loose handle, or other issues, the following guide will help you troubleshoot and repair your mop bucket wringer with confidence:
- Assess the Issue: Identify the specific problem with your mop bucket wringer, such as a broken wringer mechanism, loose handle, leaking bucket, or drainage issues.
- Prepare the Work Area: Find a well-lit and spacious area to work on your mop bucket wringer, ensuring that you have ample room to maneuver and access the necessary components.
- Disassemble the Wringer Mechanism: Using the appropriate screwdrivers and wrench, carefully disassemble the wringer mechanism, taking note of the orientation and placement of each component.
- Inspect and Clean Components: Thoroughly inspect the rollers, gears, and other parts of the wringer mechanism for signs of wear, damage, or debris. Clean any dirty or grimy components using a mild detergent and water.
- Replace Worn-Out Parts: If the rollers or other components show significant wear, replace them with the appropriate replacement parts, following the manufacturer’s guidelines.
- Tighten Fasteners and Adjustments: Check for loose nuts, bolts, or screws on the handle and other areas of the mop bucket wringer, tightening them as needed to ensure stability and proper alignment.
- Address Leaks and Drainage Issues: If the bucket is leaking or experiencing drainage problems, apply sealant or epoxy to seal any cracks, and use a plumbers’ snake or wire brush to clear obstructions in the drainage spout.
- Lubricate Moving Parts: Apply a suitable lubricant to the moving parts of the wringer mechanism to improve its operation and reduce friction.
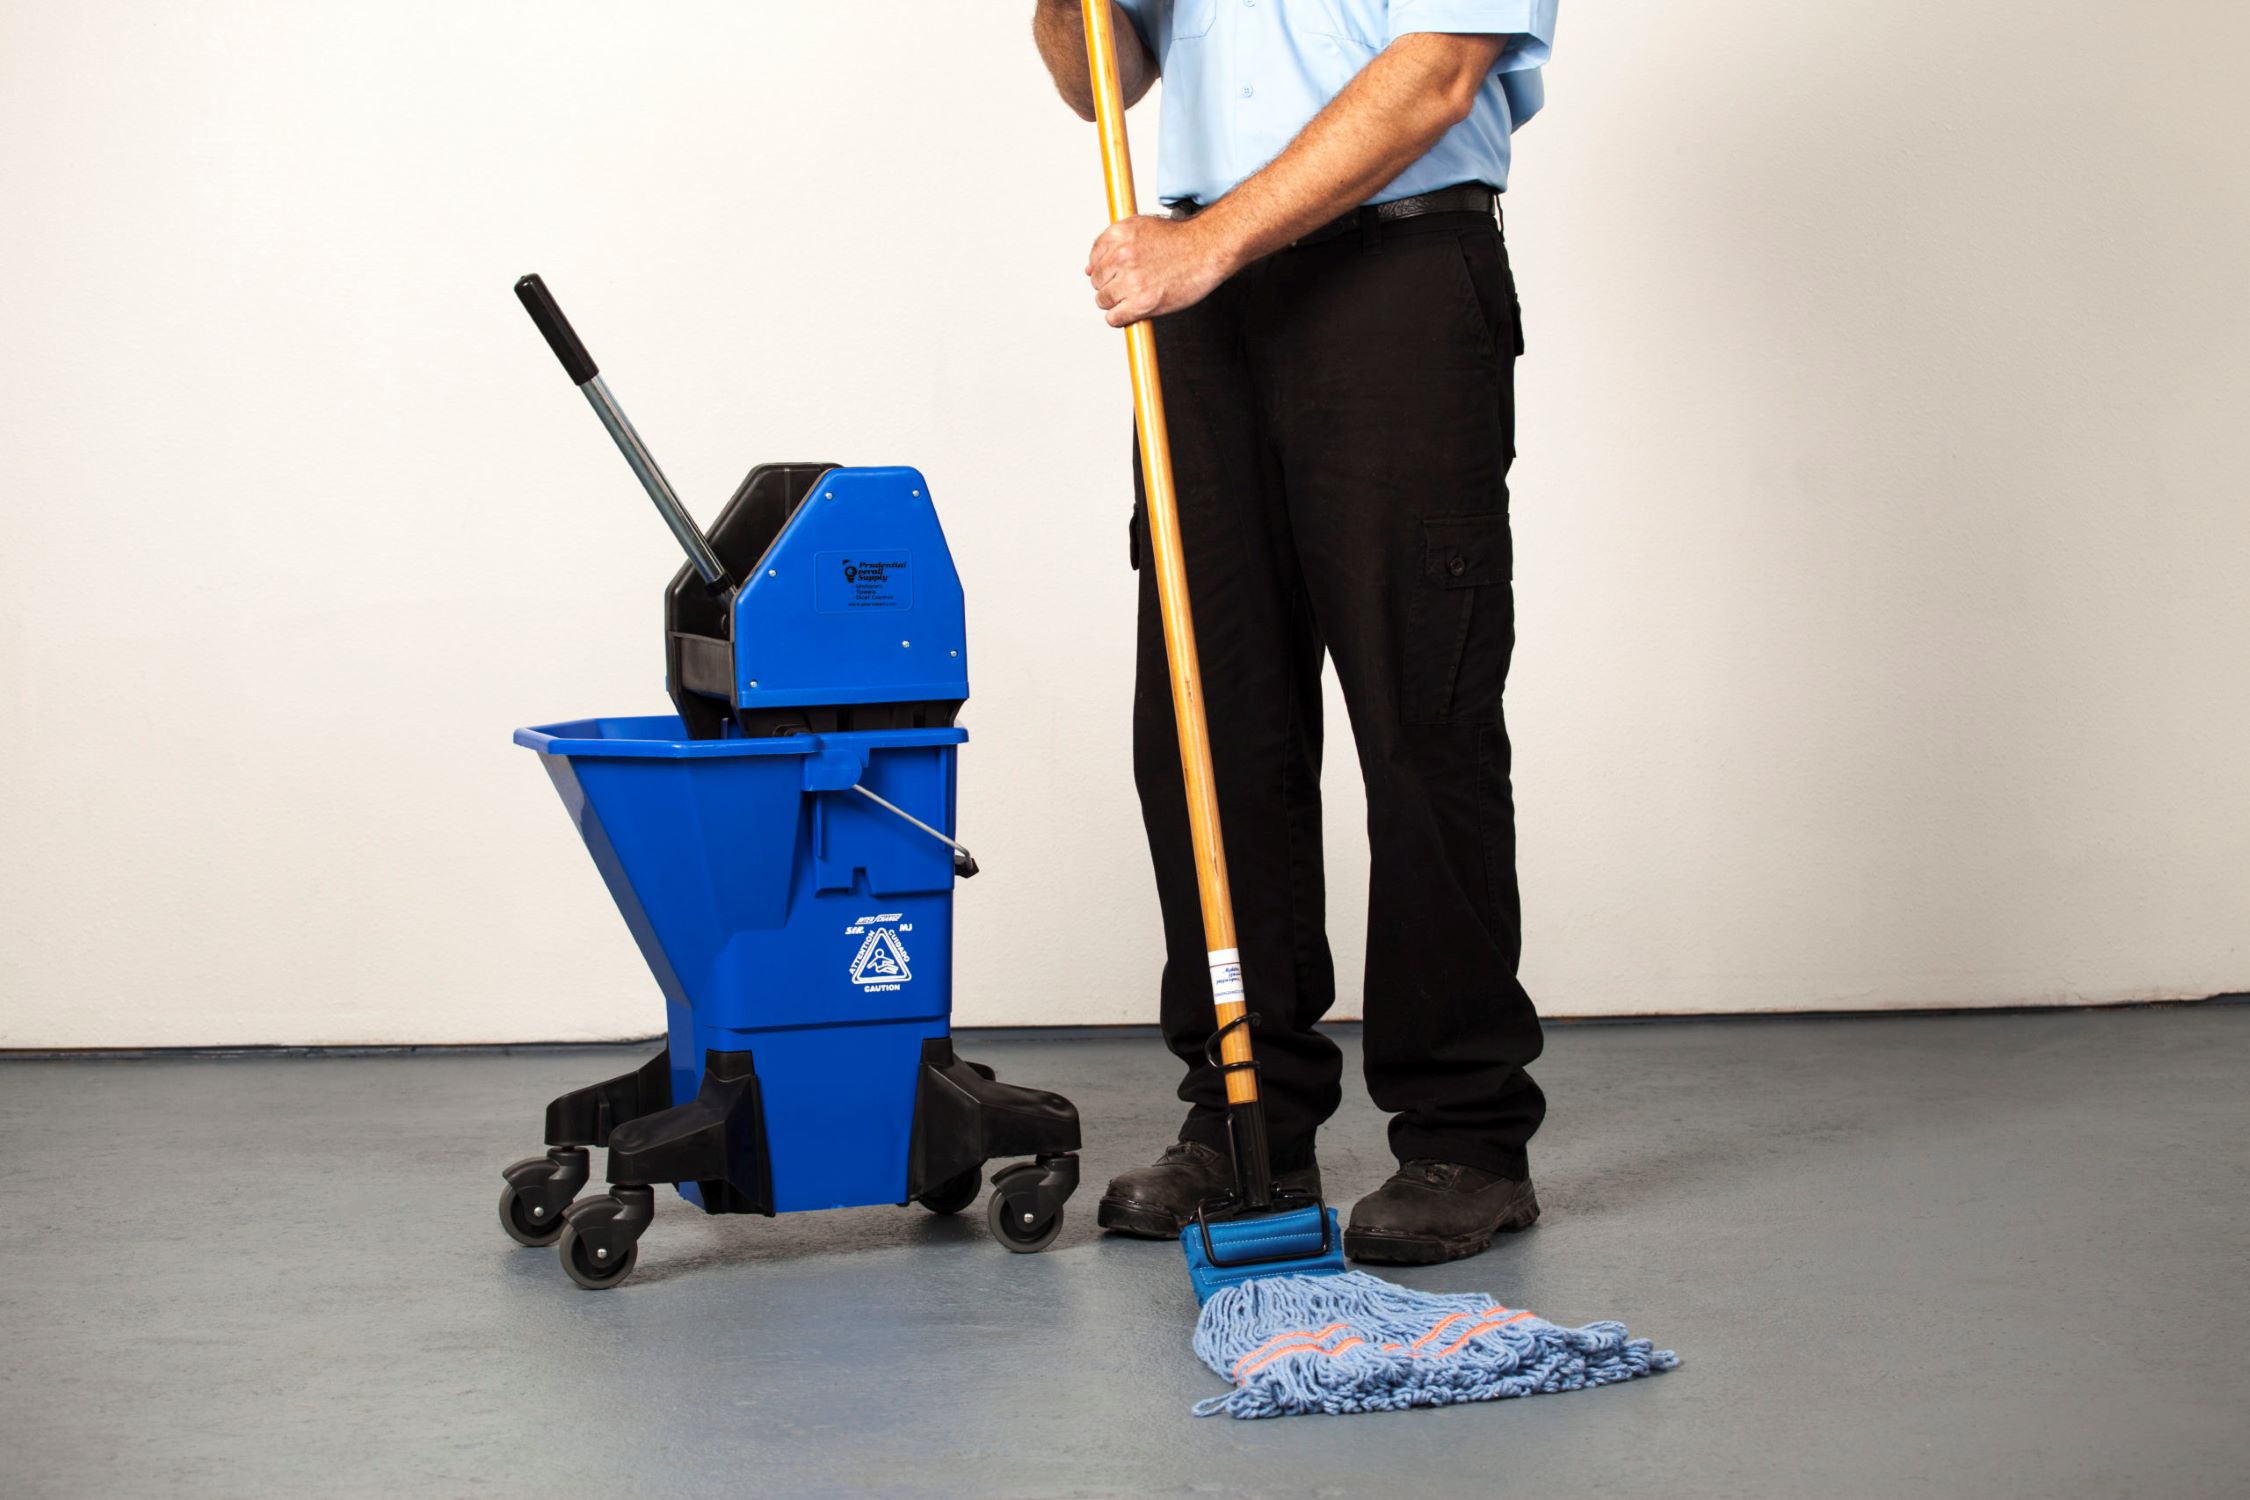
- Reassemble and Test: Carefully reassemble the wringer mechanism and handle, ensuring that all components are properly aligned and fastened. Test the repaired mop bucket wringer by wringing out a damp mop head and checking for smooth operation.
Following these steps will empower you to address a range of issues with your mop bucket wringer, restoring its functionality and ensuring that it remains a reliable tool in your cleaning arsenal.
Testing the Repaired Mop Bucket Wringer
After completing the repair process, it’s crucial to thoroughly test the functionality of your mop bucket wringer to ensure that the issues have been successfully addressed. By conducting a series of tests, you can verify that the wringer mechanism, handle, and other components are operating as intended, allowing you to confidently resume your cleaning tasks. Here’s how to effectively test the repaired mop bucket wringer:
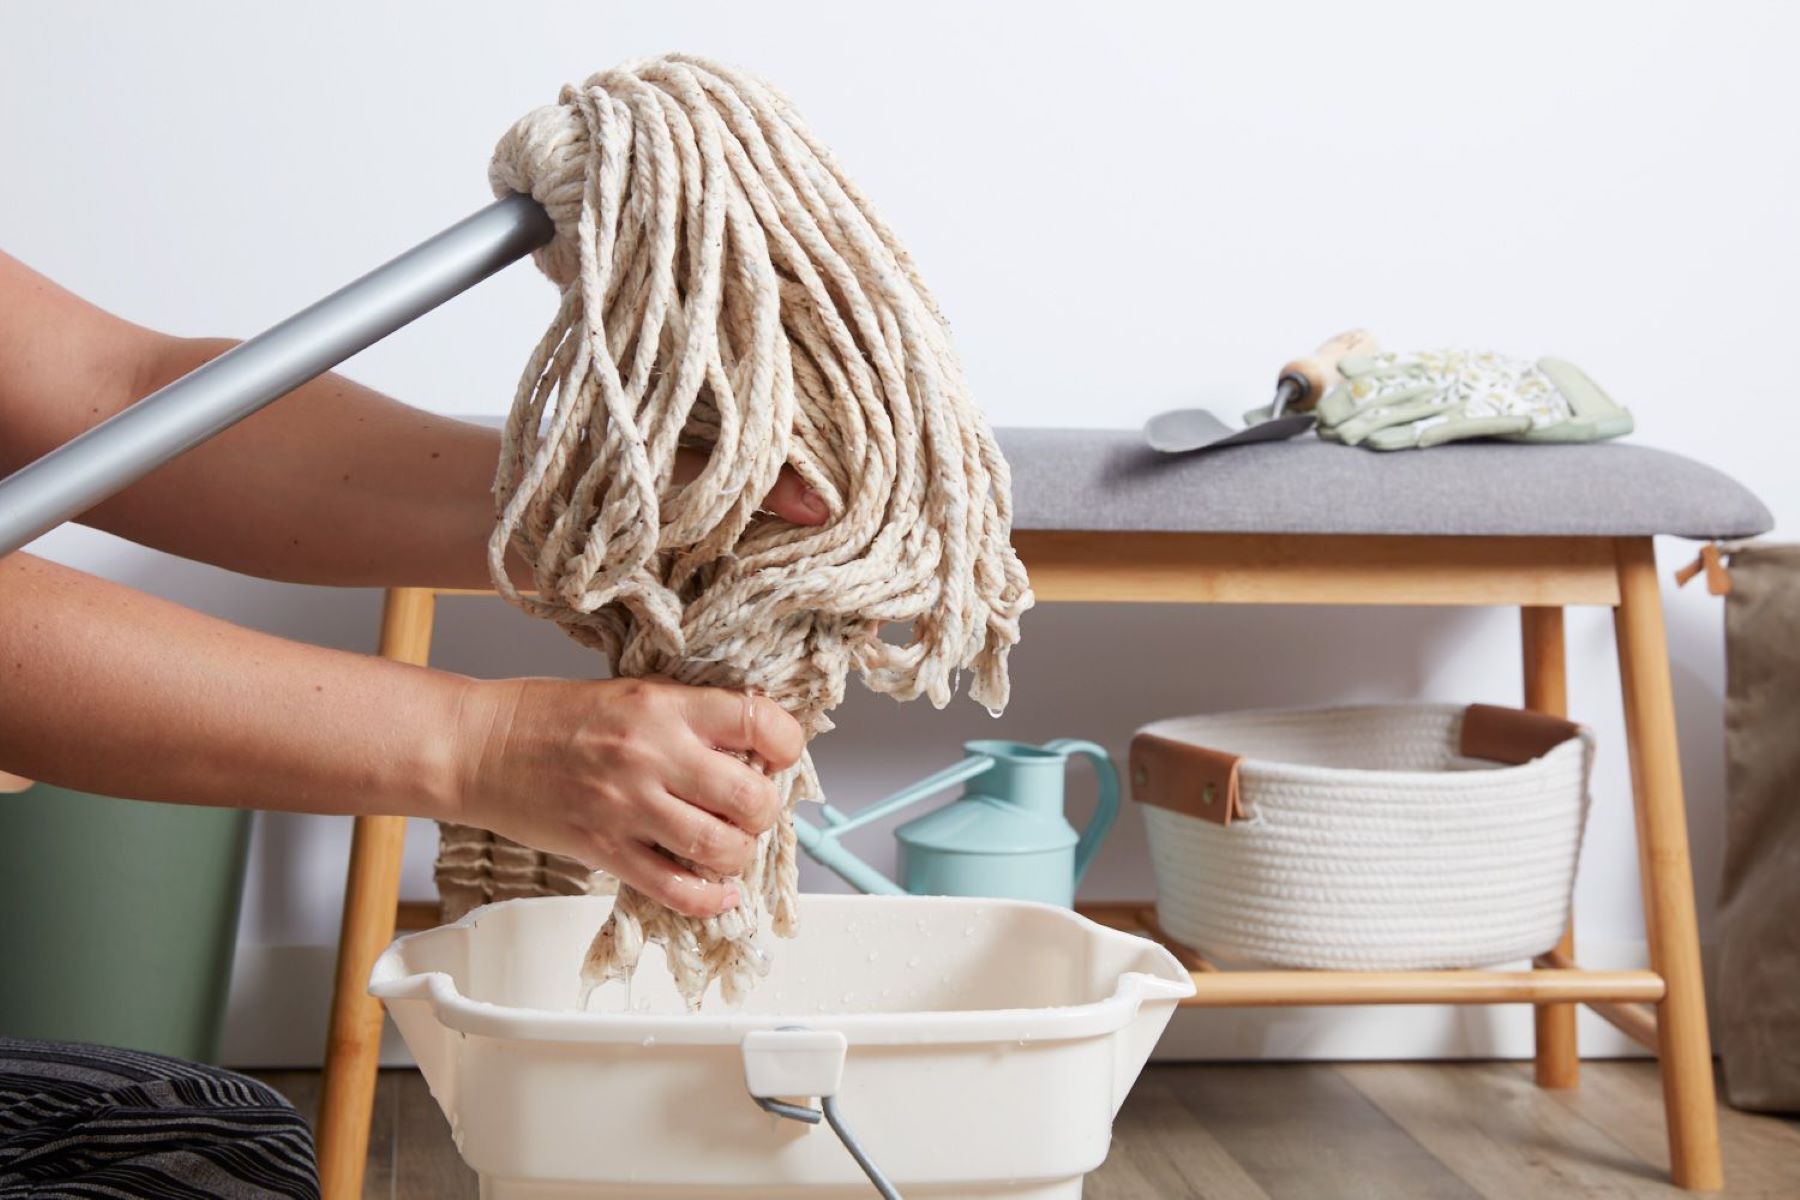
- Wringing Test: Place a damp mop head in the wringer mechanism and operate the lever or foot pedal to wring out excess water. Observe the action of the rollers and ensure that they effectively squeeze out the water without slippage or resistance.
- Handle Stability Test: Maneuver the mop bucket wringer across the floor, testing the stability and alignment of the handle. Ensure that it remains securely attached and does not wobble or shift during movement.
- Bucket Leakage Test: Fill the bucket with water and cleaning solution, allowing it to sit for a period of time. Check for any signs of leakage or seepage, particularly around previously damaged areas that have been repaired with sealant or epoxy.
- Drainage Test: Fill the bucket with water and observe the drainage process, ensuring that water flows smoothly through the drainage spout without any blockages or backup.
- Maneuverability Test: Roll the mop bucket wringer across different floor surfaces, testing its maneuverability and ensuring that the casters or wheels move freely without impediment.
By conducting these tests, you can confirm that the mop bucket wringer is fully operational and free from the issues that prompted the repair. If any issues persist, revisit the relevant steps in the repair process to make further adjustments and ensure the optimal performance of your mop bucket wringer.
Conclusion
Fixing a mop bucket wringer is a practical skill that can prolong the lifespan of this essential cleaning tool and ensure its continued effectiveness in maintaining cleanliness and hygiene. By understanding the components of a mop bucket wringer, recognizing common issues, and equipping yourself with the necessary tools, you can confidently address a range of problems that may arise. The step-by-step guide provided in this article empowers you to troubleshoot and repair issues such as a broken wringer mechanism, loose handle, leaking bucket, and drainage problems.
Through careful disassembly, inspection, cleaning, and reassembly, you can restore the functionality of your mop bucket wringer, allowing for smooth wringing, stable maneuverability, and efficient drainage. Thoroughly testing the repaired mop bucket wringer ensures that the issues have been successfully resolved, providing peace of mind as you resume your cleaning tasks.
By mastering the art of fixing a mop bucket wringer, you not only save time and money on potential replacements but also contribute to sustainable practices by extending the life of your cleaning equipment. Regular maintenance and timely repairs will keep your mop bucket wringer in optimal working condition, enabling you to maintain spotless and sanitary floors with ease.
Armed with the knowledge and skills acquired from this guide, you’re well-prepared to tackle any issues that may arise with your mop bucket wringer, ensuring that it remains a reliable and indispensable tool in your cleaning arsenal.
Frequently Asked Questions about How To Fix Mop Bucket Wringer
Was this page helpful?
At Storables.com, we guarantee accurate and reliable information. Our content, validated by Expert Board Contributors, is crafted following stringent Editorial Policies. We're committed to providing you with well-researched, expert-backed insights for all your informational needs.
0 thoughts on “How To Fix Mop Bucket Wringer”