Home>Home Appliances>Cleaning Appliances>How To Fill Mop Bucket
Cleaning Appliances
How To Fill Mop Bucket
Modified: October 21, 2024
Learn the proper way to fill a mop bucket for efficient cleaning. Discover helpful tips for maintaining your cleaning appliances. Ideal for home and commercial use.
(Many of the links in this article redirect to a specific reviewed product. Your purchase of these products through affiliate links helps to generate commission for Storables.com, at no extra cost. Learn more)
Introduction
Welcome to the ultimate guide on how to fill a mop bucket for effective and efficient cleaning! Whether you’re a cleaning professional, a homeowner, or a business owner, knowing the proper way to fill a mop bucket is essential for achieving sparkling clean floors. In this comprehensive guide, we will walk you through the step-by-step process of filling a mop bucket, ensuring that you have all the information you need to tackle any cleaning task with confidence.
From gathering your supplies to mixing the perfect cleaning solution, we’ve got you covered. So, let’s dive in and discover the best practices for filling a mop bucket and achieving spotless, gleaming floors in no time!
Key Takeaways:
- Properly preparing and filling a mop bucket is essential for effective cleaning. Gather supplies, choose the right cleaning solution, and mix it thoroughly for sparkling clean floors.
- Using the filled mop bucket effectively ensures thorough and consistent coverage. Wring out the mop, work in sections, and refresh the cleaning solution as needed for exceptional results.
Read more: How To Mop With Two Buckets
Step 1: Gather your supplies
Before you begin filling your mop bucket, it’s essential to gather all the necessary supplies to streamline the cleaning process. Having everything on hand will save you time and ensure that you’re fully prepared to tackle the task at hand.
Here’s a list of supplies you’ll need:
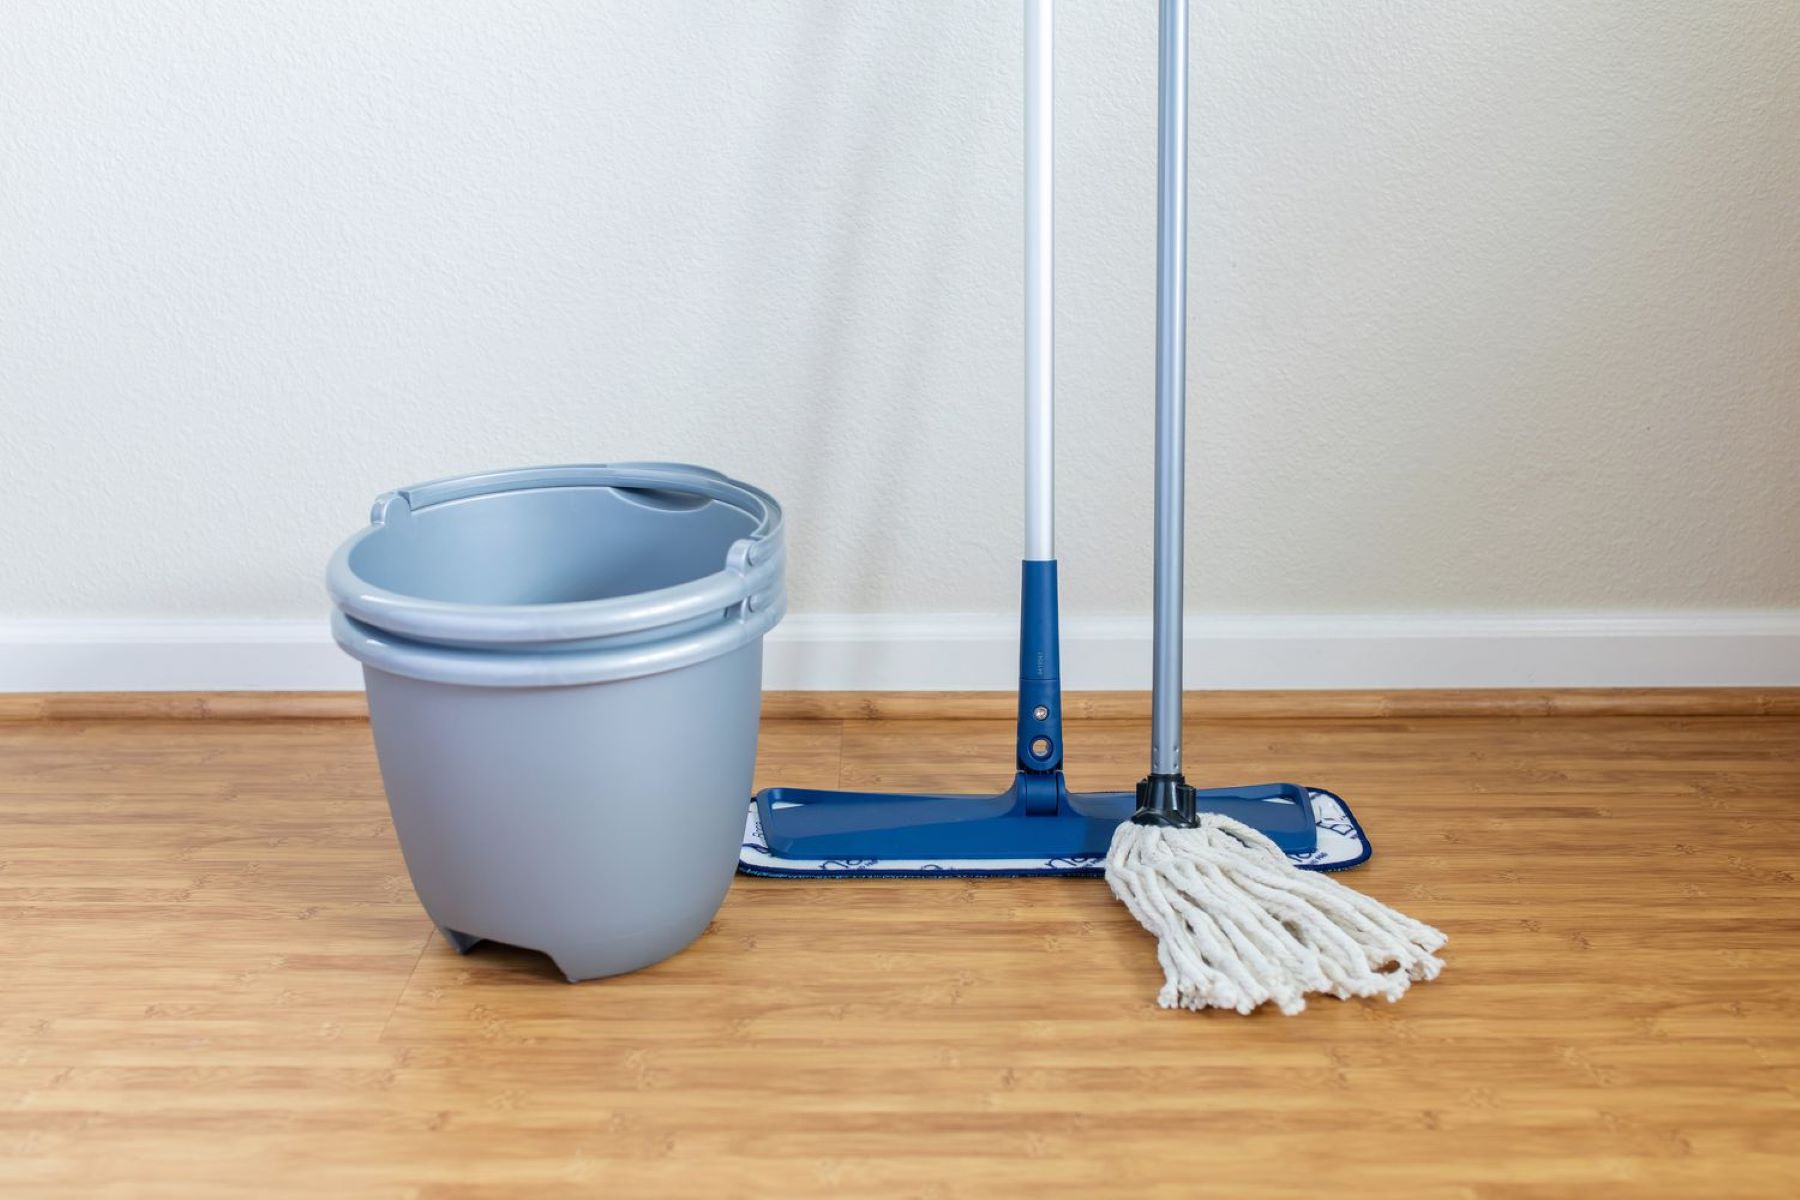
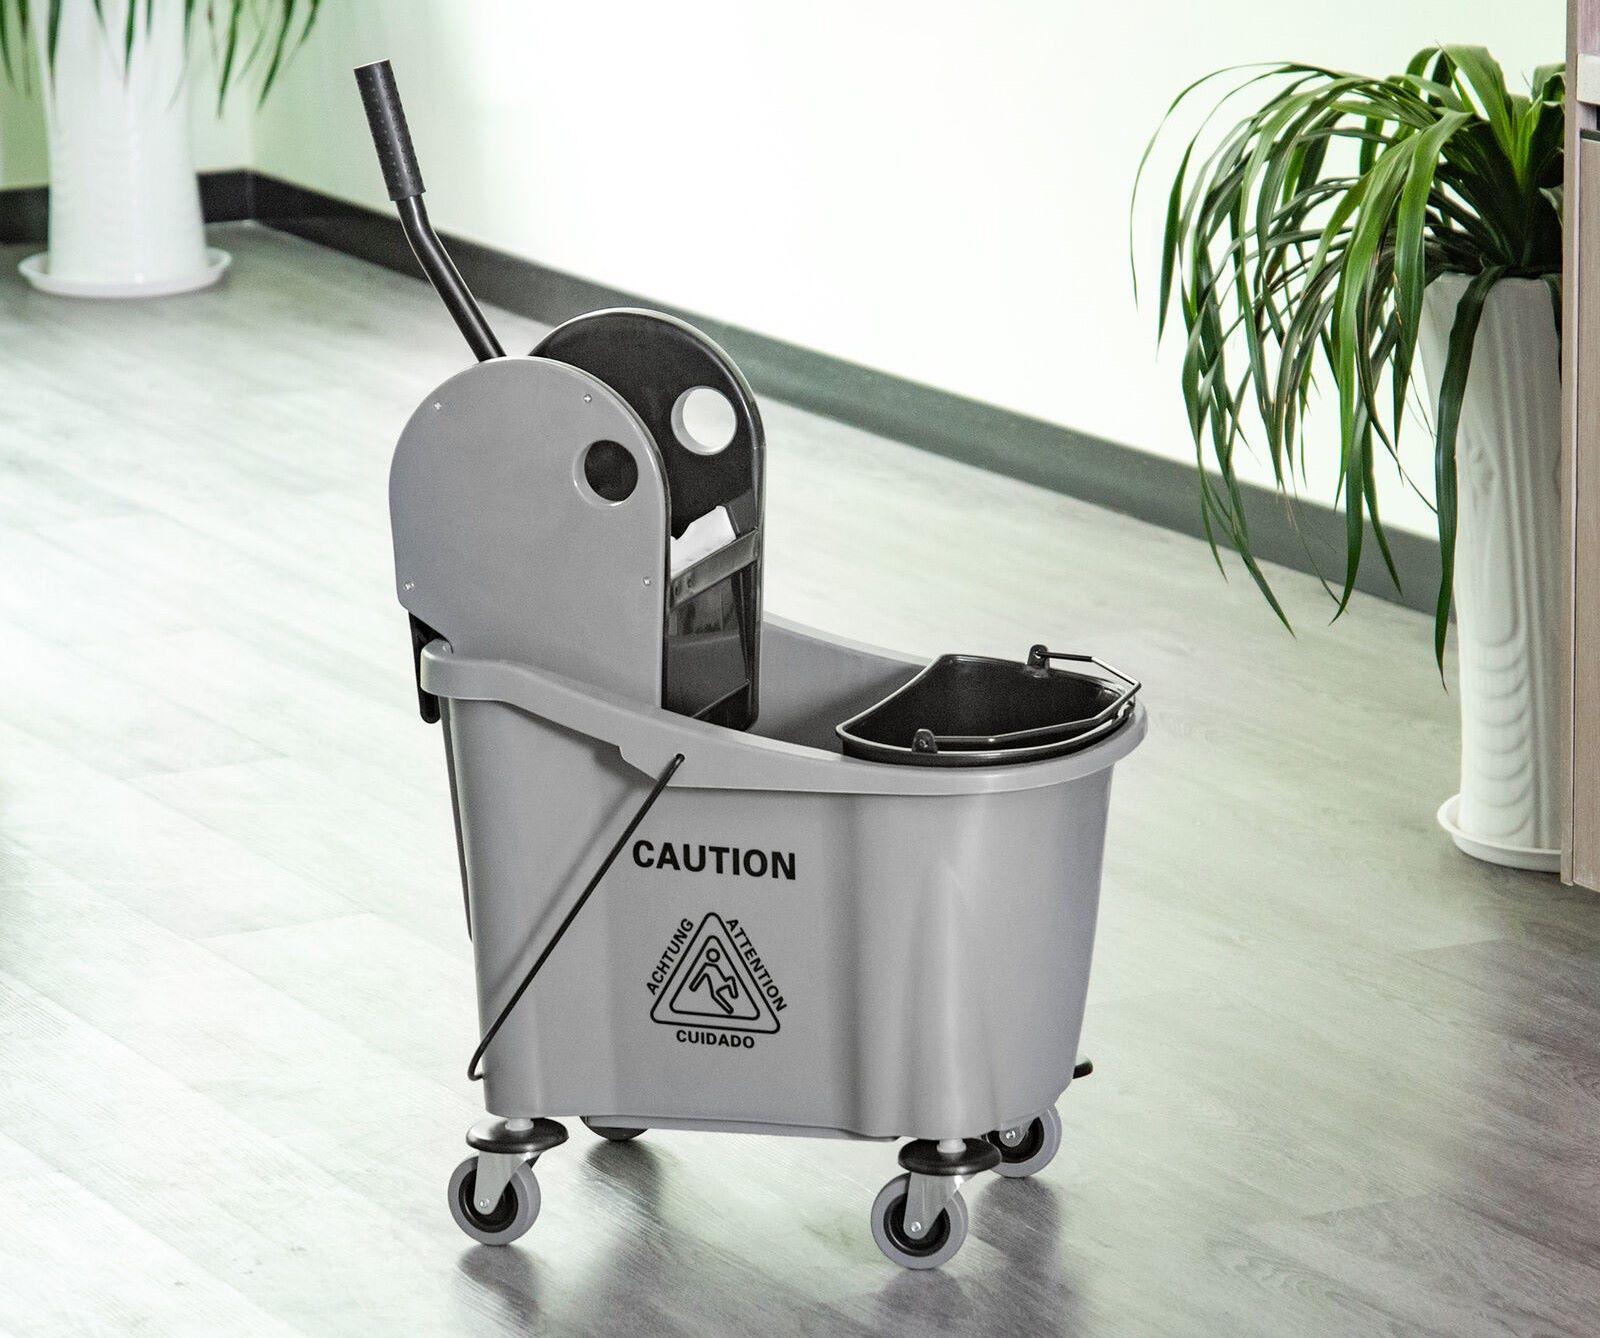
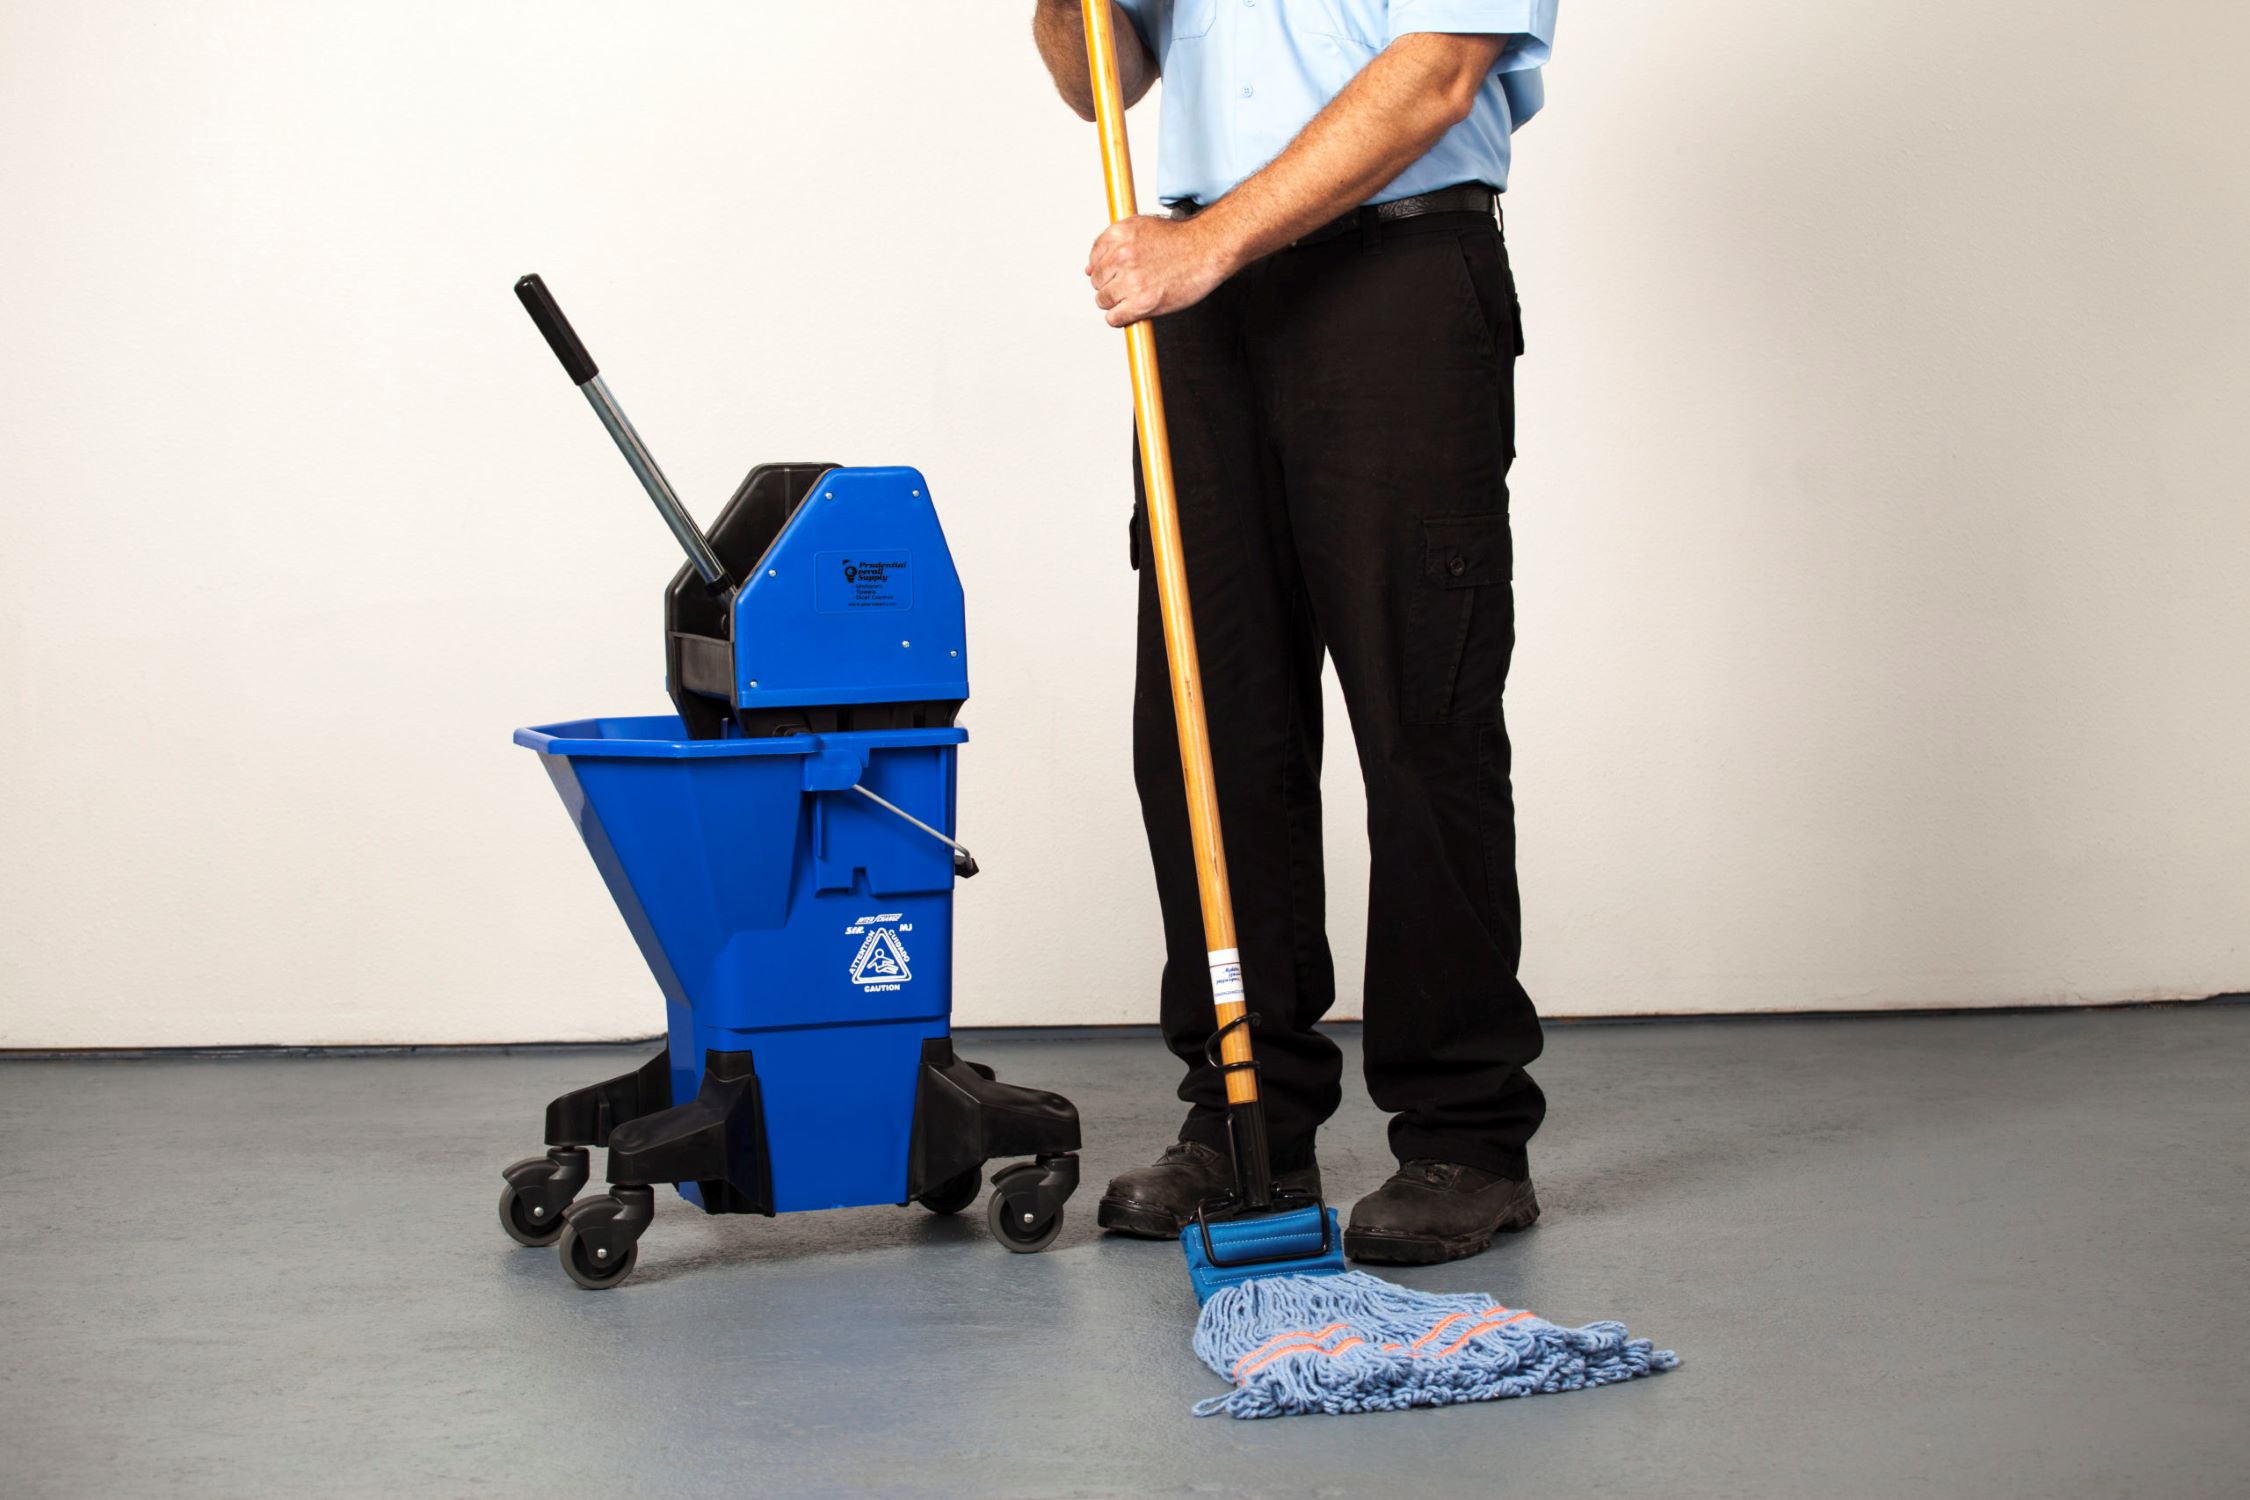
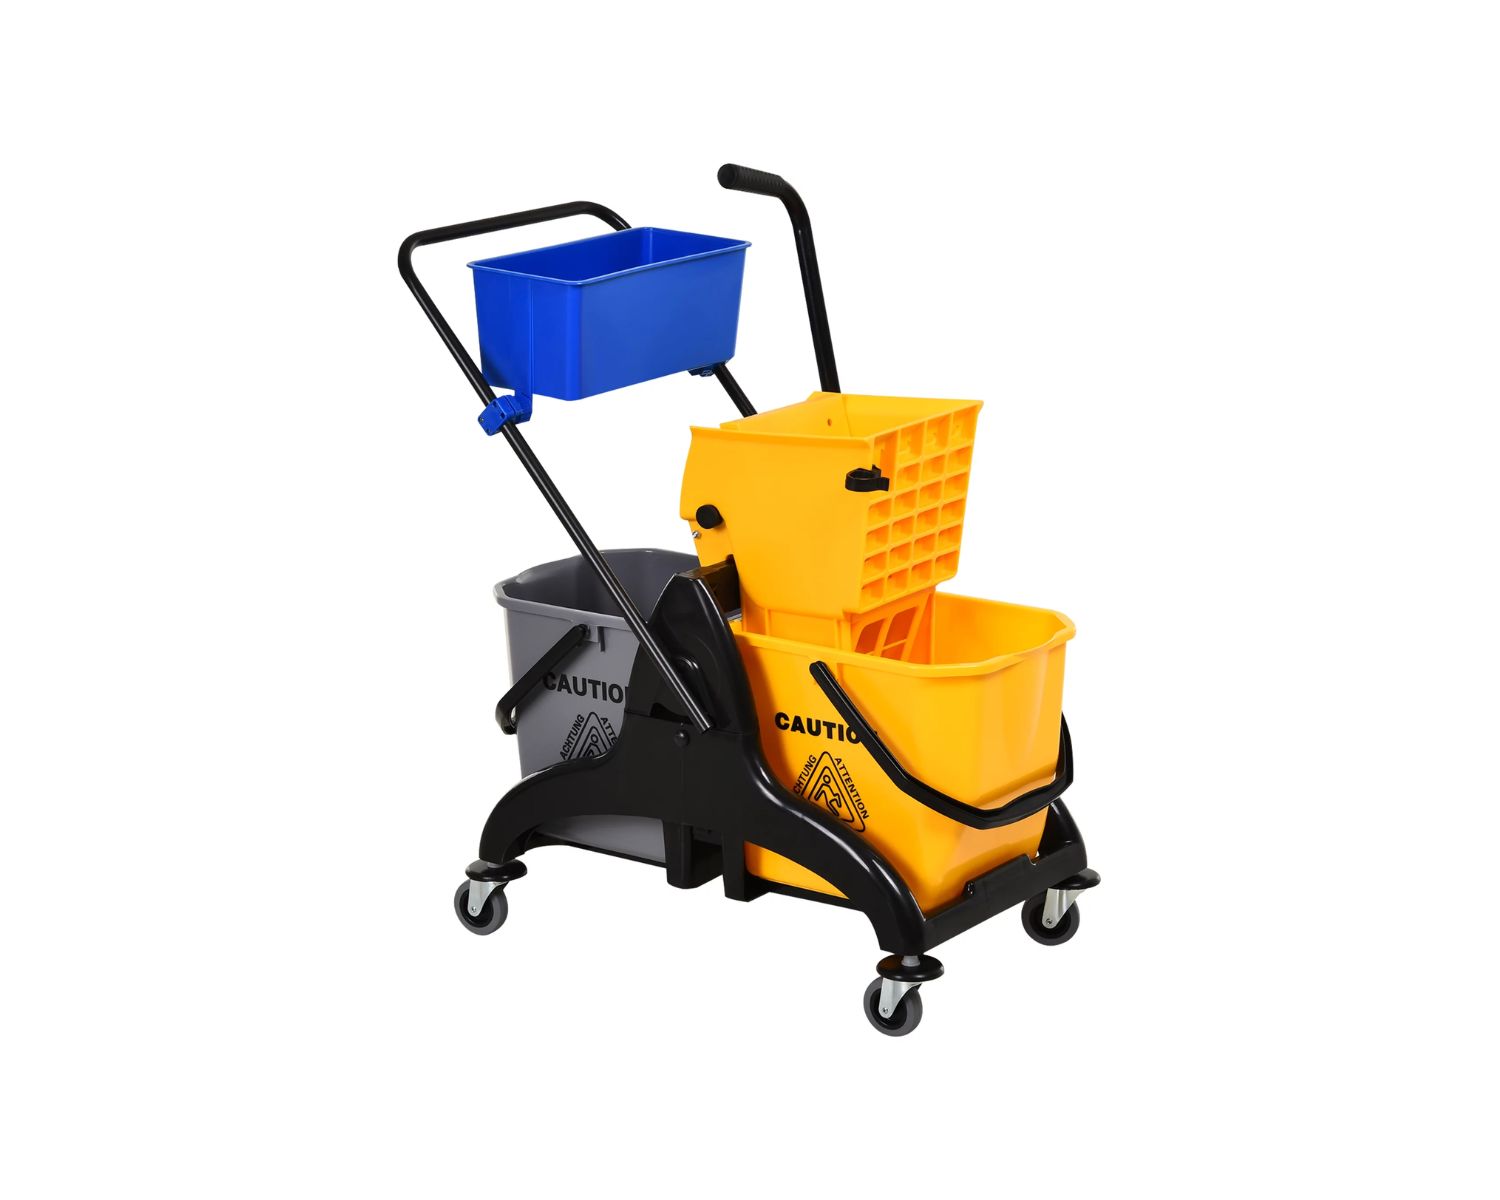
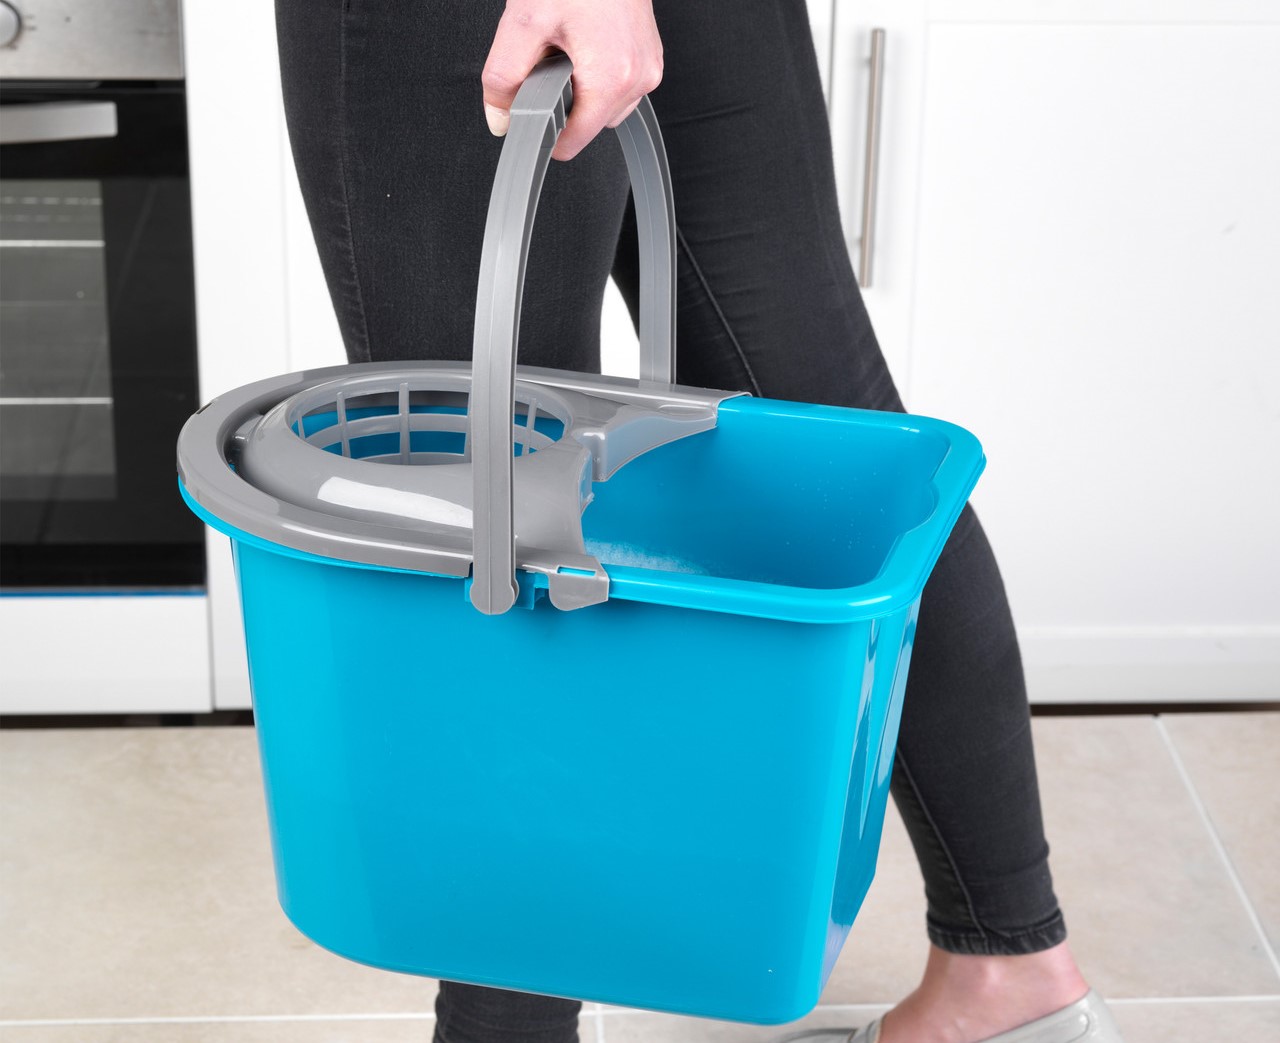
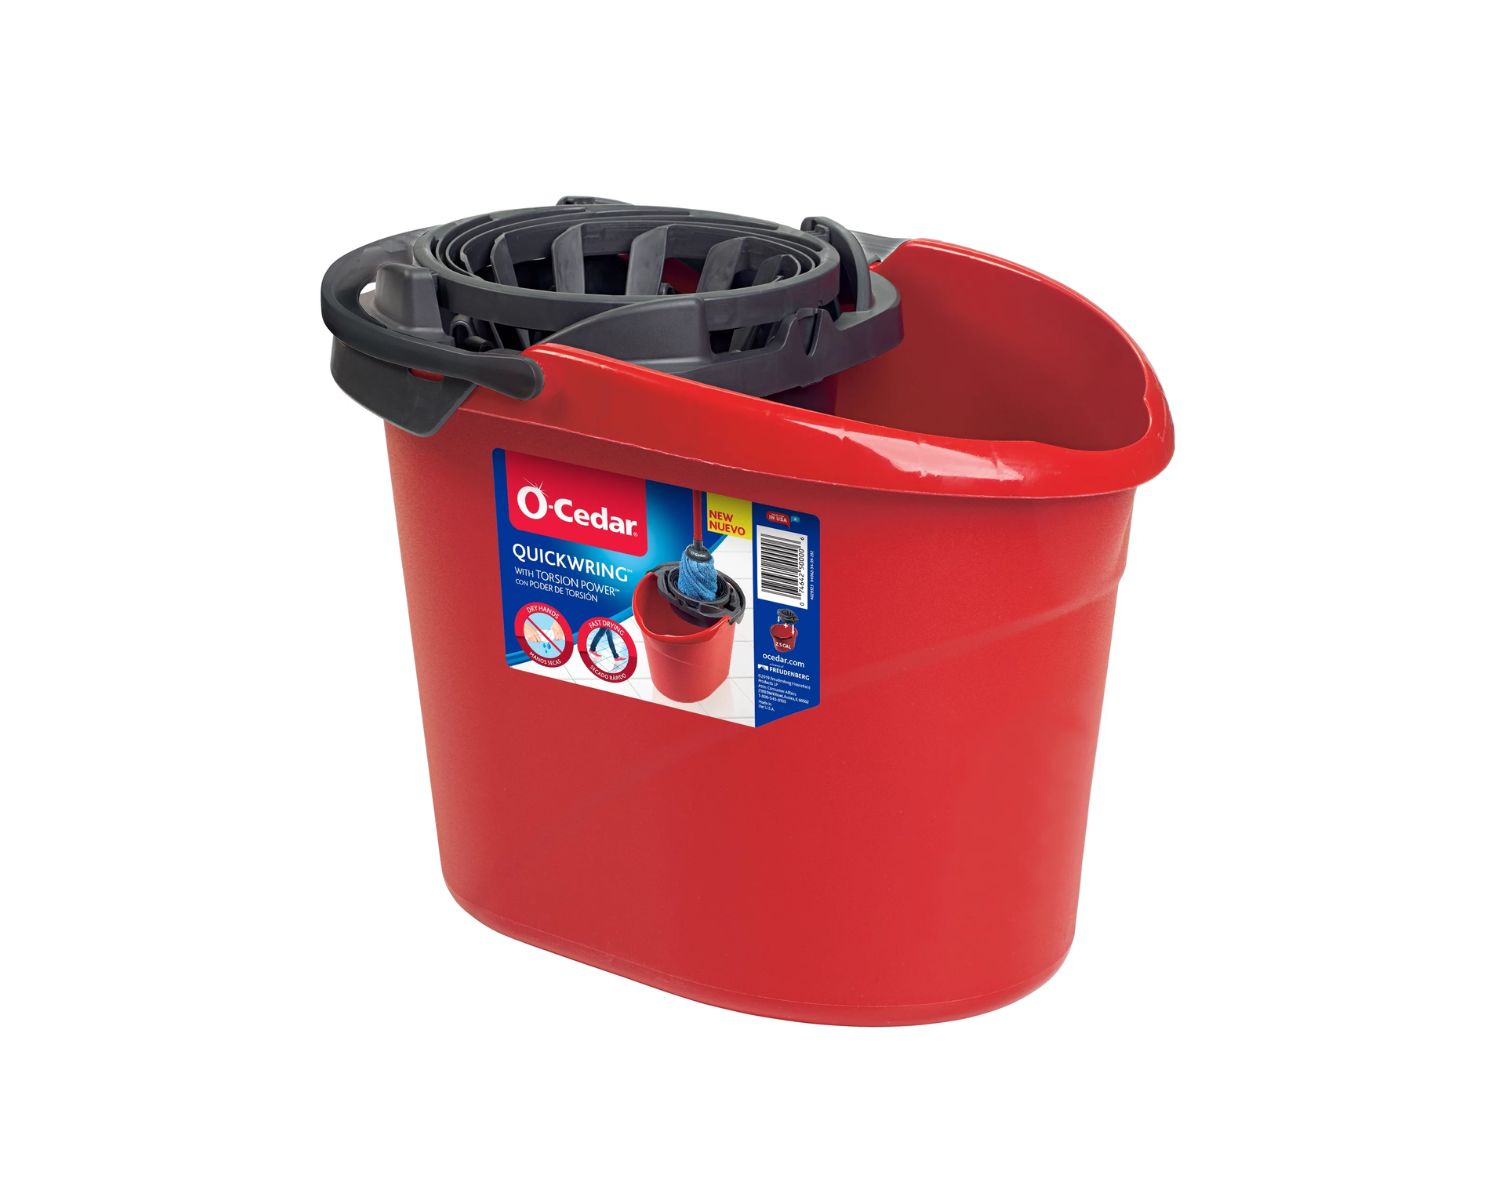
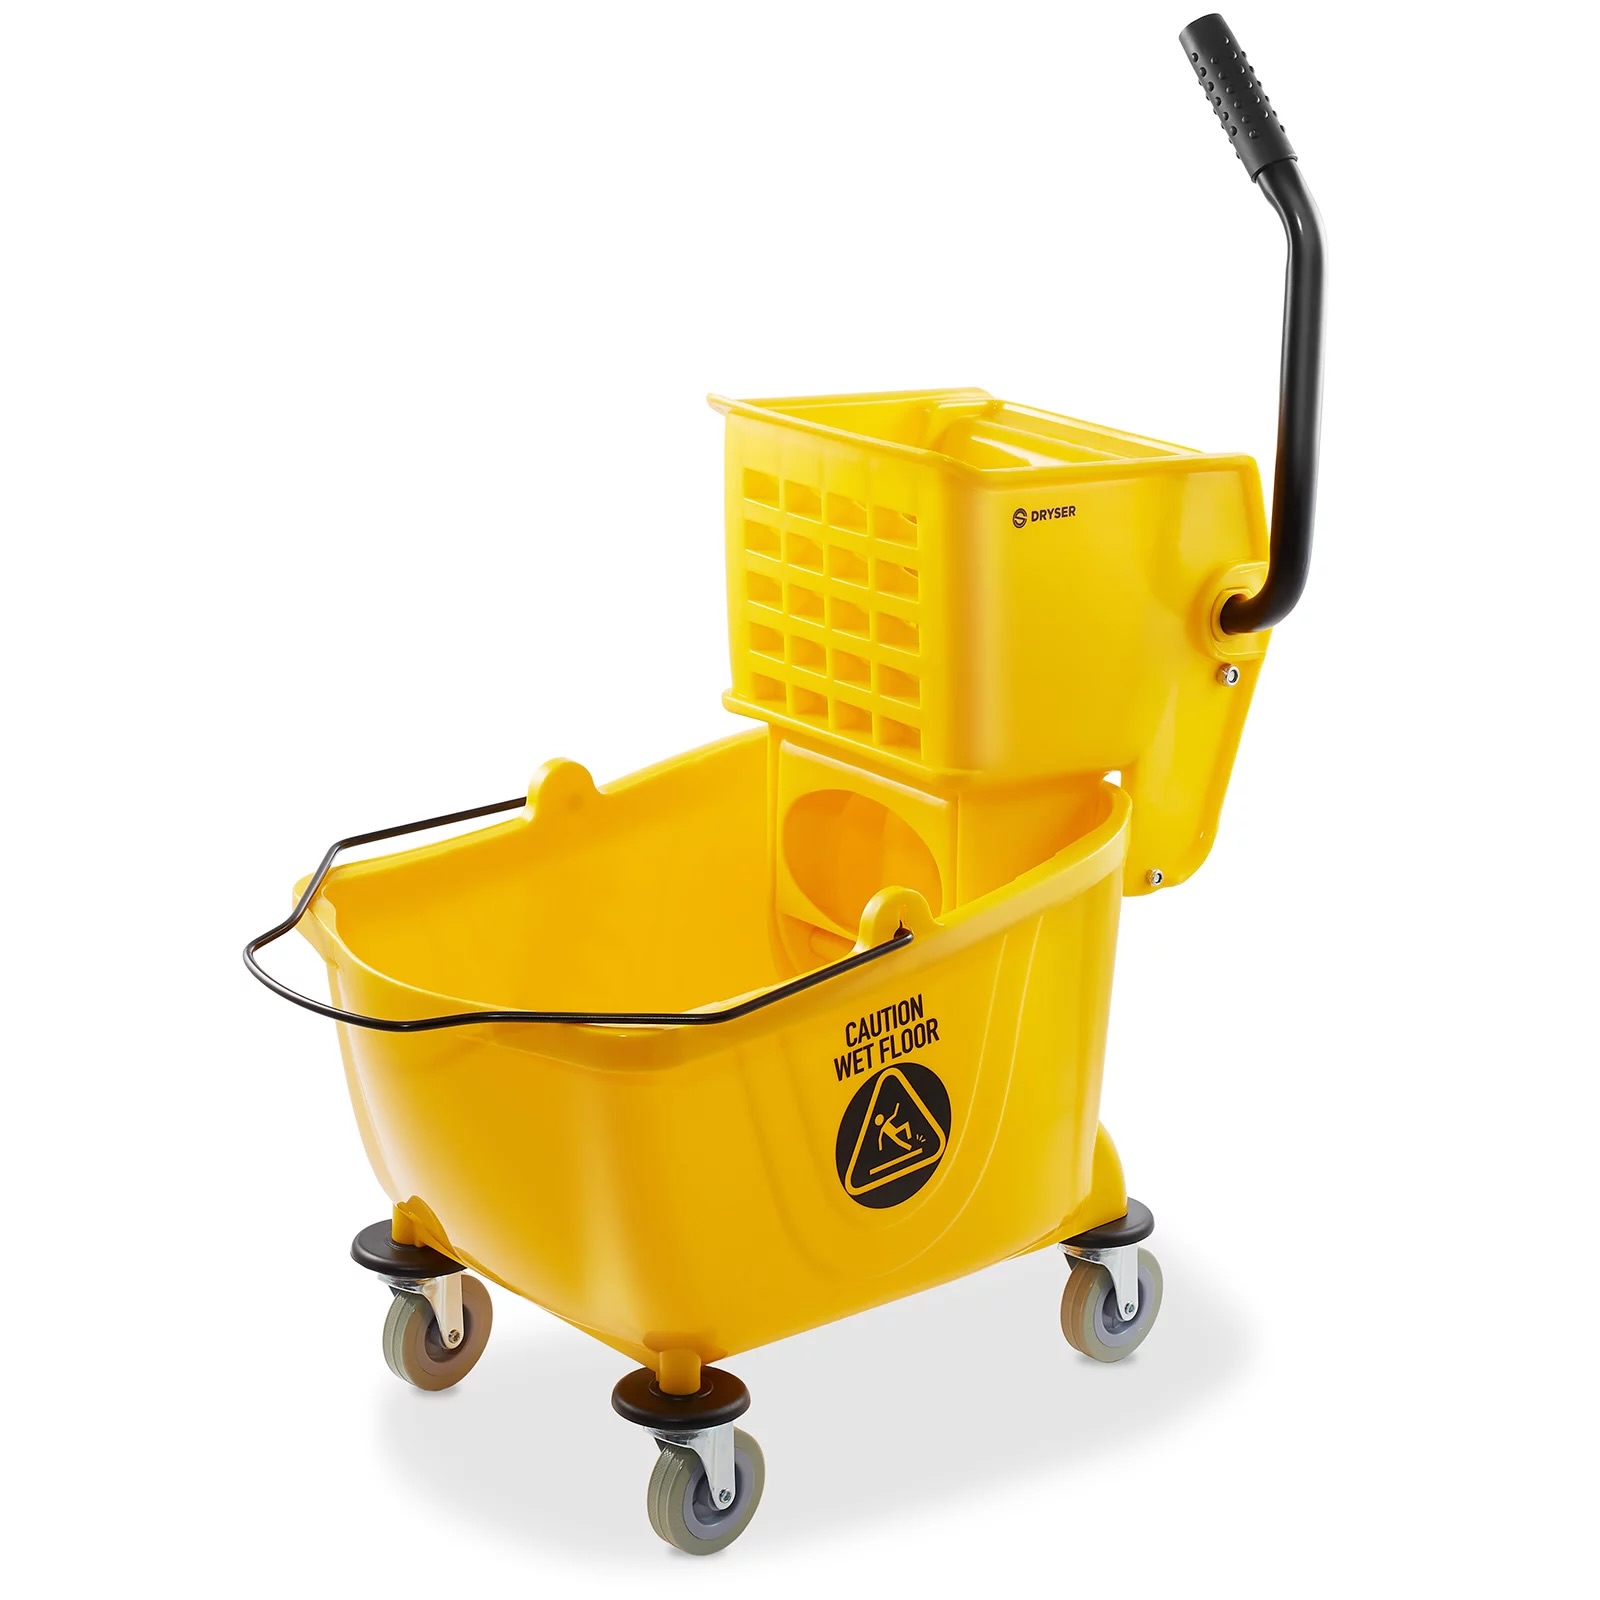
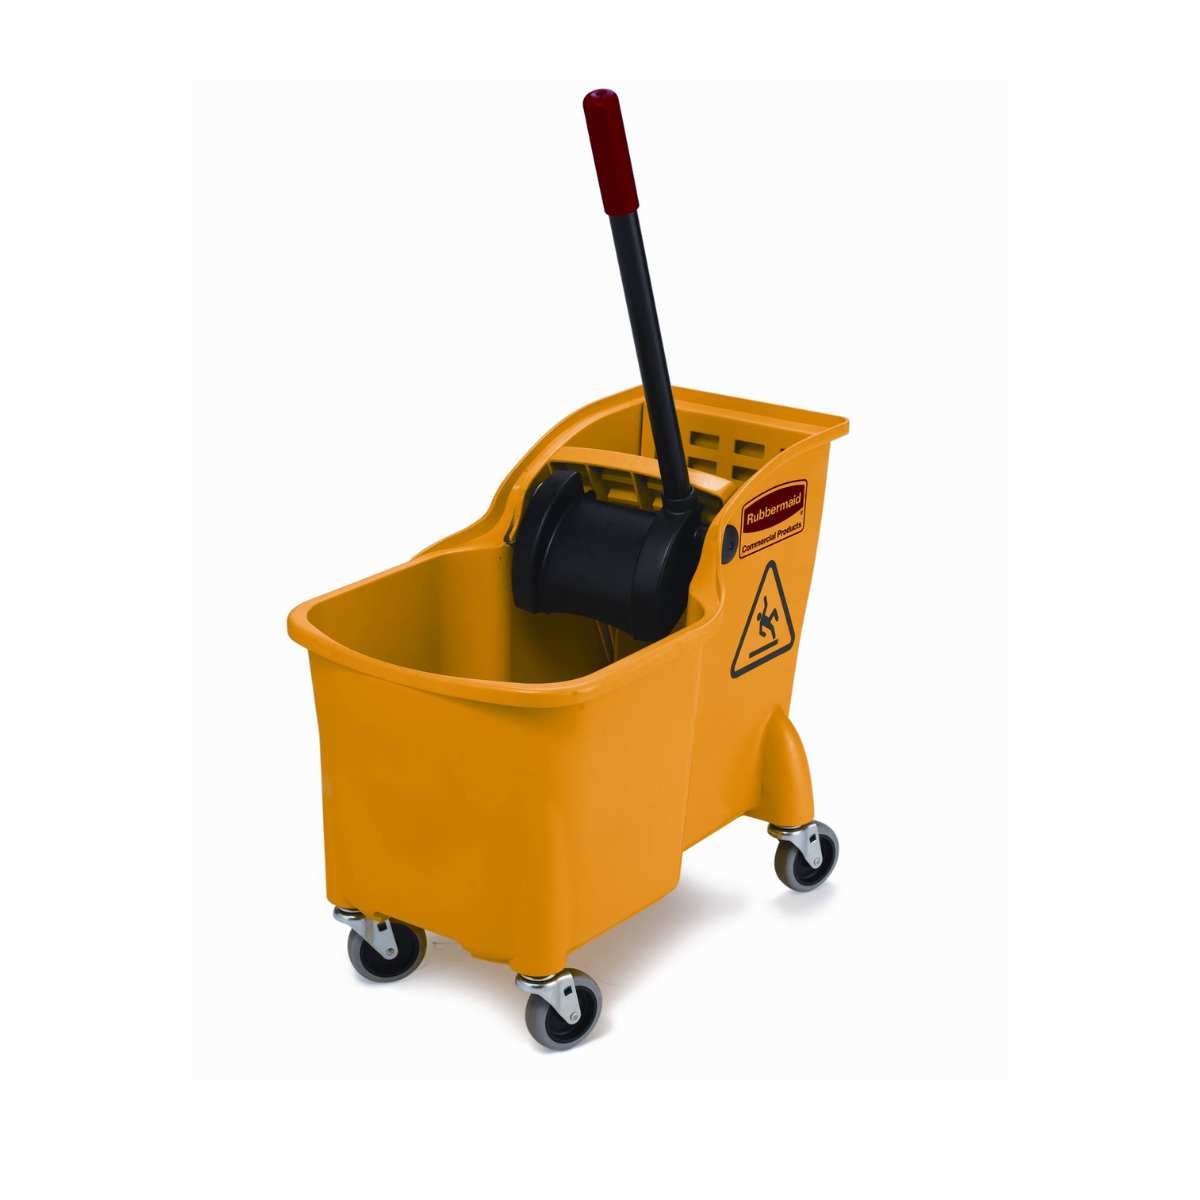
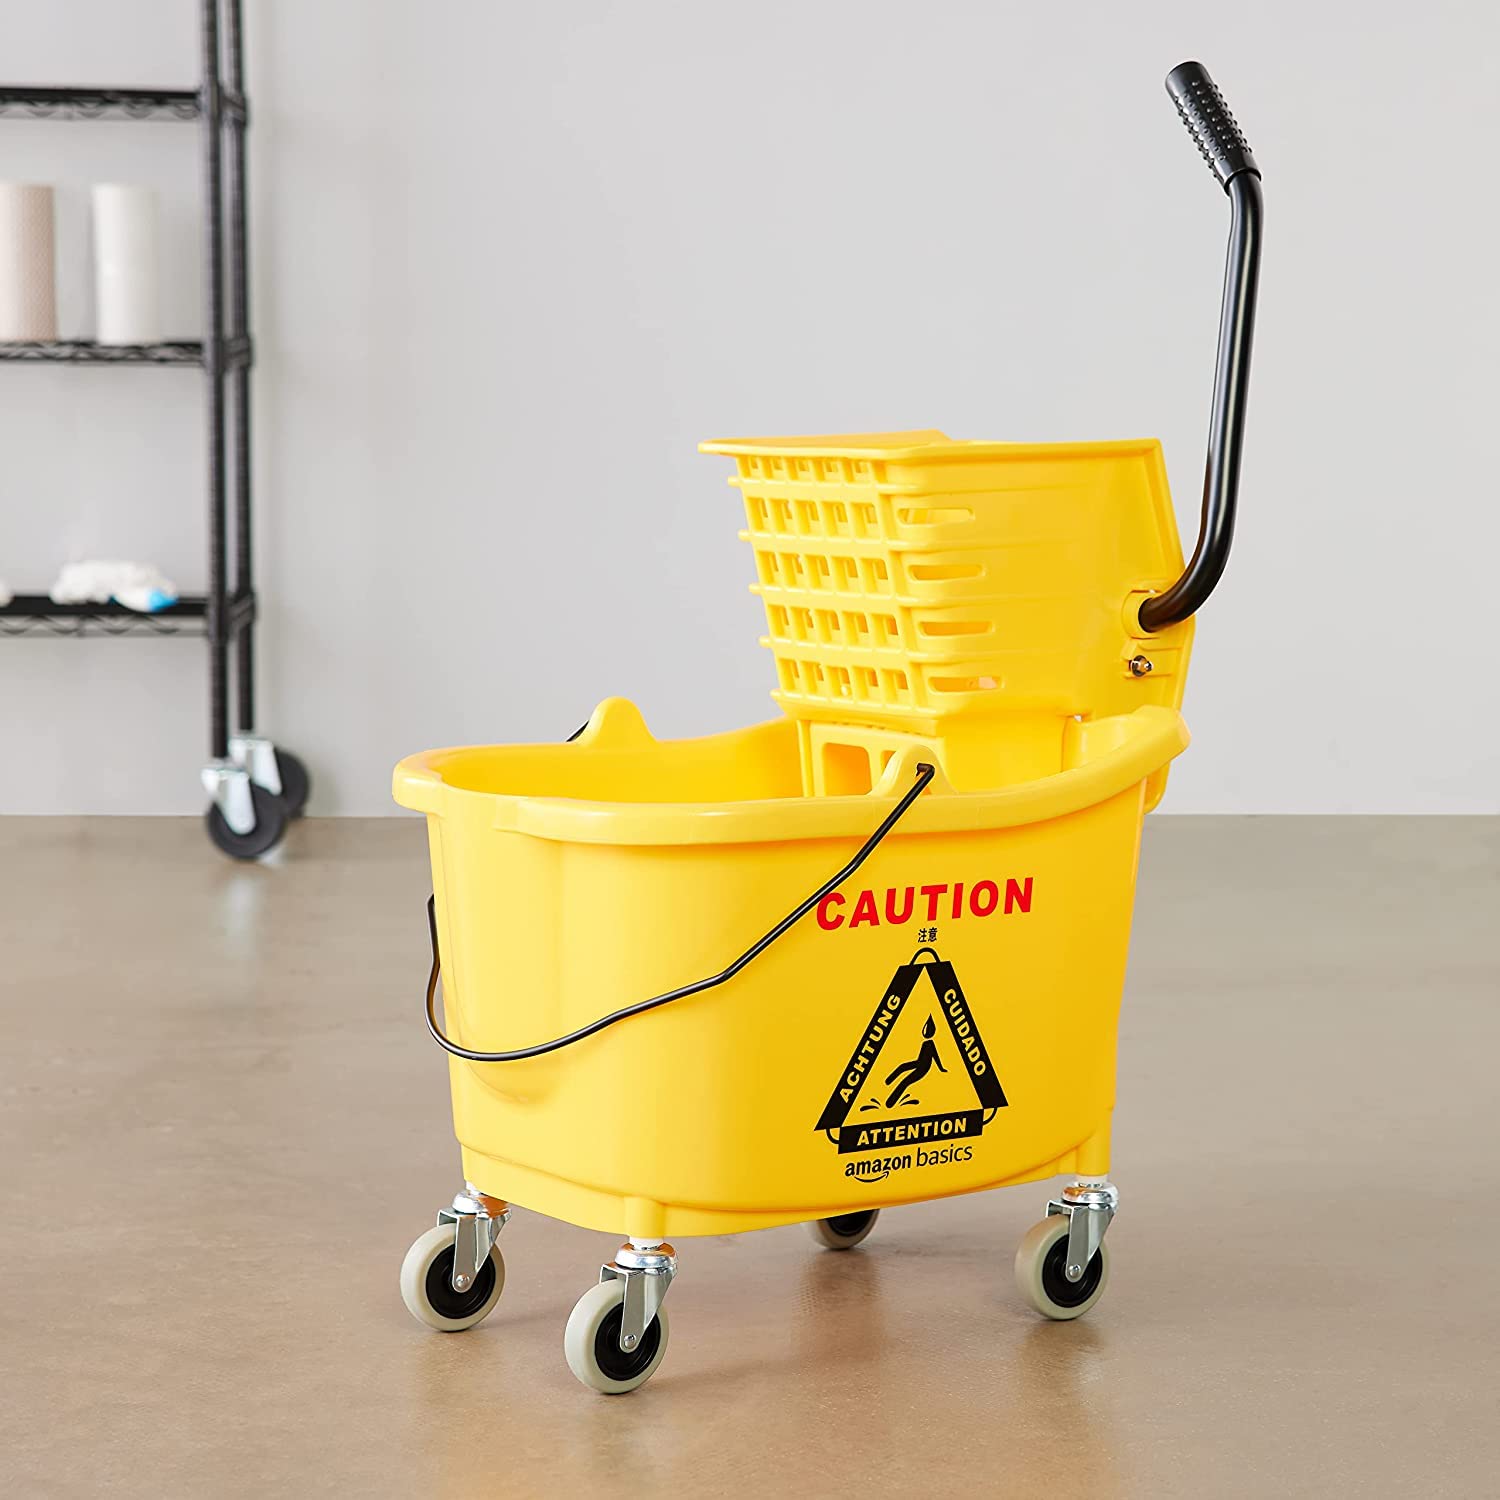
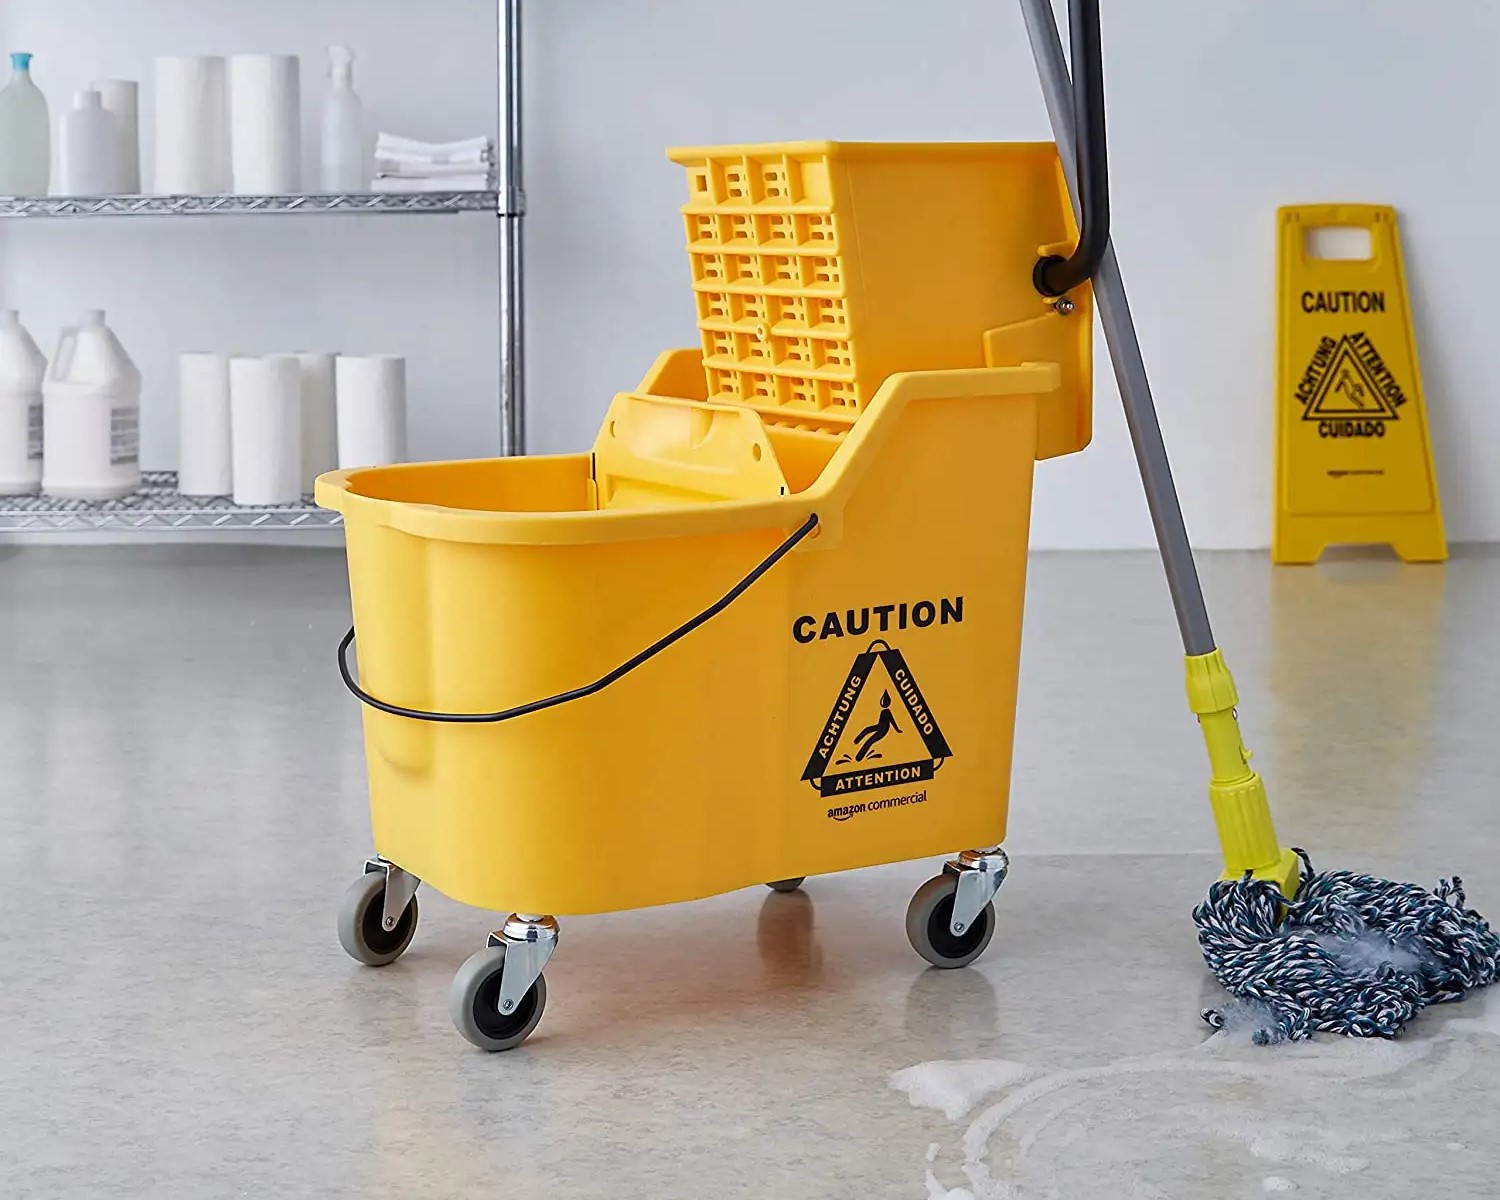
- Mop bucket: Choose a durable, appropriately sized mop bucket that suits the area you’ll be cleaning. Ensure that the bucket is clean and free of any debris or residue from previous use.
- Mop: Select a mop that is suitable for the type of flooring you’ll be cleaning. Microfiber mops are excellent for capturing dust and debris, while string mops are ideal for heavier cleaning tasks.
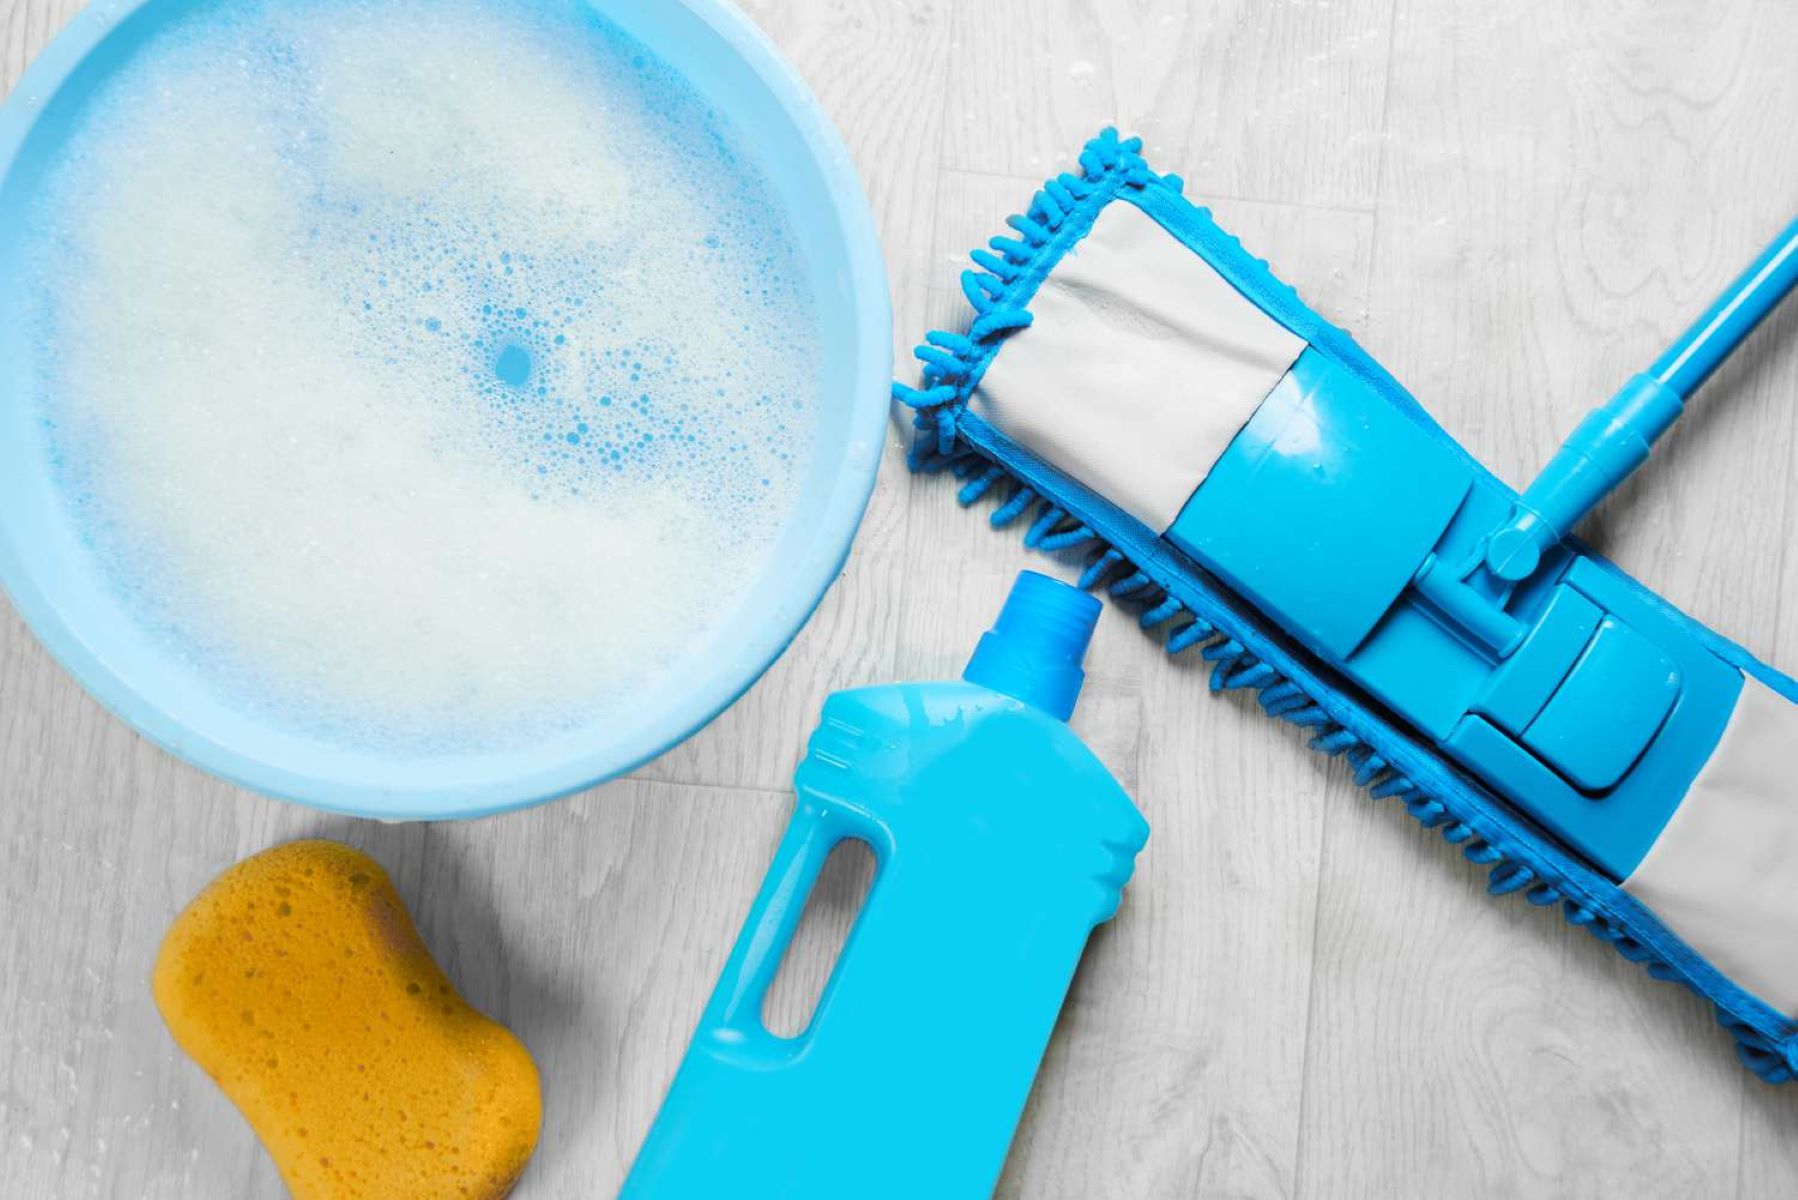
- Cleaning solution: Depending on the type of flooring and the level of soil, select a high-quality cleaning solution that is compatible with your mop and flooring type. You can opt for commercial floor cleaners or create a homemade solution using water and a gentle cleaning agent.
- Water: Ensure access to clean, lukewarm water for optimal cleaning results. If you’re using tap water, make sure it’s at a suitable temperature and free from any impurities that could affect the cleaning process.
- Protective gear: To ensure your safety during the cleaning process, consider wearing protective gear such as gloves and non-slip footwear, especially when dealing with potentially slippery floors.
- Labels (optional): If you’re using multiple cleaning solutions, consider labeling them to avoid confusion and ensure that the correct solution is used for each specific cleaning task.
By gathering these supplies beforehand, you’ll be well-equipped to fill your mop bucket and commence the cleaning process efficiently and effectively. With your supplies in hand, you’re ready to move on to the next step in the process.
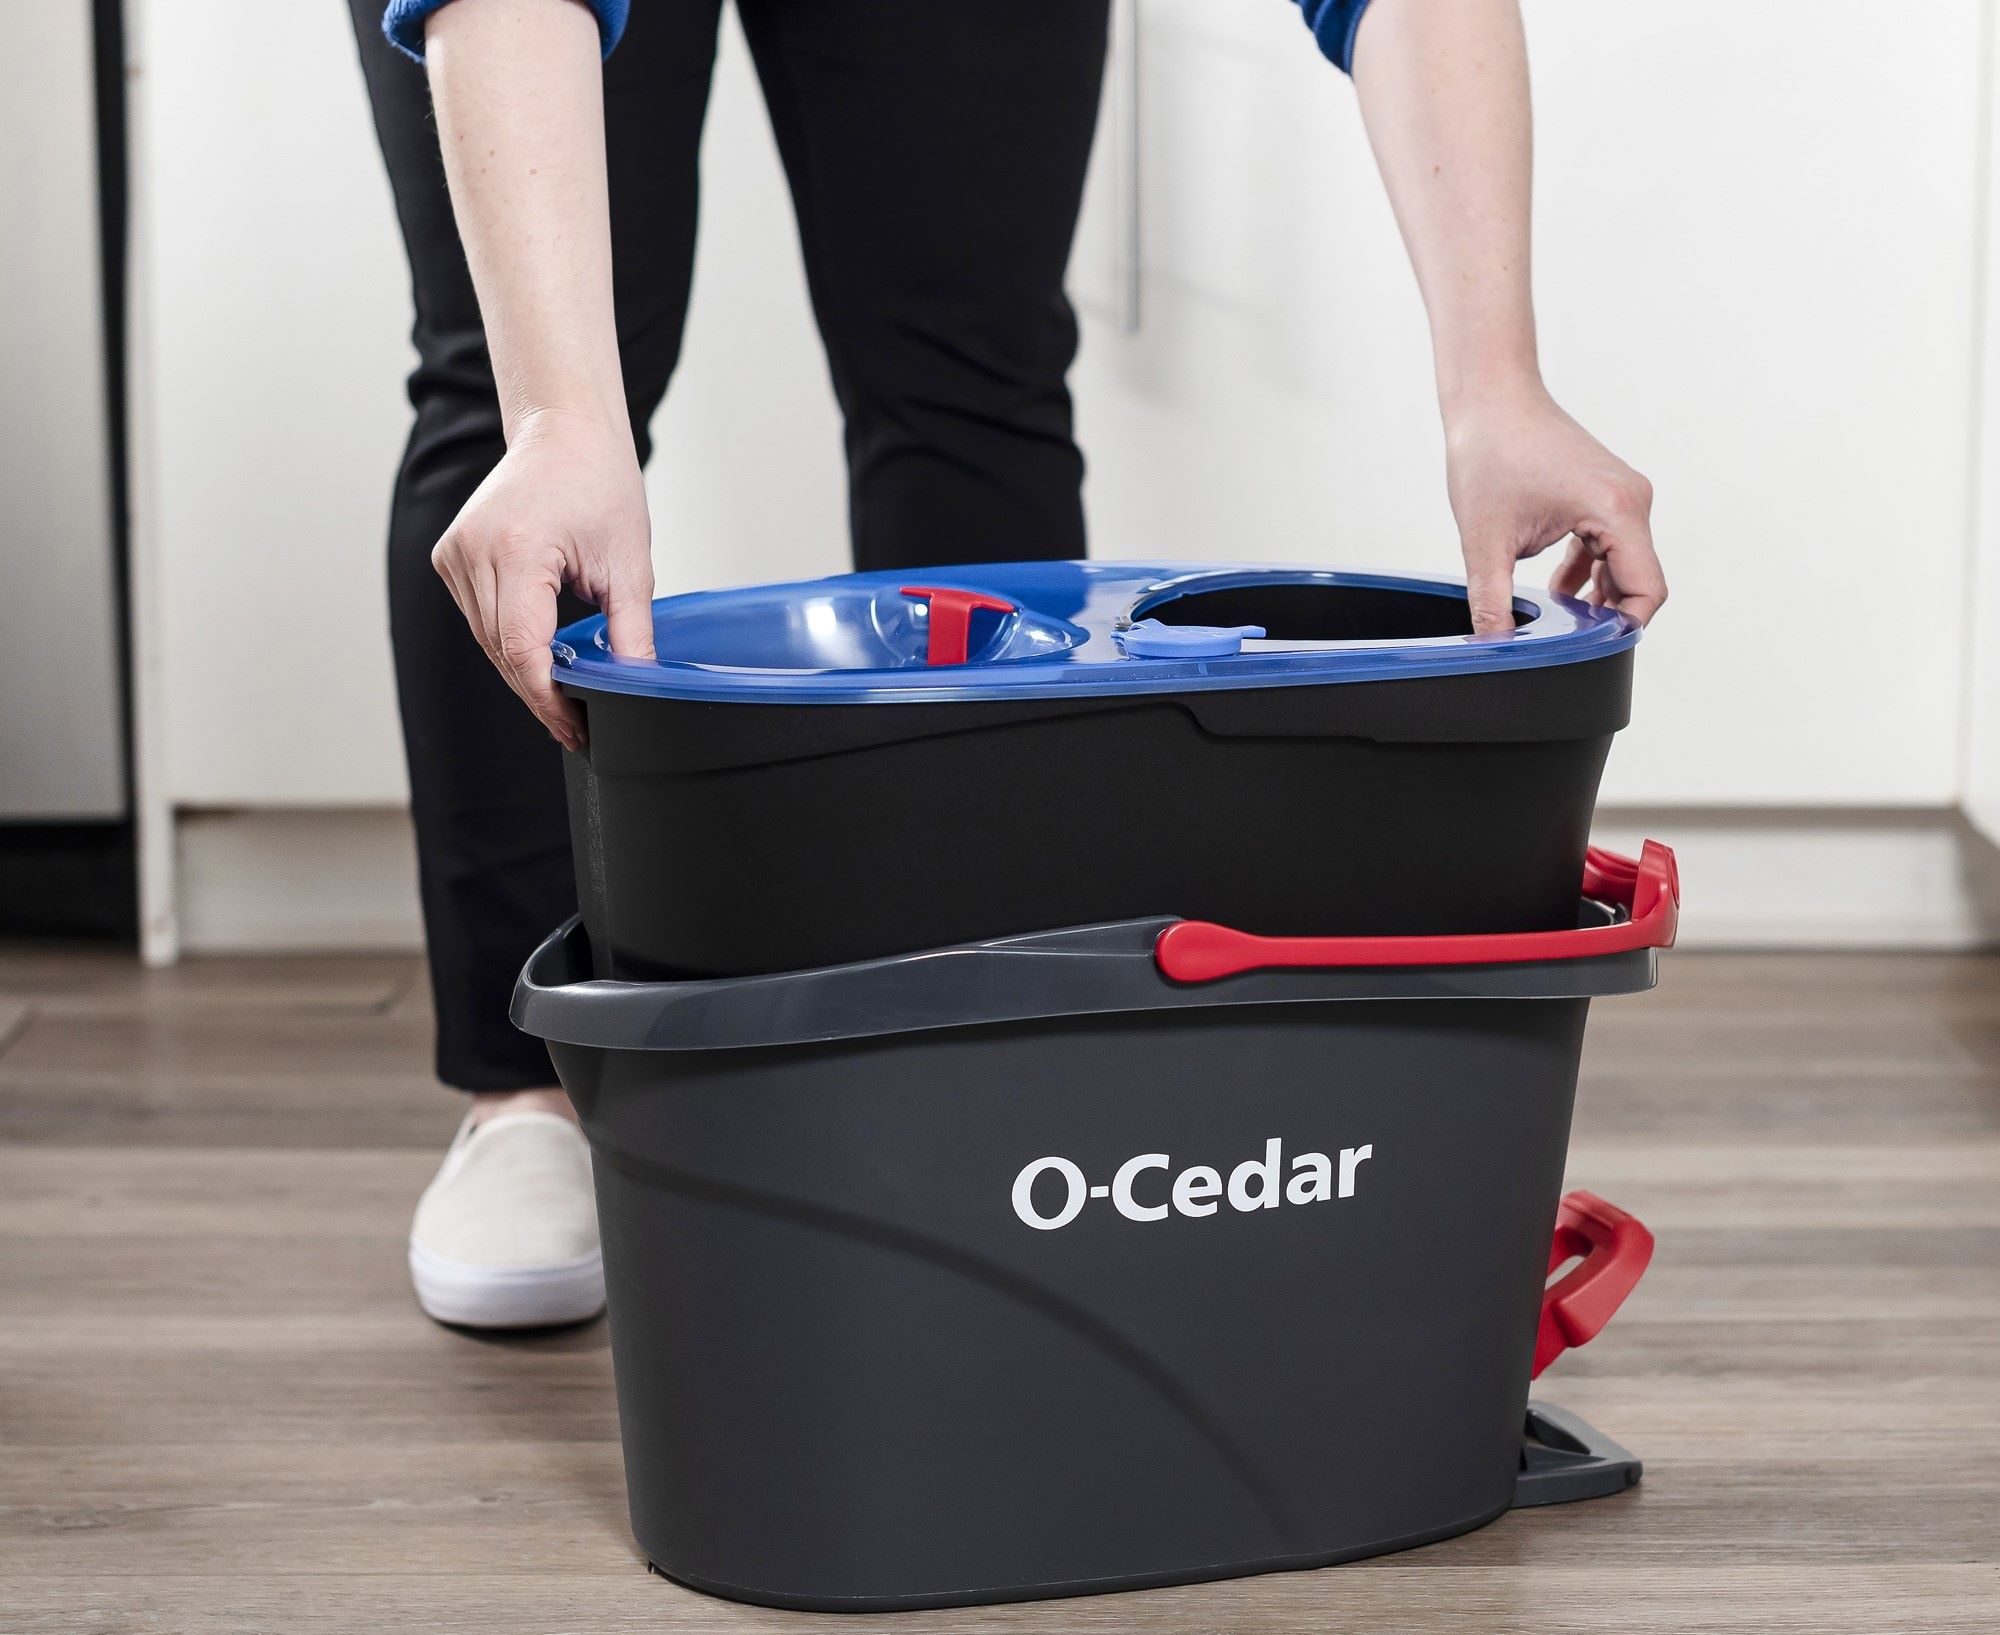
Step 2: Prepare the mop bucket
Now that you’ve gathered all the necessary supplies, it’s time to prepare the mop bucket for the cleaning process. Properly preparing the mop bucket will ensure that it’s ready to receive the water and cleaning solution, setting the stage for a successful cleaning endeavor.
Here’s how to prepare the mop bucket:
- Clean the mop bucket: Before filling the mop bucket with water and cleaning solution, ensure that it’s clean and free of any dirt, debris, or residual cleaning agents from previous use. Thoroughly rinse the bucket with water and, if needed, use a mild detergent to remove any stubborn stains or residue. Rinse the bucket again to ensure it’s completely clean and ready for use.
- Inspect the mop bucket: Take a moment to inspect the mop bucket for any signs of damage or wear. Check for cracks, loose parts, or any other issues that could affect the bucket’s functionality. If you notice any damage, consider replacing the bucket to ensure optimal performance during the cleaning process.
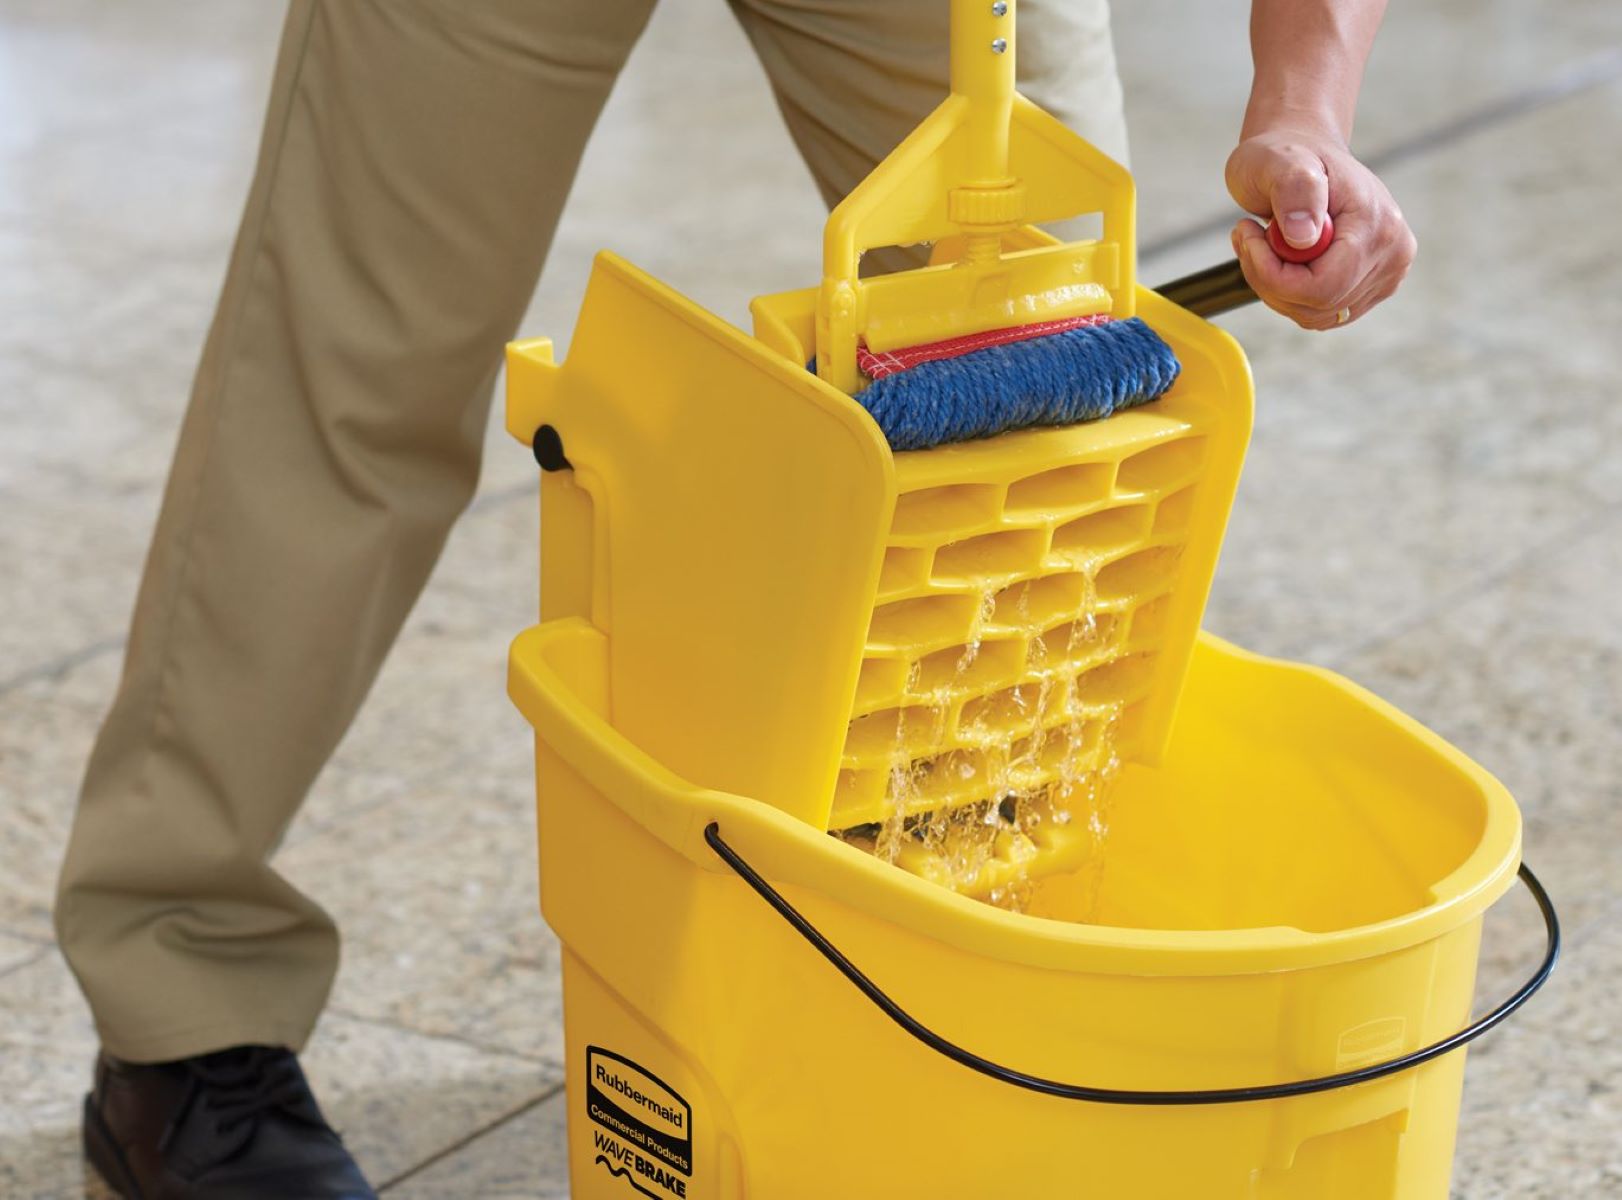
- Position the mop wringer: If your mop bucket is equipped with a wringer, ensure that it’s properly positioned and functional. The wringer allows you to remove excess water from the mop, preventing over-saturation and ensuring that the mop is at the ideal dampness for effective cleaning.
- Place the mop in the bucket: Before filling the bucket with water and cleaning solution, place the mop inside, ensuring that the mop head is fully submerged and ready for use. Properly positioning the mop in the bucket will streamline the process once the water and cleaning solution are added.
By following these steps to prepare the mop bucket, you’ll set the stage for a seamless and efficient cleaning experience. With the mop bucket ready to go, you’re now prepared to move on to the next crucial step: filling the mop bucket with water.
Step 3: Fill the mop bucket with water
With the mop bucket prepared and the necessary supplies at hand, it’s time to fill the bucket with water, laying the foundation for a thorough and effective cleaning process. Properly filling the mop bucket with water is essential for achieving optimal cleaning results and ensuring that the cleaning solution is appropriately diluted.
Here’s how to fill the mop bucket with water:
- Select the appropriate water temperature: Depending on the type of flooring and the cleaning solution being used, it’s important to choose the right water temperature for the task at hand. In general, lukewarm water is suitable for most cleaning purposes, as it helps to activate cleaning agents and is comfortable to work with.
- Fill the bucket to the appropriate level: Carefully pour water into the mop bucket, filling it to a level that allows the mop head to be fully submerged without causing water to splash over the sides when the mop is inserted. Avoid overfilling the bucket, as this can make it challenging to use the mop effectively and may lead to spills.
- Use clean, fresh water: Ensure that the water used to fill the mop bucket is clean and free from impurities that could affect the cleaning process. If using tap water, run the faucet for a moment to flush out any standing water that may have accumulated in the pipes, ensuring that the water is fresh and suitable for cleaning.
- Consider water-saving measures: To conserve water and minimize waste, consider filling the mop bucket with just enough water to complete the cleaning task at hand. Avoid excessive water usage, especially when cleaning smaller areas, to promote environmental sustainability and efficient cleaning practices.
By following these steps to fill the mop bucket with water, you’ll establish the foundation for a successful cleaning process, setting the stage for the addition of the cleaning solution in the next step. With the mop bucket filled with water, you’re ready to move on to the crucial next step: adding the cleaning solution.
When filling a mop bucket, always add the cleaning solution first, then fill with water. This will help ensure the solution is properly diluted and prevent excessive sudsing.
Step 4: Add cleaning solution
Adding the appropriate cleaning solution to the water in your mop bucket is a crucial step in achieving effective and efficient cleaning results. The cleaning solution enhances the cleaning power of the water, helping to lift dirt, grime, and stains from the floor while leaving behind a fresh, clean scent. Whether you’re using a commercial floor cleaner or a homemade cleaning solution, the right combination of water and cleaning solution is key to achieving spotless floors.
Here’s how to add the cleaning solution to the mop bucket:
- Select the appropriate cleaning solution: Depending on the type of flooring and the level of soil, choose a high-quality cleaning solution that is compatible with your mop and flooring type. Commercial floor cleaners are available in a variety of formulations designed for specific flooring materials, while homemade solutions can be created using gentle cleaning agents such as mild dish soap or vinegar diluted in water.
- Measure the cleaning solution: Follow the manufacturer’s instructions or recipe guidelines to measure the appropriate amount of cleaning solution for the volume of water in the mop bucket. Using the correct ratio of water to cleaning solution ensures that the cleaning power is optimized without leaving behind residue or causing streaking on the floor.
- Pour the cleaning solution into the water: Carefully add the measured cleaning solution to the water in the mop bucket, ensuring that it is evenly distributed throughout the water. Use a gentle stirring motion with a clean mop handle or a designated mixing tool to help the cleaning solution dissolve and integrate with the water effectively.
- Consider specialized cleaning solutions: For specific cleaning tasks, such as removing stubborn stains or addressing unique flooring materials, consider using specialized cleaning solutions tailored to the task at hand. There are a variety of floor cleaners available for different purposes, including stain removers, disinfectants, and floor polish enhancers.
By following these steps to add the cleaning solution to the mop bucket, you’ll ensure that the cleaning process is optimized for the specific cleaning task at hand. With the cleaning solution integrated into the water, you’re ready to move on to the next step: mixing the water and cleaning solution to prepare for use.
Read more: How To Use A Mop And Bucket
Step 5: Mix the water and cleaning solution
Once the cleaning solution has been added to the water in the mop bucket, the next step is to thoroughly mix the two components to create a uniform cleaning solution that is ready for use. Properly mixing the water and cleaning solution ensures that the cleaning power is evenly distributed, allowing for consistent and effective cleaning results across the entire floor surface.
Here’s how to mix the water and cleaning solution in the mop bucket:
- Use a gentle stirring motion: With the mop handle or a designated mixing tool, gently stir the water and cleaning solution in the mop bucket. Avoid vigorous stirring motions that could create excessive suds or cause the cleaning solution to splash out of the bucket. Instead, aim for a smooth, consistent mixing action to integrate the two components effectively.
- Ensure thorough integration: Take the time to ensure that the cleaning solution is fully integrated with the water, creating a uniform solution that is ready for use. Pay attention to any concentrated areas of cleaning solution and gently mix them into the water to achieve a balanced cleaning solution throughout the bucket.
- Observe the solution’s consistency: As you mix the water and cleaning solution, observe the consistency of the solution to ensure that it appears uniform and well-mixed. Look for any signs of separation or undissolved cleaning solution, and continue mixing as needed to achieve a consistent solution ready for application.
- Avoid creating excessive suds: If the cleaning solution has a tendency to create excessive suds when mixed with water, adjust the mixing technique to minimize suds formation. Excessive suds can make it challenging to control the mop and may lead to streaking or residue on the floor surface.
By following these steps to mix the water and cleaning solution in the mop bucket, you’ll ensure that the cleaning solution is prepared for use and optimized for achieving sparkling clean floors. With the water and cleaning solution thoroughly mixed, you’re now ready to move on to the final step: using the filled mop bucket to tackle your cleaning task with confidence.
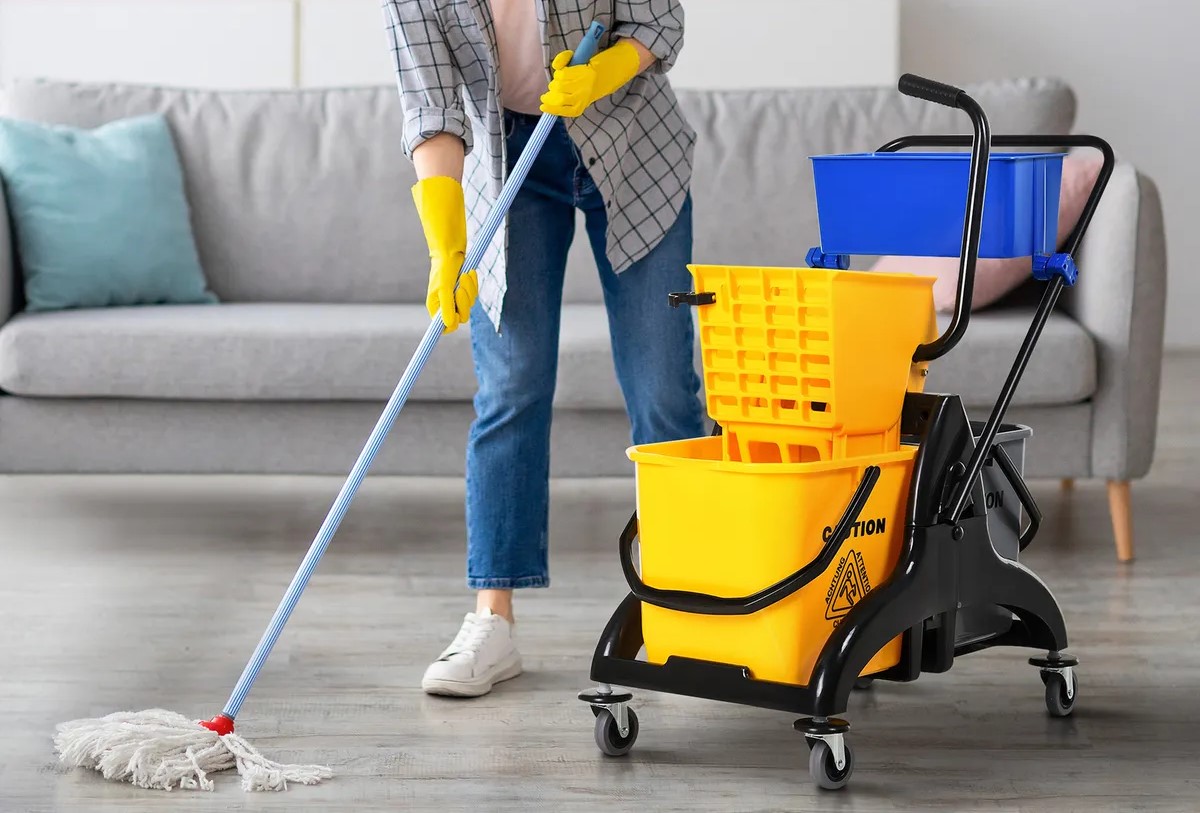
Step 6: Use the filled mop bucket
With the mop bucket filled with water and the cleaning solution thoroughly mixed, it’s time to put your prepared cleaning tools to use and tackle your cleaning task with confidence. Using the filled mop bucket effectively is essential for achieving sparkling clean floors and maintaining a hygienic and inviting environment in your home or workspace.
Here’s how to use the filled mop bucket for effective cleaning:
- Wring out the mop: Before applying the mop to the floor, use the mop wringer or a designated squeezing mechanism to remove excess water from the mop head. Wringing out the mop ensures that it is at the ideal dampness for cleaning, preventing over-saturation and minimizing the risk of leaving behind excess water on the floor surface.
- Apply the mop to the floor: Dip the wrung-out mop into the prepared cleaning solution in the bucket, ensuring that the mop head is fully saturated with the solution. Begin applying the mop to the floor in controlled, overlapping strokes, working methodically to cover the entire cleaning area without missing any spots.
- Work in sections: If you’re tackling a larger cleaning area, consider working in manageable sections to ensure thorough and consistent coverage. Divide the area into smaller segments and focus on cleaning one section at a time, gradually moving across the entire floor surface until the entire area has been effectively cleaned.
- Refresh the cleaning solution as needed: If the cleaning solution in the mop bucket becomes visibly soiled or depleted during the cleaning process, consider refreshing the solution with a new batch of water and cleaning solution. Maintaining a clean and effective cleaning solution throughout the process ensures that the cleaning power remains optimized for achieving exceptional results.
- Allow the floor to dry: Once the cleaning process is complete, allow the freshly cleaned floor to air dry or use a clean, dry mop to remove any excess moisture. Avoid walking on the wet floor until it has dried completely to prevent slipping and to preserve the cleanliness of the freshly cleaned surface.
By following these steps to use the filled mop bucket effectively, you’ll be well-equipped to achieve sparkling clean floors and maintain a pristine environment in your home or business. With the cleaning task successfully completed, you can take pride in the fresh, inviting appearance of your floors and the hygienic cleanliness they exude.
Frequently Asked Questions about How To Fill Mop Bucket
Was this page helpful?
At Storables.com, we guarantee accurate and reliable information. Our content, validated by Expert Board Contributors, is crafted following stringent Editorial Policies. We're committed to providing you with well-researched, expert-backed insights for all your informational needs.
0 thoughts on “How To Fill Mop Bucket”