Home>Home Appliances>Cleaning Appliances>How To Clean A Mop Bucket
Cleaning Appliances
How To Clean A Mop Bucket
Modified: October 21, 2024
Learn the best methods for cleaning a mop bucket to keep your cleaning appliances in top condition. Discover tips and tricks for maintaining a spotless mop bucket. Keep your cleaning appliances in top shape with our expert advice.
(Many of the links in this article redirect to a specific reviewed product. Your purchase of these products through affiliate links helps to generate commission for Storables.com, at no extra cost. Learn more)
Introduction
Cleaning a mop bucket may not be the most glamorous task, but it is an essential part of maintaining a clean and hygienic living or working environment. Over time, mop buckets can accumulate dirt, grime, and bacteria, which can compromise the effectiveness of your cleaning efforts and pose potential health risks. By regularly cleaning and disinfecting your mop bucket, you can ensure that your floors are being cleaned with a sanitary tool, ultimately contributing to a healthier and more pleasant space.
In this comprehensive guide, we will walk you through the step-by-step process of cleaning a mop bucket, providing you with practical tips and techniques to achieve a sparkling clean and germ-free result. Whether you are a homeowner, a professional cleaner, or anyone in between, mastering the art of cleaning a mop bucket will elevate your cleaning routine and contribute to a healthier environment for all. So, roll up your sleeves, gather your supplies, and let's dive into the world of mop bucket cleaning.
Key Takeaways:
- Regularly cleaning and disinfecting your mop bucket is essential for maintaining a healthy and hygienic living or working environment. It ensures that your floors are being cleaned with a sanitary tool, contributing to a healthier and more pleasant space.
- Thoroughly scrubbing and disinfecting your mop bucket, followed by proper drying and storage, not only extends its life but also maintains a clean and sanitized tool for future use. This contributes to a healthier and more pleasant living or working environment.
Read more: How To Mop With Two Buckets
Gather Your Supplies
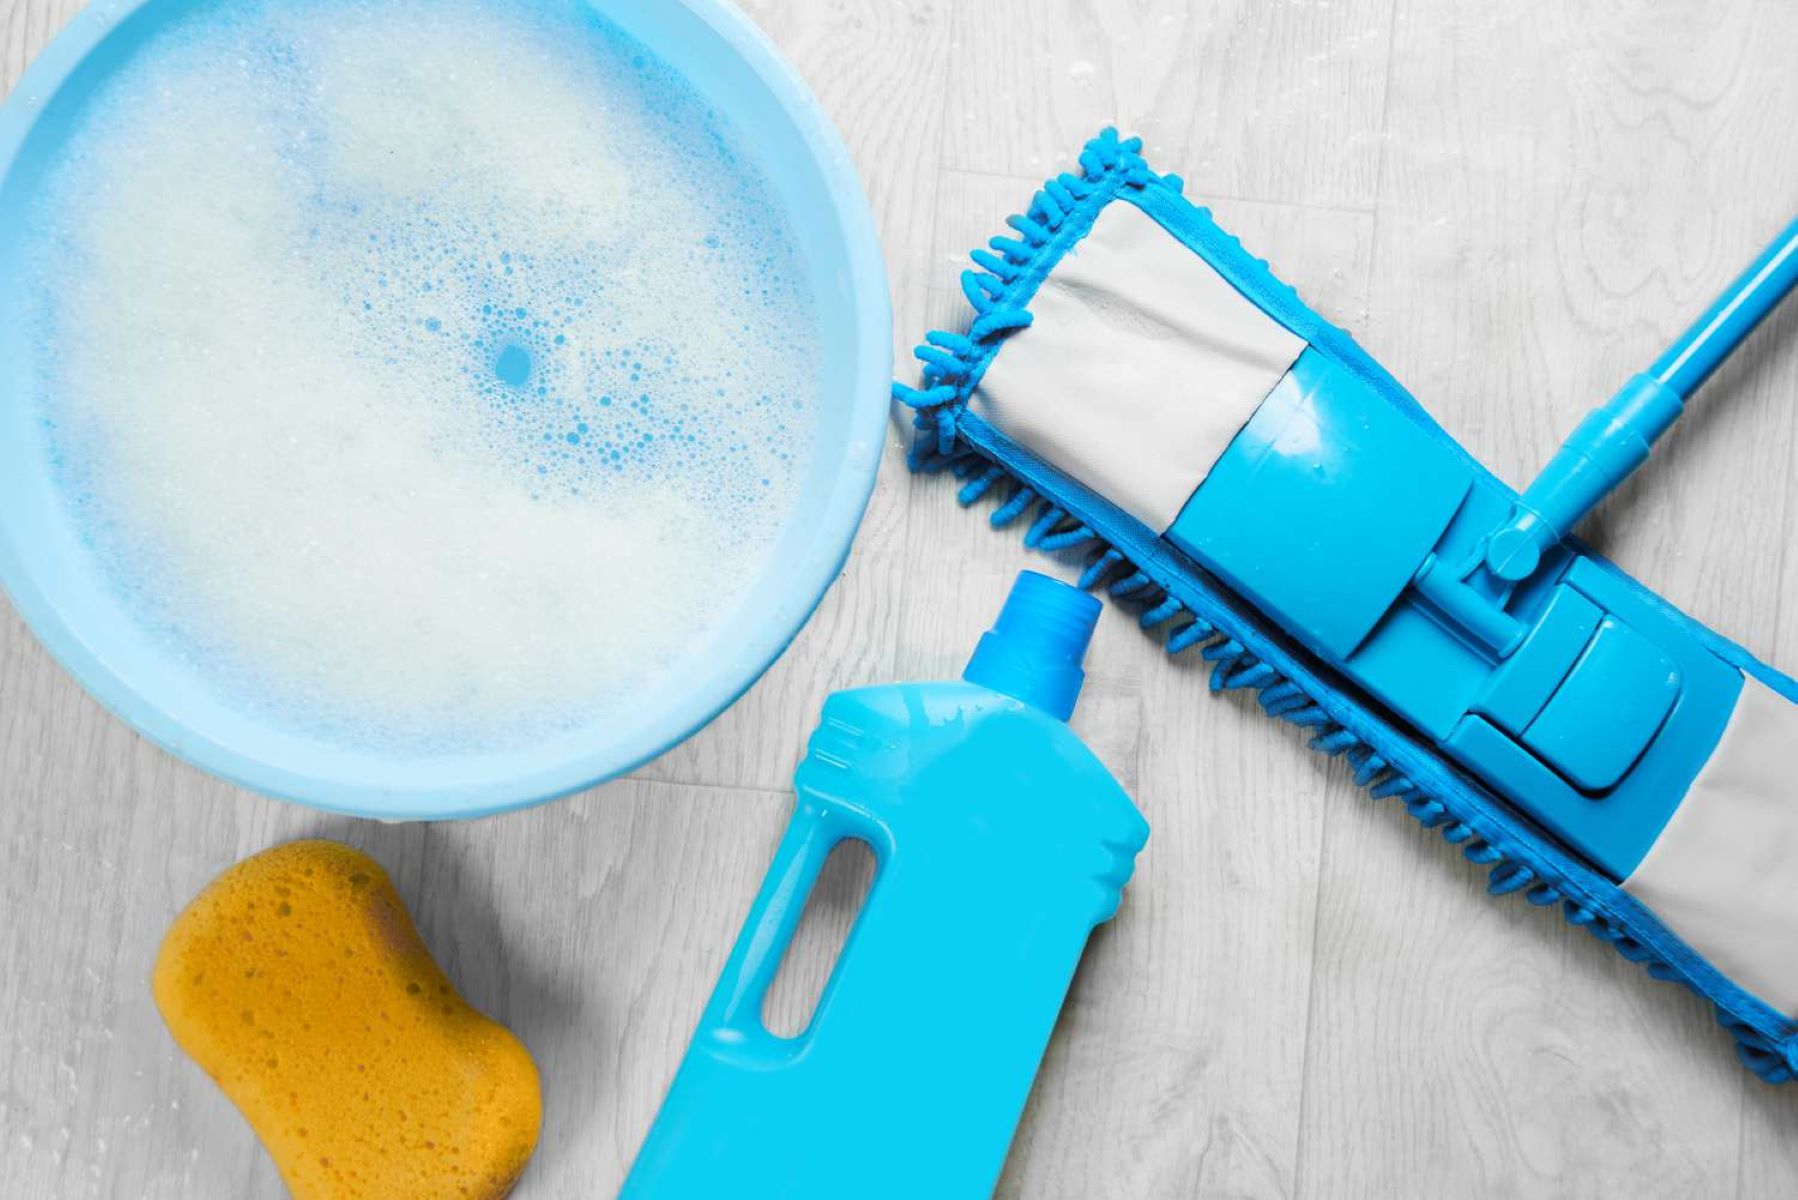
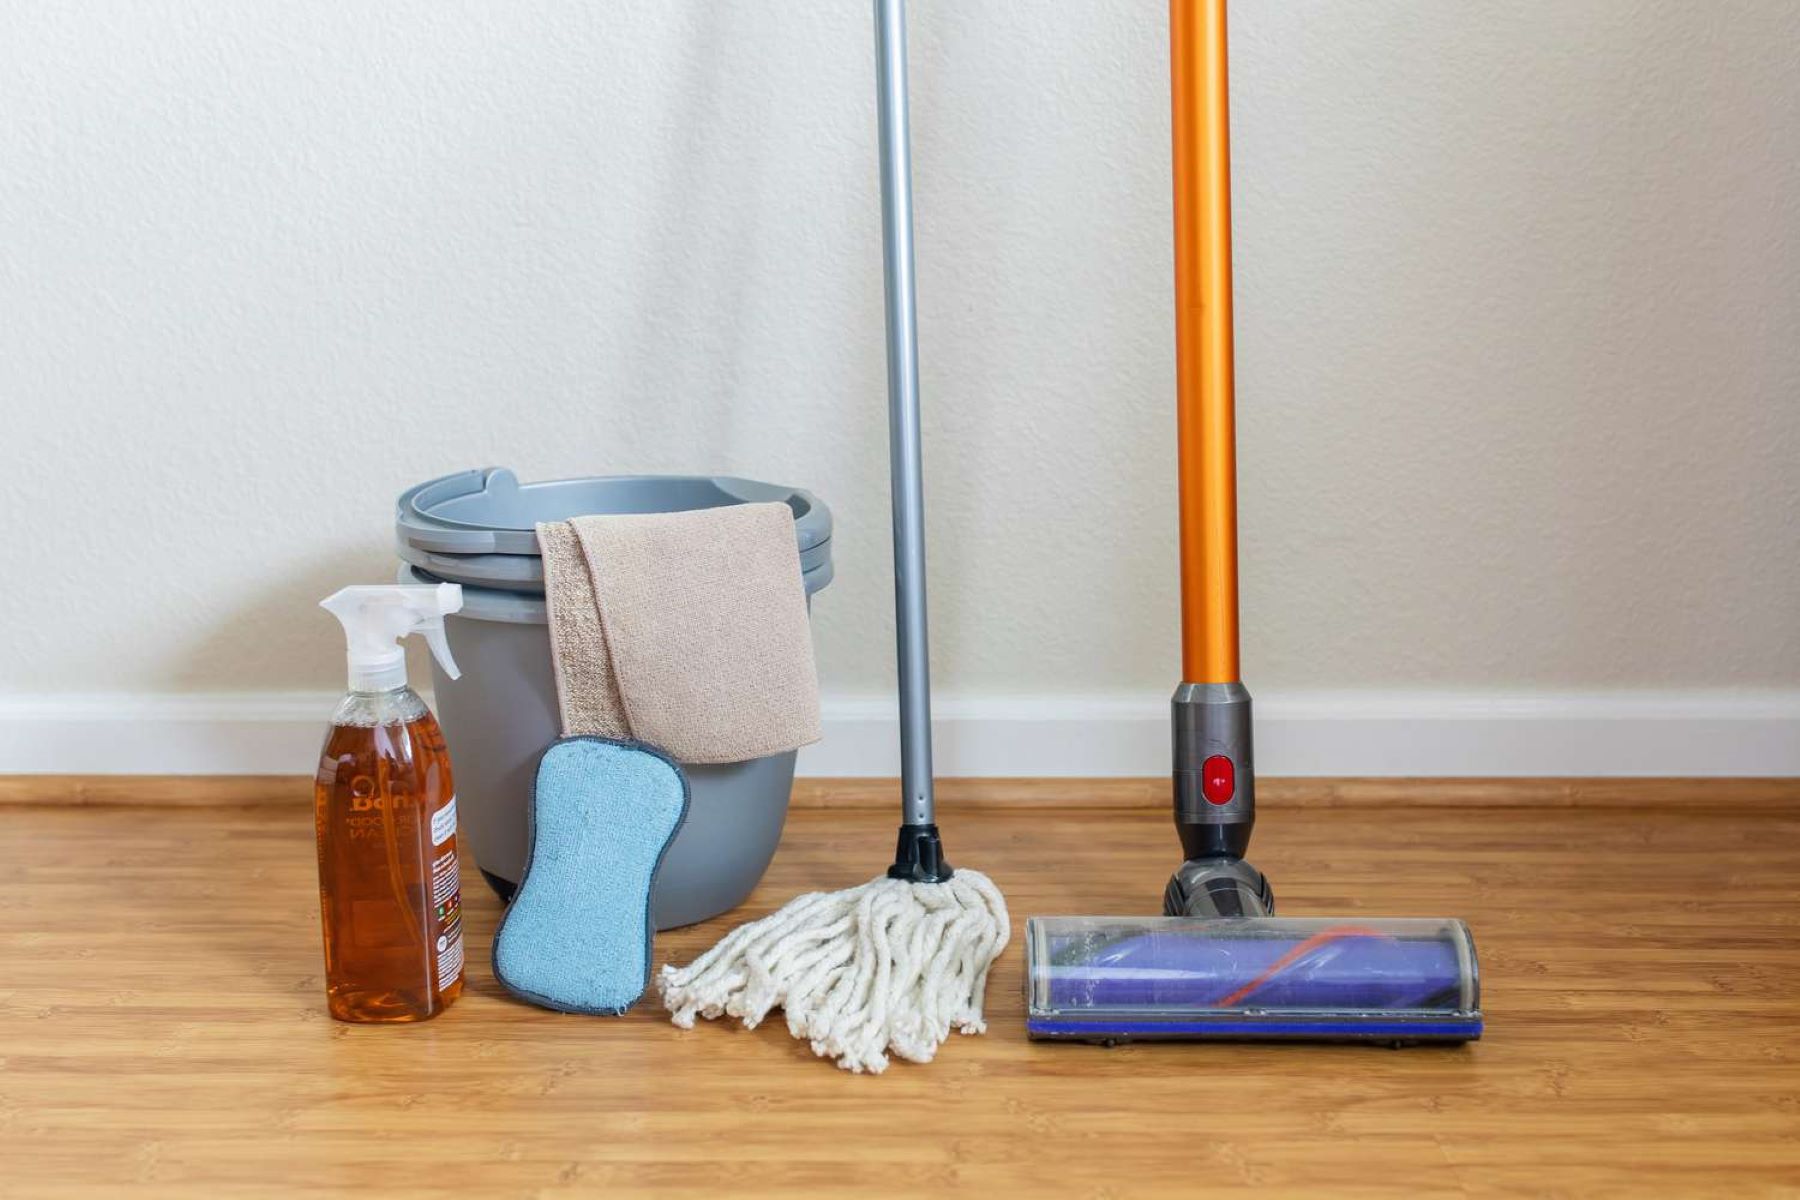
Before embarking on the cleaning process, it’s essential to gather all the necessary supplies. Having the right tools at your disposal will streamline the cleaning process and ensure that you can tackle the task effectively. Here’s a list of supplies you’ll need:
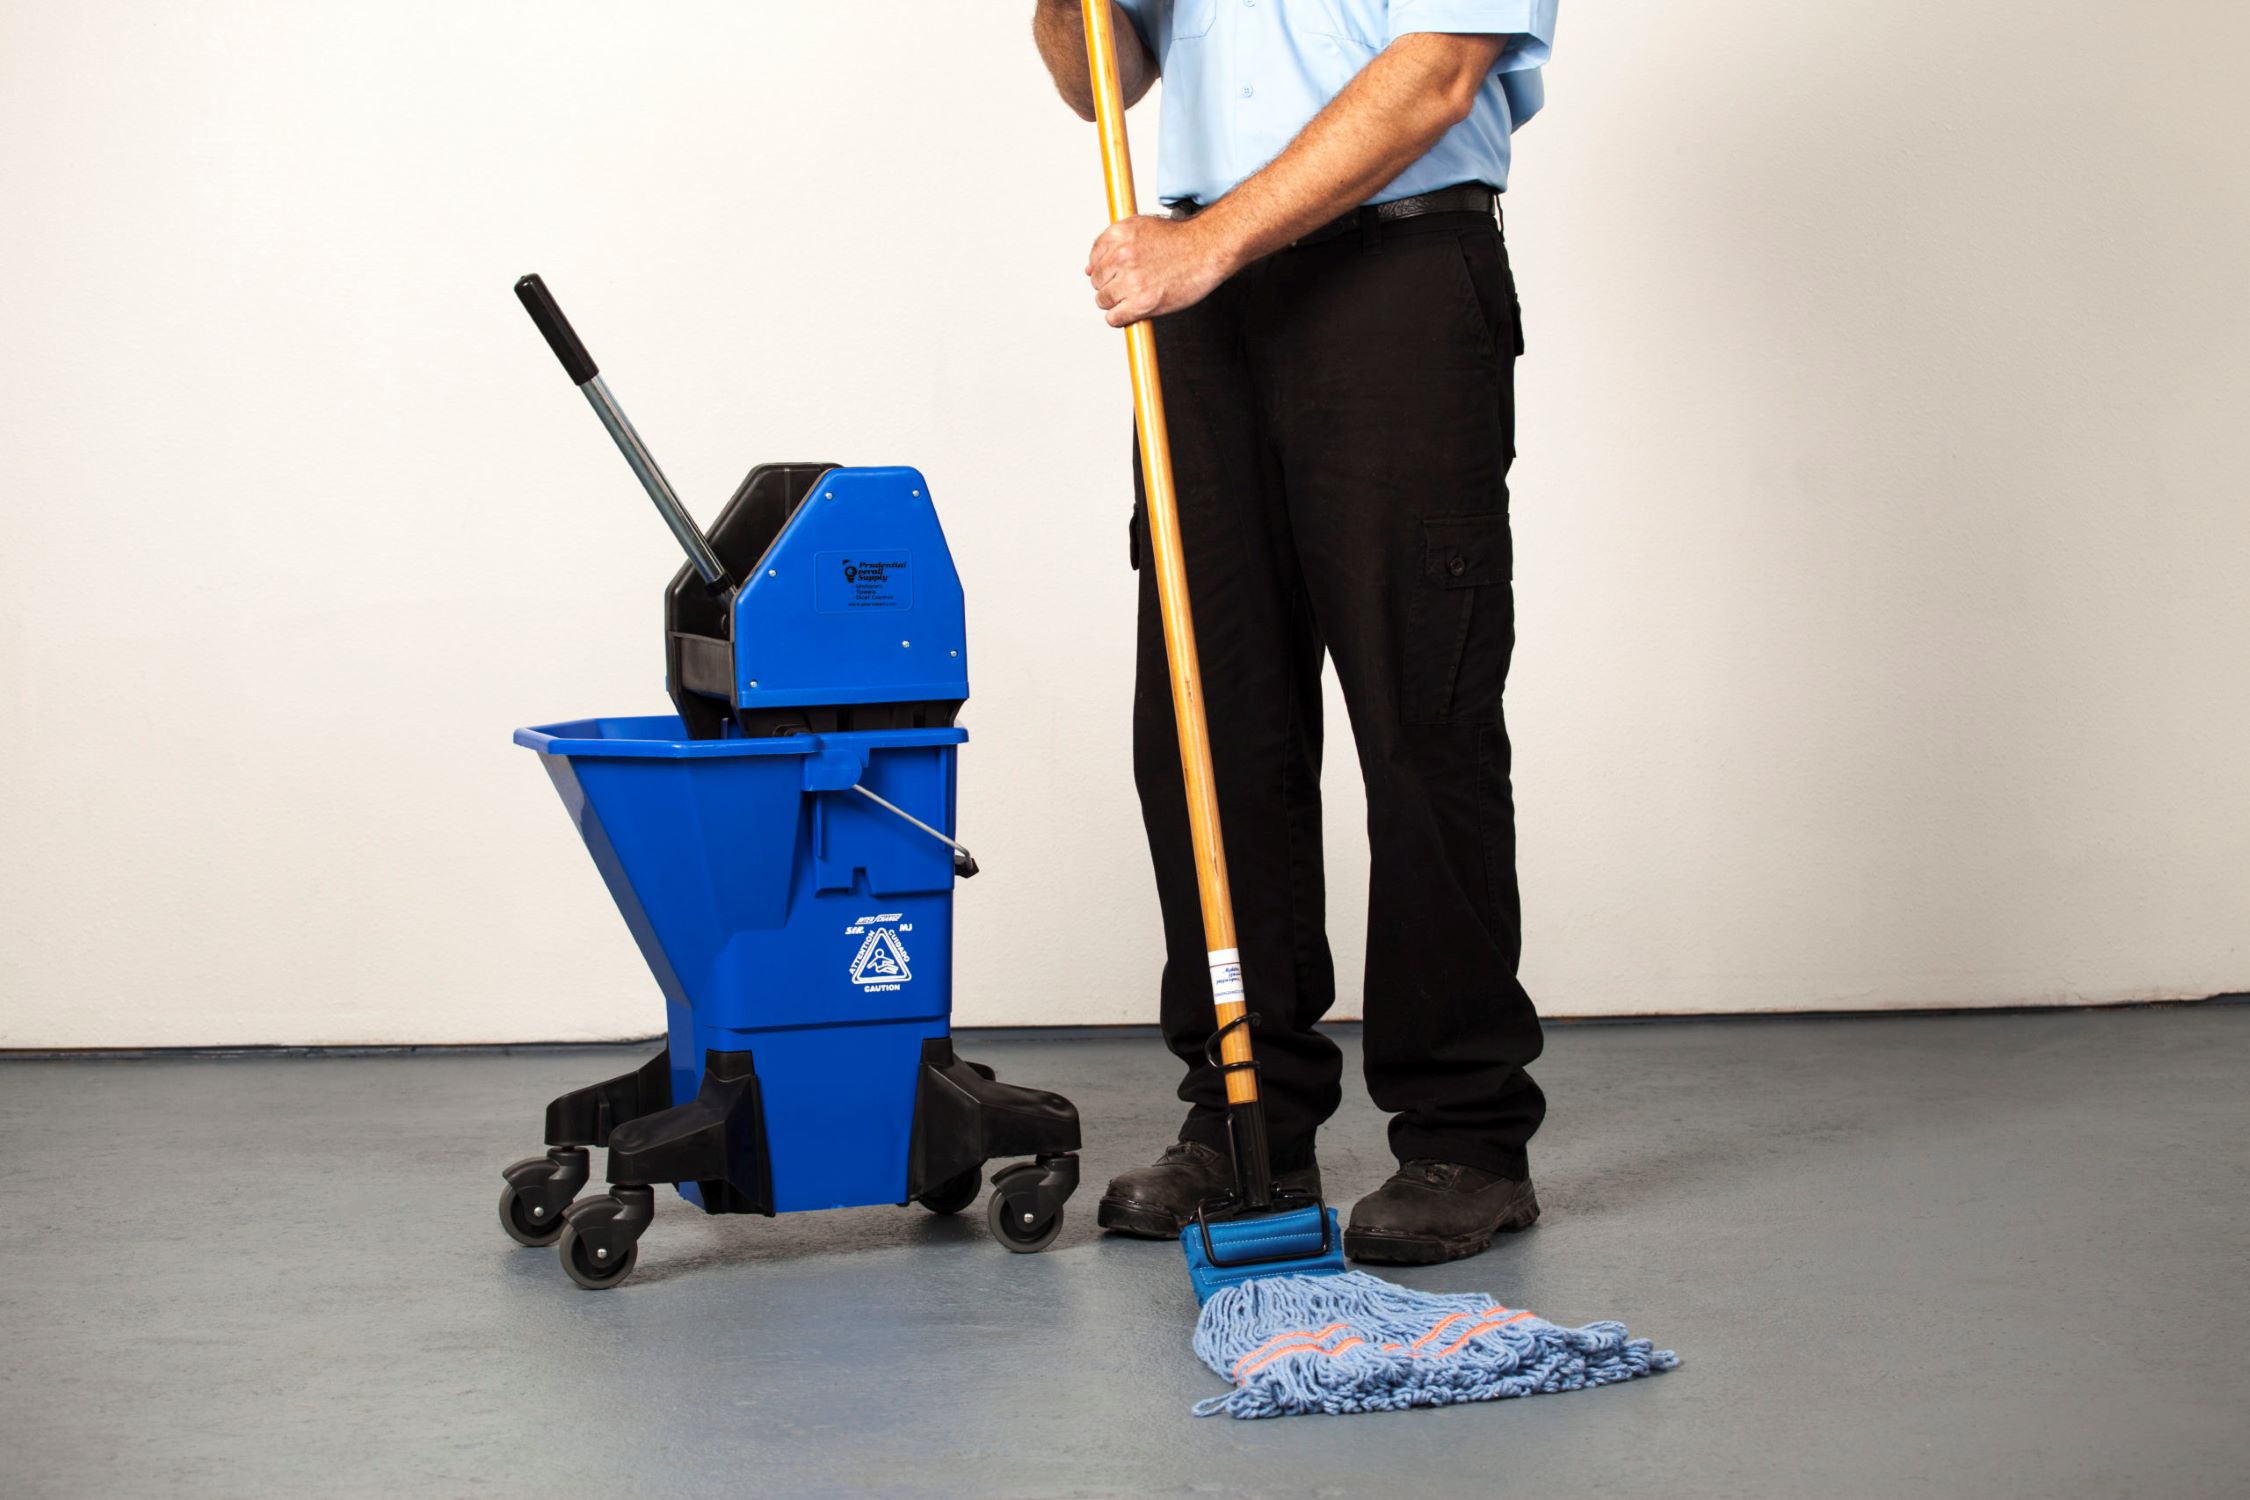
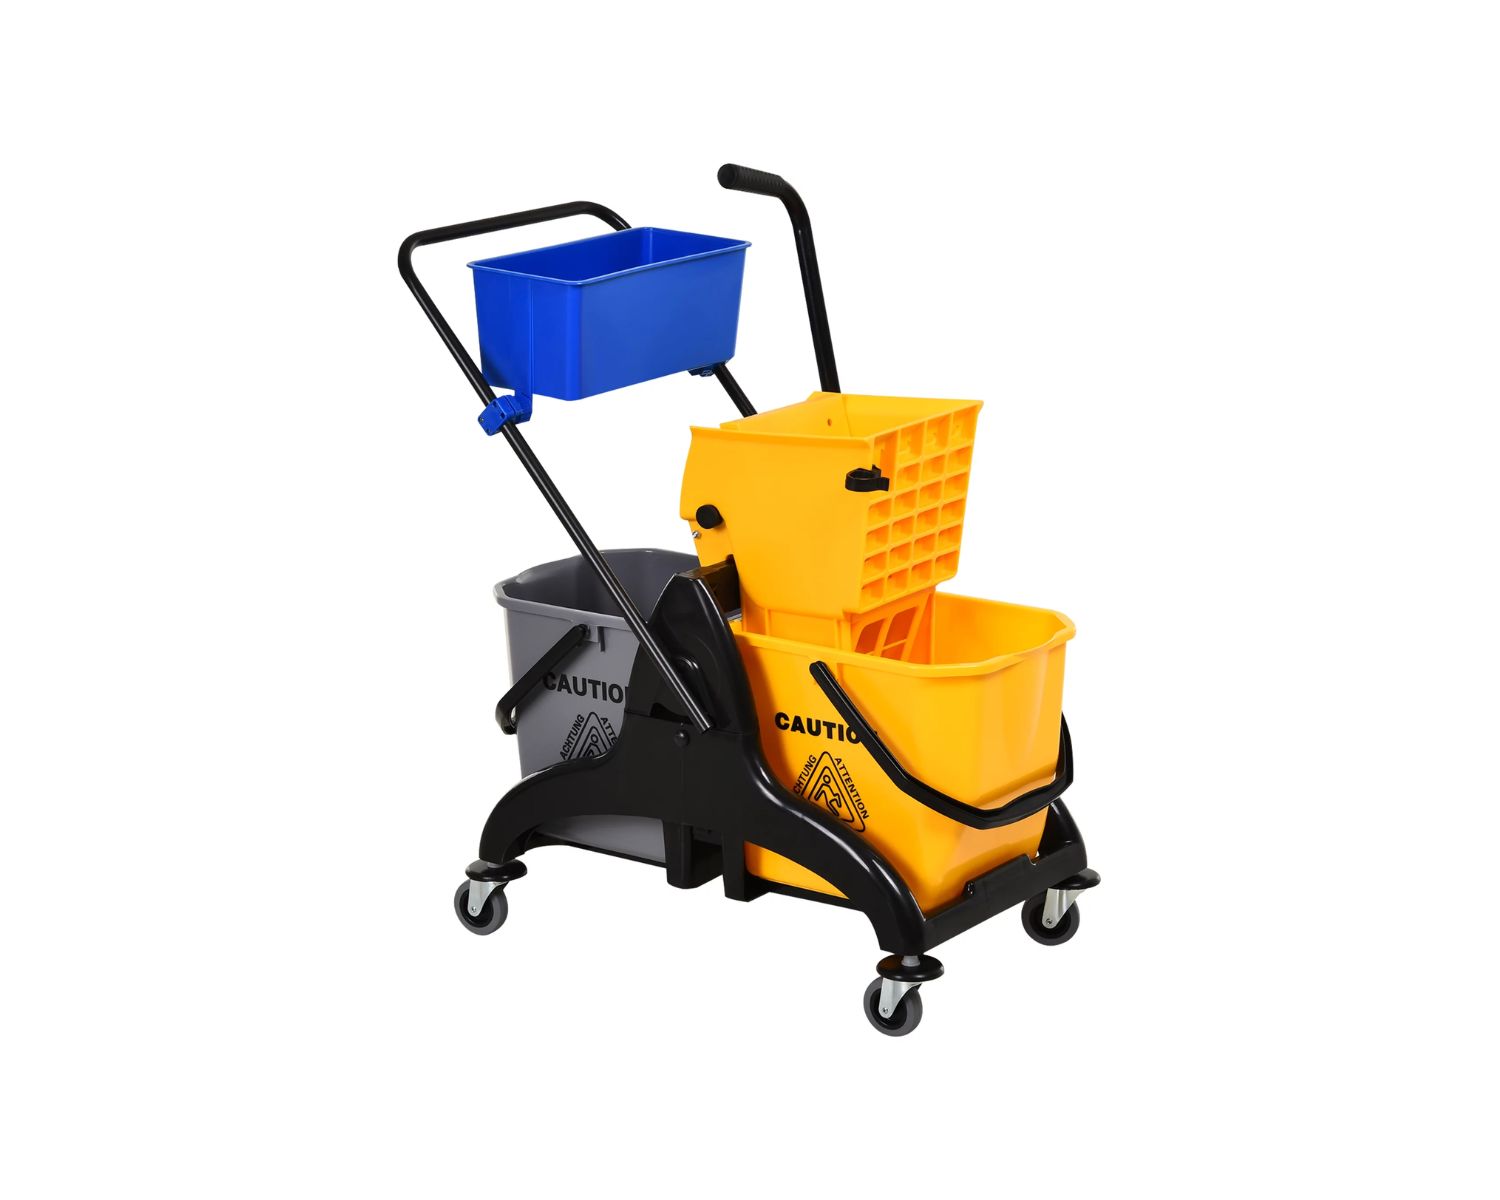
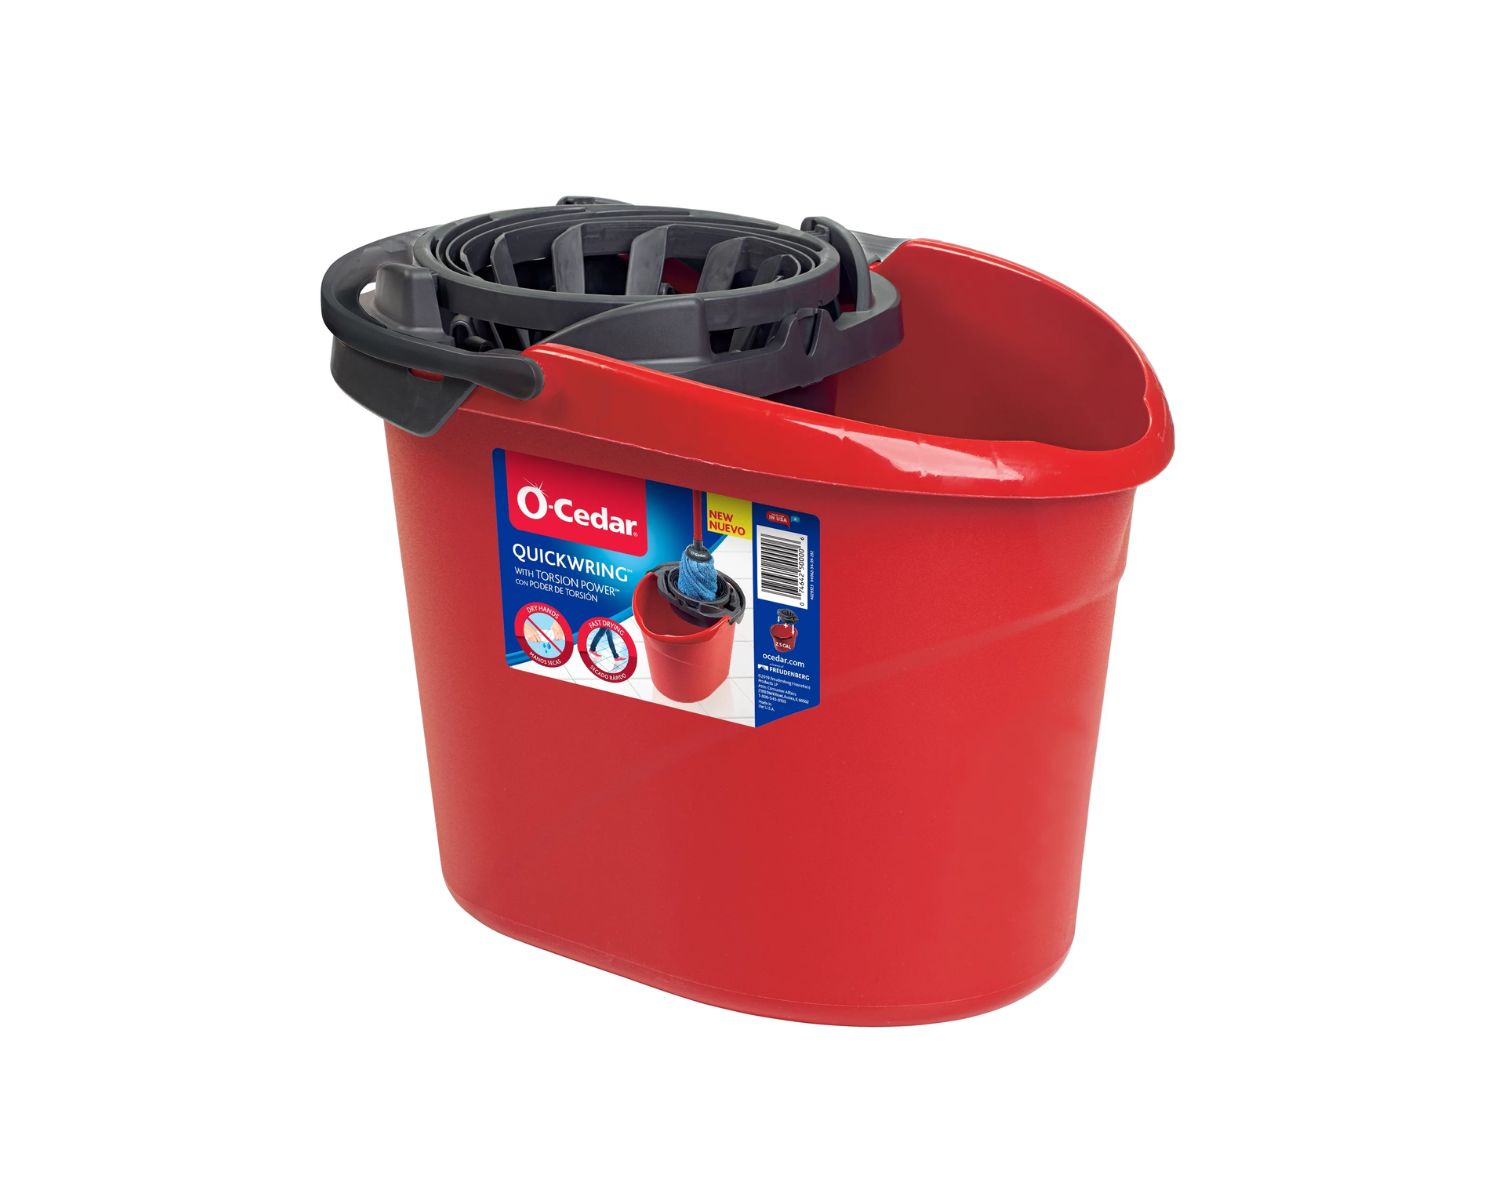
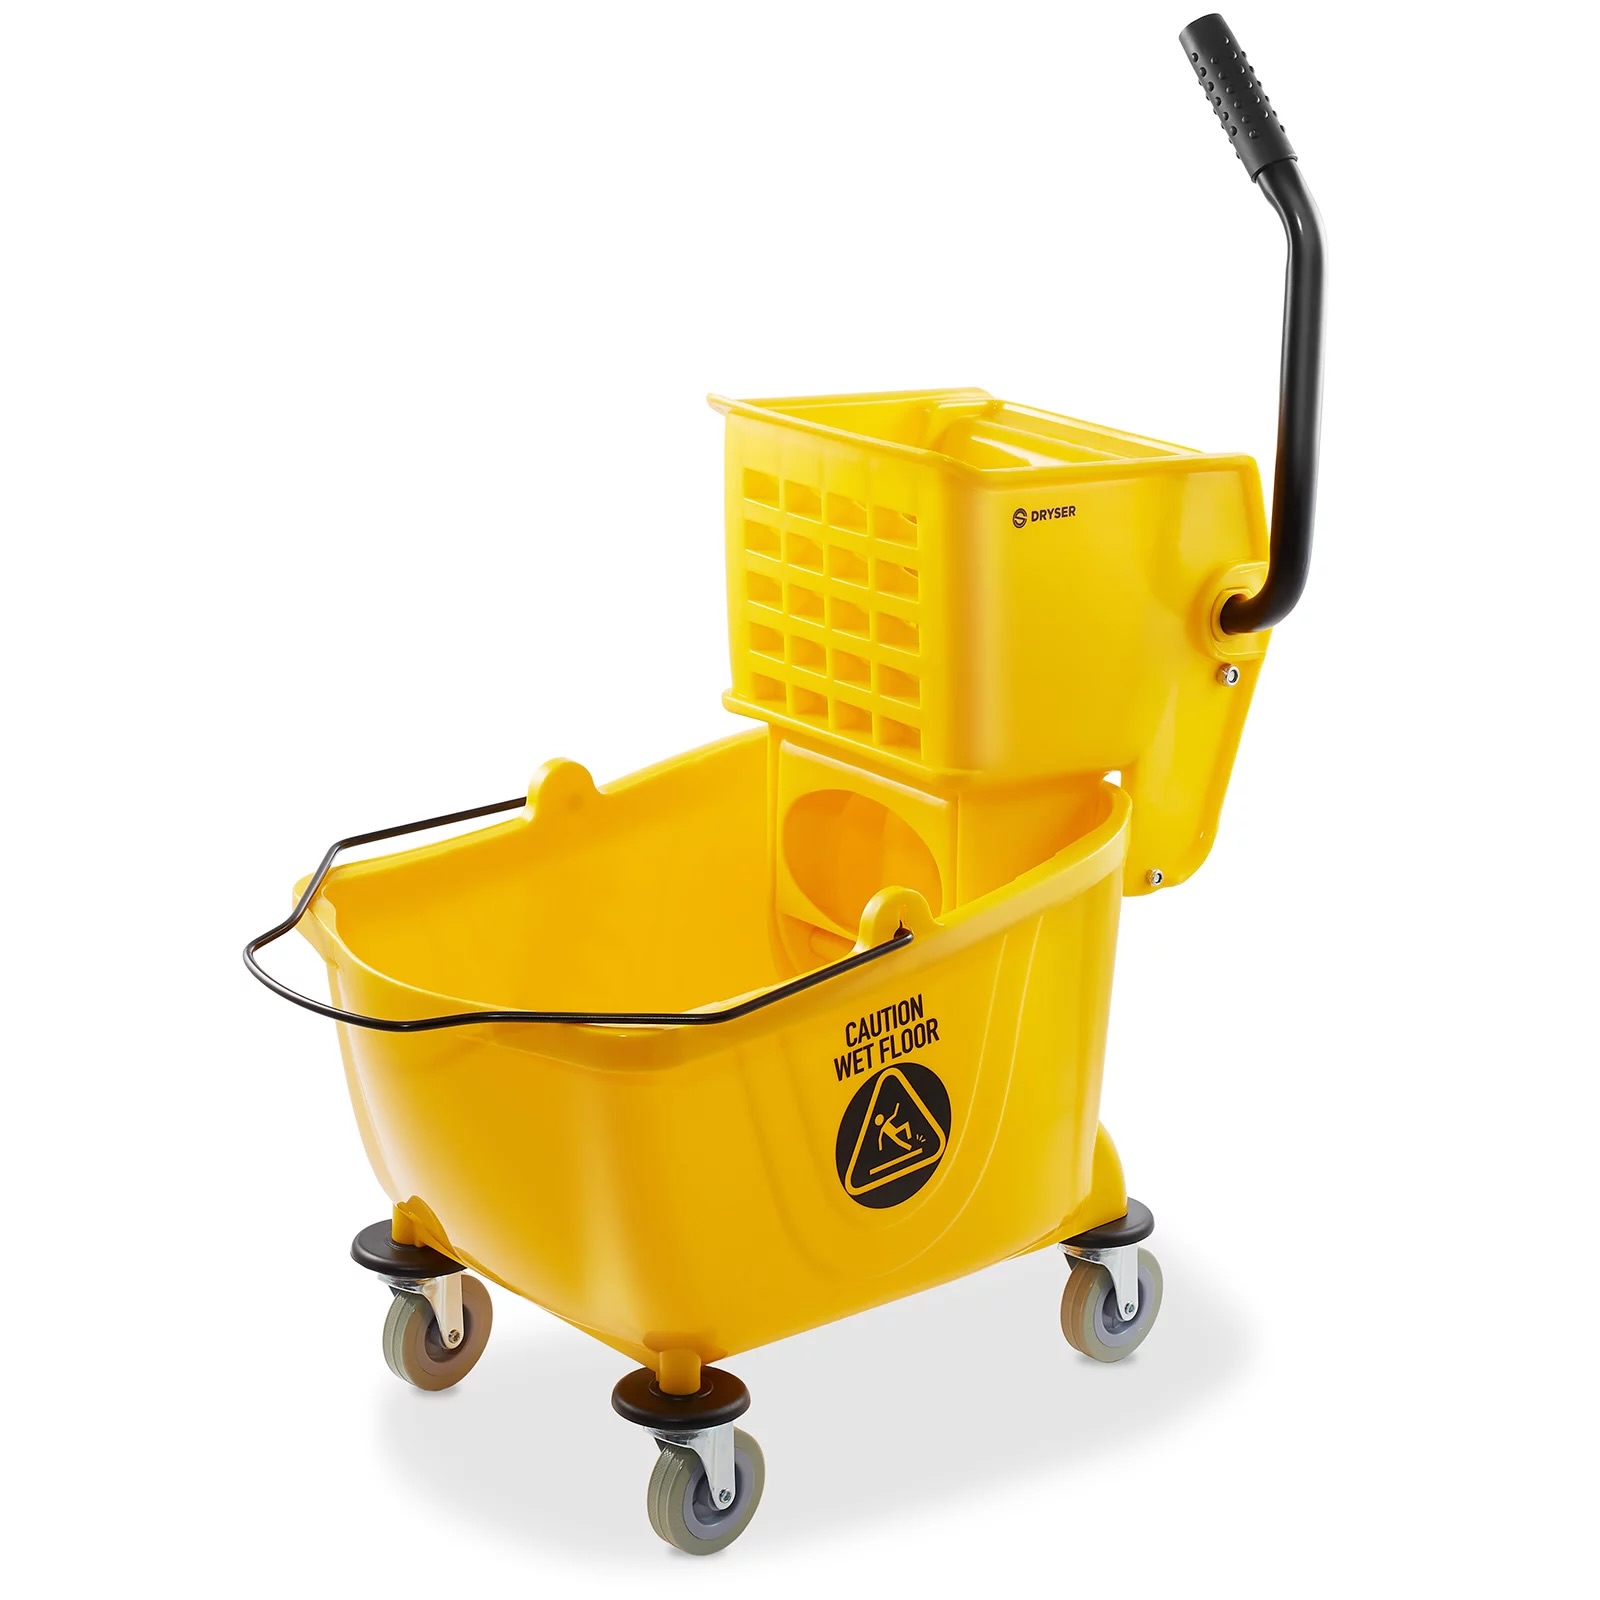
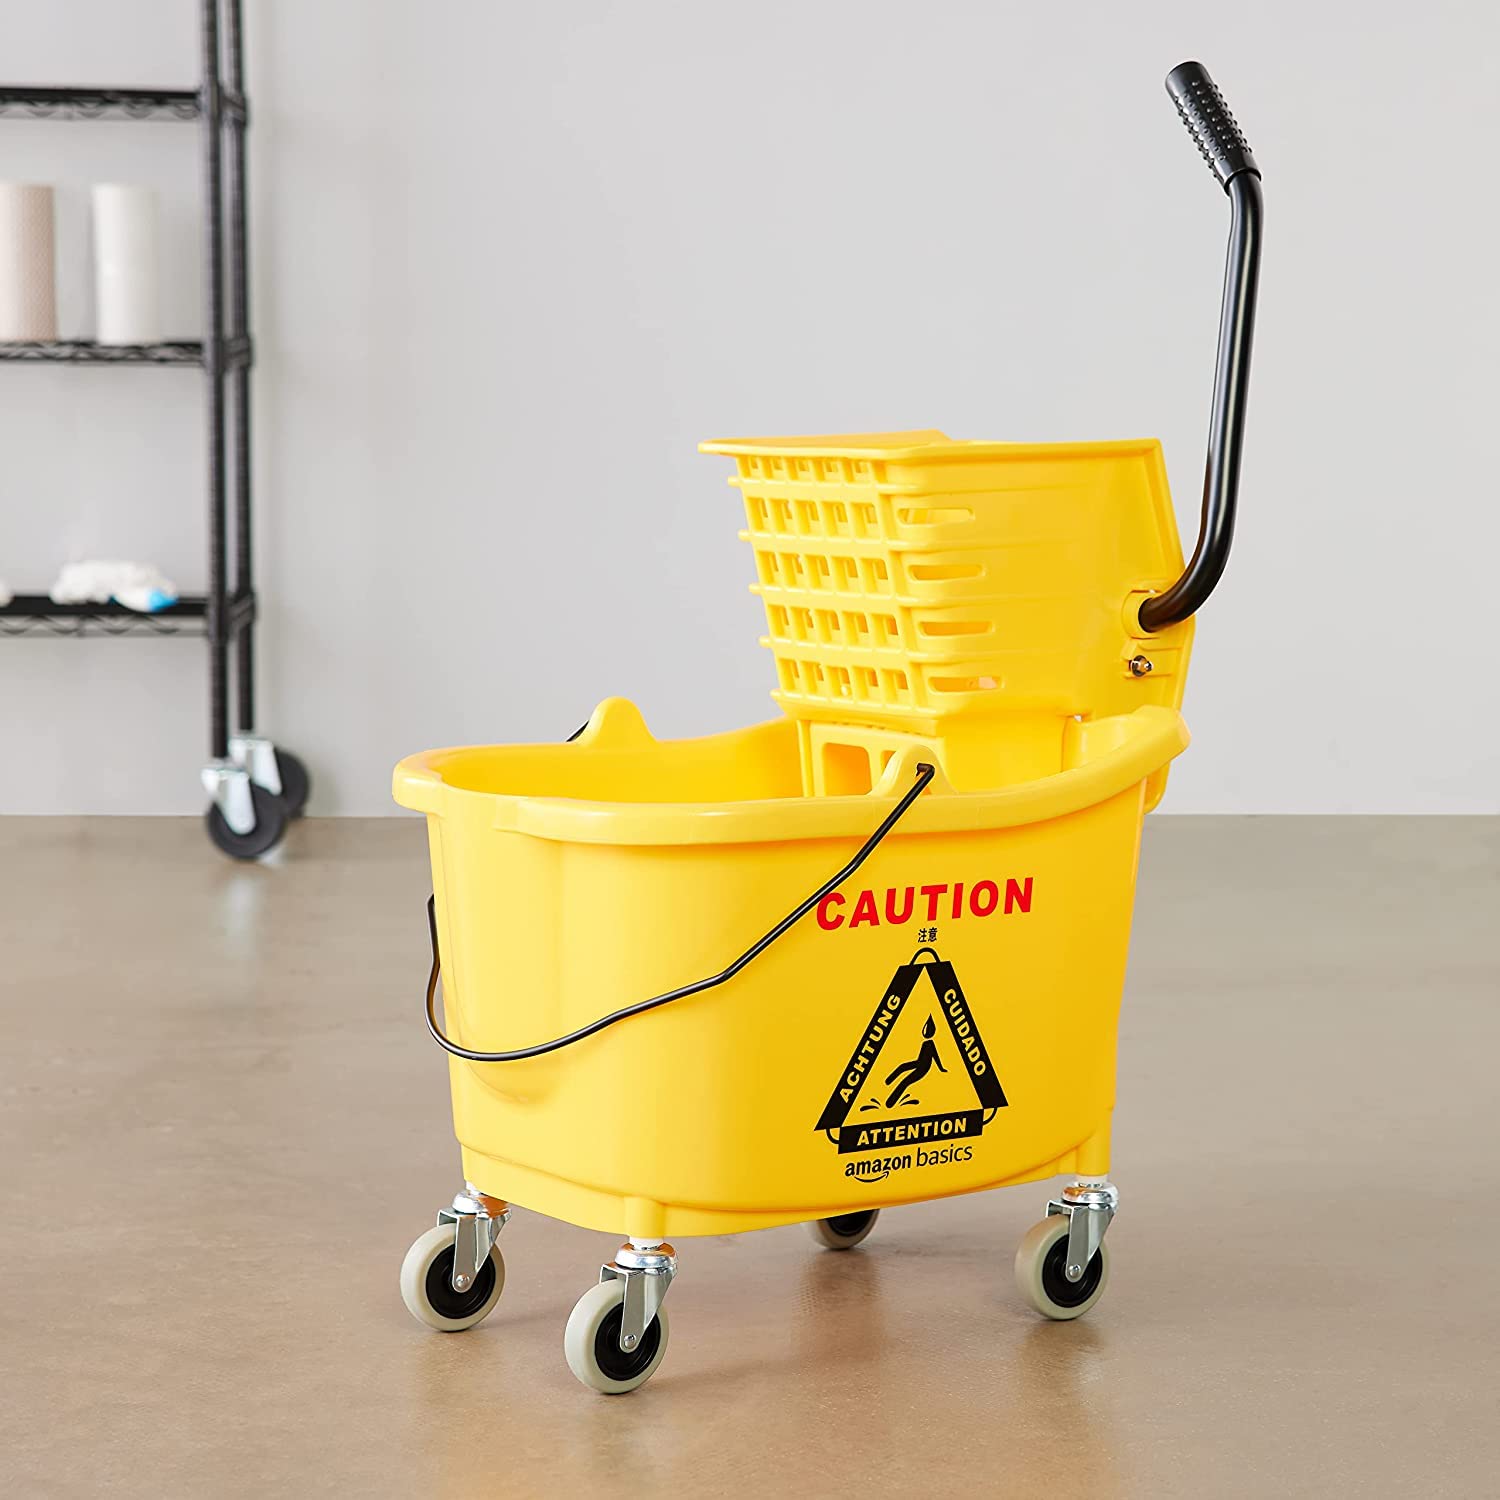
- Mop Bucket: The very item you’ll be cleaning. It’s important to have a backup bucket if you need to continue cleaning while the primary one dries.
- Gloves: Rubber or latex gloves will protect your hands from the cleaning solution and any potential bacteria.
- Cleaning Solution: Choose a suitable cleaner or disinfectant. Depending on your preference, you can use a commercial cleaner or create a DIY solution using household items like vinegar and water.
- Scrub Brush or Sponge: An abrasive brush or sponge will help to dislodge stubborn dirt and grime from the bucket’s surface.
- Microfiber Cloth or Towel: This will be used for drying the bucket after cleaning.
- Ventilation: Ensure that the cleaning area is well-ventilated to prevent inhalation of cleaning fumes.
Once you have gathered these supplies, you’ll be well-equipped to begin the cleaning process and restore your mop bucket to its pristine condition.
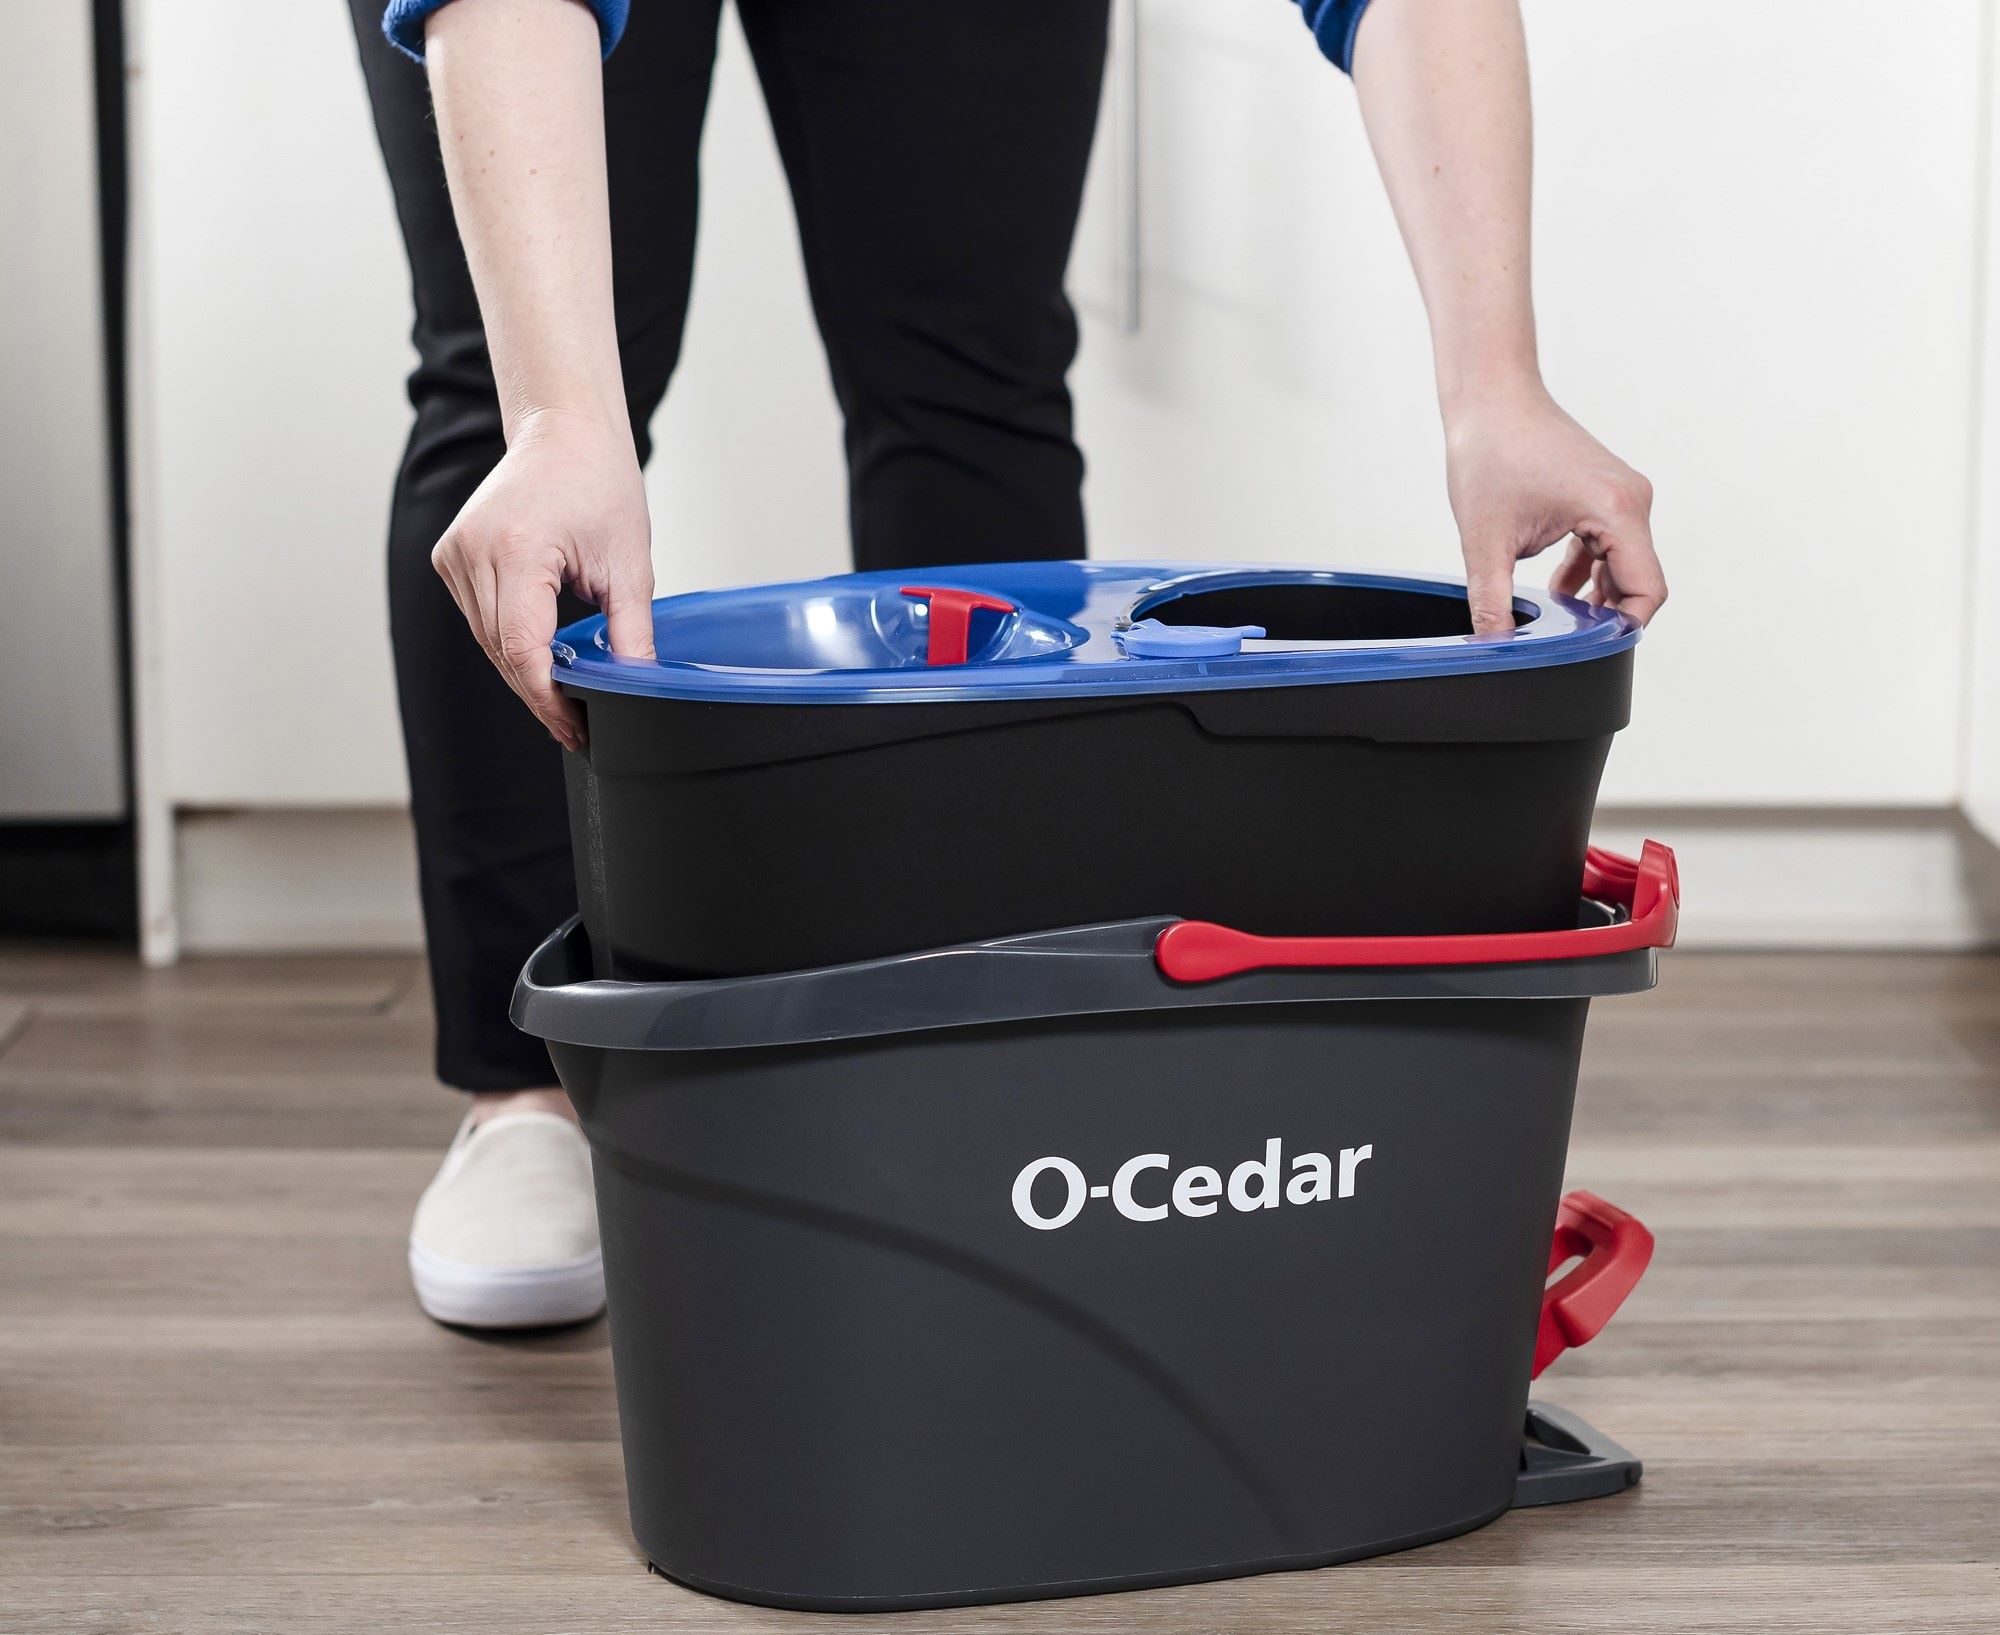
Empty and Rinse the Bucket
Before diving into the cleaning process, start by emptying the mop bucket of any remaining water and disposing of it appropriately. Once the bucket is empty, give it a thorough rinse to remove any loose debris, dirt, or cleaning solution residue. This initial step is crucial in preparing the bucket for the deeper cleaning process that follows.
Here’s a step-by-step guide to effectively emptying and rinsing your mop bucket:
- Dispose of the Water: Carefully pour out the contents of the mop bucket into a drain or toilet. Be mindful of the water level to avoid splashing or spilling.
- Rinse the Bucket: Using a hose or sink, rinse the interior and exterior of the bucket to remove any visible dirt, grime, or cleaning solution residue. Pay special attention to the bottom and corners of the bucket, as these areas tend to collect the most debris.
- Inspect for Residue: After rinsing, inspect the bucket for any remaining residue. If you notice stubborn stains or residue, proceed to the next step to scrub the bucket thoroughly.
By emptying and rinsing the bucket, you are laying the foundation for a more effective and thorough cleaning process. This step not only removes surface debris but also prepares the bucket for the deeper cleaning and disinfection steps that will follow.
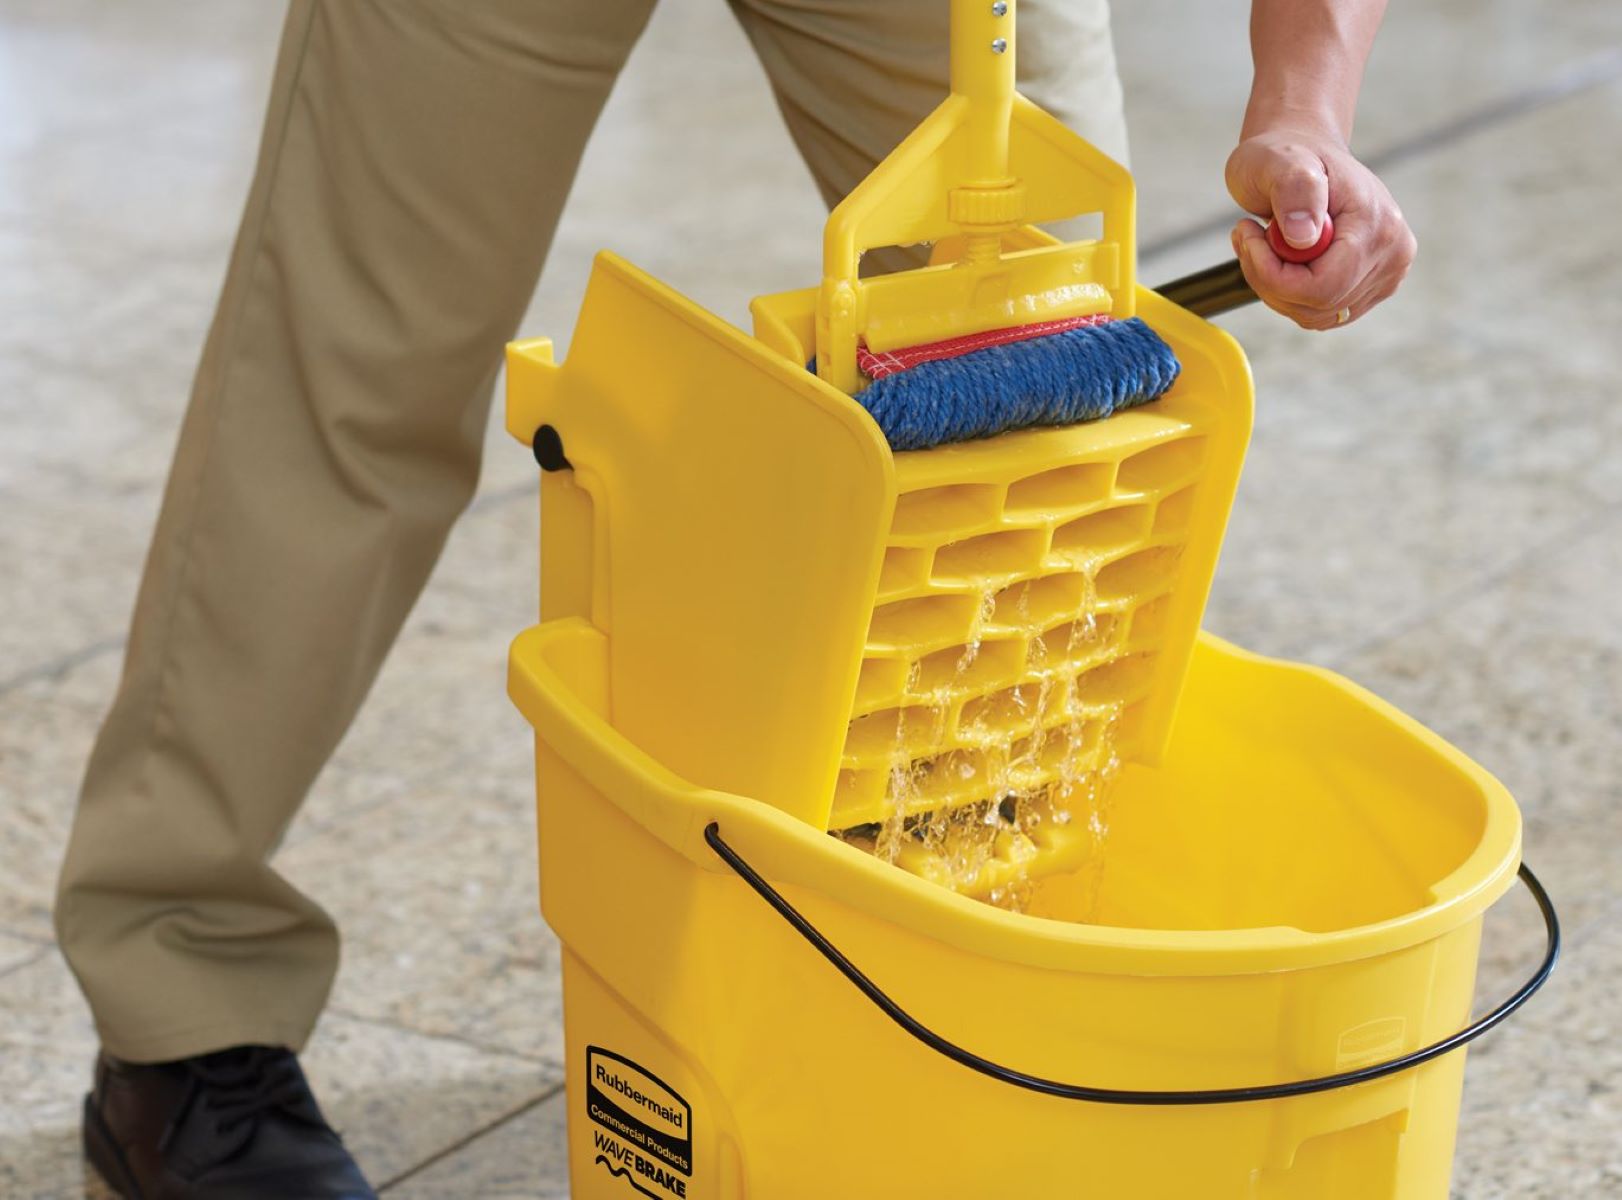
Scrub the Bucket
Now that the mop bucket has been emptied and rinsed, it’s time to roll up your sleeves and give it a good scrub. This step is essential for removing stubborn dirt, grime, and stains that may have accumulated over time. By thoroughly scrubbing the bucket, you’ll ensure that it is free from any visible residue and is ready for the disinfection process.
Follow these steps to effectively scrub the mop bucket:
- Apply Cleaning Solution: Pour a suitable cleaning solution into the bucket, ensuring that it covers the interior surfaces. If using a commercial cleaner, follow the manufacturer’s instructions for dilution and application. For a DIY solution, a mixture of water and vinegar can be an effective natural cleaner.
- Scrub the Interior: Using a scrub brush or sponge, vigorously scrub the interior of the bucket, paying particular attention to areas with visible stains or residue. Use circular motions and apply extra pressure to dislodge stubborn dirt and grime.
- Clean the Exterior: Don’t forget to scrub the exterior of the bucket as well. Wipe down the sides, handles, and bottom to ensure that the entire bucket is clean and free from any external dirt or stains.
- Focus on Tough Stains: For particularly stubborn stains or residue, allow the cleaning solution to sit in the bucket for a few minutes before scrubbing again. This extra soaking time can help loosen tough deposits, making them easier to remove.
By thoroughly scrubbing the mop bucket, you are not only removing visible dirt and grime but also preparing the surface for the disinfection process that follows. This step sets the stage for a truly clean and sanitized mop bucket, ensuring that it is free from any lingering dirt or contaminants.
After each use, rinse the mop bucket with hot water and a mild detergent. Scrub the interior with a brush to remove any residue. Rinse thoroughly and allow to air dry before storing to prevent mold and bacteria growth.
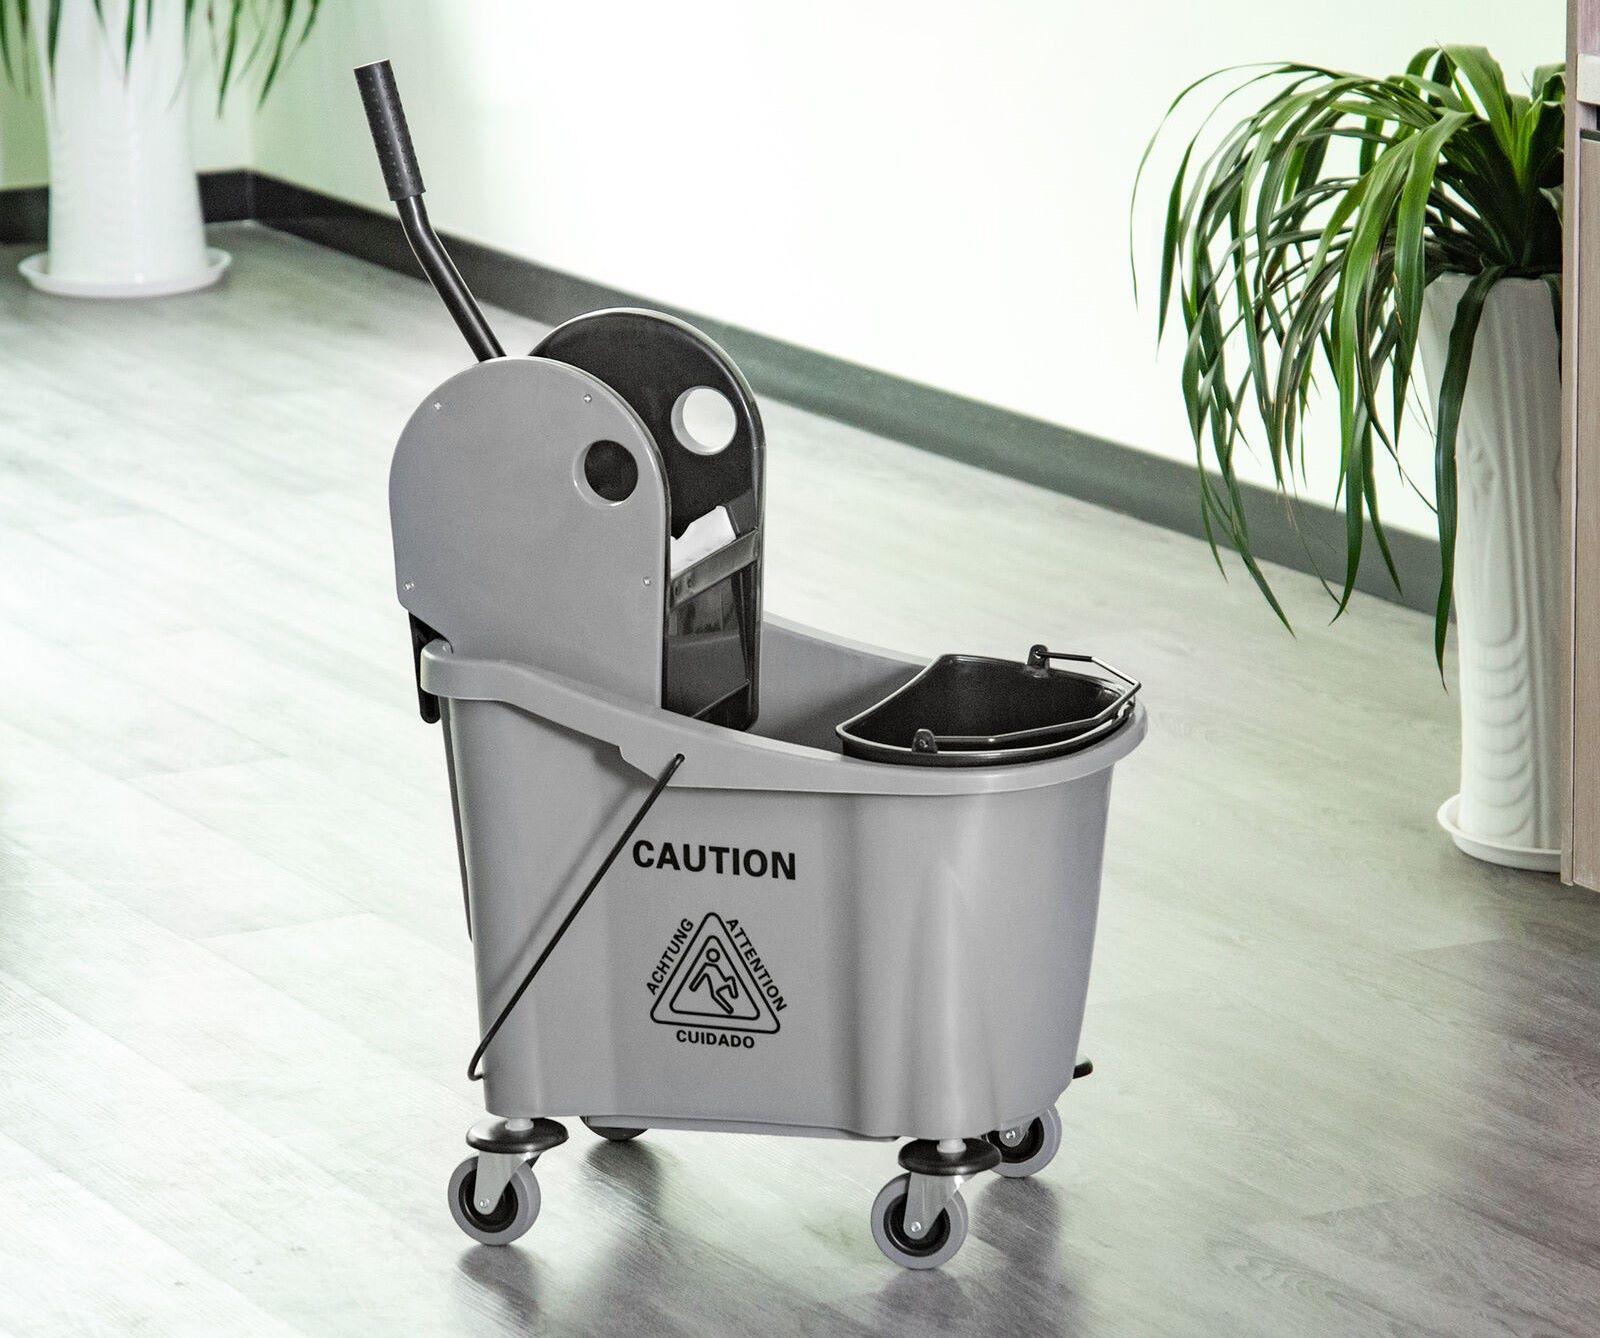
Disinfect the Bucket
Once the mop bucket has been thoroughly scrubbed, it’s time to focus on disinfection. This critical step will eliminate any remaining bacteria, germs, or odors, ensuring that your mop bucket is not only visually clean but also hygienic and safe to use for future cleaning tasks.
Follow these steps to effectively disinfect the mop bucket:
- Choose a Disinfectant: Select a suitable disinfectant for the job. There are numerous commercial disinfectants available, or you can opt for natural alternatives like a diluted bleach solution. Ensure that the disinfectant is safe for use on the materials of your mop bucket.
- Apply the Disinfectant: Pour the disinfectant into the mop bucket, ensuring that it covers the interior surfaces. Be mindful of any dilution requirements specified by the manufacturer.
- Allow for Contact Time: It’s essential to allow the disinfectant to remain in the bucket for the specified contact time. This duration ensures that the disinfectant effectively kills any remaining bacteria or germs present in the bucket.
- Rinse Thoroughly: After the contact time has elapsed, thoroughly rinse the mop bucket to remove any traces of the disinfectant. This step is crucial, as it prevents any potential chemical residue from coming into contact with your cleaning solutions or floors during future use.
By following these steps, you’ll effectively disinfect your mop bucket, leaving it clean, sanitized, and ready for future use. This final step ensures that your cleaning tools contribute to a hygienic environment, providing peace of mind and optimal cleaning performance.
Read more: How To Use A Mop And Bucket
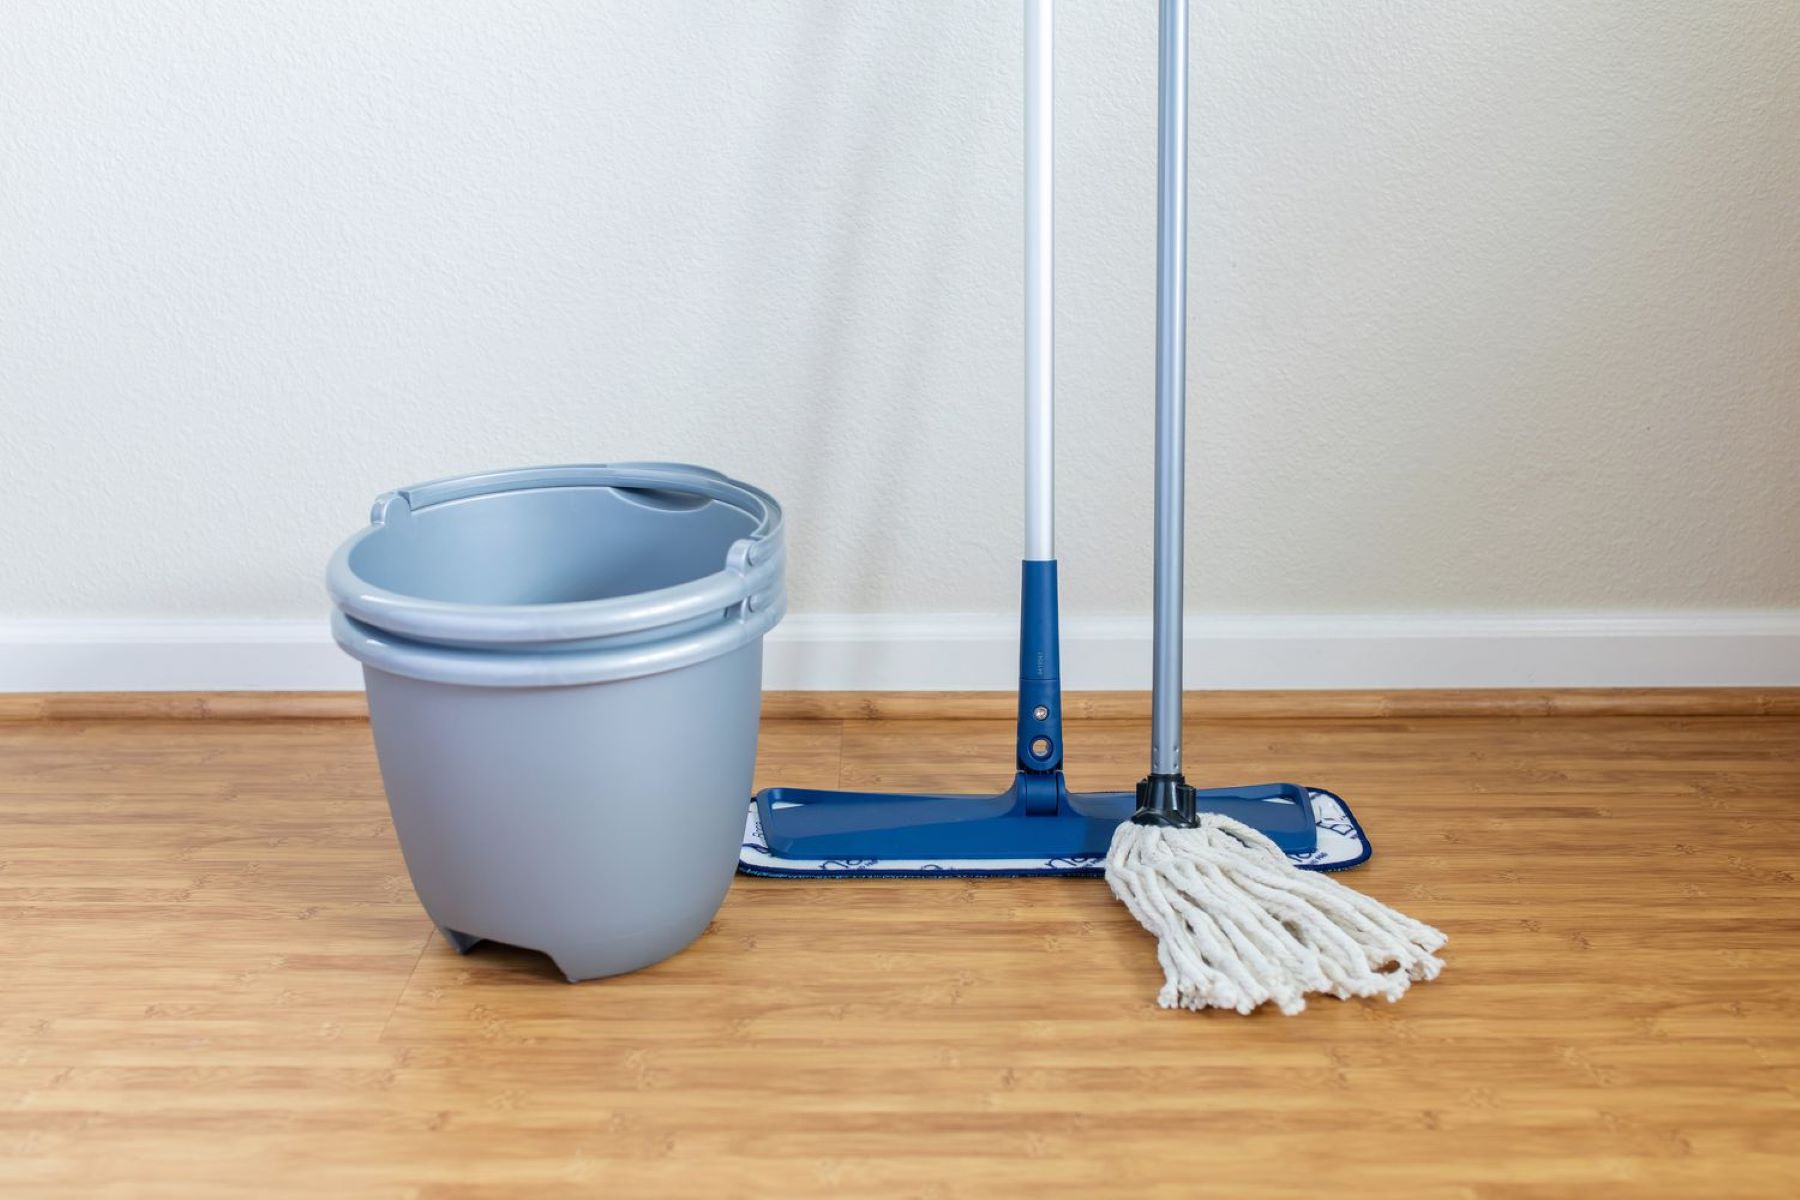
Dry and Store the Bucket
After completing the cleaning and disinfection process, it’s essential to ensure that the mop bucket is thoroughly dried and properly stored. Proper drying and storage practices will prevent the growth of mold, mildew, and bacteria, preserving the cleanliness and integrity of the bucket until its next use.
Follow these steps to effectively dry and store the mop bucket:
- Thorough Drying: Use a clean microfiber cloth or towel to thoroughly dry the interior and exterior of the mop bucket. Pay special attention to any crevices or seams where water may accumulate.
- Air Drying: For optimal results, allow the mop bucket to air dry in a well-ventilated area. Ensure that the bucket is completely dry before storing it to prevent the growth of mold or mildew.
- Store Properly: Once dry, store the mop bucket in a clean, dry area away from direct sunlight. Avoid placing any items inside the bucket that could introduce dirt or contaminants.
- Regular Inspection: Periodically inspect the mop bucket for any signs of damage, wear, or lingering odors. Address any issues promptly to maintain the cleanliness and functionality of the bucket.
By following these steps, you’ll ensure that your mop bucket is not only clean and disinfected but also properly maintained for future use. Implementing proper drying and storage practices will extend the life of your mop bucket and contribute to a hygienic cleaning routine.
Conclusion
Cleaning a mop bucket may not be the most glamorous task, but it is a crucial aspect of maintaining a clean and hygienic environment. By following the step-by-step process outlined in this guide, you can ensure that your mop bucket remains free from dirt, grime, and harmful bacteria, ultimately contributing to the effectiveness of your cleaning efforts and the overall health of your space.
From gathering the necessary supplies to thoroughly scrubbing and disinfecting the bucket, each step plays a vital role in achieving a sparkling clean and sanitized result. By incorporating proper drying and storage practices into your routine, you can extend the life of your mop bucket and maintain its cleanliness for future use.
Whether you’re a homeowner, a professional cleaner, or anyone in between, mastering the art of cleaning a mop bucket is a valuable skill that enhances the quality of your cleaning routine. By investing time and effort into maintaining your cleaning tools, you contribute to a healthier and more pleasant living or working environment for yourself and those around you.
So, the next time you reach for your mop and bucket, remember the importance of keeping your cleaning tools clean and sanitized. By doing so, you’ll not only achieve cleaner floors but also create a safer and more hygienic space for all to enjoy.
Happy cleaning!
Frequently Asked Questions about How To Clean A Mop Bucket
Was this page helpful?
At Storables.com, we guarantee accurate and reliable information. Our content, validated by Expert Board Contributors, is crafted following stringent Editorial Policies. We're committed to providing you with well-researched, expert-backed insights for all your informational needs.
0 thoughts on “How To Clean A Mop Bucket”