
Articles
How To Put Electric Stove Burners Back On
Modified: October 20, 2024
Discover helpful articles on how to put electric stove burners back on. Get expert tips and step-by-step instructions for a quick and easy fix.
(Many of the links in this article redirect to a specific reviewed product. Your purchase of these products through affiliate links helps to generate commission for Storables.com, at no extra cost. Learn more)
Introduction
Electric stoves are a common appliance in many households, providing a convenient and efficient way to cook meals. The burners on an electric stove are essential components that generate heat for cooking. However, there may be instances where the burner elements become detached or need to be removed for cleaning or maintenance.
In this article, we will guide you through the process of putting electric stove burners back on. Whether you’re dealing with a loose burner element or simply need to clean your stove top, we’ve got you covered. We’ll provide step-by-step instructions and helpful tips to ensure a successful reinstallation of your electric stove burners.
Before we dive into the details, it’s essential to prioritize safety. Make sure to follow any safety precautions outlined in your stove’s manual and take necessary precautions to prevent any accidents or injuries. Let’s get started!
Key Takeaways:
- Prioritize safety by following essential precautions when putting electric stove burners back on, including turning off the power, allowing ample cooling time, and wearing protective gear.
- Gather the necessary tools and follow step-by-step instructions to successfully remove, clean, and reinstall burner elements, ensuring a safe and efficient cooking experience.
Read more: What To Put In Between Stove Burners
Safety Precautions
Before attempting to put your electric stove burners back on, it’s crucial to prioritize safety to prevent accidents or injuries. Follow these essential safety precautions:
- Turn off the power: Before working on your electric stove, make sure to turn off the power at the circuit breaker box. This will prevent any electrical shocks or damage.
- Allow ample cooling time: Give your stove enough time to cool down before attempting to remove or reattach the burner elements. Touching hot burners can result in burns or other injuries.
- Wear protective gear: To ensure your safety, consider wearing heat-resistant gloves while handling the burner elements. Also, consider using safety glasses to prevent any debris or cleaning agents from getting into your eyes.
- Read the manual: Familiarize yourself with the instructions and safety guidelines provided in your stove’s manual. The manufacturer’s guidelines might have specific recommendations or precautions for your particular model.
- Use a stable surface: Work on a stable and even surface when removing or reinstalling the burner elements. This reduces the risk of accidental slips or falls.
- Inspect for damage: Before reattaching the burners, carefully inspect them for any signs of damage or wear. If you notice any cracks, frayed wires, or other issues, it’s best to replace the burner element before proceeding.
By following these safety precautions, you can ensure a safer working environment while putting your electric stove burners back on.
Gathering the Necessary Tools
Before you start the process of putting your electric stove burners back on, it’s important to gather the necessary tools. Having the right tools on hand will make the task easier and more efficient. Here are the tools you’ll need:
- Screwdriver: Depending on the type of electric stove you have, you may need a screwdriver to remove any screws or fasteners holding the burner elements in place.
- Clean cloth or sponge: It’s a good idea to have a clean cloth or sponge ready to wipe down the stove top before reinstalling the burner elements.
- Mild cleaning agent: In case there is any residue or buildup on the stove top, have a mild cleaning agent on hand. This can be a solution of dish soap and warm water or a non-abrasive stove cleaner.
- Heat-resistant gloves: To protect your hands while handling the burner elements, consider wearing heat-resistant gloves. This will prevent any burns or injuries.
- Safety glasses: While not necessary, safety glasses can be worn to protect your eyes from any debris or cleaning agents that may splash during the cleaning process.
- Replacement burner elements (if needed): If you notice any damage or wear on your existing burner elements, it’s a good idea to have replacement elements on hand.
- User manual: In case you need to refer to any specific instructions or diagrams, keep your electric stove’s user manual nearby.
By gathering these tools in advance, you’ll be well-prepared to successfully put your electric stove burners back on.
Removing the Burner Elements
Once you’ve gathered the necessary tools, you’re ready to remove the burner elements from your electric stove. Follow the step-by-step instructions below:
- Make sure the stove is turned off and cooled down: Before starting, ensure that the stove is turned off and has had enough time to cool down. This will prevent any accidental burns.
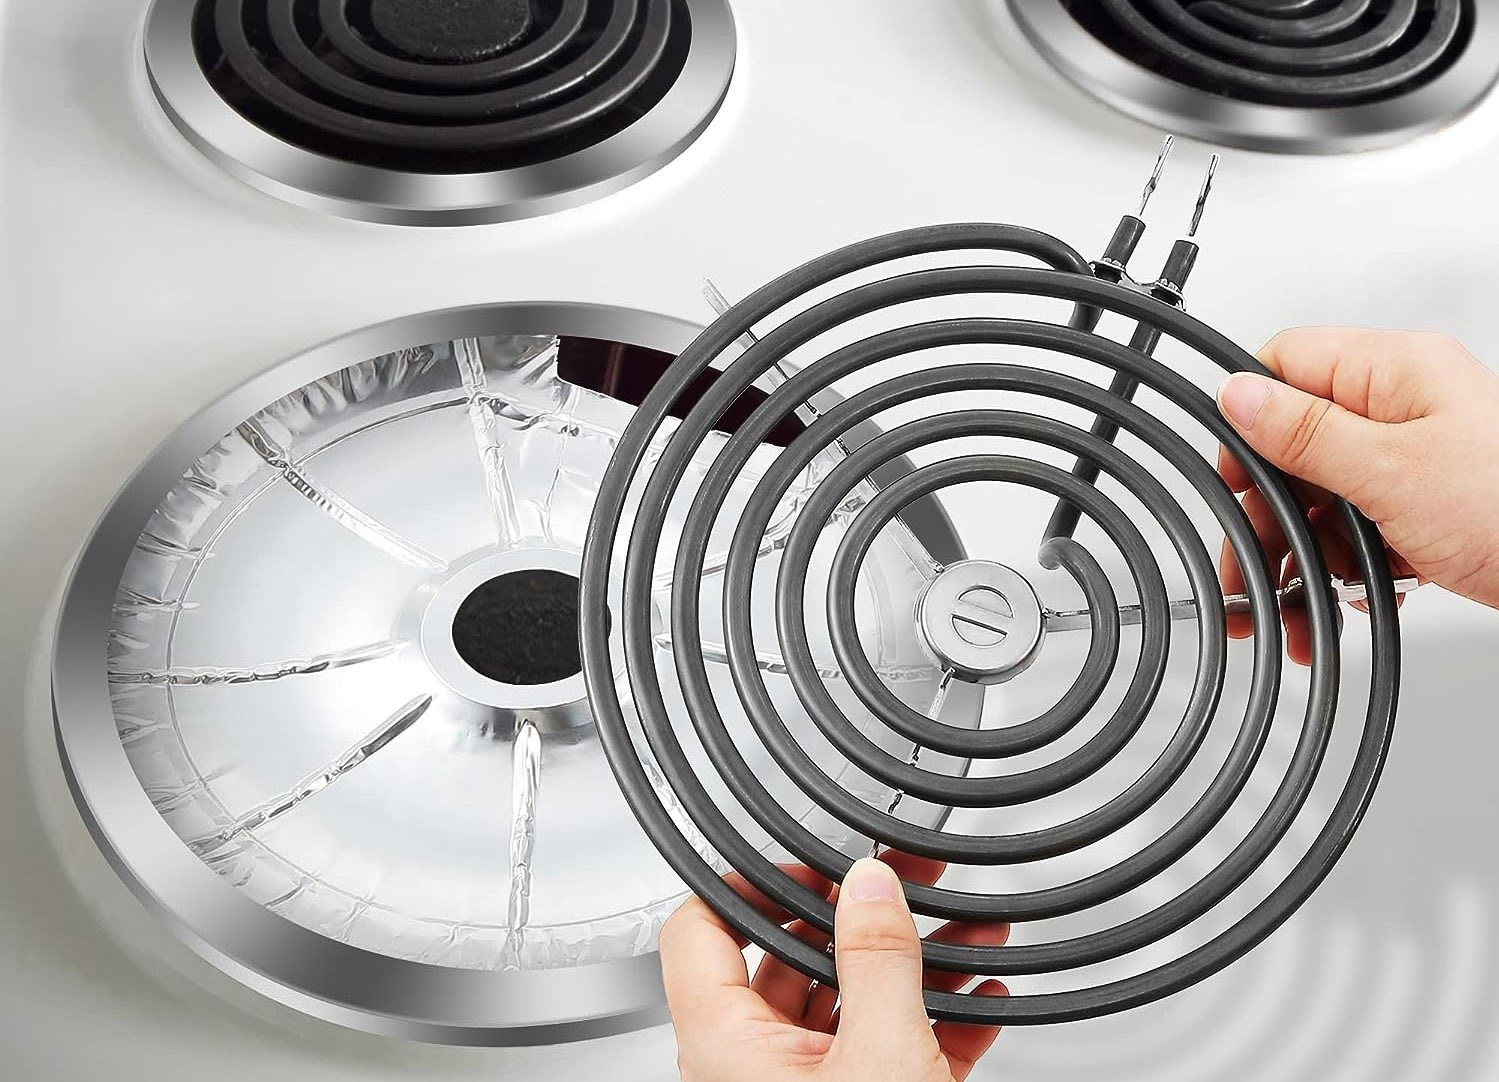
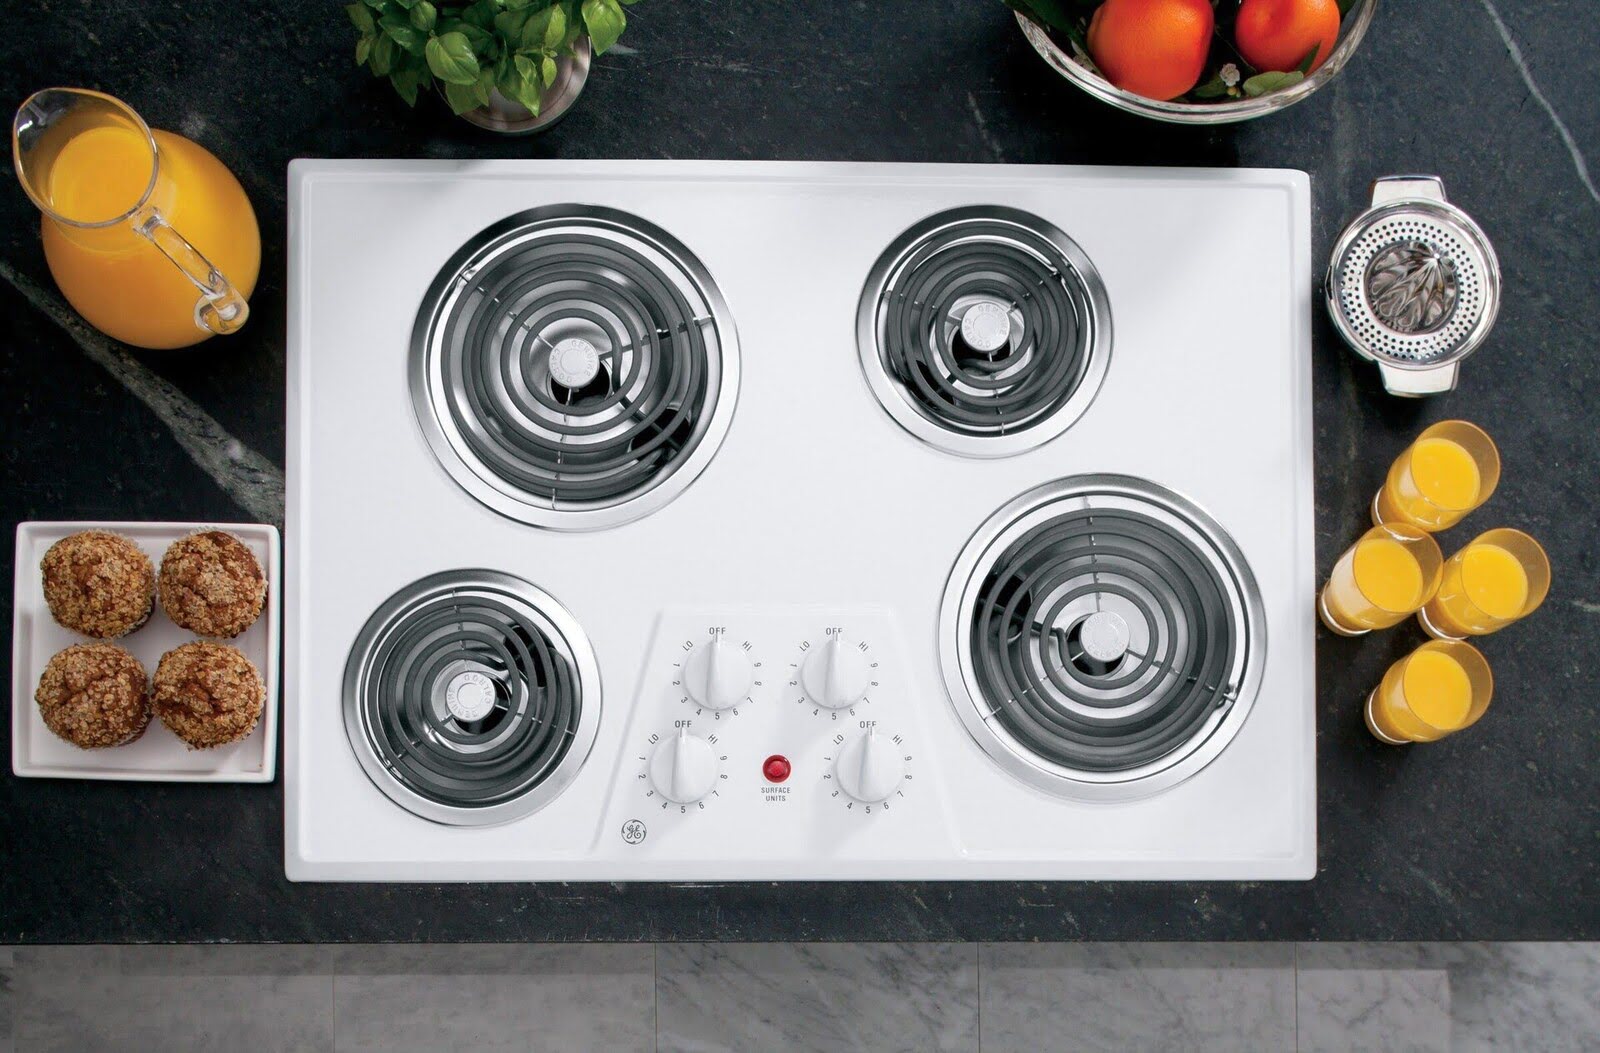
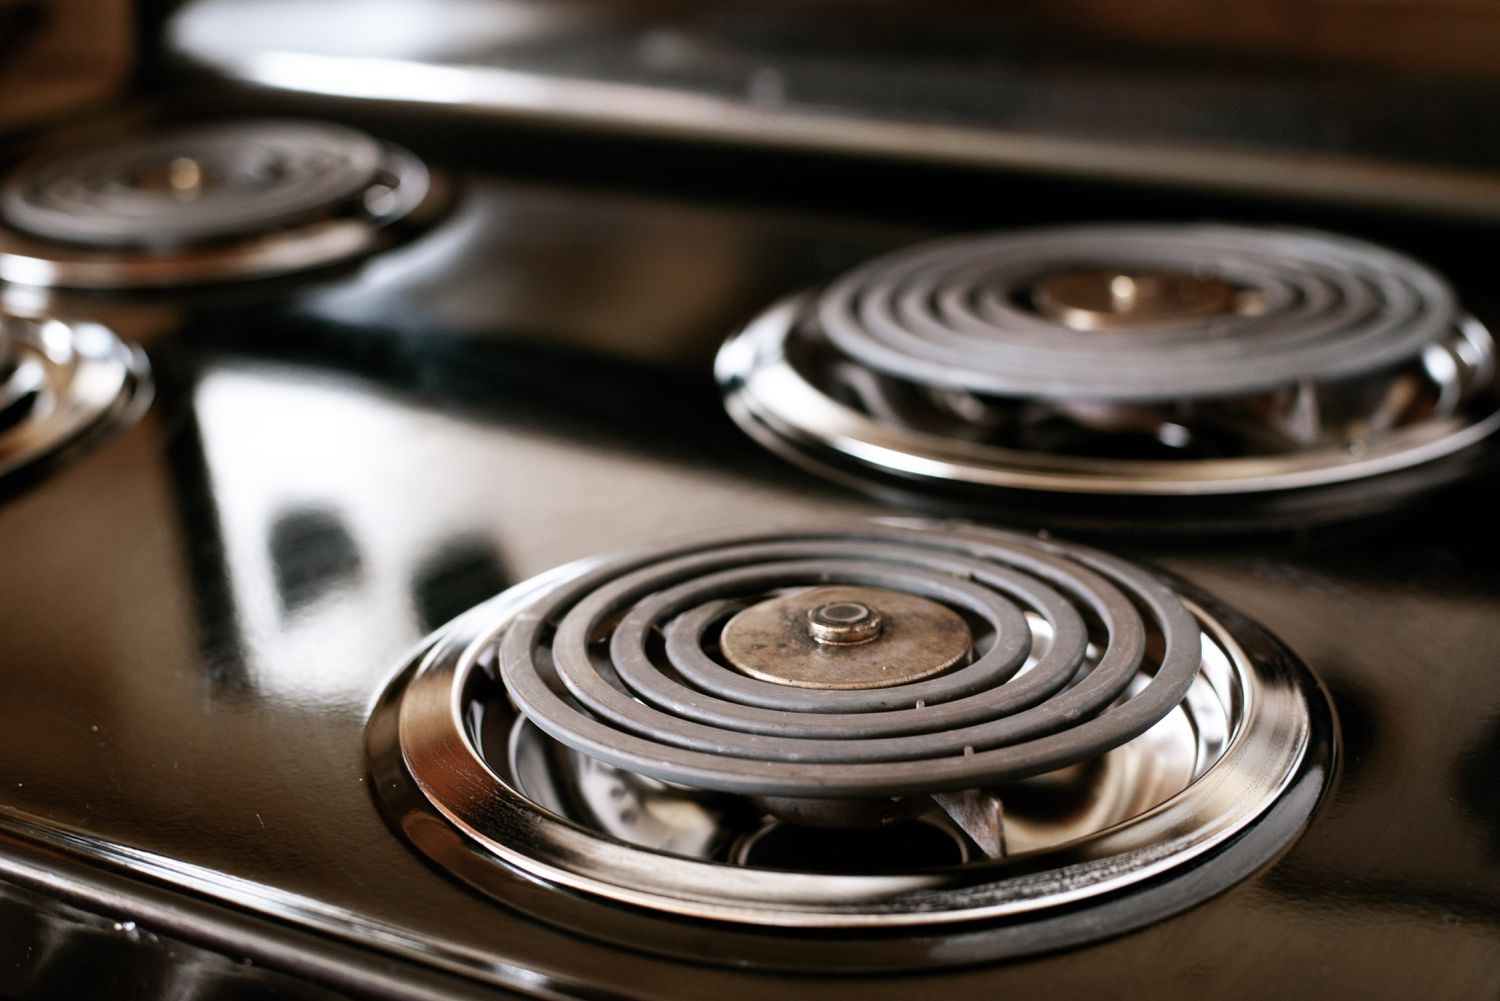
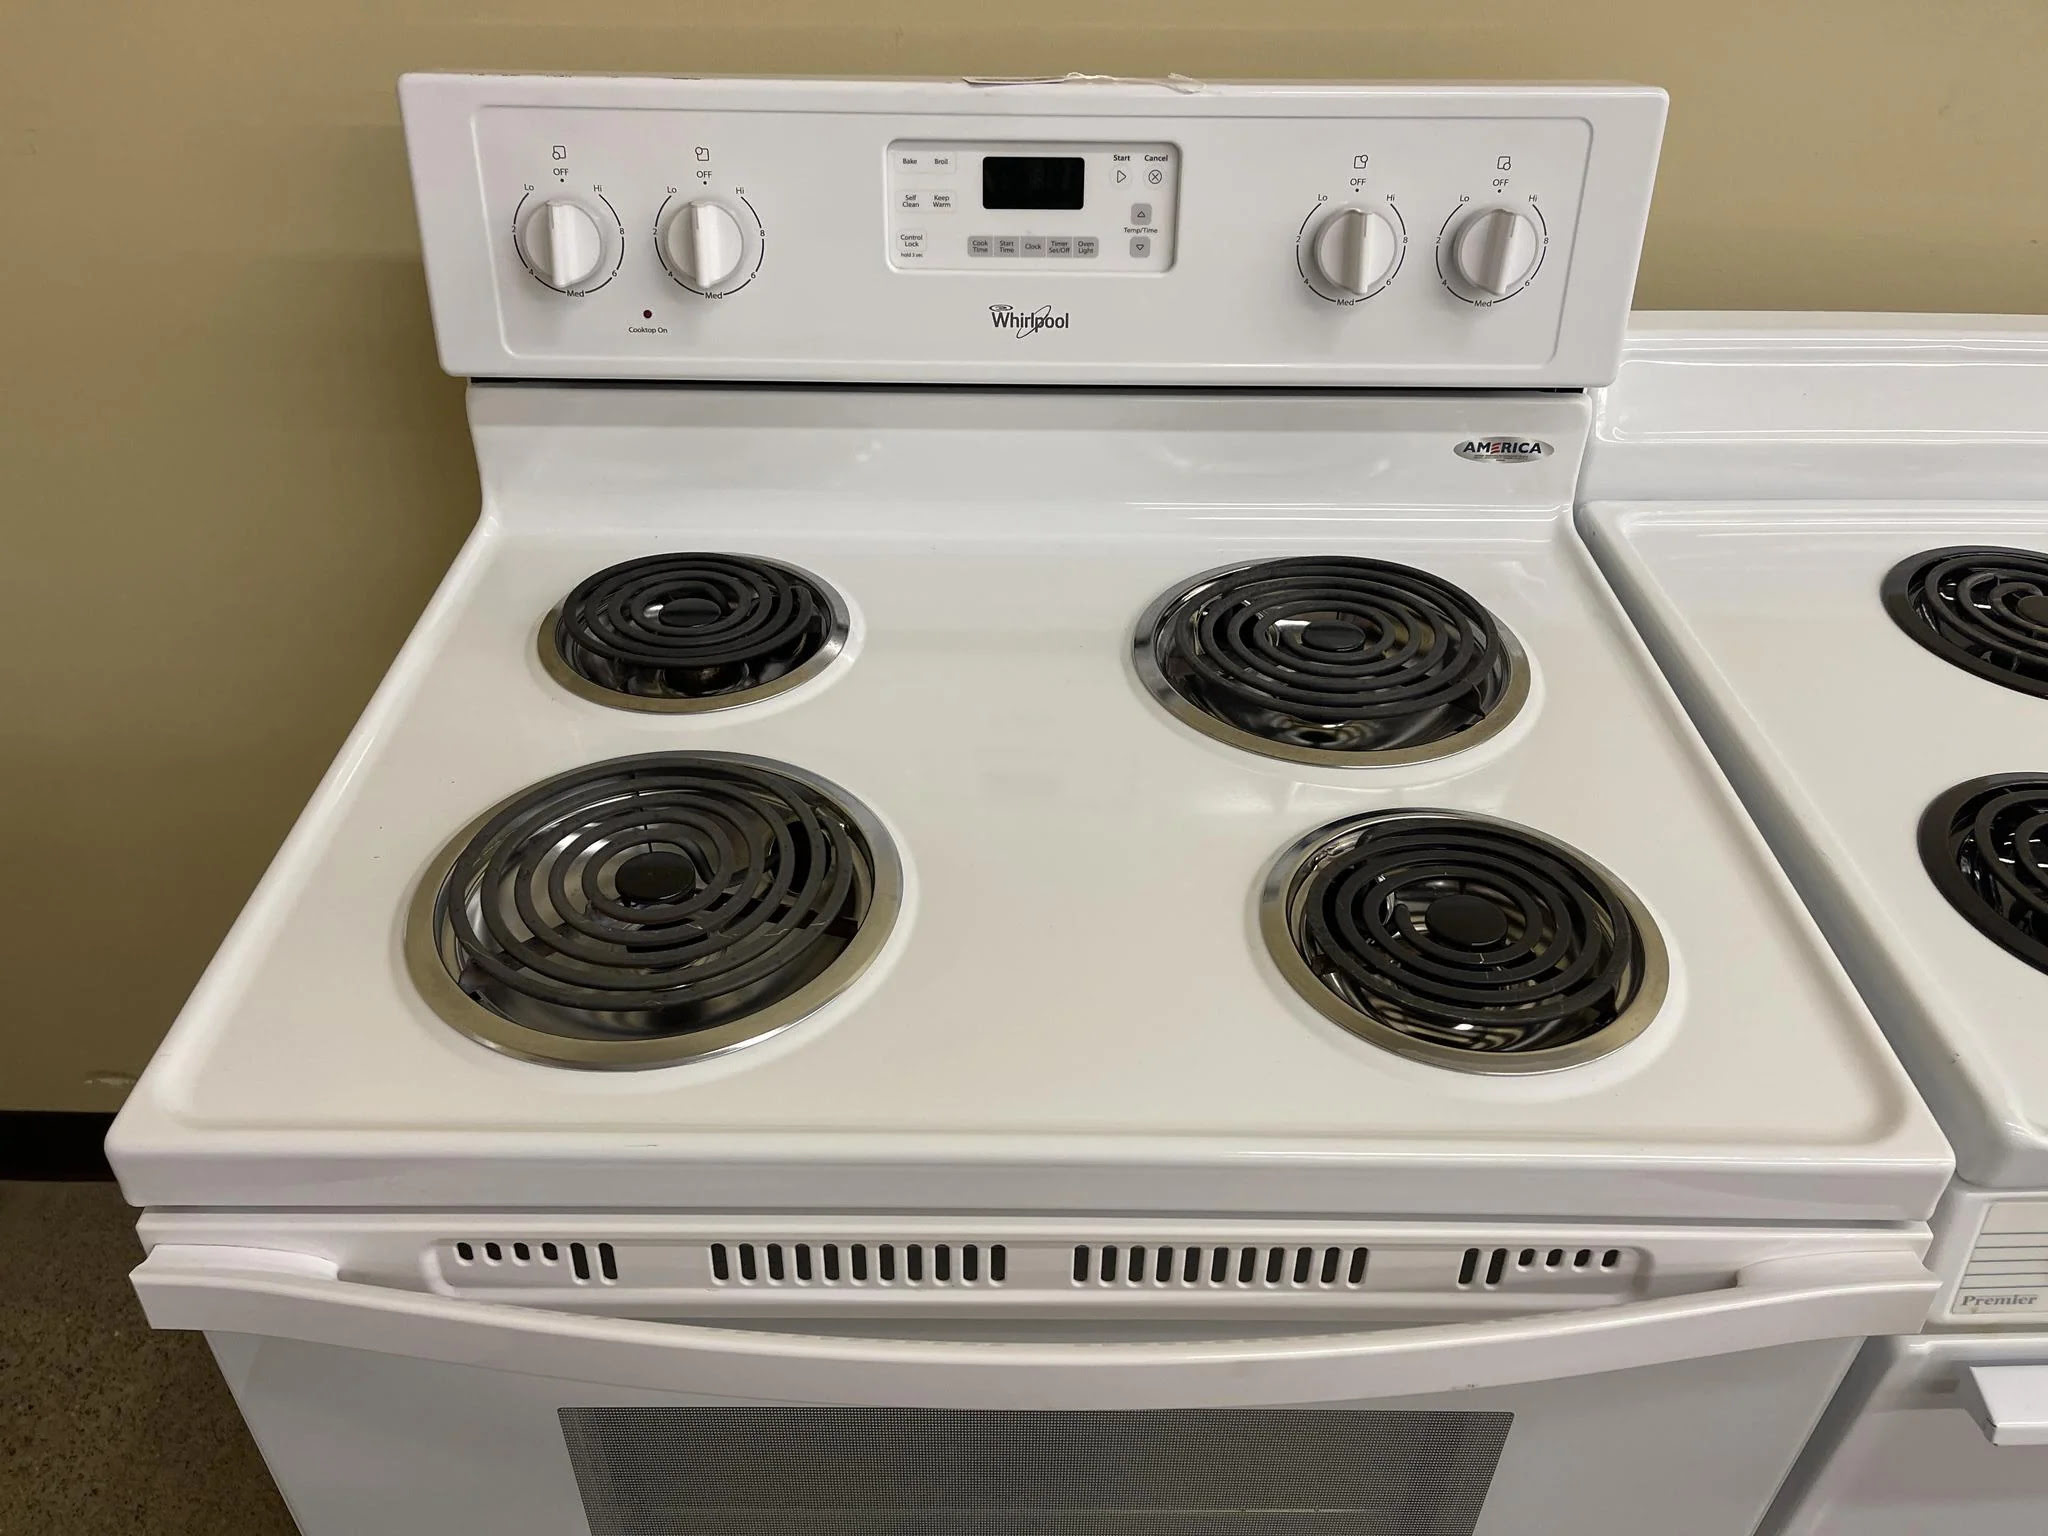
- Locate the burner elements: Identify the burner elements on your electric stove. They are typically round or rectangular-shaped and are located on the stove’s surface.
- If necessary, remove any screws or fasteners: Some electric stoves may have screws or fasteners holding the burner elements in place. Use a screwdriver to carefully remove them, if needed.
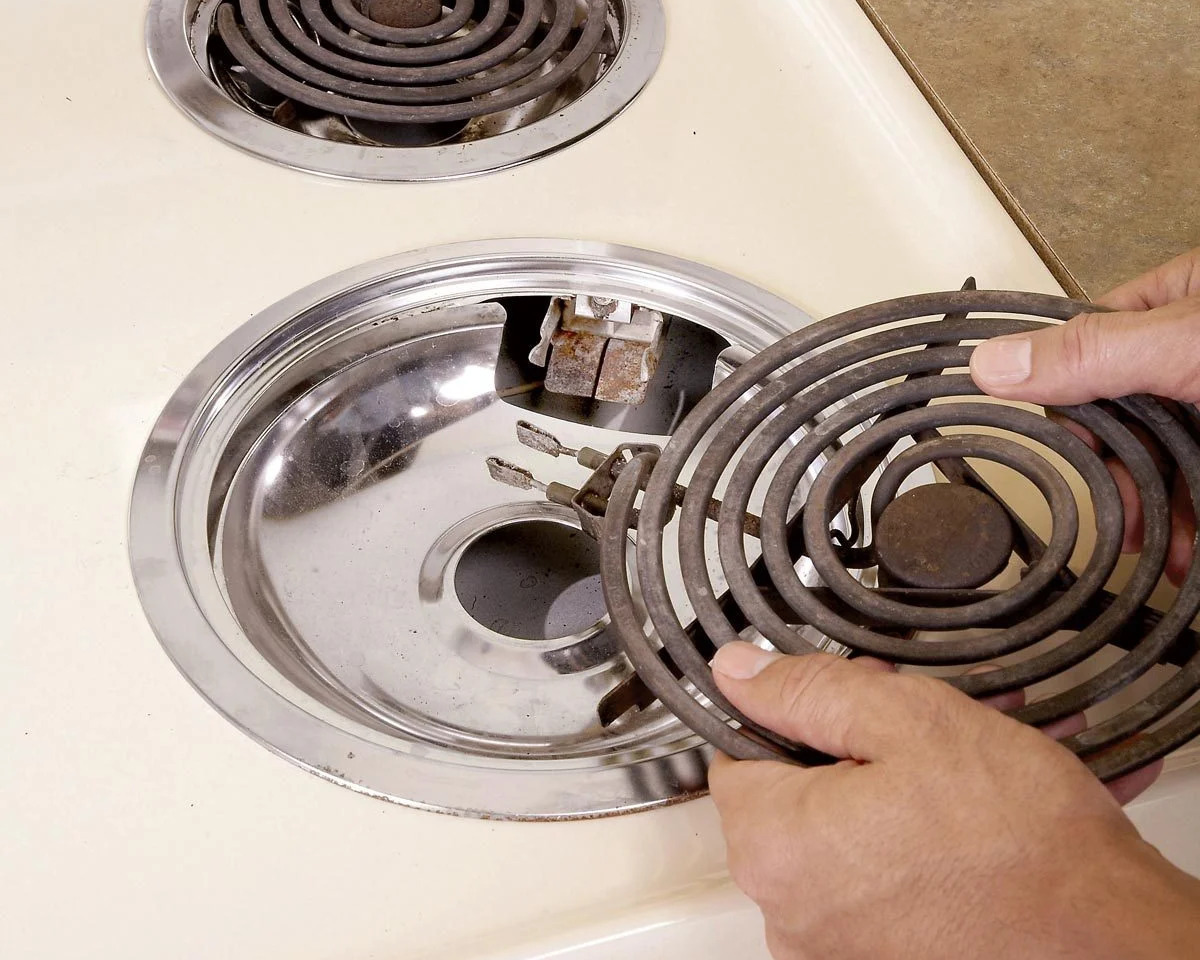
- Gently lift and tilt the burner elements: With your heat-resistant gloves on, gently lift the burner elements and tilt them slightly. Be cautious as the elements may still be warm.
- Disconnect the wires: Once the burner elements are tilted, locate the wires that are connected to them. Carefully disconnect the wires by pulling them apart. Take note of how the wires are connected for easy reinstallation later.
- Set the burner elements aside: Place the disconnected burner elements on a clean and safe surface. You can cover them with a cloth to prevent any dust or debris from accumulating.
Now that you’ve successfully removed the burner elements from your electric stove, you’re ready to move on to cleaning the stove top before reinstalling them.
Cleaning the Stove Top
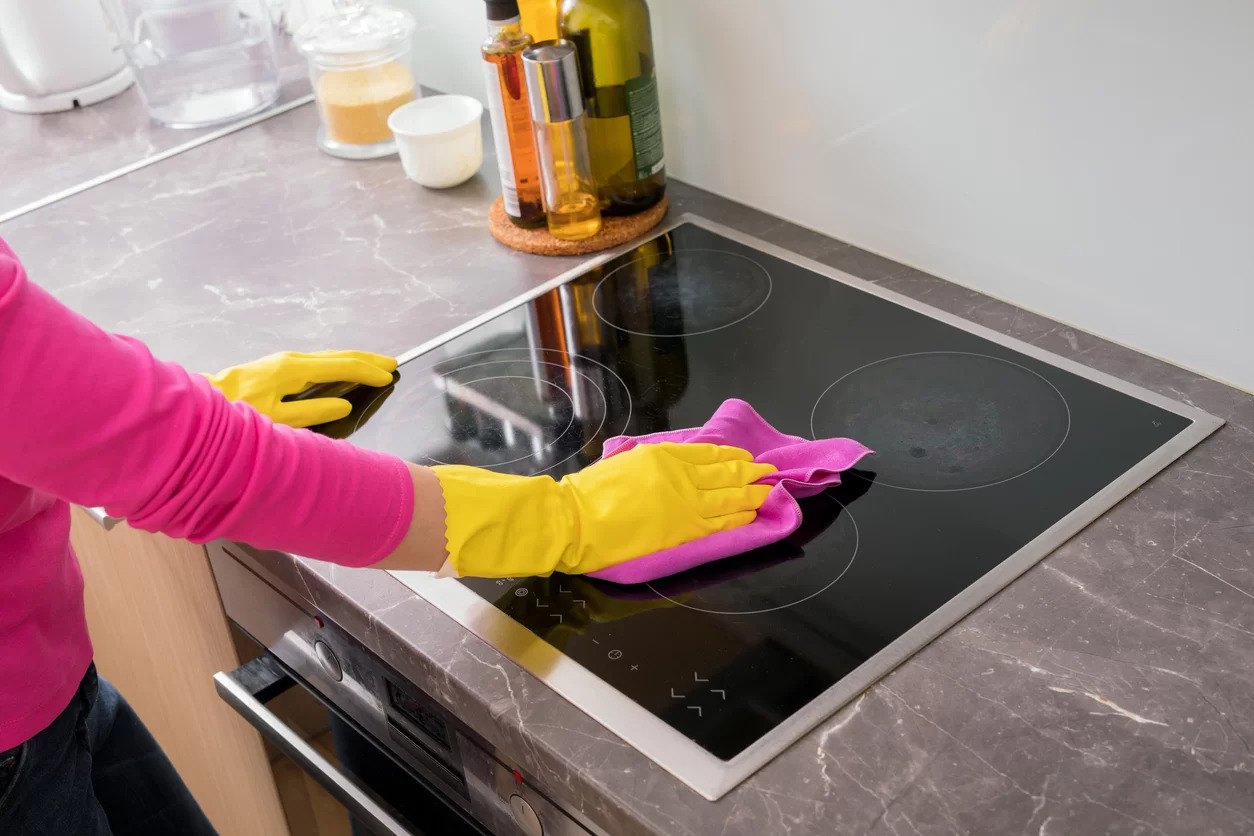
Before you reinstall the burner elements, it’s important to clean the stove top to ensure optimal performance and a tidy cooking surface. Follow these steps to effectively clean your electric stove:
- Remove any loose debris: Start by using a dry cloth or sponge to remove any loose debris, such as food crumbs or spills, from the stove top.
- Prepare a cleaning solution: Mix a mild cleaning agent, such as dish soap or a non-abrasive stove cleaner, with warm water in a bowl or spray bottle. Follow the manufacturer’s instructions for the appropriate dilution.
- Dampen a cloth or sponge: Dip a cloth or sponge into the cleaning solution, ensuring it is damp but not soaking wet. Excess moisture can damage the electrical components of the stove.
- Gently scrub the stove top: Using the damp cloth or sponge, gently scrub the stove top in a circular motion. Pay attention to any stubborn stains or grease buildup and give them a little extra attention.
- Wipe down with a clean cloth: After scrubbing, use a clean, damp cloth to wipe away any residue from the cleaning solution. Make sure to thoroughly rinse the soap off the stove top.
- Dry the stove top: Once you’ve wiped down the stove top, use a dry cloth or towel to completely dry the surface. This step is crucial to prevent any moisture from causing electrical issues.
By following these steps, you’ll have a clean and pristine stove top, ready for the reinstallation of the burner elements.
When putting electric stove burners back on, make sure the prongs on the burner align with the receptacle on the stove. Gently push down and twist the burner until it locks into place. Always ensure the burner is cool before attempting to reattach it.
Read more: How To Fix Electric Stove Burners
Reinstalling the Burner Elements
With your clean stove top ready, it’s time to reinstall the burner elements. Follow these steps to ensure a successful reinstallation:
- Retrieve the burner elements: Take the burner elements that you had set aside and ensure they are clean and in good condition. If you noticed any damage or wear, it’s best to replace them with new elements.
- Identify the connectors: Locate the connectors on the burner elements that correspond to the wires you previously disconnected. They are typically metal prongs or sockets located on the bottom of the elements.
- Align the connectors: Align the connectors on the burner elements with the wires. Carefully push the connectors together until they fit snugly. Make sure each wire is connected to the correct corresponding connector.
- Position the burner elements: Once the connectors are securely attached, position the burner elements back onto the stove top. Align them with the designated spots on the stove surface.
- Secure the burner elements, if necessary: Some electric stoves may require screws or fasteners to hold the burner elements in place. If this is the case, use a screwdriver to reattach them. Make sure they are tightened securely but not overly tightened to avoid damage.
- Inspect the connections: Double-check the connections between the wires and the burner elements to ensure they are secure. Gently wiggle the elements to confirm they are properly attached.
Once you’ve completed these steps, you can move on to testing the burner elements to ensure they are functioning correctly.
Testing the Burners
After reinstalling the burner elements, it’s important to test them to ensure they are functioning properly. Here’s how you can test your electric stove burners:
- Turn on the power: First, make sure the power to your electric stove is turned on at the circuit breaker or power switch.
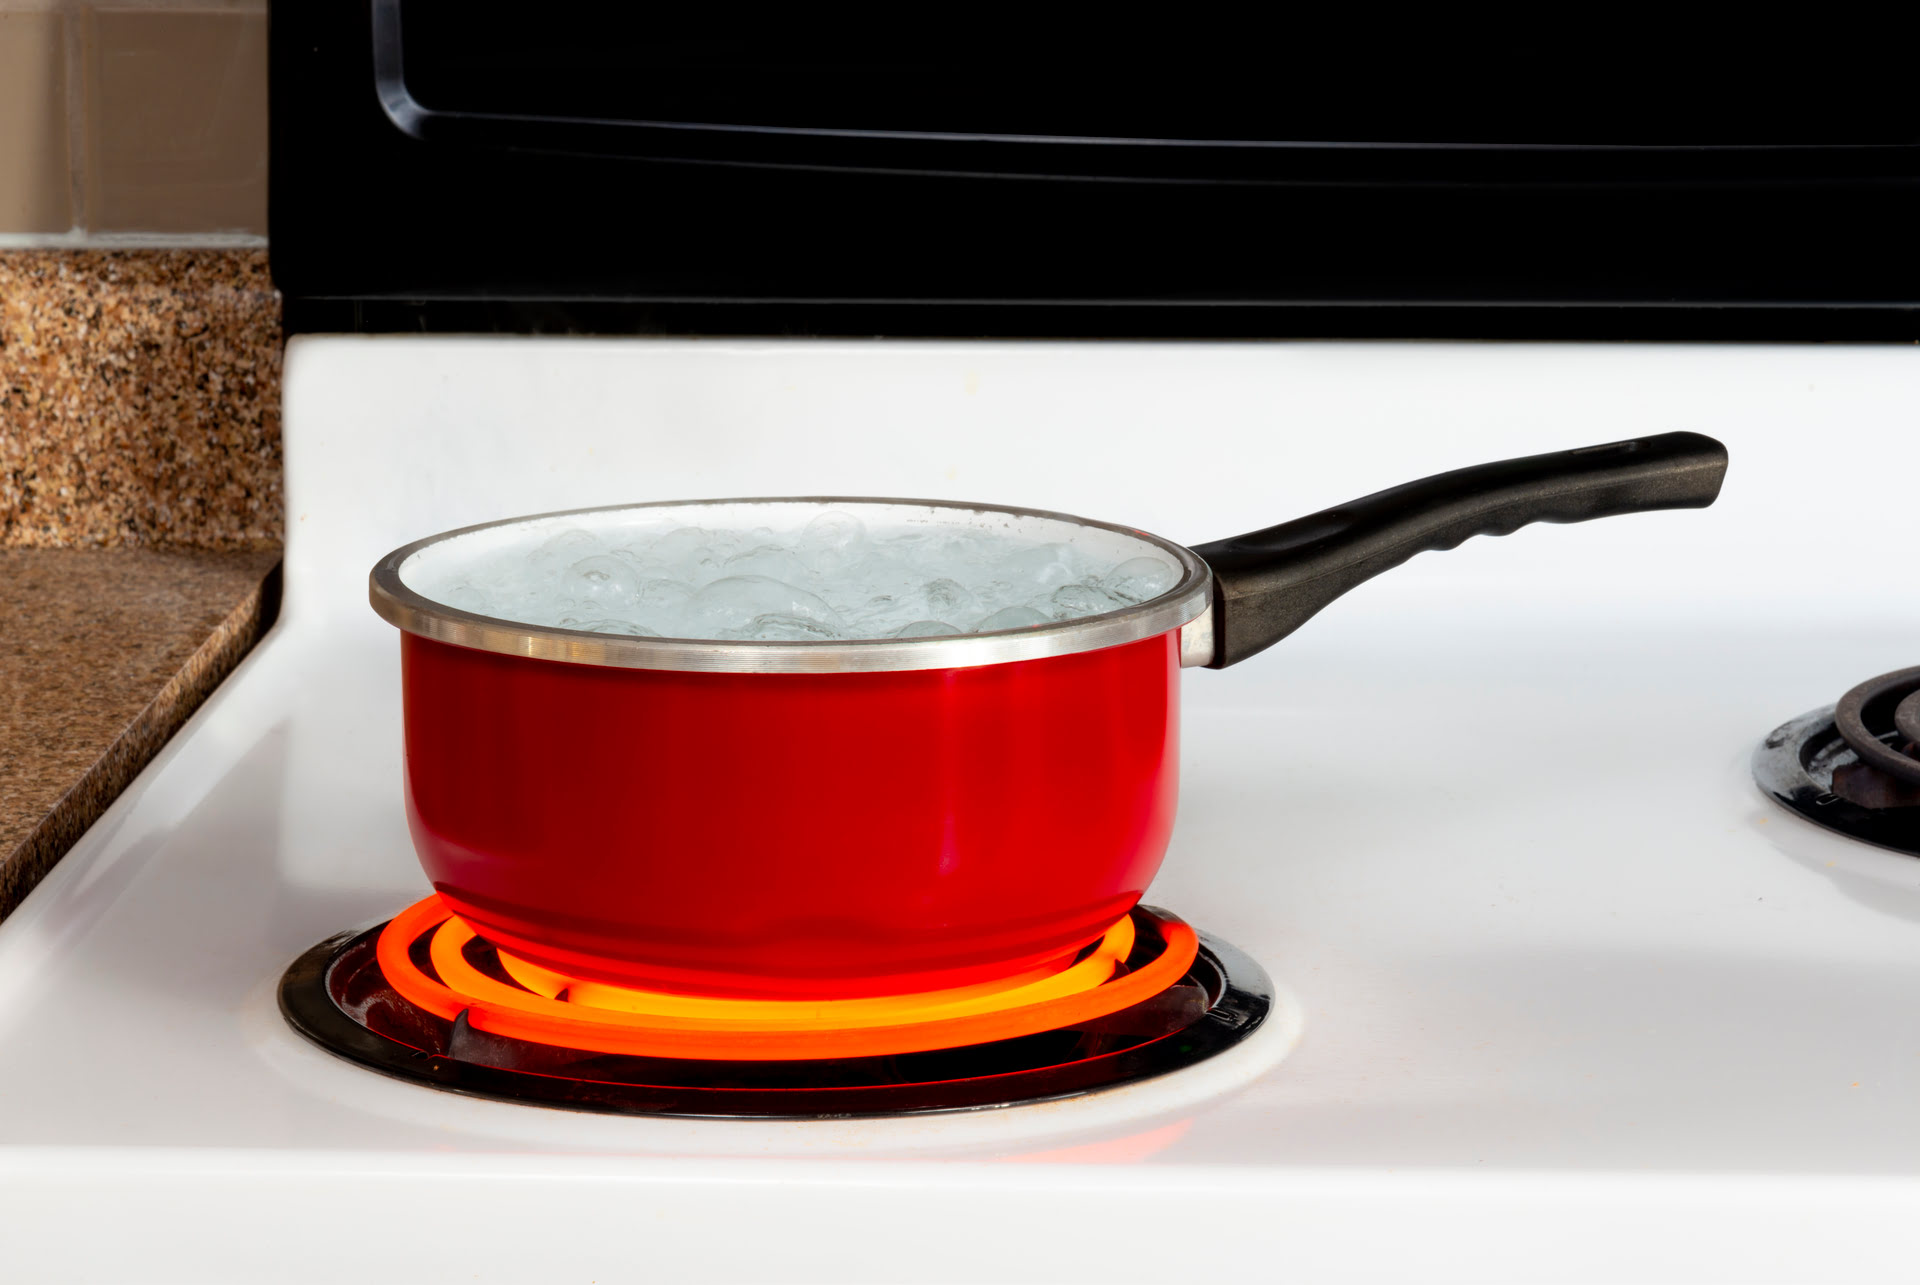
- Select a burner: Choose one burner to test at a time. Turn the corresponding burner knob to the desired heat setting (e.g., low, medium, high).
- Observe the response: Pay attention to how the burner element responds. It should start to heat up within a few seconds. If the burner doesn’t heat up or there are any unusual smells or sounds, turn off the power immediately and reassess the connection.
- Repeat for other burners: Move on to testing the remaining burners using the same process. Make sure to observe each burner element individually to ensure they are functioning as intended.
- Adjust heat settings: Test different heat settings on each burner to ensure their versatility. Check if the heat increases and decreases accordingly when adjusting the knob.
If all the burner elements are functioning properly and heating as expected, congratulations! You have successfully put your electric stove burners back on and tested them for optimal performance.
However, if you encounter any issues such as a burner not heating evenly or not heating at all, it may indicate a larger problem. In such cases, it is advisable to consult a professional technician to diagnose and resolve the issue.
Troubleshooting Common Issues
While reinstalling and testing your electric stove burners, you may encounter some common issues. Here are a few troubleshooting steps you can take to address these problems:
- Inconsistent heating: If you notice uneven heating on a burner, it could be due to a faulty connection. Turn off the power and remove the burner element. Clean the connection points on both the element and the stove top, ensuring they are free from any debris or residue. Reinstall the burner element and test it again.
- No heat from a burner: If a burner is not heating up at all, it may indicate a problem with the electrical connection or a defective element. Check the wire connections to ensure they are securely attached. If the connections are fine, you may need to replace the burner element.
- Sparkling or crackling sound: If you hear sparking or crackling sounds when attempting to use a burner, it could be due to a loose or damaged connection. Turn off the power immediately and inspect the connections. If necessary, tighten the connections or replace any damaged components.
- Tripped circuit breaker: If your electric stove burners are not working at all, it’s possible that the circuit breaker has tripped. Check your circuit breaker panel and reset the breaker for the stove. If the issue persists, it’s advisable to consult a professional electrician.
- Inaccurate temperature control: If you find that your burners are not maintaining a consistent temperature, it could be a sign of a faulty thermostat or control switch. In this case, it is recommended to seek professional assistance to diagnose and resolve the issue.
If you encounter any other issues or if the above troubleshooting steps do not resolve the problem, it is always best to consult a qualified technician or contact the manufacturer’s customer support for further assistance.
Conclusion
Putting electric stove burners back on is a relatively simple task that can be accomplished with a few basic steps. By following the instructions outlined in this article, you can successfully remove, clean, and reinstall the burner elements on your electric stove. Remember to prioritize safety by following the necessary precautions and ensuring the power is turned off before working on the stove.
Gathering the necessary tools beforehand will make the process smoother and more efficient. Cleaning the stove top before reinstalling the burners helps maintain a clean and hygienic cooking surface.
Once you’ve reinstalled the burner elements, it’s important to test them to ensure they are functioning properly. Testing not only confirms that the connections are secure but also ensures that each burner heats up evenly and responds to the heat settings on the stove.
If you encounter any issues during the process, such as inconsistent heating or sparking sounds, refer to the troubleshooting steps provided in this article. It’s important to address these issues promptly to prevent further damage or accidents.
Remember, if you’re unsure or uncomfortable performing any of these steps, it’s always best to seek professional assistance. They have the expertise and knowledge to handle any potential problems and ensure the safe and efficient operation of your electric stove.
With proper care and maintenance, your electric stove burners can continue to provide you with a reliable and convenient cooking experience for years to come.
Now that you've mastered reattaching electric stove burners, why stop there? Dive into our comprehensive guide on home repair, where we break down the essentials of fixing common household issues. You'll gain practical skills and confidence to tackle any challenge around your home. Whether you're patching up a leaky faucet or repairing a creaky floorboard, our easy-to-follow advice has got you covered. Keep your living space in tip-top shape with our expert guidance!
Frequently Asked Questions about How To Put Electric Stove Burners Back On
Was this page helpful?
At Storables.com, we guarantee accurate and reliable information. Our content, validated by Expert Board Contributors, is crafted following stringent Editorial Policies. We're committed to providing you with well-researched, expert-backed insights for all your informational needs.

0 thoughts on “How To Put Electric Stove Burners Back On”