Articles
How To Clean Clogged Gas Stove Burners
Modified: August 25, 2024
Learn effective methods and quick tips on how to clean clogged gas stove burners with our informative articles, ensuring a hassle-free cooking experience.
(Many of the links in this article redirect to a specific reviewed product. Your purchase of these products through affiliate links helps to generate commission for Storables.com, at no extra cost. Learn more)
Introduction
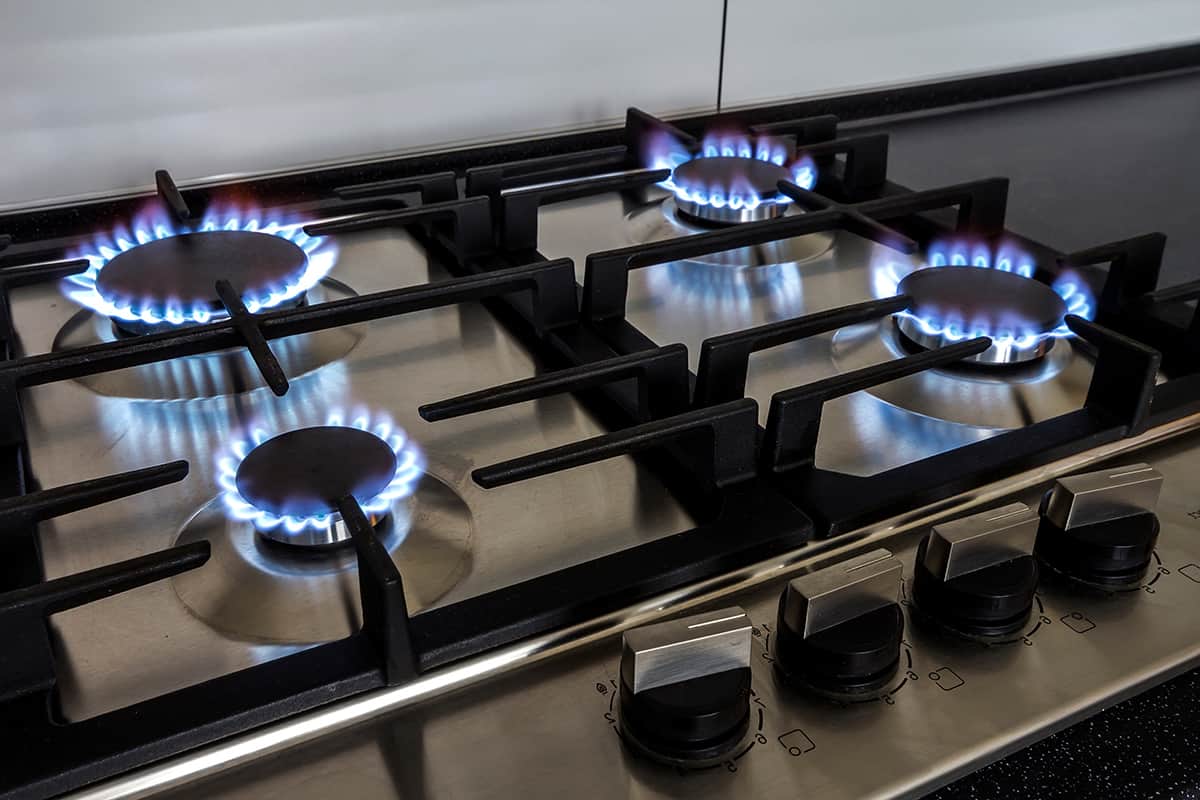
A gas stove is an essential kitchen appliance that provides efficient and precise heat for cooking. Over time, however, the burners on a gas stove can become clogged with grease, food particles, and other debris. This can lead to uneven heating, reduced flame intensity, and even difficulty in igniting the burners.
To maintain the optimal performance of your gas stove, it is important to clean the clogged burners regularly. Cleaning your gas stove burners not only improves their efficiency but also ensures safe and consistent cooking results. In this article, we will guide you through a step-by-step process on how to clean clogged gas stove burners effectively.
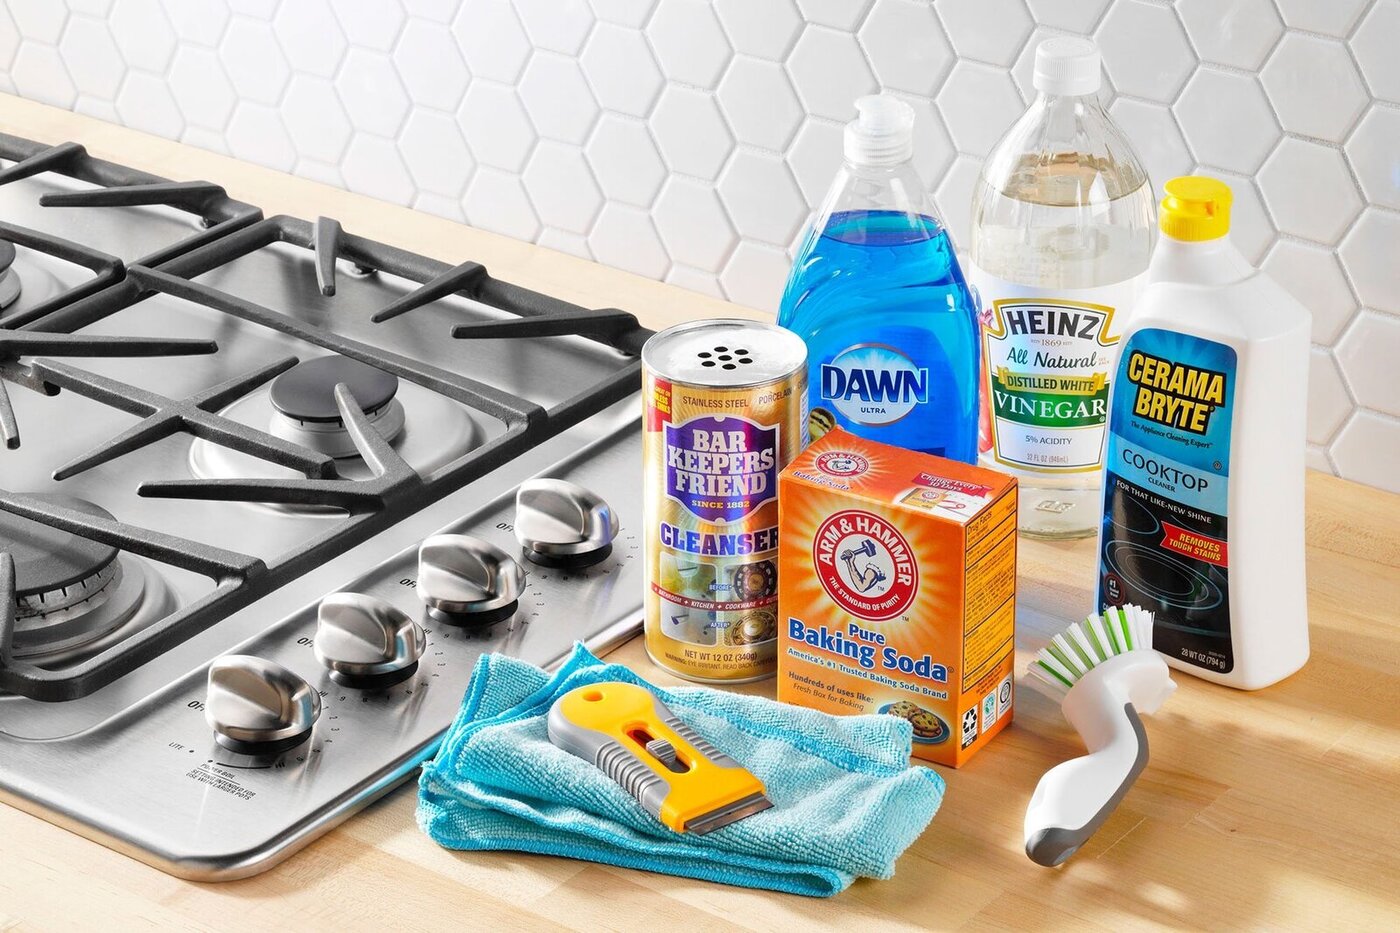
Before you begin cleaning, gather the necessary materials to make the process smooth and efficient. You will need:
- Mild dish soap
- Vinegar
- Baking soda
- Warm water
- A soft brush or sponge
- Paper towels or a clean cloth
Now that you have the materials ready, let’s dive into the cleaning process!
Key Takeaways:
- Regularly cleaning clogged gas stove burners with simple household materials like vinegar and baking soda ensures efficient heat distribution and safe cooking, improving overall stove performance.
- Prioritizing safety and following a step-by-step cleaning process, including soaking, scrubbing, and reassembling, helps maintain gas stove burners, leading to consistent flame intensity and enhanced cooking experience.
Read more: How to Get Samsung Gas Stove Burners Clean
Materials Needed
To clean your clogged gas stove burners effectively, you will need the following materials:
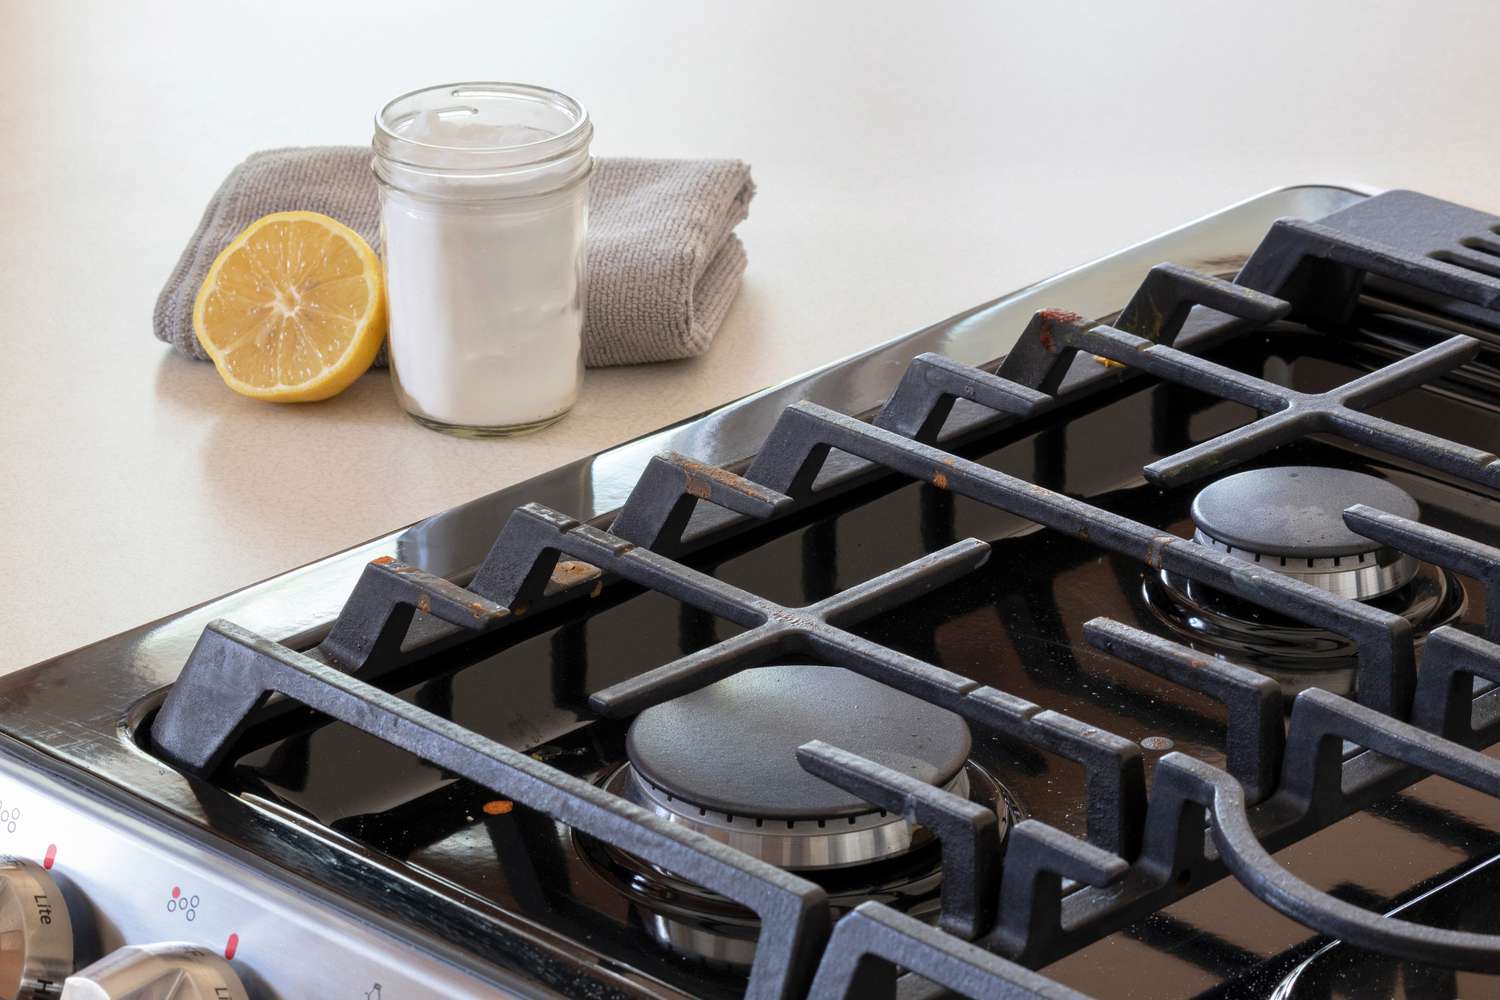
- Mild dish soap: This will help break down grease and stubborn residue on the burners.
- Vinegar: Vinegar is a natural cleaning agent that can help remove tough stains and odors.
- Baking soda: Baking soda is an excellent abrasive cleaner that can tackle stubborn grime without scratching the surface.
- Warm water: Warm water will be used for rinsing and cleaning purposes.
- A soft brush or sponge: You will need a soft-bristled brush or sponge to scrub away dirt and grime from the burners.
- Paper towels or a clean cloth: These will be used to wipe down the burners and ensure they are completely dry before reassembling.
Having these materials ready will make the cleaning process much more efficient and effective.
It’s also important to note that safety should always be the top priority when cleaning your gas stove burners. Make sure to turn off the gas supply and allow the burners to cool completely before starting the cleaning process. Additionally, if you’re not confident in your ability to clean the burners yourself, it’s always a good idea to consult a professional.
Now that you have your materials ready and the necessary precautions in mind, let’s move on to the step-by-step process of cleaning clogged gas stove burners.
Step 1: Remove the Burner Grates and Caps
The first step in cleaning clogged gas stove burners is to remove the burner grates and caps. These components can accumulate a lot of grease and food debris, which can hinder the burner’s performance. Removing them will allow for a thorough cleaning.
Follow these steps to remove the burner grates and caps:
- Ensure the burners and stove have completely cooled down. This is crucial for safety.
- Locate the burner grates and caps on your gas stove. They are usually placed on top of the burners.
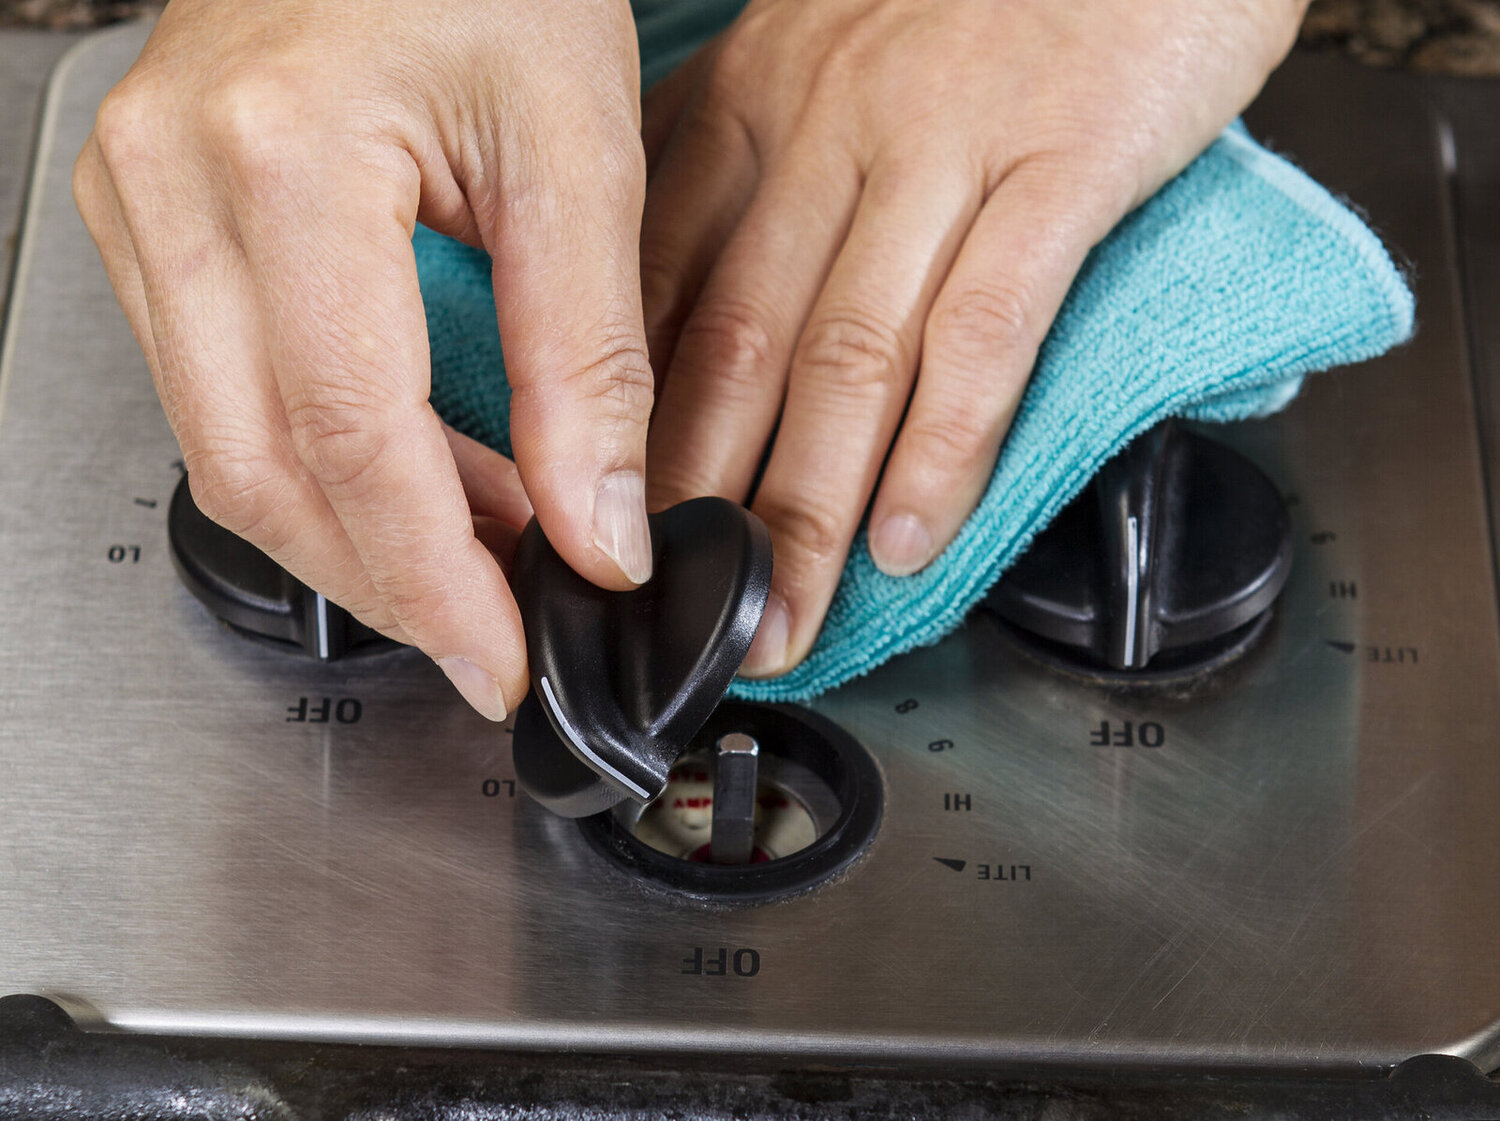
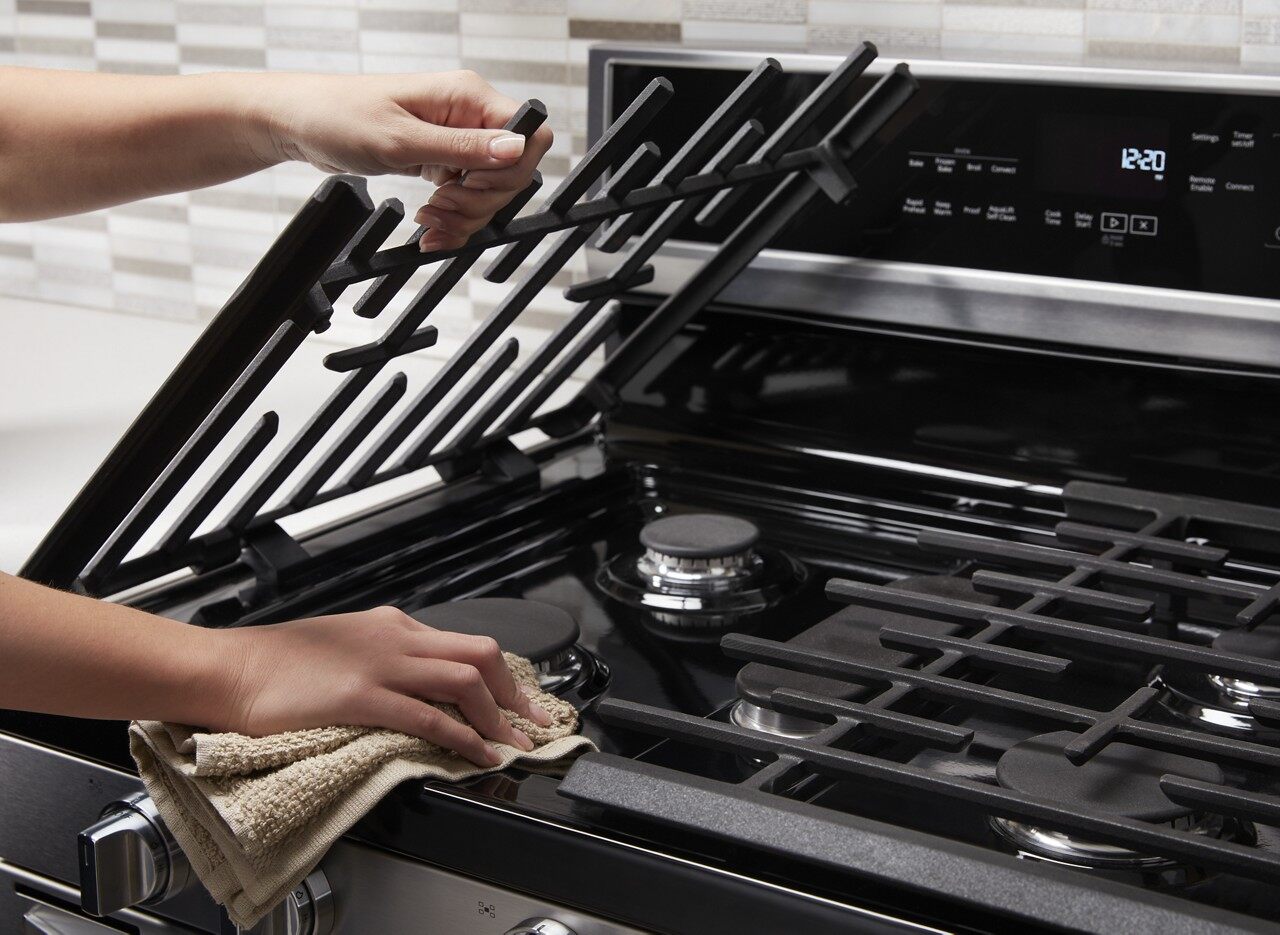
- Gently lift the burner grates off the stove. Depending on the model, they may be removable with ease or require a slight twist to release.
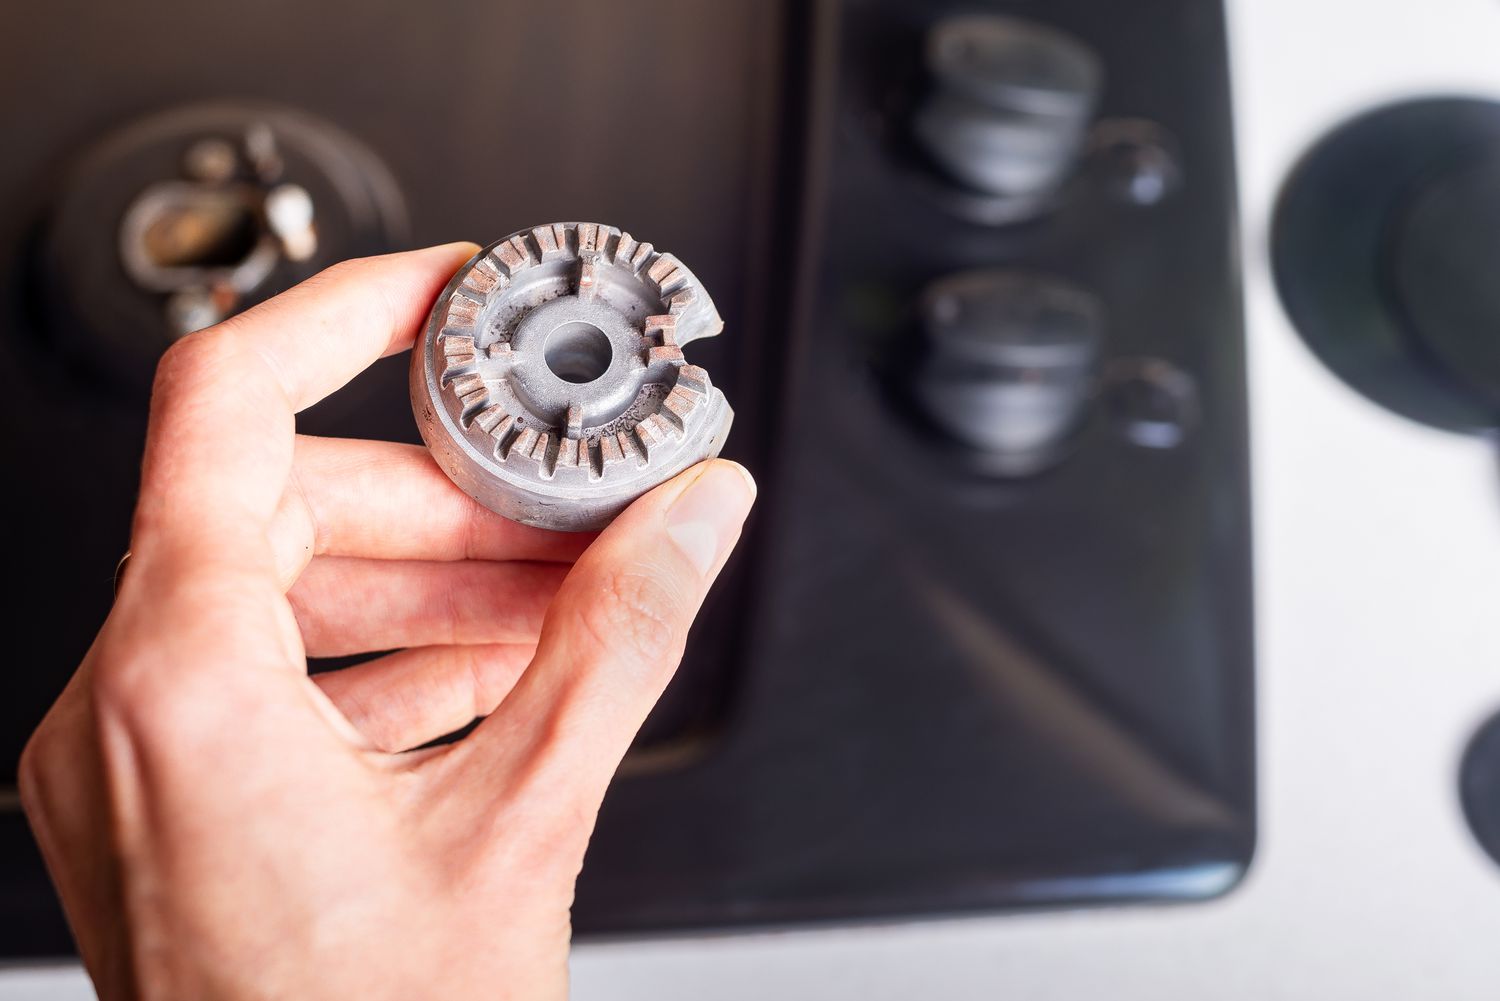
- Once the grates are removed, lift the burner caps. These caps protect the burner heads and distribute heat evenly. They are often held in place by small pins or clips.
- Set aside the burner grates and caps in a safe and convenient location. You may place them in a sink or on a protective surface.
By removing the burner grates and caps, you will expose the burner openings that need to be thoroughly cleaned. This will ensure your gas stove’s performance is restored to its full potential.
Now that you have successfully removed the burner grates and caps, you are ready to move on to the next step: soaking the burner grates and caps for deep cleaning.
Step 2: Soak the Burner Grates and Caps
Soaking the burner grates and caps is an effective way to loosen tough grime and grease, making them easier to clean. This step is especially crucial if your burners are heavily clogged or have stubborn residue.
Follow these steps to soak the burner grates and caps:
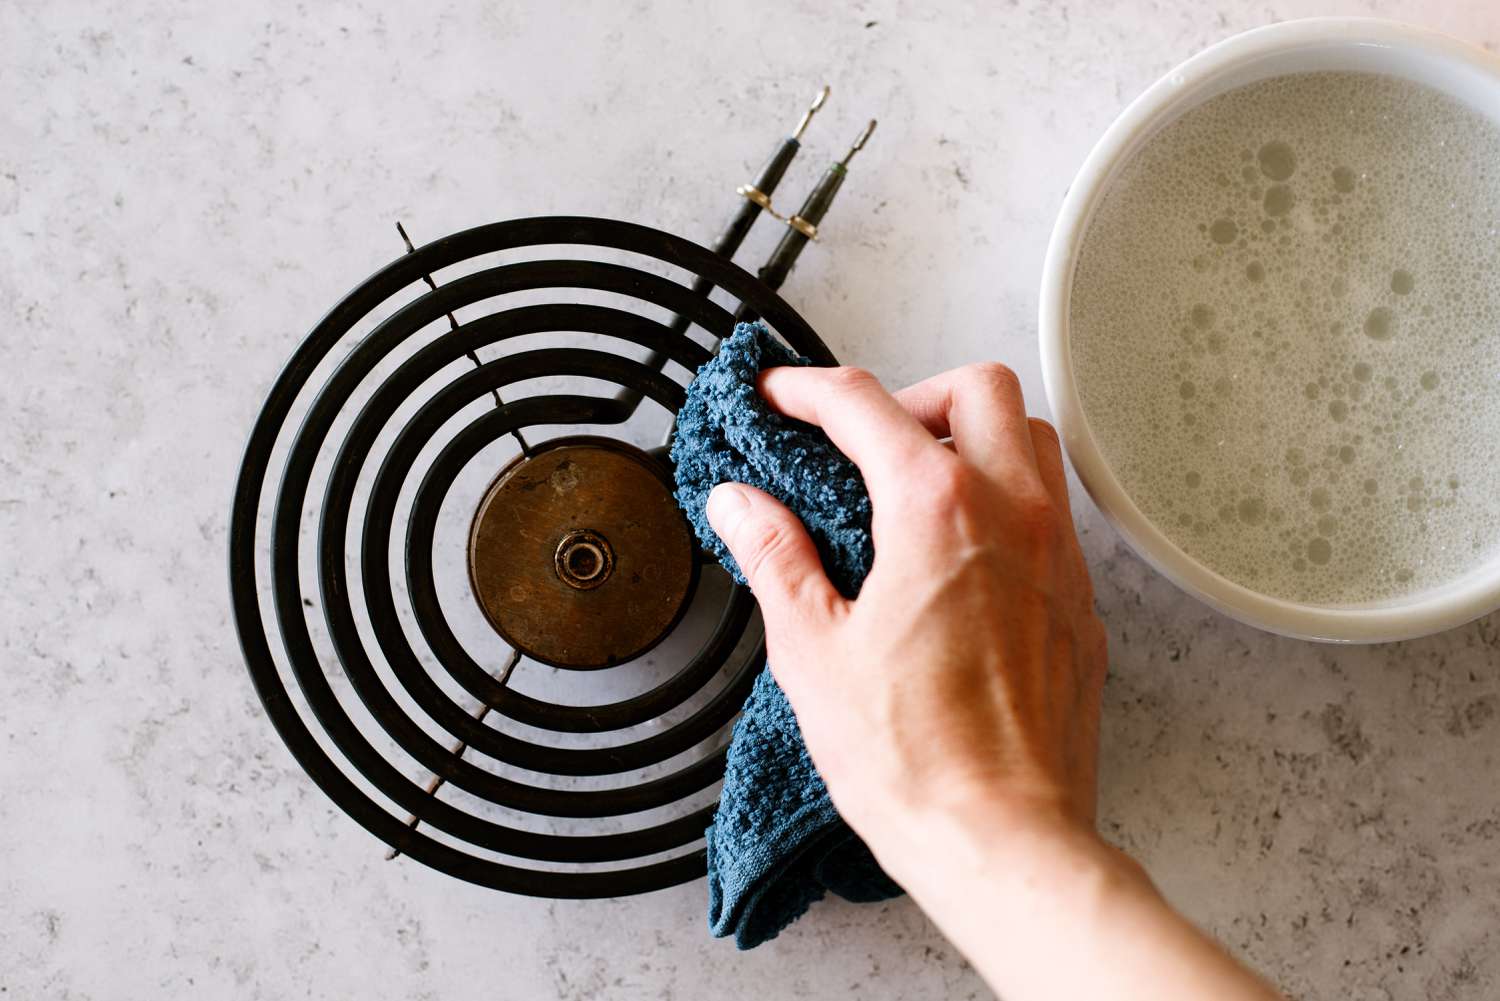
- Fill a large container or sink with warm water.
- Add a few drops of mild dish soap to the water. This will help break down grease and grime.
- Place the burner grates and caps into the soapy water.
- Ensure the grates and caps are fully submerged in the water.
- Allow them to soak for at least 30 minutes, or longer if needed. This will give the soap and warm water time to loosen the dirt and grease.
While the burner grates and caps are soaking, you can proceed to the next step and start cleaning the burner openings.
Soaking the burner grates and caps will help soften and loosen stubborn debris, making it easier to remove during the cleaning process. It is an important step in achieving thorough and effective cleaning results.
Now that the burner grates and caps are soaking, let’s move on to step 3: removing loose debris from the stove burners.
Step 3: Remove Loose Debris from the Stove Burners
Before moving on to the deep cleaning process, it’s important to remove any loose debris from the stove burners. This includes crumbs, food particles, and other loose dirt that may have accumulated on the surface.
Follow these steps to remove loose debris from the stove burners:
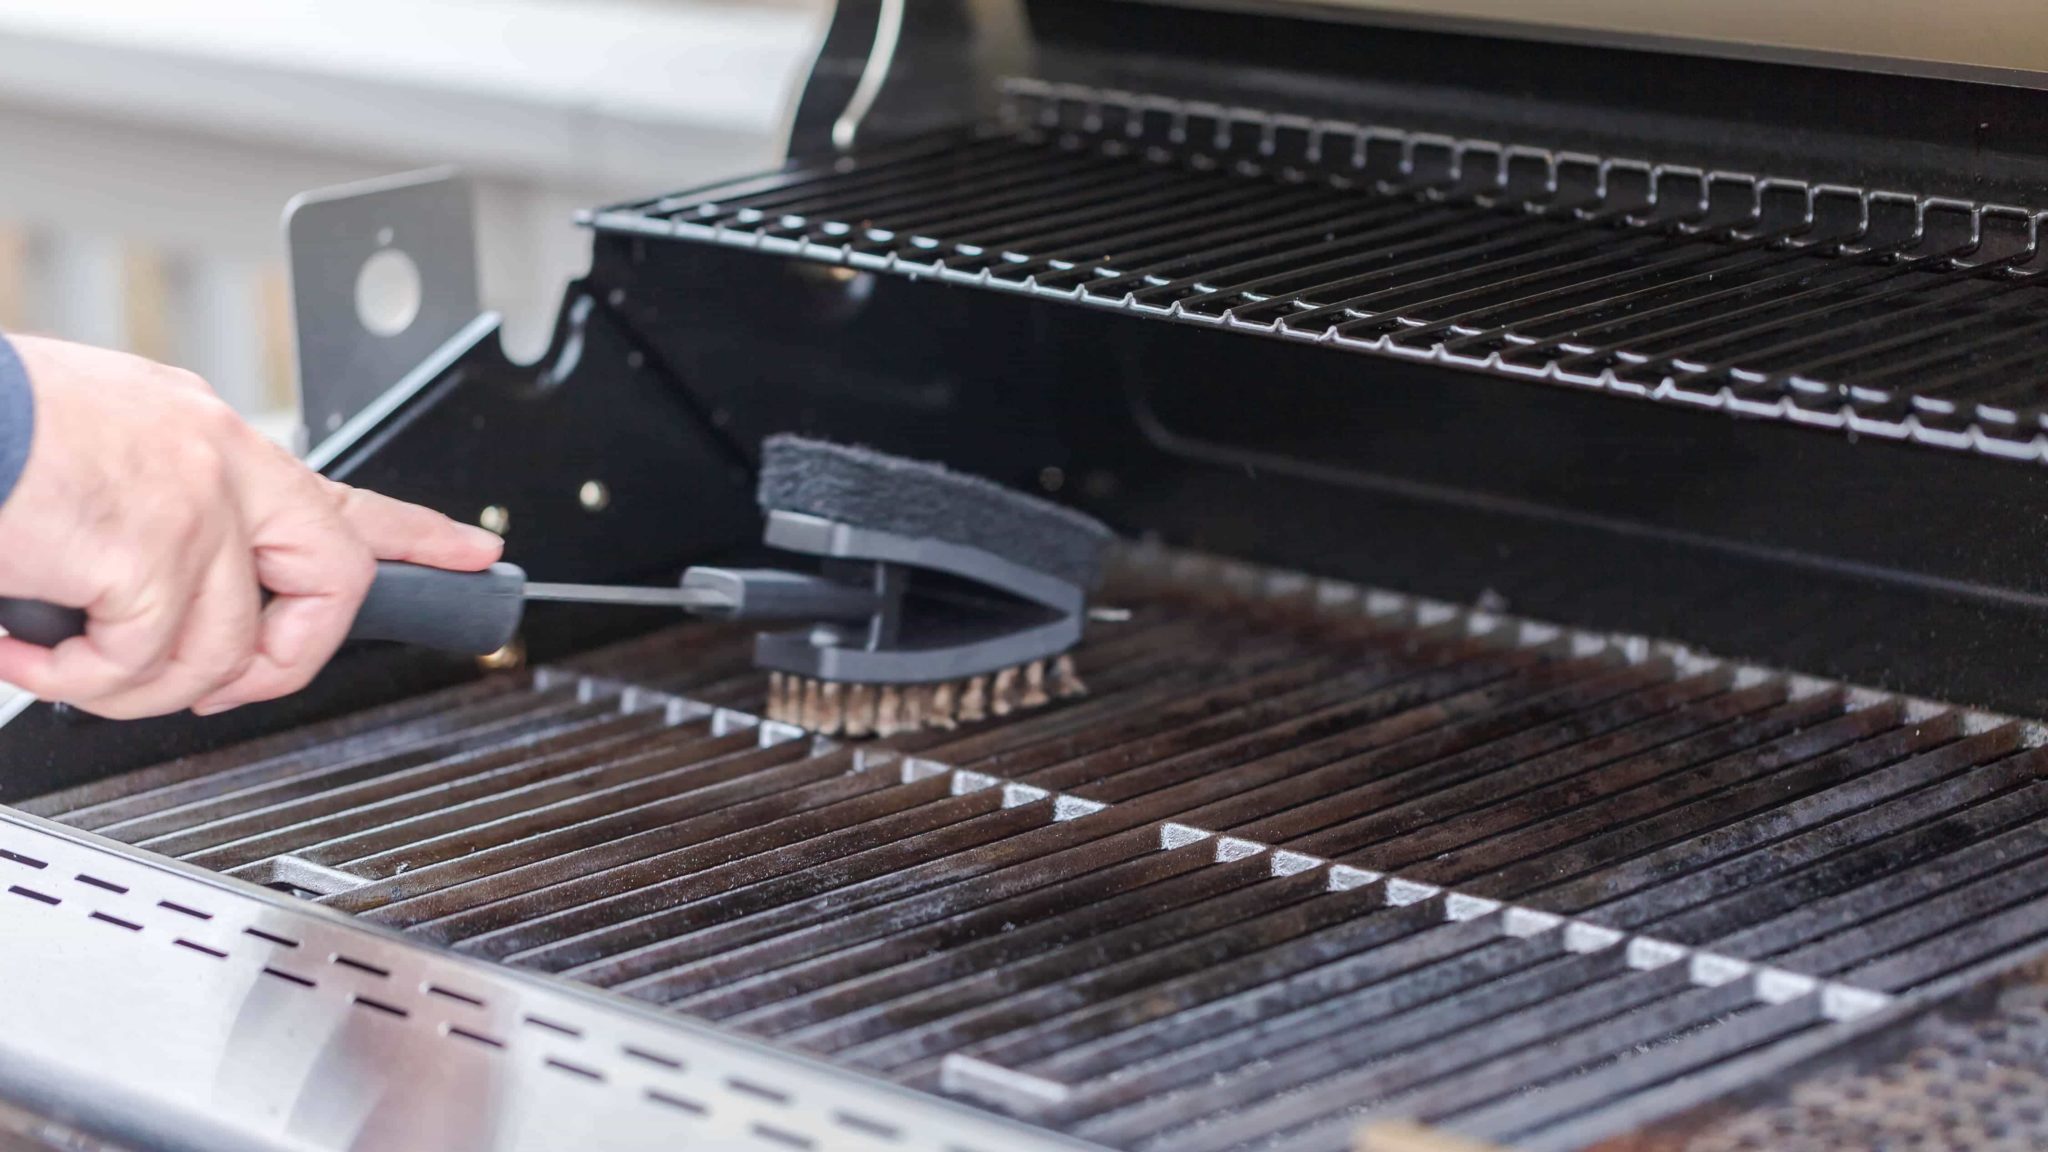
- Using a soft brush or a dry cloth, gently brush or wipe away any loose debris from the burner heads and surrounding areas. Be careful not to push the debris further into the burner openings.
- If the burners are heavily clogged or have stubborn debris, you can use a can of compressed air or a vacuum cleaner with a brush attachment to blow away or suck up the loose debris.
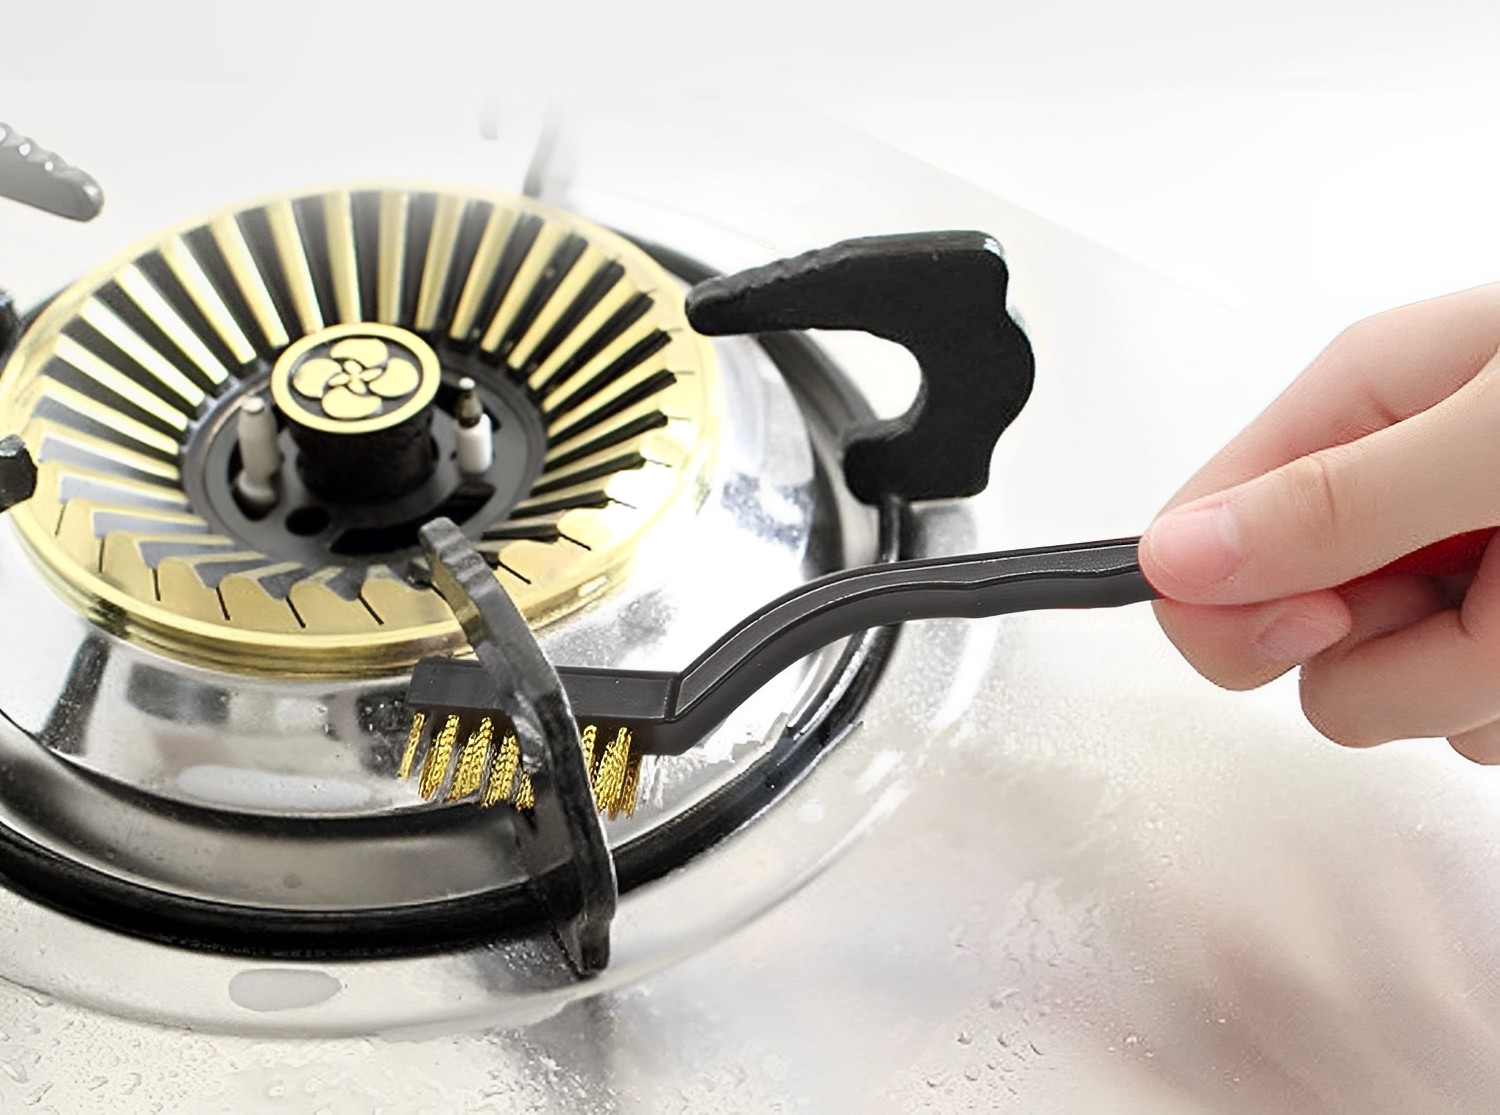
- Pay special attention to the small holes and slits on the burner heads. Use a toothpick or a straightened paperclip to gently clear any debris that is stuck in the openings. Be cautious not to damage or enlarge the holes.
- Continue this process until all visible loose debris has been removed from the stove burners.
Removing the loose debris from the stove burners will ensure that the deep cleaning is more effective. It also prevents any loose dirt from interfering with the burner’s performance.
Now that you have removed the loose debris, you are ready to move on to step 4: cleaning the burner openings.
To clean clogged gas stove burners, remove the burners and soak them in hot, soapy water. Use a brush to scrub away any debris, then rinse and dry thoroughly before reassembling.
Read more: How To Use Gas Stove Burners
Step 4: Clean the Burner Openings
Now that you have removed the loose debris from the stove burners, it’s time to clean the burner openings. These small holes in the burner heads are crucial for proper flame distribution and heat output. Cleaning them will ensure optimal performance.
Follow these steps to clean the burner openings:
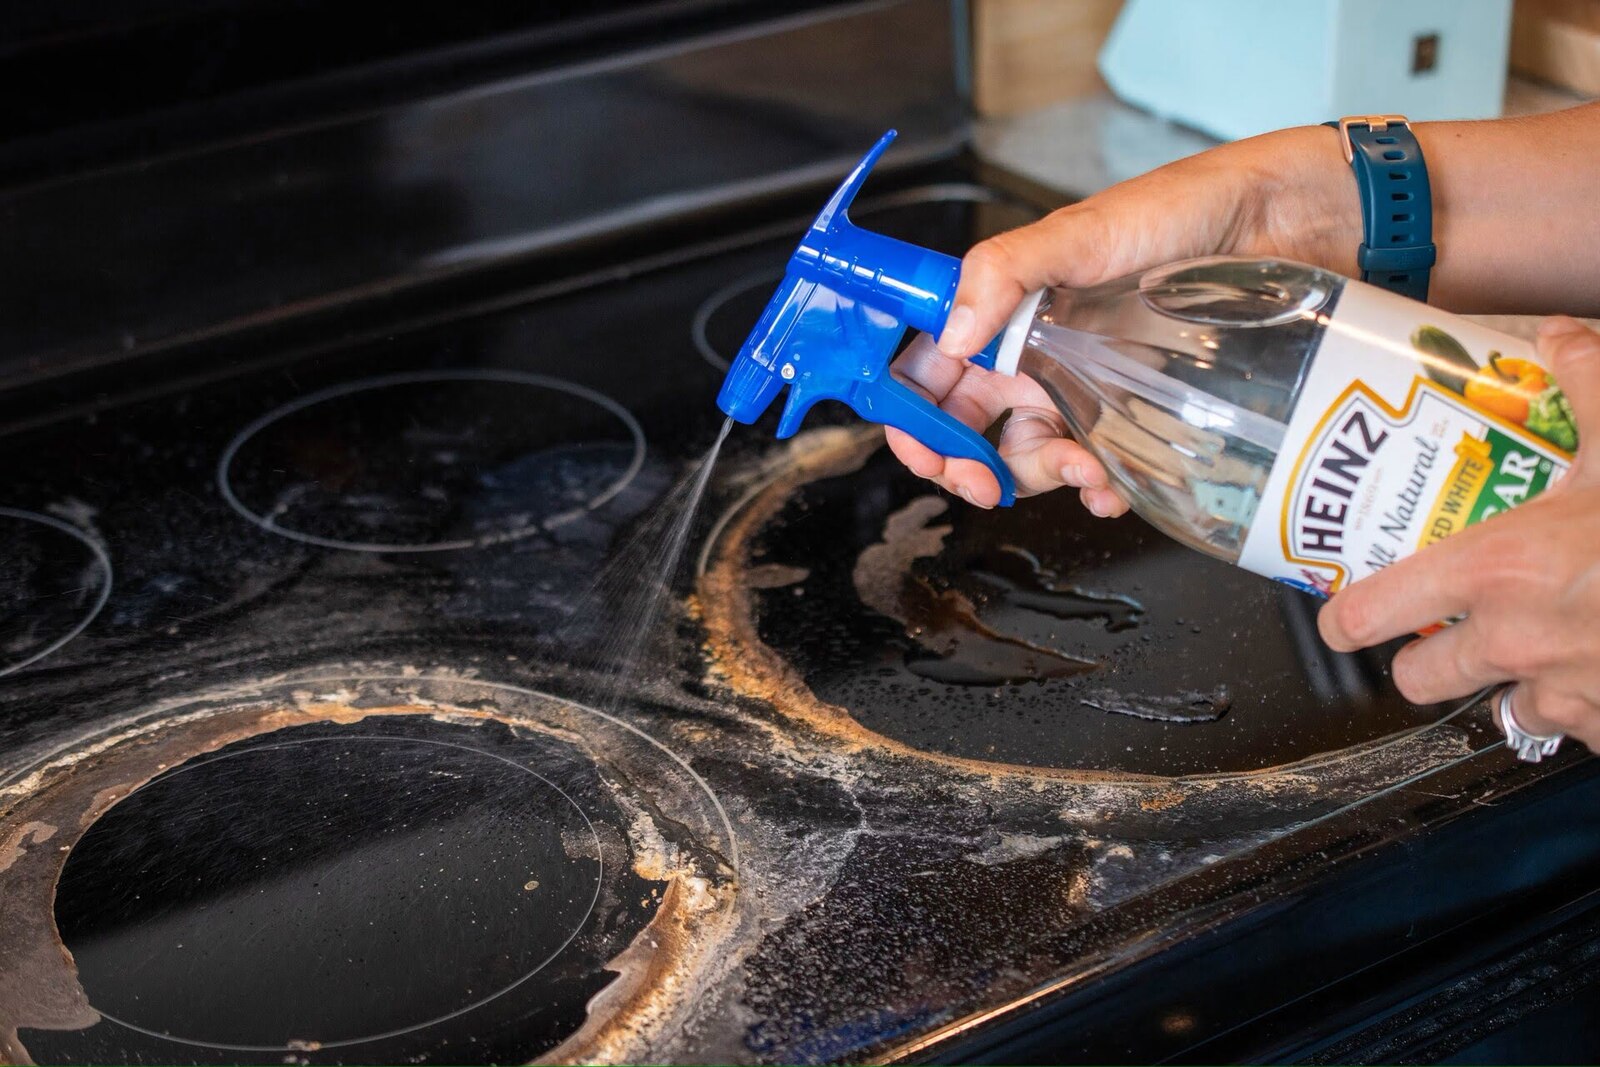
- Prepare a solution of equal parts water and vinegar in a small bowl or container.
- Dip a soft brush or toothbrush into the vinegar solution.
- Gently scrub the burner openings with the brush, paying close attention to remove any clogged gunk or residue. Use circular motions and a light touch to avoid damaging the burner heads.
- If the burner openings are still clogged, you can use a toothpick or a straightened paperclip to carefully clear any stubborn debris. Be cautious not to enlarge the holes or damage the burner heads.
- Once you have thoroughly cleaned the burner openings, rinse them with warm water to remove any remaining vinegar solution or debris.
- Inspect the burner openings to ensure they are clear and free from any obstructions.
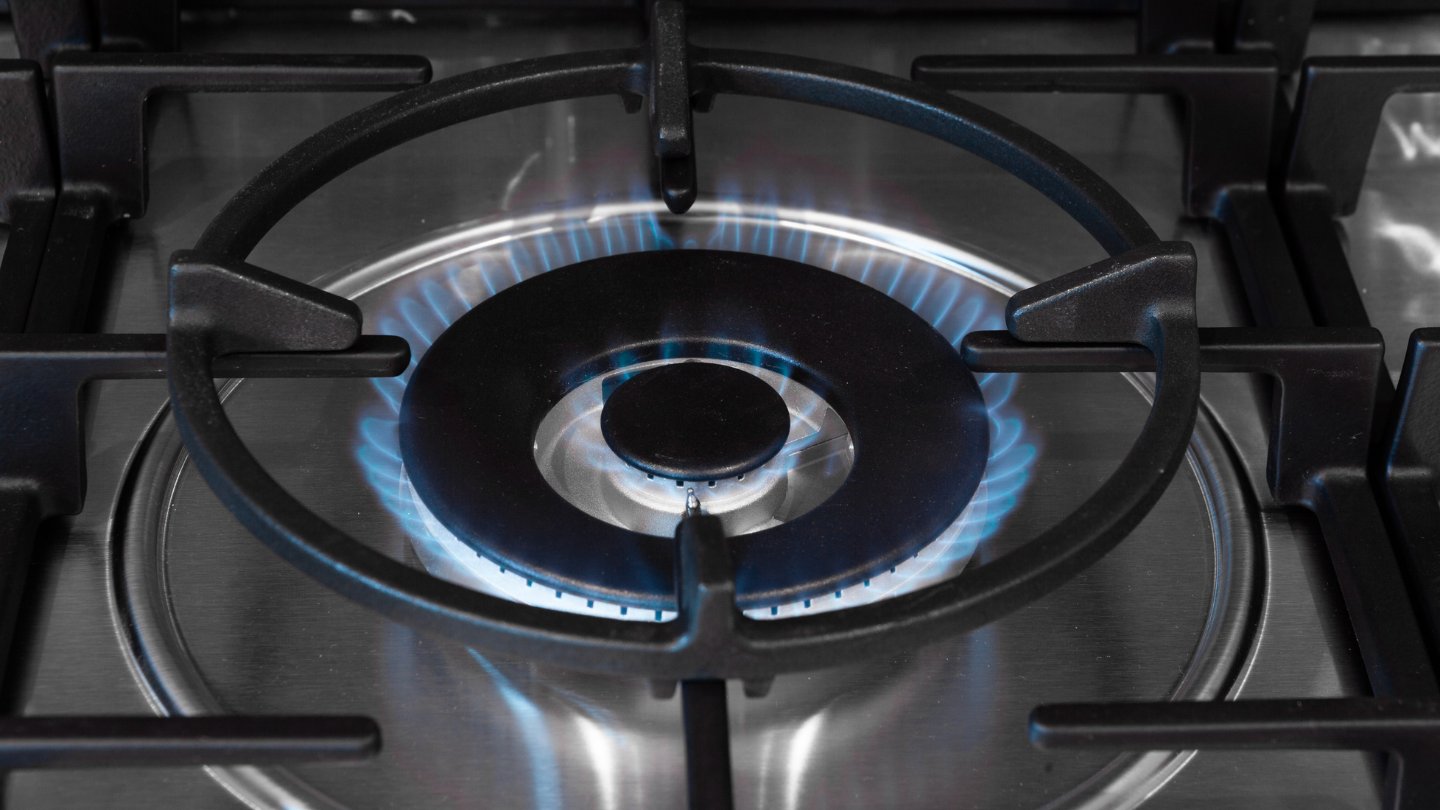
By cleaning the burner openings, you will ensure that the gas flows evenly and efficiently, resulting in consistent heat and flame intensity. It’s an essential step to maintain the performance of your gas stove.
Now that you have cleaned the burner openings, it’s time to move on to step 5: scrubbing the burner grates and caps.
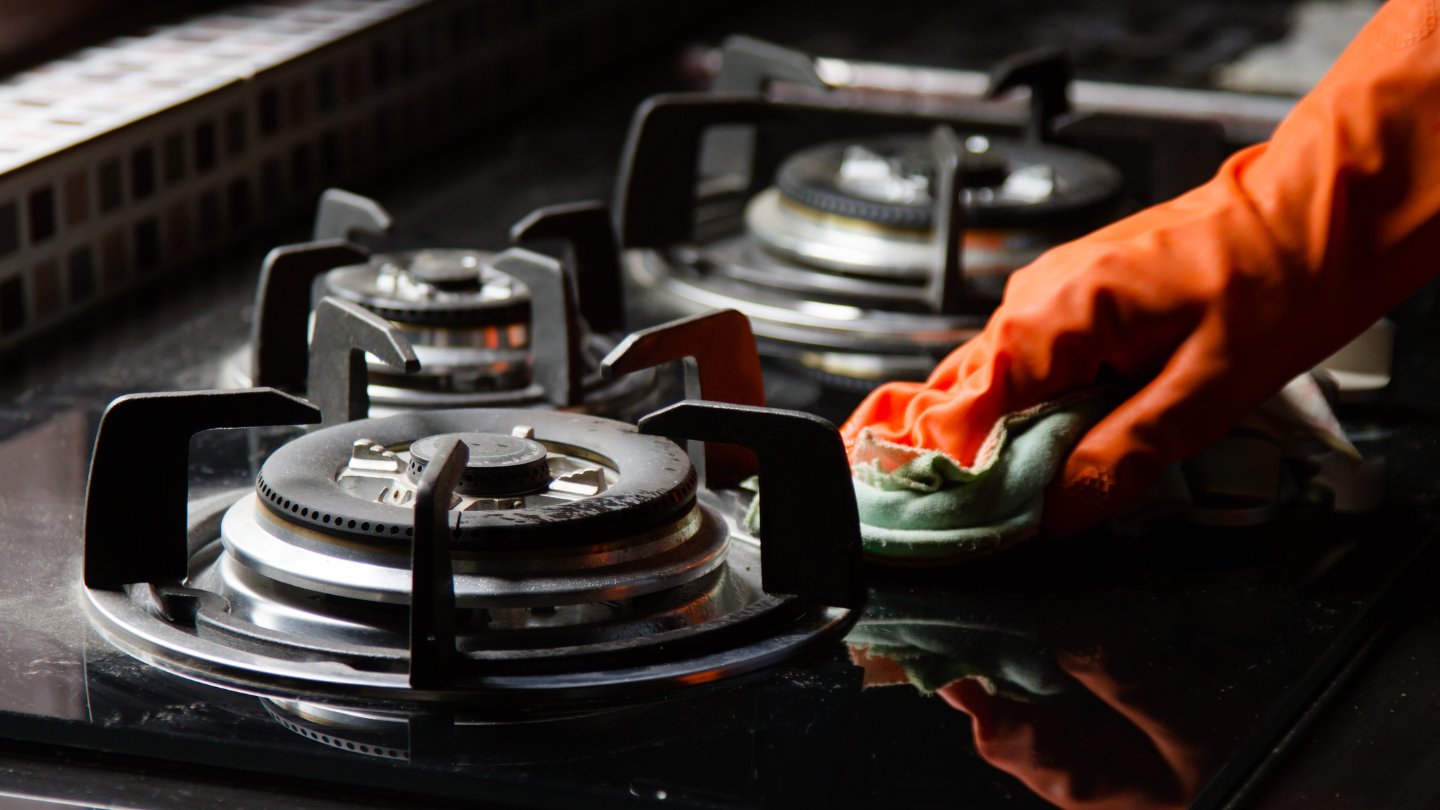
Step 5: Scrub the Burner Grates and Caps
After soaking the burner grates and caps, it’s time to scrub them to remove any remaining grime and grease. This step will ensure that your gas stove burners are clean and ready for use.
Follow these steps to scrub the burner grates and caps:
- Remove the burner grates and caps from the soapy water solution.
- Using a soft brush or sponge, scrub the burner grates and caps with warm water and mild dish soap. Pay attention to any stubborn areas or residue buildup.
- If necessary, you can make a paste using baking soda and water and apply it to any tough stains or baked-on grease. Scrub the affected areas gently with the paste to help remove the buildup.
- Rinse the burner grates and caps thoroughly with warm water to remove any soap or cleaning residue.
- Inspect the burner grates and caps to ensure they are clean and free from any remaining grime or residue.
Scrubbing the burner grates and caps will help restore their appearance and remove any lingering grease or food particles. It’s an essential step in maintaining the cleanliness and functionality of your gas stove burners.
Now that the burner grates and caps are clean, it’s time to move on to step 6: rinse and dry the burner grates and caps.
Step 6: Rinse and Dry the Burner Grates and Caps
After scrubbing the burner grates and caps, it’s important to rinse off any remaining residue and properly dry them before reassembling them onto the gas stove. This will ensure that they are clean and ready for use.
Follow these steps to rinse and dry the burner grates and caps:
- Rinse the burner grates and caps thoroughly under warm running water. Make sure to remove any traces of soap or cleaning solution.
- Inspect the grates and caps to ensure that they are free from any remaining grime or residue.
- Pat the burner grates and caps dry with paper towels or a clean cloth. Ensure that they are completely dry before reassembling them onto the gas stove.
- Allow the burner grates and caps to air dry for a while to ensure there is no moisture remaining.
Properly rinsing and drying the burner grates and caps is important to prevent any moisture or residue from interfering with the burner’s performance and causing potential issues.
With the burner grates and caps now rinsed and dried, you’re almost done with the cleaning process. Let’s move on to the final step: reassembling the burner grates and caps.
Step 7: Reassemble the Burner Grates and Caps
Now that you have completed the cleaning process for your gas stove burners, it’s time to reassemble the burner grates and caps onto the stove. This final step will ensure that your gas stove is ready for use.
Follow these steps to reassemble the burner grates and caps:
- Ensure that the burner heads and surrounding areas are clean and dry.
- Take the burner caps and place them back onto the burner heads. Make sure they are properly aligned and fit securely.
- Next, place the burner grates back onto the stove, ensuring that they are properly positioned over the burner caps.
- Make sure the burner grates fit securely onto the stove, and there are no gaps or misalignment.
By reassembling the burner grates and caps correctly, you ensure that the burners are properly aligned, and the gas flow is not obstructed. This allows for efficient and safe operation of your gas stove.
Once you have reassembled the burner grates and caps, take a moment to double-check everything and ensure that all components are securely in place.
Congratulations! You have successfully cleaned and reassembled your gas stove burners. Your gas stove is now clean, and you can enjoy improved performance and safe cooking.
Remember to perform regular cleaning and maintenance to keep your gas stove burners in optimal condition.
With your burners clean and ready for use, you can now continue cooking your favorite meals with confidence!
Thank you for following this step-by-step guide on how to clean clogged gas stove burners. Happy cooking!
Read more: How To Adjust Gas Stove Burners
Conclusion
Cleaning clogged gas stove burners is an important task to maintain the performance, efficiency, and safety of your gas stove. Regular cleaning helps ensure even heat distribution, consistent flame intensity, and a reliable cooking experience.
By following the step-by-step process outlined in this article, you can effectively clean your gas stove burners and improve their functionality. From removing the burner grates and caps to soaking them, scrubbing the burners, and reassembling the components, each step plays a crucial role in the cleaning process.
Remember to gather the necessary materials, such as mild dish soap, vinegar, baking soda, warm water, and a soft brush or sponge, before starting the cleaning process. It’s also important to prioritize safety by turning off the gas supply and allowing the burners to cool completely before cleaning.
Through soaking, scrubbing, and rinsing, you can eliminate grease, food particles, and other debris that can clog the burner openings and hinder the stove’s performance. Pay special attention to the burner grates and caps, as they can accumulate a significant amount of grime and require thorough cleaning.
Once the cleaning process is complete, reassembling the burner grates and caps ensures proper alignment and gas flow for efficient cooking results. Take the time to make sure all components are securely in place before using your gas stove.
By maintaining a regular cleaning schedule for your gas stove burners, you can enjoy consistent heat, improved flame intensity, and peace of mind while cooking. Clean burners not only enhance your cooking experience but also contribute to the longevity of your appliance.
Thank you for following this comprehensive guide on how to clean clogged gas stove burners. With these steps, you can keep your gas stove in top condition and continue to create delicious meals effortlessly.
Happy cooking!
Frequently Asked Questions about How To Clean Clogged Gas Stove Burners
Was this page helpful?
At Storables.com, we guarantee accurate and reliable information. Our content, validated by Expert Board Contributors, is crafted following stringent Editorial Policies. We're committed to providing you with well-researched, expert-backed insights for all your informational needs.


0 thoughts on “How To Clean Clogged Gas Stove Burners”