Articles
How To Put Grommets In Drapes
Modified: December 7, 2023
Learn how to put grommets in drapes with our informative articles. Upgrade your home decor and enhance functionality.
(Many of the links in this article redirect to a specific reviewed product. Your purchase of these products through affiliate links helps to generate commission for Storables.com, at no extra cost. Learn more)
Introduction
Welcome to this step-by-step guide on how to put grommets in drapes. Grommets are metal or plastic rings that are inserted into the fabric of drapes to create evenly spaced openings for curtain rods. This not only adds functionality but also adds a touch of style to your window treatments. Whether you are a seasoned DIY enthusiast or a beginner looking to learn a new skill, this tutorial will walk you through the process of adding grommets to your drapes.
Before we dive into the steps, let’s talk about the benefits of using grommets in drapes. First and foremost, grommets provide a clean and professional finish to your curtains. They create neat, evenly spaced holes for the curtain rod, ensuring that your drapes hang evenly and smoothly. Grommets also allow for smooth and effortless opening and closing of the curtains, making them a practical choice for everyday use.
Another advantage of using grommets is the ease of installation. With just a few tools and materials, you can accomplish this project without the need for advanced sewing skills. Plus, by adding grommets to your drapes, you have the freedom to change out the curtains easily without having to replace the rod or hardware.
In this guide, we will cover everything you need to know about adding grommets to your drapes. We will discuss the tools and materials required, provide detailed step-by-step instructions, and offer some tips and tricks along the way. By the end of this tutorial, you will have the knowledge and confidence to transform your plain drapes into stylish and functional window treatments. So let’s get started!
Key Takeaways:
- Easily transform plain drapes into stylish and functional window treatments by adding grommets. Enjoy the benefits of smooth operation, professional finish, and effortless decor updates with this DIY project.
- With just a few tools and materials, you can achieve a polished and professional look for your drapes. Grommets provide practicality, style, and the freedom to easily change out curtains without replacing hardware.
Read more: How To Make Grommet Drapes
Tools and Materials Needed
Before you begin adding grommets to your drapes, there are a few essential tools and materials you will need. Gather the following items before starting the project:
Tools:
- Scissors
- Measuring tape or ruler
- Fabric marker or chalk
- Grommet hole cutter or utility knife
- Grommet pliers or a grommet press
- Hammer (if using a grommet press)
Materials:
- Drape fabric
- Grommets (metal or plastic)
- Grommet rings
- Thread
- Iron or steamer (optional for ironing drapes)
When choosing the grommets, consider the size and style that will work best for your drapes. Grommets come in various sizes, so select the appropriate diameter based on the thickness of your curtain rod. You can find grommet kits that include both the grommets and the installation tools, or you can purchase them separately.
Additionally, make sure to have enough fabric to complete the project. Measure the width of your drapes and calculate the number of grommets needed based on your desired spacing.
Once you have all the necessary tools and materials ready, you can proceed with measuring and marking the placement for the grommets on your drapes. In the next section, we will guide you through this initial step of the process.
Step 1: Measure and Mark Placement
The first step in adding grommets to your drapes is to measure and mark the placement for the grommets. Proper spacing is crucial to ensure that the drapes hang evenly and smoothly.
Start by determining the desired distance between each grommet. You can choose to space them evenly or based on your personal preference. Generally, a distance of 6 to 8 inches between grommets is recommended.
Next, measure the width of your drapes. Divide this measurement by the desired spacing between grommets to determine the number of grommets you will need.
Using a fabric marker or chalk, mark the positions for the grommets along the top edge of the drape fabric. Make sure the marks are evenly spaced and aligned. If your fabric has a pattern, take care to position the grommets where they will not disrupt the pattern.
It is a good idea to mark both the front and back of the fabric to ensure accurate placement. This way, you will have a guide to follow when cutting the holes for the grommets.
Remember to make the marks clear and visible, so they don’t get accidentally erased during the next steps of the process.
Once you have measured and marked the placement for the grommets, you are ready to move on to the next step: cutting the holes for the grommets. This step requires precision and attention to detail, so be sure to follow the instructions carefully.
Read also: 11 Best Drapes With Grommets for 2025
Step 2: Cut Holes for Grommets
Now that you have marked the positions for the grommets on your drapes, it’s time to cut the holes that will accommodate them. This step requires careful cutting to ensure clean and precise openings.
Begin by using sharp scissors to carefully cut a small slit along the marked position for the first grommet. The slit should be just big enough to fit the blade of the grommet hole cutter or utility knife.
If you are using a grommet hole cutter, align the blade with the marked position and carefully cut a hole using a twisting motion. Follow the manufacturer’s instructions for proper use of the tool.
If you don’t have a grommet hole cutter, you can use a utility knife to carefully cut a hole following the marked position. Take your time and make small, controlled cuts to avoid any accidental mistakes.
Repeat this process for each marked position, ensuring that the holes are cut to the same size and shape. Take a moment to inspect each hole and make any necessary adjustments before proceeding.
Once you have cut all the holes, double-check their alignment and size. It’s essential that the holes are accurately positioned and large enough to fit the grommets. If needed, make any additional adjustments before moving on to the next step.
With the holes cut, you are now ready to insert the grommets into the drapes. This step will give your drapes a polished and professional look while allowing for smooth operation when it’s time to open and close them. In the next section, we will guide you through the process of inserting the grommets.
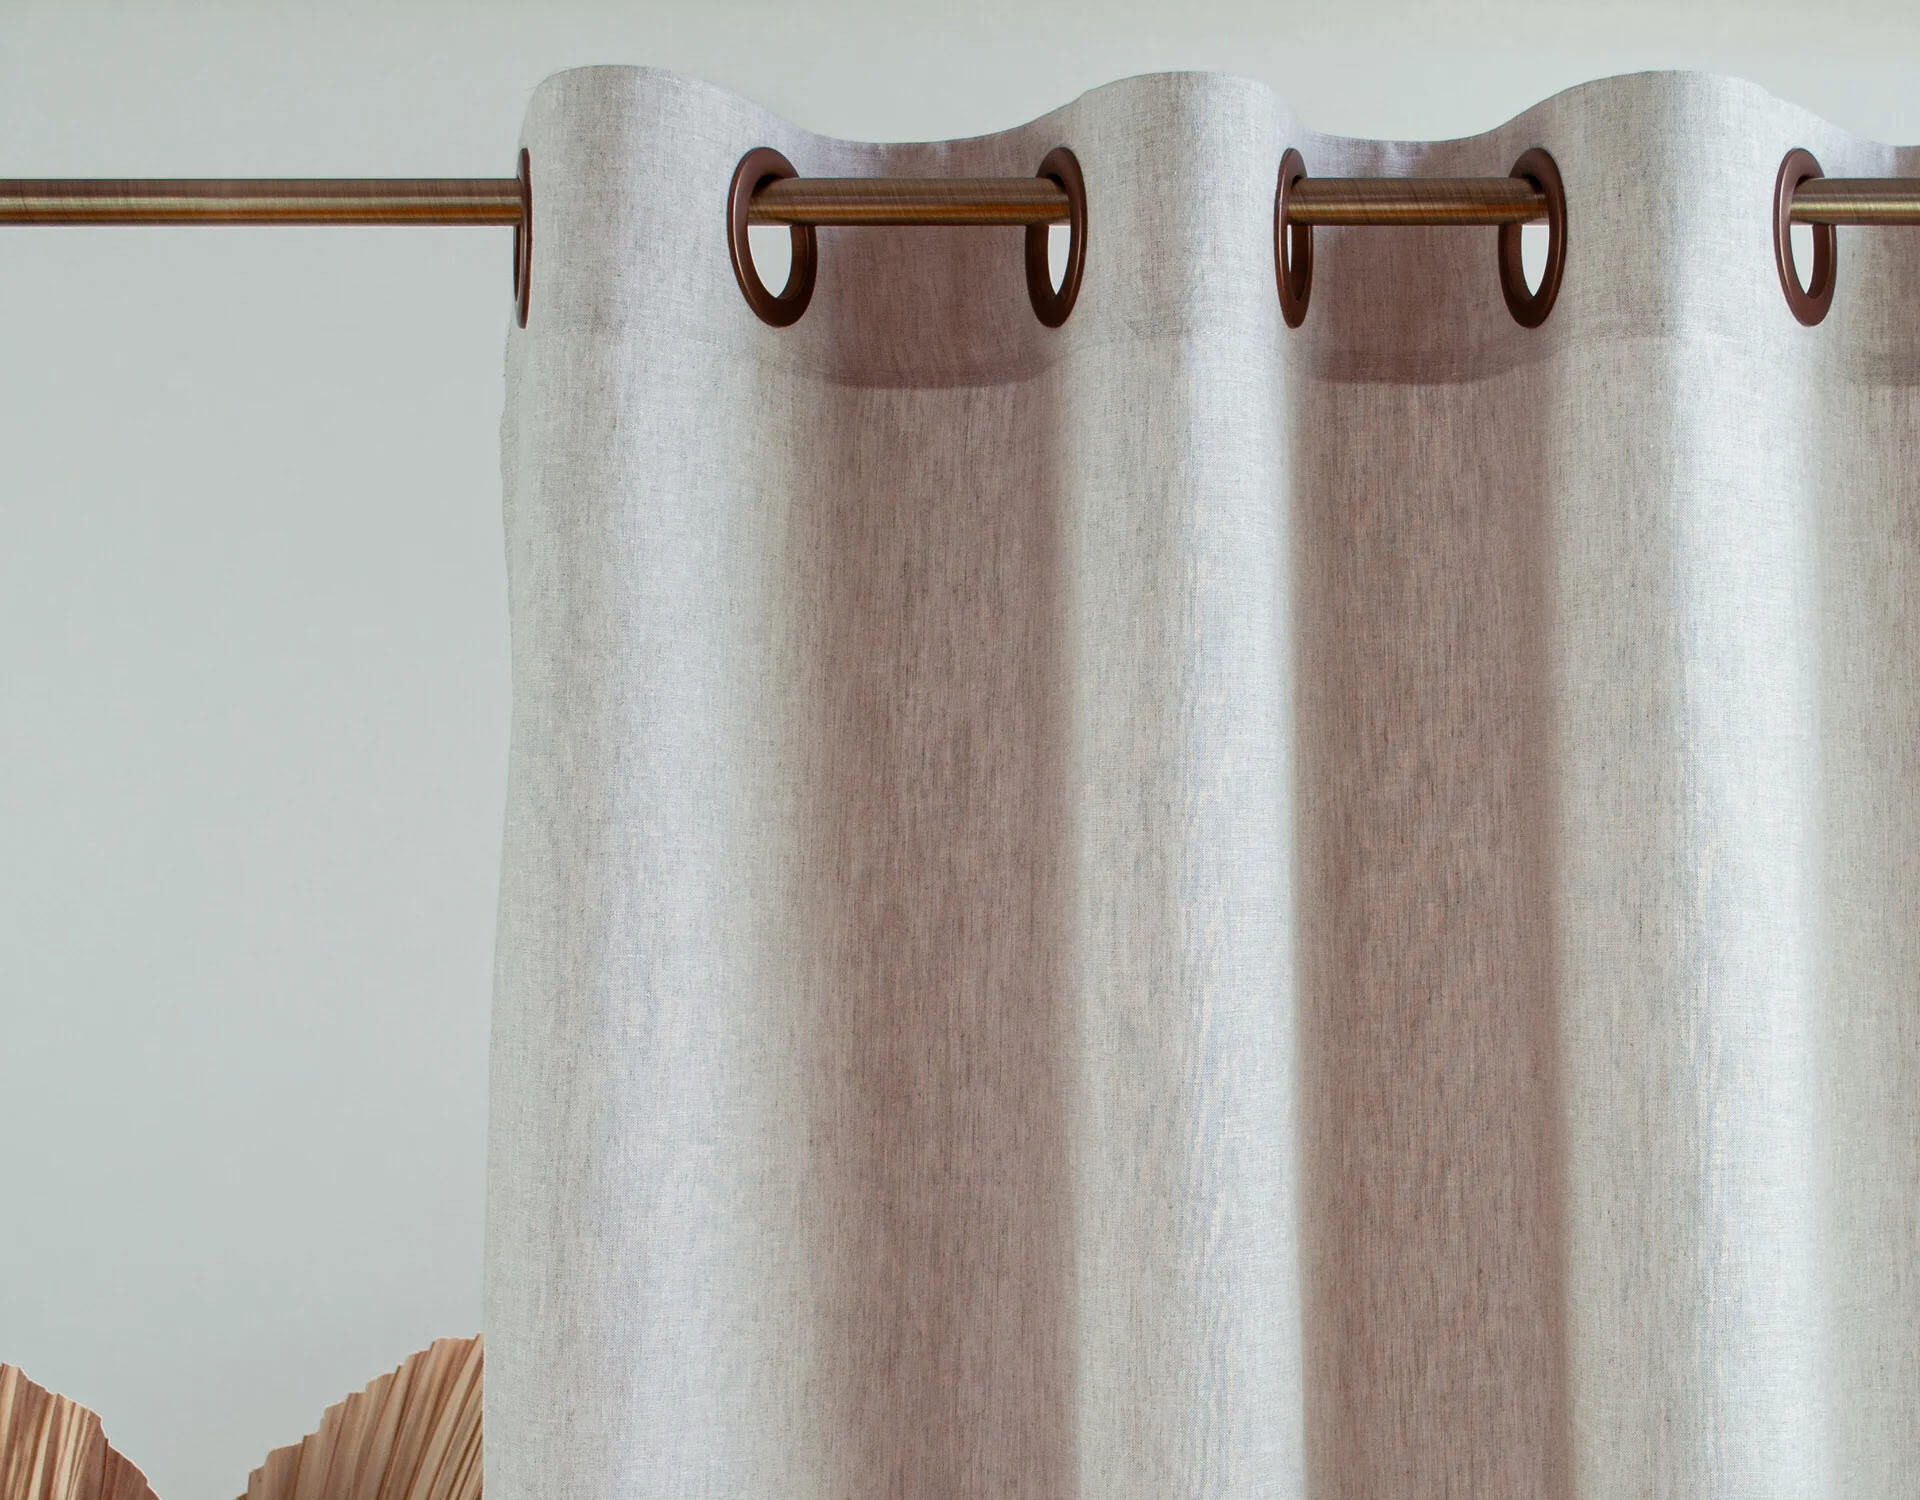
Step 3: Insert Grommets
Now that you have cut the holes for the grommets in your drapes, it’s time to insert the grommets themselves. This step will secure the fabric and create a clean finish for your window treatments.
Start by preparing the grommets for installation. If you purchased a grommet kit, it will typically include two parts: the grommet itself (which consists of two pieces that snap together) and the washer.
Take one grommet and separate the two pieces. The larger piece will have a raised edge, while the smaller piece will have a flat surface.
Place the larger piece of the grommet through the hole in the fabric from the front side, ensuring that the finished side of the grommet faces out. The raised edge should be on the backside of the fabric.
On the backside of the fabric, align the smaller piece of the grommet with the larger one. The two pieces should fit snugly together, securely holding the fabric in place.
If you are using plastic grommets, you can typically snap the two pieces together using your fingers. However, if you are using metal grommets, you will need to use grommet pliers or a grommet press to connect them.
If using grommet pliers, place the fabric with the grommet in the plier jaws, aligning the raised edge with the ridge in the pliers. Squeeze the pliers firmly to snap the two pieces of the grommet together. Repeat this process for each grommet.
If using a grommet press, follow the manufacturer’s instructions to align the grommet and fabric and press them together using the appropriate dies. You may need to use a hammer to firmly secure the grommets.
Continue inserting the grommets in the remaining holes, ensuring that they are evenly spaced and aligned. Take your time to make sure each grommet is secure and properly attached to the fabric.
Once all the grommets are inserted, you can move on to the next step: attaching the grommet rings. This will provide the necessary support for hanging your drapes on a curtain rod. We will cover this in the following section.
When putting grommets in drapes, make sure to measure and mark the placement carefully before cutting the holes. Use a grommet kit with a cutting tool to ensure clean, precise holes.
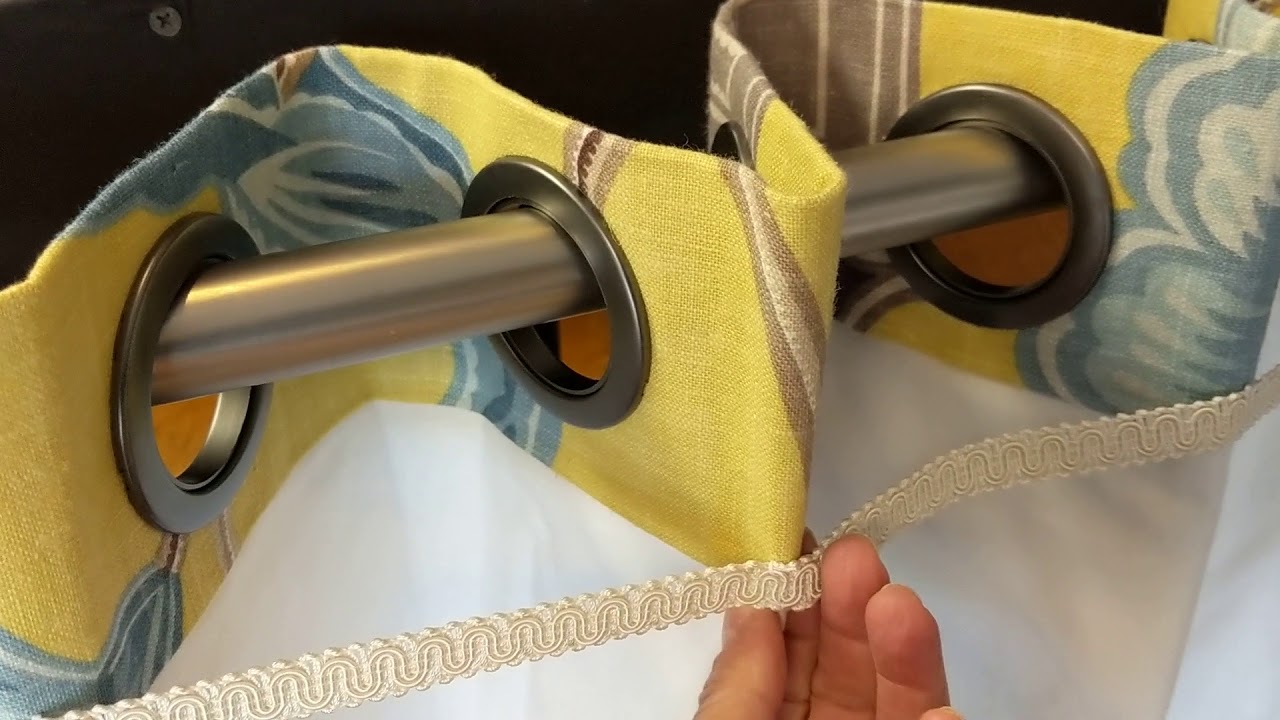
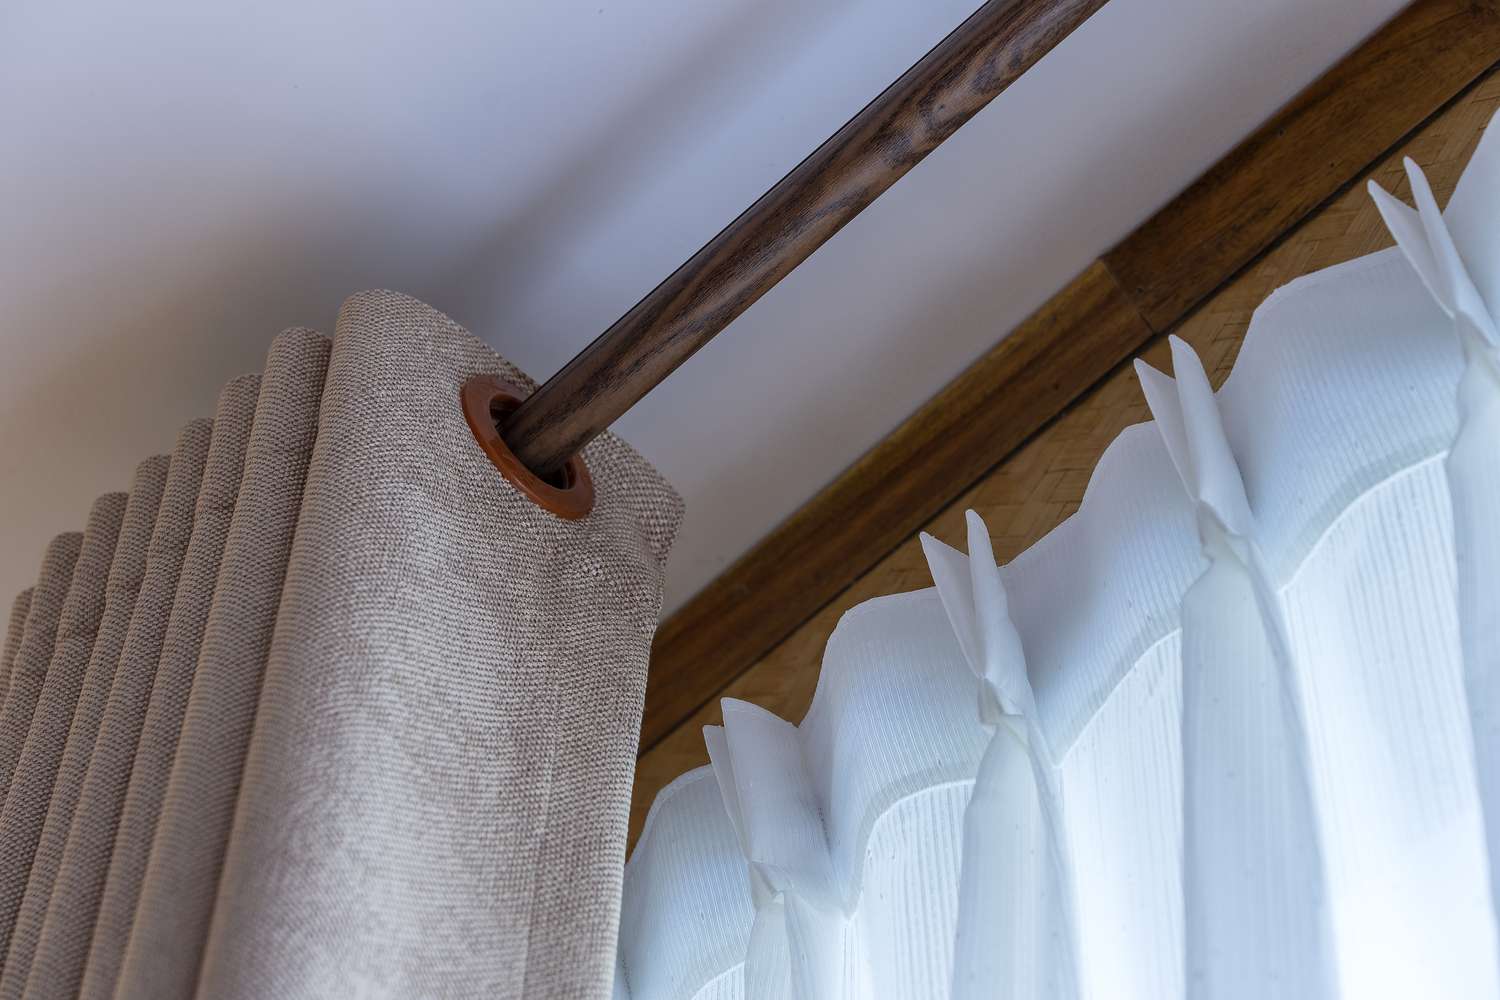
Step 4: Attach Grommet Rings
Now that you have inserted the grommets into your drapes, it’s time to attach the grommet rings. These rings will hold the fabric in place and allow you to hang your drapes on a curtain rod.
Start by preparing the grommet rings. These rings are typically sold separately from the grommets and come in various sizes and styles. Choose the size and style that best suits your drapes and personal preference.
Take one grommet ring and open it by twisting or pulling it apart. Be gentle to avoid damaging the ring or the fabric. Insert the opened ring into the inner edge of the grommet on the backside of the fabric.
Once the ring is in place, close it by twisting or pushing the ends together until it snaps shut. Ensure that the ring is securely closed to prevent it from accidentally opening when hanging the drapes.
Repeat this process for each grommet, attaching a grommet ring to each one. Take your time to ensure that the rings are evenly spaced and aligned with the grommets.
As you attach the grommet rings, make sure that the fabric is sitting flat and smoothly on the rings. Adjust the fabric if necessary to ensure an even and balanced appearance.
When all the grommet rings are in place, give them a gentle tug to make sure they are securely attached to both the grommet and the fabric. This will ensure that the rings will hold the weight of the drapes without coming loose.
With the grommet rings attached, your drapes are now ready to hang on a curtain rod. In the next and final step, we will guide you on how to properly hang the drapes for a stunning finished look.
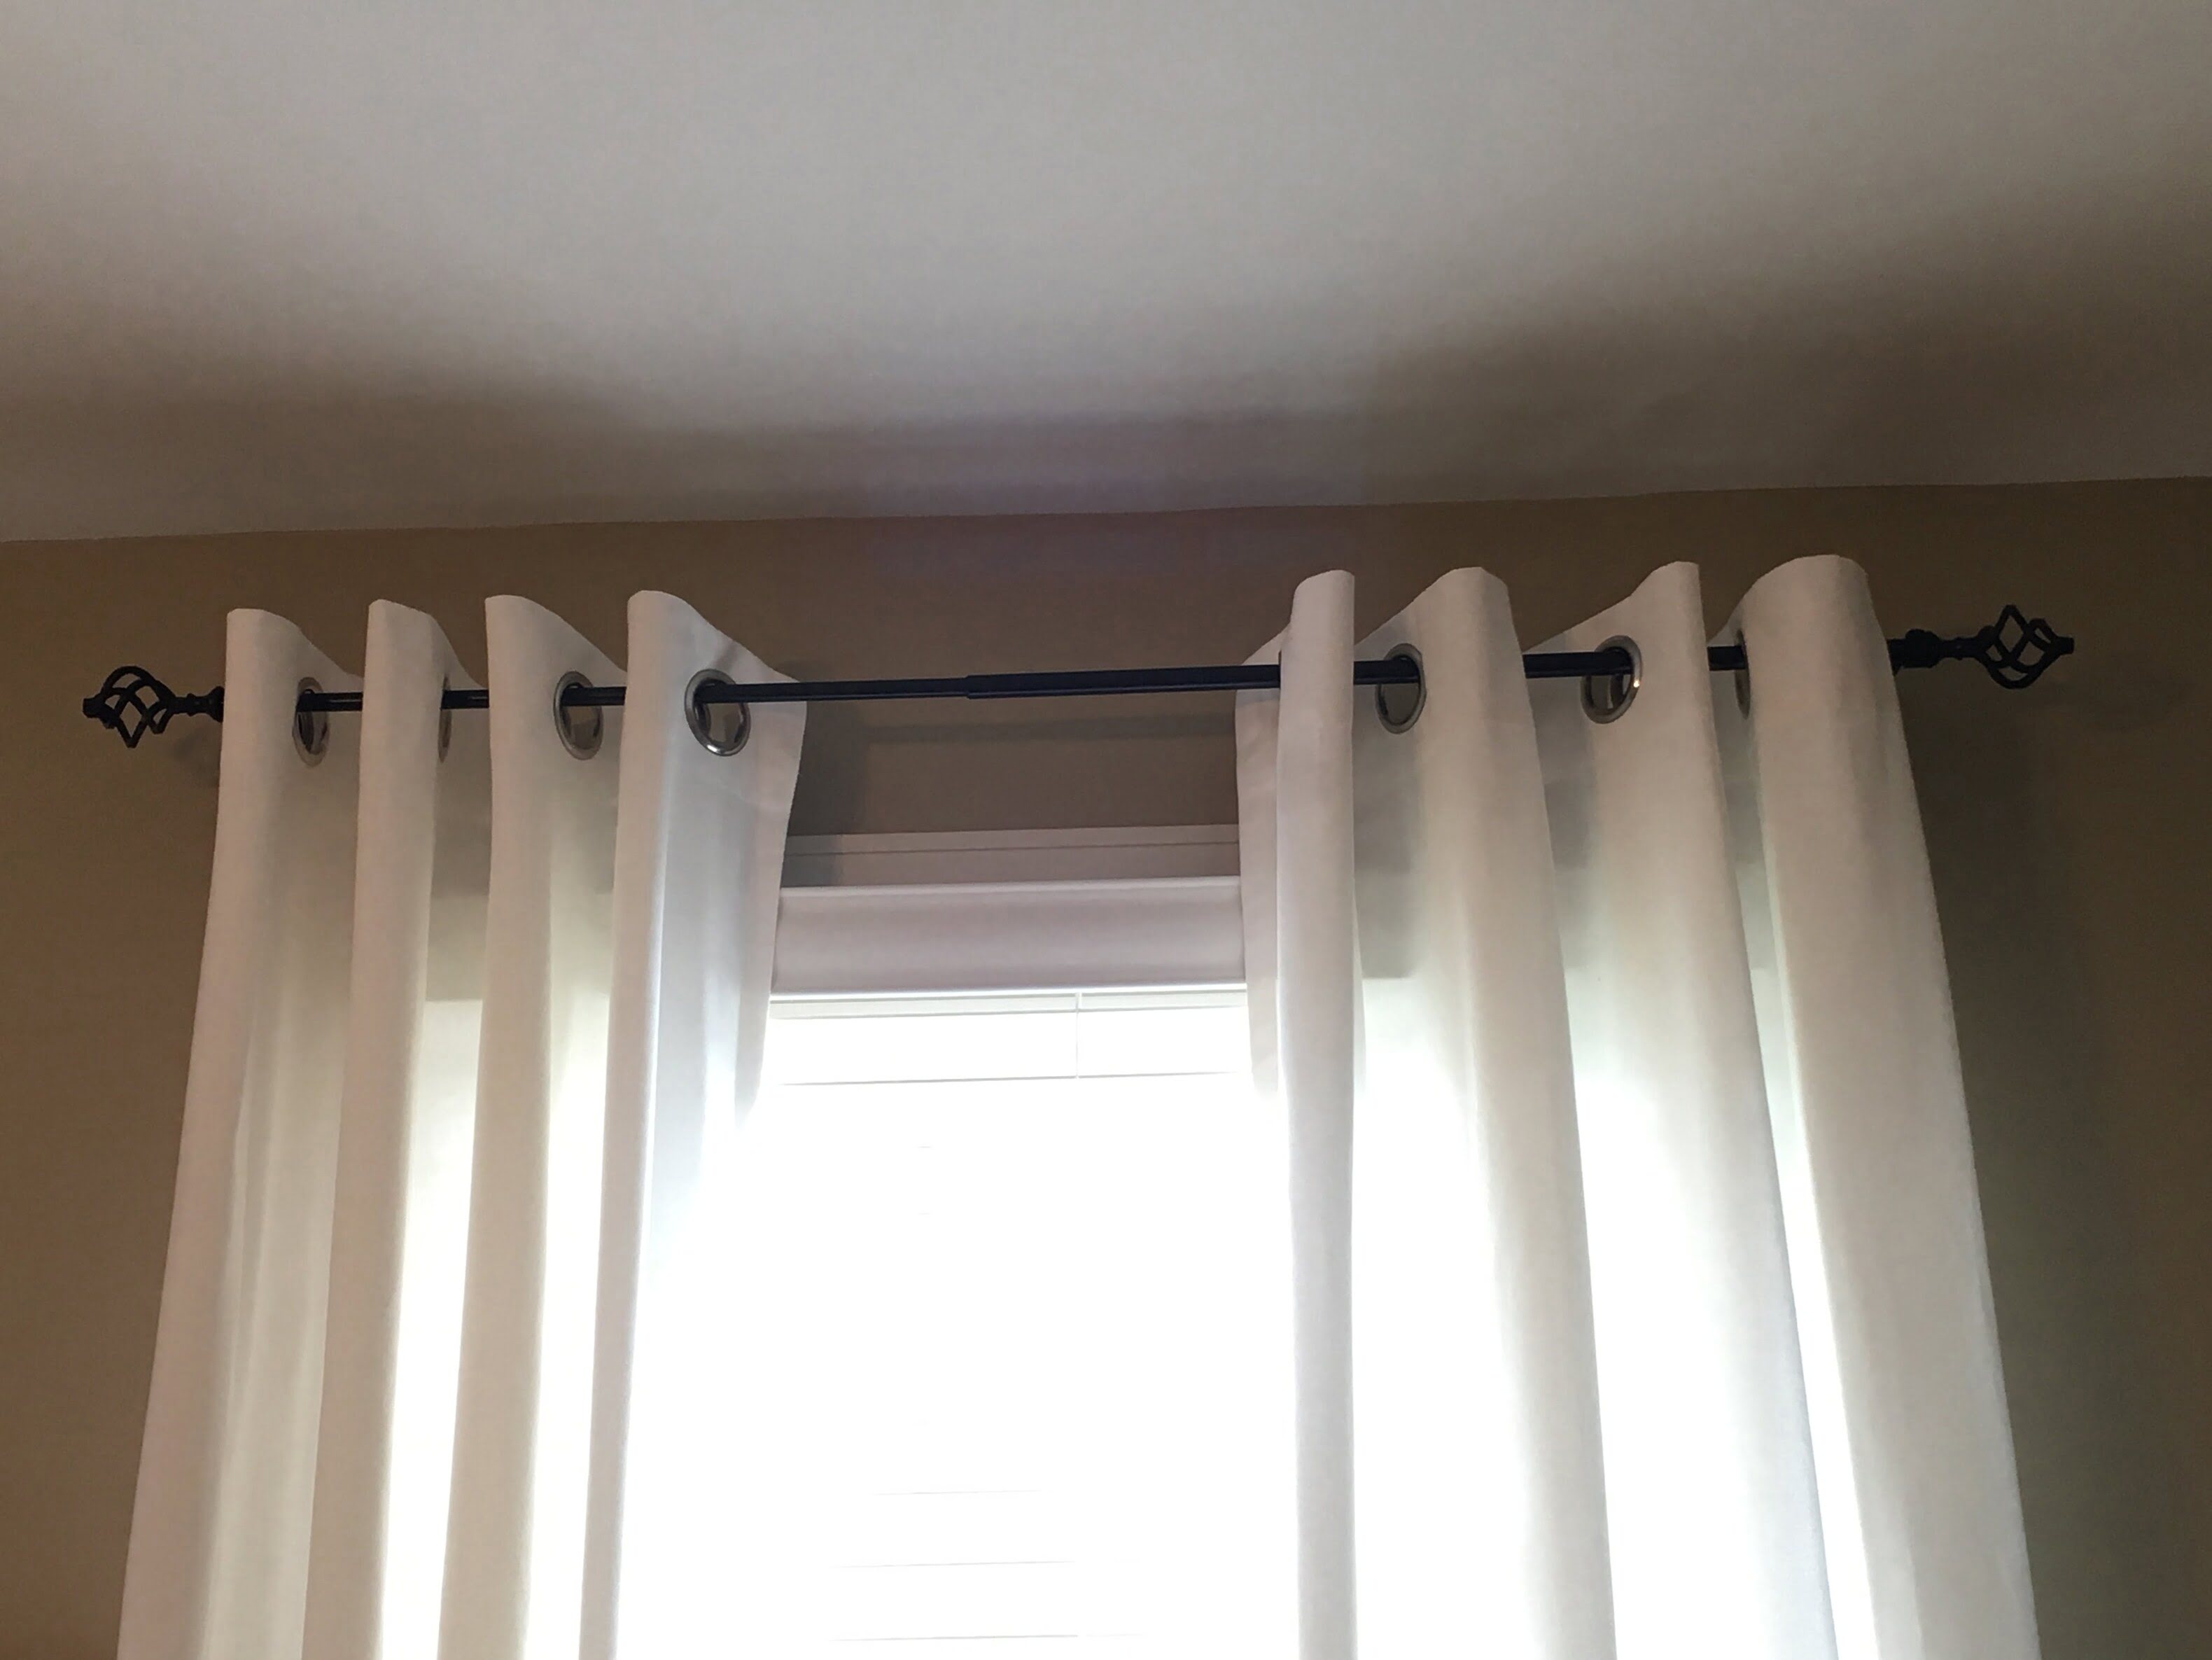
Step 5: Hang the Drapes
Congratulations, you’re almost finished! Now that you have inserted the grommets and attached the grommet rings, it’s time to hang your drapes and enjoy the final result.
Start by selecting a suitable curtain rod that matches your style and the weight of your drapes. Ensure that the rod is long enough to span the width of your window and has enough support brackets to hold the weight of the drapes.
Before hanging the drapes, you may choose to iron or steam them to remove any wrinkles and ensure a clean and polished look. This step is optional but can greatly enhance the overall appearance of your window treatments.
Once your drapes are ready, position the curtain rod at the desired height above the window. Insert the rod through the grommet rings, starting from one end and sliding it through each ring until it reaches the other end.
Make sure that the drapes are evenly distributed along the curtain rod, with an equal amount of fabric on each side. Adjust the fabric if necessary to achieve a symmetrical and balanced look.
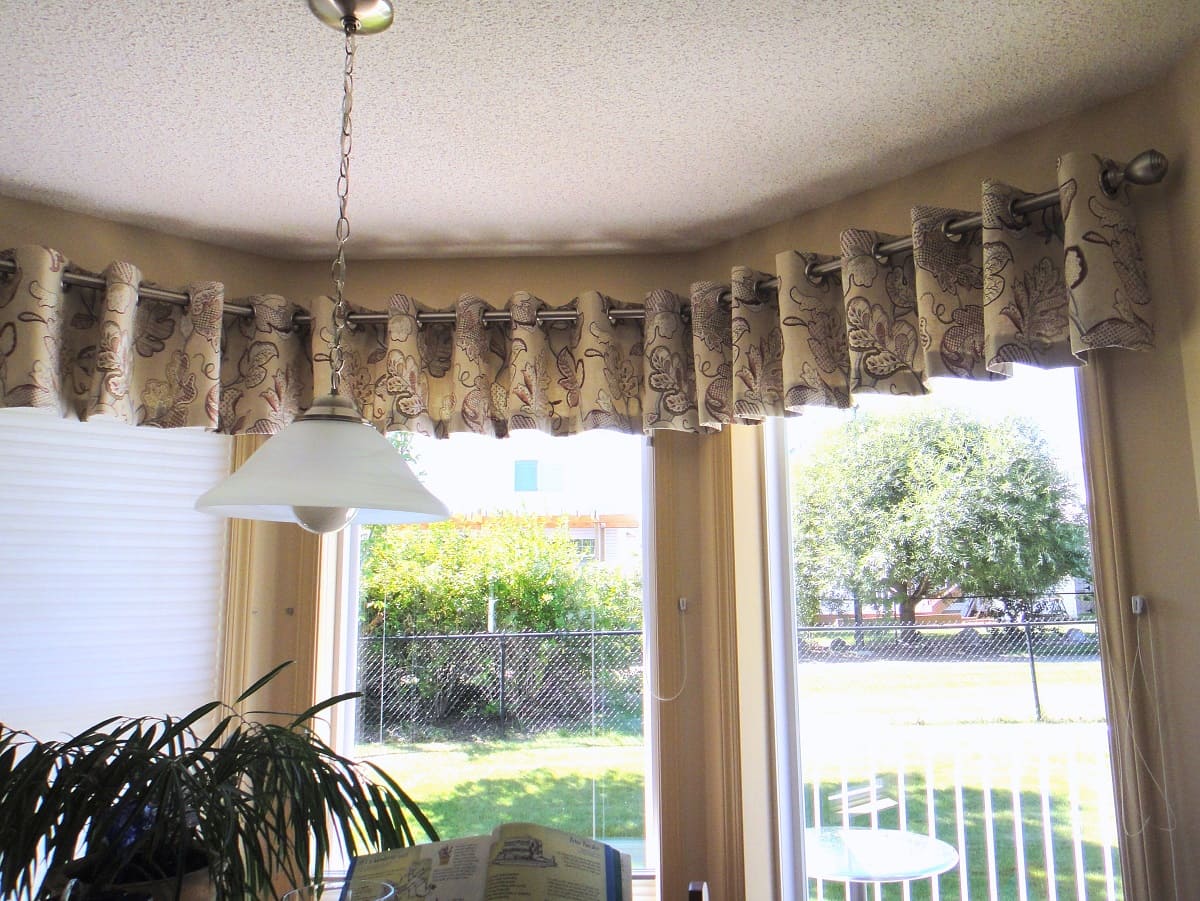
After the drapes are properly hung on the curtain rod, step back and take a moment to admire your work. Ensure that the drapes hang evenly and that the grommets and rings are hidden from view when the curtains are closed.
You can now open and close your newly adorned drapes with ease. The grommets and rings provide a smooth and effortless operation, allowing you to control the amount of light and privacy in your space.
Remember to periodically check the grommets and rings to ensure they remain secure and in good condition. If any grommet becomes loose or damaged, simply remove it and replace it with a new one following the steps outlined in this guide.
With your drapes successfully hung, you can now enjoy the stylish and functional window treatments that grommets provide. Sit back, relax, and bask in the beauty of your handiwork.
Congratulations once again on successfully adding grommets to your drapes. This project brings both aesthetic appeal and practicality to your window treatments, allowing you to transform any space with ease. Enjoy the new look and functionality of your drapes for years to come!
Read more: How To Put Drapes On A Bay Window
Conclusion
Adding grommets to your drapes is a fantastic way to enhance their style and functionality. With just a few tools and materials, you can accomplish this DIY project and create a professional-looking window treatment.
Throughout this guide, we have covered the step-by-step process of measuring and marking the placement, cutting the holes, inserting the grommets, attaching the grommet rings, and finally hanging the drapes. Each step plays a crucial role in achieving a polished and finished look.
By incorporating grommets into your drapes, you not only improve the overall appearance but also create evenly spaced openings for your curtain rod. This allows for smooth and effortless operation, making it a practical choice for everyday use.
Remember to choose the appropriate size and style of grommets and rings based on the thickness of your curtain rod and your personal preference. Taking the time to measure, mark, and cut the holes accurately will ensure that the grommets are properly aligned and securely attached to the fabric.
With your newly grommeted drapes, you can enjoy the freedom to easily change out your curtains while keeping the same rod and hardware. This allows for effortless decor updates to match your evolving style or seasonal changes.
Lastly, take pride in your DIY accomplishment and enjoy the beauty and functionality that grommets bring to your drapes. Keep an eye on the grommets and rings to ensure they remain secure and in good condition over time.
Thank you for following along with this guide on how to put grommets in drapes. We hope you found it informative and helpful in your DIY journey. Happy decorating!
Frequently Asked Questions about How To Put Grommets In Drapes
Was this page helpful?
At Storables.com, we guarantee accurate and reliable information. Our content, validated by Expert Board Contributors, is crafted following stringent Editorial Policies. We're committed to providing you with well-researched, expert-backed insights for all your informational needs.


0 thoughts on “How To Put Grommets In Drapes”