Articles
How To Put Grommets In Curtains
Modified: January 19, 2024
Learn how to put grommets in curtains with our comprehensive articles. Transform your curtains with this simple DIY technique and give your windows a stylish upgrade.
(Many of the links in this article redirect to a specific reviewed product. Your purchase of these products through affiliate links helps to generate commission for Storables.com, at no extra cost. Learn more)
Introduction
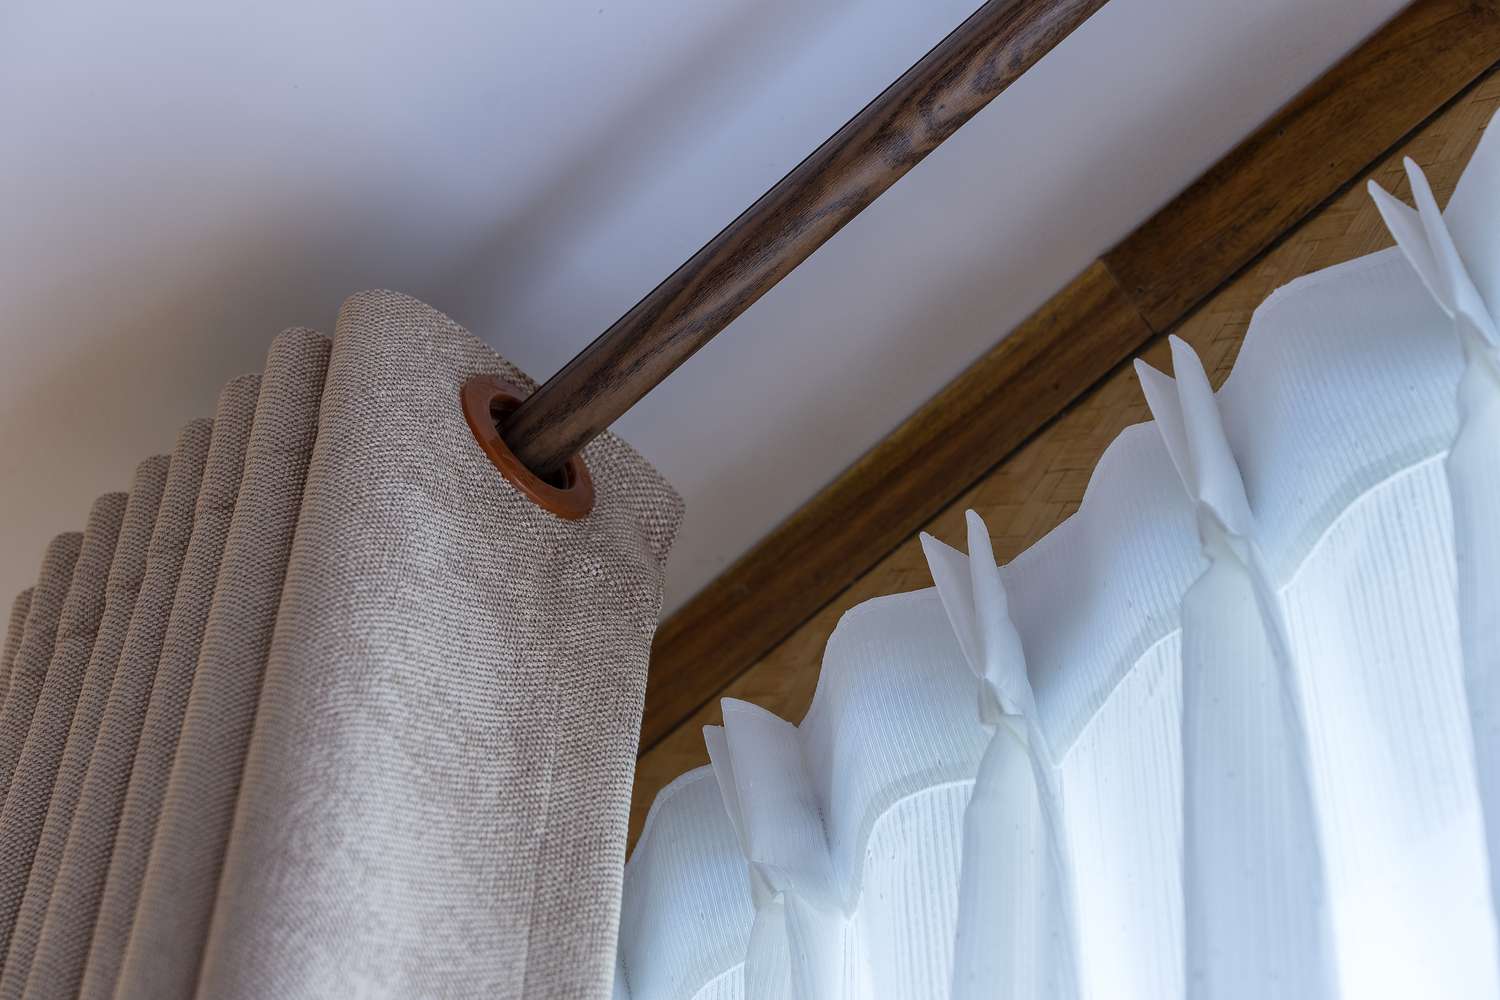
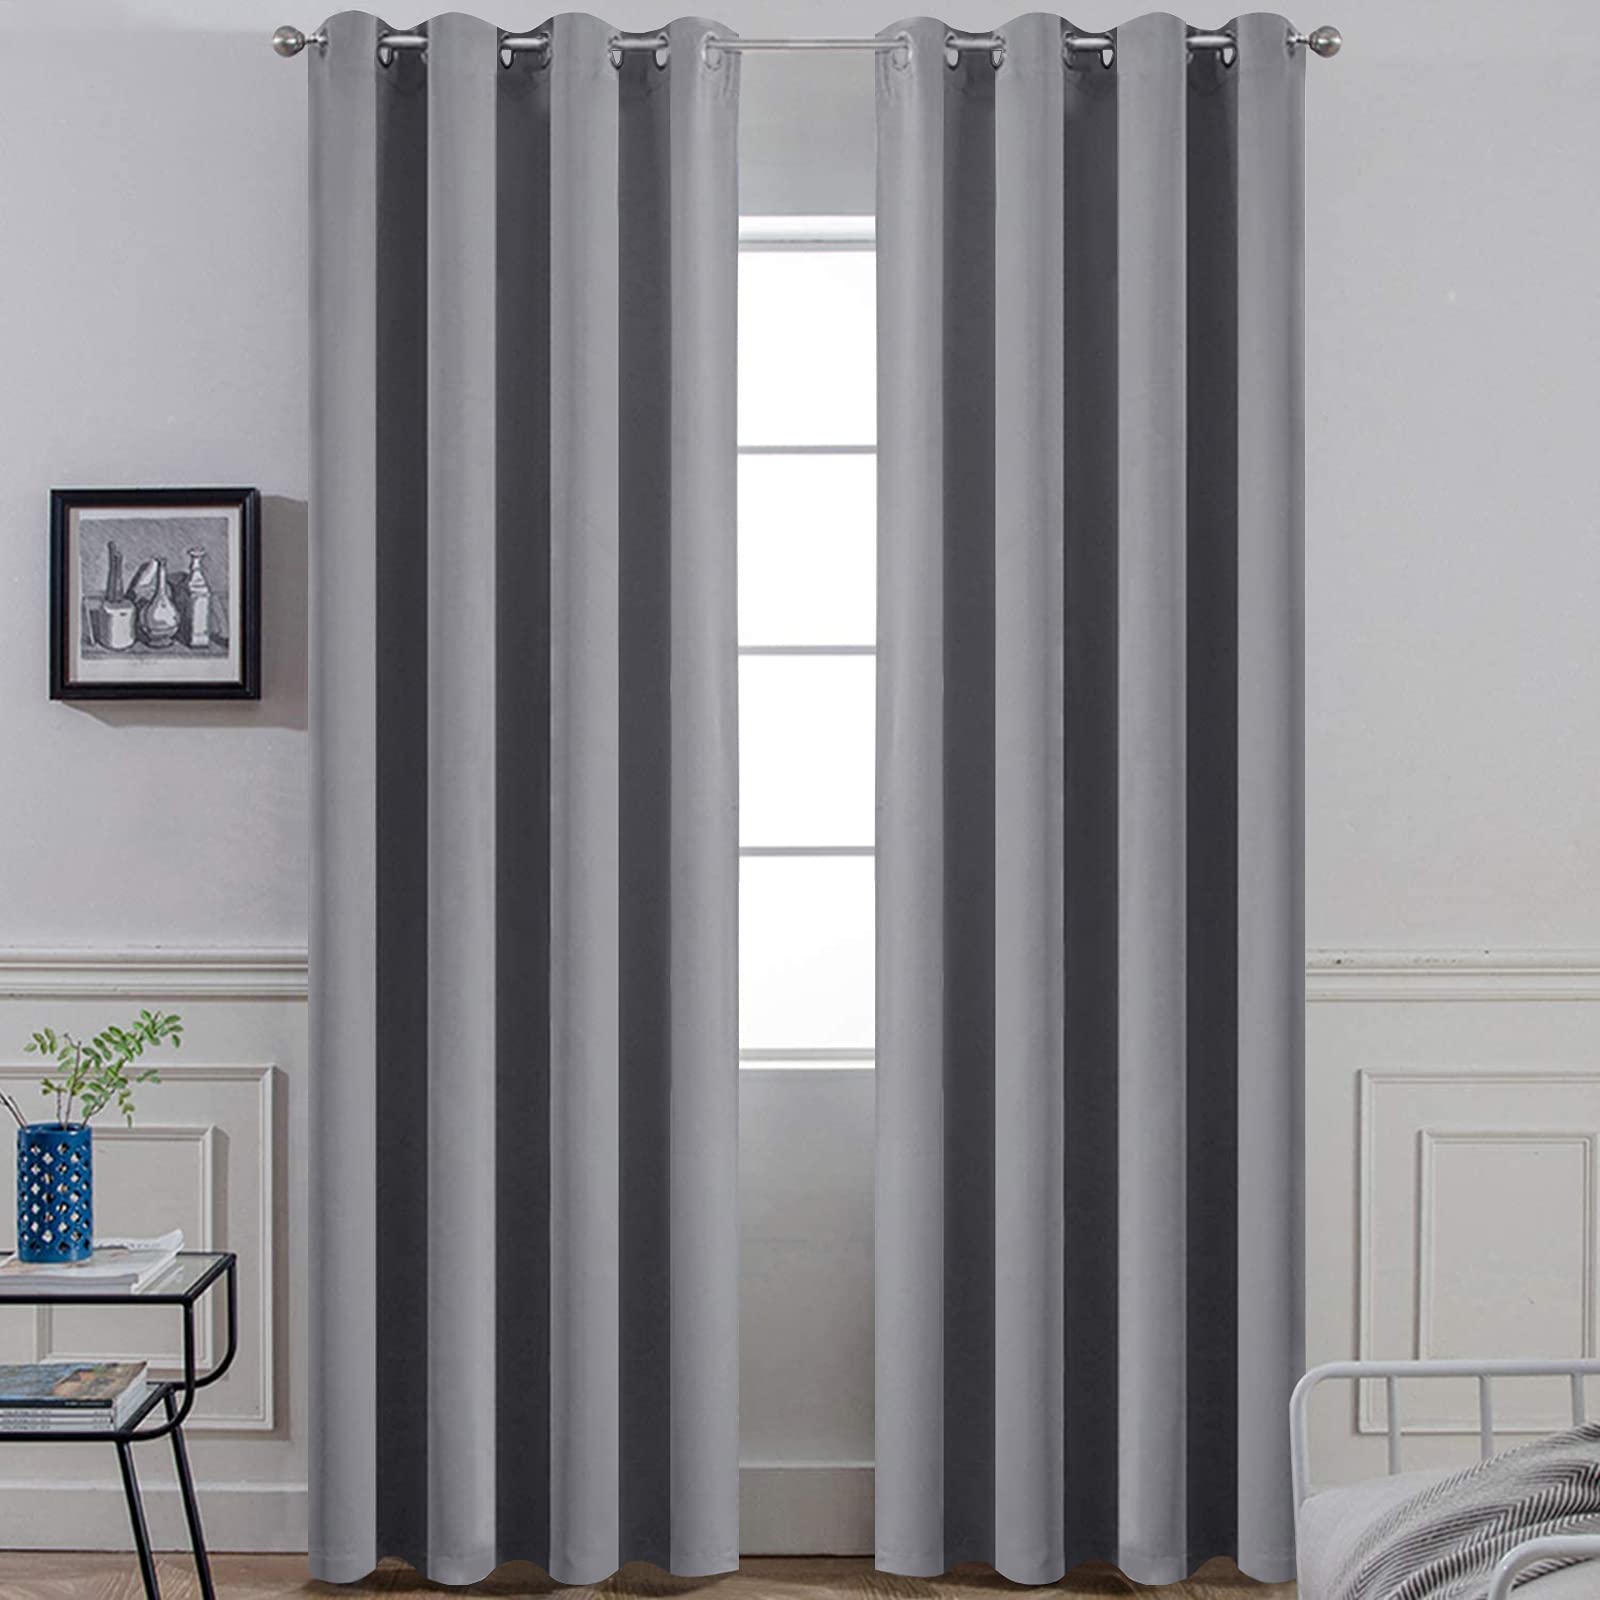
Adding grommets to your curtains not only enhances their aesthetic appeal but also improves their functionality. Grommets are metal or plastic rings that are inserted into the fabric, creating evenly spaced holes through which curtain rods can be threaded. This allows for smooth sliding and effortless opening and closing of the curtains.
In this article, we will guide you through the process of adding grommets to your curtains. Whether you’re a DIY enthusiast or just looking to spruce up your living space, this step-by-step guide will help you achieve professional-looking results.
Before we begin, let’s gather the materials you’ll need.
Key Takeaways:
- Transform your curtains with grommets to elevate their style and functionality. Follow our step-by-step guide for professional-looking results and enjoy the seamless curtain-drawing experience in any room.
- Adding grommets is a rewarding DIY project that offers both aesthetic appeal and practical benefits. Enjoy the versatility, durability, and polished look of grommeted curtains in your living space.
Read more: What Are Grommet Curtains
Materials Needed
- Curtains
- Grommet Kit (includes grommets, hole cutter, and setting tools)
- Measuring tape
- Fabric marker or chalk
- Scissors
- Hammer
- Hard surface (such as a cutting board or wooden block)
- Iron (optional, for ironing the curtains)
Now that you have gathered all the necessary materials, let’s move on to the step-by-step process of putting grommets in your curtains.
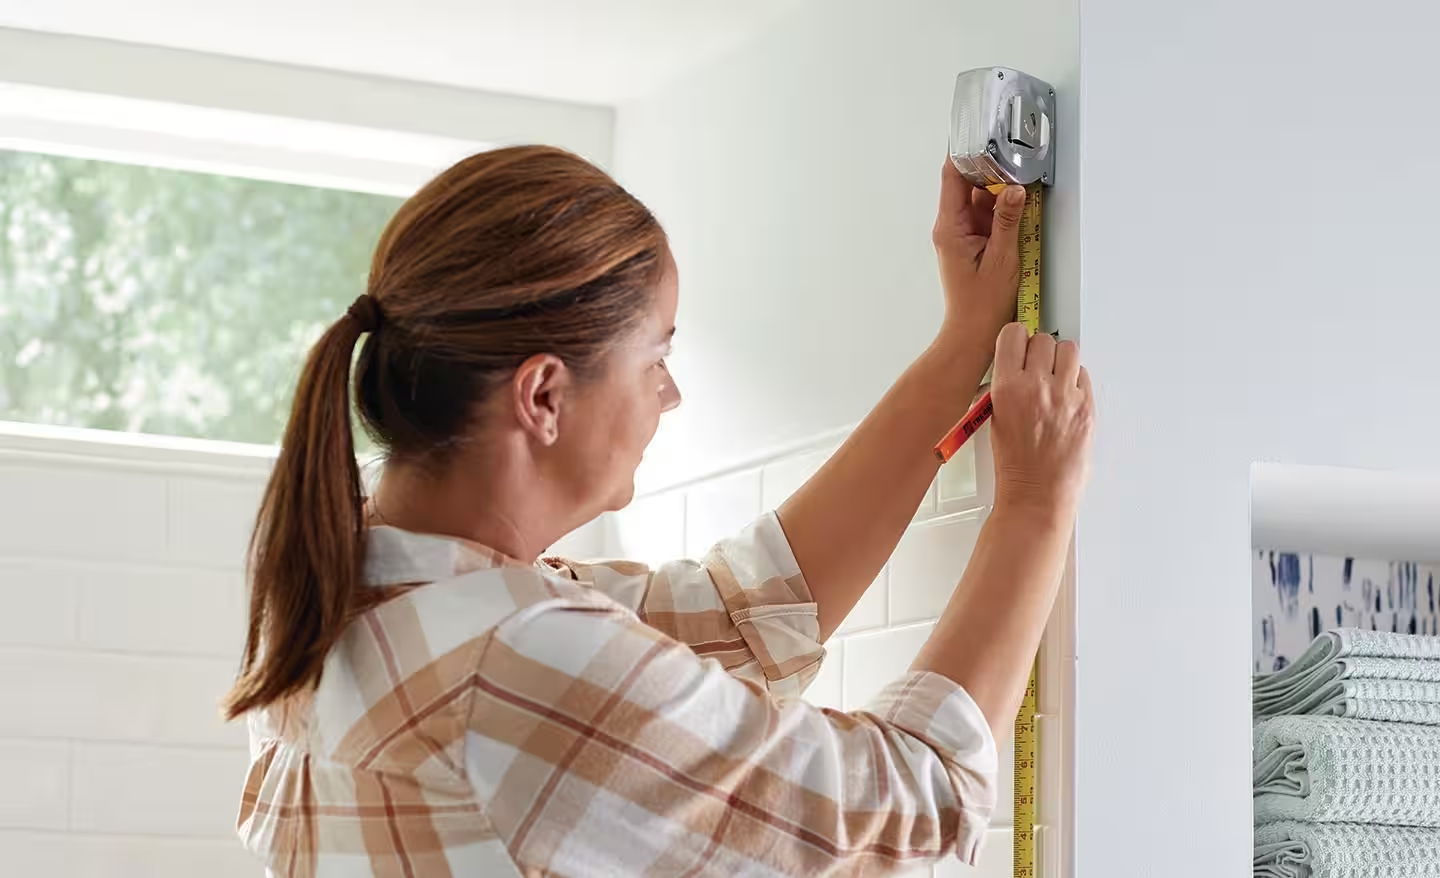
Step 1: Measure and Mark
The first step in adding grommets to your curtains is to measure and mark where you want the grommets to be placed. Start by measuring the width of your curtain panel.
Divide the width of the curtain panel by the desired number of grommets to determine the spacing between each grommet. Make sure to leave some extra space on both ends for the curtain to hang properly.
Using a fabric marker or chalk, lightly mark the positions for the grommets along the top edge of the curtain. It’s important to ensure that the marks are evenly spaced and aligned with the center of the curtain panel.
This measuring and marking step is crucial as it ensures that the grommets are evenly distributed and the curtains hang straight when they are installed.
Once you have marked the positions for the grommets, move on to the next step: cutting the holes.
Step 2: Cut the Holes
With the positions for the grommets marked on the curtain panel, it’s time to cut the holes for the grommets. To do this, you will use the hole cutter that comes with your grommet kit.
Place the curtain panel on a hard surface, such as a cutting board or a wooden block. This will protect your working area and ensure a clean cut.
Take the hole cutter and align the cutting edge with one of the marked positions. Press down firmly and twist the cutter in a circular motion to cut a hole in the fabric. Repeat this process for all the marked positions.
Make sure to follow the instructions that come with your grommet kit for the proper use of the hole cutter. Additionally, be cautious while cutting the holes to avoid any accidental cuts or injuries.
Once you have cut all the holes, you are ready to move on to the next step: inserting the grommets.
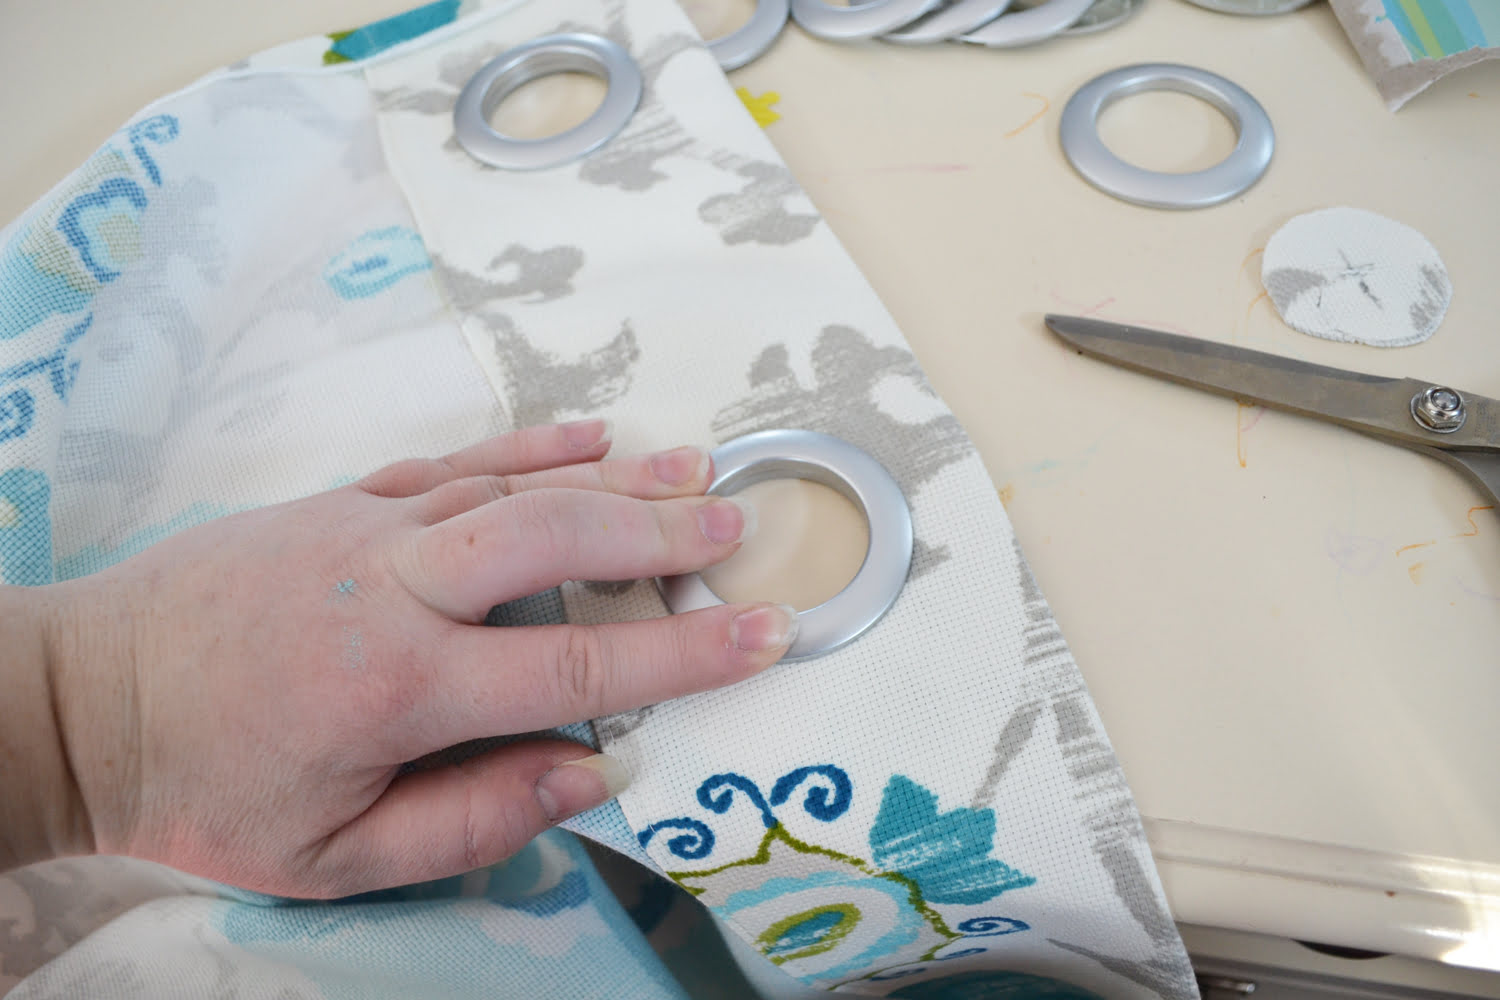
Step 3: Insert the Grommets
Now that you have cut the holes in your curtain panel, it’s time to insert the grommets. The grommet kit you have should include both the grommets themselves and the setting tools.
Start by separating the two parts of the grommet. One part will have a flat side, while the other will have a raised lip.
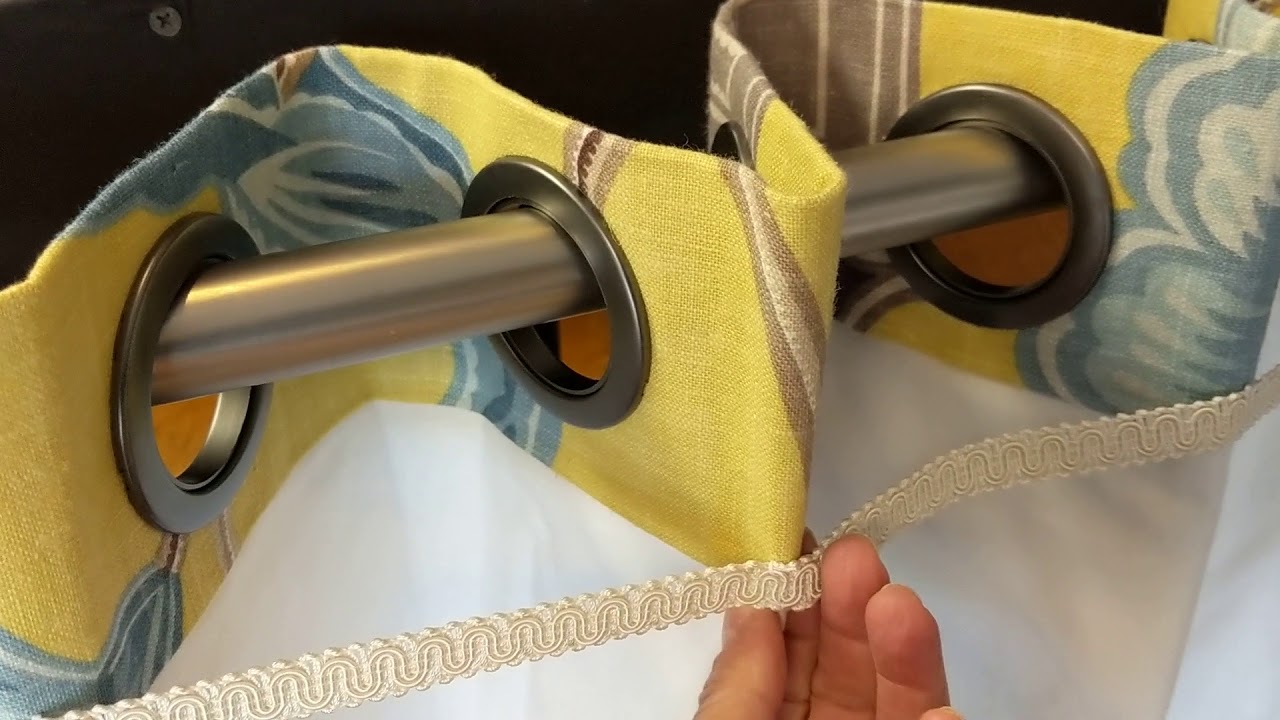
Take the flat side of the grommet and place it on the underside of the curtain panel, aligning it with one of the holes you cut. The raised lip should be facing upward.
Next, take the raised lip part of the grommet and place it on top of the hole, sandwiching the fabric in between. Make sure that the two parts of the grommet fit together snugly.
Repeat this process for all the holes you cut along the top edge of the curtain panel.
Now that you have inserted the grommets, it’s time to secure them in place.
When putting grommets in curtains, make sure to measure and mark the placement of the grommets evenly along the top of the curtain. Use a grommet kit with a hammer to secure the grommets in place.
Read more: How To Hang Grommet Curtains
Step 4: Secure the Grommets
Securing the grommets ensures that they stay in place and provide the necessary stability for your curtains. To secure the grommets, you will use the setting tools that come with your grommet kit.
Start by placing the setting tool with the concave side facing downward on top of the grommet. Make sure that the setting tool is centered over the grommet.
Using a hammer, gently tap on the setting tool to secure the grommet. Continue tapping until you feel a firm resistance and the grommet is securely in place.
Be careful not to apply too much force, as it may damage the grommet or the fabric. Take your time and ensure that each grommet is properly set before moving on to the next one.
Repeat this process for all the grommets along the top edge of the curtain panel.
Once all the grommets are secured, move on to the next step: repeating the process for the remaining grommets.
Step 5: Repeat for Remaining Grommets
Now that you have securely set the grommets along one edge of the curtain panel, it’s time to repeat the process for the remaining grommets. Depending on the size and width of your curtain panel, you may have multiple rows of grommets.
Measure and mark the positions for the grommets on the other edges of the curtain panel, following the same guidelines as Step 1. Make sure the marks are evenly spaced and aligned with the center of the panel.
Next, cut the holes for these additional rows of grommets using the hole cutter and the same technique as in Step 2.
Once the holes are cut, insert the grommets into the holes and secure them using the same process outlined in Step 3 and Step 4.
Repeat this process for each row of grommets, ensuring that they are evenly spaced and aligned across the entire curtain panel.
With all the grommets securely in place, it’s time to move on to the final step: hanging and enjoying your newly embellished curtains.
Step 6: Hang and Enjoy
Congratulations! You have successfully added grommets to your curtains. Now it’s time to hang them up and enjoy the enhanced functionality and visual appeal they provide.
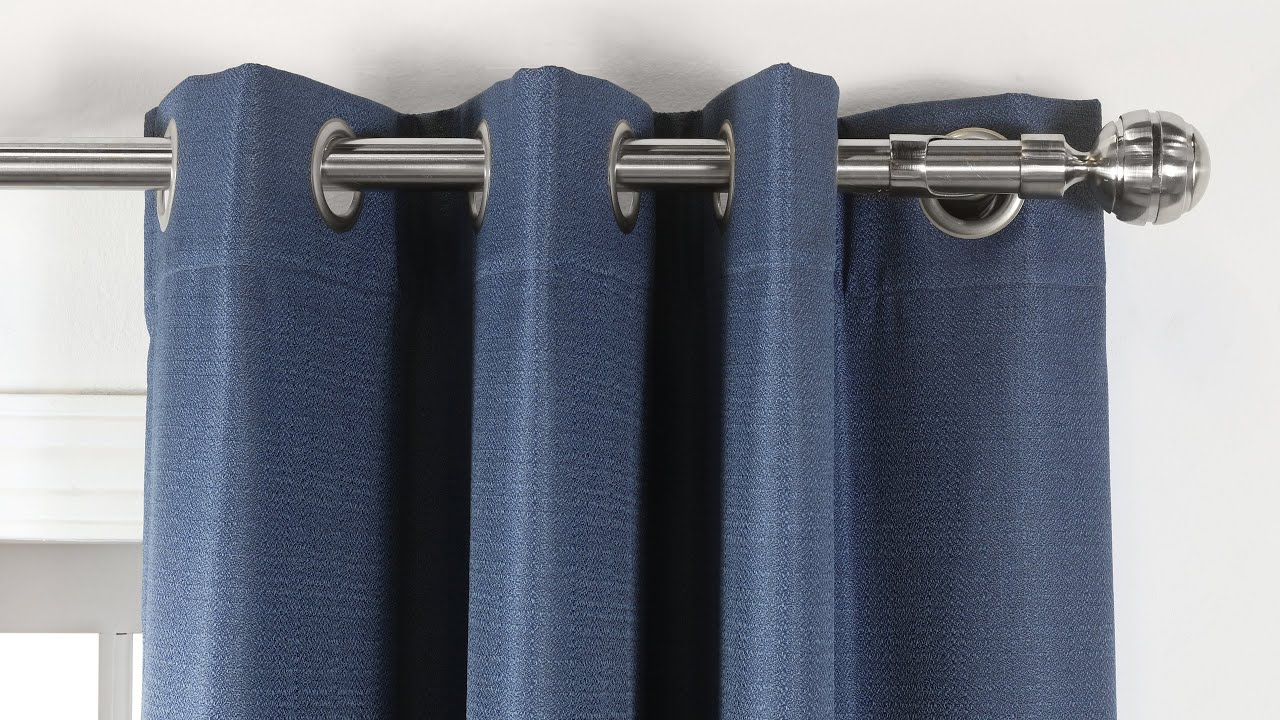
Start by removing the curtain rods from their brackets. Slide each rod carefully through the grommets, making sure they glide smoothly. You’ll notice that the grommets allow the curtains to open and close effortlessly.
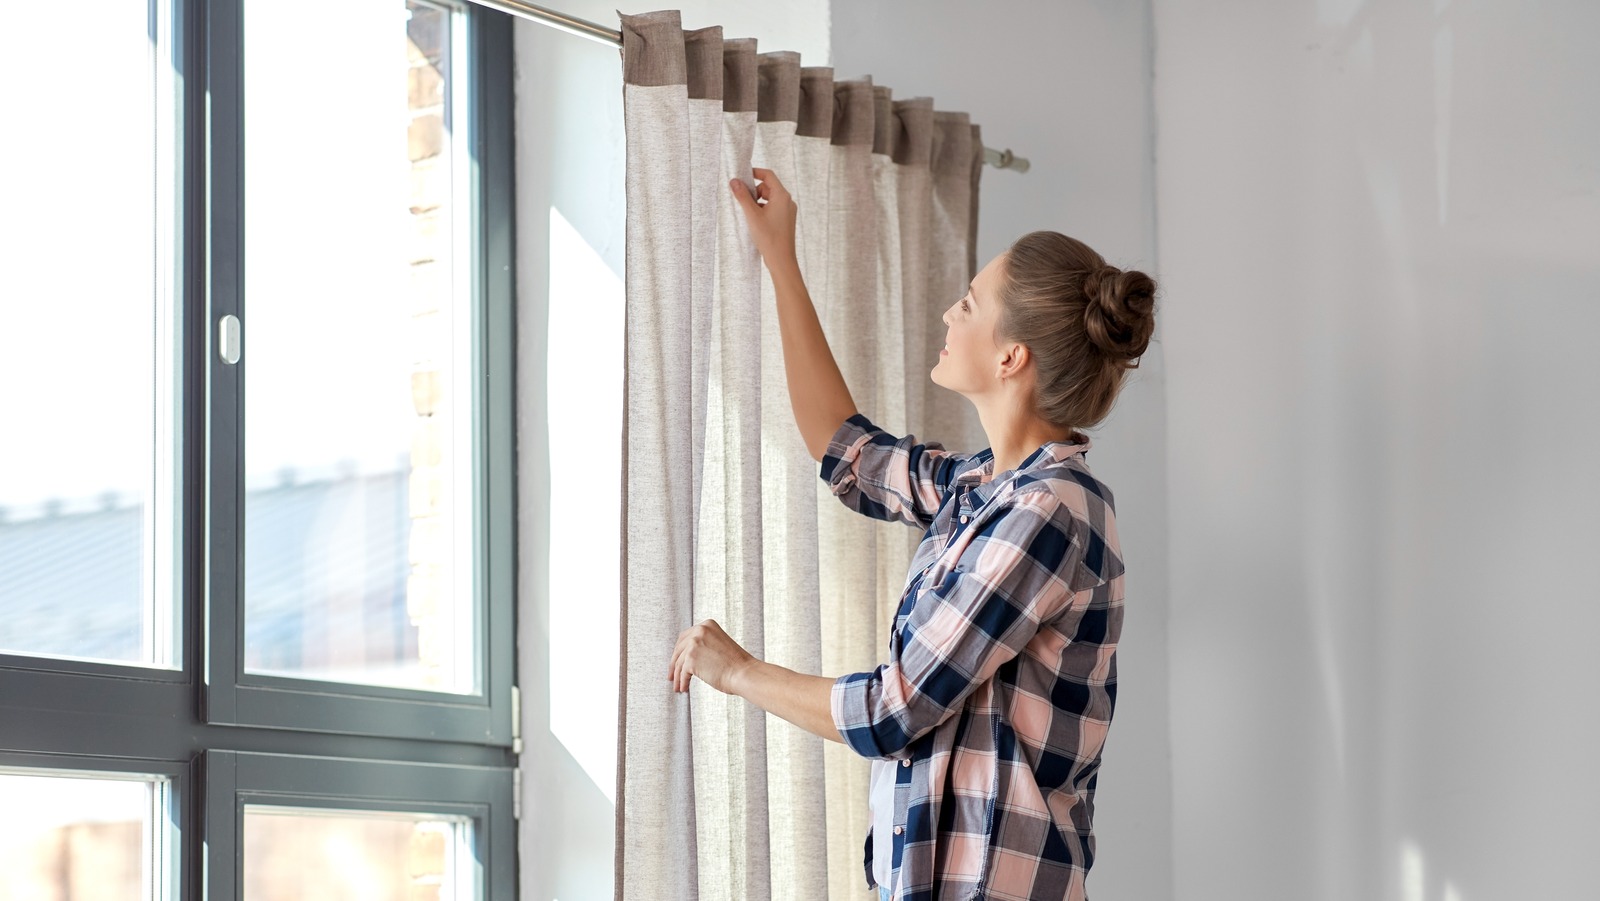
Once the curtains are properly hung, adjust them as needed for the desired appearance. Ensure that the curtains are evenly spread and hang straight along the curtain rod. Step back and admire your DIY achievement.
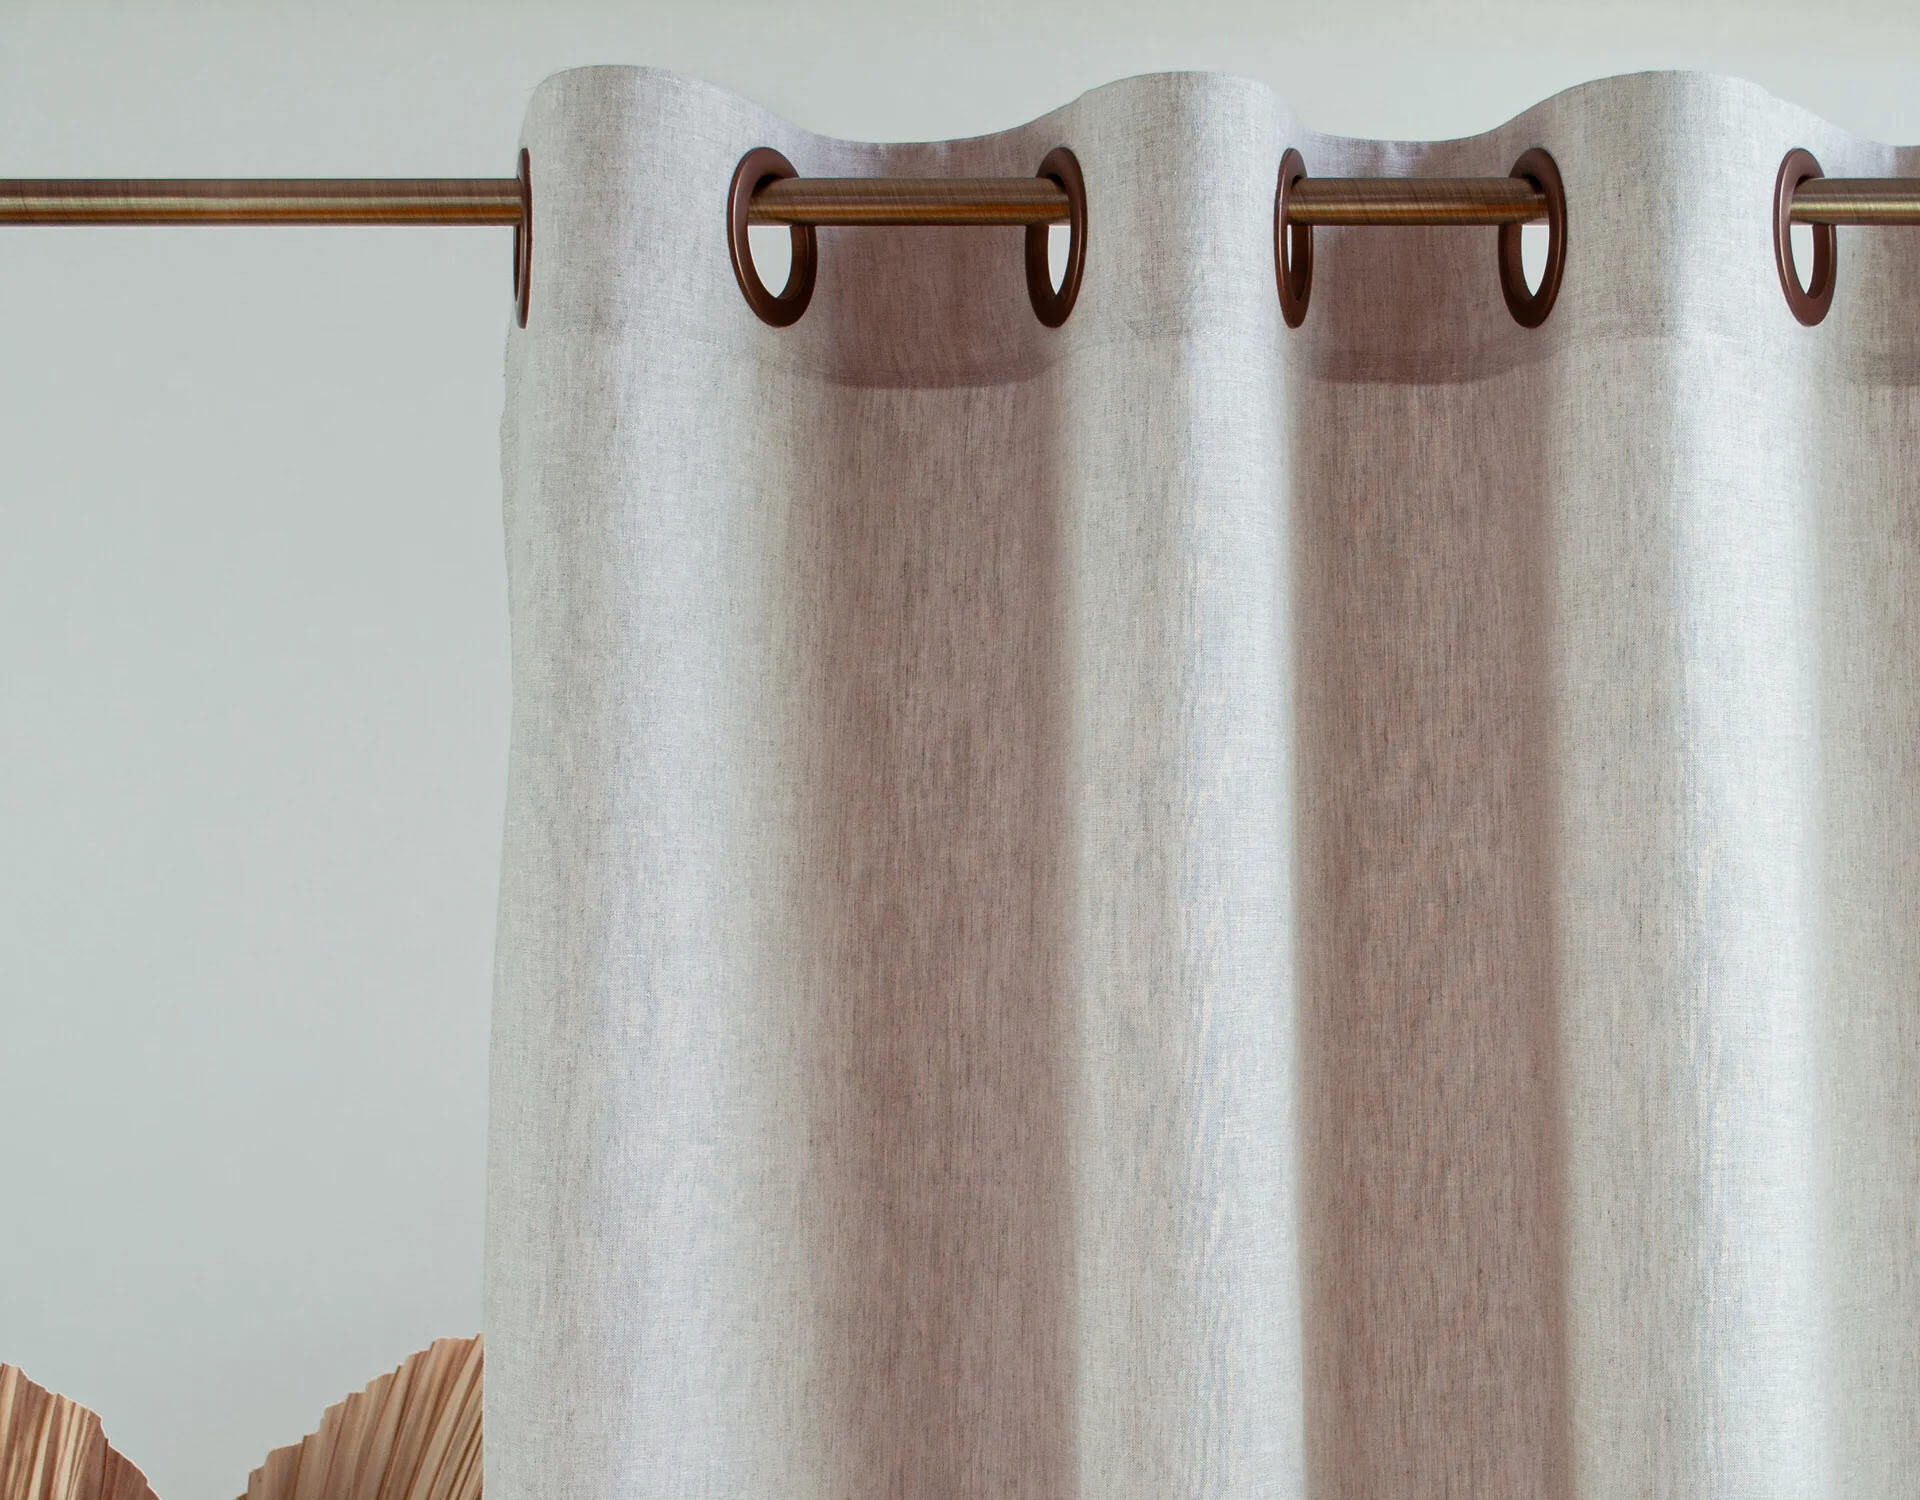
Now, your curtains are not only functional but also stylishly decorated with grommets. The even spacing and smooth sliding of the curtains create an elegant and finished look in any room.
Remember, grommets not only serve as decorative elements but also offer practical benefits such as ease of use and durability. They can withstand regular handling without compromising the fabric or the grommets themselves.
So, sit back, relax, and enjoy the new look of your curtains with added grommets. Whether in your living room, bedroom, or any other space, these curtains are sure to make a statement while providing a seamless curtain-drawing experience.
Congratulations again on completing this DIY project. We hope this guide has been helpful in adding grommets to your curtains and that you enjoy the renewed charm and functionality they bring to your living space.
Happy decorating!
Conclusion
Adding grommets to your curtains is a simple yet effective way to transform their appearance and improve their functionality. By following the step-by-step guide we provided, you can achieve professional-looking results and enhance the overall look of your living space.
From measuring and marking the positions, to cutting the holes, inserting the grommets, and securing them in place, each step plays a crucial role in the successful installation of grommets. The even spacing and smooth sliding of the curtains create a polished and sophisticated look.
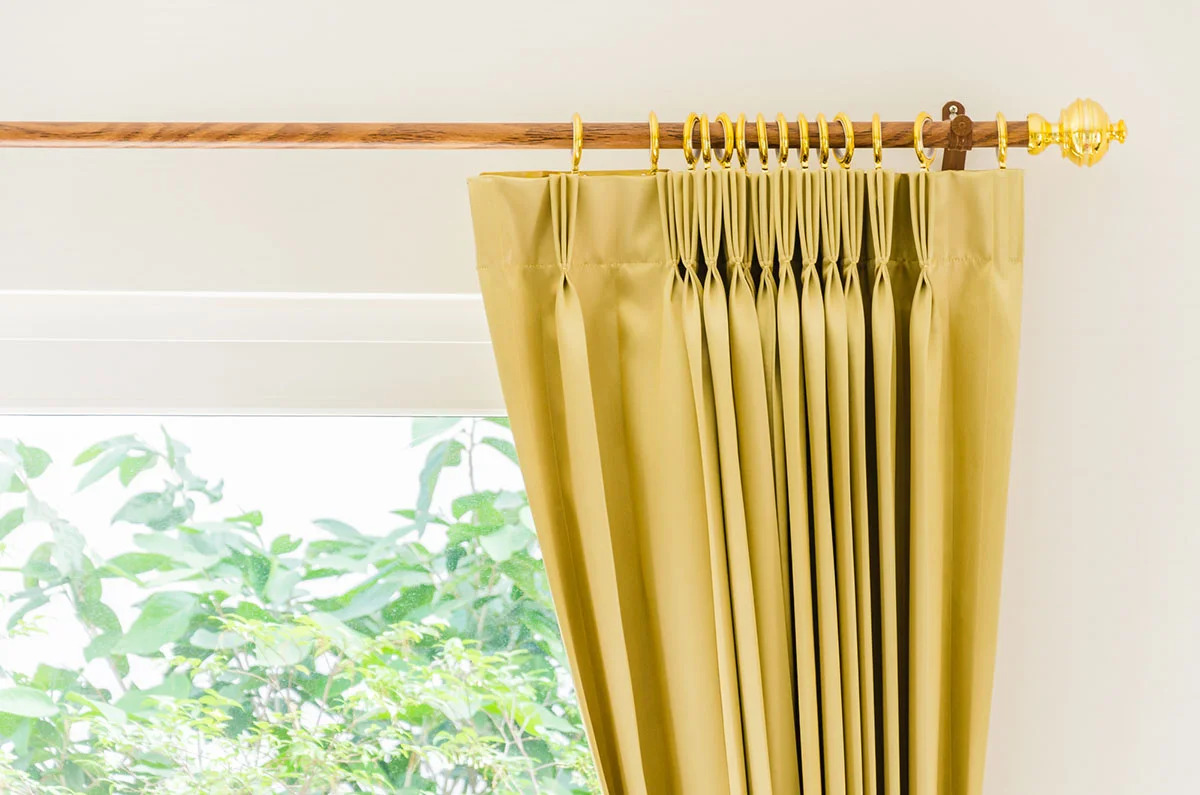
Not only do grommets offer a stylish touch, but they also provide practical benefits. They allow for easy opening and closing of the curtains, provide longevity to the fabric, and create a neat and tidy appearance. Grommets also offer versatility in terms of curtain rod choices, giving you the freedom to explore various designs and finishes.
Whether you’re a DIY enthusiast or simply looking to update your curtains, adding grommets is a rewarding and relatively straightforward project. With the right tools and attention to detail, you can achieve professional results without the need for expensive professional help.
So, go ahead and give your curtains a fresh new look by adding grommets. Enjoy the functionality, versatility, and aesthetic appeal that grommeted curtains bring to your living space.
Remember to take your time, follow each step carefully, and ensure that the grommets are securely set. With a little patience and effort, you’ll soon be enjoying the benefits of your newly embellished curtains.
Happy grommet installation and happy decorating!
Frequently Asked Questions about How To Put Grommets In Curtains
Was this page helpful?
At Storables.com, we guarantee accurate and reliable information. Our content, validated by Expert Board Contributors, is crafted following stringent Editorial Policies. We're committed to providing you with well-researched, expert-backed insights for all your informational needs.


0 thoughts on “How To Put Grommets In Curtains”