Home>Articles>How To Remove A Grommet Seal For Electrical Cord
Articles
How To Remove A Grommet Seal For Electrical Cord
Modified: December 7, 2023
Learn how to remove a grommet seal for an electrical cord with our informative articles. Unlock the knowledge and safely disconnect your cords.
(Many of the links in this article redirect to a specific reviewed product. Your purchase of these products through affiliate links helps to generate commission for Storables.com, at no extra cost. Learn more)
Introduction
Welcome to this guide on how to remove a grommet seal for an electrical cord. Grommet seals are commonly used to protect and insulate electrical cords where they pass through holes in various devices or equipment. Over time, these seals can become worn or damaged, requiring replacement. Removing a grommet seal may seem like a daunting task, but with the right tools and techniques, it can be easily accomplished.
In this article, we will provide you with a step-by-step guide on how to remove a grommet seal for an electrical cord. We will discuss the purpose and function of a grommet seal, the tools and materials you will need, and the necessary steps to safely remove the seal. By the end of this guide, you will have a clear understanding of how to remove a grommet seal and be ready to tackle this task with confidence.
Before we dive into the process, it is important to emphasize the importance of safety. Always ensure that the power is turned off and the electrical cord is disconnected from any power source before attempting to remove a grommet seal. This will help prevent any potential shocks or accidents during the process.
So, let’s get started by understanding the grommet seal and its purpose.
Key Takeaways:
- Safely removing a grommet seal for an electrical cord requires proper tools, inspection, and cleaning. Prioritize safety, inspect the seal, gather necessary tools, and clean the area for successful replacement.
- Installing a new grommet seal involves selecting the right seal, applying lubricant if necessary, and ensuring a snug fit. Following the step-by-step process ensures protection, insulation, and aesthetics for the electrical cord.
Understanding the Grommet Seal
A grommet seal, also known as a cable grommet or cord grommet, is a small rubber or plastic component that is used to protect electrical cords as they pass through holes in surfaces, such as walls, cabinets, or electronic devices. These seals serve multiple purposes:
- Protection: Grommet seals are designed to provide a protective barrier between the electrical cord and the surrounding surface. They prevent friction, abrasion, and damage to the cord, ensuring its longevity.
- Insulation: Grommet seals also act as insulation, preventing the electrical cord from coming into contact with sharp edges or conducting heat or electricity to the surrounding area. This helps maintain the safety of the electrical system.
- Noise Reduction: In some cases, grommet seals can help reduce vibration or noise caused by the movement of the electrical cord. This is particularly useful in applications where silence or minimal noise is desired.
- Aesthetics: Grommet seals provide a clean and finished appearance to the area where the electrical cord passes through a hole. They cover any rough or jagged edges, giving a professional look to the installation.
Grommet seals are typically made of durable materials such as rubber, silicone, or plastic. They come in various shapes, sizes, and designs to accommodate different cord diameters and fit snugly into the hole they are installed in. Some grommet seals may have flanges or wings that secure them in place, while others may have a split design to allow easy installation or removal.
Over time, grommet seals can degrade, become brittle, or lose their elasticity due to age, exposure to heat or UV rays, or regular wear and tear. If a grommet seal becomes damaged or no longer provides an effective seal, it is necessary to remove and replace it with a new one.
Now that we have a better understanding of what a grommet seal is and why it is important, let’s move on to the tools and materials you will need for the removal process.
Tools and Materials Needed
Before you begin the process of removing a grommet seal, it is important to gather the necessary tools and materials. Having everything ready beforehand will ensure a smooth and efficient removal process. Here is a list of what you will need:
- Safety Gear: It is crucial to prioritize safety when working with electrical cords. Wear safety goggles to protect your eyes from any debris or particles that may be dislodged during the removal process.
- Needle-Nose Pliers: Needle-nose pliers are essential for gripping and pulling out the grommet seal from the hole. Choose a pair that is small and precise for better control.
- Screwdriver (if applicable): If the grommet seal is secured with screws, you may need a compatible screwdriver to remove them. Check the seal for any visible screws before starting.
- Lubricant: In some cases, grommet seals can become tight or stuck, especially if they have been in place for a long time. Lubricating the seal with a silicone-based lubricant can make it easier to remove.
- Clean Cloth: Keep a clean cloth or rag handy to wipe away any dirt, debris, or residue that may be present around the grommet seal or in the surrounding area.
- New Grommet Seal: Lastly, it is important to have a replacement grommet seal ready. Ensure that you purchase a grommet seal that matches the size and shape of the original seal to ensure a proper fit.
It is worth noting that the specific tools and materials required may vary depending on the type and location of the grommet seal. Ensure that you have all the necessary items before starting the removal process to avoid any unnecessary delays or interruptions.
Now that you have gathered the required tools and materials, you are ready to proceed with the step-by-step process of removing the grommet seal. In the next section, we will guide you through the necessary steps for a successful removal.
Step 1: Disconnecting the Electrical Cord
Before you begin the process of removing the grommet seal, it is important to ensure that the electrical cord is properly disconnected from any power source. This step is crucial to prevent any potential electrical shocks or accidents during the removal process.
Follow these steps to safely disconnect the electrical cord:
- Turn off the Power: Locate the power source or circuit breaker that supplies electricity to the device or equipment where the electrical cord is connected. Switch off the power to ensure that there is no active electrical current flowing.
- Unplug the Cord: Once the power is turned off, unplug the electrical cord from the wall socket or any other power source it is connected to. Gently pull the plug straight out to avoid any damage or strain on the cord.
- Double-Check: After unplugging the cord, double-check to ensure that there is no residual power or live current. You can use a voltage tester to verify that there is no electrical flow before proceeding with the removal process.
By following these steps, you can ensure that the electrical cord is safely disconnected, minimizing the risk of electrical accidents or injuries. Once you have confirmed that the cord is no longer connected to any power source, you can proceed to the next step in the grommet seal removal process.
In the next section, we will discuss how to inspect the grommet seal to determine if it needs to be replaced.
Step 2: Inspecting the Grommet Seal
After safely disconnecting the electrical cord, the next step is to inspect the grommet seal to determine its condition and whether it needs to be replaced. Inspecting the seal will help you identify any signs of damage or wear that may require immediate attention.
Follow these steps to inspect the grommet seal:
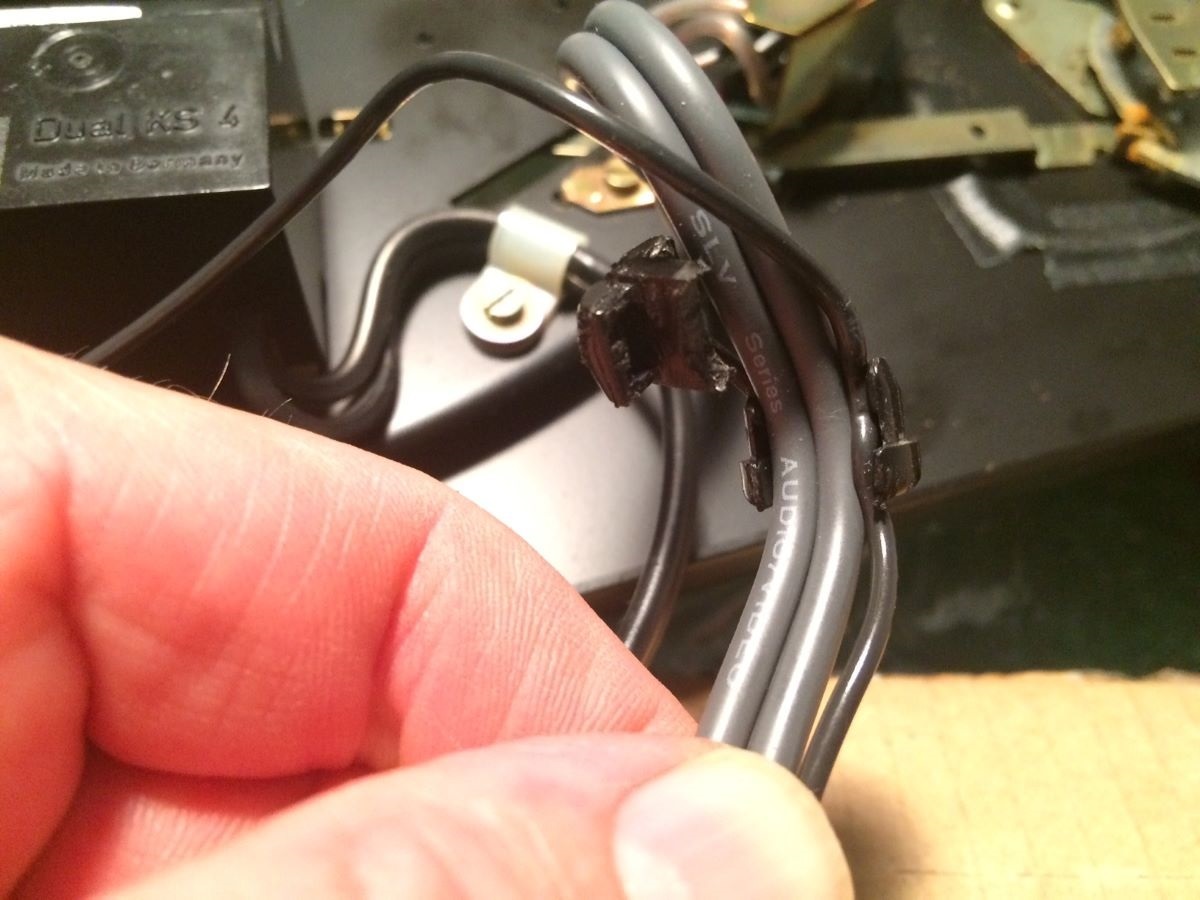
- Examine the Seal: Take a close look at the grommet seal and observe its overall condition. Look for any visible cracks, tears, or deformities that may compromise its functionality. Pay attention to the edges and flanges of the seal as they are common areas for wear and tear.
- Check the Elasticity: Gently press and stretch the grommet seal to assess its elasticity. A good seal should have some flexibility and bounce-back when stretched. If the seal feels stiff, brittle, or doesn’t bounce back, it may indicate that it has reached the end of its lifespan.
- Inspect for Debris or Build-up: Look inside the hole where the seal is installed and check for any debris, dust, or build-up that may have accumulated. This can affect the seal’s ability to provide a proper fit and insulation.
- Consider the Age and Usage: Take into account the age of the grommet seal and how frequently the electrical cord has been used. Over time, seals can deteriorate due to exposure to UV rays, heat, or general wear and tear. If the seal is old or has been in use for a long time, it is more likely to need replacement.
Based on your inspection, you can determine whether the grommet seal needs to be replaced or if it is still in good condition. If you notice any significant damage, stiffness, or signs of wear, it is recommended to proceed with removing the seal and installing a new one.
In the next section, we will guide you through the process of removing the grommet seal from the electrical cord.
To remove a grommet seal for an electrical cord, use a small flathead screwdriver to gently pry the grommet out of the hole. Be careful not to damage the cord or the surrounding area.
Step 3: Removing the Grommet Seal
Now that you have inspected the grommet seal and determined that it needs to be replaced, it’s time to remove the old seal. Follow these step-by-step instructions to safely remove the grommet seal from the electrical cord:
- Prepare the Work Area: Clear the area around the grommet seal and ensure you have enough space to work comfortably. Place a clean cloth or rag beneath the seal to catch any debris or particles that may fall during the removal process.
- Grip the Seal: Using needle-nose pliers, grip the edge of the grommet seal firmly but gently. It is important not to apply too much force in order to avoid damaging the cord or the surrounding area.
- Rotate and Pull: Once you have a good grip on the seal, rotate it gently in a clockwise or counterclockwise direction while applying a steady pulling force. This twisting motion will help loosen the seal from its position.
- Continue the Twisting Motion: As you twist and pull, gradually increase the pulling force to remove the seal from the hole. Be patient and avoid jerking or tugging too forcefully to prevent any damage.
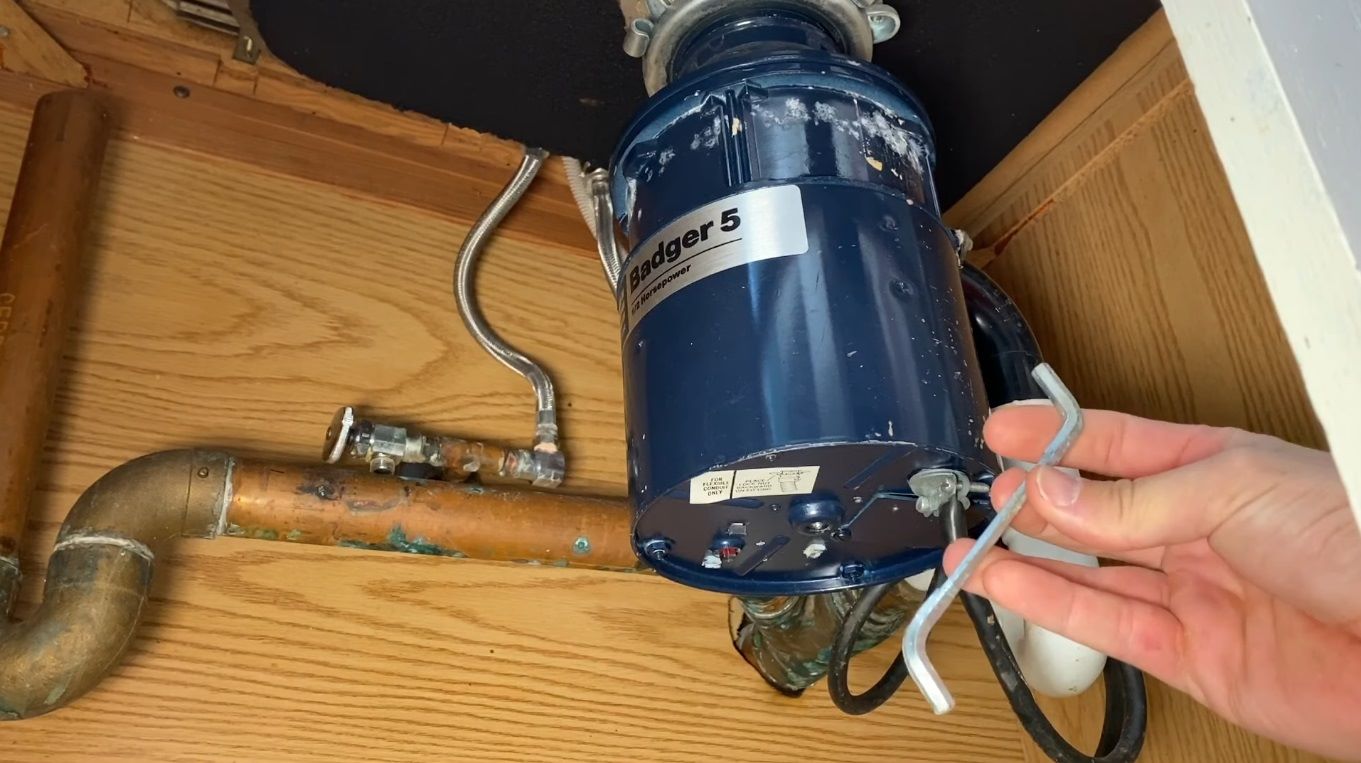
- Inspect for Resistance: If you encounter resistance and the seal doesn’t budge, stop pulling and assess the situation. Check if there are any screws securing the seal that need to be removed. If there are screws, use a compatible screwdriver to remove them before continuing with the removal process.
- Remove and Discard the Seal: Once the seal is loosened, carefully pull it out completely from the hole. Dispose of the old seal properly.
Remember to work slowly and steadily while removing the grommet seal. Take breaks if needed and reassess the situation if you encounter any difficulties. Be mindful of the electrical cord and the surrounding area to prevent any accidental damage during the removal process.
Next, we will move on to cleaning the area after the grommet seal has been removed in Step 4.
Step 4: Cleaning the Area
After successfully removing the old grommet seal, it is essential to clean the area thoroughly before installing a new seal. Cleaning the area will ensure a clean and debris-free surface for proper installation and improve the overall effectiveness of the new seal. Follow these steps to clean the area:
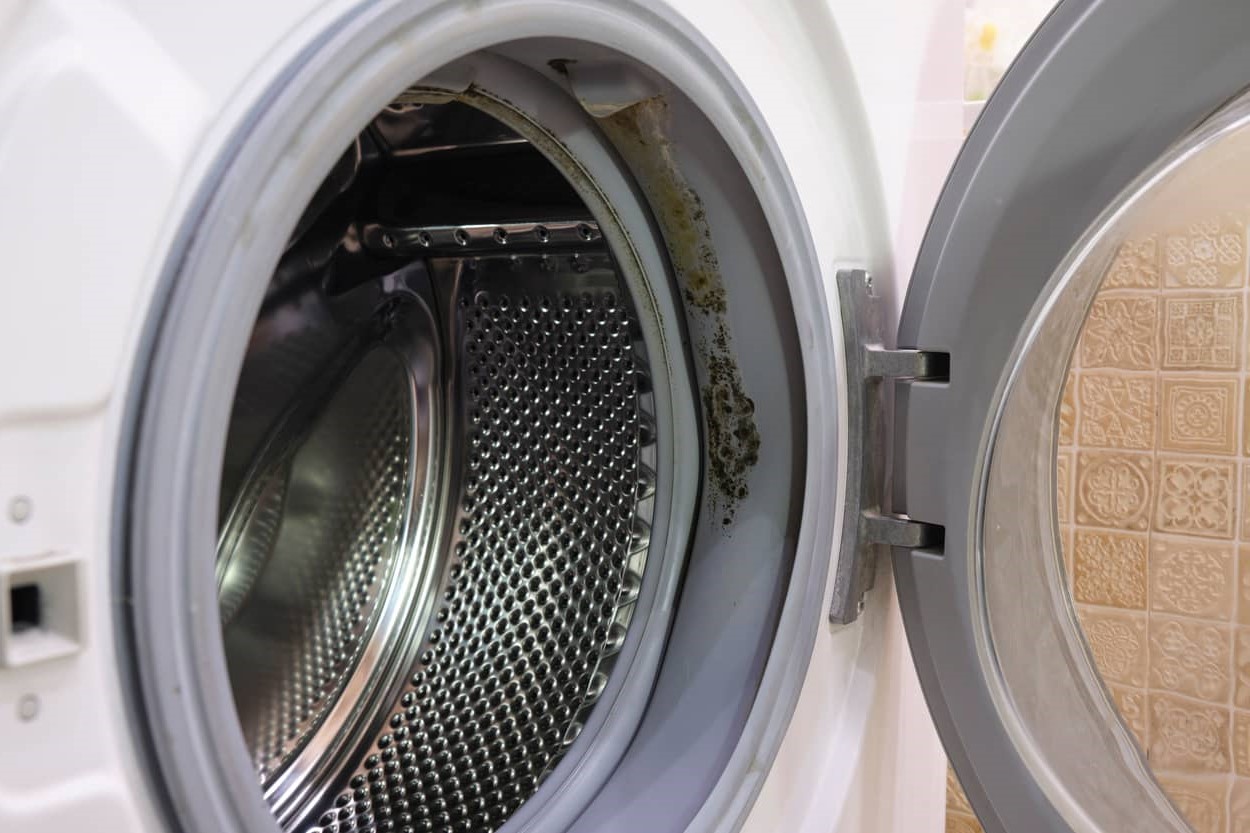
- Inspect for Debris: Take a close look at the hole where the grommet seal was installed and check for any debris, dust, or particles. Use a flashlight if needed to clearly see inside the hole.
- Remove Loose Debris: If you notice any loose debris or particles, gently blow or wipe them away from the area using a clean cloth or rag. Be careful not to push any debris further into the hole.
- Clean with Mild Soap Solution: Prepare a mild soap solution by mixing a small amount of dish soap with warm water. Dip a clean cloth or sponge into the solution and gently clean the inside of the hole, removing any stubborn dirt or residue.
- Rinse and Dry: After cleaning, dampen another clean cloth or sponge with plain water and rinse the area thoroughly. Make sure to remove any soap residue. Once rinsed, use a dry cloth or towel to pat the area dry.
- Inspect and Repeat if Necessary: After cleaning and drying, inspect the area again to ensure it is clean and free of debris. If you notice any remaining dirt or residue, repeat the cleaning process until the area is completely clean.
By cleaning the area, you are creating an optimal environment for the new grommet seal to be installed securely. This will help ensure a proper fit and improve the seal’s performance.
Now that the area is clean, we can move on to the final step: installing a new grommet seal. This will be covered in Step 5.
Step 5: Installing a New Grommet Seal
After removing the old grommet seal and cleaning the area, it’s time to install a new seal. Installing a new grommet seal will provide the necessary protection, insulation, and aesthetics for the electrical cord. Follow these steps to install a new grommet seal:
- Select the Right Seal: Ensure that you have purchased a replacement grommet seal that matches the size and shape of the original seal. This will ensure a proper fit and functionality.
- Apply Lubricant (if necessary): If the new grommet seal feels tight or does not slide into place easily, you can apply a small amount of silicone-based lubricant to the seal. This will help facilitate installation.
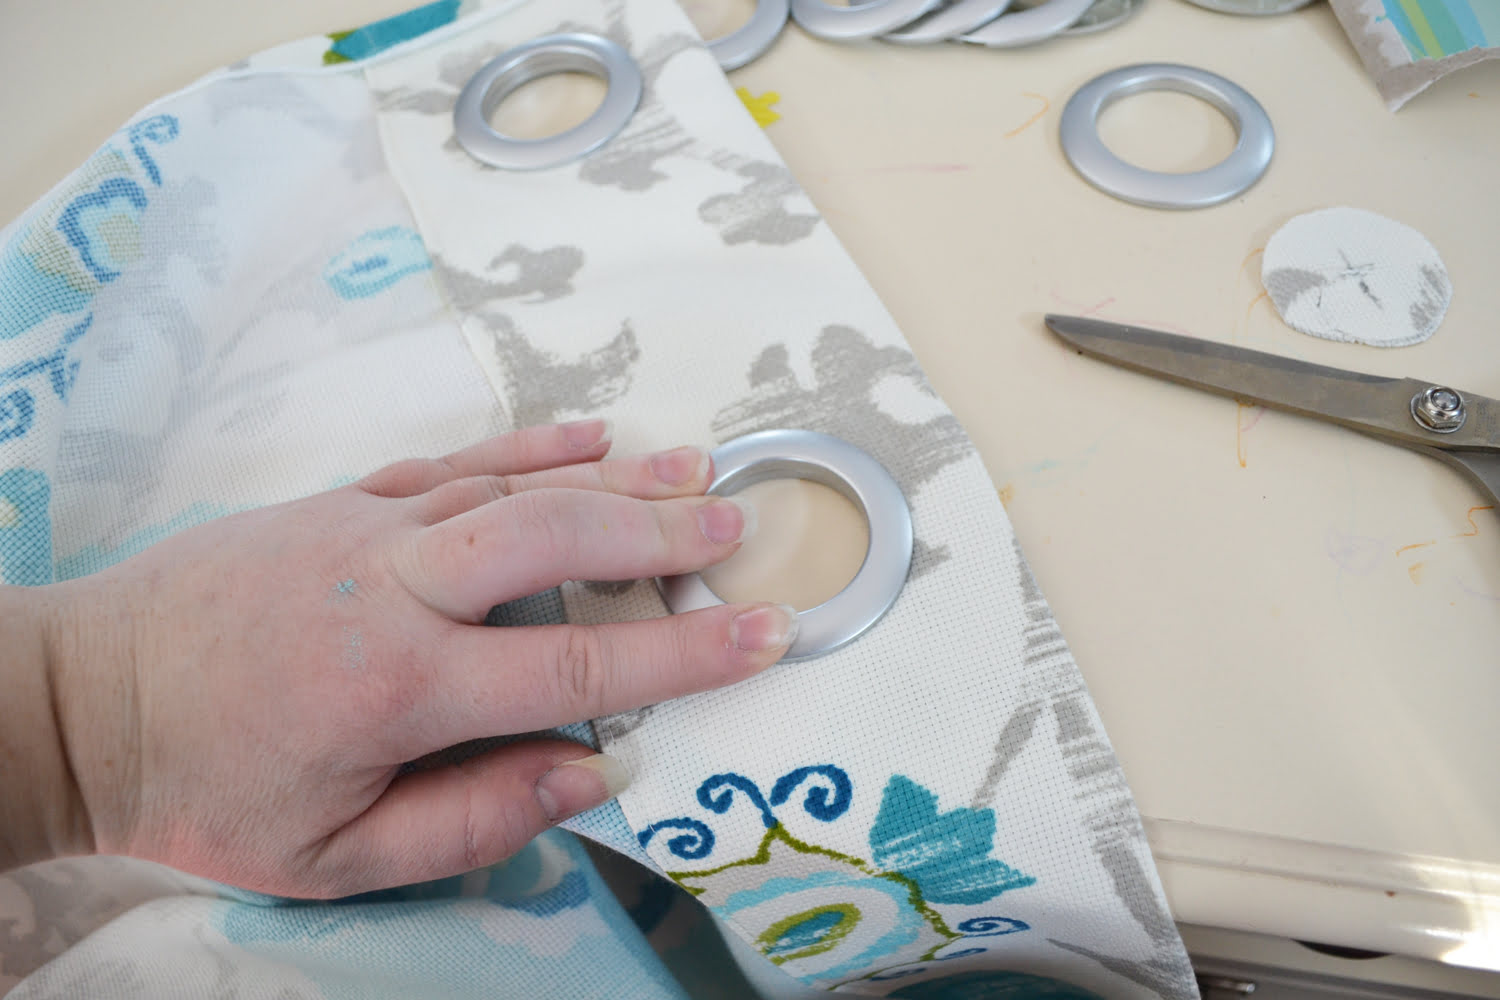
- Position the Seal: Hold the new grommet seal and position it at the hole where the old seal was removed. Align the seal properly to ensure it fits securely and covers the entire hole.
- Gently Press and Rotate: With a firm but gentle pressure, begin pressing the grommet seal into the hole. Use a twisting motion while applying a steady force to ensure the seal is seated properly.
- Check for a Snug Fit: Once inserted, check that the grommet seal sits flush with the surface and provides a snug fit. It should be secure and not easily move or come loose.
- Double-Check the Installation: After installing the new grommet seal, inspect the area one final time. Ensure that there are no visible gaps or unevenness present, indicating a proper installation.
By following these steps, you will successfully install a new grommet seal for your electrical cord. The new seal will provide the necessary protection and insulation while maintaining the clean appearance of the area where the cord passes through the hole.
Before connecting the electrical cord back to a power source, take a moment to ensure the grommet seal is securely in place and functioning correctly. This will help prevent any potential issues once the power is restored.
Congratulations! You have now completed the process of removing a grommet seal for an electrical cord and installing a new one. By following these steps, you have effectively maintained the safety and functionality of your electrical system. Remember, if you ever encounter any difficulties or are unsure about any step, it is best to consult a professional electrician for assistance.
Finally, to ensure the longevity and effectiveness of the new grommet seal, regularly inspect and clean the area, and replace the seal when signs of wear or damage appear. This will help keep your electrical cords protected and your equipment functioning optimally.
We hope this guide has been helpful in guiding you through the process of removing and replacing a grommet seal for an electrical cord. Thank you for reading, and best of luck with your future projects!
Conclusion
Removing a grommet seal for an electrical cord may initially seem like a complex task, but with the right tools, knowledge, and techniques, it can be easily accomplished. In this comprehensive guide, we have walked you through the step-by-step process of removing and replacing a grommet seal, ensuring the safety, protection, and aesthetics of your electrical system.
Throughout the guide, we highlighted the importance of safety, reminding you to disconnect the electrical cord from any power source before beginning the removal process. We also emphasized the significance of inspecting the grommet seal to determine if its replacement is necessary.
You learned about the different tools and materials needed for the process, including safety gear, needle-nose pliers, a screwdriver (if applicable), lubricant, a clean cloth, and a new grommet seal.
We guided you through each step, from disconnecting the electrical cord to cleaning the area after removing the old seal, and finally, installing the new grommet seal. Clear instructions and precautions were provided to ensure a successful and hassle-free process.
To maintain the effectiveness of the new grommet seal, we advised regularly inspecting and cleaning the area, as well as replacing the seal when signs of wear or damage appear. This will help ensure the longevity and performance of your electrical system.
By following the steps outlined in this guide, you have gained the knowledge and confidence to remove and replace grommet seals for your electrical cords. Remember, if you ever encounter any difficulties or have any concerns, it is always best to consult a professional electrician.
We hope that this guide has provided valuable insights and assistance to help you successfully remove and replace grommet seals for your electrical cords. Taking the time to maintain and protect your electrical system will ensure its proper functioning and safety for years to come.
Thank you for reading, and we wish you the best of luck with your future projects!
Frequently Asked Questions about How To Remove A Grommet Seal For Electrical Cord
Was this page helpful?
At Storables.com, we guarantee accurate and reliable information. Our content, validated by Expert Board Contributors, is crafted following stringent Editorial Policies. We're committed to providing you with well-researched, expert-backed insights for all your informational needs.


0 thoughts on “How To Remove A Grommet Seal For Electrical Cord”