
Articles
How To Make Grommet Top Curtains
Modified: January 19, 2024
Learn how to make grommet top curtains with our informative articles. Discover tips, techniques, and step-by-step instructions for creating your own stylish window treatments.
(Many of the links in this article redirect to a specific reviewed product. Your purchase of these products through affiliate links helps to generate commission for Storables.com, at no extra cost. Learn more)
Introduction
Welcome to the world of DIY home decor! If you’re looking to add a touch of style and functionality to your windows, grommet top curtains are a fantastic choice. These curtains not only provide a seamless and modern look, but they also offer ease of use, allowing you to effortlessly open and close them. The best part is, you can make them yourself without breaking the bank!
In this article, we’ll guide you through the step-by-step process of making grommet top curtains. From gathering the necessary materials to hanging the finished curtains, we’ve got you covered. So, grab your measuring tape and sewing kit, and let’s get started!
Key Takeaways:
- Transform simple fabric into stylish, functional grommet top curtains with our step-by-step guide. Save money, customize to your preferences, and enjoy the modern aesthetic and ease of use they bring to your space.
- From gathering materials to adding finishing touches, creating grommet top curtains is a rewarding DIY project. Pay attention to details, take your time, and enjoy the beauty and functionality they bring to your windows.
Read more: What Are Grommet Curtains
Step 1: Gathering Materials
Before diving into the construction of your grommet top curtains, it’s important to gather all the necessary materials. Here’s a list of what you’ll need:
- Fabric of your choice: Make sure to measure the dimensions of your windows to determine the amount of fabric needed. Opt for a fabric that suits your aesthetic preferences and provides the desired level of privacy and light control.
- Grommet kit: This kit typically includes the grommets, a hole cutting tool, and a setting tool. You can find grommet kits in most craft or sewing supply stores. Select a kit with grommets that match the size and style you prefer for your curtains.
- Measuring tape: Essential for accurately measuring your windows and fabric.
- Sewing machine or needle and thread: Depending on your preference and sewing skills, you can choose to hand sew or use a machine to stitch the curtains.
- Scissors: To cut the fabric and thread.
- Pins: These will come in handy for holding the fabric in place while sewing.
- Iron and ironing board: To press and flatten the fabric, ensuring neat and professional-looking results.
Once you have gathered all the materials, you’ll be ready to proceed to the next step: measuring and cutting the fabric.
Step 2: Measuring and Cutting Fabric
Now that you have all the materials ready, it’s time to measure and cut the fabric for your grommet top curtains. Follow these steps to ensure accurate measurements and precise cuts:
- Measure the width: Use a measuring tape to determine the width of your window. Take into account any additional width you want for a fuller look or to accommodate curtain rod brackets. Add a few extra inches to allow for hems and seam allowances.
- Measure the length: Measure from the top of the curtain rod to where you want the curtains to end. Add a few inches for hems and any desired pooling effect at the bottom.
- Cut the fabric: Lay the fabric out flat on a clean and spacious work surface. Use your measurements to mark and cut the fabric accordingly. Ensure that you cut two panels of fabric, one for each side of the window.
Remember to double-check your measurements before cutting the fabric, as accuracy is key to achieving properly fitting curtains. It’s also a good idea to iron the fabric before moving on to the next step. This will help smooth out any wrinkles or creases and make the sewing process easier.
With the fabric measured and cut, it’s time to move on to the next step: hemming the curtains.
Step 3: Hemming the Curtains
After cutting the fabric, the next step in making grommet top curtains is hemming. Hemming the curtains will give them a finished and polished look. Follow these steps to hem your curtains:
- Fold the edge: Measure and fold the bottom edge of each curtain panel about an inch towards the wrong side of the fabric. You can use pins to secure the fold in place.
- Iron the fold: Use an iron to press the folded edge, creating a crisp and smooth hem.
- Stitch the hem: Sew a straight stitch along the folded edge to secure the hem. You can use a sewing machine or hand sew. Repeat this process for the other panel as well.
Hemming the curtains not only creates a neat appearance but also prevents the fabric from fraying over time. Once you’ve hemmed the curtains, you can now move on to the next step: placing and marking the grommet holes.
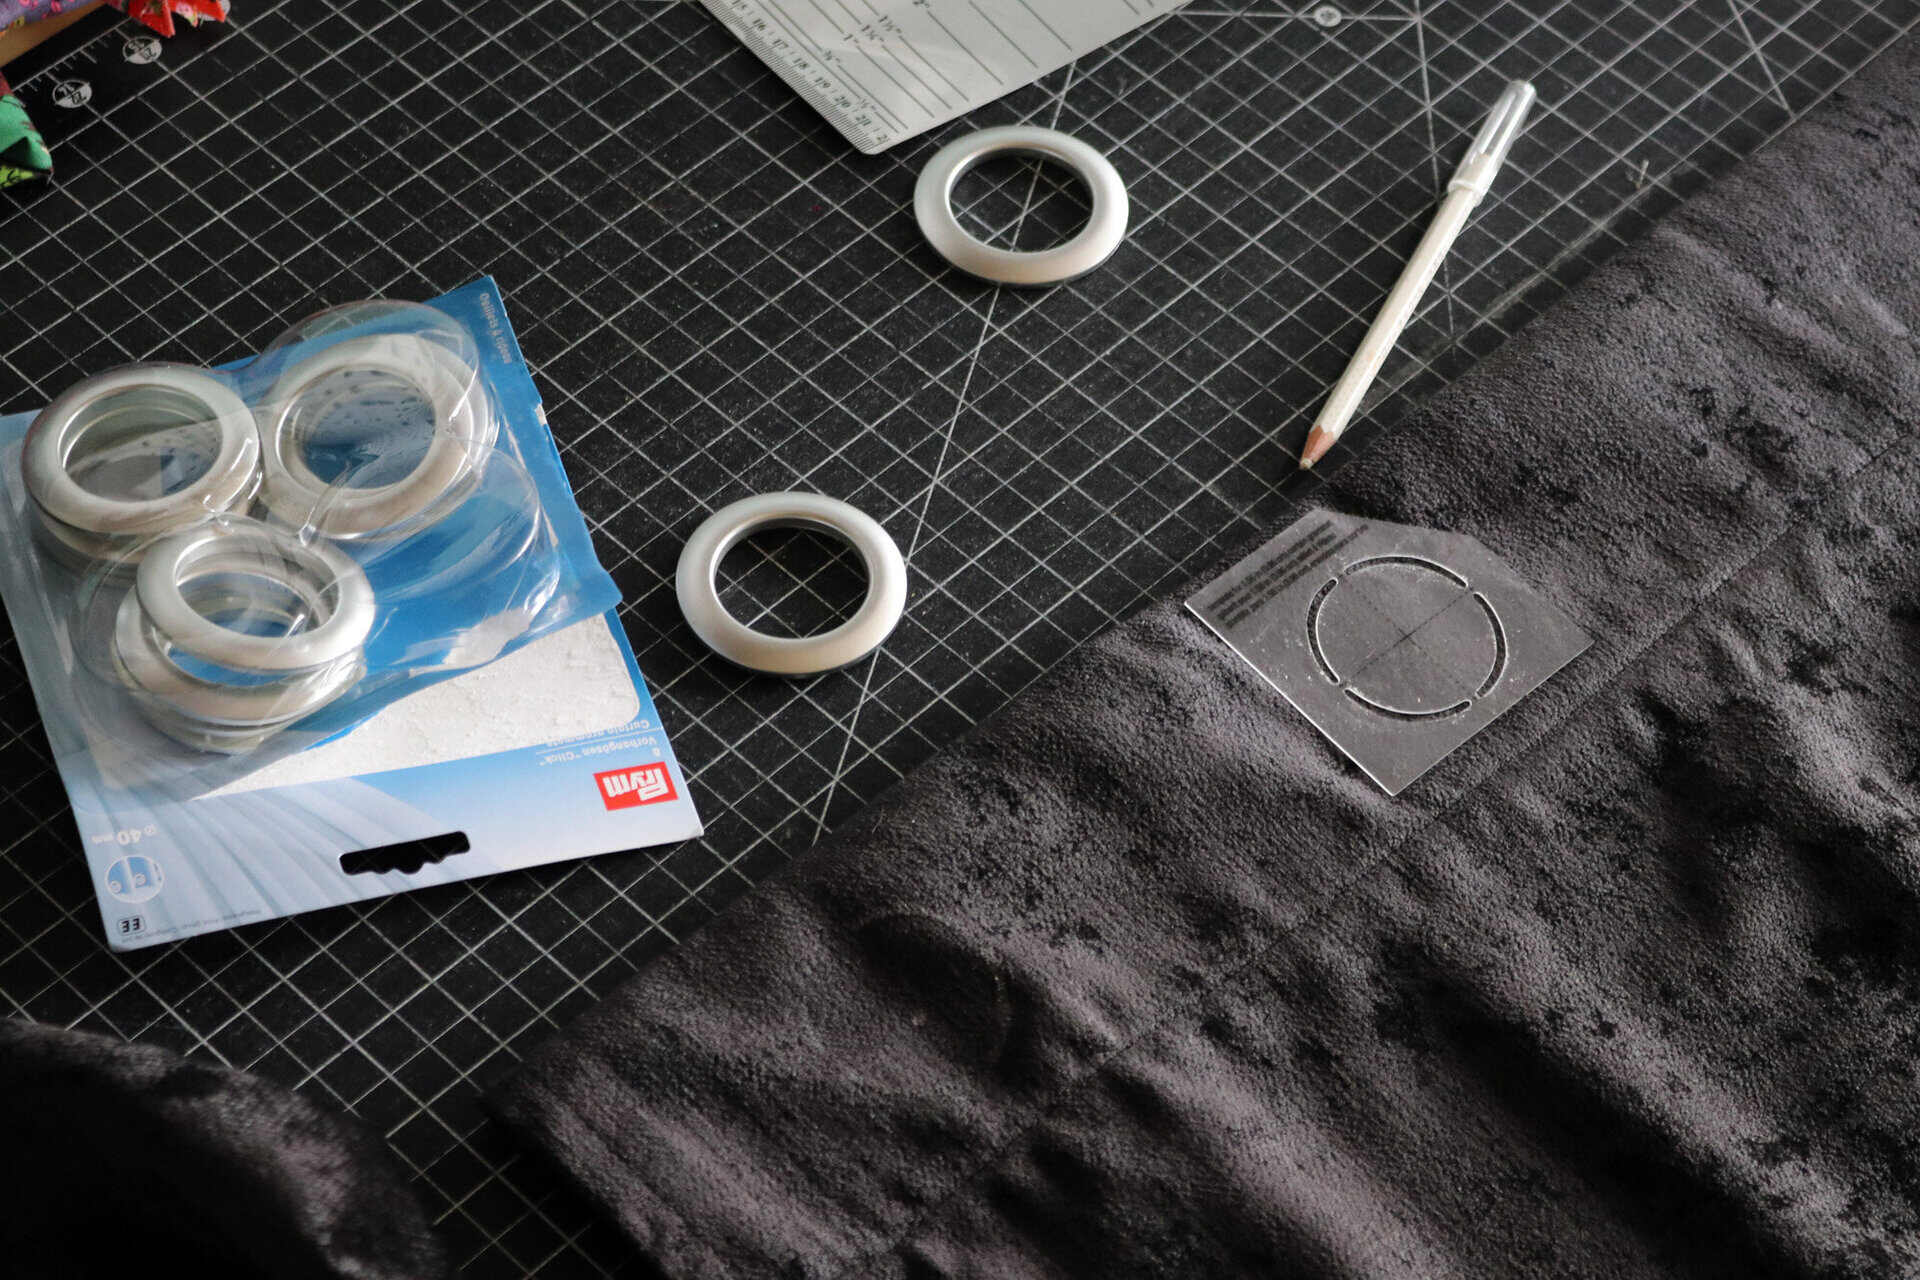
Step 4: Placing and Marking the Grommet Holes
Now that you have hemmed the curtains, it’s time to determine the placement of the grommet holes. Follow these steps to place and mark the grommet holes on your curtains:
- Lay the curtain panel flat: Lay one of the curtain panels flat on your work surface, with the right side facing up.
- Measure and mark the placement: Using the grommet kit as a guide, measure the distance from the folded edge to the center of the grommet hole. This distance will depend on the size of your grommets and your desired spacing. Mark the placement with a pencil or fabric marker.
- Repeat for other holes: Repeat the measurement and marking process for the remaining grommet holes, ensuring they are evenly spaced along the width of the curtain.
It’s important to note that you should leave enough space at the top and bottom of the curtain panel to account for the curtain rod and desired fabric gathering. Typically, the top grommet should be placed approximately 1-2 inches from the folded edge of the fabric.
Once you have marked the placement of the grommet holes, you’re ready to move on to the next step: cutting the grommet holes.
When making grommet top curtains, be sure to measure and mark the placement of the grommets carefully to ensure they are evenly spaced and aligned. This will result in a professional-looking finished product.
Read more: How To Put Grommets In Curtains
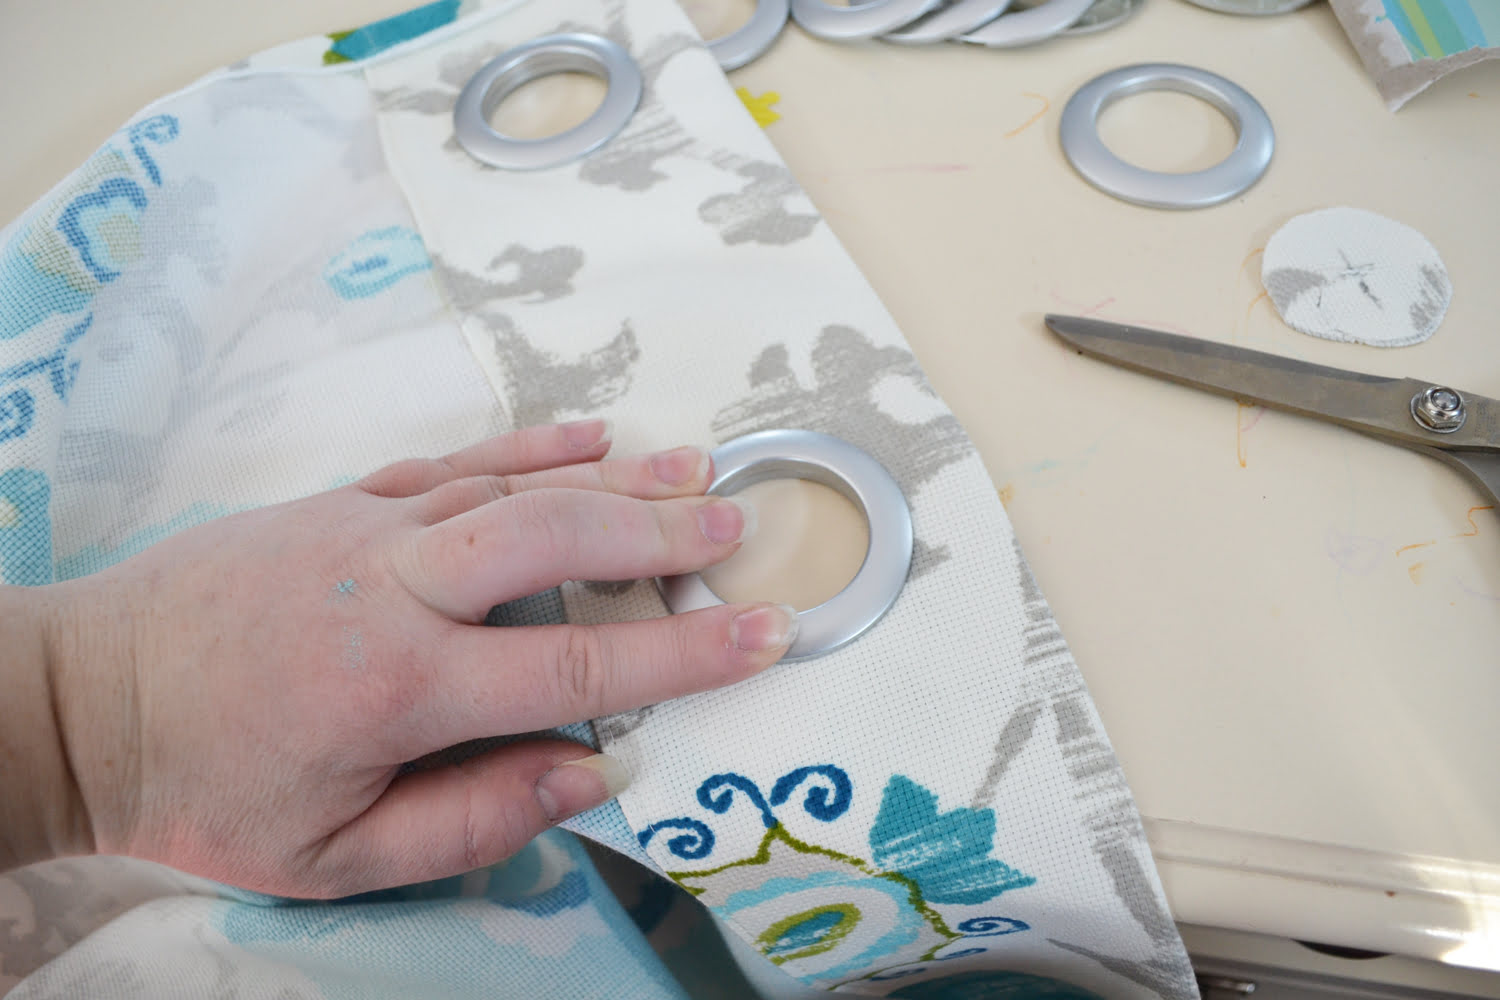
Step 5: Cutting the Grommet Holes
With the marked placements of the grommet holes on your curtains, it’s time to cut the holes to accommodate the grommets. Follow these steps to cut the grommet holes:
- Start with a small hole: Using a sharp pair of scissors or a utility knife, carefully cut a small hole at each marked placement. Start with a smaller hole than the actual size of the grommet to ensure a precise and clean cut.
- Gradually increase the hole size: Once you’ve made the initial small hole, take your grommet kit’s hole cutting tool and place it through the hole. Use the tool to slowly and carefully enlarge the hole to match the size of the grommet.
- Repeat for all the holes: Repeat the cutting process for each marked grommet hole on the curtain panel.
Be cautious and take your time while cutting the grommet holes to avoid any accidents or mistakes. It’s always a good idea to test the fit of the grommet in the hole before moving on to the next step.
Once you have cut all the grommet holes, you’re ready to move on to the next step: attaching the grommets.
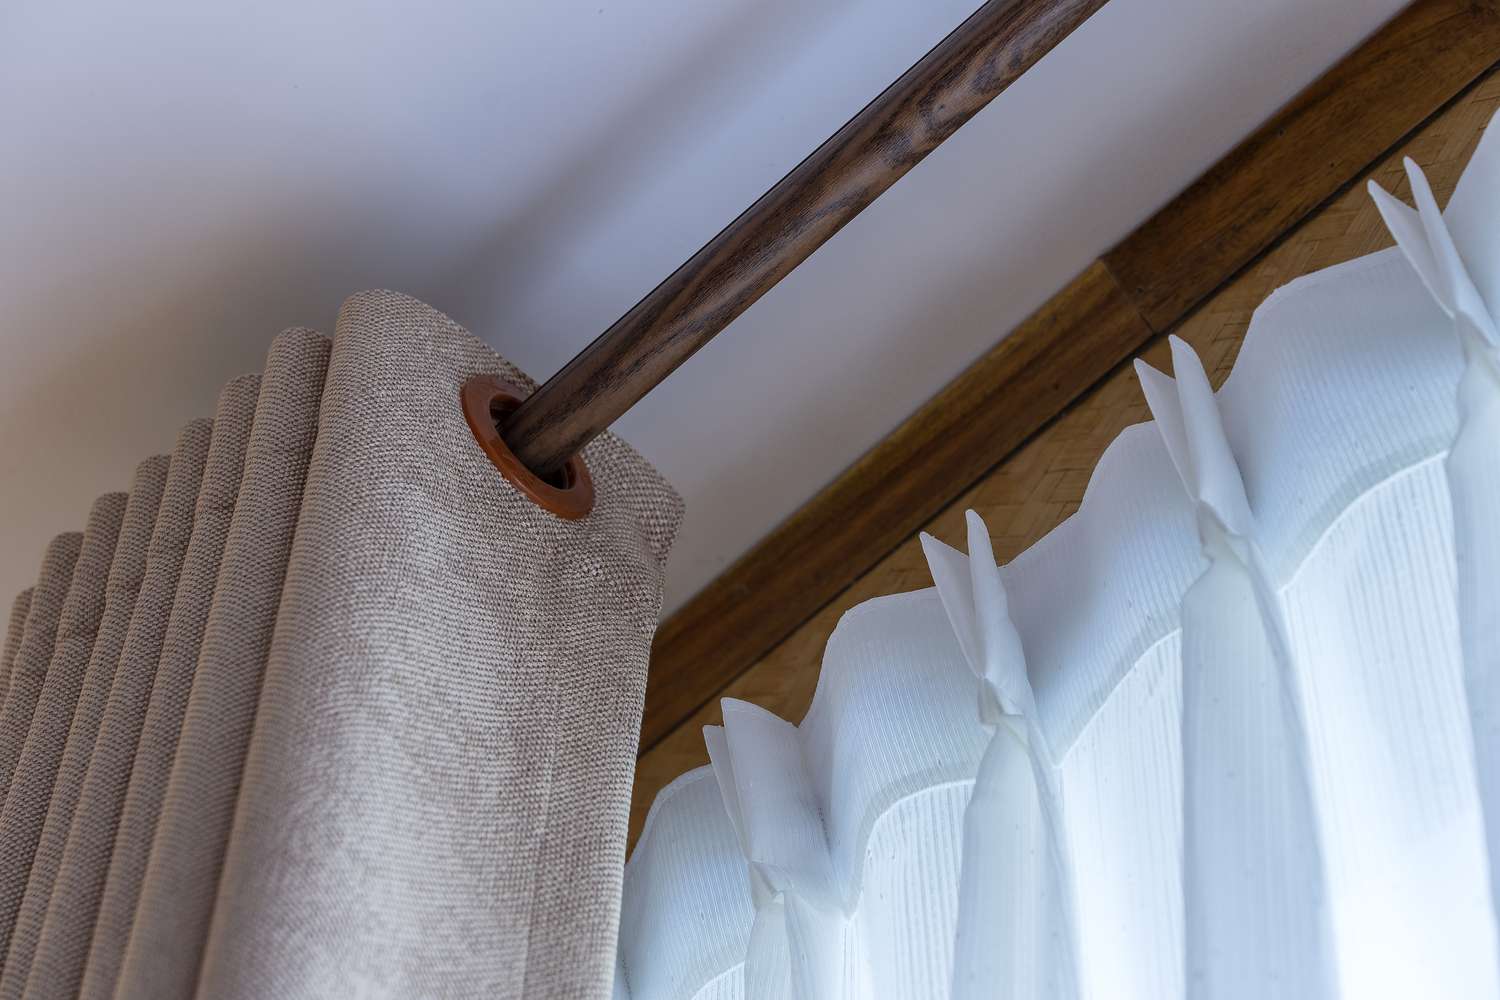
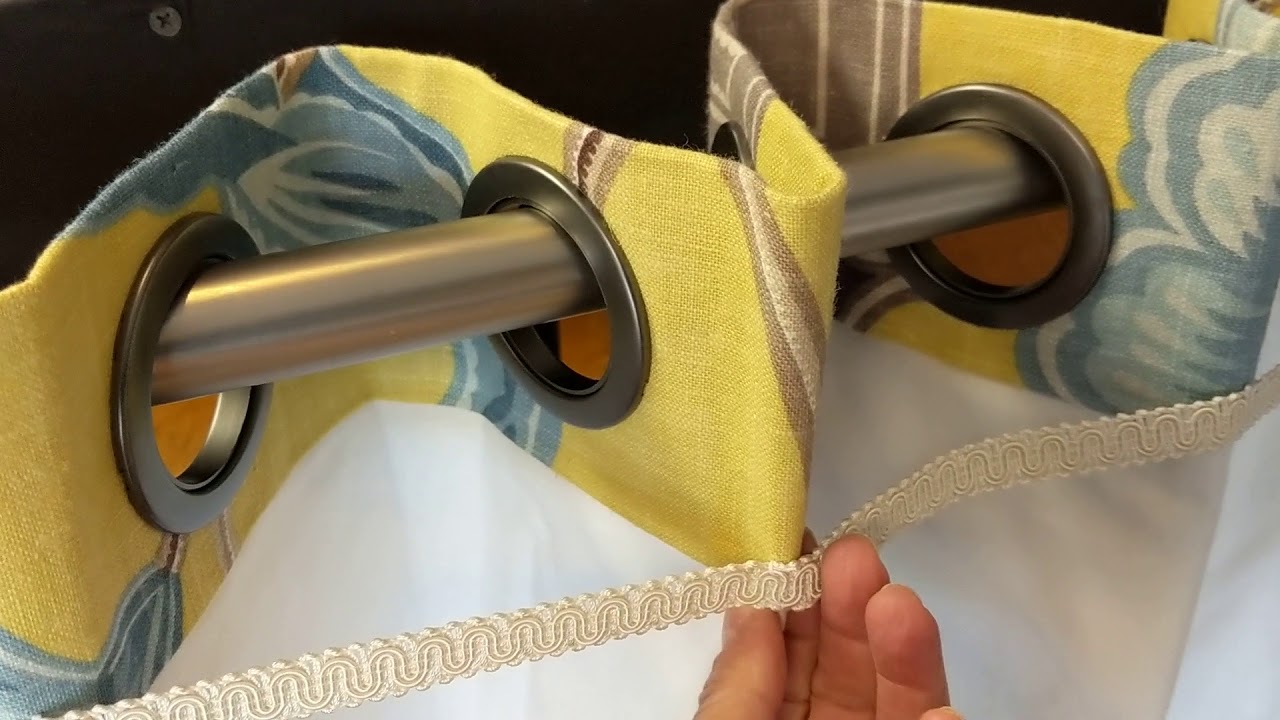
Step 6: Attaching the Grommets
Now that the grommet holes are cut, it’s time to attach the grommets to your curtains. Follow these steps to securely attach the grommets:
- Prepare the grommets: Take your grommet kit and separate the grommets into two parts – the front and the back. The front part typically has a lip or rim that will hold the fabric in place.
- Place the grommets: Start with the first grommet hole and insert the back part of the grommet through the back of the fabric, with the lip facing up and the smooth side against the fabric.
- Secure the grommets: Take the front part of the grommet and align it with the back part. Place it over the back part and press down firmly, ensuring that the fabric is sandwiched between the two parts.
- Set the grommets: To set the grommets securely, use the grommet kit’s setting tool. Follow the instructions provided with your kit to properly set the grommets. This usually involves applying pressure with the setting tool to create a tight and secure bond.
- Repeat for all the grommets: Continue the process for each grommet hole on both curtain panels, ensuring they are attached evenly and securely.
Attaching the grommets is an important step as they will provide the structure for the curtain rod to pass through. Take your time and double-check that each grommet is properly attached before proceeding.
With the grommets securely in place, you’re ready to move on to the next step: hanging the curtains.
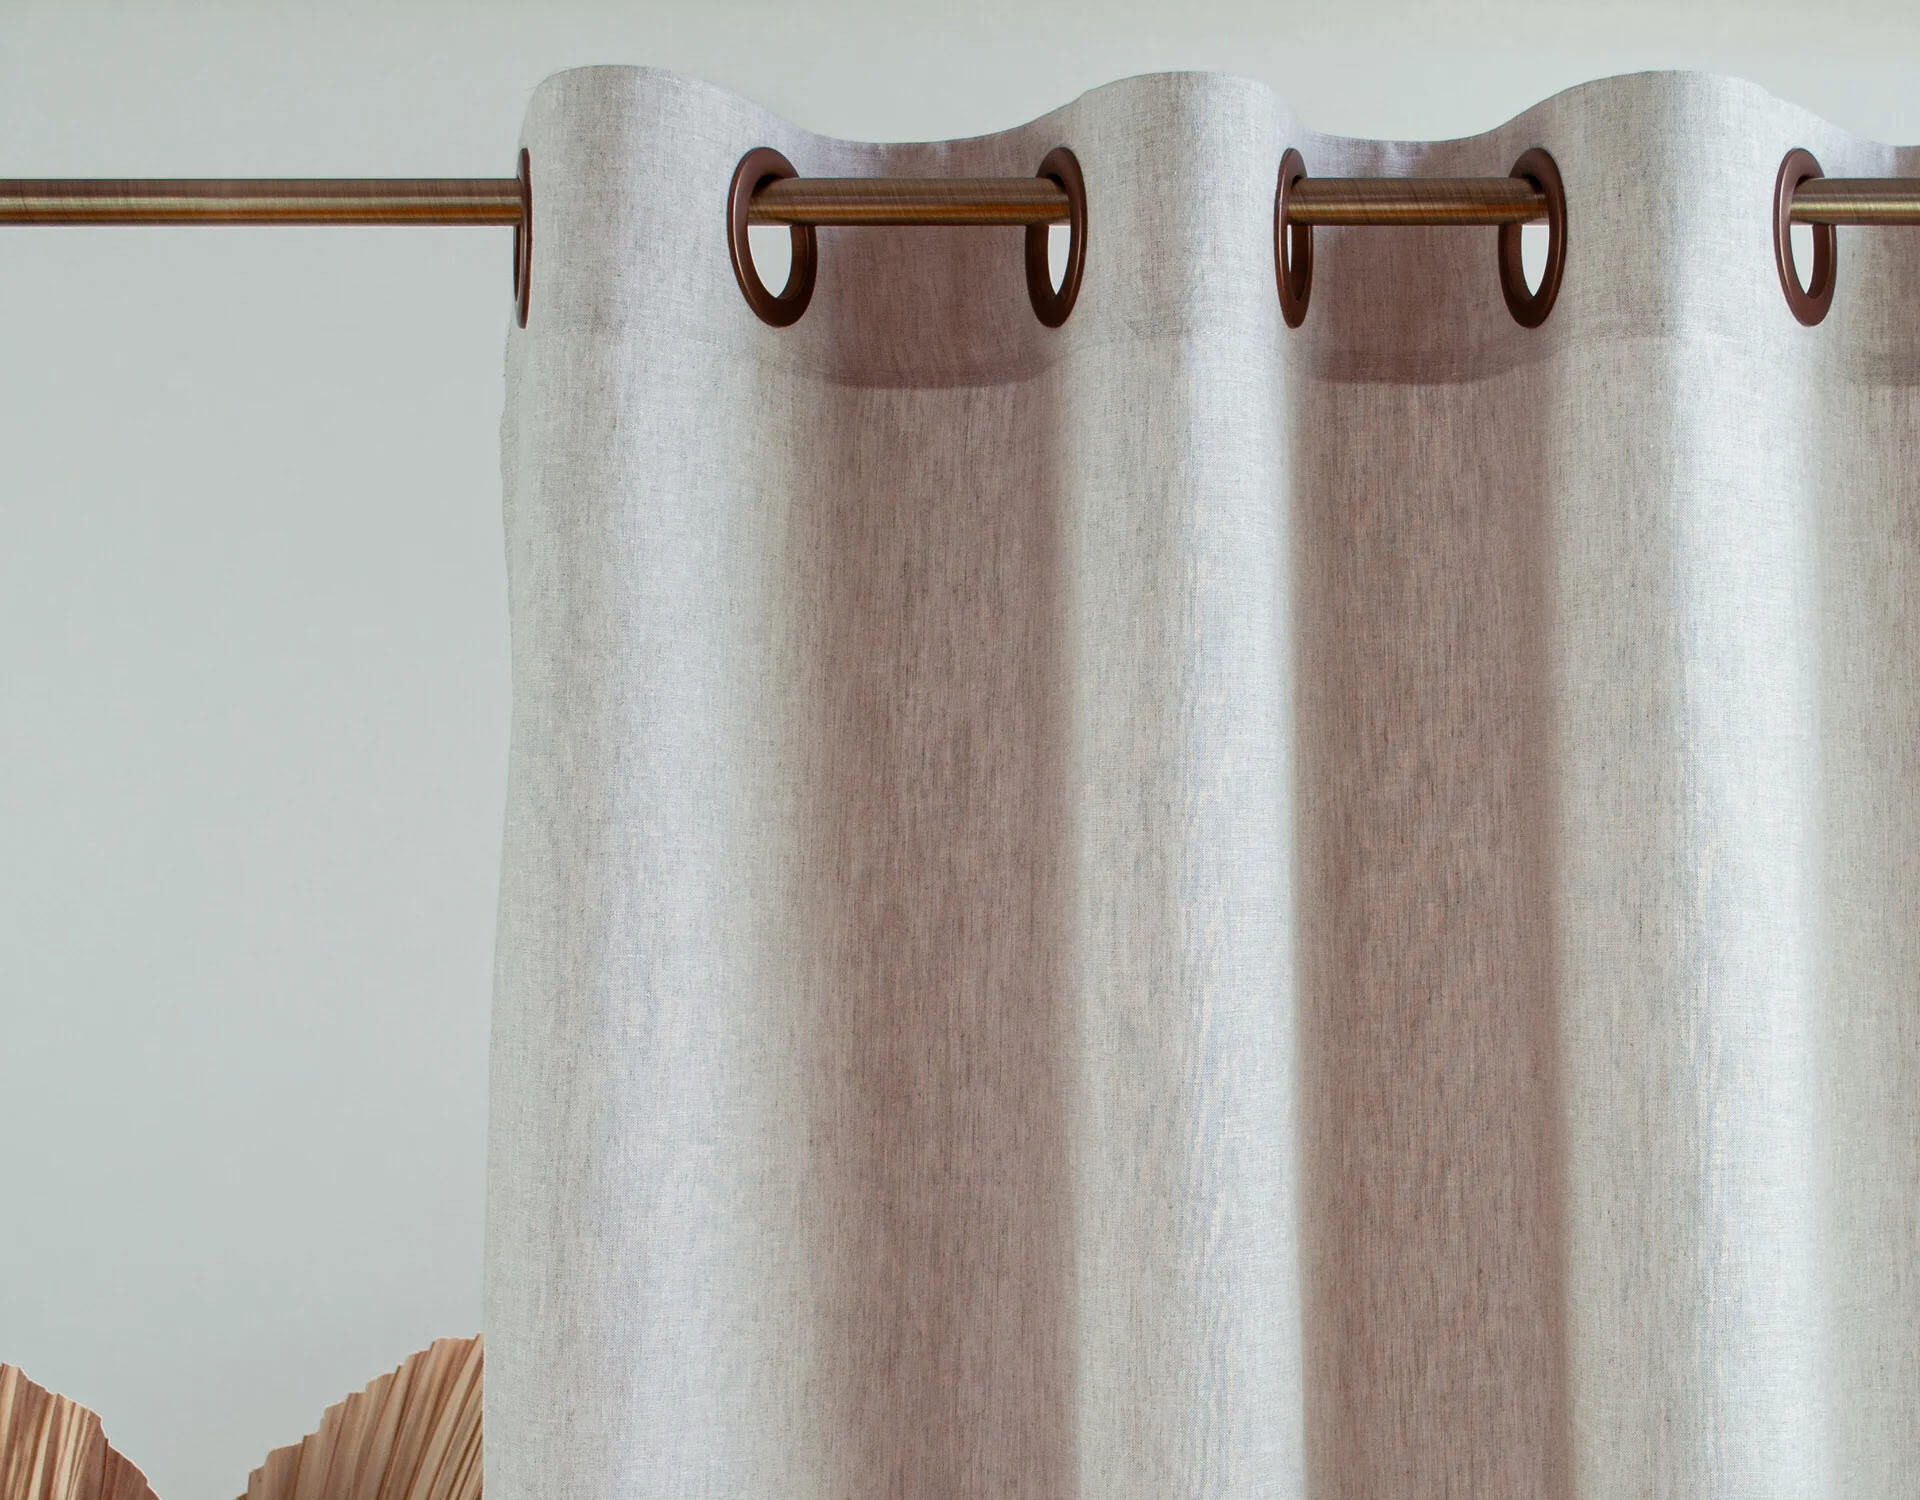
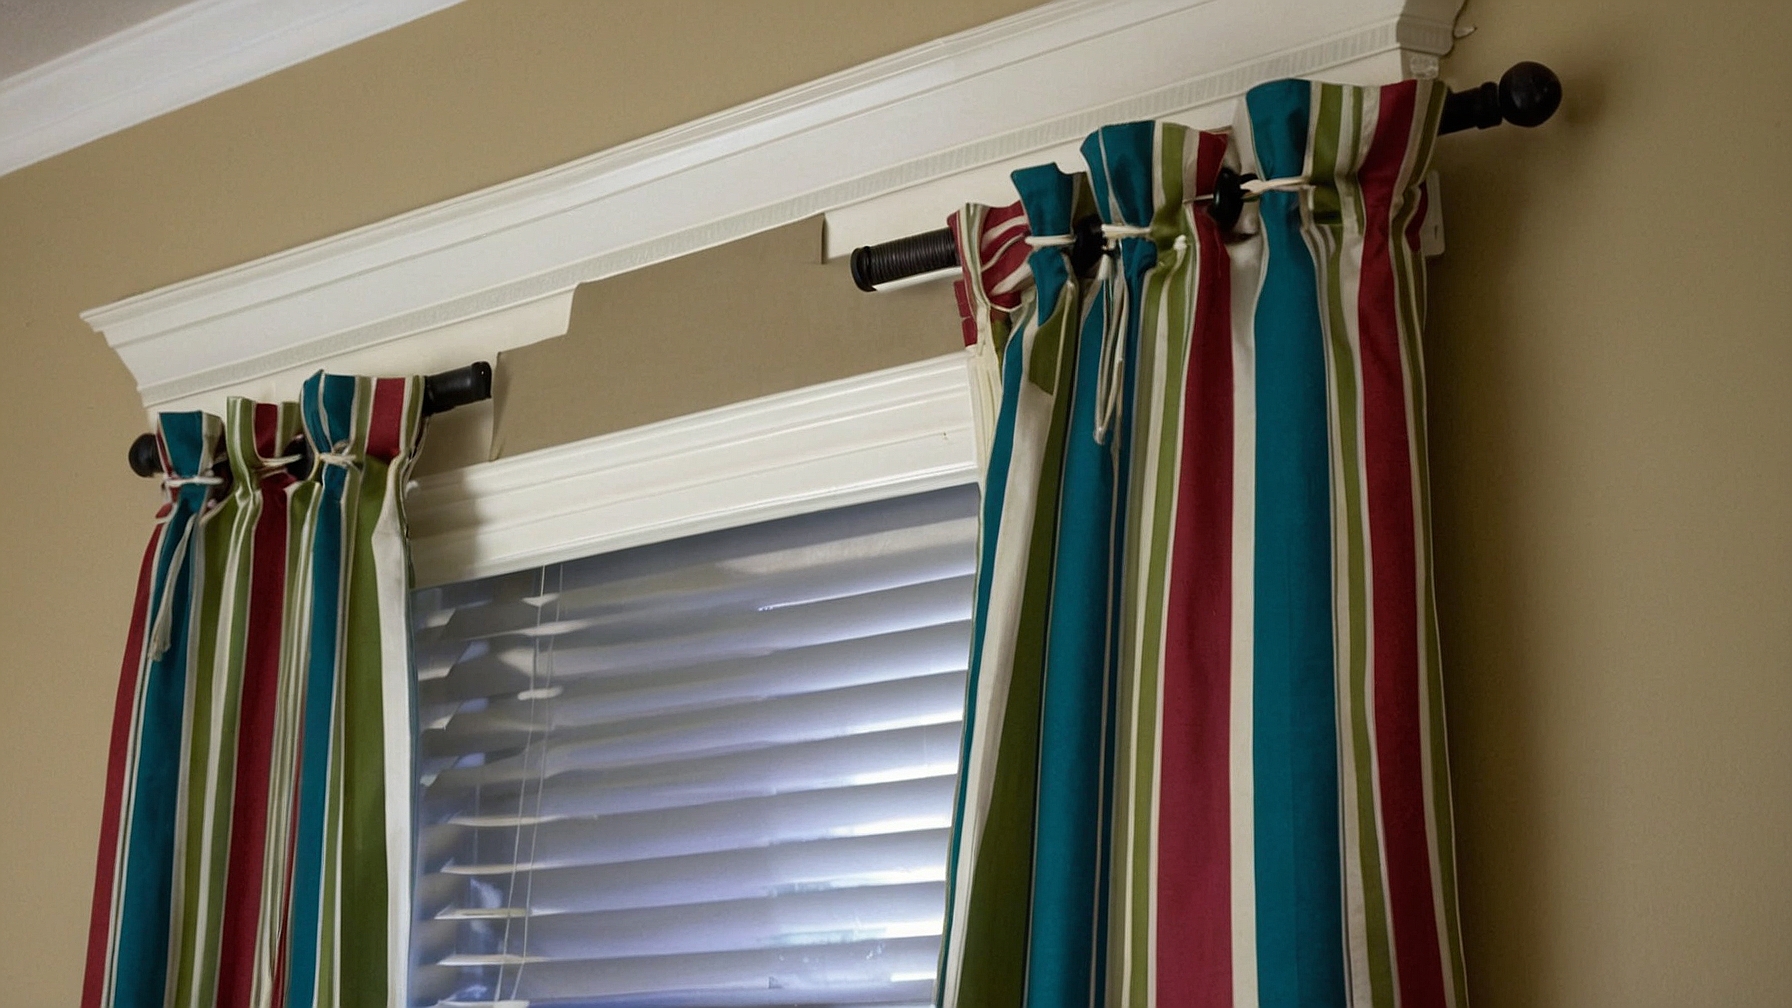
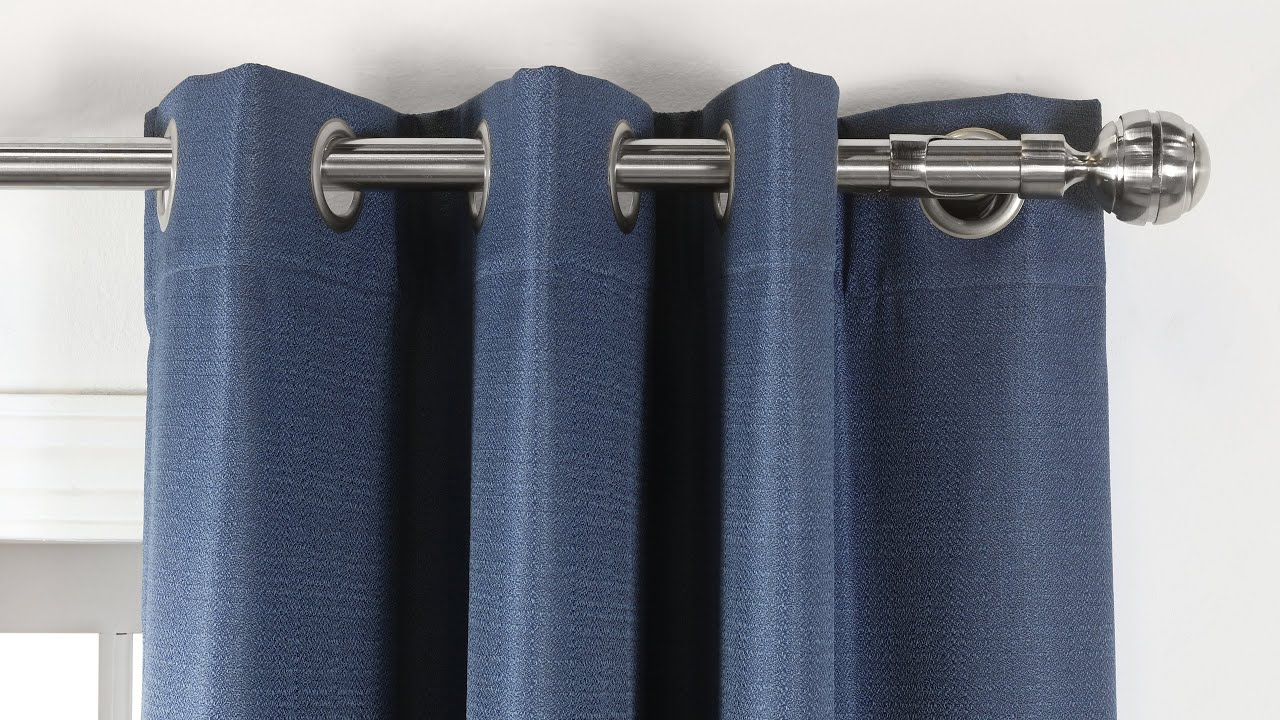
Step 7: Hanging the Curtains
With the grommets attached, it’s time to hang your grommet top curtains. Follow these steps to hang your curtains:
- Prepare the curtain rod: Make sure your curtain rod is properly installed and positioned. Adjust the curtain rod brackets if needed to ensure it’s at the desired height and distance from the window.
- Thread the curtains onto the rod: Starting from one end, thread the curtain rod through the grommet holes, sliding the curtains onto the rod one panel at a time. Repeat for the other curtain panel.
- Adjust the curtains: Once the curtains are on the rod, adjust them evenly so that they hang with an equal amount of fabric on each side. You can gently tug and arrange the fabric to achieve the desired look.
It’s important to note that grommet top curtains provide a sleek and contemporary look, so they are typically left with minimal gathering or fullness. However, you can adjust the gathering to your preference by sliding the curtains closer together or allowing them to spread out more.
With your curtains hanging beautifully, you’re almost done! Let’s move on to the final step: adding some finishing touches.
Step 8: Finishing Touches
Congratulations! You’re in the final step of creating your grommet top curtains. This step involves adding some finishing touches to complete the look. Follow these steps to add those final touches:
- Adjust the length: Take a step back and assess the length of your curtains. If they’re too long and dragging on the floor, you can trim the excess fabric to your desired length. Remember to leave a small allowance for hems.
- Press the curtains: Use an iron to press the curtains, paying attention to any wrinkles or creases. This will give your curtains a polished and professional appearance.
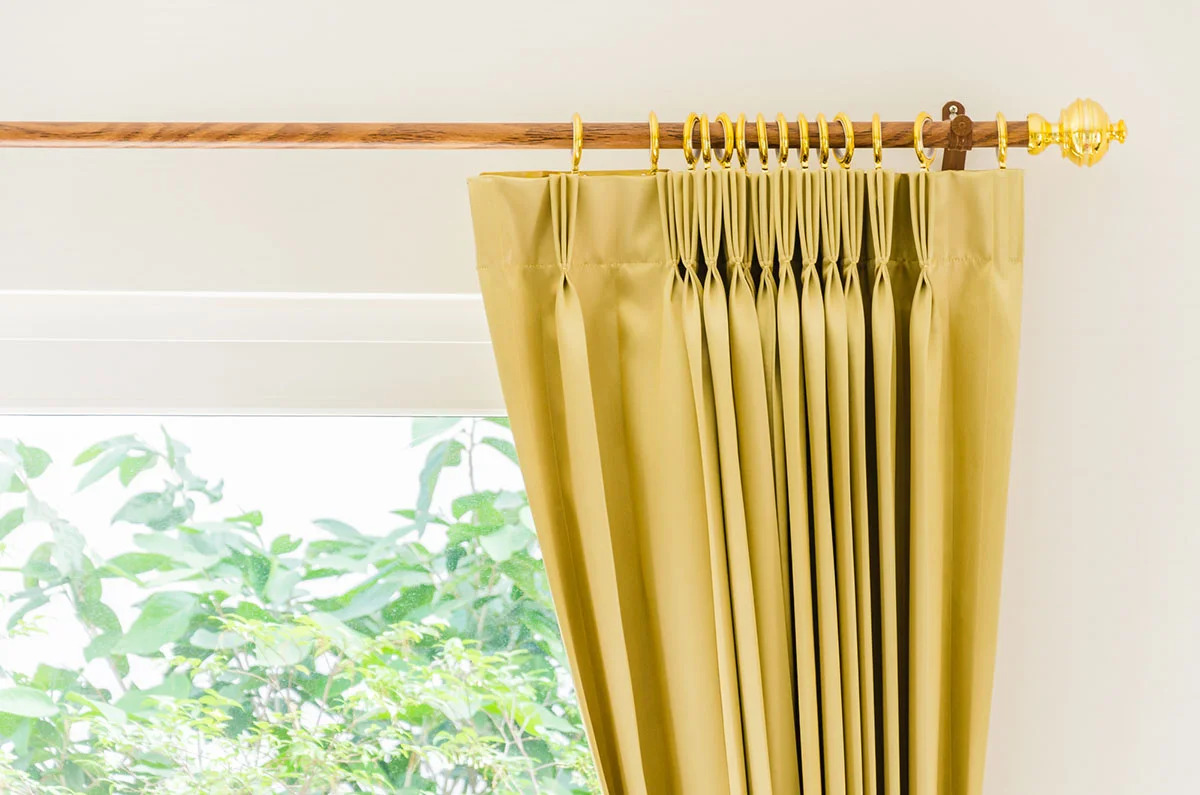
- Tiebacks or holdbacks: Consider adding tiebacks or holdbacks to hold the curtains to the side when you want to let more light in or create a different look. You can use matching fabric, decorative ropes, or curtain tieback hooks for this purpose.
- Enjoy your new curtains: Step back and admire the fruits of your labor. Your grommet top curtains are now finished and ready to enhance the style and functionality of your windows.
Don’t forget to periodically clean and maintain your curtains to keep them looking fresh and in good condition. Follow the care instructions specific to your fabric type to ensure longevity.
With the final touches added, your grommet top curtains are now complete. Sit back, relax, and enjoy the beauty and functionality they bring to your living space!
Read more: How To Hang Grommet Curtains
Conclusion
Congratulations on successfully creating your own grommet top curtains! By following the step-by-step process outlined in this article, you have transformed a simple piece of fabric into a stylish and functional window treatment. Not only have you saved money by making them yourself, but you also have the satisfaction of customizing the curtains to your exact preferences.
Throughout the process, we covered everything from gathering the necessary materials to hanging the finished curtains. Each step, whether it was measuring and cutting the fabric, hemming the curtains, or attaching the grommets, played a vital role in achieving the final result.
Remember to take your time and pay attention to the details. Accurate measurements, precise cuts, and secure grommet attachments are key to creating professional-looking curtains. Don’t hesitate to seek help or guidance if needed, especially if you’re new to sewing or DIY projects.
Now that your curtains are hanging beautifully, take a moment to appreciate the transformation they have brought to your space. The clean lines and modern aesthetic of grommet top curtains provide a seamless and sophisticated look, enhancing both the style and functionality of your windows.
Feel free to experiment with different fabrics, colors, and patterns to reflect your personal style and home decor. Don’t forget to periodically clean and maintain your curtains to ensure their longevity.
We hope you enjoyed the process of making grommet top curtains and that this article has been a helpful guide. Your newly created curtains are sure to become a focal point in your home, adding a touch of elegance and practicality to your windows. Now, sit back, relax, and enjoy the beautiful transformation you have achieved!
Frequently Asked Questions about How To Make Grommet Top Curtains
Was this page helpful?
At Storables.com, we guarantee accurate and reliable information. Our content, validated by Expert Board Contributors, is crafted following stringent Editorial Policies. We're committed to providing you with well-researched, expert-backed insights for all your informational needs.


0 thoughts on “How To Make Grommet Top Curtains”