Articles
How To Put Drapes On A Bay Window
Modified: August 28, 2024
Learn how to properly hang and style drapes on your bay window with our informative articles. Transform your space with these simple tips and tricks.
(Many of the links in this article redirect to a specific reviewed product. Your purchase of these products through affiliate links helps to generate commission for Storables.com, at no extra cost. Learn more)
Introduction
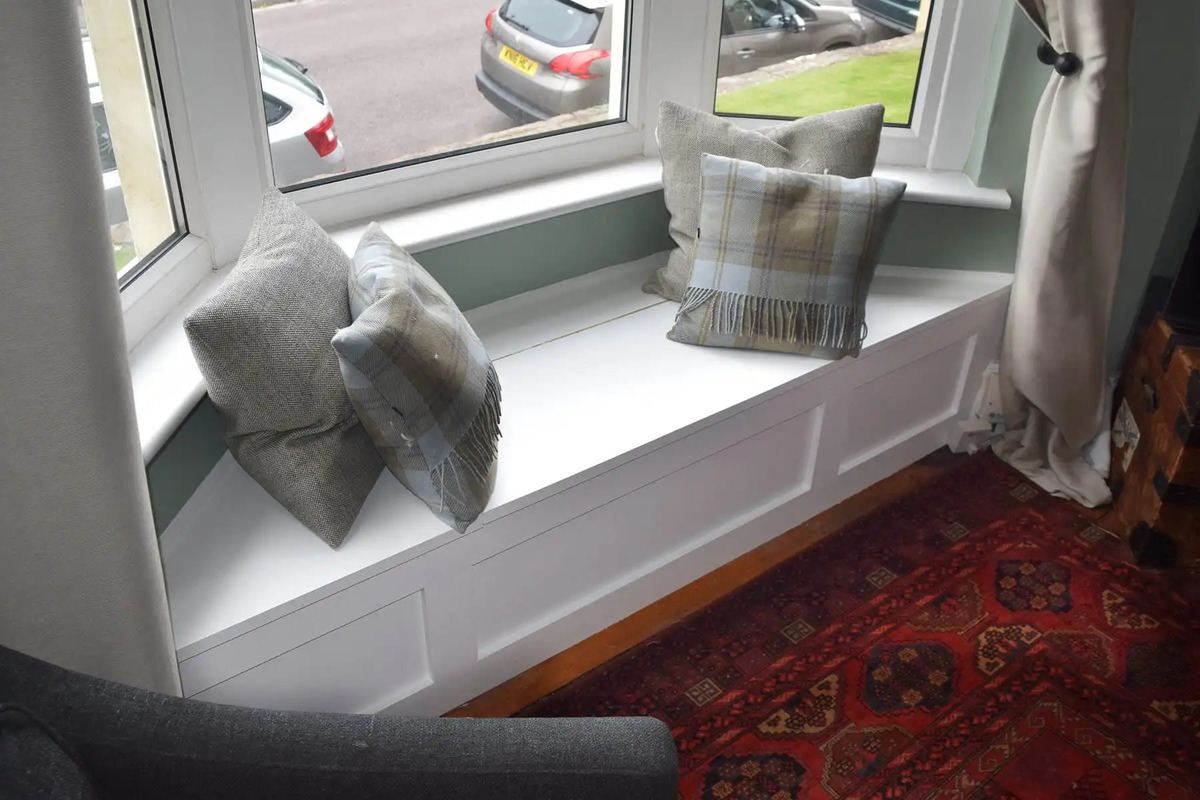
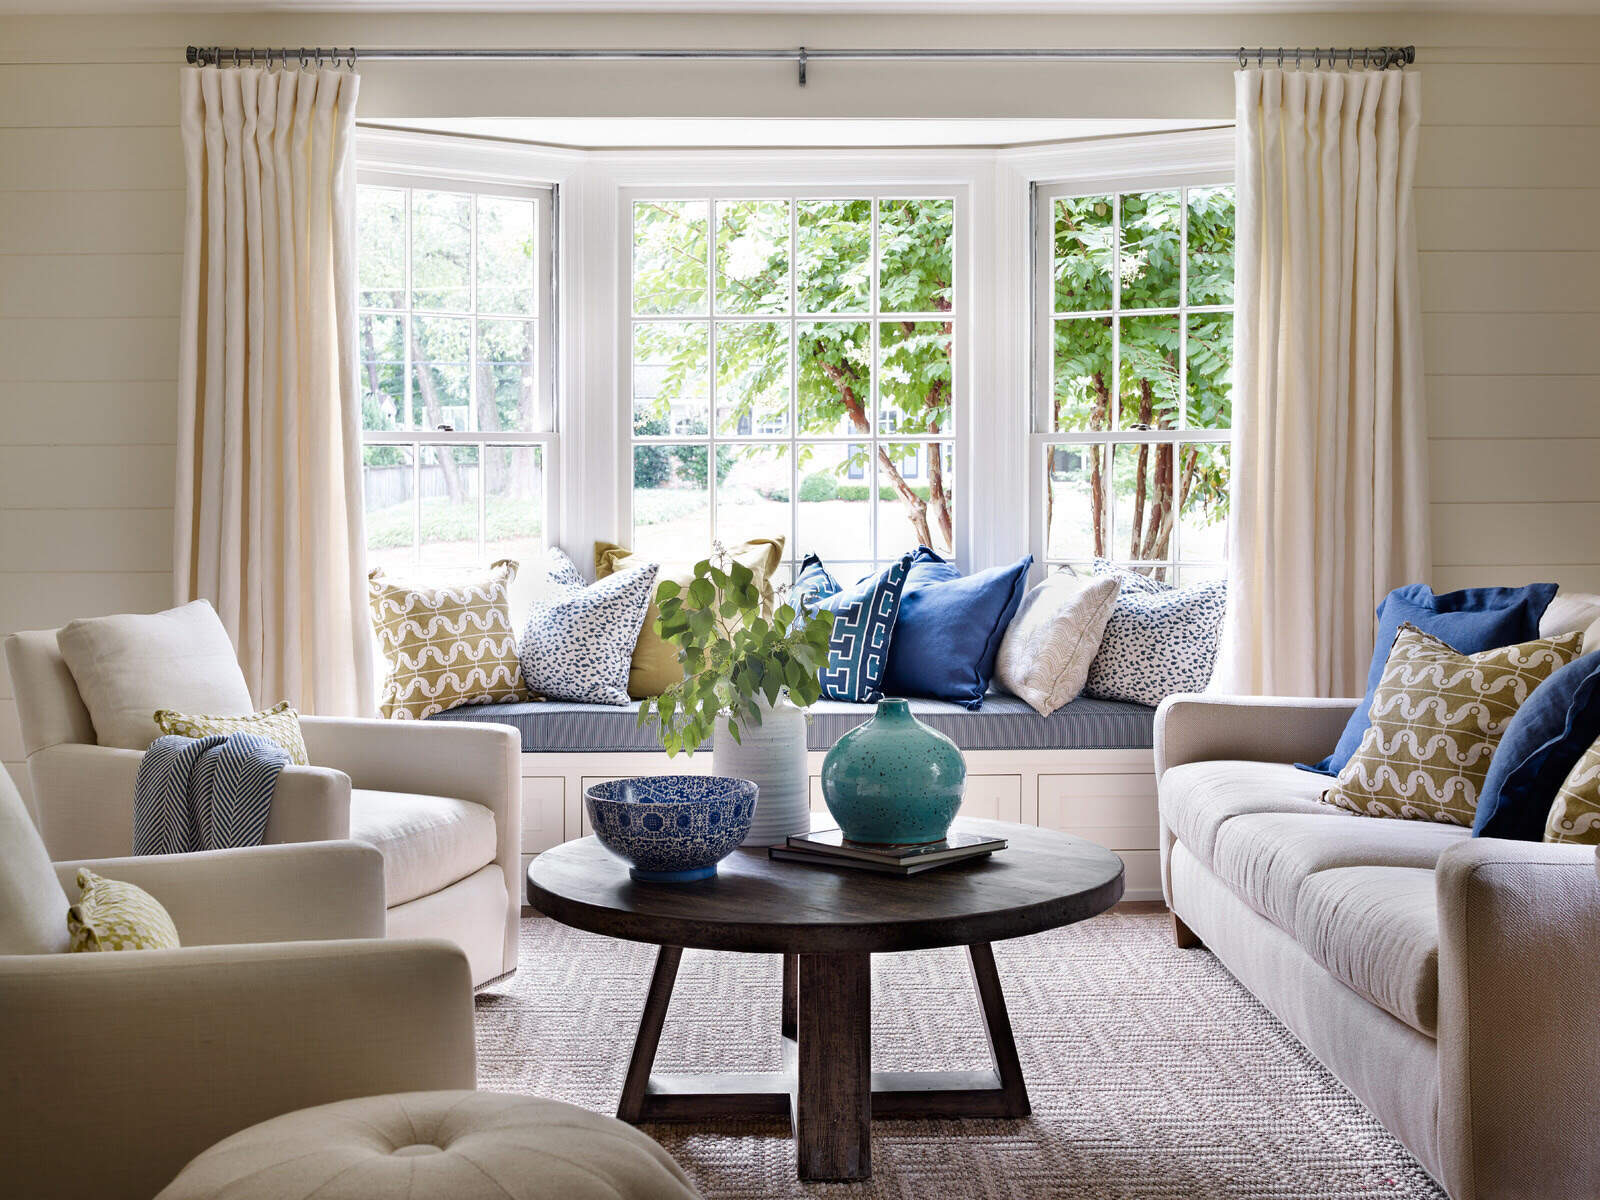
When it comes to interior design, bay windows are a standout feature in any home. These architectural marvels not only bring in ample natural light but also add a touch of elegance and sophistication to any room. However, dressing up bay windows can be a bit challenging due to their unique shape and structure. That’s where drapes come in!
Drapes are a versatile and stylish window treatment option that can enhance the beauty of bay windows while providing privacy and light control. Whether you want to create a cozy reading nook, a stunning focal point, or simply block out the intense sunlight, knowing how to put drapes on a bay window is essential. In this article, we will guide you through the step-by-step process of measuring, choosing the right drapes, installing curtain rods or tracks, and hanging the drapes correctly to achieve a polished and functional look.
Are you ready to transform your bay window with beautiful drapery? Let’s get started!
Key Takeaways:
- Transform your bay window with drapes by measuring accurately, choosing the right fabric, and installing curtain rods securely. Add elegance, privacy, and style to your space with this step-by-step guide.
- Elevate your bay window with carefully chosen drapes, proper installation, and personalized styling. Achieve a stunning focal point that reflects your unique taste and enhances the functionality of your space.
Read more: How To Put Blinds In A Bay Window
Step 1: Measure the Bay Window
Before you can begin selecting and hanging drapes for your bay window, you need to accurately measure the window space. Proper measurements are crucial to ensure a perfect fit and achieve the desired look. Here’s how you can measure your bay window:
- Start by measuring the width of the bay window. Use a measuring tape to measure from one side of the window frame to the other. Take the measurement at the widest point of the window, ensuring that you include any protruding elements such as window frames, molding, or decorative accents.
- Next, measure the height of the window. Use the measuring tape to measure from the top of the window frame to the bottom. Again, take the measurement at the highest point of the window, including any additional height from crown molding or other architectural features.
- Now, measure the depth of the bay window. This measurement is essential to determine the type of drapery hardware you will need to properly install the curtains. Measure from the front of the window frame to the back wall. Take note of this measurement as it will be helpful when selecting curtain rods or tracks.
- Make note of any obstructions or uneven surfaces within the bay window area, such as radiators or uneven walls. These may affect the way the drapes hang and require additional adjustments or considerations.
It’s always a good idea to double-check your measurements before proceeding to the next steps. Bay windows can sometimes have irregular shapes or uneven dimensions, so accuracy is key to ensure a seamless drapery installation.
Once you have all the measurements, you’re ready to move on to the next step: choosing the right drapes for your bay window!
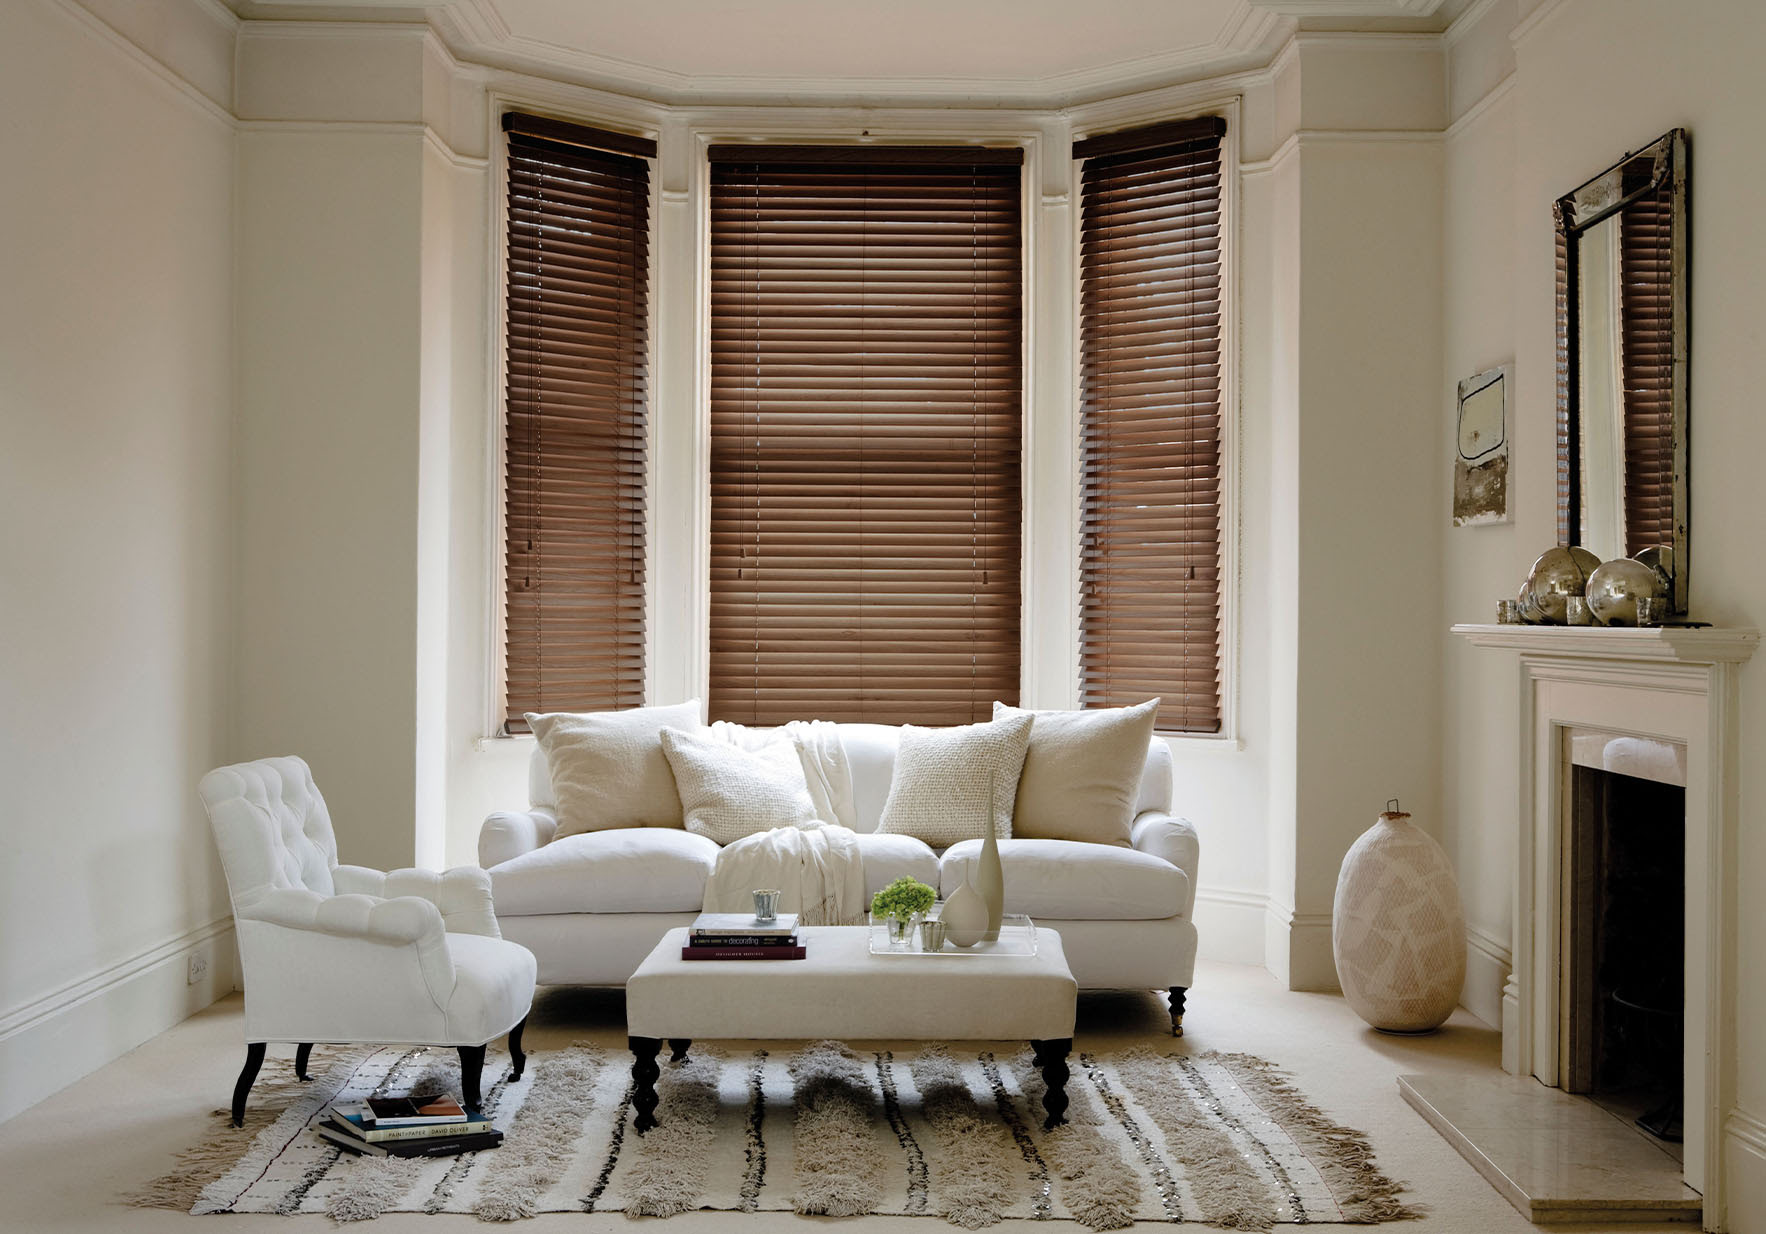
Step 2: Choose the Right Drapes
Choosing the right drapes is essential for creating a beautiful and cohesive look for your bay window. Here are some factors to consider when selecting the perfect drapes:
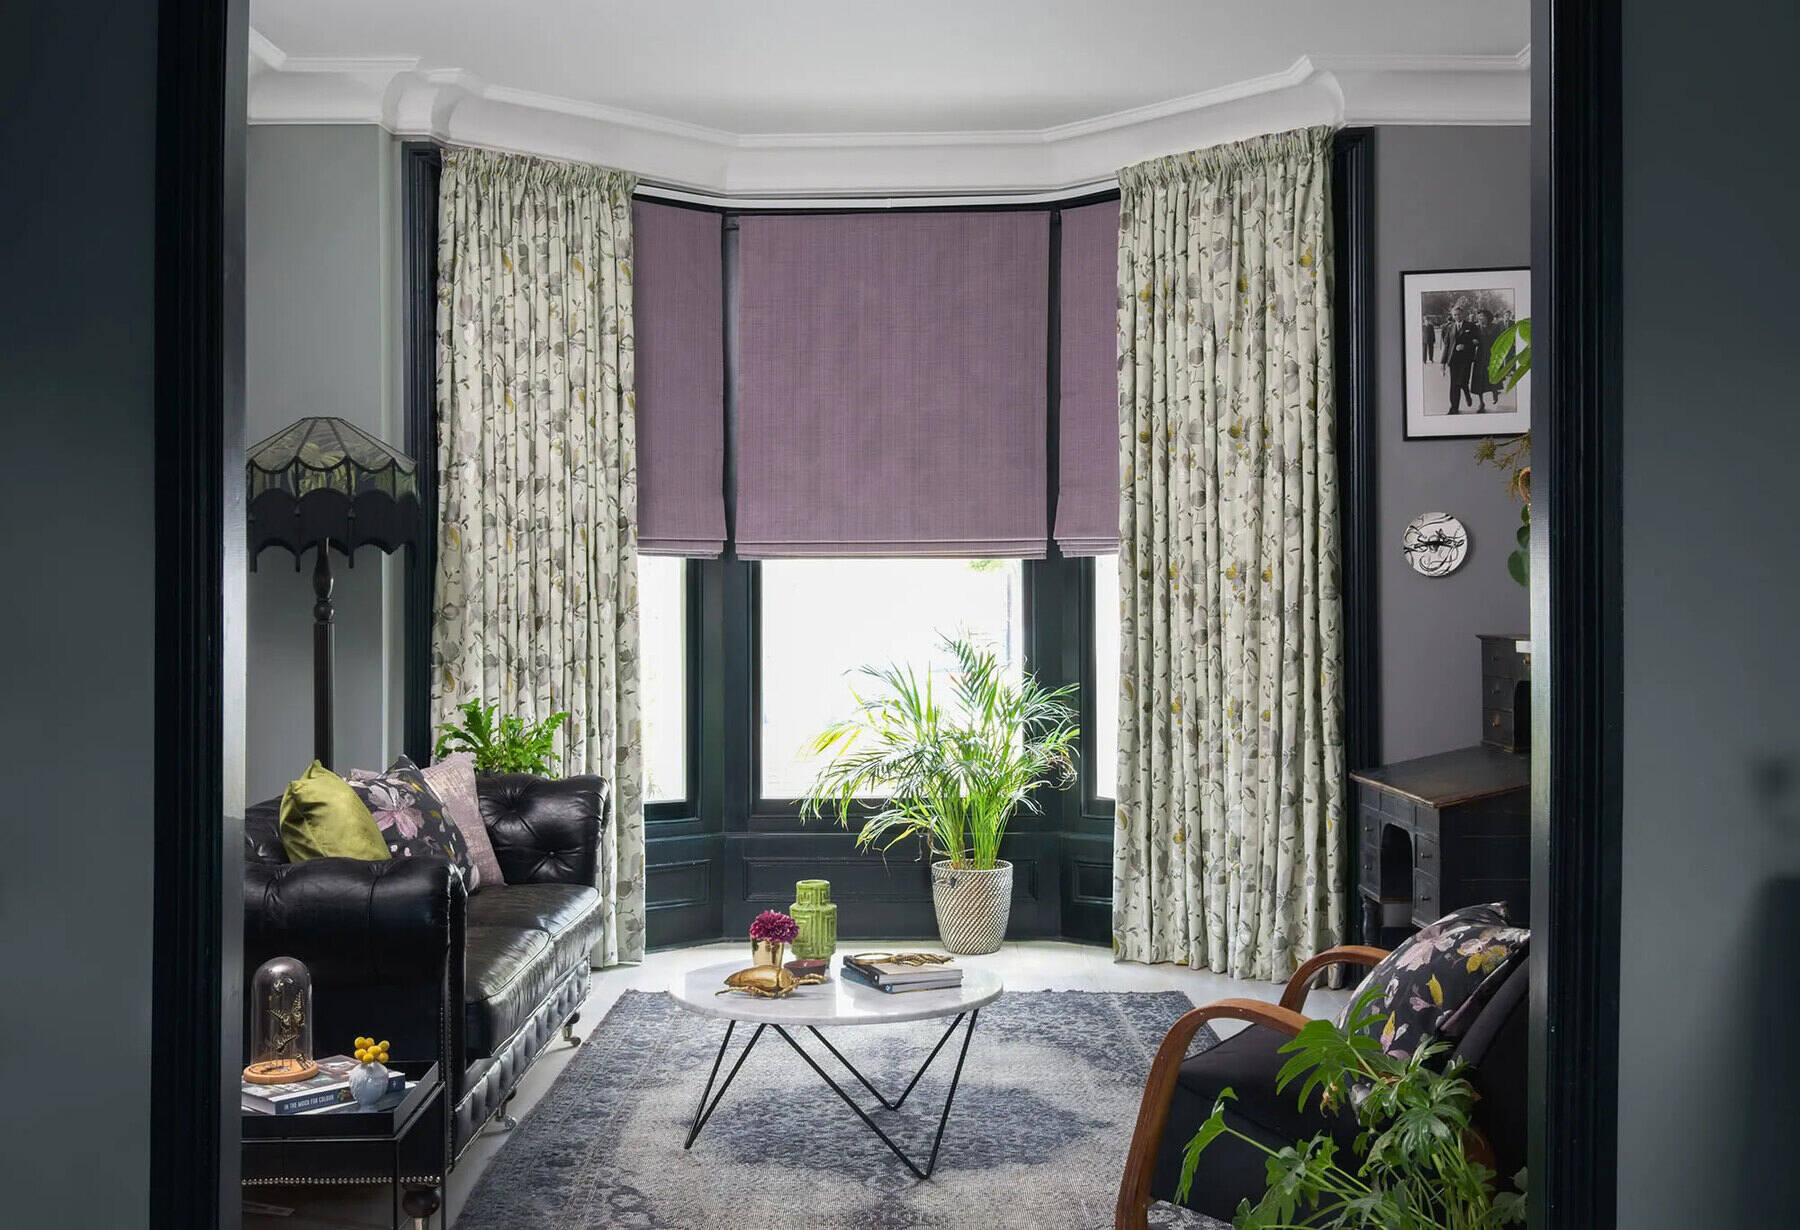
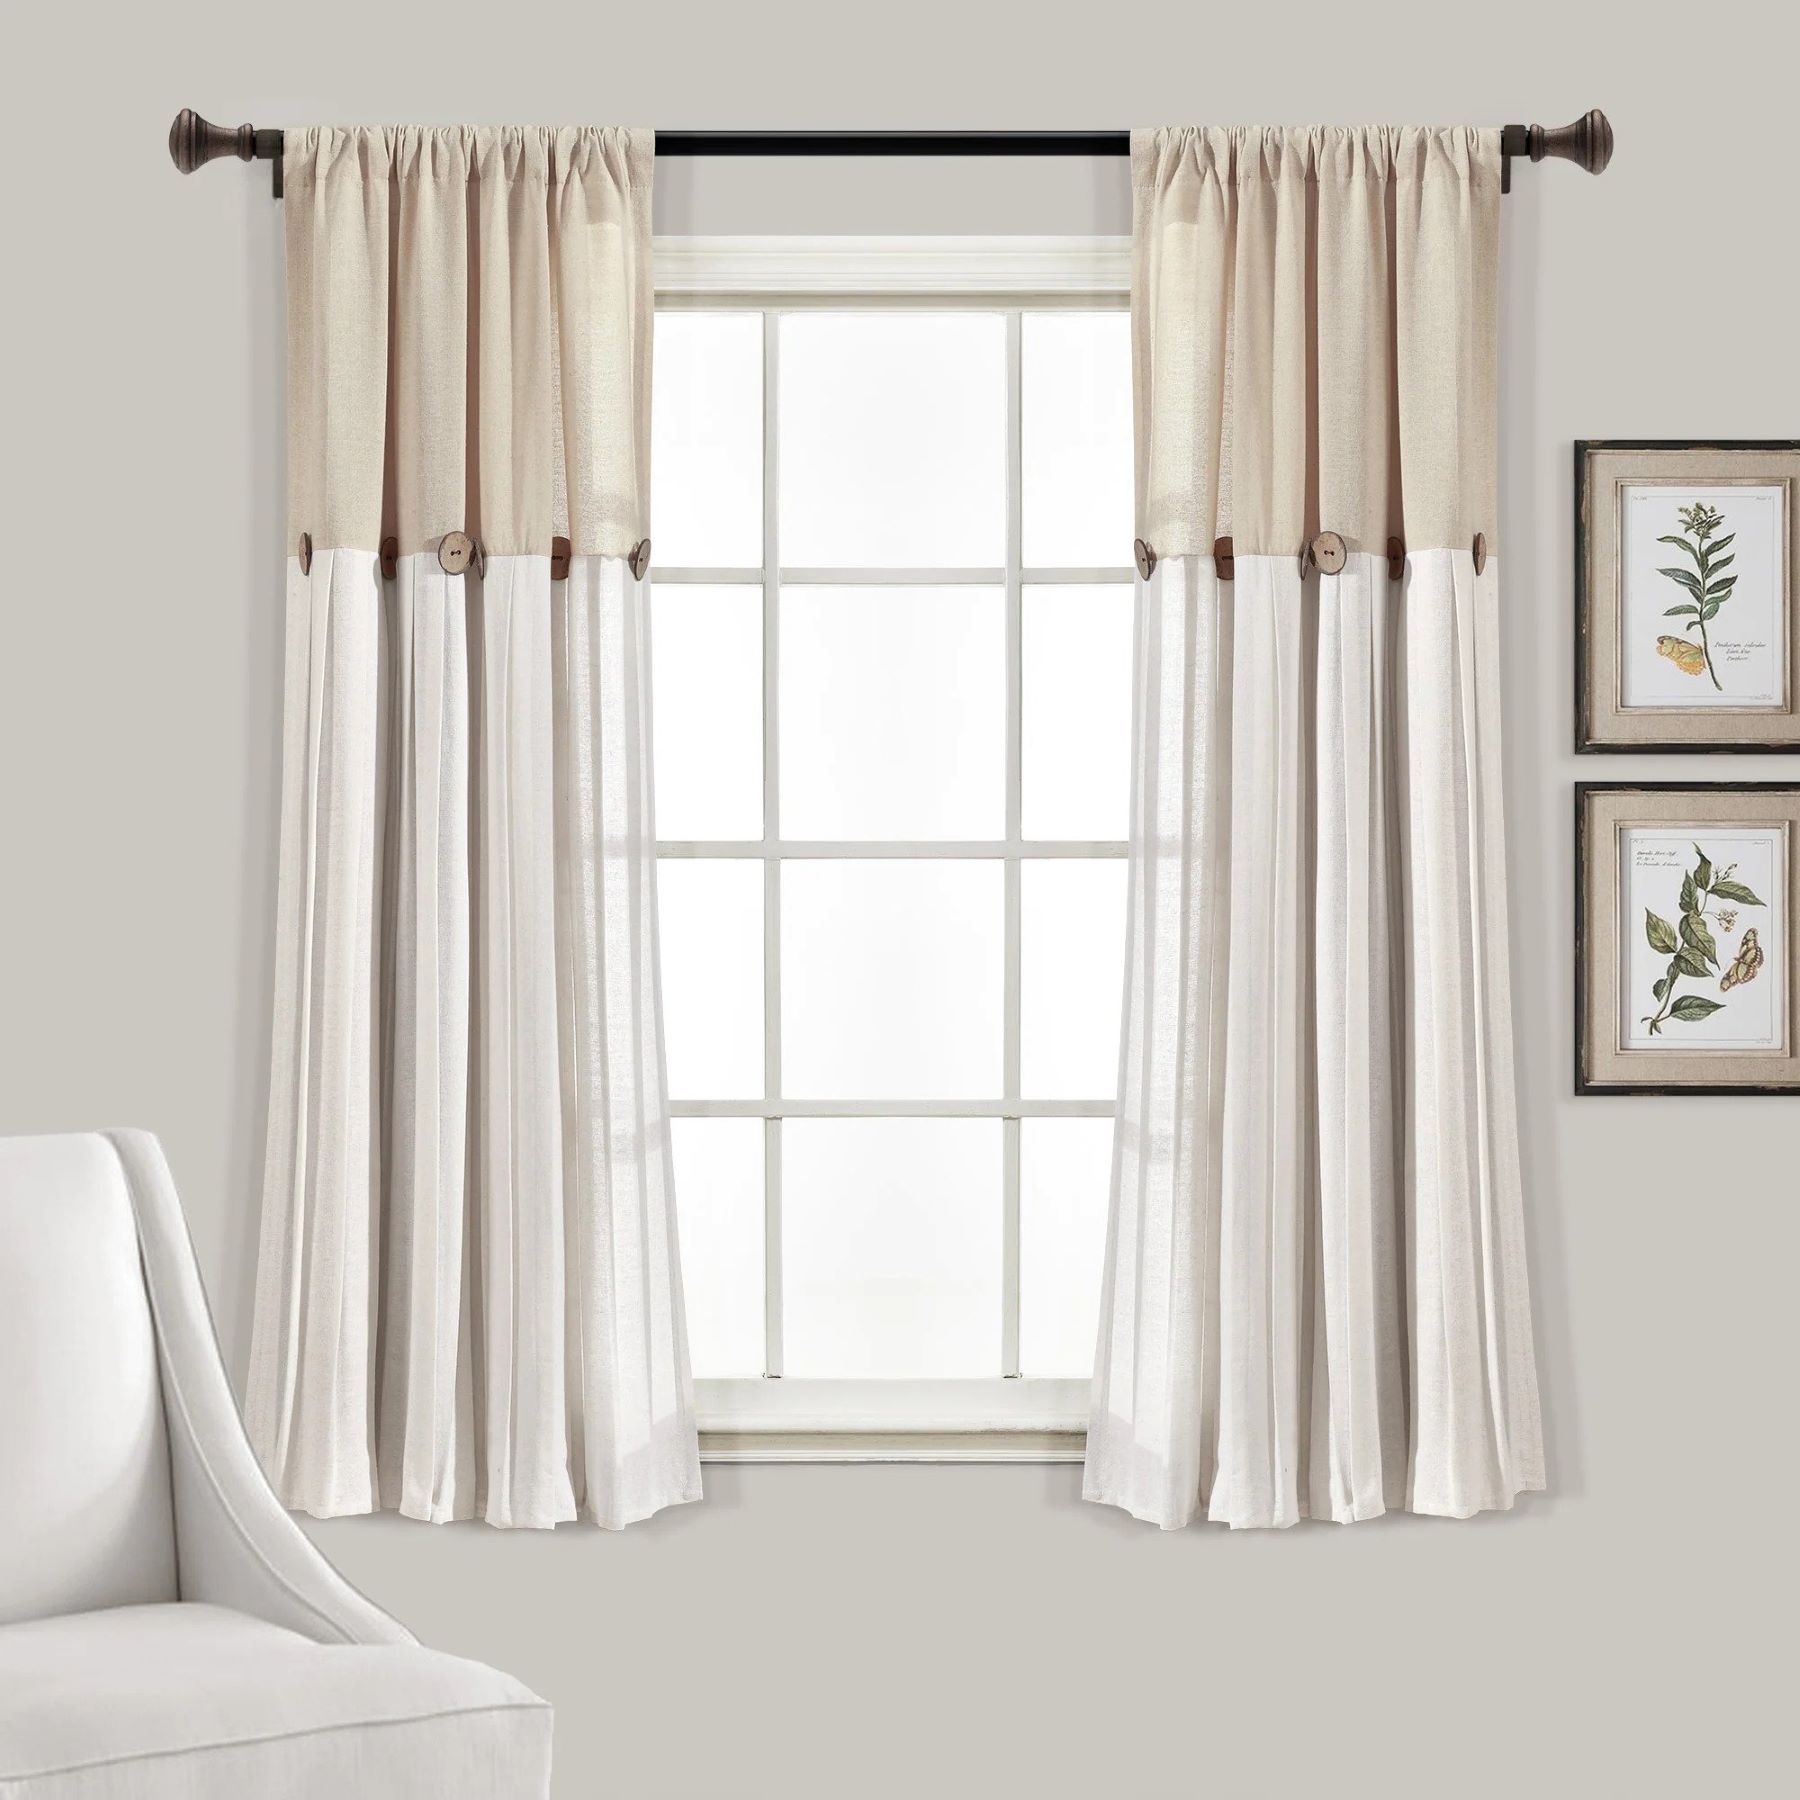
- Style: Consider the overall style and theme of your room. Are you going for a traditional, modern, or eclectic look? Choose drapes that complement the existing decor and reflect your personal style.
- Length: Decide whether you want floor-length drapes that pool gracefully on the floor or prefer a tailored, slightly shorter length. Measure the distance from where you want the top of the drapes to hang down to the desired length.
- Fabric: Select a fabric that suits your needs and preferences. Sheer fabrics allow more natural light to filter through, while heavier fabrics provide better privacy and insulation. Consider the maintenance and durability of the fabric as well.
- Color and Pattern: Choose a color or pattern that enhances the overall aesthetic of the room. Consider the wall color, furniture, and other decor elements when making your decision. Solid colors are versatile and timeless, while patterns can add visual interest and personality.
- Functionality: Determine the level of light control and privacy you desire. If you want to block out light completely, consider using blackout lining or double-layered drapes. Alternatively, if you want some light to filter through, opt for sheer or semi-sheer fabrics.
- Hardware: Consider the type of curtain rods or tracks that will work best for your bay window. Choose hardware that not only complements the drapes but also supports the weight of the fabric and ensures smooth operation.
Take your time when choosing drapes for your bay window. Look for inspiration online, visit home decor stores, and order fabric samples to see how they look in your space. Remember, the right drapes can truly elevate the look and feel of your bay window.
Once you’ve chosen the perfect drapes, it’s time to move on to the next step: installing curtain rods or tracks!
Step 3: Install Curtain Rods or Tracks
Installing curtain rods or tracks correctly is crucial for ensuring that your drapes hang securely and function smoothly. Here’s how you can install curtain rods or tracks for your bay window:
- Measure and mark: Using your previously measured depth of the bay window, determine the placement of your curtain rods or tracks. Mark the positions where you want the brackets to be installed.
- Preparation: Before installing the brackets, make sure to read the instructions provided by the manufacturer. Gather all the necessary tools and hardware, including screws, anchors, and a drill.
- Mount the brackets: Begin by installing the brackets at the marked positions. Use a level to ensure that the brackets are perfectly aligned and straight. Depending on the type of brackets, you may need to drill pilot holes or use anchors for added support.
- Attach the curtain rods or tracks: Once the brackets are securely mounted, attach the curtain rods or tracks according to the manufacturer’s instructions. Make sure they are properly aligned and fastened to the brackets.
- Test the operation: After the curtain rods or tracks are installed, test the operation by sliding the drapes back and forth. Ensure that they open and close smoothly without any obstructions or difficulties.
- Make adjustments: If necessary, make any adjustments to the position of the brackets or the curtain rods/tracks. It’s important to achieve the desired height and alignment for a polished look.
- Secure any additional supports: If your bay window has a larger span or requires additional support, consider installing center supports or additional brackets to ensure the stability and strength of the curtain rods/tracks.
Take your time during the installation process to ensure that everything is installed correctly and securely. Properly mounted curtain rods or tracks are essential for the successful hanging of your drapes.
Once you have installed the curtain rods or tracks, you’re ready for the next step: hanging the drapes!
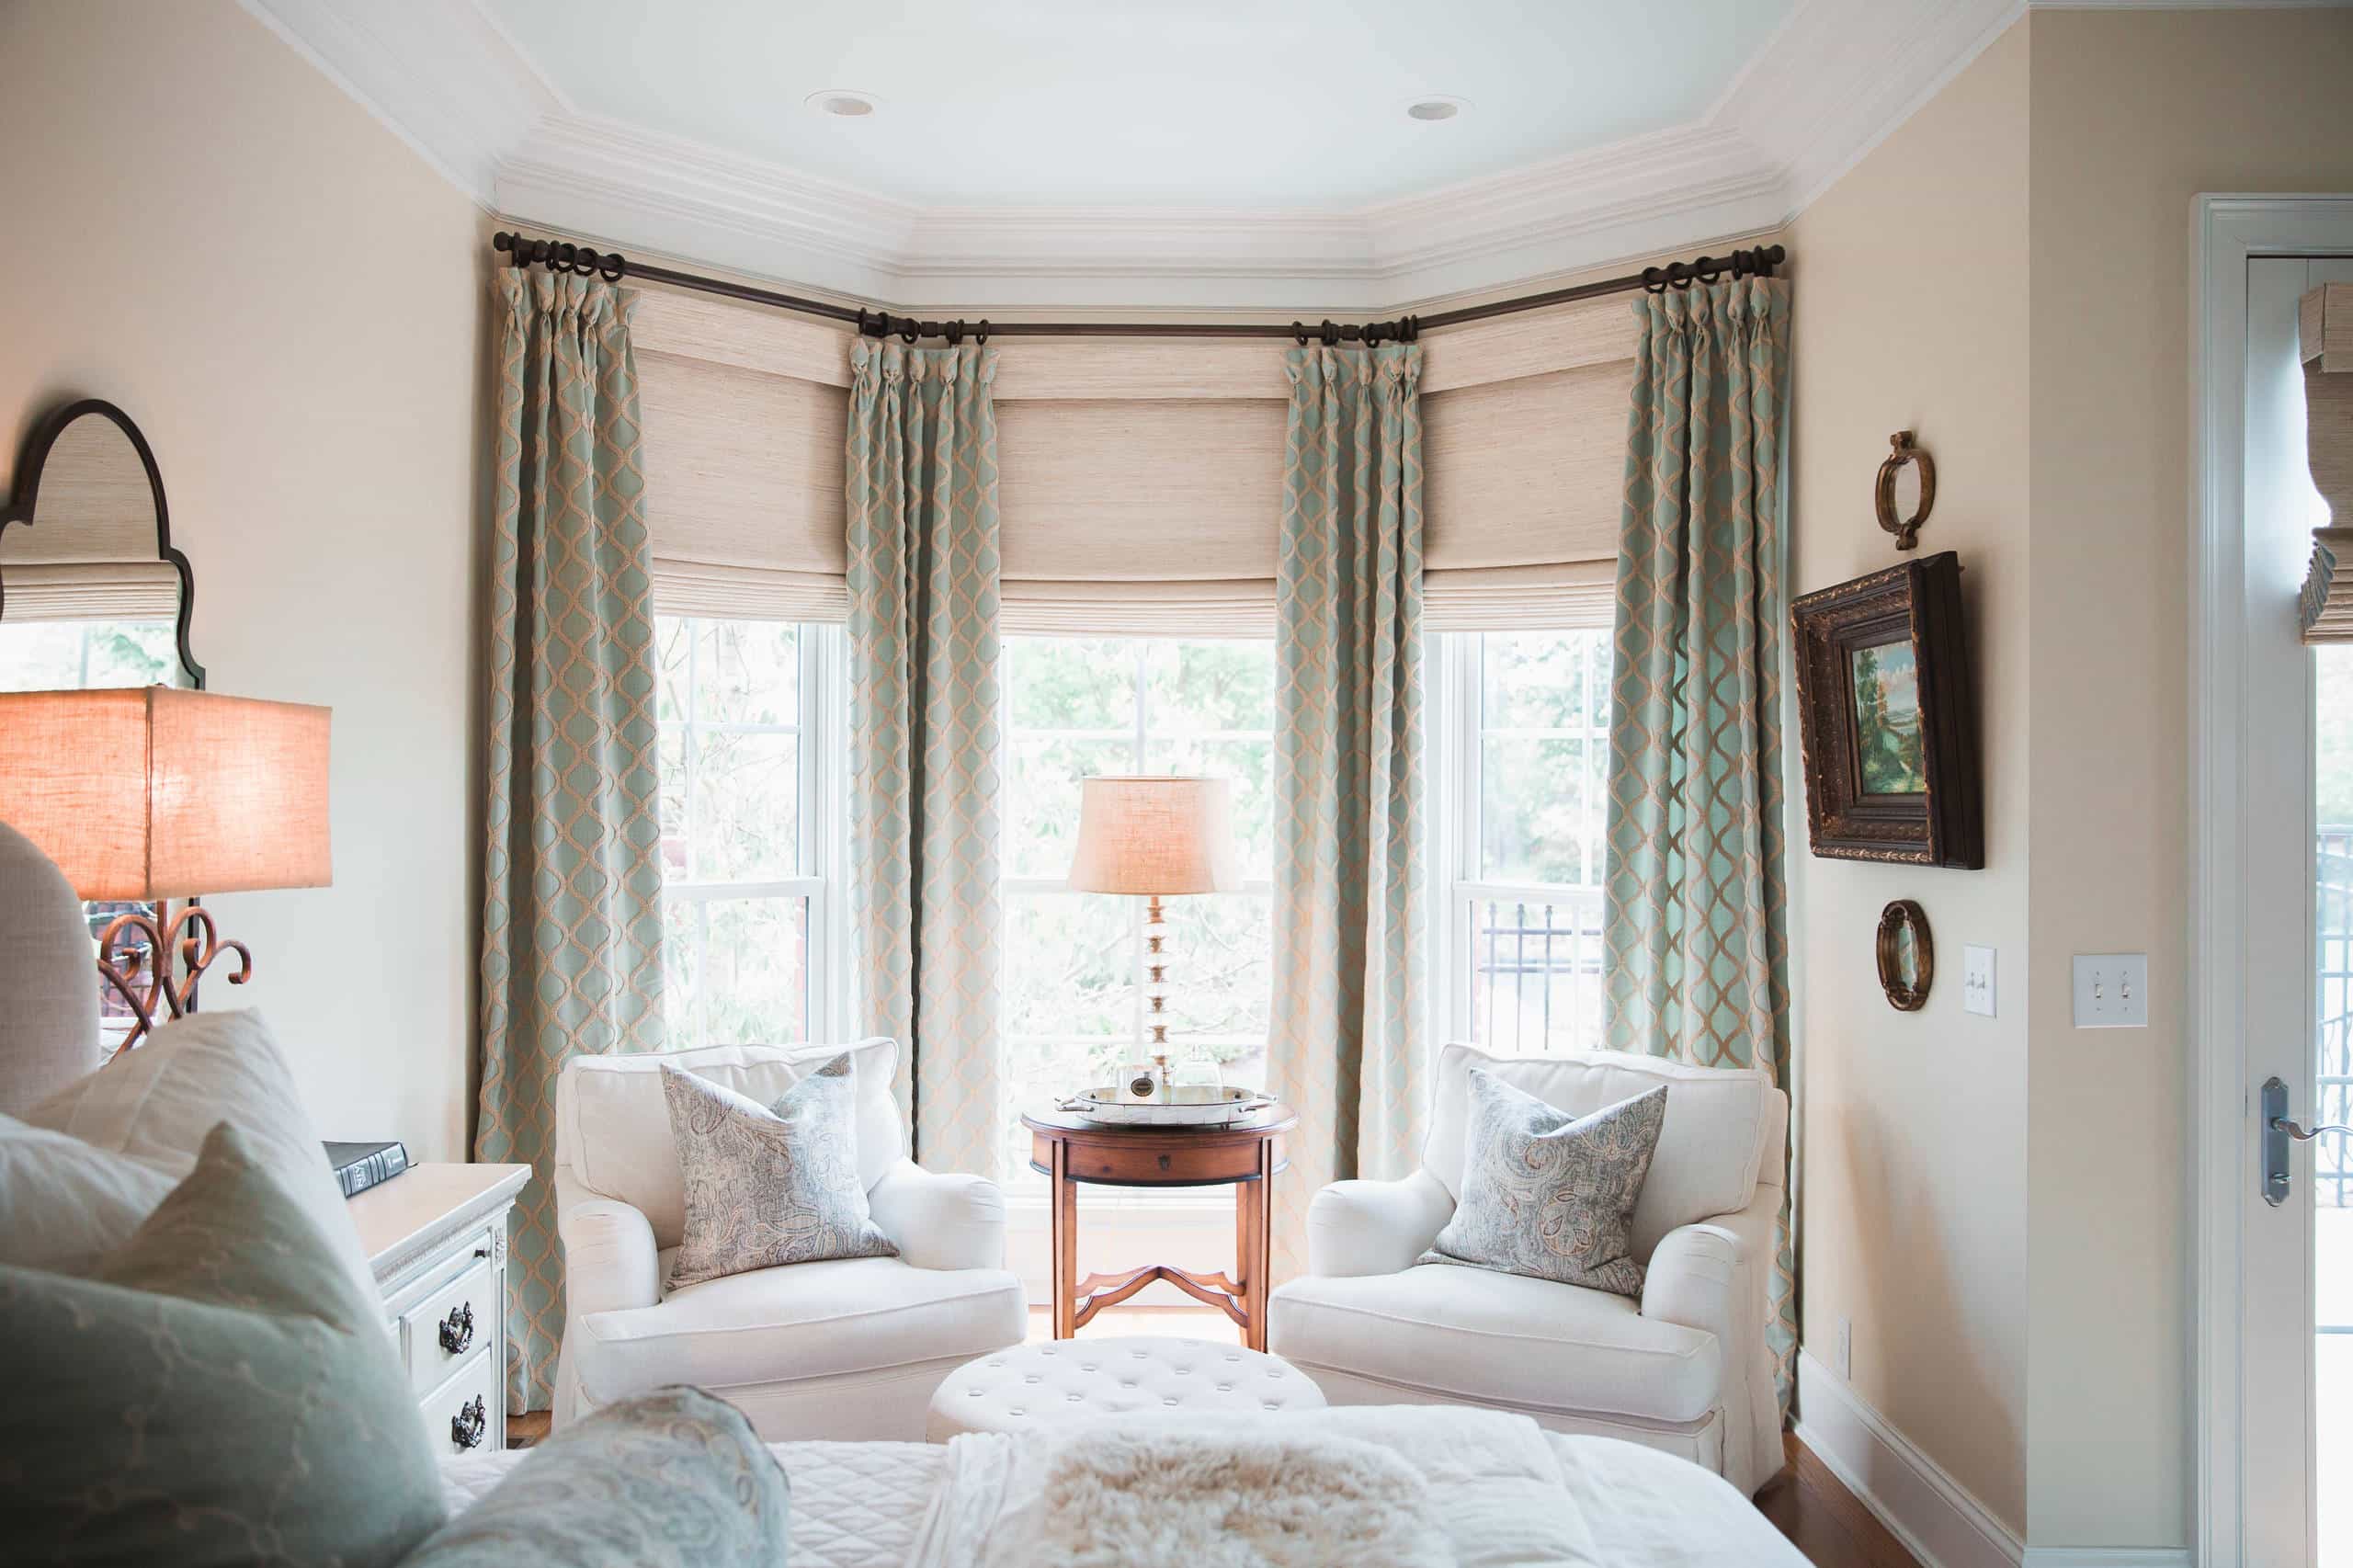
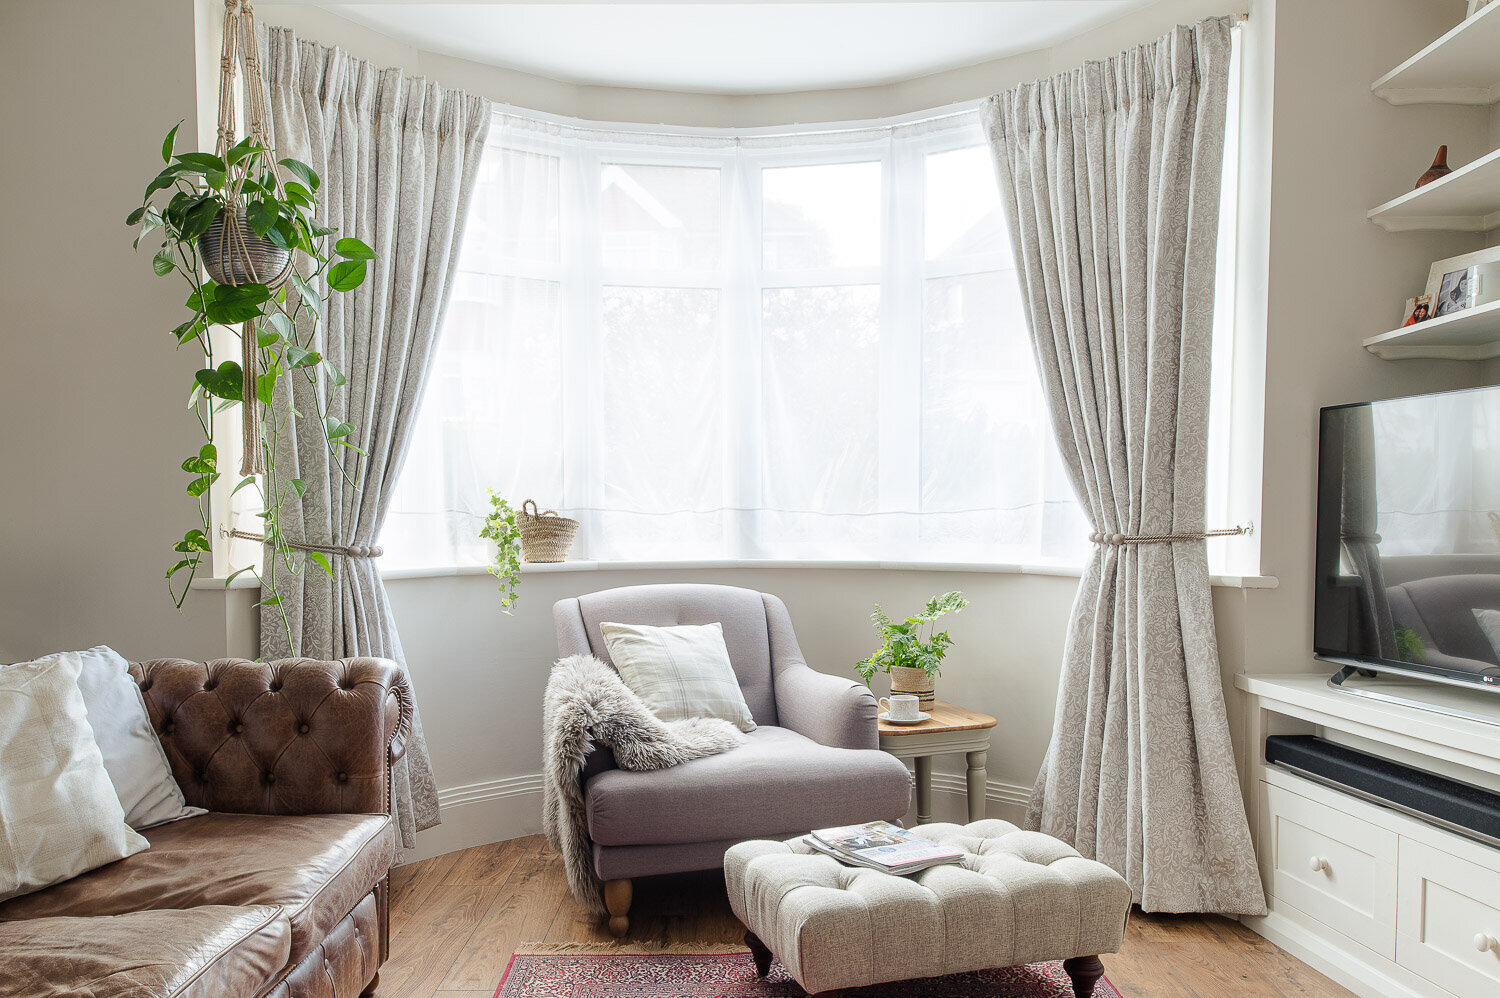
When hanging drapes on a bay window, use a curved curtain rod to follow the shape of the window and allow the drapes to open and close smoothly.
Step 4: Hang the Drapes
Now that you have your curtain rods or tracks installed, it’s time to hang the drapes and bring your bay window to life. Follow these steps to hang your drapes:
- Prepare the drapes: If your drapes have been freshly laundered or ironed, make sure they are wrinkle-free and ready to hang. If needed, use a steamer or iron to remove any wrinkles or creases.
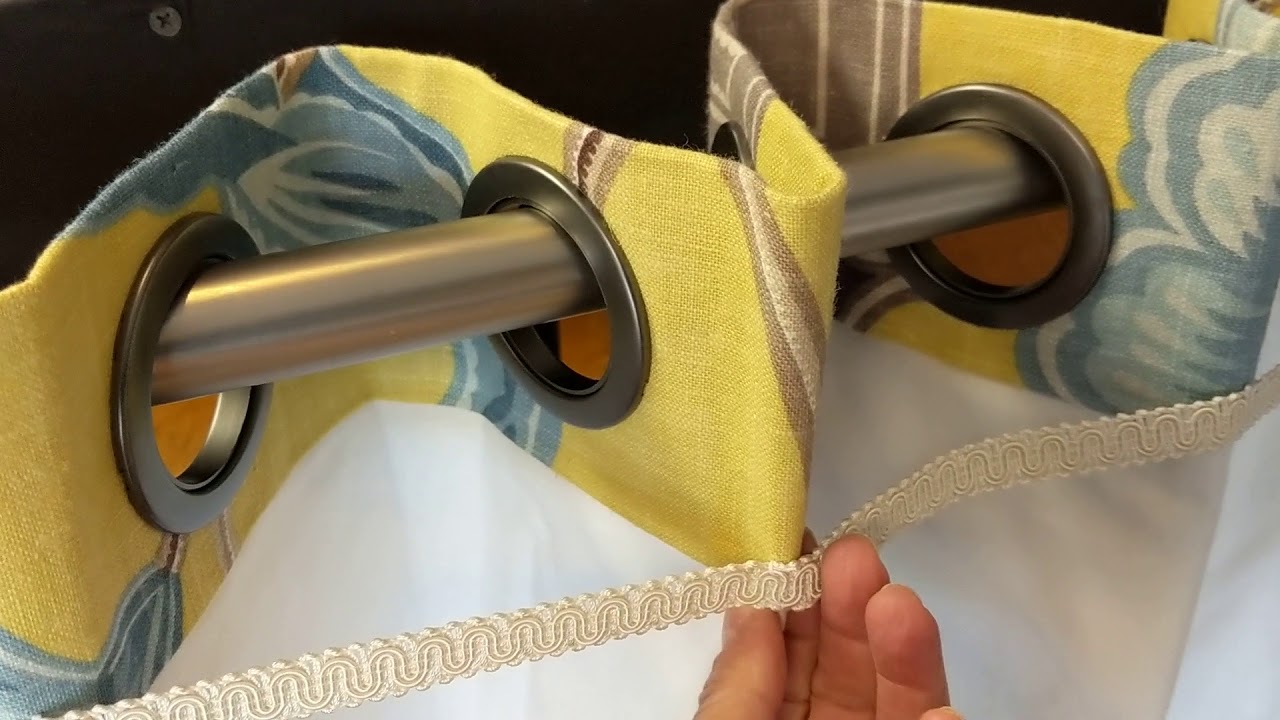
- Attach the drapes: Slide the curtain rings or hooks onto the curtain rod or track, spacing them evenly. Then, carefully attach the drapes to the rings or hooks. Make sure the drapes are evenly distributed across the rod or track.
- Adjust the length: If your drapes are longer than desired, now is the time to adjust their length. Use a measuring tape to measure from the top of the curtain rings or hooks to the desired length. Pin or clip the excess fabric and either hem or have them professionally tailored to the correct length.
- Hang the drapes: With the help of a step ladder or assistance, carefully hang the drapes onto the curtain rods or tracks. Take your time to ensure that the drapes are evenly spaced and hang straight.
- Test the operation: After hanging the drapes, test the operation by sliding them back and forth. Ensure that they move smoothly and don’t get stuck. Make any adjustments as needed to ensure a seamless operation.
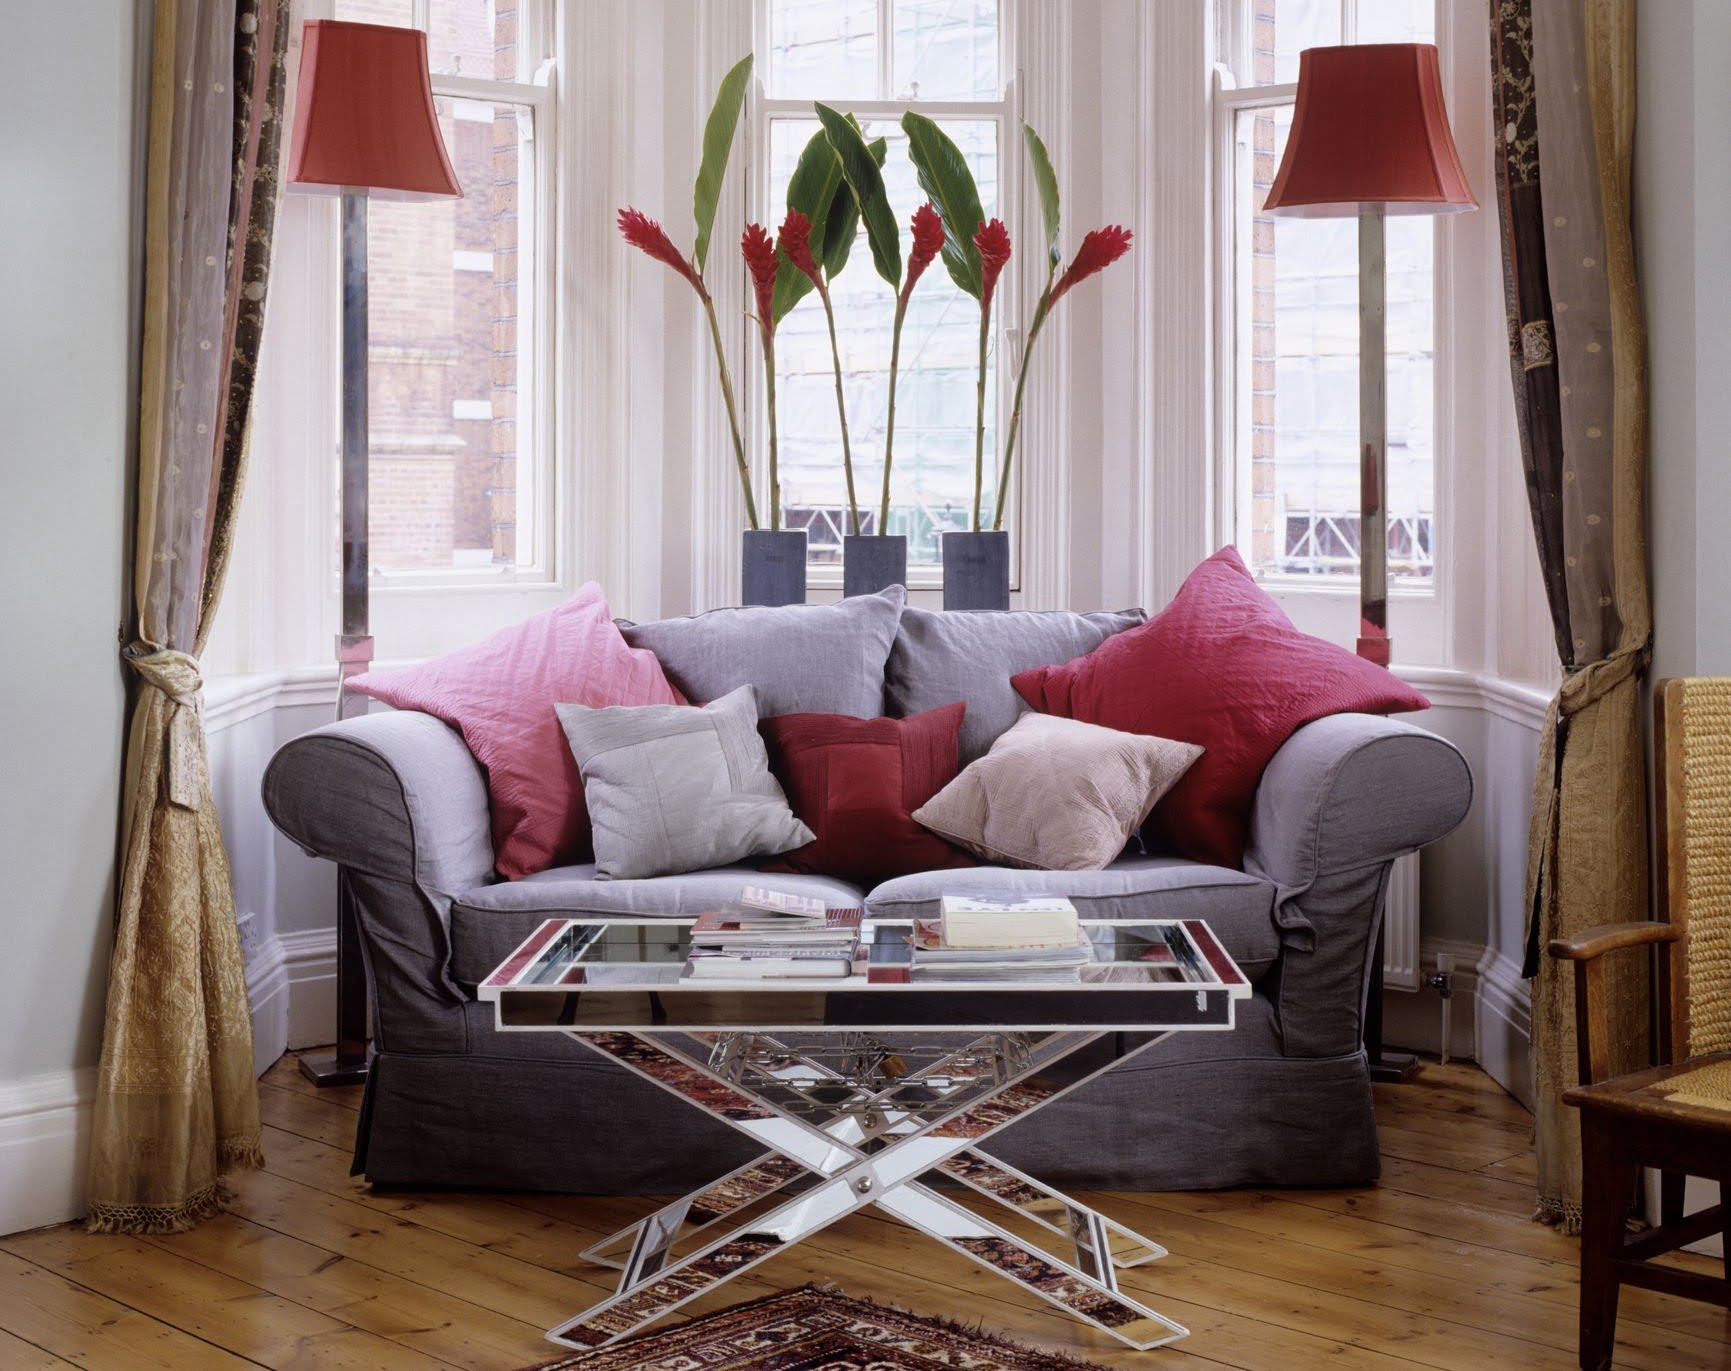
Once you have successfully hung the drapes, step back and admire the transformation of your bay window. The drapes add a touch of elegance and warmth, making your space feel more inviting and cozy.
Now, let’s move on to the final step: adjusting and styling the drapes to achieve the perfect look.
Read more: How To Install A Bay Window
Step 5: Adjust and Style the Drapes
Now that your drapes are hanging beautifully, it’s time to put the finishing touches on your bay window. Here are some tips for adjusting and styling the drapes:
- Even out the folds: Take a moment to adjust the folds of the drapes, ensuring they are evenly distributed and fall smoothly. Arrange the fabric, gently tugging and adjusting as needed to create a balanced and polished look.
- Tiebacks or holdbacks: Consider adding tiebacks or holdbacks to enhance the aesthetics and functionality of your drapes. These decorative elements hold the drapes back and allow natural light to enter the room. Position them at an appropriate height and angle to achieve the desired effect.
- Curtain rings: If you’re using curtain rings, make sure they are properly centered on each panel. Adjust the positioning of the rings, if needed, to ensure a balanced and symmetrical appearance.
- Drape accessories: Explore other drape accessories, such as decorative finials, tassels, or valances, to further enhance the visual appeal of your bay window. These accents can add a touch of personality and sophistication to the overall look.
- Social flow: Take into account the social flow of the room and adjust your drapes accordingly. Ensure that they don’t obstruct pathways or create obstacles. You want your bay window to be both aesthetically pleasing and functional within the space.
- Final touches: Take a step back and assess the overall look of your bay window. Make any final adjustments to the drape positioning, tiebacks, or accessories to achieve the desired effect. Don’t be afraid to experiment and try different arrangements until you’re satisfied with the result.
Remember, styling your drapes is a personal choice. Take into consideration your personal taste, the overall style of the room, and the functionality you desire. Play around with different options until you achieve the perfect balance of function and beauty.
Congratulations! You have successfully put drapes on your bay window, transforming it into a stunning focal point of your living space. Enjoy the enhanced beauty, privacy, and light control that your drapes provide.
As a final note, it’s essential to regularly clean and maintain your drapes to keep them looking their best. Follow the manufacturer’s instructions for cleaning and care, and enjoy the beauty and functionality of your bay window for years to come.
Now that you’ve mastered the art of putting drapes on a bay window, you can confidently tackle similar projects in other areas of your home. Happy decorating!
Conclusion
Dressing up a bay window with drapes can completely transform the look and feel of a room. By following the step-by-step process outlined in this guide, you can successfully put drapes on your bay window and achieve a polished and stylish look.
Start by accurately measuring your bay window to ensure a perfect fit. Then, carefully choose the right drapes that complement your overall room decor. Install curtain rods or tracks securely, paying attention to proper alignment and stability. Once installed, hang the drapes with care, adjusting their length and ensuring smooth operation. Finally, take the time to style and adjust the drapes to achieve the desired look.
Throughout this process, remember to infuse your own personal style and creativity. Experiment with different fabric choices, colors, patterns, and accessories to truly make your bay window drapes a reflection of your unique taste and personality.
By adhering to these guidelines, you can create a stunning focal point in your home, enhancing both the visual appeal and functionality of your bay window. Whether you’re looking to block out light, add privacy, or simply elevate the overall aesthetic, drapes are a versatile and stylish window treatment option.
Maintaining and cleaning your drapes regularly is also important to keep them looking their best. Follow the manufacturer’s instructions for care and maintenance to ensure their longevity and continued beauty.
With the knowledge and skills you’ve gained, you can now confidently put drapes on your bay window and enjoy the transformative effect they bring to your space. So go ahead, embrace your creativity, and create a stunning window display that will be the envy of all who enter your home.
Now it’s time to let your style shine through your bay window with beautiful drapes!
Now that you've mastered hanging drapes on a bay window, why not spruce up your kitchen with some stylish window treatments? Our next guide offers creative curtain ideas that add texture and flair to any cooking space. Whether you're aiming for a cozy, welcoming vibe or something more modern, these suggestions will transform your kitchen into a space you'll adore spending time in. Dive into our detailed article and let your windows make a statement!
Frequently Asked Questions about How To Put Drapes On A Bay Window
Was this page helpful?
At Storables.com, we guarantee accurate and reliable information. Our content, validated by Expert Board Contributors, is crafted following stringent Editorial Policies. We're committed to providing you with well-researched, expert-backed insights for all your informational needs.


0 thoughts on “How To Put Drapes On A Bay Window”