Articles
How To Make Grommet Drapes
Modified: December 7, 2023
Discover helpful articles on how to make grommet drapes and elevate your home decor. Learn step-by-step instructions and tips for creating beautiful window treatments.
(Many of the links in this article redirect to a specific reviewed product. Your purchase of these products through affiliate links helps to generate commission for Storables.com, at no extra cost. Learn more)
Introduction
When it comes to window treatments, grommet drapes are a popular and stylish choice. They offer a clean and modern look, while also being easy to open and close. If you’re looking to add a touch of elegance to your home, making your own grommet drapes is a great DIY project that can save you money while allowing you to customize the look to match your decor.
In this article, we will guide you through the step-by-step process of making your own grommet drapes. From measuring the windows to hanging the finished drapes, we’ll cover all the essential steps to help you achieve professional-looking results.
Before we dive into the process, let’s take a look at the materials you’ll need for this project.
Key Takeaways:
- Create custom grommet drapes to elevate your home decor while saving money. From measuring to hanging, follow the step-by-step guide for professional-looking results.
- Personalize your window treatments with the perfect fabric and achieve a stylish, functional, and elegant look with DIY grommet drapes. Enjoy the satisfaction of creating something beautiful for your home.
Read more: How To Put Grommets In Drapes
Materials Needed
To make your own grommet drapes, you will need the following materials:
- Fabric: Choose a fabric that suits your style and complements your overall decor. Make sure to measure and purchase enough fabric to cover your windows.
- Grommets: Grommets are the metal or plastic rings that create the openings for the drapery rod to pass through. You can find grommet kits at your local craft or hardware store.
- Drapery Rod: Select a drapery rod that fits your window width and complements your chosen fabric.
- Scissors: A good pair of fabric scissors will be essential for cutting the fabric to size.
- Tape Measure: Accurate measuring is crucial for achieving the perfect fit, so a tape measure is a must.
- Pins: Use pins to hold the fabric in place while you work on it.
- Sewing Machine: While not completely necessary, having a sewing machine can make the process faster and more efficient. Alternatively, you can hand sew the drapes if preferred.
- Iron: An iron will come in handy for pressing and hemming the fabric.
- Thread: Choose a thread color that matches or complements your chosen fabric.
With these materials ready, you are now prepared to start making your grommet drapes. Let’s move on to the first step: measuring the windows.
Step 1: Measuring the Windows
The first step in creating your own grommet drapes is to accurately measure your windows. This ensures that you will have the correct amount of fabric and that the drapes will fit perfectly once they are hung.
To measure your windows, follow these steps:
- Start by measuring the width of the window. Use a tape measure to measure from one side of the window frame to the opposite side. Write down this measurement.
- Next, measure the height of the window. Measure from the top of the window frame to the desired length of the drapes. If you want floor-length drapes, measure all the way to the floor. Write down this measurement as well.
- If you have multiple windows that you want to cover with the same drapes, repeat these measurements for each window and label them accordingly.
Once you have all the measurements, add a few inches to both the width and height to account for seam allowances and hems. This will ensure that the drapes have a nice, finished look and that they will cover the windows completely.
With the window measurements in hand, you are ready to move on to the next step: choosing the fabric.
Step 2: Choosing the Fabric
Choosing the right fabric for your grommet drapes is an important decision that can greatly impact the overall look and feel of your space. Consider both the style and functionality of the fabric when making your selection.
Here are a few factors to consider when choosing your fabric:
- Color and Pattern: Select a color and pattern that complements your existing decor. Consider the overall color scheme of the room and whether you want the drapes to blend in or make a statement.
- Texture: Think about the texture of the fabric and how it will contribute to the desired look of the room. Smooth and sleek fabrics, such as silk or satin, can add a touch of elegance, while thicker, heavier fabrics like velvet can provide a more luxurious and cozy feel.
- Light Control: Consider the amount of light you want to filter into the room. Sheer fabrics will allow more light to pass through, while thicker fabrics will block more light. If you need a balance of privacy and natural light, you may opt for a semi-opaque fabric.
- Maintenance: Consider the maintenance requirements of the fabric. Some fabrics are more delicate and require dry cleaning, while others can be machine-washed. Keep in mind your lifestyle and how much time and effort you are willing to invest in cleaning and maintaining the drapes.
Once you have considered these factors, visit a fabric store or browse online to find the perfect fabric for your grommet drapes. Take swatches home to see how they look in your space and ensure that they complement your existing decor.
With the fabric chosen, you’re ready to move on to the next step: cutting the fabric.
Step 3: Cutting the Fabric
Now that you have selected the perfect fabric for your grommet drapes, it’s time to cut the fabric to the appropriate size. Make sure you have a clean and spacious area to work in, as you will need to lay the fabric flat for accurate cutting.
To cut the fabric, follow these steps:
- Spread the fabric out on a large, flat surface. Ensure that there are no wrinkles or folds in the fabric.
- Refer to the measurements you took in Step 1 to determine the required width and height of each drape.
- Using a tape measure and fabric scissors, carefully measure and mark the dimensions on the fabric.
- Make sure to add extra length for hems at the sides and the bottom of the drapes.
- Double-check your measurements to ensure accuracy, and then cut along the marked lines.
Remember to take your time and cut the fabric as precisely as possible. It’s better to be slightly conservative with your cutting, as you can always trim excess fabric later if needed.
Once the fabric is cut, set aside any leftover fabric for future use or as a backup in case alterations are necessary. With the fabric now cut to size, you’re ready to move on to the next step: hemming the sides.
Read also: 11 Best Drapes With Grommets for 2025
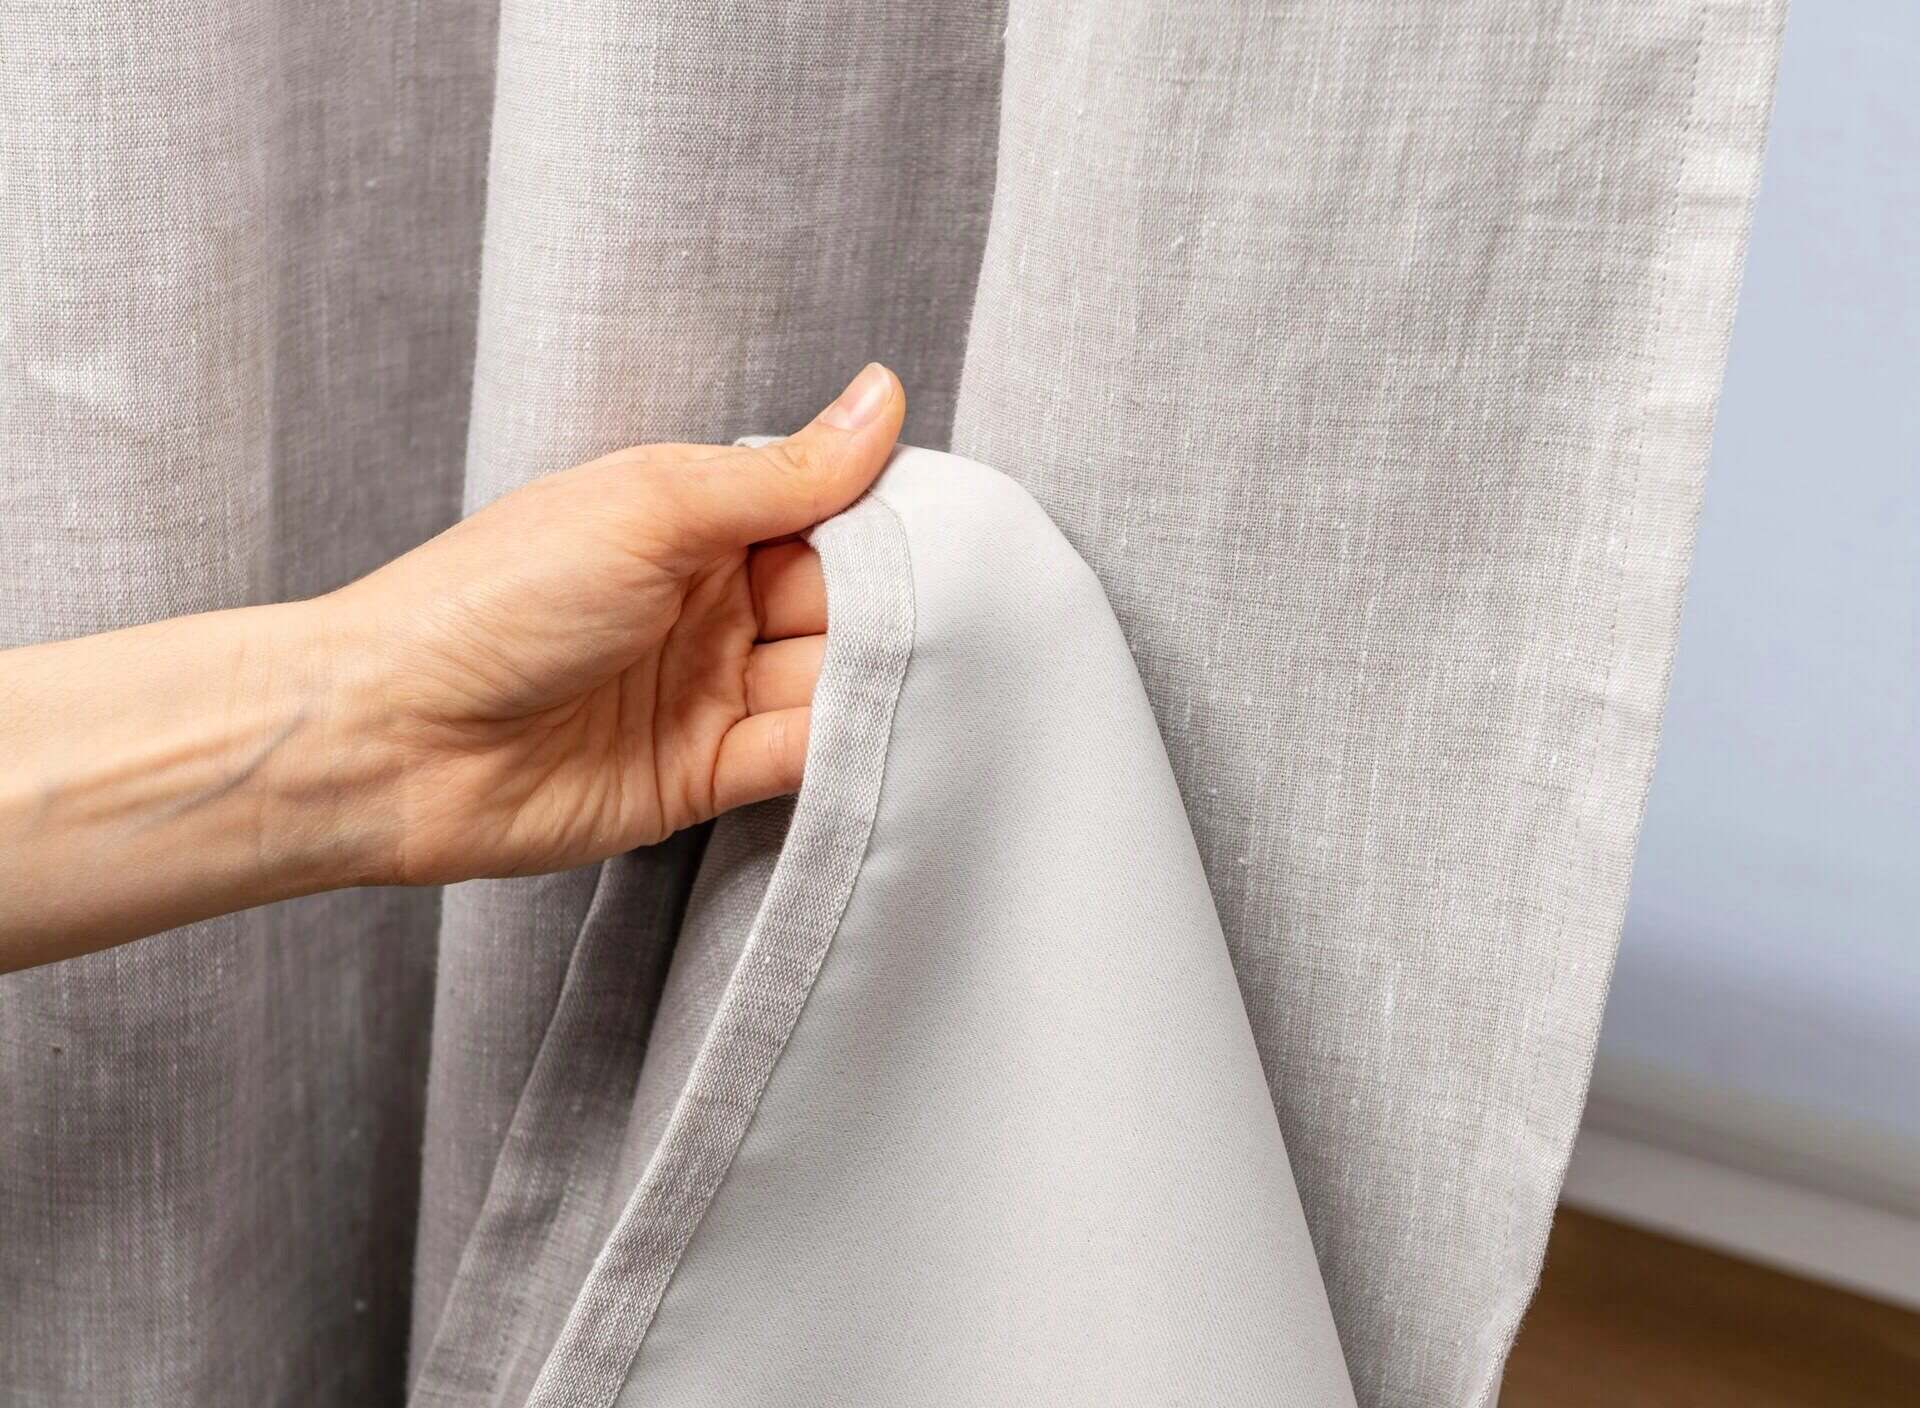
Step 4: Hemming the Sides
After cutting the fabric to the appropriate size, the next step in making your grommet drapes is to hem the sides. Hemming the sides will give a clean and finished edge to your drapes.
Follow these steps to hem the sides of your fabric:
- Begin by folding over the fabric on one side by about 1 inch. Use pins to hold the fold in place.
- Repeat the process on the other side of the fabric, ensuring that the fold matches the width of the first side.
- Once the fabric is pinned, use an iron to press the folds and create a crisp edge.
- Remove the pins and fold the fabric over again, this time by about 1 inch. This will enclose the raw edge of the fabric.
- Pin the double-folded fabric in place and use the iron to press the folds once more.
- Repeat these steps for each panel of fabric that you have cut.
If you are using a sewing machine, carefully sew a straight stitch along the folded edge of the fabric to secure the hem. If you are hand sewing, use a needle and thread to create a neat and sturdy hem.
Take your time with this step to ensure that the hems are straight and consistent across all panels. Hemming the sides will bring your grommet drapes one step closer to completion.
Now that the sides are hemmed, the next step is to create the grommet holes in the fabric. Let’s proceed to the next step.
When making grommet drapes, be sure to measure and mark the placement of the grommets carefully to ensure they are evenly spaced and aligned. This will result in a professional-looking finished product.
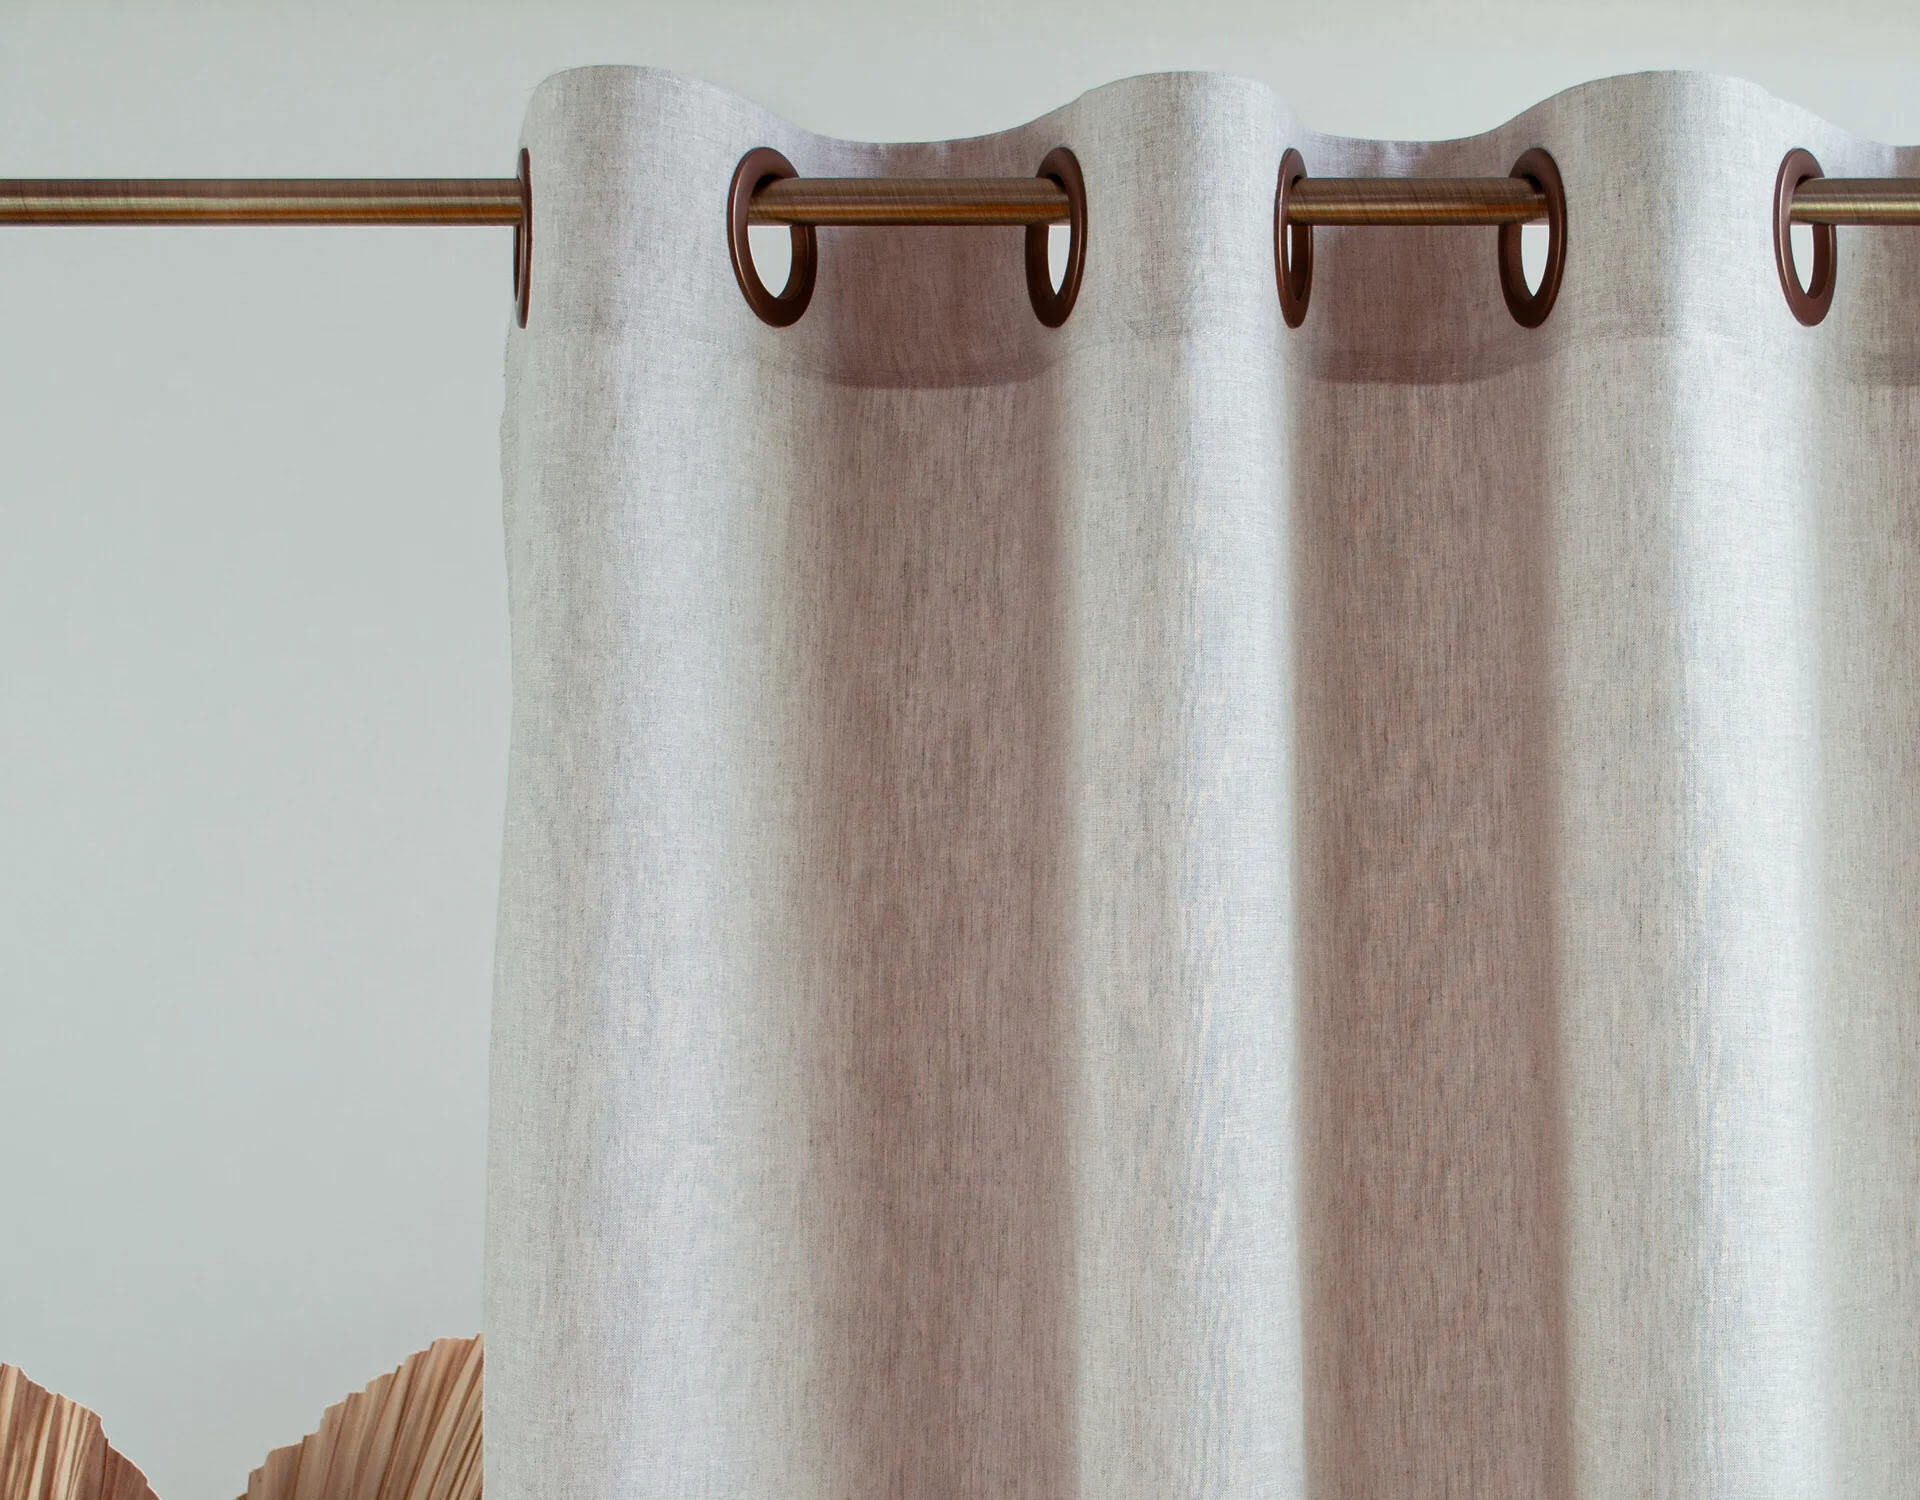
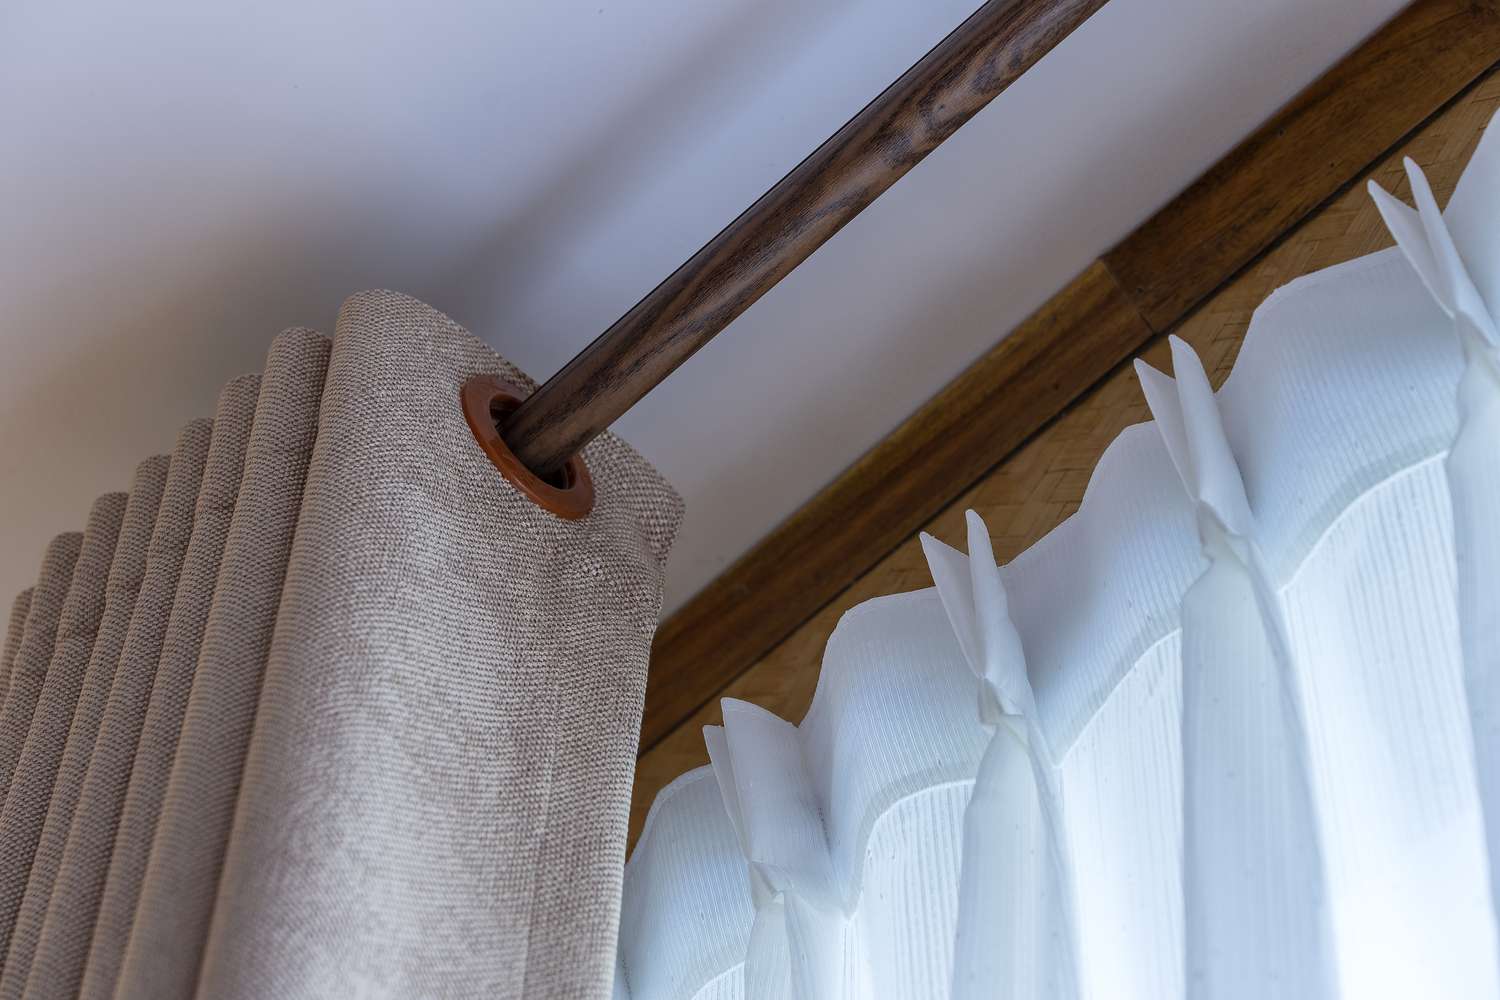
Step 5: Creating the Grommet Holes
Creating the grommet holes is a crucial step in making your grommet drapes. These holes will allow the drapery rod to pass through and hold the fabric in place. With the right tools and careful measurements, you can achieve clean and uniform grommet holes.
Follow these steps to create the grommet holes:
- Decide on the placement of each grommet hole along the top edge of the fabric. Keep in mind that the spacing between each grommet should be consistent for a visually pleasing result.
- Using a measuring tape, measure and mark the exact placement of each grommet hole on the fabric. Make sure to measure from the outer edges of the fabric to ensure accuracy.
- Place a grommet template or an appropriate-sized circular object (like a glass or a bowl) over each marked spot. The template should be slightly larger than the grommet size you have chosen.
- Trace the outline of the template onto the fabric with a fabric marker or chalk.
- Using fabric scissors, carefully cut along the traced circles to create the grommet holes. Take your time to ensure clean and precise cuts.
- Repeat this process for each grommet hole on all the panels of fabric.
Once the grommet holes are cut, make sure to remove any remaining chalk marks or fabric residue to keep the fabric clean and free from any visible markings.
With the grommet holes created, it’s time to move on to the next step: attaching the grommets.
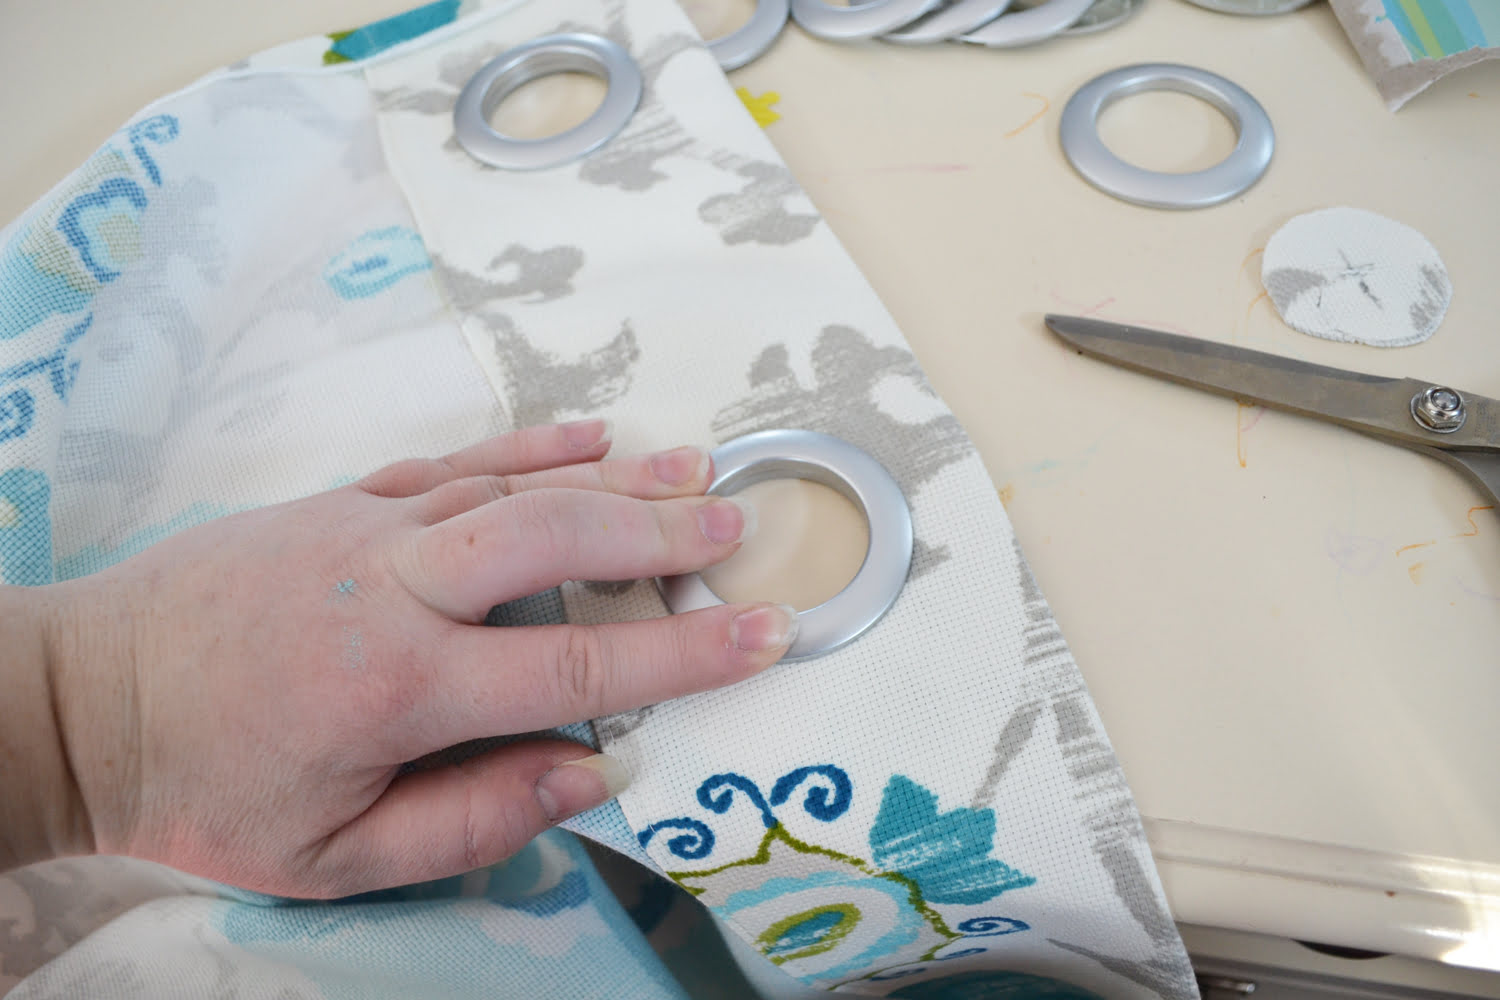
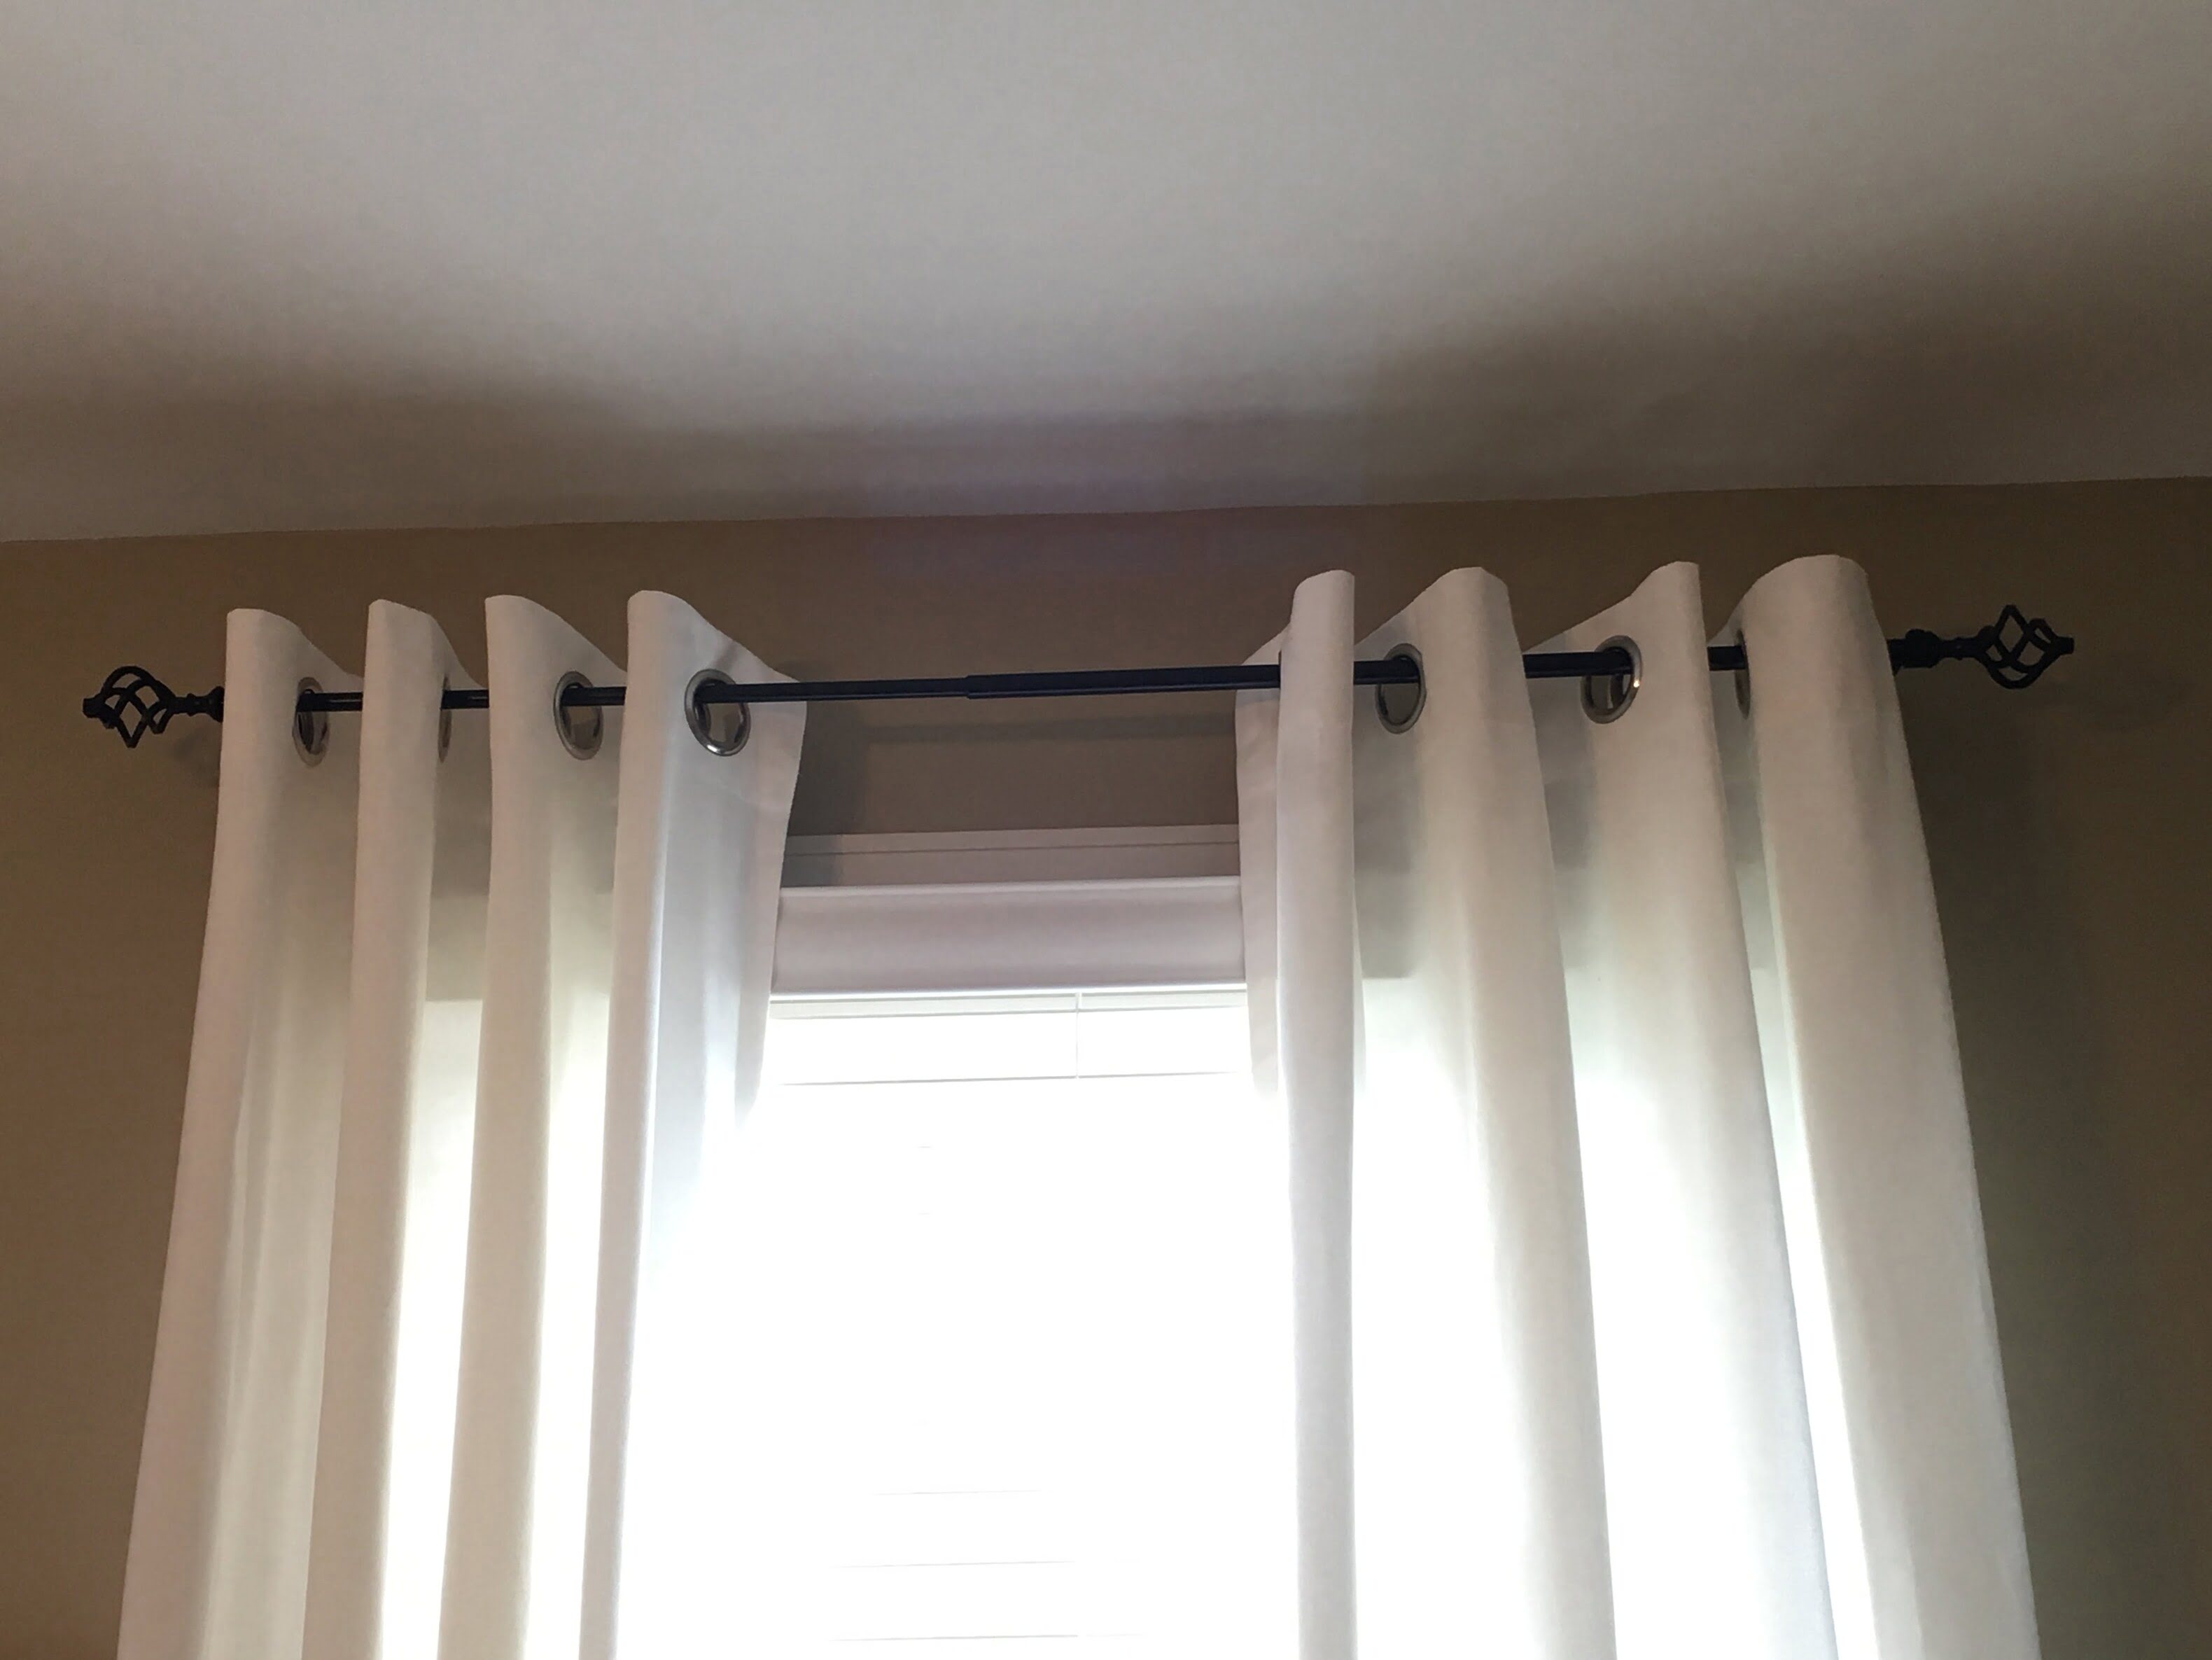
Step 6: Attaching the Grommets
Attaching the grommets is the next step in the process of making your grommet drapes. This step involves inserting the grommets into the fabric, securing them in place, and creating a professional finish.
Follow these steps to attach the grommets to your drapes:
- Start by placing the bottom half of the grommet through the hole from the front side of the fabric. The flanged edge should be facing up.
- Next, place the top half of the grommet over the bottom half from the backside of the fabric. The two halves should fit together perfectly.
- Align the grooves on both halves of the grommet to ensure a snug fit.
- Using a grommet punch or a mallet, gently tap the grommet together until it is securely fastened. Ensure that the fabric is not wrinkled or bunched up during this process.
- Repeat this process for each grommet hole on all the panels of fabric.
Take your time during this step to ensure that the grommets are properly aligned and securely attached. Smooth out any wrinkles or folds in the fabric as you go along. The finished grommet holes will add a professional touch to your drapes.
Once all the grommets are attached, you’re ready to move on to the next step: hemming the bottom edge of the drapes.
Step 7: Hemming the Bottom
The next step in creating your grommet drapes is to hem the bottom edge. Hemming the bottom will give your drapes a polished and finished look while ensuring that the fabric is properly secured and won’t fray over time.
Follow these steps to hem the bottom edge of your grommet drapes:
- Start by folding the fabric up at the bottom edge by about 1 inch. Use pins to hold the fold in place.
- Repeat the process along the entire bottom edge of each panel of fabric, ensuring that the folds are even.
- Using an iron, press the folded edge to create a crisp and clean fold.
- Remove the pins and fold the fabric up once more, this time by about 1 inch. This will enclose the raw edge of the fabric.
- Pin the double-folded fabric in place and use the iron to press the folds once more.
- If you’re using a sewing machine, carefully sew a straight stitch along the folded edge to secure the hem. If you’re hand sewing, use a needle and thread for a neat and sturdy hem.
- Repeat these steps for each panel of fabric that you have cut.
Take your time during this step to ensure that the hems are straight and consistent across all panels. Hemming the bottom edge will complete the construction of your grommet drapes.
Now that the drapes are nearly complete, it’s time for the final step: hanging the drapes.
Read more: How To Make Swag Drapes
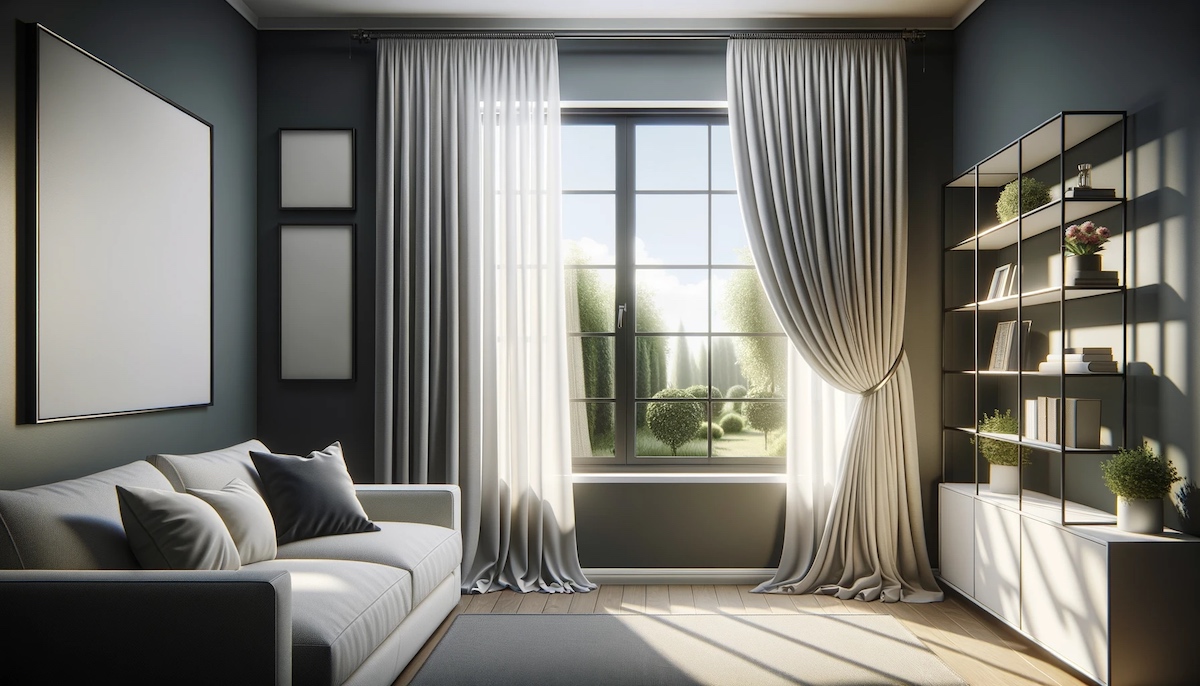
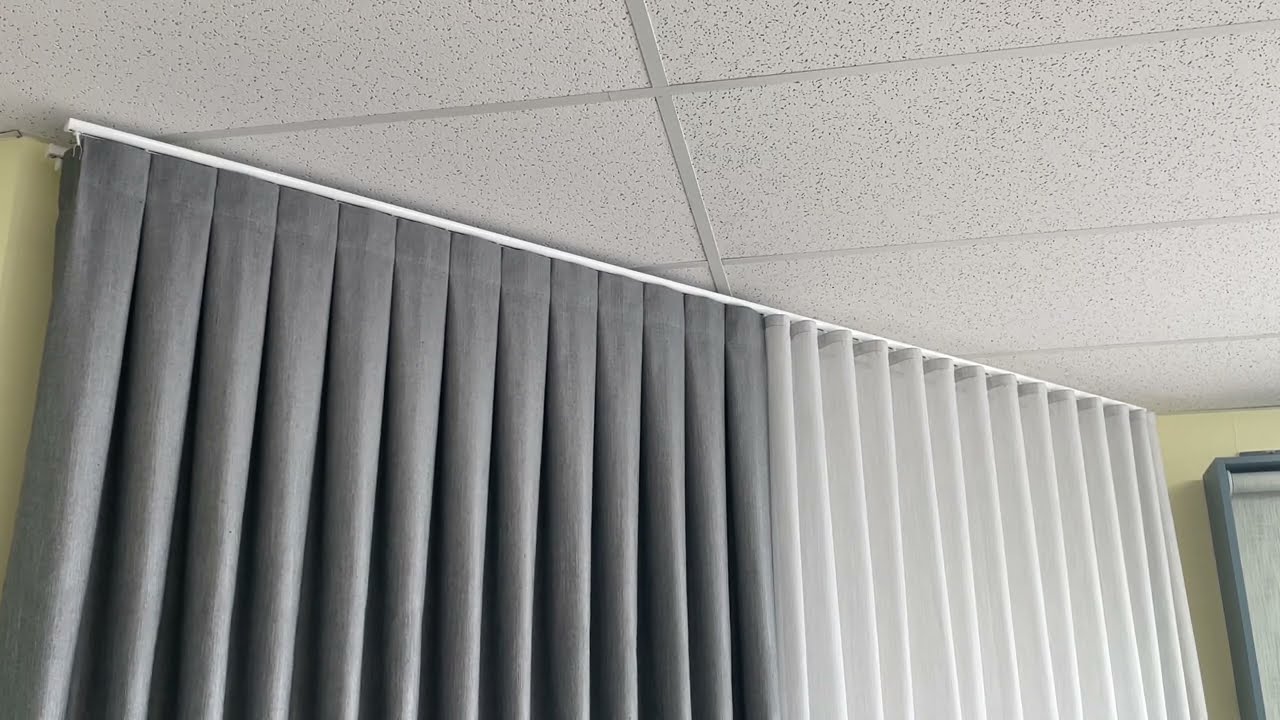
Step 8: Hanging the Drapes
Now that you have finished making your grommet drapes, it’s time to hang them and admire the beautiful results. Hanging the drapes properly will ensure that they drape nicely and enhance the overall look of your windows and room.
Follow these steps to hang your grommet drapes:
- Start by installing the drapery rod according to the manufacturer’s instructions. Make sure the rod is securely mounted and level.
- Slide each panel of the drapes onto the drapery rod through the grommet holes. Take your time to ensure that the fabric glides smoothly over the rod.
- Distribute the fabric evenly across the rod, ensuring that it is centered and hangs symmetrically.
- If necessary, adjust the position of the drapes by sliding them along the rod until you achieve the desired look.
- Step back and admire your newly hung grommet drapes. Make any final adjustments to the drapes or the folds to achieve the perfect appearance.
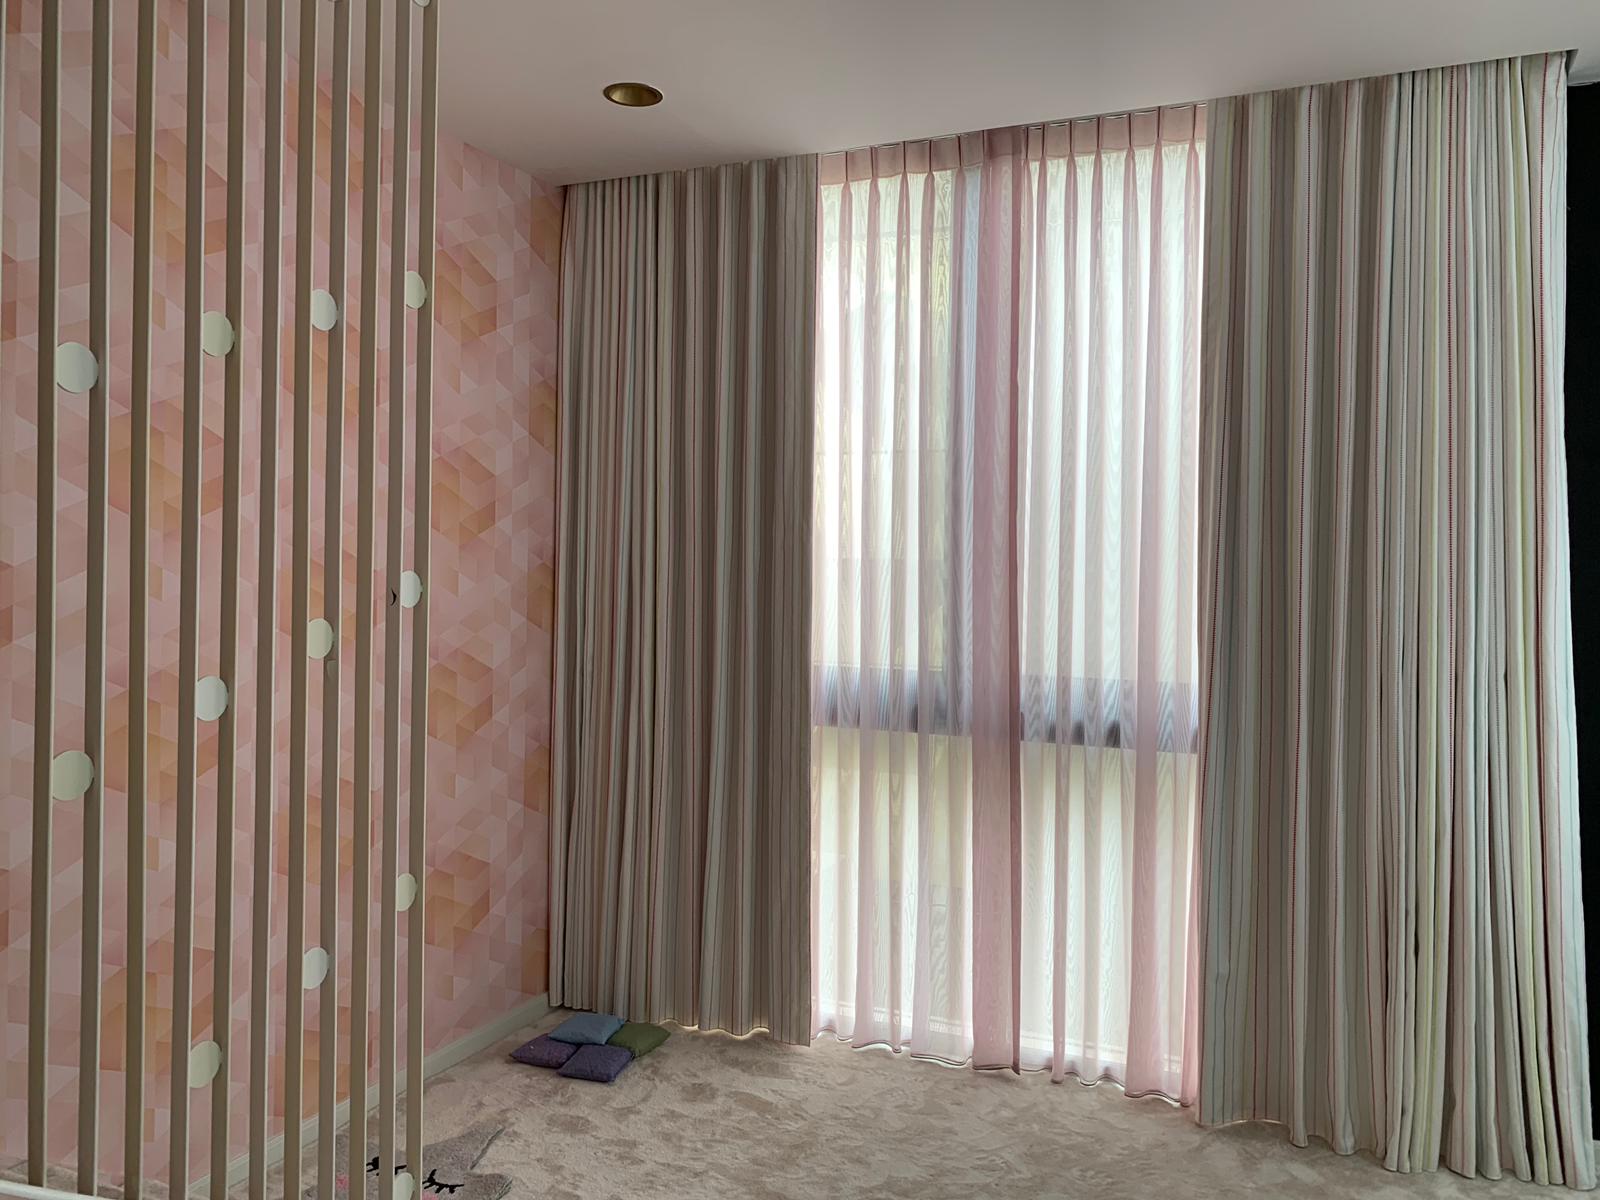
Once your drapes are hanging beautifully, take a moment to appreciate the transformation they bring to your room. The grommet drapes provide a stylish and functional window treatment that adds a touch of elegance to any space.
Remember to periodically clean and maintain your grommet drapes according to the care instructions for the fabric you have chosen. This will help ensure that they look fresh and beautiful for years to come.
Congratulations! You have successfully made and hung your own grommet drapes. Sit back, relax, and enjoy the cozy ambiance and privacy they provide.
Conclusion
Creating your own grommet drapes is a rewarding project that allows you to personalize your window treatments and enhance the style of your home. By following the step-by-step process outlined in this article, you can achieve professional-looking results while saving money compared to purchasing pre-made drapes.
We started by measuring the windows to ensure the perfect fit for your drapes. Then, we discussed the importance of choosing the right fabric, considering factors such as color, pattern, texture, and light control. After cutting the fabric to size, we moved on to hemming the sides and creating the grommet holes, which are essential for hanging the drapes.
Attaching the grommets and hemming the bottom edge added a polished and finished look to the drapes. Finally, we discussed the importance of hanging the drapes properly to showcase their beauty and ensure proper functionality.
Now that you have completed the process, take a moment to admire your handcrafted grommet drapes. Not only do they provide privacy and light control, but they also add a stylish and sophisticated touch to your home decor.
Remember, the possibilities are endless when it comes to fabric choices, patterns, and colors, allowing you to customize your drapes to perfectly suit your style and home aesthetic.
So, roll up your sleeves, gather your materials, and embark on the journey of creating your own grommet drapes. Enjoy the satisfaction that comes with creating something beautiful with your own hands and enjoy the transformed look of your windows.
Frequently Asked Questions about How To Make Grommet Drapes
Was this page helpful?
At Storables.com, we guarantee accurate and reliable information. Our content, validated by Expert Board Contributors, is crafted following stringent Editorial Policies. We're committed to providing you with well-researched, expert-backed insights for all your informational needs.


0 thoughts on “How To Make Grommet Drapes”