
Articles
How To Put Quilt On Bed
Modified: October 20, 2024
Learn how to put a quilt on your bed with these helpful articles. Find step-by-step instructions and tips for a cozy and stylish bedroom.
(Many of the links in this article redirect to a specific reviewed product. Your purchase of these products through affiliate links helps to generate commission for Storables.com, at no extra cost. Learn more)
Introduction
Putting a quilt on your bed is not only a practical way to stay warm and cozy during the night, but it also adds a touch of style and comfort to your bedroom decor. Whether you have a new quilt or are looking to refresh your bed with a different one, the process of properly putting a quilt on your bed can sometimes be a challenge.
In this article, we will guide you through a step-by-step process of how to put a quilt on your bed with ease. From preparing the bed to arranging the pillows, we will cover all the necessary steps to ensure that your quilt looks neat, snug, and inviting.
So, if you’re ready to transform your bed into a haven of comfort and style, let’s get started!
Key Takeaways:
- Transform your bed into a cozy haven by following these step-by-step instructions to properly put a quilt on your bed. From preparing the bed to arranging the pillows, create a visually pleasing and inviting space.
- Infuse your personal style and creativity while following the steps to put a quilt on your bed. Add decorative accents and final touches to make your bed a welcoming sanctuary that reflects your unique personality.
Read more: What Is A Bed Quilt
Step 1: Prepare the Bed
Before you begin putting the quilt on your bed, it’s important to prepare the bed and create a clean and smooth surface. Follow these steps to ensure that your bed is ready for the quilt:
- Remove any existing bedding: Start by removing any existing sheets, blankets, or comforters from your bed. This will provide a fresh canvas for your quilt.
- Smooth out the mattress: Take a moment to smooth out any creases or wrinkles on your mattress. This will help ensure a flat surface for the quilt.
- Adjust the fitted sheet: If you are using a fitted sheet, make sure it is fully stretched and tucked securely around the corners of the mattress. This will provide a secure base for the quilt to rest on.
By preparing the bed, you are setting the foundation for a clean and organized look once the quilt is in place. Taking the time to do this step properly will make the rest of the process much easier and more enjoyable.
Step 2: Lay Out the Quilt
Once you have prepared the bed, it’s time to lay out the quilt. Follow these steps to ensure that the quilt is positioned correctly:
- Find the center of the quilt: Start by finding the center of the quilt. You can do this by folding the quilt in half lengthwise and then in half widthwise. The intersection of the folds will indicate the center.
- Place the quilt at the foot of the bed: Begin by aligning the center of the quilt with the foot of the bed. Make sure that the edges of the quilt are evenly distributed on both sides.
- Smooth out the quilt: Gently unfold the quilt, smoothing it out as you go along. Ensure that the quilt is evenly spread across the bed with no wrinkles or bunching.
Laying out the quilt is an essential step in the process as it sets the foundation for the rest of the bedding. By starting at the foot of the bed and ensuring a smooth and even placement, you are creating a clean and polished look for your quilt.
Step 3: Aligning the Quilt
After laying out the quilt, the next step is to align it properly on the bed. Follow these steps to ensure that the quilt is aligned symmetrically:
- Center the quilt: Start by checking that the quilt is centered on the bed, both horizontally and vertically. You can use the headboard or any other visual cues to help you align it properly.
- Check the overhang: Next, pay attention to the overhang of the quilt on the sides of the bed. Ideally, it should hang evenly on both sides. Adjust the quilt if needed to achieve a symmetrical appearance.
- Ensure even distribution: Take a step back and visually inspect the quilt to ensure that it is evenly distributed across the bed. Look for any areas that may appear tighter or looser and adjust as necessary to achieve a balanced look.
Aligning the quilt is crucial in creating a visually pleasing and harmonious bed. By centering the quilt, checking the overhang, and ensuring even distribution, you will achieve a balanced and symmetrical appearance that adds to the overall aesthetics of the bedding.
Step 4: Tucking In the Sides
Once the quilt is aligned properly, you’ll want to tuck in the sides to create a tidy and neat look. Follow these steps to neatly tuck in the sides:
- Fold the excess fabric: Starting at one side of the bed, take the excess fabric of the quilt and fold it up neatly towards the mattress. The fold should be about 6-8 inches wide, depending on the width of the mattress.
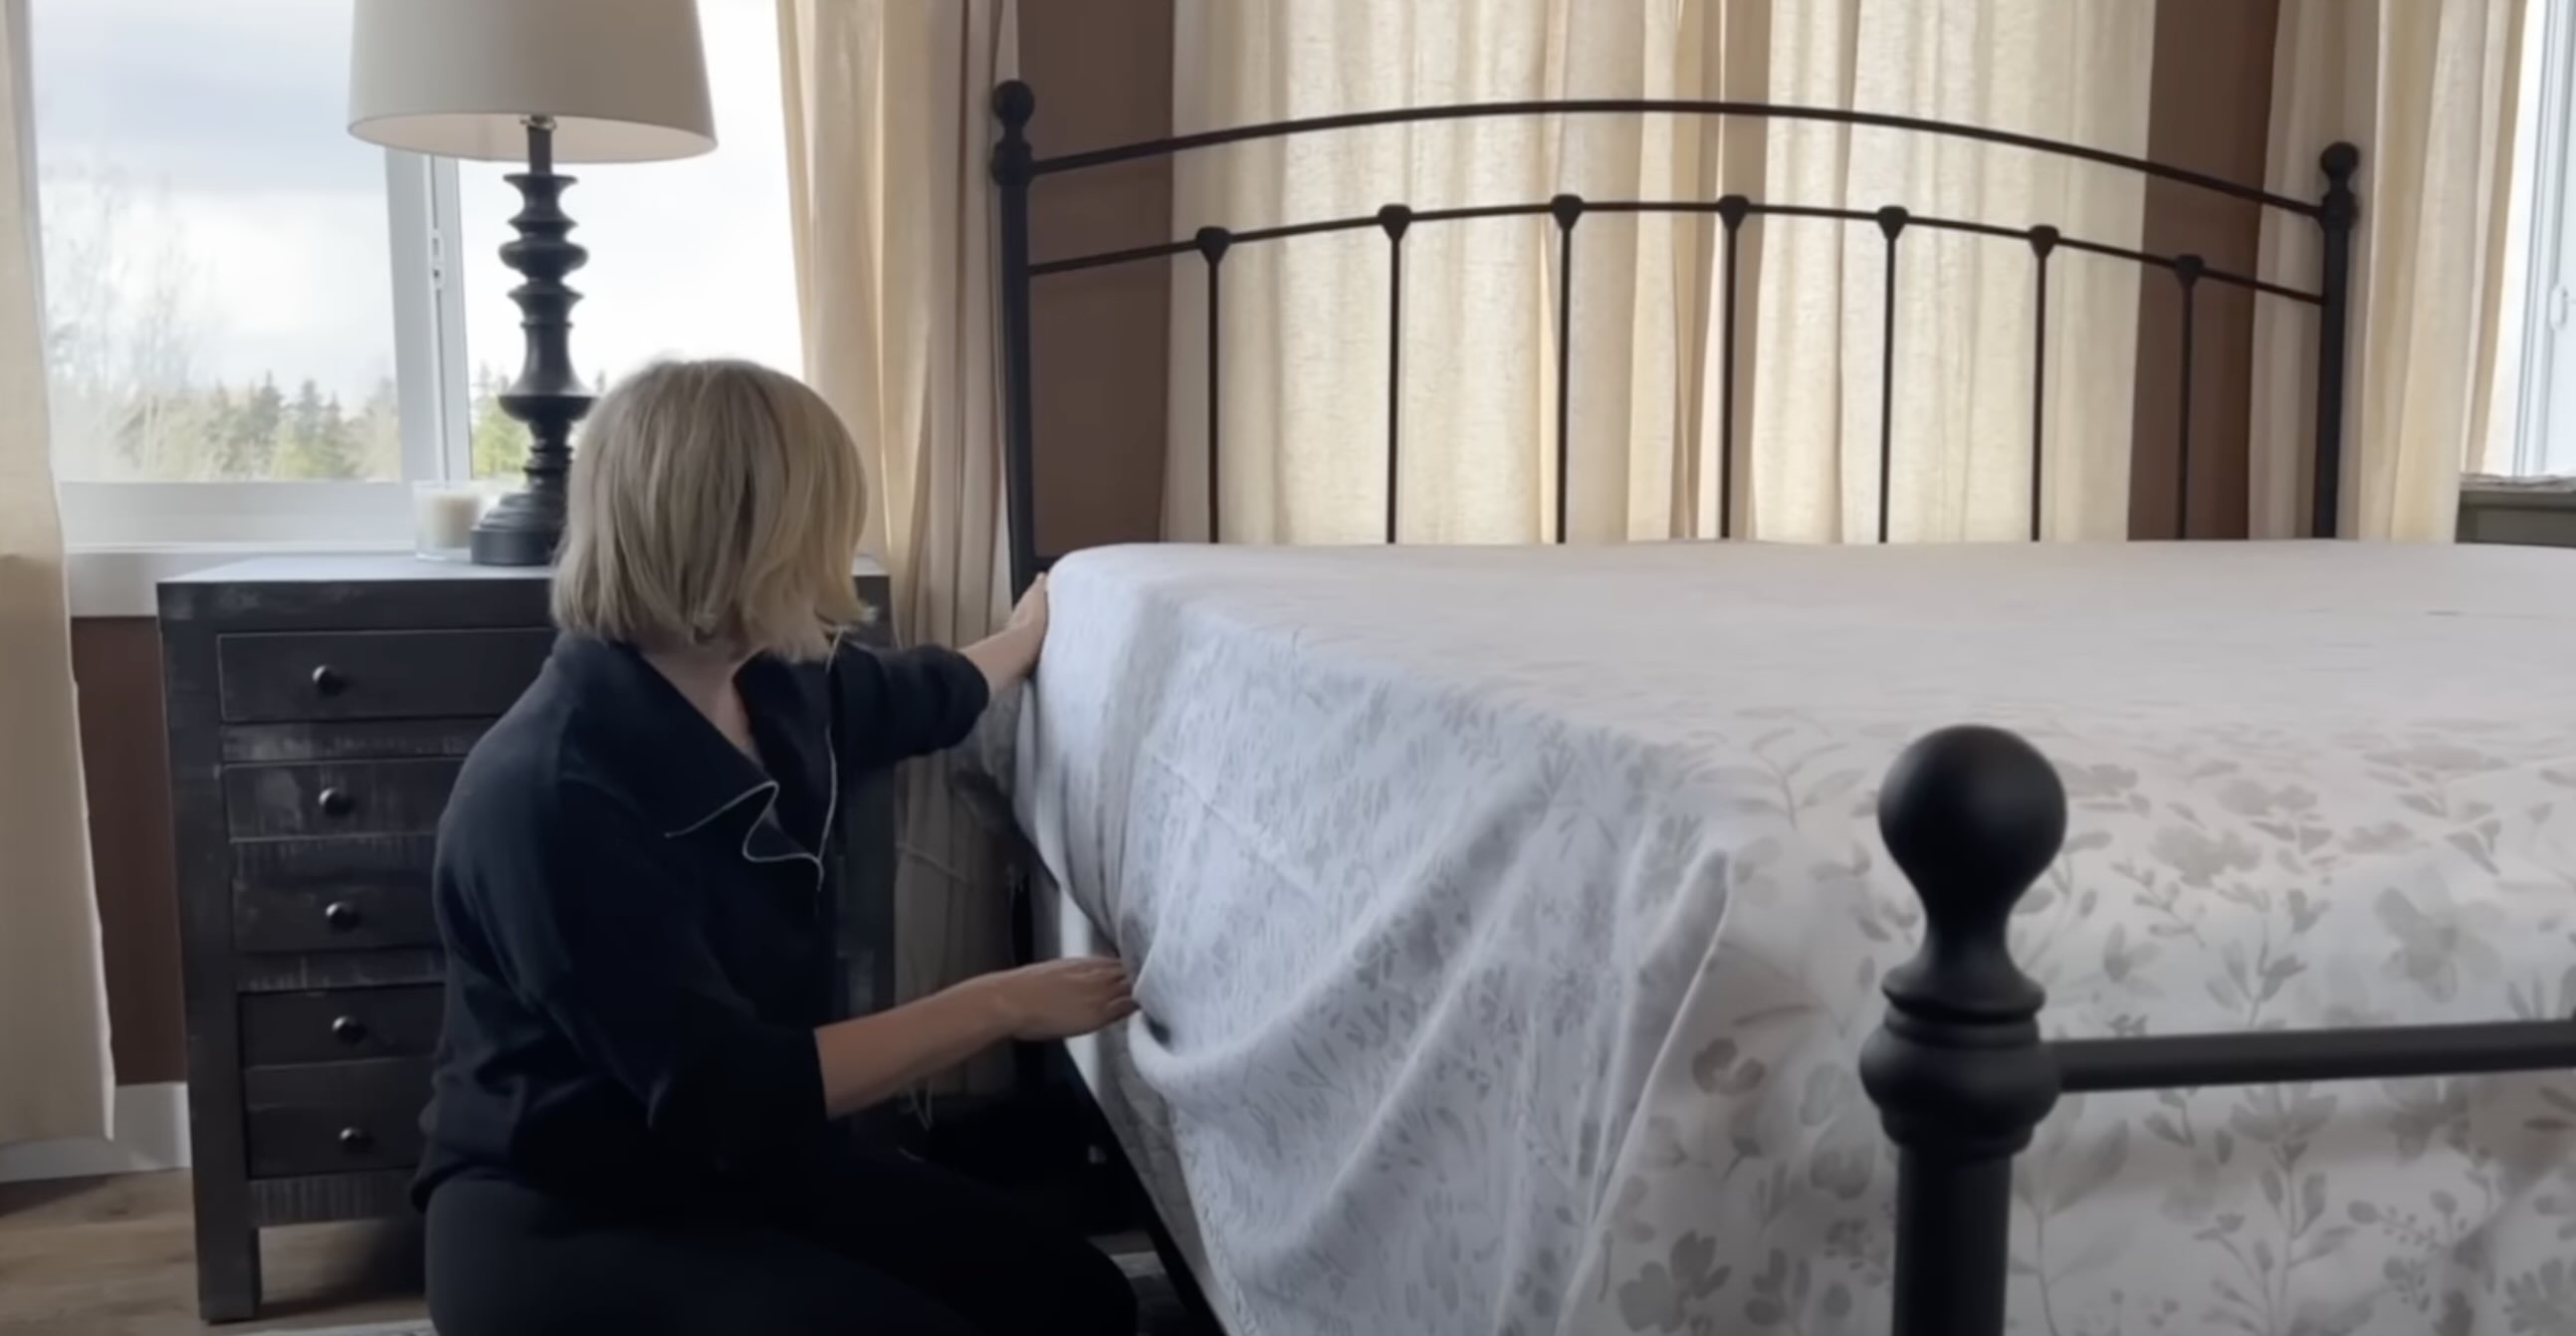
- Tuck the folded fabric: Carefully tuck the folded fabric under the mattress, ensuring a snug fit. Use your hands to smooth out any wrinkles or creases as you tuck in the fabric. Repeat this step on the other side of the bed.
- Adjust the corners: Once both sides are tucked in, pay attention to the corners of the quilt. Smooth out any excess fabric and ensure that the corners are neatly tucked under the mattress.
Tucking in the sides of the quilt adds a polished and clean look to the bedding. It also keeps the quilt securely in place, preventing it from shifting or bunching up during the night.
When putting a quilt on a bed, start by laying it evenly over the mattress, ensuring it hangs evenly on all sides. Smooth out any wrinkles and tuck the edges under the mattress for a neat and tidy look.
Read more: How To Make A Quilted Bedding
Step 5: Tuck in the Foot of the Bed
Now that the sides of the quilt are neatly tucked in, it’s time to focus on tucking in the foot of the bed. Follow these steps to achieve a crisp and tailored look:
- Stand at the foot of the bed: Position yourself at the foot of the bed, facing the headboard. This will allow you to clearly see and adjust the quilt.
- Grab the end of the quilt: Reach down and grab the end of the quilt, ensuring you have a firm grip on it.
- Tuck the quilt under the mattress: Lift the quilt and tuck it underneath the mattress at the foot of the bed. Smooth out any wrinkles or folds as you go along to create a clean and sleek appearance.
- Adjust the tuck: Stand back and assess the tuck at the foot of the bed. Ensure that it’s evenly tucked in and lies flat against the mattress. Make any necessary adjustments to achieve a neat and tailored look.
Tucking in the foot of the bed gives the quilt a finished appearance, adding to the overall tidiness of the bedding. By following these steps, you’ll create a crisp and polished look that transforms your bed into a stylish centerpiece.
Step 6: Arrange the Pillows
Now that the quilt is in place and tucked in, it’s time to arrange the pillows to complete the look of your bed. Follow these steps to achieve an inviting and well-organized pillow arrangement:
- Start with the pillow shams: Begin by placing the pillow shams against the headboard or wall. These larger decorative pillows usually come with coordinated pillowcases and add a touch of elegance to the bed.
- Add sleeping pillows: Place your sleeping pillows in front of the pillow shams. These are the pillows you’ll actually use for sleeping, so make sure they’re comfortable and arranged neatly.
- Add accent pillows: If you have any smaller accent pillows or throw pillows, arrange them in front of the sleeping pillows. These pillows can add pops of color or texture to the overall design.
- Arrange the pillows symmetrically: Ensure that the pillows are arranged symmetrically, with an even number of pillows on each side of the bed. This creates a balanced and aesthetically pleasing presentation.
- Fluff and adjust: Take a moment to fluff and adjust the pillows to achieve a plush and inviting appearance. This will make your bed look cozy and inviting, ready to be enjoyed.
Arranging the pillows not only adds a decorative touch to your bed but also creates a sense of comfort and luxury. By following these steps and paying attention to symmetry, you’ll achieve a visually appealing and inviting pillow arrangement.
Step 7: Final Touches
With the quilt and pillows in place, it’s time to add the final touches to complete the look of your bed. Follow these steps to add those finishing touches:
- Smooth out the quilt: Take a moment to smooth out any wrinkles or folds on the surface of the quilt. This will give it a polished and well-presented appearance.
- Fluff the pillows: Give the pillows a gentle fluff to make them look more inviting and comfortable. This will add a touch of luxury to your bed.
- Check the overall appearance: Step back and take a look at your bed as a whole. Ensure that everything is well-aligned, tidy, and visually pleasing.
- Add decorative accents: If desired, you can add decorative accents to further enhance the look of your bed. This can include a throw blanket, a decorative tray, or even a small bouquet of flowers.
- Personalize your space: Finally, add any personal touches or items that reflect your own style and personality. Whether it’s a favorite stuffed animal, a cozy reading lamp, or a piece of artwork, make sure it feels like “you.”
The final touches make all the difference in creating a welcoming and visually appealing bed. By paying attention to the small details and infusing your own personal style, you’ll transform your bed into a cozy and inviting sanctuary.
Conclusion
Putting a quilt on your bed doesn’t have to be a daunting task. By following these step-by-step instructions, you can easily achieve a well-organized, cozy, and visually pleasing bed that you’ll love to come home to every night.
We started by preparing the bed and creating a smooth surface. Then, we laid out the quilt and aligned it properly to ensure a symmetrical appearance. Tucking in the sides and the foot of the bed added a polished and tailored look. Arranging the pillows and adding final touches brought the whole look together, creating a comfortable and inviting space.
Remember, while it’s important to follow these steps, don’t be afraid to add your own personal touch and style to your bed. Choose a quilt that reflects your personality, experiment with different pillow arrangements, and incorporate decorative accents that make the space uniquely yours.
So, whether you’re getting ready for a good night’s sleep or simply refreshing the look of your bedroom, use this guide to confidently put a quilt on your bed. Enjoy the warmth, comfort, and style that a well-made bed brings to your space!
Frequently Asked Questions about How To Put Quilt On Bed
Was this page helpful?
At Storables.com, we guarantee accurate and reliable information. Our content, validated by Expert Board Contributors, is crafted following stringent Editorial Policies. We're committed to providing you with well-researched, expert-backed insights for all your informational needs.


0 thoughts on “How To Put Quilt On Bed”