
Articles
How To Quilt Placemats
Modified: February 24, 2024
Learn how to quilt placemats with these informative articles. Discover different techniques and designs to create beautiful and personalized placemats for your dining table.
(Many of the links in this article redirect to a specific reviewed product. Your purchase of these products through affiliate links helps to generate commission for Storables.com, at no extra cost. Learn more)
Introduction
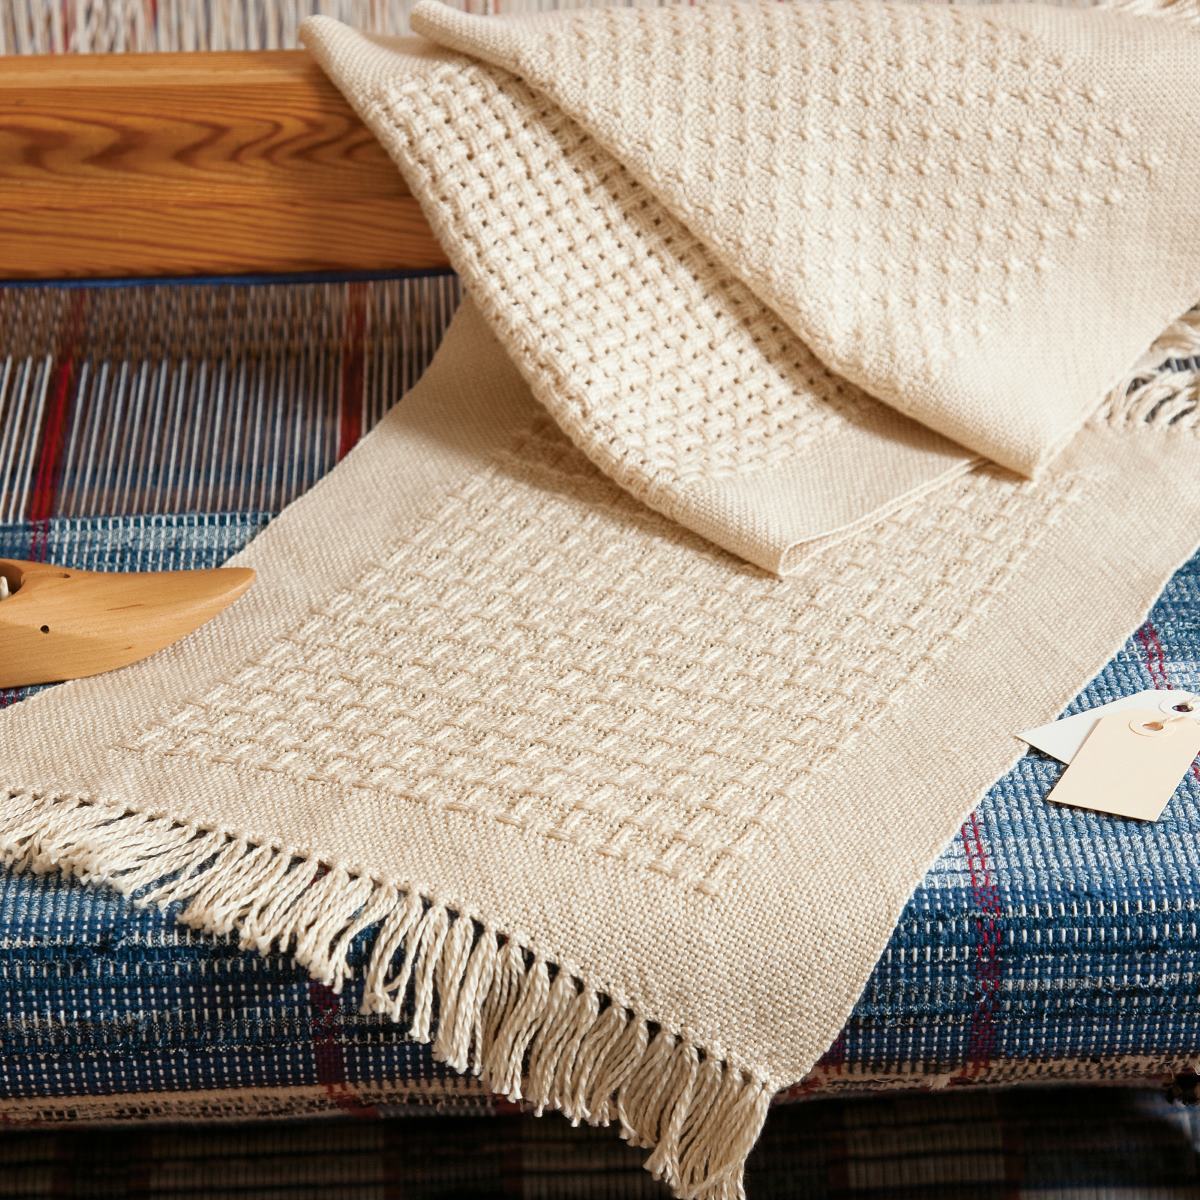
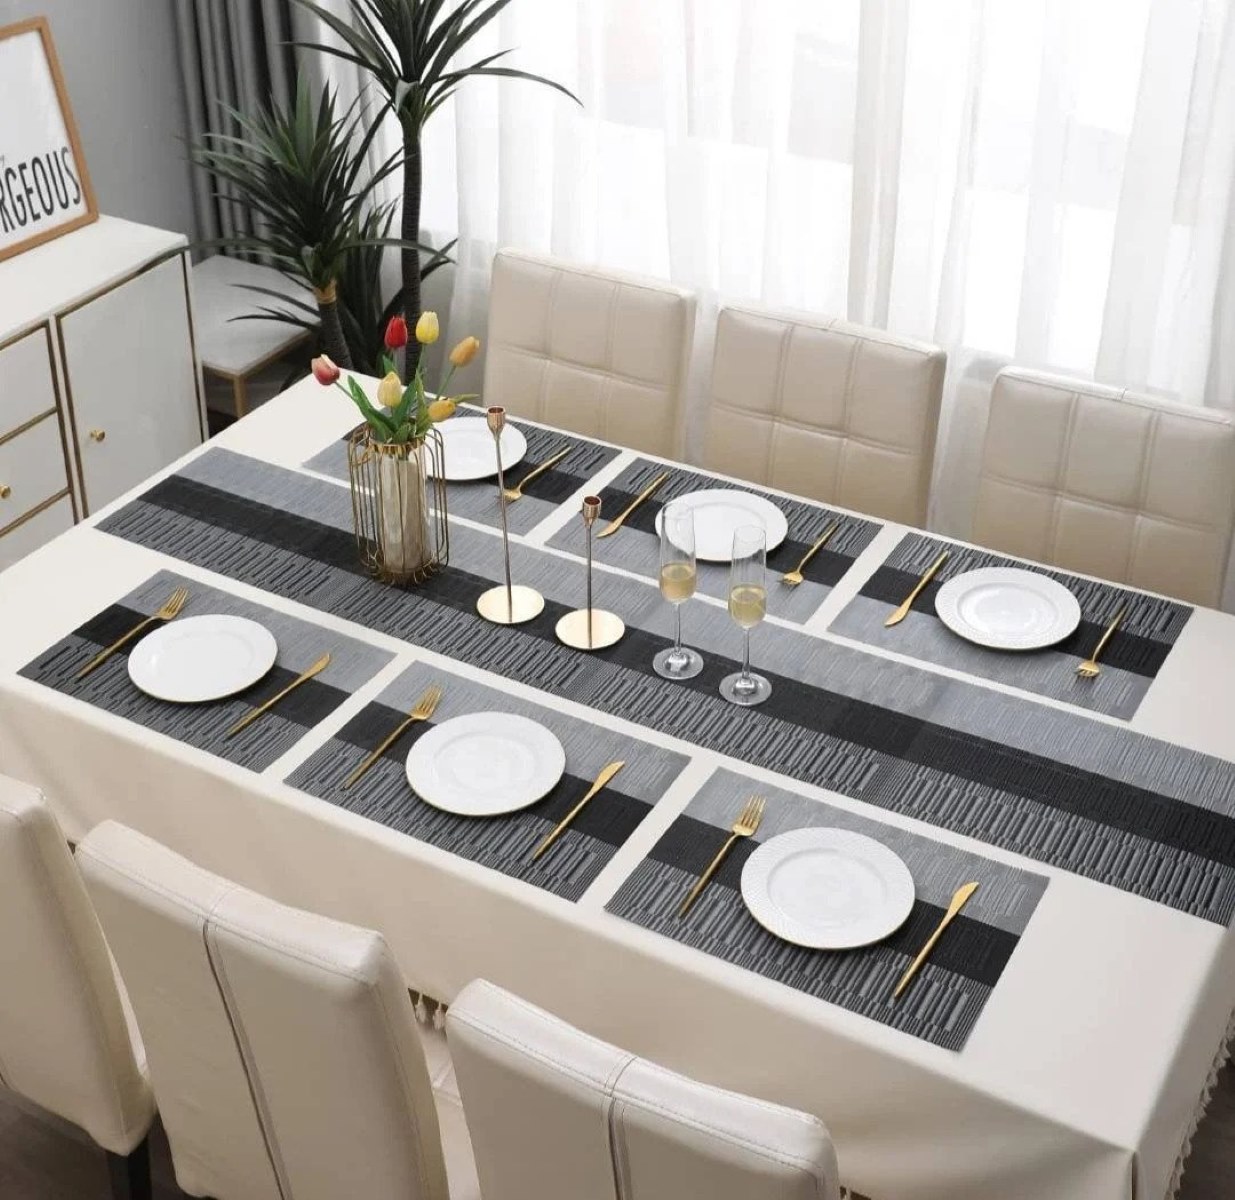
Welcome to the world of quilting! Quilting is a time-honored craft that allows you to create beautiful and functional pieces using fabric, batting, and thread. In this article, we will guide you step-by-step on how to quilt placemats, a versatile and practical project that will add a personal touch to your dining table.
Quilting placemats can be a rewarding and enjoyable experience, whether you are a seasoned quilter or a beginner looking to delve into this creative world. With a few basic materials and some patience, you can create unique and customized placemats that reflect your personal style and taste.
By quilting your own placemats, you have the freedom to choose fabrics that match your kitchen or dining room decor. You can experiment with different patterns, colors, and textures to create a set of placemats that will impress your family and guests.
In this tutorial, we will cover everything you need to know to quilt your own placemats, from selecting fabrics to adding the finishing touches. So grab your sewing machine, gather your supplies, and let’s get started on this creative journey!
Key Takeaways:
- Dive into the world of quilting and create personalized placemats that reflect your style and elevate your dining experience. From fabric selection to finishing touches, enjoy the creative journey of quilting your own functional and beautiful pieces.
- Embrace the art of quilting to craft unique placemats that add charm and character to your dining table. With patience and creativity, transform fabric, batting, and thread into personalized works of art that impress family and guests.
Read more: How To Make A Quilted Placemat
Materials Needed
Before you begin quilting your placemats, it’s important to gather all the necessary materials. Here’s a list of what you’ll need:
- Fabric: Choose one or a combination of fabrics for the front and back of your placemats. Consider using cotton or linen fabric, as they are durable and easy to work with.
- Batting: This is the layer that provides thickness and insulation to your placemats. Look for batting that is specifically designed for placemats or table runners.
- Thread: Opt for a high-quality thread that matches or complements the colors of your fabric.
- Quilting ruler: A clear, acrylic ruler with measuring markings is essential for accurate cutting.
- Cutting mat: A self-healing cutting mat is recommended to protect your work surface and ensure clean cuts.
- Rotary cutter: This tool makes cutting fabric fast and precise. Choose one with a sharp blade for clean cuts.
- Sewing machine: A sewing machine with basic quilting capabilities will be needed for stitching the fabric layers together.
- Pins or clips: These will hold the fabric layers in place during sewing.
- Iron and ironing board: Pressing your fabric at each step will ensure neat and professional-looking placemats.
- Scissors: Use sharp scissors for trimming threads and cutting fabric.
- Binding: This is the fabric strip used to finish the edges of the placemats. You can choose a matching or contrasting fabric for the binding.
- Needle or sewing machine for binding: Depending on your preference, you can hand-sew the binding or use a sewing machine.
- Optional: Embellishments such as decorative buttons, ribbons, or embroidery floss to add a personal touch to your placemats.
Make sure you have all these materials before you start quilting. Having everything on hand will make the process smoother and more enjoyable. Now that you’re equipped with the necessary supplies, let’s move on to choosing the fabric for your placemats!
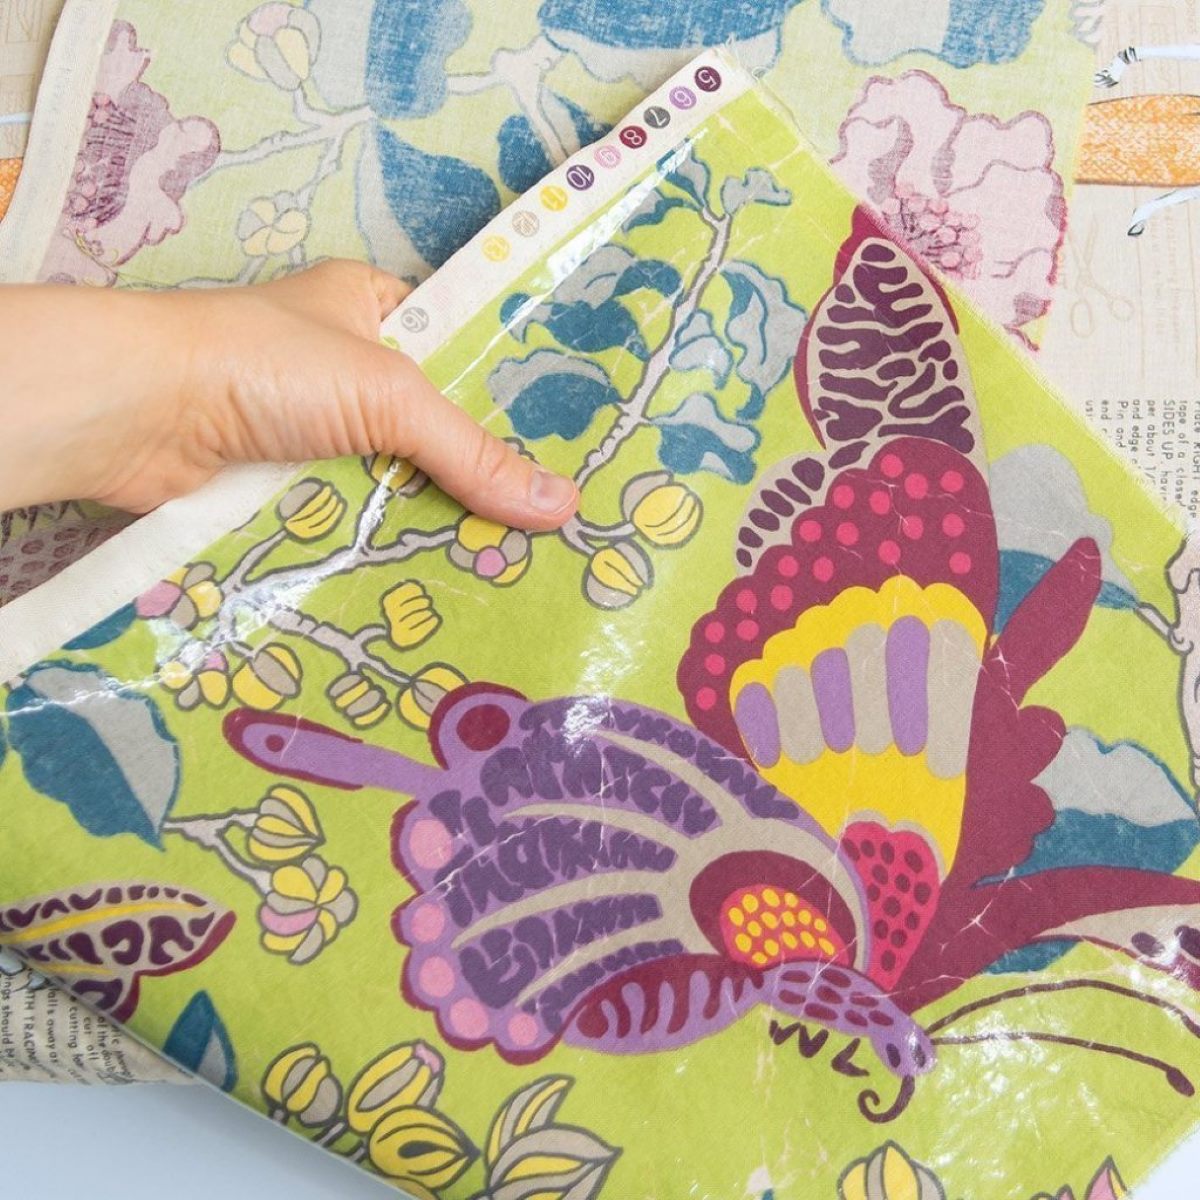
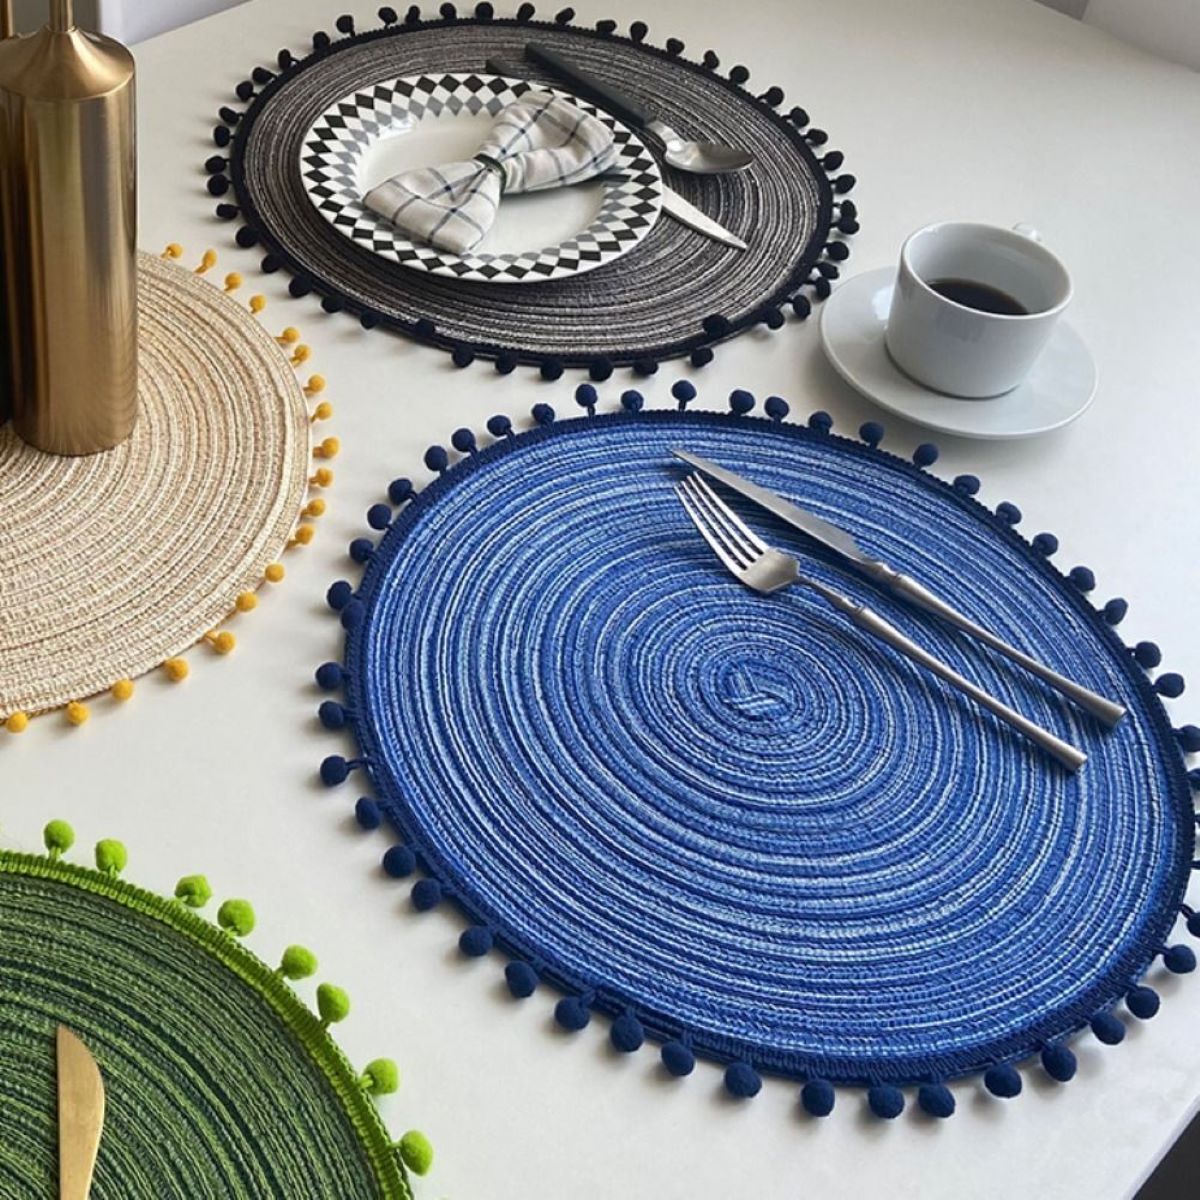
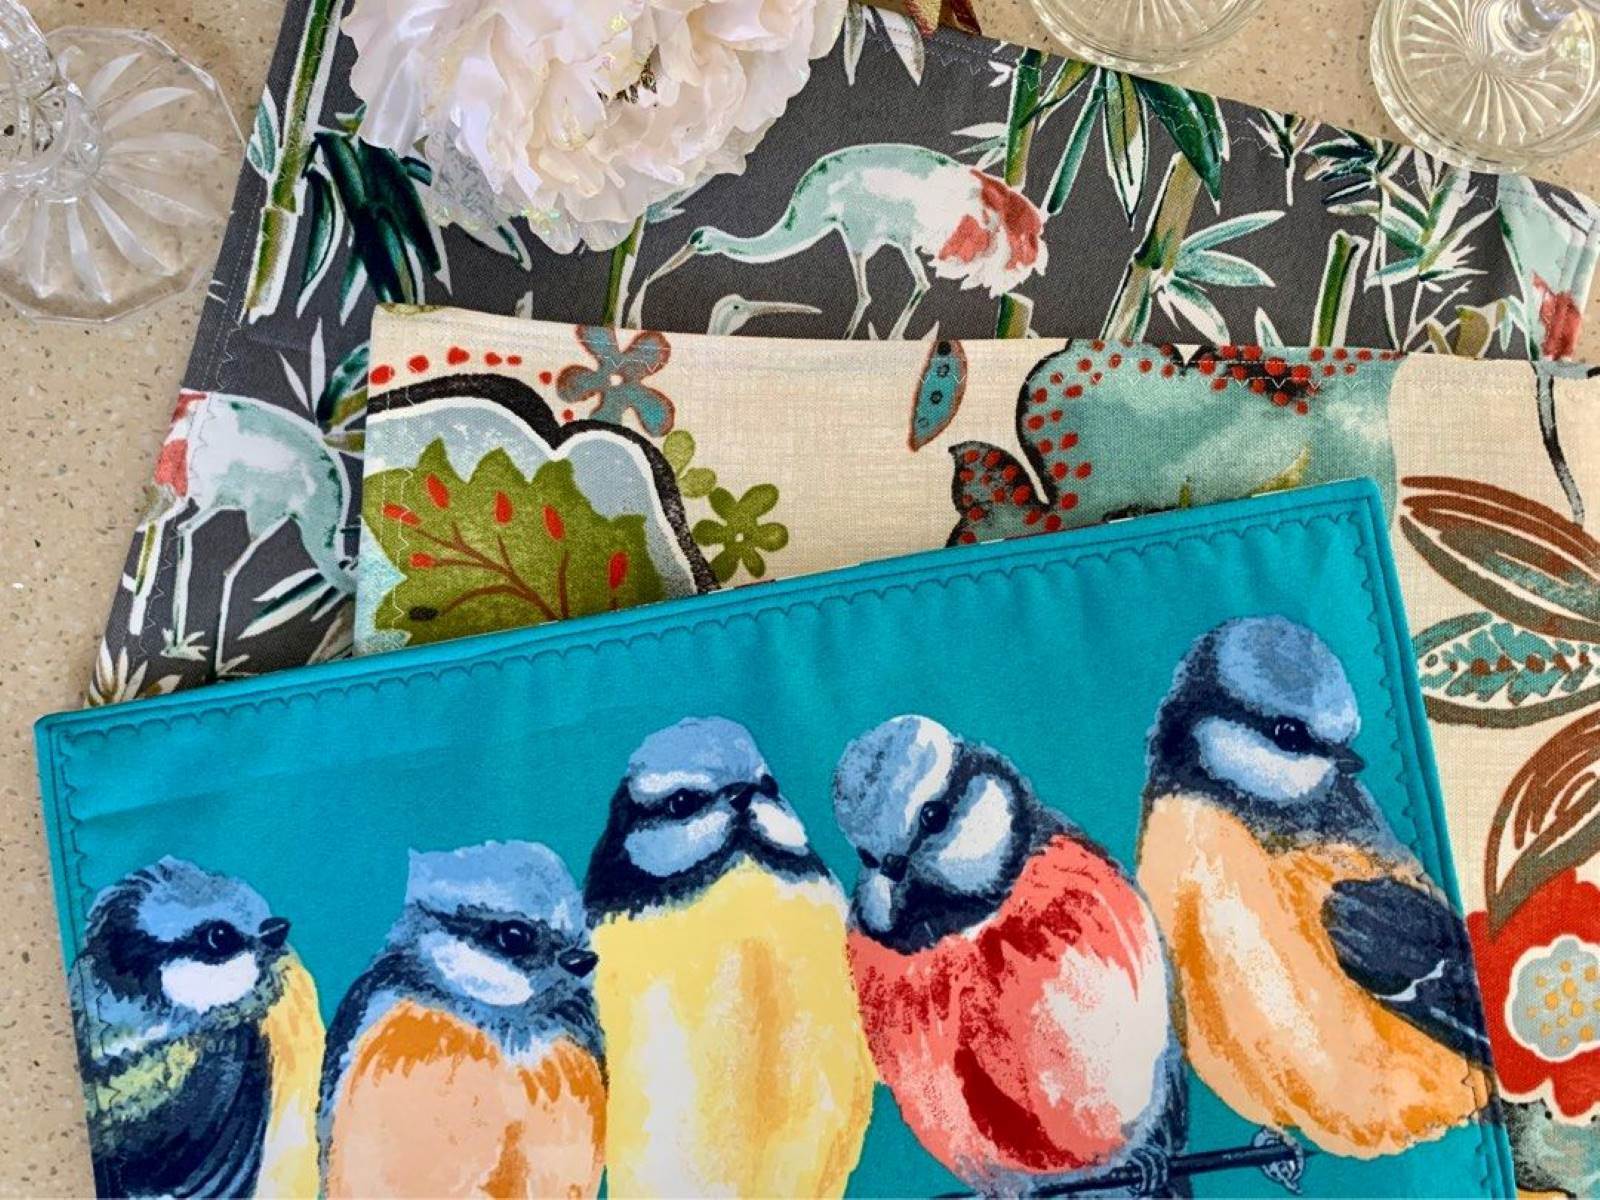
Step 1: Choosing Fabrics
The first step in quilting your placemats is to select the fabrics for the front and back. This is where you can let your creativity shine and choose fabrics that reflect your personal style and the ambiance of your dining area.
Consider the following tips when choosing fabrics:
- Color coordination: Select fabrics that complement each other and blend well with your existing kitchen or dining room decor. You can choose a monochromatic color scheme or opt for contrasting colors for a bolder look.
- Pattern and design: Decide whether you want your placemats to have a specific theme or pattern. You can choose fabrics with floral prints, geometric designs, or even novelty prints to add a touch of whimsy.
- Texture and feel: Consider the texture of the fabrics you choose. Quilting cotton is a popular choice for placemats due to its durability, but you can also experiment with other fabrics like linen or blends for a different look and texture.
Once you have an idea of the colors, patterns, and textures you want to incorporate, head to your local fabric store or browse online to find the perfect fabrics.
Remember to purchase enough fabric to accommodate the size of your placemats. Measure the desired length and width of each placemat, adding a little extra for seam allowances and any desired shrinkage during the quilting process.
Once you have your fabrics, wash and press them before cutting to remove any sizing and ensure they are clean and wrinkle-free. Pre-washing also helps prevent any unwanted shrinking or bleeding of colors later on.
Now that you have your fabrics selected and prepared, it’s time to move on to the next step: cutting the fabric!
Step 2: Cutting the Fabric
With your chosen fabrics ready, it’s time to cut them into the desired size for your placemats. Precise cutting is crucial to ensure that your placemats have clean edges and fit together seamlessly.
Follow these steps to cut your fabric:
- Prepare your cutting mat and rotary cutter: Lay your fabric on the cutting mat and ensure that it is smooth and free from wrinkles or folds. Position your quilting ruler on top of the fabric, and hold it firmly in place.
- Measure and mark: Use the measurements you have determined for your placemats and mark the fabric accordingly with a fabric marker or chalk. Make sure to leave a small seam allowance around the edges.
- Cutting straight lines: Carefully guide your rotary cutter along the ruler to cut straight lines. Apply gentle pressure and keep your fingers away from the blade to avoid any accidents.
- Cutting angles or curves: If your placemats have angles or curved edges, use a template or trace the shape onto the fabric before cutting. Take your time and make precise cuts to achieve the desired shape.
Repeat these steps for each piece of fabric that will make up your placemats, including the front and back layers. Double-check your measurements and make any necessary adjustments before proceeding.
When cutting multiple fabrics, it’s important to keep them organized and clearly labeled to avoid confusion during the sewing process. You can use small sticky notes or fabric marker to indicate which piece belongs to which part of the placemat.
Once all your fabrics are cut to the desired size, it’s time to move on to the next step: sewing the pieces together!
Step 3: Sewing the Pieces Together
With your fabric pieces cut and ready, it’s time to start sewing them together to create the front layer of your placemats. This step will bring your design to life and form the foundation of your quilting project.
Follow these steps to sew the pieces together:
- Lay out your fabric pieces: Arrange the cut fabric pieces according to your desired design. You can follow a specific pattern, create a random arrangement, or even create a custom design.
- Pin the pieces: Once you’re satisfied with the placement of the fabric pieces, pin them together at the edges. This will ensure that they stay in place while you sew.
- Start sewing: Set up your sewing machine with a coordinating thread, and use a 1/4 inch seam allowance. Begin sewing the pieces together, removing the pins as you go. Backstitch at the beginning and end of each seam to secure the stitches.
- Press the seams: After sewing, press the seams open or to one side, depending on your preference and the instructions of your chosen quilt design. Pressing the seams will help create a flat and professional-looking finish.
- Repeat for additional placemats: If you are making multiple placemats, repeat these steps for each one.
Once the front layers of your placemats are sewn together, take a moment to admire your progress! The fabric pieces have come together to form a cohesive design. Now, it’s time to add batting and quilting to give your placemats structure and texture.
Next, we’ll move on to Step 4: Adding Batting and Quilting.
When quilting placemats, use a walking foot to prevent shifting of the layers. This will ensure even stitching and a professional finish.
Read more: How To Set A Placemat
Step 4: Adding Batting and Quilting
Adding batting and quilting to your placemats will provide them with structure, thickness, and a quilted texture. This step is essential to achieve the desired functionality and aesthetic appeal of your finished placemats.
Follow these steps to add batting and quilting to your placemats:
- Measure and cut the batting: Measure the size of your placemats and cut a piece of batting slightly larger than that measurement. You can use scissors or a rotary cutter for this task.
- Layer the fabric and batting: Lay your placemat front layer on a flat surface, right side up. Place the cut piece of batting on top, aligning the edges with the fabric. Smooth out any wrinkles or creases.
- Pin or baste the layers together: To keep the fabric and batting in place during quilting, you have a few options. You can use safety pins to pin the layers together, placing them at regular intervals and avoiding the areas where you will be quilting. Alternatively, you can use basting stitches to temporarily hold the layers together. Use a long stitch length and remove the basting stitches later.
- Choose a quilting design: Decide on the quilting design you want to incorporate into your placemats. This can be simple straight lines, a grid pattern, or more intricate free-motion quilting designs. Mark the quilting lines or patterns using a fabric marker, stencil, or quilting ruler.
- Quilt the layers: Set up your sewing machine with a quilting needle and a thread color that complements your fabric. Follow your marked lines or patterns to quilt the layers together. Take your time and sew slowly to keep the lines straight and even. Backstitch at the beginning and end of each quilting line to secure the stitches.
- Repeat for additional placemats: If you are making multiple placemats, repeat these steps for each one.
Once you have finished quilting the layers together, take a moment to appreciate the texture and dimension you have added to your placemats. The quilting stitches not only secure the layers but also enhance the overall visual appeal.
Now that the quilting is complete, it’s time to move on to Step 5: Creating the Backing.
Step 5: Creating the Backing
Creating the backing for your quilted placemats is an important step that will provide a clean, finished look to the reverse side and complete the overall design of your project. The backing fabric should complement the front design and coordinate with the theme or color scheme you have chosen.
Here’s how you can create the backing for your placemats:
- Measure and cut the backing fabric: Measure the size of your placemat front layer and add a seam allowance of at least 1 inch on all sides. Cut the backing fabric to this measurement.
- Prepare the backing fabric: If your backing fabric is prone to fraying, consider finishing the edges with a serger or a zigzag stitch to prevent unraveling during washing.
- Layer the fabrics: Lay the placemat front layer on a flat surface, right side up. Place the cut backing fabric on top, right side down. Align the edges of the two fabrics and smooth out any wrinkles or creases.
- Pin or clip the layers together: Pin or use fabric clips to hold the front and backing layers securely in place. Avoid the areas where you will be sewing the binding to ensure ease of attaching it later.
- Optional: Label or mark the placemat: If you have multiple placemats or want to keep track of the top and bottom sides, you can add a label or mark with a fabric marker or a small piece of contrasting fabric.
- Sew the layers together: Set up your sewing machine with a 1/4 inch seam allowance and a matching thread color. Sew along the edges of the placemat, leaving a small opening for turning the placemat right side out.
- Trim the excess fabric: Trim the excess fabric and corners, making sure not to cut into the seam allowance. This will reduce bulk and create crisp corners when you turn the placemat right side out.
- Turn the placemat right side out: Gently push the fabric through the opening to turn the placemat right side out. Use a turning tool or a blunt object to push out the corners for a clean and defined shape.
- Press the placemat: Press the placemat with a hot iron, ensuring that the edges lay flat and the corners are crisp. Make sure to press the opening closed so that it is ready for the final step of binding.
With the backing successfully added, your placemats are taking shape! The front and back layers are securely stitched together, and your placemats are now reversible. In the next step, we will focus on binding the edges to give your placemats a polished and professional finish.
Let’s move on to Step 6: Binding the Edges.
Step 6: Binding the Edges
Binding the edges of your quilted placemats is the final step that will give them a polished and finished look. The binding not only provides a decorative accent but also serves to protect the raw edges and give the placemats durability.
Follow these steps to bind the edges of your placemats:
- Prepare the binding fabric: Measure and cut strips of fabric for the binding. The width of the strips will depend on your preference, but a common size is 2.5 inches. Join the strips together by sewing them diagonally, right sides together, to create a continuous binding strip.
- Prepare the placemat: Lay your quilted placemat on a flat surface, front side down. Smooth out any wrinkles or creases.
- Attach the binding: Starting from one side of the placemat, align the raw edges of the binding strip with the raw edges of the placemat. Leave a few inches of the binding strip loose at the beginning.
- Sew the binding: Using a 1/4 inch seam allowance, sew along the edge of the placemat, securing the binding strip in place. Stop sewing a few inches before reaching the end of the side.
- Miter the corners: When you reach a corner, fold the binding strip up, creating a diagonal crease that aligns with the adjacent edge of the placemat. Fold the binding strip back down, aligning it with the next edge, and continue sewing. This will create a mitered corner. Repeat this process for all corners.
- Join the ends of the binding: When you approach the starting point, pause a few inches before reaching it. Trim the excess binding, leaving a few inches of overlap. Unfold the ends of the binding strips and place them right sides together. Sew diagonally across the overlapped ends, then trim the excess fabric.
- Finish sewing the binding: Complete sewing the binding to the placemat, closing the opening left for turning. Make sure to backstitch at the beginning and end to secure the stitches.
- Press the binding: Press the binding away from the placemat, ensuring that it lays flat and covers the raw edges. Take care to press the corners to maintain their shape.
- Optional: Stitch the binding in place: For a more secure binding, you can topstitch along the edge of the binding, using a coordinating thread color. This will help keep the binding in place and add a decorative touch.
Once the binding is sewn and pressed, take a moment to admire your beautifully finished placemats. The binding adds a professional touch and frames the quilted design.
In the final step, we will add some finishing touches to complete your one-of-a-kind placemats. Let’s move on to Step 7: Finishing Touches.
Step 7: Finishing Touches
With the binding in place, your quilted placemats are almost complete! In this final step, we will add some finishing touches to enhance the overall design and functionality of your placemats.
Follow these steps to add the finishing touches to your placemats:
- Trim loose threads: Carefully trim any loose threads from the placemat to ensure a clean and neat appearance.
- Optional: Add decorative elements: If desired, you can add decorative elements to your placemats. Consider adding buttons, ribbons, or embroidery to personalize each placemat or coordinate them with your kitchen or dining room decor.
- Press the placemats: Give your placemats a final press with a hot iron, ensuring that the edges are crisp and the overall appearance is smooth.
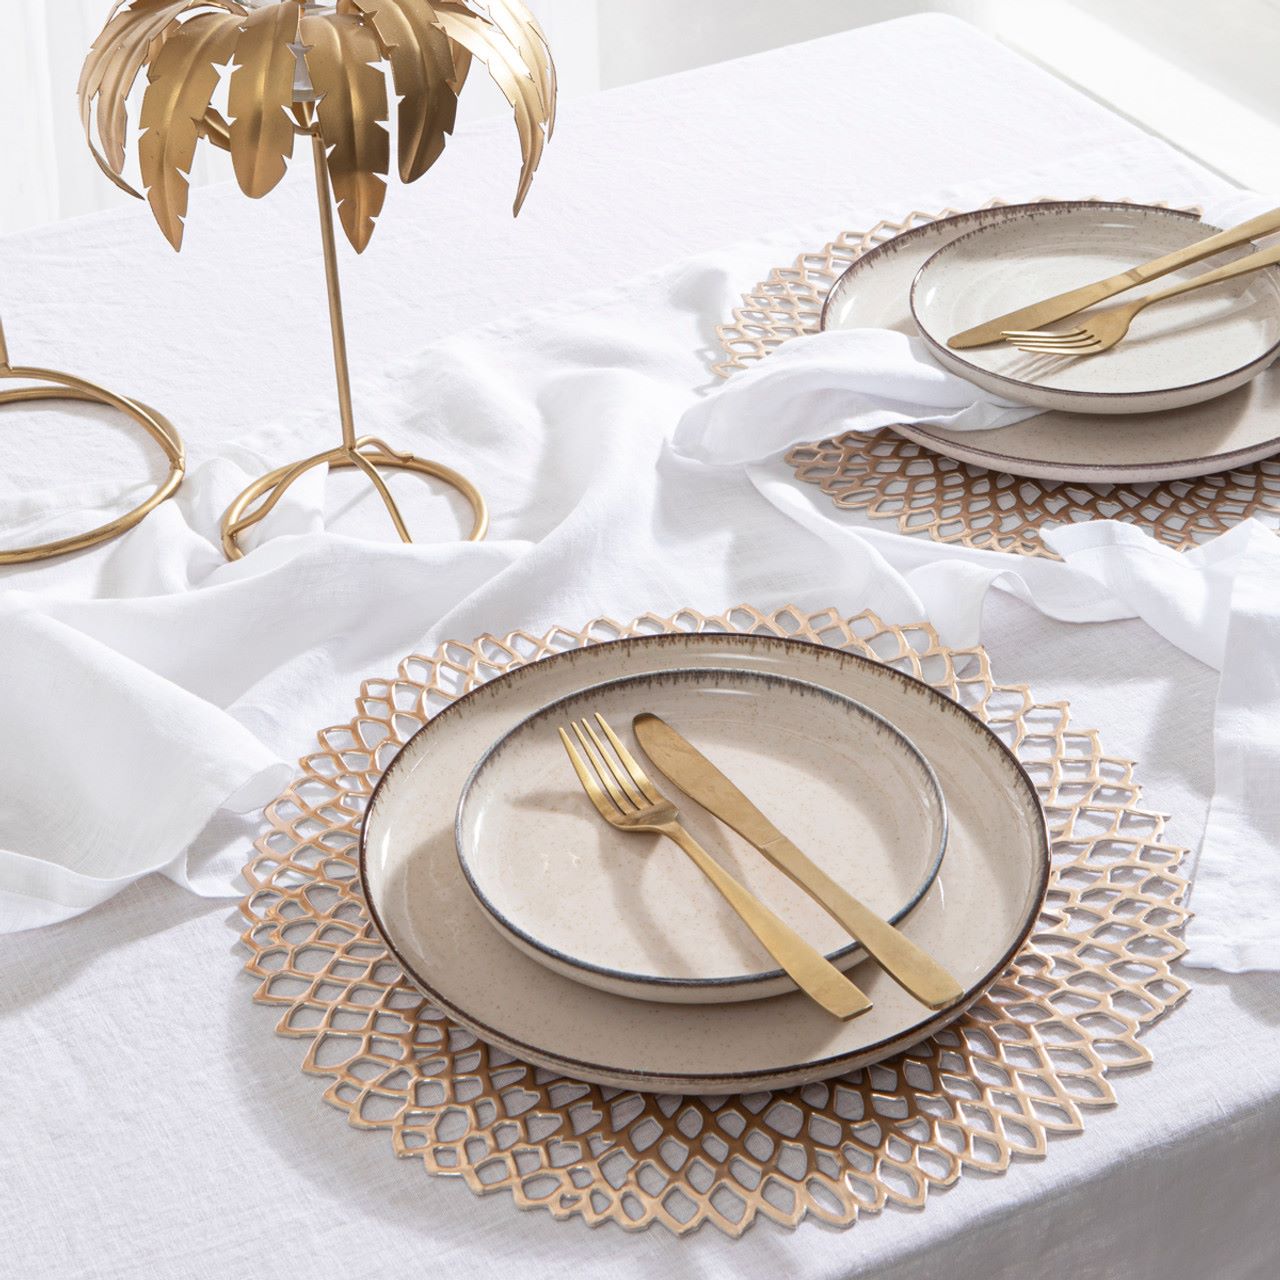
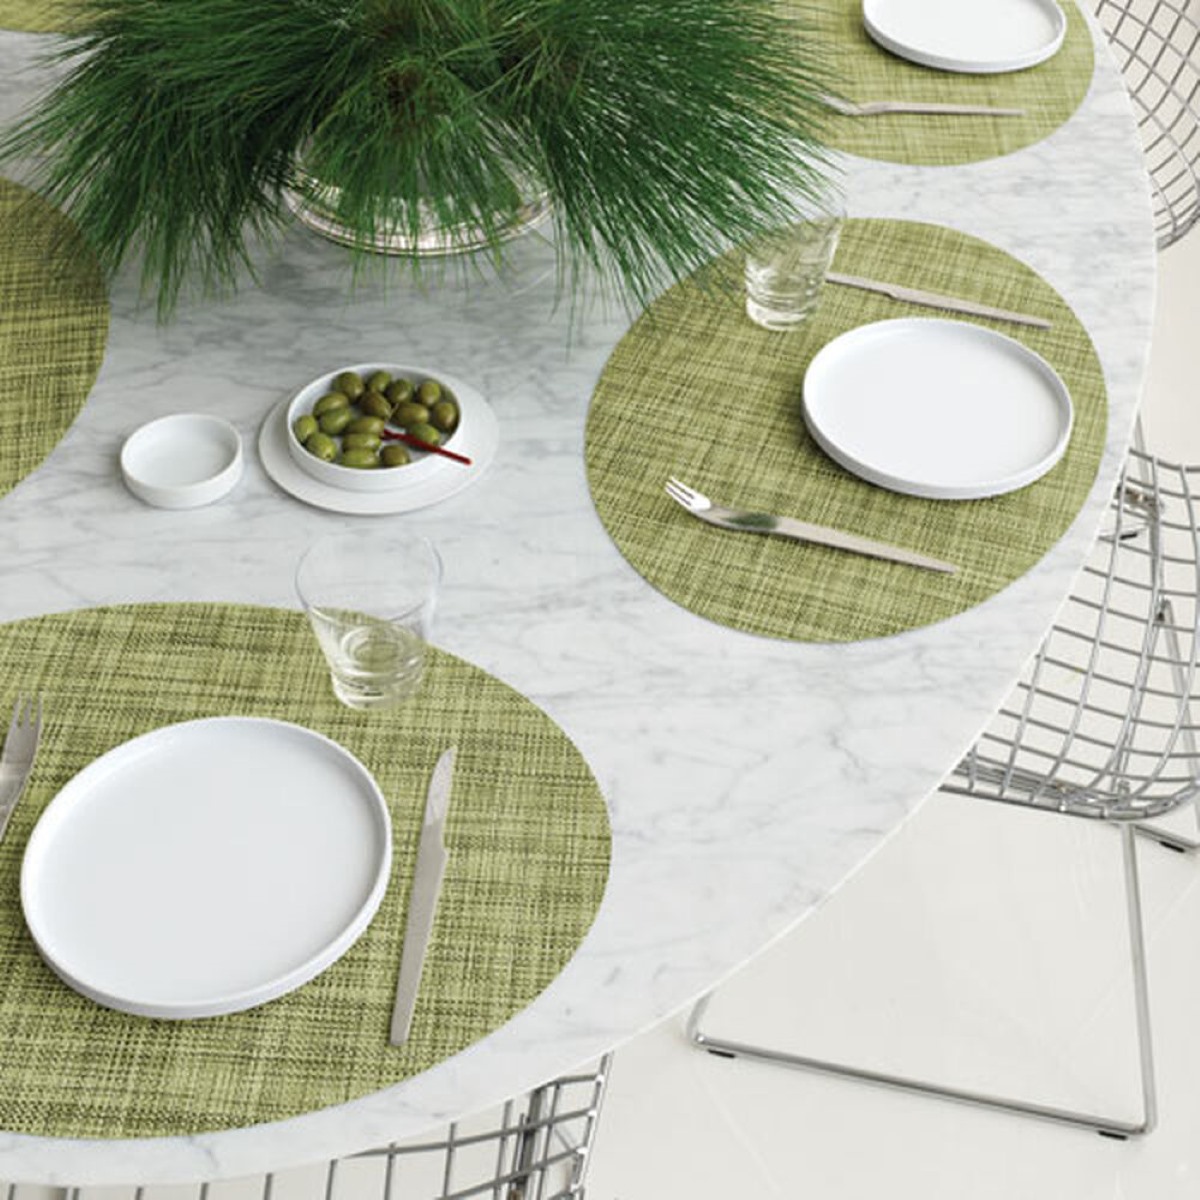
- Test your new placemats: Place your newly quilted placemats on your dining table and test them out! Admire how they add a stylish touch to your dining setting and protect your table from scratches and spills.
Congratulations! You have successfully completed all the steps to quilt your own placemats. With a creative combination of fabrics, precise cutting, skilled sewing, and thoughtful finishing touches, you have created functional and beautiful pieces for your home.
Now, it’s time to enjoy your newly quilted placemats and showcase your quilting skills to your family and guests. Whether it’s for everyday use or special occasions, your placemats will add charm and character to your dining experience.
Remember, quilting is a versatile craft, and you can apply the knowledge and skills you’ve gained from this project to create other quilted items like table runners, coasters, or even full-sized quilts. Let your creativity soar and continue exploring the world of quilting!
Thank you for joining us on this quilting journey. Happy quilting!
Read more: How To Store Placemats
Conclusion
Congratulations on completing your quilting journey to create beautiful and functional placemats! Through the steps of choosing fabrics, cutting, sewing, quilting, adding backing, binding, and finishing touches, you have transformed ordinary materials into personalized works of art.
Quilting placemats not only allows you to showcase your creativity but also adds a touch of charm and style to your dining table. The process of selecting fabrics that reflect your personal taste, carefully cutting and sewing the pieces together, and adding quilting stitches and binding creates a unique and individualized set of placemats.
By following these steps and investing time and effort into your quilting project, you have created functional pieces that protect your table, add a pop of color, and make mealtimes more enjoyable. Your customized placemats are sure to impress family and guests and become conversation starters at your dining table.
Remember, quilting is a journey of patience, creativity, and perseverance. Each project you undertake allows you to improve your skills and explore new techniques. Don’t be afraid to experiment with different fabric combinations, quilting designs, and finishing touches to create truly one-of-a-kind pieces.
As you continue your quilting adventures, consider expanding your repertoire to include other quilting projects like table runners, wall hangings, or even quilts. The possibilities are endless, and each project brings its own set of joys and challenges.
Thank you for joining us on this quilting journey. We hope that this comprehensive guide has provided you with the knowledge and inspiration to quilt your own placemats and ignite your passion for quilting.
Now, it’s time to enjoy your stunning placemats and the warmth they bring to your dining experience. So gather your loved ones, set the table with your newly quilted creations, and savor the moments shared around a beautiful and artfully crafted table setting.
Happy quilting and bon appétit!
Frequently Asked Questions about How To Quilt Placemats
Was this page helpful?
At Storables.com, we guarantee accurate and reliable information. Our content, validated by Expert Board Contributors, is crafted following stringent Editorial Policies. We're committed to providing you with well-researched, expert-backed insights for all your informational needs.

0 thoughts on “How To Quilt Placemats”