Articles
How To Put Bias Tape On A Quilt
Modified: January 5, 2024
Learn how to put bias tape on a quilt with our step-by-step articles. Discover tips and techniques for a polished finish.
(Many of the links in this article redirect to a specific reviewed product. Your purchase of these products through affiliate links helps to generate commission for Storables.com, at no extra cost. Learn more)
Introduction
Welcome to the world of quilting! Quilting is a beautiful and intricate craft that allows you to create stunning pieces of art and functional pieces. If you’re new to quilting, you might come across the term “bias tape” quite often. Bias tape is a versatile material that is commonly used to finish the edges of quilts, making them look polished and professional.
In this article, we will guide you through the process of putting bias tape on a quilt, step by step. Whether you’re a beginner or have some quilting experience, we will provide you with clear instructions and tips to create a quilt that will impress everyone who sees it.
Before we dive into the details, let’s make sure you have everything you need to get started.
Key Takeaways:
- Master the art of applying bias tape to your quilt with precision and confidence, creating beautifully finished edges and mitered corners that elevate the overall look of your creation.
- Embrace the journey of quilting, from selecting the fabric to applying the bias tape, and enjoy the process of creating a labor of love that will be treasured for years to come.
Read more: How To Make Continuous Bias Quilt Binding
Materials Needed
Before you begin applying bias tape to your quilt, there are a few essential materials you will need. Make sure you have the following items ready:
- Fabric: Choose a fabric that complements your quilt design. You can use the same fabric as your quilt top or select a contrasting color to create a decorative edge.
- Bias Tape: You can purchase pre-made bias tape from a fabric store or make your own using bias tape makers and the fabric of your choice.
- Pins or Clips: These will help hold the bias tape in place while you sew.
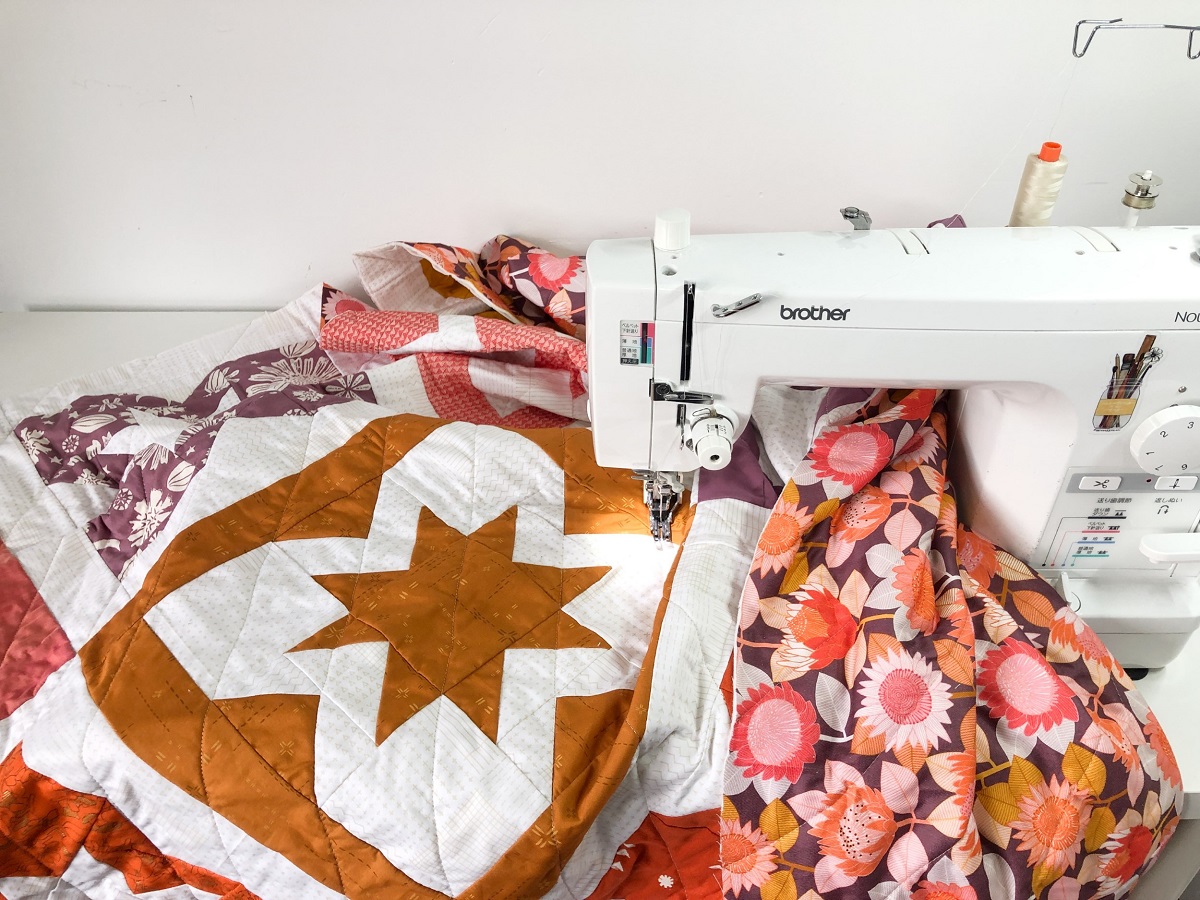
- Sewing Machine: A sewing machine makes the process much faster and more efficient, but you can also sew bias tape by hand if you prefer.
- Thread: Select a thread color that matches your bias tape or blends well with your quilt fabric.
- Scissors: You’ll need a sharp pair of scissors to cut your bias tape to the desired length.
- Iron: An iron is essential for pressing your fabric and bias tape, ensuring smooth, crisp edges.
- Quilt: Of course, you’ll need a quilt to apply the bias tape to! Make sure your quilt top is complete before starting this process.
Now that you have all the necessary materials, let’s move on to preparing the bias tape.
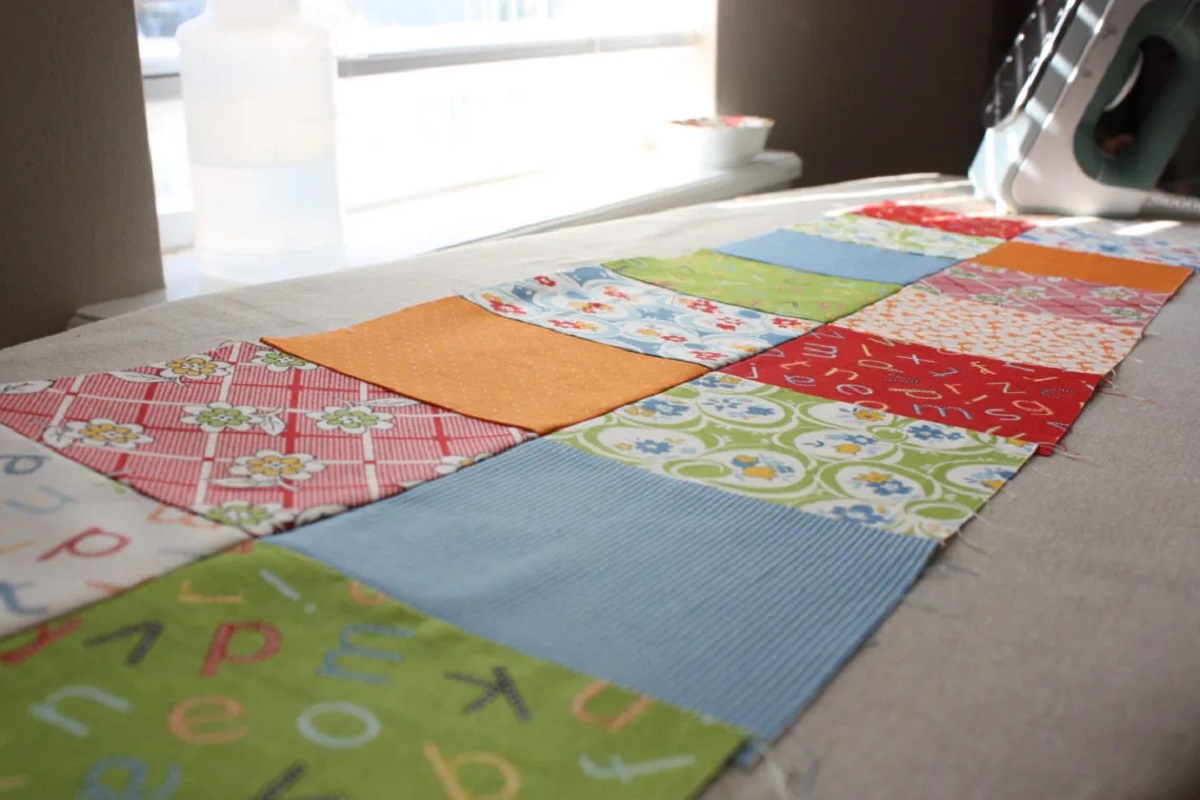
Preparing the Bias Tape
Before you can start applying the bias tape to your quilt, you’ll need to prepare it. If you purchased pre-made bias tape, you can skip this step. However, if you’re making your own bias tape, follow these steps:
- Choose your fabric: Select a fabric that is suitable for bias tape. Cotton fabrics work well, as they are easy to work with and can withstand frequent washing.
- Cut your fabric: Determine the width of your bias tape. Typically, bias tape is cut between 1 inch and 2 inches wide. Once you’ve decided on the width, cut strips of fabric on the bias (diagonally across the grain) to the desired width. Join the strips together to create one long strip of bias tape.
- Press the bias tape: Set up your ironing board and iron. Fold the bias tape in half lengthwise, wrong sides together, and press it with your iron. This will create a crease and help the bias tape fold neatly around the edges of your quilt.
- Roll or fold the bias tape: Once your bias tape is pressed, you can choose to either roll it into a neat coil or fold it into a smaller bundle. Either way, make sure it is easily accessible while you work on your quilt.
With your bias tape prepared and ready to go, you’re now ready to start applying it to your quilt!
Applying Bias Tape to Straight Edges
Now that you have your prepared bias tape, it’s time to start applying it to the straight edges of your quilt. Follow these steps:
- Starting point: Choose a starting point on one of the straight edges of your quilt. Leave a small tail of bias tape hanging off the edge for later trimming.
- Align the tape: Place the raw edge of the bias tape along the raw edge of your quilt, with the folded edge facing towards the quilt. Make sure the tape extends beyond the quilt edge by about 1/4 inch.
- Pinning or clipping: Use pins or clips to secure the bias tape in place along the edge of the quilt. Place them at regular intervals to keep the tape from shifting as you sew.
- Sewing: Using a straight stitch, sew along the edge of the bias tape, stitching close to the folded edge. Remove the pins or clips as you sew, being careful not to sew over them.
- Turning the corner: When you reach a corner, stop sewing a few stitches before you reach the edge. Lift the needle and presser foot, and pivot the quilt and bias tape 90 degrees to continue stitching along the next edge. Make sure to fold the bias tape neatly around the corner for a crisp finish.
- Finishing the edge: Continue sewing along all the straight edges of your quilt, stopping a few inches before you reach the starting point. Trim the bias tape, leaving a tail to overlap the starting point.
- Overlapping the ends: Open up the bias tape ends and trim them at a 45-degree angle. Fold one end back over the other, creating a clean and neat overlap. Pin or clip it in place.
- Final stitching: Sew across the overlapped ends to secure them together. Trim any excess tape.
By following these steps, you can successfully apply bias tape to the straight edges of your quilt. However, keep in mind that applying bias tape to corners requires a slightly different technique. Let’s explore mitering corners with bias tape.
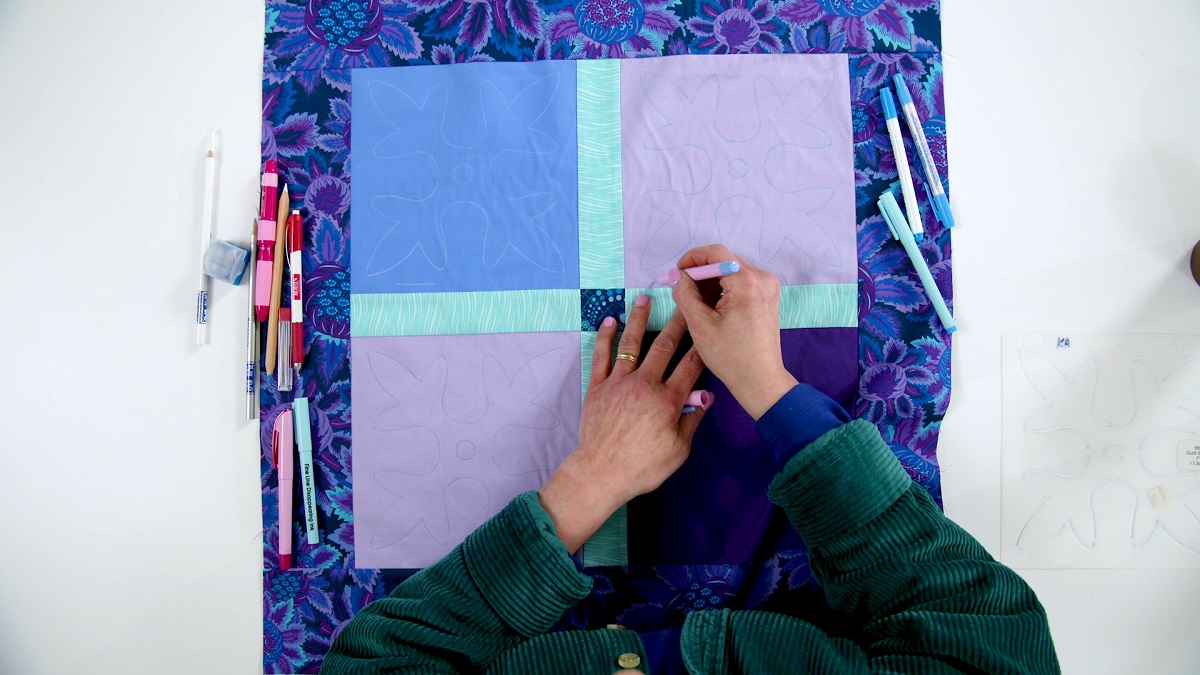
Mitering Corners with Bias Tape
Mitering corners with bias tape adds a professional and clean finish to your quilt. Follow these steps to achieve perfectly mitered corners:
- Sew bias tape to the first side: Start by applying bias tape along the first side of your quilt using the same method described earlier for straight edges.
- Prepare for the corner: As you approach the corner, stop sewing a few stitches before reaching the edge. Lift the needle and presser foot, and pivot the quilt. Fold the bias tape upwards, away from the quilt top, forming a 45-degree angle with the next side.
- Create a mitered fold: Fold the bias tape back down, aligning it with the next side of the quilt. The folded edge of the bias tape should create a diagonal line that matches the angle of the corner.
- Secure and pin: Pin or clip the mitered fold in place. Make sure the bias tape lays flat against the quilt top and that the fold is sharp and crisp.
- Continue sewing: Lower the presser foot and continue sewing along the next side of the quilt, starting from the folded edge of the bias tape. Stitch close to the folded edge, removing pins or clips as you go.
- Repeat for remaining corners: Repeat steps 2-5 for each corner of your quilt, ensuring that the mitered folds are evenly spaced and neat.
Mitering corners with bias tape requires a bit of practice and precision, but the result is well worth the effort. Once you’ve mitered all the corners, it’s time to move on to finishing and securing the bias tape.
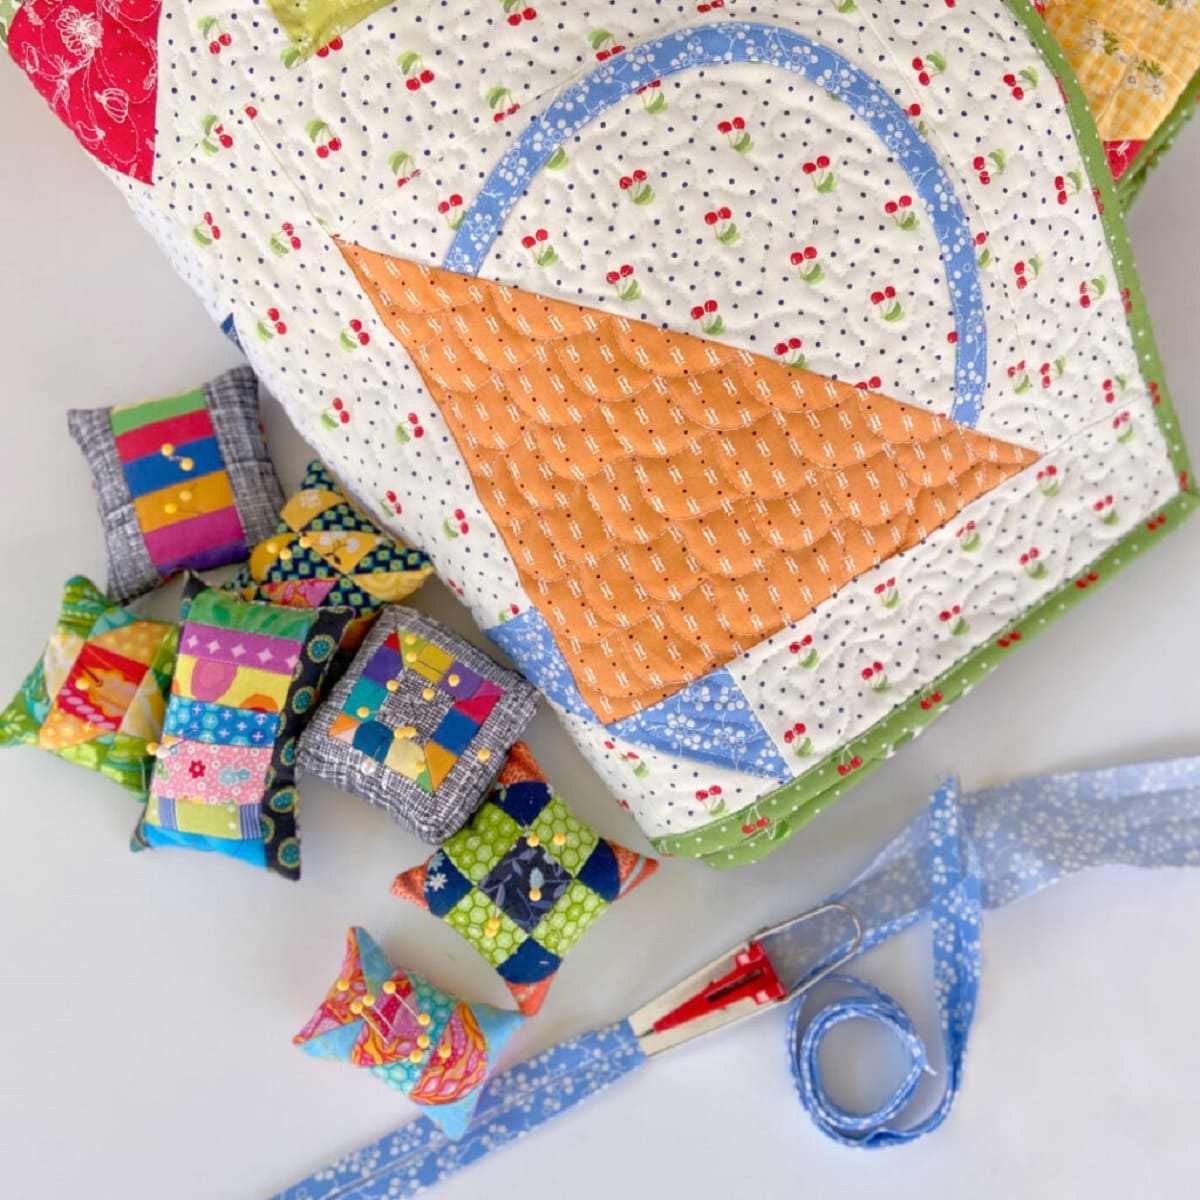
When applying bias tape to a quilt, use wonder clips to hold the tape in place before sewing. This will help ensure that the tape stays in position and creates a clean, professional finish.
Read more: How To Put Quilt On Bed
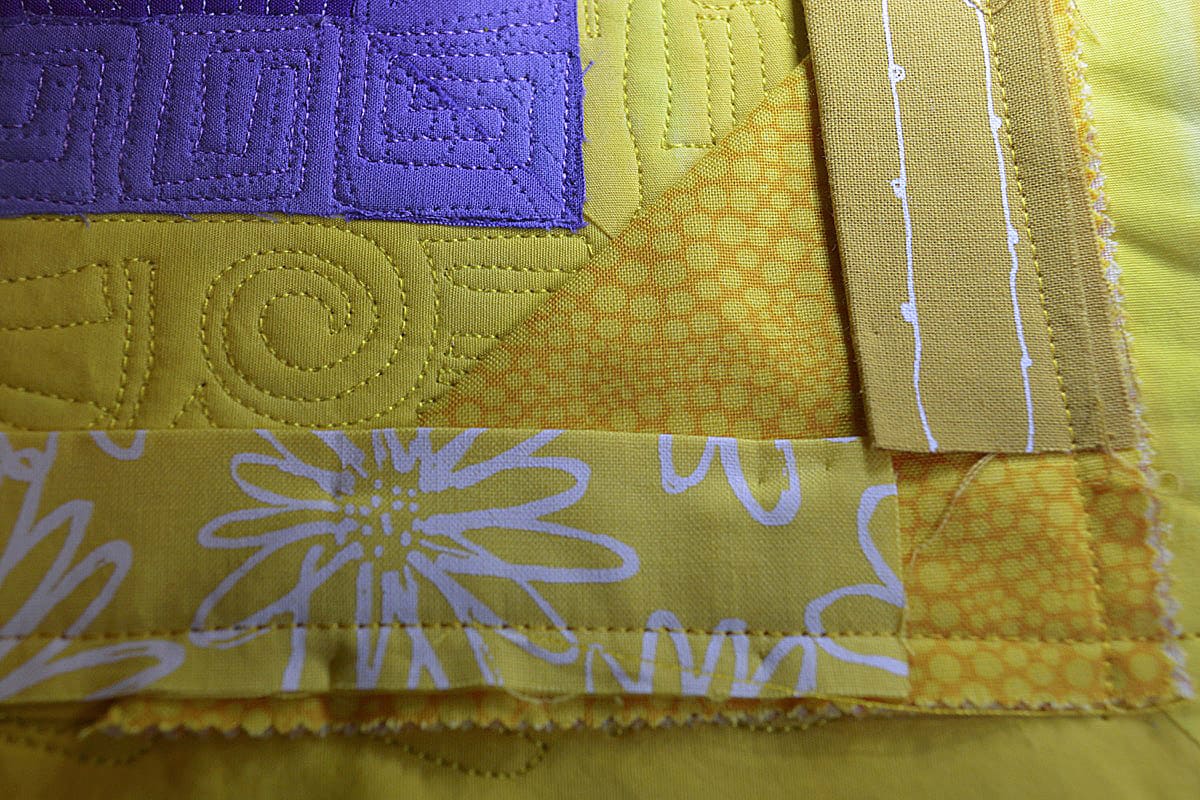
Finishing and Securing the Bias Tape
Now that you have successfully applied bias tape to the straight edges and mitered the corners of your quilt, it’s time to finish the process and ensure that the bias tape is securely in place. Follow these steps:
- Trim excess bias tape: Starting at one end of your quilt, trim any excess bias tape, leaving about an inch or two of overhang.
- Fold and secure the end: Fold the overhang of bias tape toward the back of the quilt, creating a neat and clean edge. Pin or clip it in place.
- Overlap the bias tape: If you have reached the starting point, overlap the bias tape ends by a few inches. Trim the top layer of bias tape at a 45-degree angle and tuck it underneath the bottom layer.
- Secure the overlap: Sew across the overlapped bias tape ends to secure them together. Trim any excess tape.
- Complete the stitching: Starting where you left off, continue sewing along the backside of the bias tape, securing it to the quilt. Stitch close to the folded edge to ensure a secure and tidy finish.
- Backstitch and trim threads: When you reach the end, backstitch a few stitches to secure the thread. Trim any loose threads.
Once you have completed these steps, your quilt will have beautifully finished edges, thanks to the bias tape. Take a moment to admire your work!
Tips and Tricks
Here are a few additional tips and tricks to help you during the bias tape application process:
- Press the bias tape before sewing to ensure that it lies flat and has a crisp fold.
- Experiment with different widths and colors of bias tape to add a unique touch to your quilt.
- If you’re using a contrasting color for the bias tape, consider using a thread that matches the bias tape color to create an invisible stitch on the front of the quilt.
- Take your time and sew slowly, especially around corners and mitered folds, to achieve precise and clean edges.
With these tips in mind, you’re now ready to apply bias tape to your quilt like a pro!
Tips and Tricks
When it comes to putting bias tape on a quilt, here are some helpful tips and tricks to ensure a successful and professional finish:
- Measure and plan: Before cutting your bias tape, measure the length of the edges you need to cover. Add a few extra inches to account for mitering corners and overlapping the ends.
- Pre-wash your fabric: If you’re making your own bias tape, pre-wash your fabric to prevent shrinking after applying it to your quilt.
- Use a bias tape maker: Bias tape makers are handy tools that help you fold and press the fabric into bias tape with precise measurements. They save time and ensure consistent results.
- Iron as you go: Pressing the bias tape as you sew will result in a clean and professional finish. Take the time to press the tape flat and smooth out any wrinkles or creases.
- Practice on scrap fabric: If you’re new to using bias tape, practice on a scrap piece of fabric first to get comfortable with the technique and perfect your stitching.
- Pin or clip securely: Use plenty of pins or clips to hold the bias tape in place while sewing. This will prevent it from shifting and ensure an even and tidy application.
- Take breaks: Quilting can be a lengthy process, so take breaks to rest your hands and eyes. It’s important to maintain focus and accuracy while working with bias tape.
- Experiment with decorative bias tape: Bias tape comes in a variety of colors, patterns, and even lace or ruffled options. Get creative and explore different types of bias tape to add a unique touch to your quilt.
- Enjoy the process: Quilting is a labor of love, so remember to enjoy the journey. Celebrate each step, from selecting the fabric to applying the bias tape, and savor the satisfaction of completing a beautiful quilt.
By following these tips and tricks, you’ll be well-equipped to put bias tape on your quilt with confidence and precision. Happy quilting!
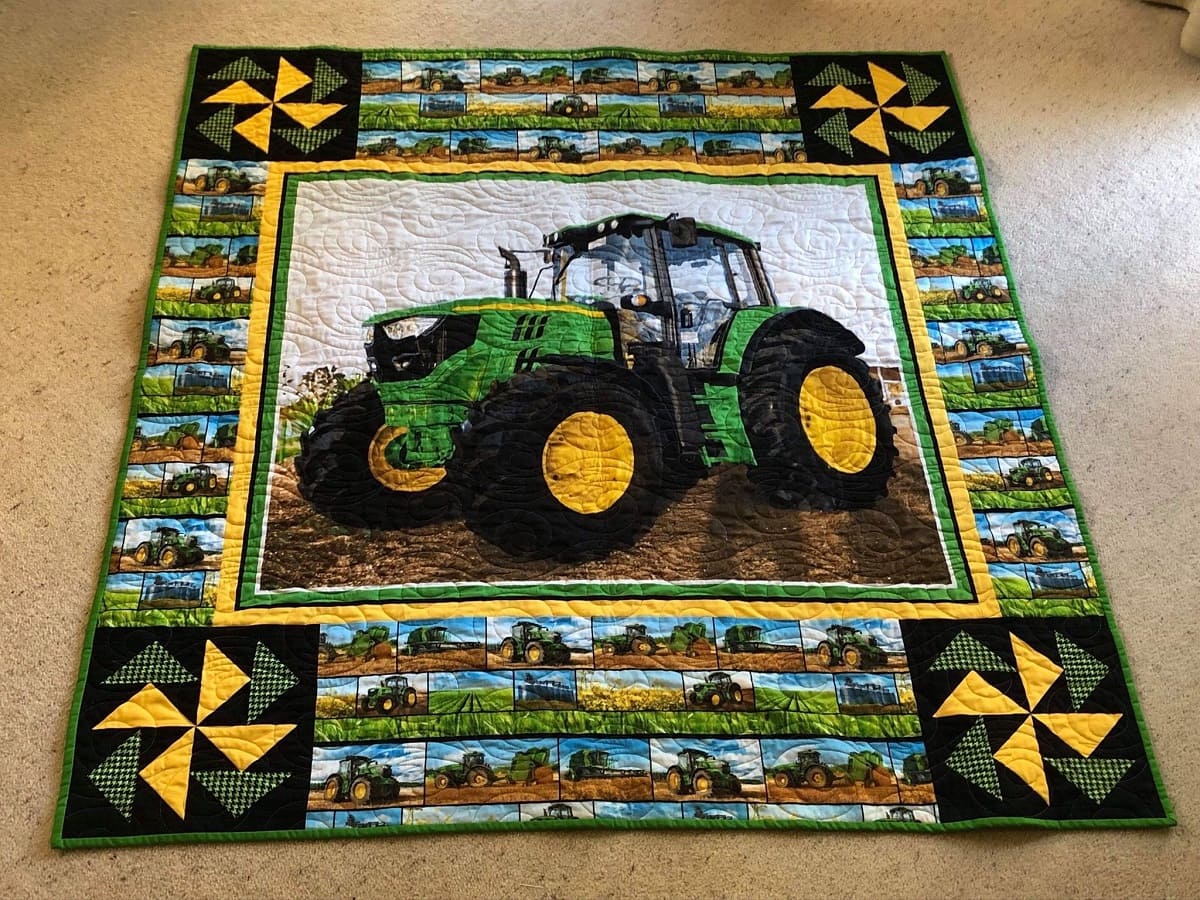
Conclusion
Congratulations! You have now learned how to put bias tape on a quilt. By following the steps outlined in this article, you can achieve professionally finished edges and mitered corners that will elevate the overall look of your quilt.
Remember, bias tape is a versatile and practical tool for adding a polished touch to quilts and other sewing projects. Whether you’re creating a quilt for yourself or as a special gift, applying bias tape can help you achieve a professional finish.
Throughout the process, make sure to have all the necessary materials and take your time to ensure accurate and clean stitching. Practice on scrap fabric before applying bias tape to your actual quilt, and don’t be afraid to experiment with different colors and styles of bias tape to add your personal touch.
Quilting is not just a craft; it’s a labor of love. Take pleasure in the journey, savoring each step as you bring your quilt to life. Enjoy the process, and let your creativity shine through as you put bias tape on your quilt.
Now, armed with the knowledge and skills to apply bias tape, go forth and create beautiful quilts that will be treasured for years to come. Happy quilting!
Frequently Asked Questions about How To Put Bias Tape On A Quilt
Was this page helpful?
At Storables.com, we guarantee accurate and reliable information. Our content, validated by Expert Board Contributors, is crafted following stringent Editorial Policies. We're committed to providing you with well-researched, expert-backed insights for all your informational needs.


0 thoughts on “How To Put Bias Tape On A Quilt”