Home>Interior Design>How To Remove Texture From A Ceiling

Interior Design
How To Remove Texture From A Ceiling
Modified: April 22, 2024
Learn how to remove texture from a ceiling with our expert interior design tips. Say goodbye to outdated textures and create a smooth, modern look for your space.
(Many of the links in this article redirect to a specific reviewed product. Your purchase of these products through affiliate links helps to generate commission for Storables.com, at no extra cost. Learn more)
Overview
Removing texture from a ceiling can be a daunting task, but with the right techniques and materials, it is entirely possible to achieve a smooth and polished surface. Whether you want to modernize your home, repair damage, or simply change the look of your ceiling, removing texture is a crucial step in the process.
There are several methods you can use to remove texture from a ceiling, each with its own advantages and considerations. In this article, we will explore four popular techniques: scraping, skimming, covering, and sanding. By understanding the pros and cons of each method, you can choose the one that best suits your needs.
Before diving into the specific techniques, it’s important to gather the necessary materials. You will need a ladder or scaffolding, protective gear such as goggles and a dust mask, a scraper, joint compound, a trowel or putty knife, sandpaper or a sanding block, and primer and paint for finishing.
Once you have gathered your materials, it’s time to prepare the room. Remove furniture and cover the floor and any remaining items with plastic sheets or drop cloths to protect against dust and debris. Turn off the power to any ceiling lights or fans to ensure safety during the removal process.
Now that you’re ready to tackle the texture removal, let’s explore the different methods available.
Key Takeaways:
- Transform your space by removing ceiling texture using scraping, skimming, covering, or sanding methods. Proper preparation, safety gear, and cleanup are essential for a successful and rewarding project.
- Choose the best method to remove texture from your ceiling based on your preferences and needs. Whether it’s scraping, skimming, covering, or sanding, each approach offers its own benefits and considerations.
Read more: How To Remove A Textured Ceiling
Materials Needed
Before getting started with removing texture from a ceiling, it’s important to gather the necessary materials. Having the right tools and supplies on hand will make the process smoother and more efficient. Here are the materials you will need:
- Ladder or scaffolding: Depending on the height of your ceiling, you will need a stable ladder or scaffolding to safely reach and work on the textured surface.
- Protective gear: Ensure your safety by wearing goggles to protect your eyes from debris and a dust mask to prevent inhalation of dust particles.
- Scraper: A wide, flat scraper with a long handle will be essential for scraping off the texture from the ceiling.
- Joint compound: This is a crucial material for repairing any imperfections or damage on the ceiling surface after the texture has been removed.
- Trowel or putty knife: You will need a trowel or putty knife to apply the joint compound and smooth it onto the ceiling.
- Sandpaper or sanding block: After applying joint compound, sandpaper or a sanding block will be necessary to smooth the surface and create a seamless finish.
- Primer and paint: Once the texture has been removed and the ceiling is smooth, you will need primer and paint to finish the surface and achieve the desired look.
- Plastic sheets or drop cloths: To protect the floor and any remaining items in the room from dust and debris, cover them with plastic sheets or drop cloths.
Gathering these materials before starting the texture removal process will ensure that you have everything you need at your fingertips, saving time and allowing for a more efficient workflow. It’s always better to be prepared and equipped with the right tools for the job.
Preparation
Before you begin the process of removing texture from your ceiling, proper preparation is key to ensuring a successful and smooth outcome. Taking the time to prepare the room and protect surrounding surfaces will make the job easier and minimize any potential damage. Here are the steps to follow for proper preparation:
- Clear the room: Remove any furniture, decorations, or other items from the room. This will create a clear and open space to work in and prevent any potential damage or hindrances.
- Cover the floor: Place plastic sheets or drop cloths on the floor to protect it from dust, debris, and any accidental spills. Secure the coverings with tape to ensure they stay in place throughout the process.
- Protect fixtures and walls: Use painter’s tape to cover light fixtures, electrical outlets, and switches. This will prevent damage to these items and ensure they stay clean and functional.
- Turn off power: As an added safety precaution, turn off the power to the room where you’ll be working. This will prevent any electrical accidents while removing the texture from the ceiling.
- Wear protective gear: Put on safety goggles to shield your eyes from debris and dust, and wear a dust mask to protect your respiratory system from harmful particles.
- Set up a ladder or scaffolding: Depending on the height of your ceiling, you’ll need a stable ladder or scaffolding to safely access and work on the textured surface. Ensure it’s set up securely before starting.
By following these preparation steps, you’ll create a safe and organized environment for the texture removal process. This will help protect your surroundings, minimize potential accidents or damage, and allow you to focus on achieving the desired result. Once the room is properly prepared, you can proceed with one of the methods available for removing texture from your ceiling.
Method 1: Scraping
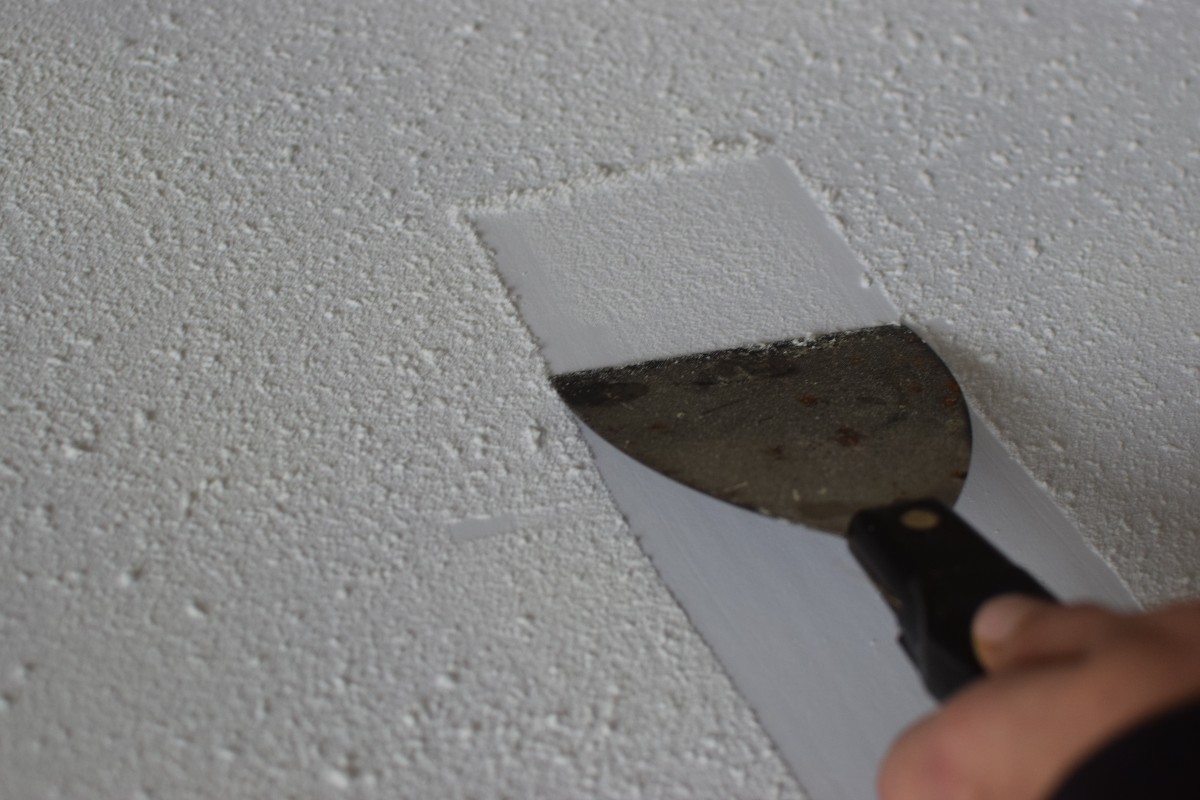
Scraping is one of the most common methods used to remove texture from a ceiling. It involves physically scraping off the textured material using a wide, flat scraper. Here’s a step-by-step guide on how to remove texture from your ceiling using the scraping method:
- Protective measures: Before you start scraping, put on safety goggles and a dust mask to protect yourself from debris and dust particles.
- Test a small area: Select a small inconspicuous area of the ceiling and use the scraper to gently scrape off the texture. This will help you determine the best technique to use and gauge the effort required.
- Scrape the ceiling: Begin scraping the texture from the ceiling using even, controlled strokes with the scraper. Start at one corner or edge and work your way across the surface. Apply moderate pressure to remove the texture, being careful not to damage the underlying surface.
- Remove loose debris: As you scrape, periodically collect the scraped texture into a dustpan or a garbage bag to prevent it from falling onto the floor.
- Repair imperfections: Once all the texture has been scraped off, inspect the ceiling for any imperfections or damage. Fill any cracks, holes, or uneven areas with joint compound using a trowel or putty knife. Allow the compound to dry according to the manufacturer’s instructions.
- Smooth the surface: After the joint compound has dried, sand the repaired areas using fine-grit sandpaper or a sanding block. This will create a smooth and even surface.
- Clean up: Finally, clean up the room by sweeping or vacuuming any remaining dust or debris. Dispose of the collected texture and debris properly.
Keep in mind that scraping can be a labor-intensive process, especially if the texture is thick or stubborn. Be patient and take breaks as needed to avoid strain. If you encounter any difficulty or if the texture proves challenging to remove, consider consulting a professional for assistance.
Scraping is an effective method for removing texture from a ceiling, providing a smooth canvas for your desired finish. However, if scraping doesn’t yield the desired results or if you’re looking for an alternative approach, you may consider exploring other methods such as skimming, covering, or sanding.
Method 2: Skimming
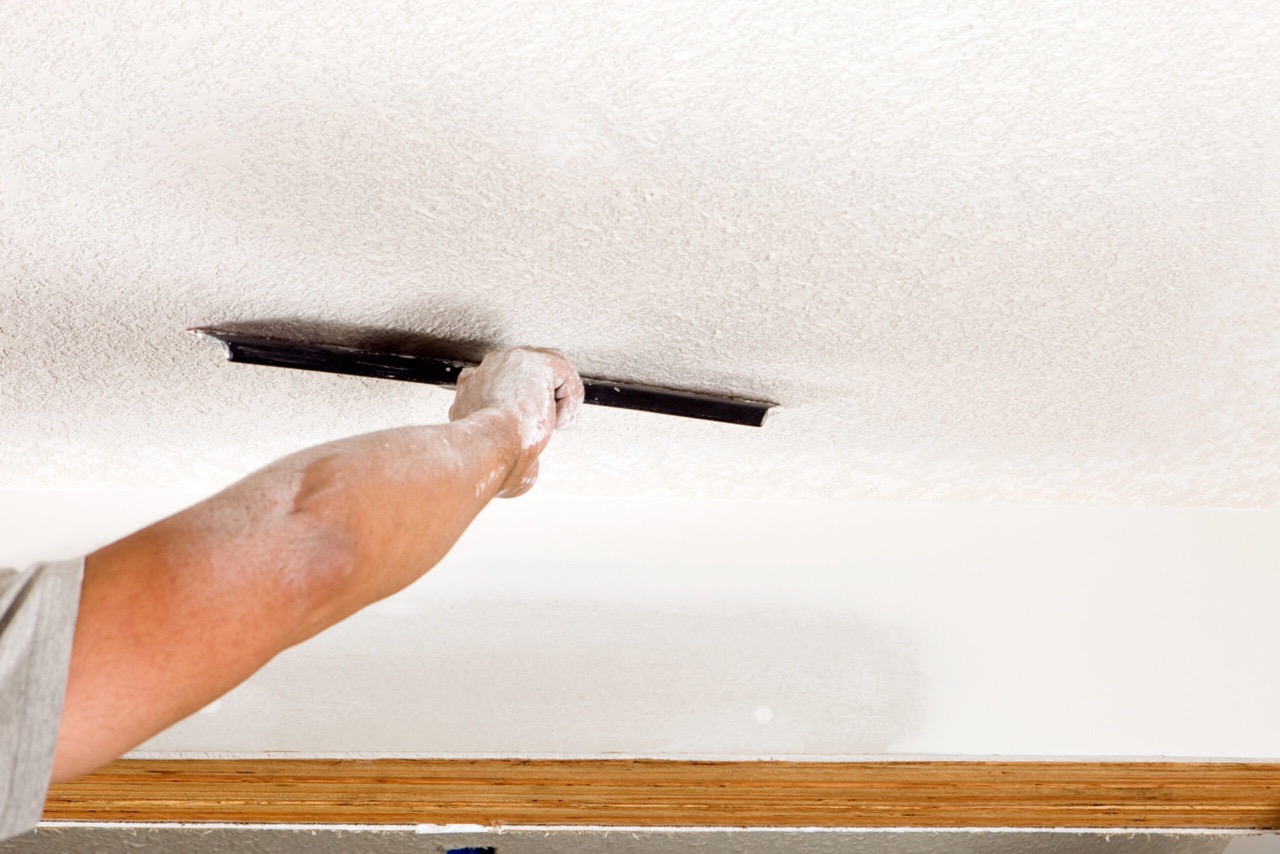
Skimming is another popular method for removing texture from a ceiling. This technique involves applying a layer of joint compound, also known as mud, over the textured surface to create a smooth, seamless finish. Here’s a step-by-step guide on how to remove texture from your ceiling using the skimming method:
- Prepare the surface: Before you begin, make sure the ceiling is clean and free from any loose texture or debris. Use a scraper or sandpaper to smooth out any rough areas or high spots.
- Protective measures: Put on safety goggles and a dust mask to protect yourself from dust and debris while working.
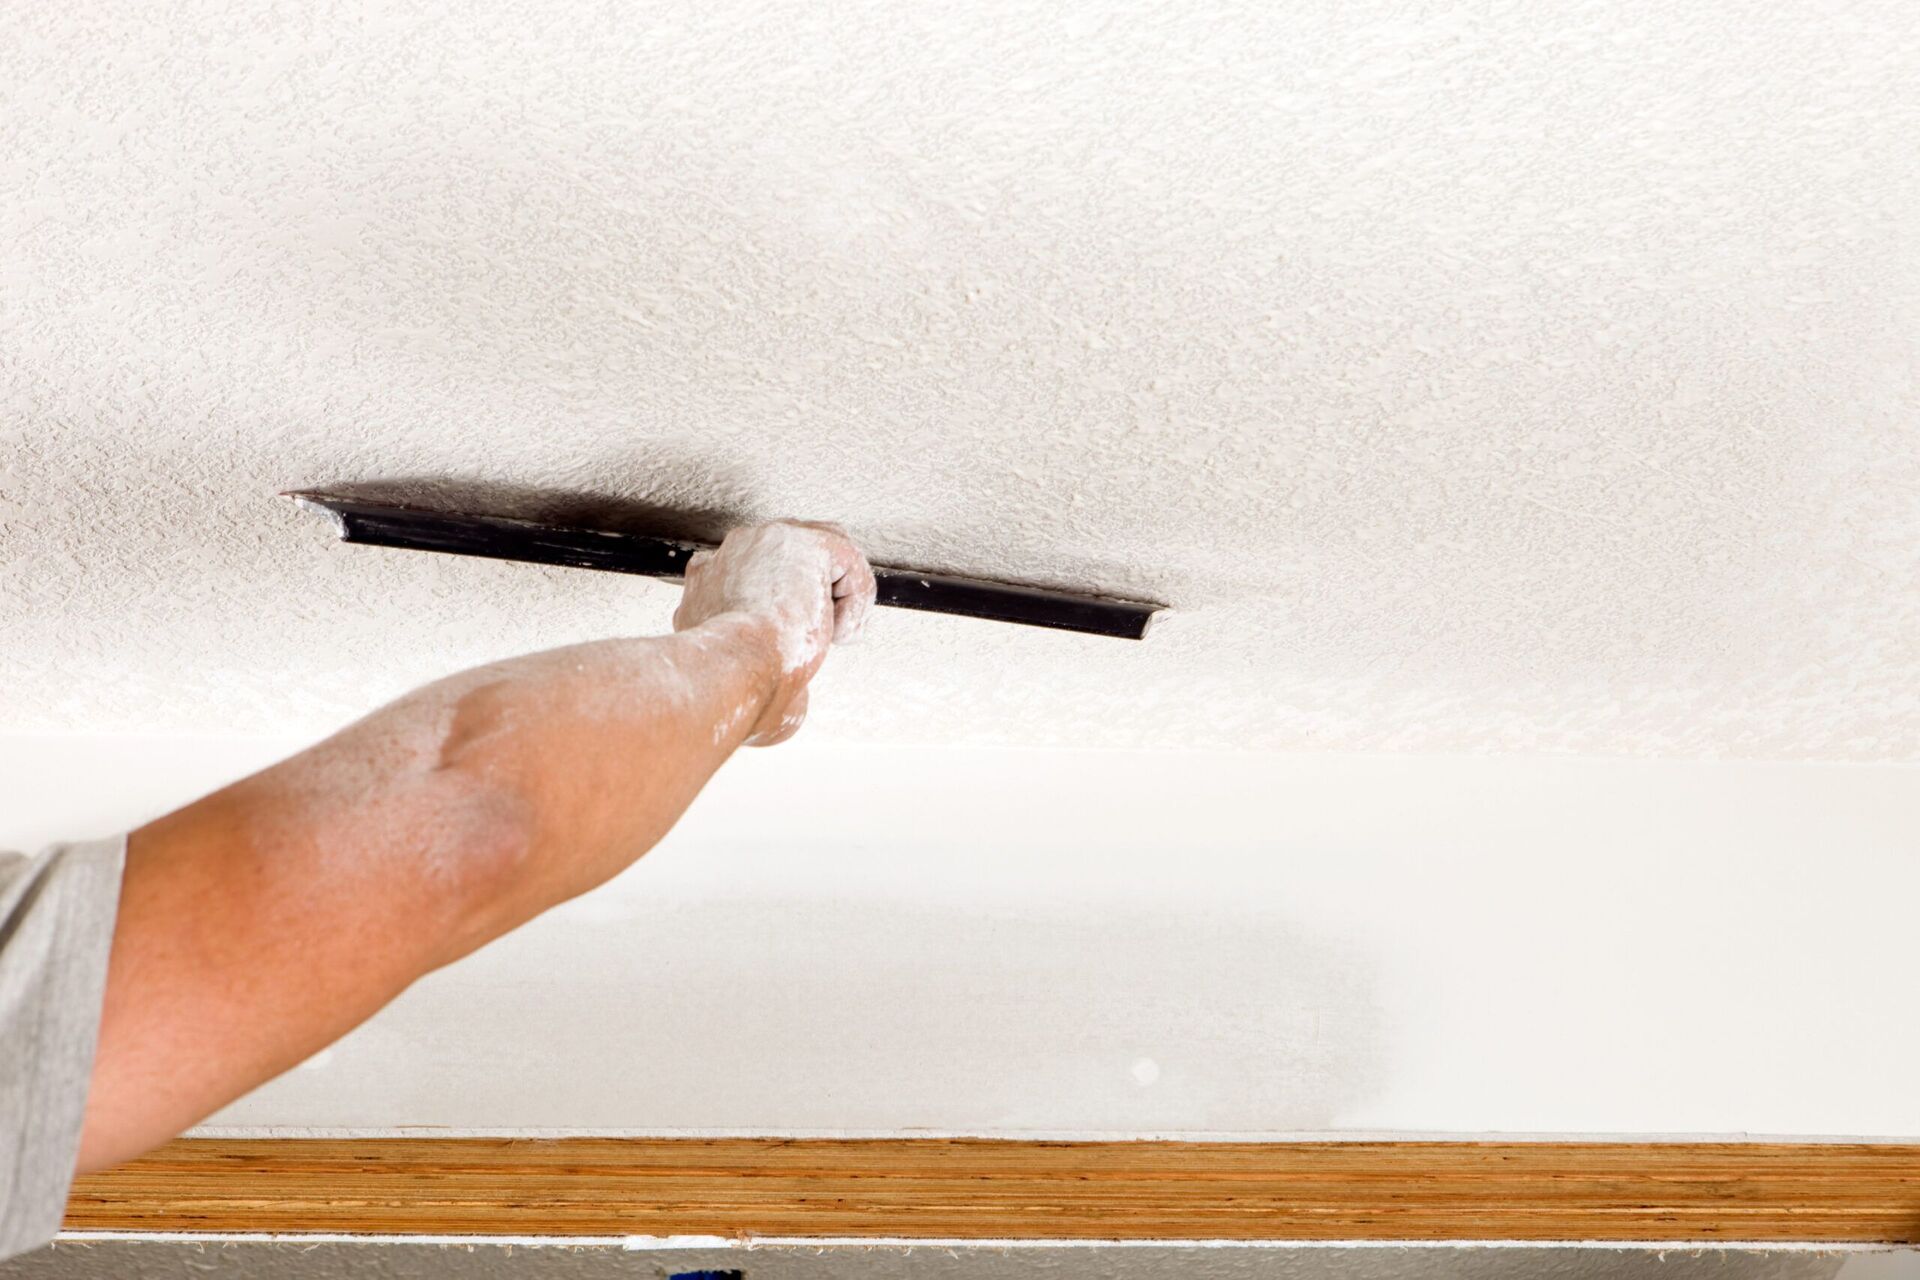
- Apply joint compound: Use a trowel or putty knife to apply a thin layer of joint compound onto the textured surface. Start from one corner or edge and work your way across the ceiling, using smooth, even strokes.
- Feather the edges: As you apply the joint compound, feather the edges by gradually reducing the pressure and thinning out the compound. This will help blend the skim coat with the surrounding area and create a seamless transition.
- Allow drying time: Follow the manufacturer’s instructions for drying time. Typically, joint compound needs at least 24 hours to dry completely. Make sure the room is well-ventilated during the drying process.
- Sand the surface: Once the joint compound is fully dry, use fine-grit sandpaper or a sanding block to smooth the surface. Sand in light, circular motions, being careful not to over-sand or damage the underlying ceiling.
- Remove dust: Wipe away any dust created from sanding using a clean cloth or a vacuum with a brush attachment.
- Repeat the process (if necessary): Depending on the desired level of smoothness, you may need to apply additional coats of joint compound and repeat the sanding process. Be sure to allow each layer to dry before applying the next.
- Prime and paint: Once you’re satisfied with the smoothness of the skim coat, apply a coat of primer to the entire ceiling surface. Allow it to dry, and then apply your desired paint color for the final finish.
Skimming is a great option if you prefer to avoid removing the texture through scraping and want to achieve a polished, seamless look. However, it requires some patience and skill to apply the joint compound evenly. If you’re unsure about your abilities or if the ceiling has extensive damage, consulting a professional may be the best course of action.
Keep in mind that skimming may not be suitable for every situation. If the texture is extremely thick or uneven, or if the ceiling has underlying issues, such as water damage or structural problems, it’s important to address those underlying issues before attempting to skim the surface.
To remove texture from a ceiling, use a spray bottle to wet the area and then scrape off the texture with a putty knife. Sand the area smooth and apply a new coat of paint.
Read more: How To Remove Painted Textured Ceiling
Method 3: Covering
If you prefer a quick and easy alternative to removing texture from your ceiling, covering is a popular method that allows you to conceal the textured surface without the need for extensive scraping or skimming. This technique involves applying a new layer of material over the existing texture to create a smooth and updated look. Here’s a step-by-step guide on how to remove texture from your ceiling using the covering method:
- Clean the surface: Before applying the covering, make sure the ceiling is clean and free from any loose texture or debris. Use a scraper or sandpaper to smooth out any rough areas or high spots.
- Protective measures: Put on safety goggles and a dust mask to protect yourself from dust and debris while working.
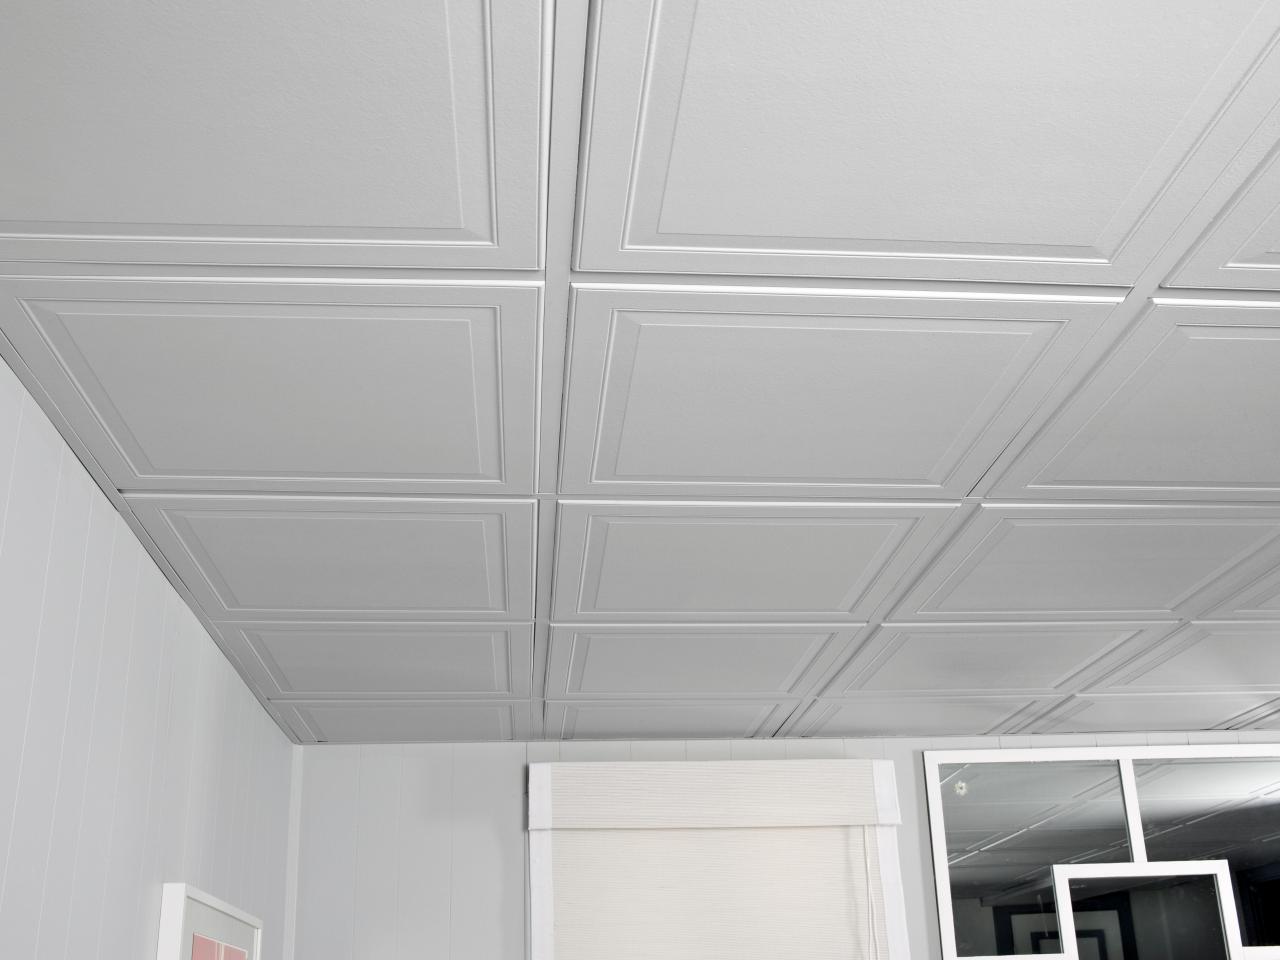
- Choose your covering material: There are several options for covering the textured ceiling, including ceiling tiles, beadboard, or even drywall sheets. Choose a material that suits your aesthetic preferences and budget.
- Measure and cut the covering material: Measure the dimensions of your ceiling and cut the covering material to fit. Make sure to account for any openings, such as light fixtures or vents, in your measurements.
- Apply adhesive or screws: Depending on the type of covering material you choose, you may need to apply adhesive or use screws to attach it to the ceiling. Follow the manufacturer’s instructions for the specific material you’re using.
- Seal the seams: If you’re using multiple pieces of covering material, ensure they are aligned properly and seal the seams using joint compound or caulk. This will help create a smooth and cohesive surface.
- Finish the surface: Once the covering material is securely in place, you can choose to paint or finish it according to your desired look. Consult the manufacturer’s instructions for the appropriate type of paint or finish to use.
By covering the textured ceiling, you can achieve a fresh and updated appearance without the need for extensive removal or repairs. This method is particularly useful if you’re looking for a temporary solution or if the underlying ceiling has structural issues that prevent traditional removal methods.
However, it’s important to note that covering the ceiling will result in a slightly reduced ceiling height. Additionally, if you have low ceilings, the covering material may further decrease the available overhead space. Consider these factors when deciding whether covering is the right option for your ceiling removal project.
Method 4: Sanding
Sanding is a method that involves using sandpaper or a sanding block to smooth down the texture on your ceiling. While it may be a more time-consuming process, sanding provides a great solution for removing texture and achieving a smooth finish. Here’s a step-by-step guide on how to remove texture from your ceiling using the sanding method:
- Protective measures: Before you start sanding, ensure your safety by wearing safety goggles and a dust mask to protect yourself from airborne particles.
- Clean the surface: Remove any loose texture or debris from the ceiling surface with a scraper or sandpaper. This will ensure a clean surface for sanding.
- Sanding block or sandpaper selection: For large areas, a sanding block can provide a stable and even surface for sanding. Alternatively, you can use sandpaper attached to a sanding pole for easier reach on higher ceilings.
- Start sanding: Begin sanding a small section of the ceiling using light to medium pressure. Use a circular motion or long strokes to even out the texture. Be careful not to apply too much pressure, as it may damage the underlying surface.
- Monitor progress: As you sand, periodically check the progress to ensure that the texture is being smoothed down evenly. Continue sanding until the desired level of smoothness is achieved.
- Clean up the dust: Throughout the sanding process, there will be dust accumulation. Use a vacuum with a brush attachment or a damp cloth to wipe away the dust and debris as you work.
- Inspect for imperfections: After completing the initial sanding, inspect the ceiling for any remaining imperfections or uneven areas. Use a scraper or sandpaper to address these spots and ensure the surface is smooth and even.
- Prime and paint: Once the sanding is complete and the ceiling is smooth, apply a coat of primer to the entire surface. Allow it to dry, and then proceed with painting the ceiling in your desired color.
It’s important to note that sanding can be a dusty and time-consuming process. Consider using a sander with a dust collection feature or working in a well-ventilated area to minimize dust accumulation. Additionally, take breaks as needed to avoid strain and fatigue.
While sanding is an effective method for removing texture from a ceiling, it may not be suitable for all situations. It is best suited for ceilings with a thin layer of texture or when the texture is not excessively uneven or heavy. If you are uncertain about the texture on your ceiling or if you encounter difficulties during the sanding process, consult a professional for guidance.
Cleaning Up
After you have successfully removed the texture from your ceiling using one of the methods mentioned, it’s time to clean up the area and ensure it’s ready for the next steps, such as priming and painting. Here are some key steps to follow for a thorough post-removal cleanup:
- Dispose of the debris: Properly dispose of any debris, such as scraped texture or excess joint compound, to prevent it from lingering in the room. Collect the debris in a garbage bag or a dustpan and dispose of it according to local regulations.
- Clean the floor and surrounding areas: Remove the plastic sheets or drop cloths that were used to protect the floor and other furnishings. Sweep or vacuum the area to remove any remaining dust or particles.
- Wipe down surfaces: Use a damp cloth or sponge to wipe down any surfaces that may have collected dust during the texture removal process. Pay attention to walls, light fixtures, and any other areas that may have been exposed to dust.
- Check for any leftover texture: Inspect the ceiling closely to ensure that all the texture has been successfully removed. If you spot any remaining texture or uneven areas, address them accordingly using the appropriate method.
- Inspect for damages: Take a close look at the ceiling surface for any damages or imperfections that became visible after the texture removal. If necessary, make any necessary repairs using joint compound or other suitable materials.
- Prepare for priming and painting: Once the cleanup is complete, ensure that the ceiling is completely dry before proceeding with the priming and painting process. Follow the manufacturer’s instructions for the specific products you’ll be using.
By thoroughly cleaning up the area after removing the texture, you’ll create a clean and suitable surface for further improvements or finishing touches. This will contribute to the overall success and appearance of the newly textured-free ceiling.
Remember, proper cleanup is not only important for the aesthetic aspect but also for maintaining a clean and safe environment. By following these steps, you can ensure that your space is ready for the next stage of the transformation process.
Conclusion
Removing texture from your ceiling can be a transformative project that gives your space a fresh and updated look. Whether you choose the scraping, skimming, covering, or sanding method, each approach has its own benefits and considerations. By understanding the steps involved in each method, you can make an informed decision based on your specific needs and preferences.
When embarking on a texture removal project, proper preparation is crucial. Clear the room, protect surfaces, and gather the necessary materials to ensure a smooth and efficient workflow. Take the time to select the right tools and protective gear, such as goggles and a dust mask, for a safe and successful project.
If you decide to remove the texture by scraping, be prepared for a labor-intensive process that involves carefully scraping off the texture and repairing any imperfections or damage. Skimming, on the other hand, offers a smoother finish by applying a layer of joint compound over the texture, but it requires patience and skill to achieve a seamless result.
Covering is a quick and easy method that allows you to conceal the textured surface with a new material, such as ceiling tiles or beadboard. This approach is ideal if you’re looking for a temporary solution or if the underlying ceiling has structural issues that make traditional removal methods challenging.
If you prefer a smoother surface, sanding provides an effective option. While it is more time-consuming, sanding allows you to create a smooth finish by carefully sanding down the texture on your ceiling.
Whichever method you choose, be sure to clean up the area afterward, disposing of debris and wiping down surfaces to create a clean and ready-for-painting environment.
In conclusion, removing texture from a ceiling is a rewarding project that can dramatically enhance the look and feel of your space. With the right techniques and materials, you can achieve a smooth and polished surface that reflects your personal style. Remember to take your time, follow proper safety precautions, and consult professionals if needed. From there, you can take the next step in transforming your space through priming and painting, ultimately creating the ceiling you’ve always desired.
Frequently Asked Questions about How To Remove Texture From A Ceiling
Was this page helpful?
At Storables.com, we guarantee accurate and reliable information. Our content, validated by Expert Board Contributors, is crafted following stringent Editorial Policies. We're committed to providing you with well-researched, expert-backed insights for all your informational needs.



0 thoughts on “How To Remove Texture From A Ceiling”