Articles
How To Remove Wicks From Candles
Modified: August 28, 2024
Learn how to remove wicks from candles easily with our informative articles. Discover tips and tricks for a clean and hassle-free process.
(Many of the links in this article redirect to a specific reviewed product. Your purchase of these products through affiliate links helps to generate commission for Storables.com, at no extra cost. Learn more)
Introduction
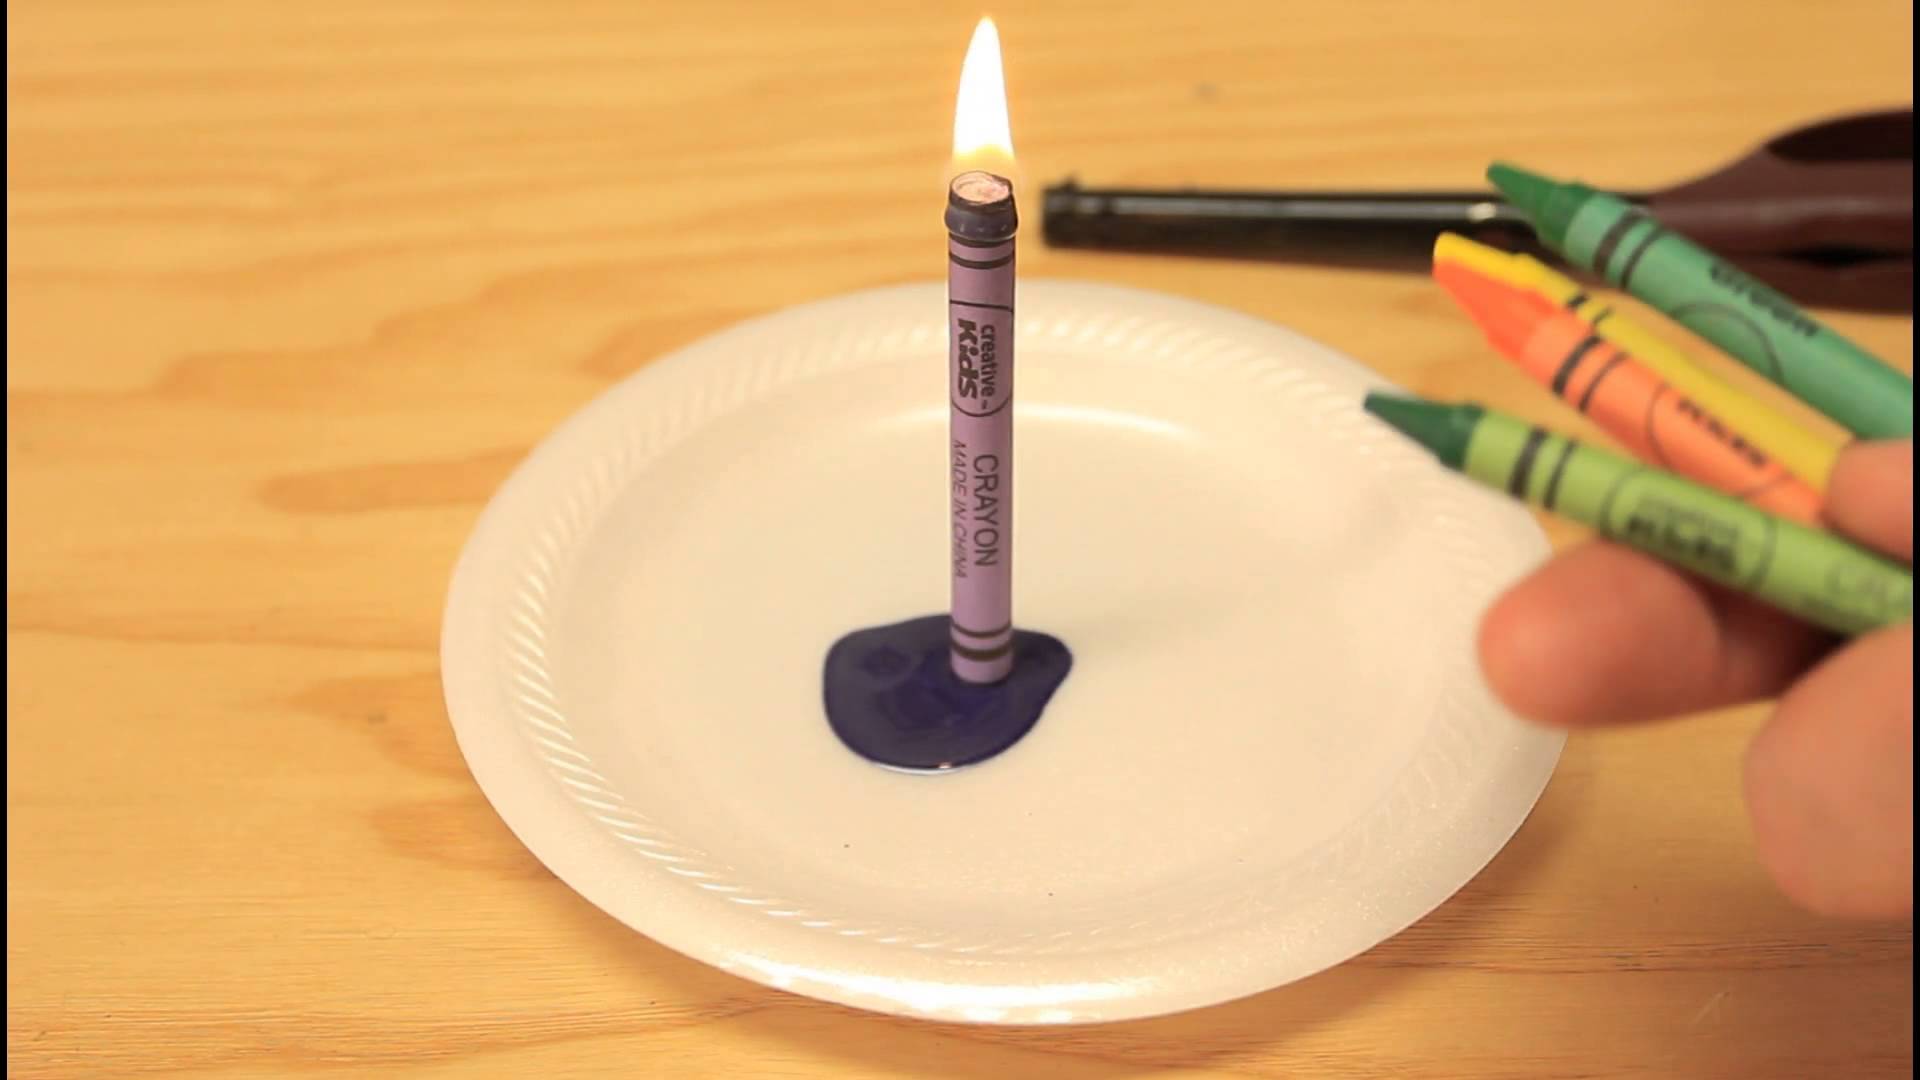
Candles are not only beautiful decorations but also provide a cozy and comforting ambiance. However, after burning a candle for some time, you may notice that the wick becomes too short to light or is covered in wax residue. If you find yourself in this situation, it’s time to learn how to remove wicks from candles.
In this step-by-step guide, we will take you through the process of safely removing wicks from candles, allowing you to reuse the container or replace the wick for future use. So let’s dive in and discover how to keep your candles burning bright!
Key Takeaways:
- Master the art of safely removing wicks from candles to extend their lifespan, repurpose containers, and customize your candle-burning experience with confidence and creativity.
- Prioritize safety, utilize helpful tips and tricks, and embrace the satisfaction of maintaining and customizing your candles for a cozy and inviting ambiance.
Read more: How To Use Wood Wick Candles
Why Remove Wicks from Candles
There are several reasons why you may need to remove wicks from candles. Let’s explore some of the common situations where removing the wick becomes necessary:
- Trimming the Wick: Overtime, candle wicks tend to burn down and become too short to properly light. In such cases, removing the wick is necessary to ensure a clean burn and prevent the candle from producing excess smoke.
- Replacing the Wick: If you enjoy making your own candles, you may want to replace the existing wick with a new one. This allows you to use the same candle container while ensuring optimal burning performance.
- Removing Wax Residue: After burning a candle for a while, wax may accumulate around the wick, making it difficult to light. Removing the wick and cleaning off the wax residue can restore the candle’s functionality and extend its lifespan.
- Repurposing the Candle Container: Sometimes, you may have a beautiful candle container that you want to repurpose for other uses. By removing the wick, you can transform the candle container into a stylish planter, storage jar, or decorative item.
By knowing how to remove wicks from candles, you gain the ability to maintain and customize your candles to suit your needs. Whether it’s for practical reasons or creative endeavors, being able to remove wicks effectively is an essential skill for candle enthusiasts.
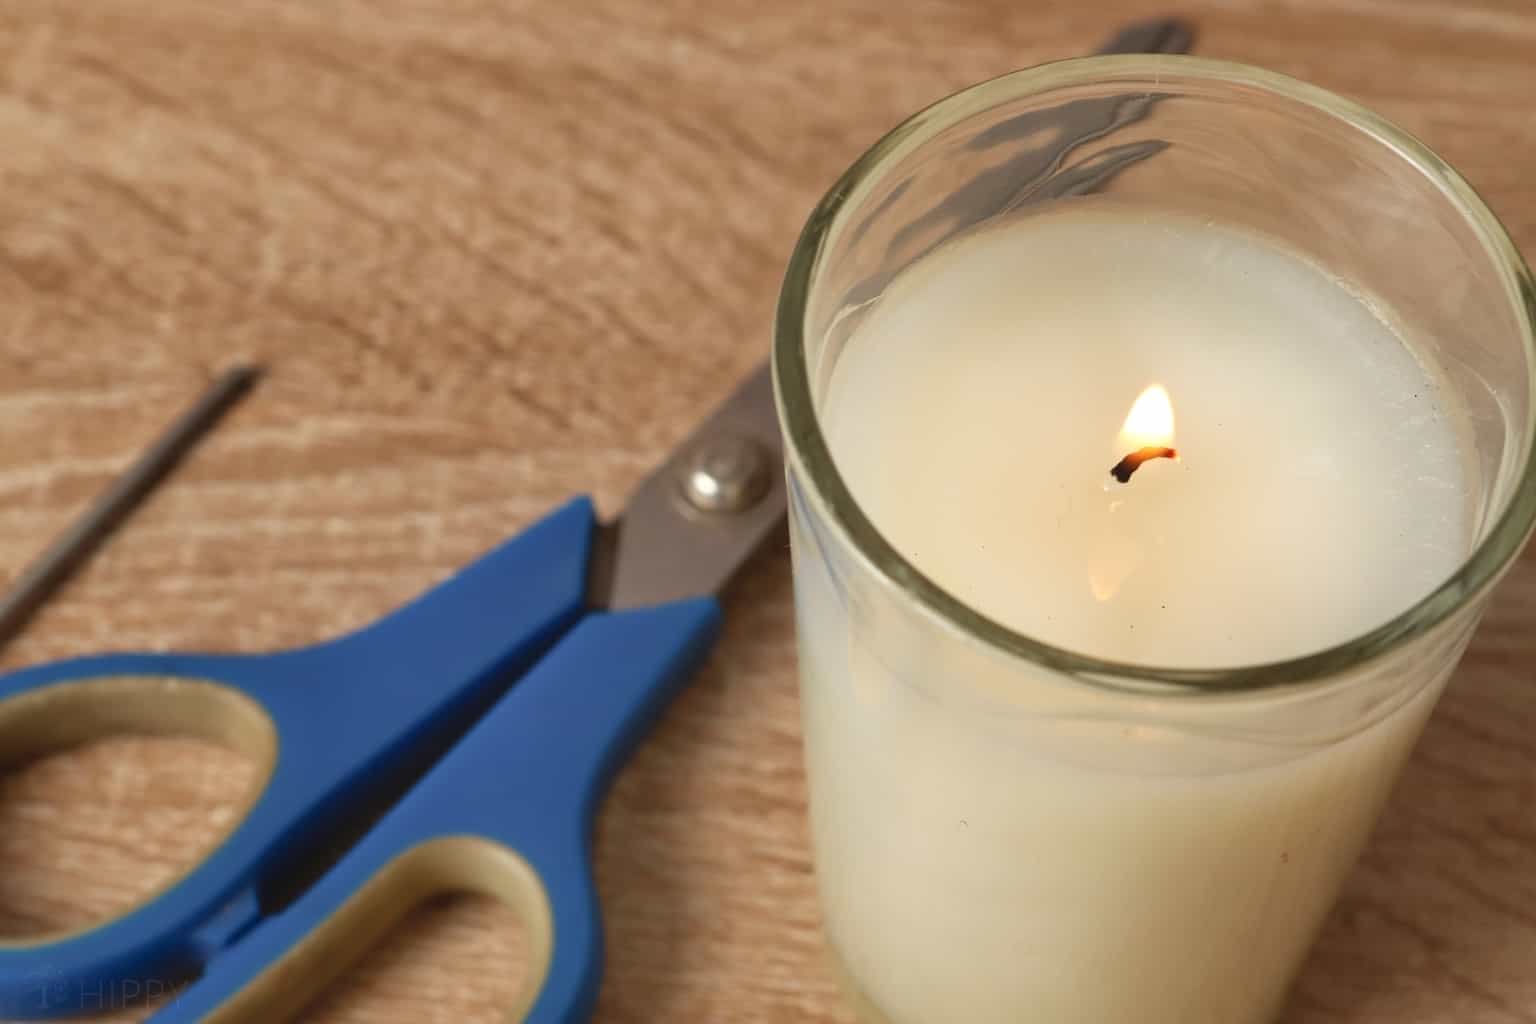
Tools and Materials Needed
Before you can begin removing wicks from candles, there are a few tools and materials you will need. Here’s a list of what you should have on hand:
- Candles: Gather the candles from which you want to remove the wicks. Make sure they are cool and solid before proceeding.
- Scissors or Wick Trimmer: You will need a pair of scissors or a wick trimmer to trim the wick before removing it. Opt for a sturdy pair for easy and precise trimming.
- Small Knife or Craft Pick: A small knife or craft pick can be useful for loosening and lifting the wick from the embedded wax.
- Paper Towels or Cloth: Keep some paper towels or a cloth nearby to wipe away any wax residue or excess soot.
- Heat Source (optional): If you are having difficulty removing the wick due to wax residue, a heat source like a hairdryer or heat gun can be used to soften the wax for easier removal.
- Container or Storage for Removed Wicks: Have a container or storage option ready to hold the removed wicks. This will keep them organized and prevent them from getting lost or tangled.
- Safety Gloves (optional): For added safety, you may want to consider wearing heat-resistant gloves to protect your hands from hot wax or any potential burns.
Make sure you have all the necessary tools and materials before you begin the process. This will ensure a smooth and efficient wick removal experience.
Step-by-Step Instructions
Now that you have gathered all the necessary tools and materials, here is a step-by-step guide on how to remove wicks from candles:
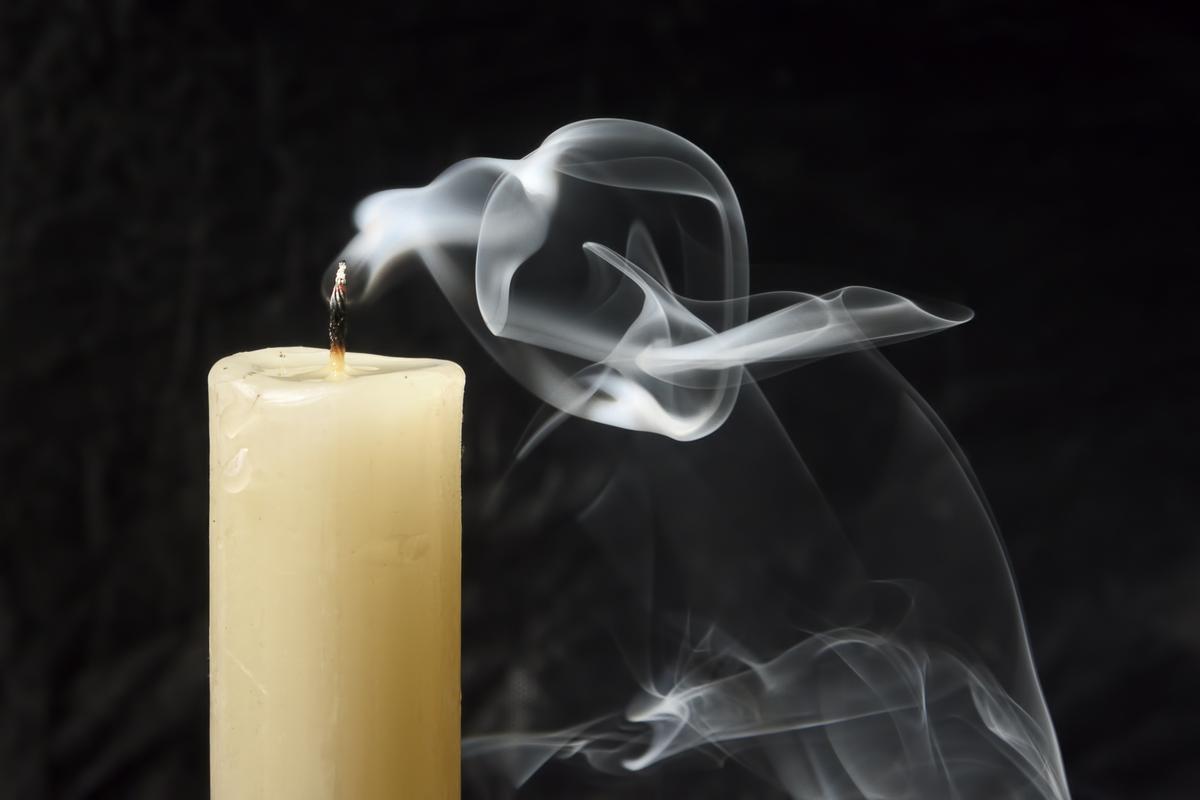
- Preparing the Candle: Ensure the candle is cool and solid before attempting to remove the wick. Place it on a heat-resistant surface to protect your workspace.
- Trimming the Wick: If the wick is too long, use scissors or a wick trimmer to trim it down to about 1/4 inch (0.6 cm). This will help facilitate the removal process.
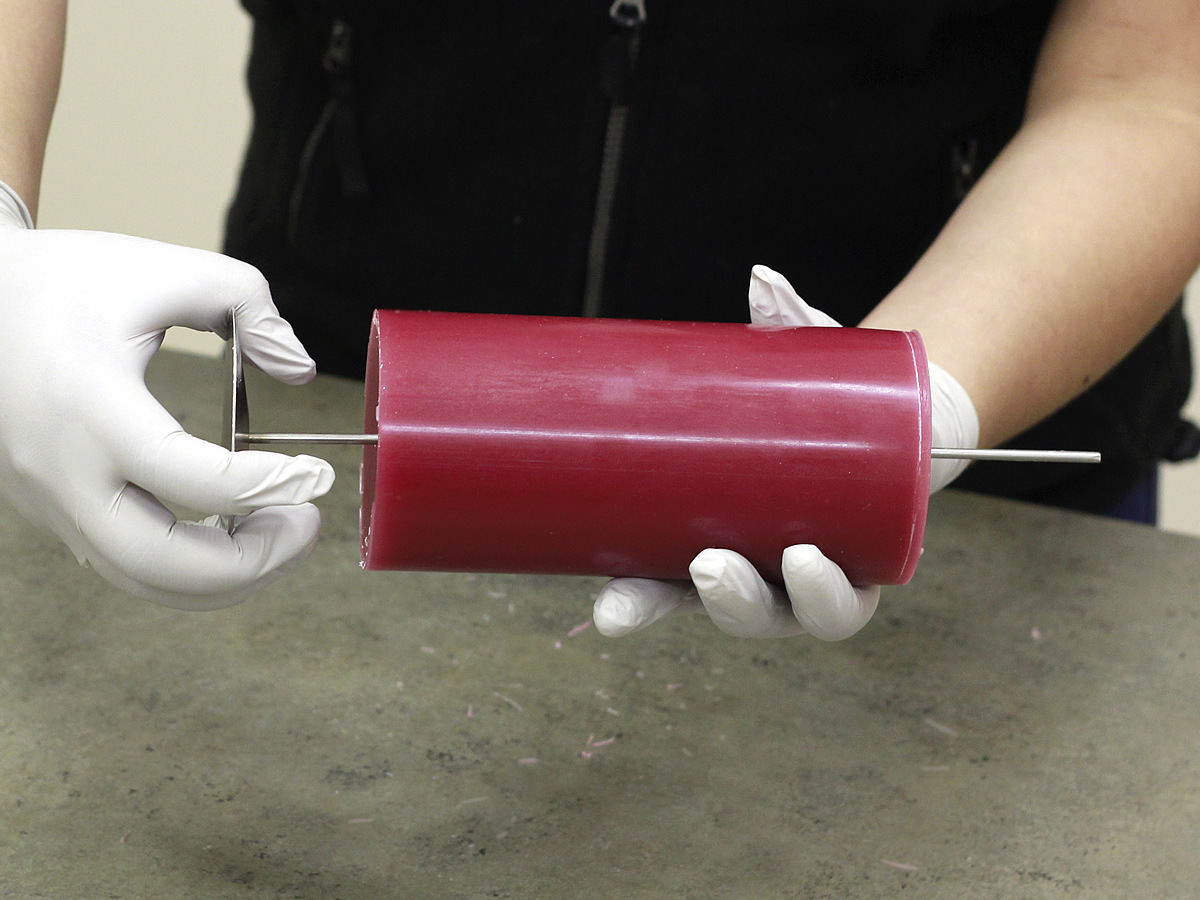
- Removing the Wax: If there is excess wax around the wick, gently scrape it away using a small knife or craft pick. Alternatively, apply gentle heat using a hairdryer or heat gun to soften the wax, making it easier to remove.
- Loosening the Wick: Use the small knife or craft pick to loosen the wick from the embedded wax. Gently lift the wick and wiggle it back and forth until it loosens from the wax.
- Removing the Wick: Once the wick is loosened, carefully pull it out of the candle. If it resists, use the small knife or craft pick to lift it further until it can be removed completely.
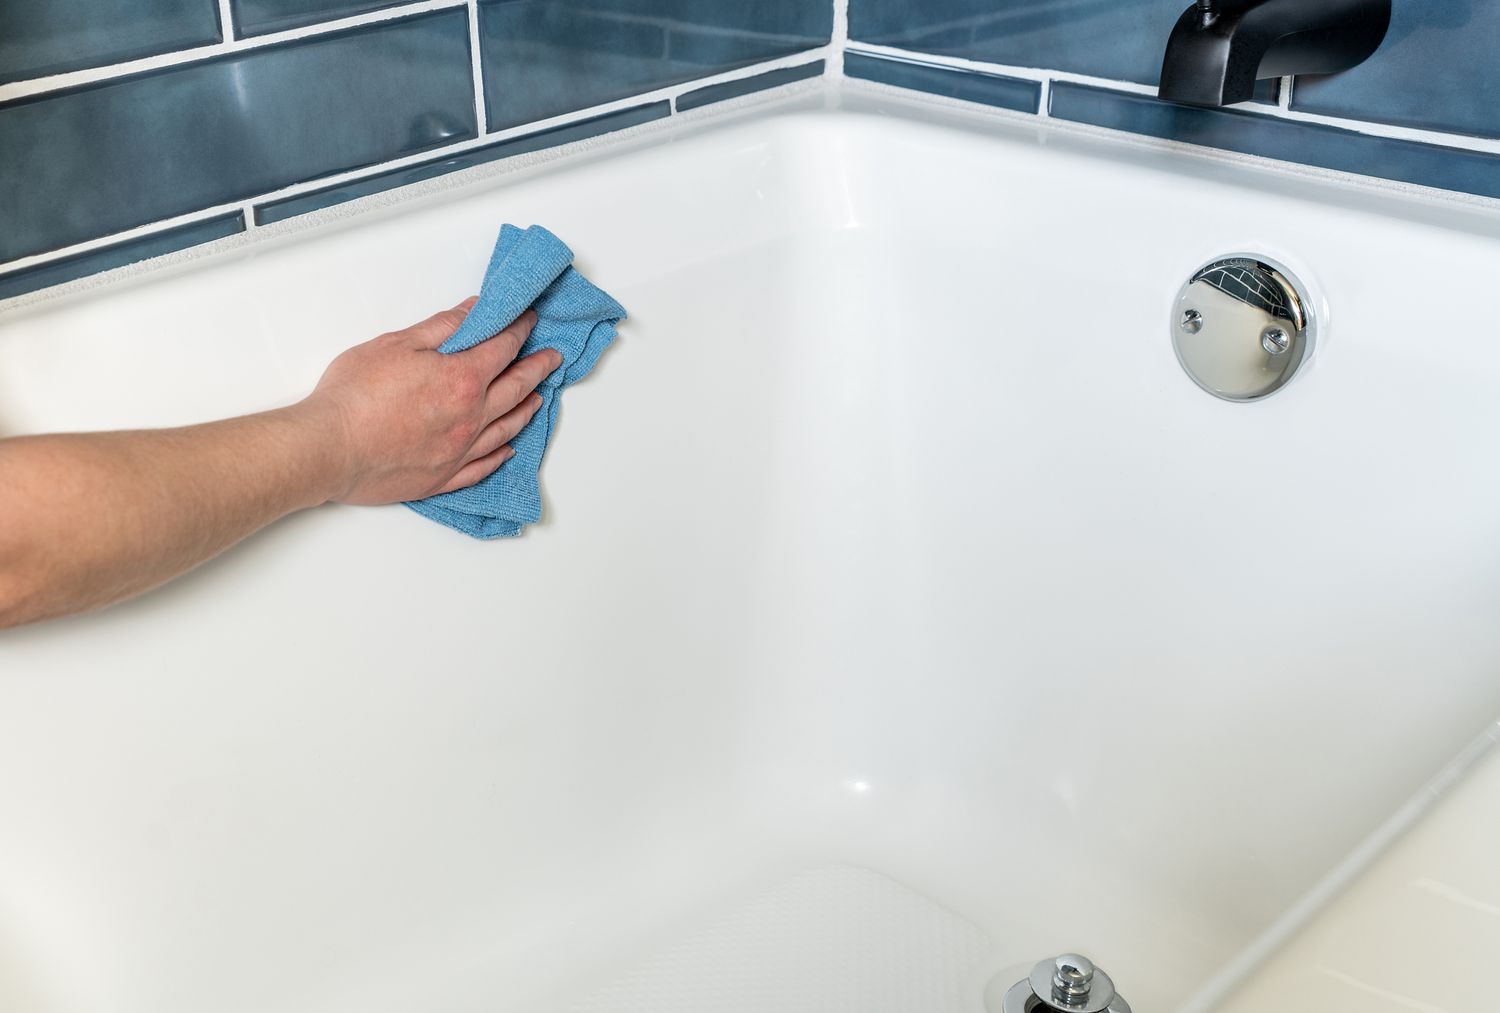
- Cleaning the Candle: Wipe away any remaining wax residue or soot using a paper towel or cloth. Ensure the candle container is clean and dry before reusing or repurposing it.
- Storing the Removed Wicks: Place the removed wicks in a container or storage option to keep them organized and prevent them from tangling or getting lost.
Remember to take your time and be gentle when removing the wicks to avoid damaging the candle or causing any accidents. Safety should always be a top priority.
Now that you know the step-by-step process, you are ready to remove wicks from your candles with ease and confidence!
Preparing the Candle
Before you begin the process of removing the wick from a candle, it’s important to properly prepare the candle to ensure a smooth and safe experience.
Here are the steps to prepare the candle:
- Cool Down: Ensure that the candle has completely cooled down before attempting to remove the wick. This will prevent any burns or accidents during the process.
- Place on a Heat-Resistant Surface: Find a stable and heat-resistant surface to place the candle on. This will protect your workspace and prevent any potential damage to surfaces.
- Remove any Candle Accessories: Take off any decorative accessories like ribbons, charms, or labels from the candle. This will make it easier to access and remove the wick.
By properly preparing the candle, you set the stage for a successful wick removal process. It’s crucial to ensure the candle is cool, stable, and free from any accessories that could interfere with the wick removal.
Read more: How To Make Wicks For Candles
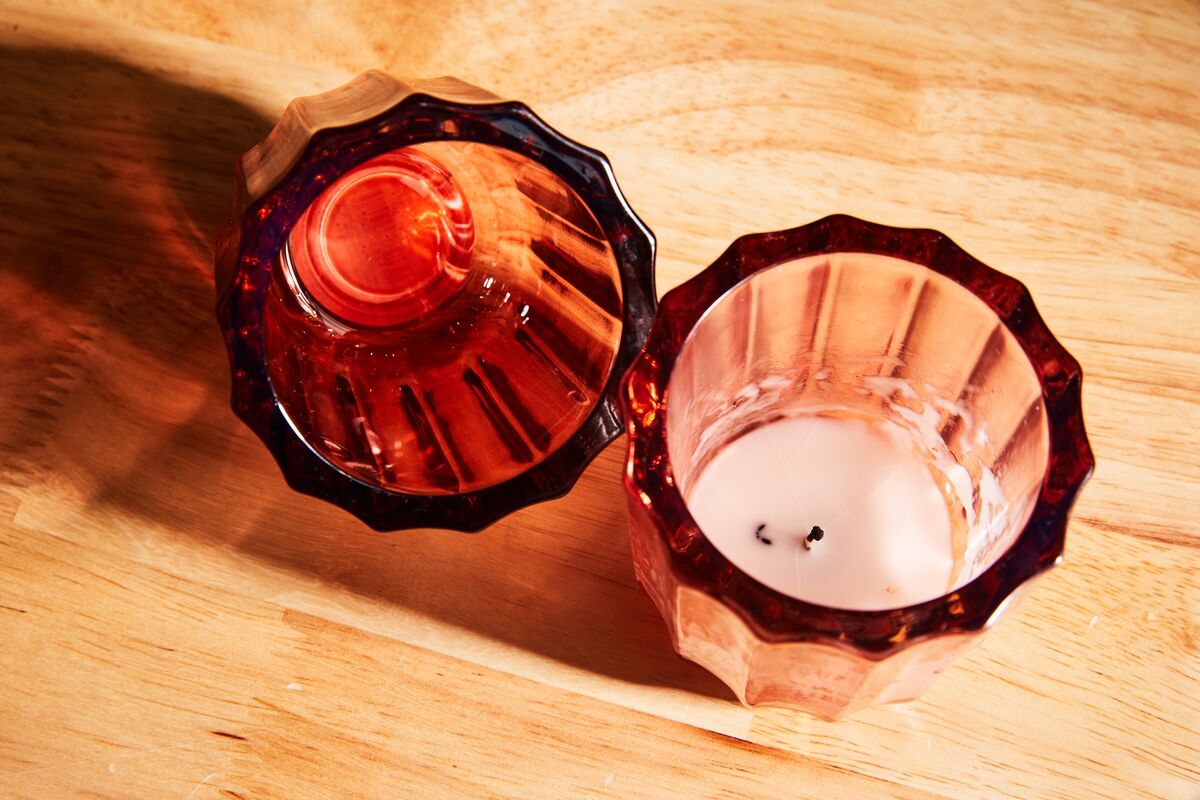
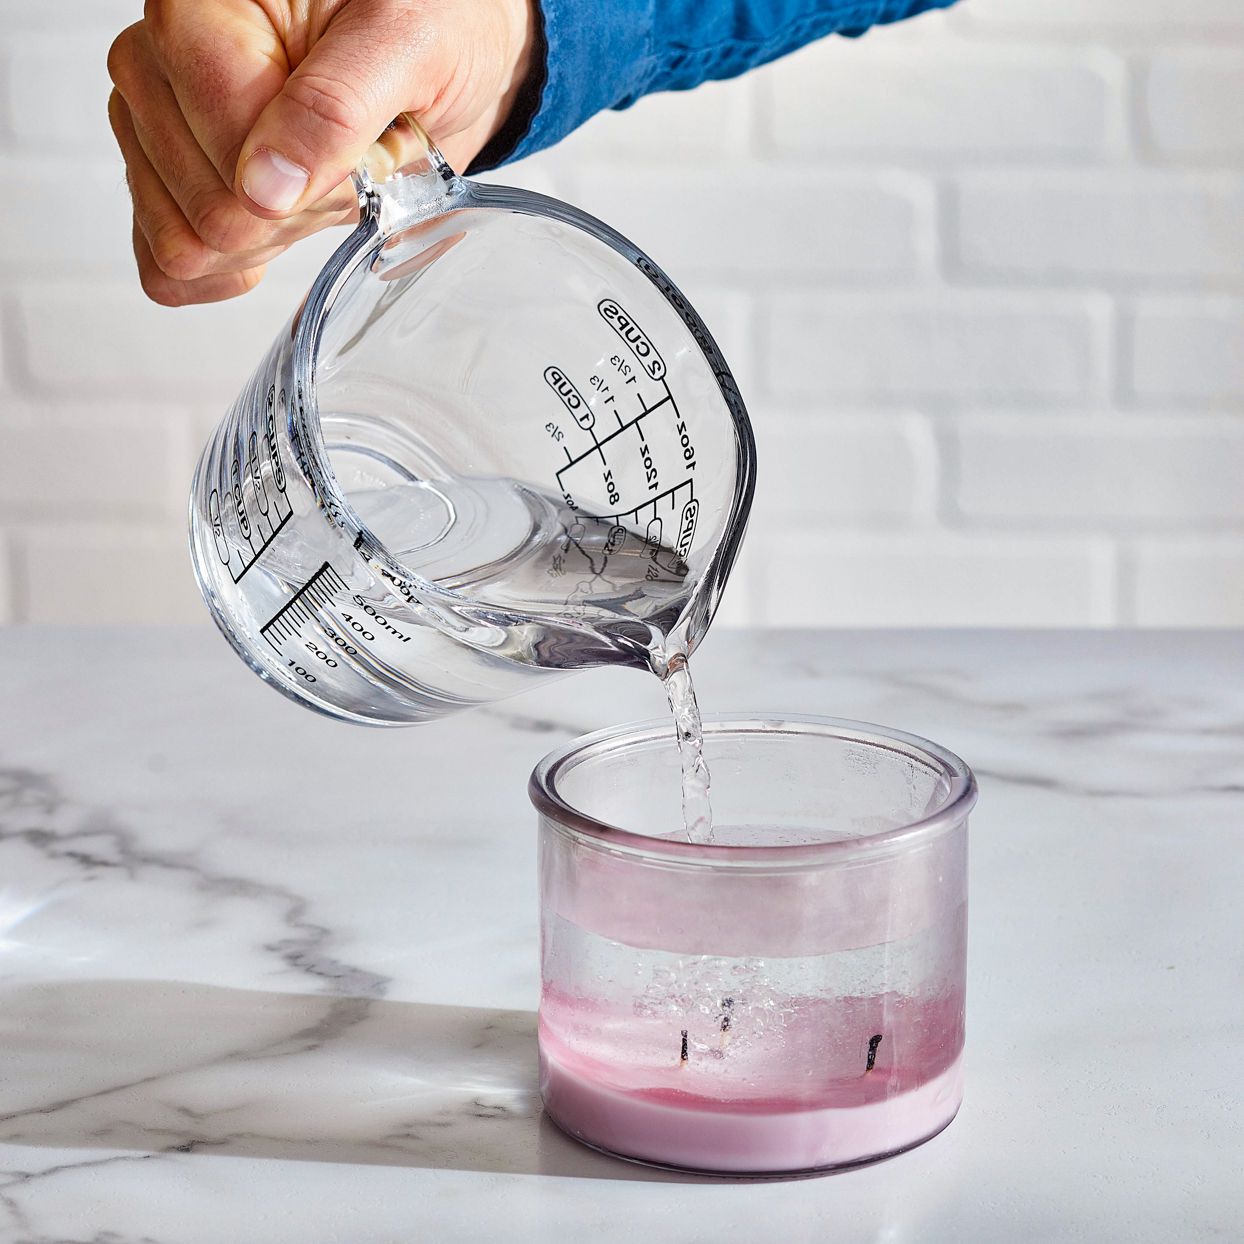
Removing the Wax
Once you have prepared the candle, the next step is removing any excess wax around the wick. This will allow for better access to the wick and facilitate its removal. Here’s how to remove the wax:
- Gently Scrape the Wax: Use a small knife or craft pick to gently scrape away any wax surrounding the wick. Be careful not to apply too much pressure or damage the candle container.
- Apply Heat (Optional): If the wax is particularly stubborn or difficult to remove, you can use a heat source like a hairdryer or heat gun. Apply gentle heat to the wax, moving the heat source back and forth, to soften it and make it easier to scrape away.
- Wipe Away the Residue: Use a paper towel or cloth to wipe away any remaining wax residue. Make sure to clean the area around the wick thoroughly to ensure a clean surface.
Removing the wax ensures a clean and clear pathway to access the wick. By scraping away and cleaning any wax residue, you pave the way for a more efficient and successful wick removal process.
Remember to be gentle when scraping the wax and avoid applying excessive force to prevent any damage to the candle or container.
To remove wicks from candles, use a pair of tweezers to gently pull the wick out of the wax. If the wick is stubborn, try heating the wax around the wick with a hairdryer to loosen it.
Loosening the Wick
Once you have removed the excess wax, the next step is to loosen the wick from the embedded wax. Here’s how you can do it:
- Use a Small Knife or Craft Pick: Take a small knife or craft pick and gently insert it under the wick, near the wax. Be cautious not to damage the wick or the candle container.
- Wiggle the Wick: Gently wiggle the knife or craft pick back and forth to loosen the wick from the wax. This action helps to separate the wick from the hardened wax and makes it easier to remove.
- Continue to Loosen: Gradually work your way along the length of the wick, loosening it from the embedded wax. Be patient and gentle to avoid accidentally breaking the wick.
It’s important to take your time and be cautious while loosening the wick. Apply gentle pressure and avoid using excessive force to prevent any damage to the wick or the candle container.
Loosening the wick prepares it for removal, making it easier to extract from the candle during the next step.
Removing the Wick
After loosening the wick from the embedded wax, it’s time to remove it from the candle completely. Here’s how you can do it:
- Gently Lift the Wick: Using a small knife or craft pick, gently lift the loosened wick from the wax. Start at the end of the wick that is closest to the candle’s surface.
- Wiggle the Wick: Once you have lifted the wick partially, gently wiggle it back and forth to release it from any remaining wax residue or tight spots.
- Carefully Pull the Wick Out: Slowly and carefully pull the wick out of the candle, applying gentle pressure as needed. If the wick is still firmly attached, use the small knife or craft pick to lift it further until it can be removed completely.
- Inspect the Candle: After removing the wick, take a moment to inspect the candle container. Ensure that there are no remaining bits of wick or wax debris and that the container is clean and ready for reuse or repurposing.
It’s important to exercise caution while removing the wick to avoid any accidents or damage to the candle container. Take your time and be gentle throughout the process.
By successfully removing the wick, you have completed the wick removal process and can now move on to cleaning the candle and preparing it for future use or repurposing.
Safety Precautions
While removing wicks from candles is a relatively straightforward process, it’s important to prioritize safety. Here are some safety precautions to keep in mind:
- Work in a Well-Ventilated Area: Ensure that you are working in a well-ventilated area to minimize the inhalation of any fumes or soot that may be released during the wick removal process.
- Wear Safety Gloves (Optional): If you are concerned about potential heat or burns, consider wearing heat-resistant gloves to protect your hands during the process.
- Use Caution with Heat Sources: If you choose to use a heat source, such as a hairdryer or a heat gun, be cautious and follow the manufacturer’s instructions. Avoid placing the heat source too close to the candle or yourself, and never leave it unattended.
- Handle Knives and Craft Picks Carefully: Take care when using knives or craft picks to avoid any accidental injuries. Keep them away from children and use them with caution.
- Dispose of Removed Wicks Safely: Once you have removed the wicks, dispose of them properly. Avoid throwing them in the regular trash as they can be flammable. Consider wrapping them in tissue paper and placing them in a metal container before discarding them.
- Keep an Eye on Burning Candles: As you work on removing wicks from candles, ensure that any other candles nearby are not left unattended. Keep them away from any flammable objects and use candle safety practices to prevent accidents.
Remember, safety should always be a priority. By following these precautions, you can minimize the risk of accidents and ensure a safe wick removal process.
Now that you are aware of the safety precautions, you can proceed with confidence and care as you remove wicks from your candles.
Read more: How To Make Wooden Wick Candles
Tips and Tricks
Here are some helpful tips and tricks to make the process of removing wicks from candles even more efficient and successful:
- Freeze the Candle: If you’re having trouble removing the wick, try placing the candle in the freezer for a couple of hours. The cold temperature can cause the wax to contract, making it easier to loosen and remove the wick.
- Use a Wick Dipper: A wick dipper is a handy tool specifically designed to safely extinguish candles and straighten the wick. It can also be used to dip the wick into the melted wax, making it easier to remove.
- Save the Wick Tabs: If you plan on making your own candles in the future, consider saving the wick tabs. These metal discs are used to anchor the wick to the bottom of the container. They can be reused, saving you money on purchasing new ones.
- Remove Excess Wax with Paper Towels: If there is excess wax residue around the wick, gently blot it with folded paper towels. The absorbent texture of the paper towels can help lift away the wax more effectively than a cloth.
- Use Candle Wick Centering Devices: To ensure that the replacement wick is properly centered in the candle container, consider using a candle wick centering device. This will help to keep the wick in place while pouring the melted wax.
- Experiment with Different Wick Sizes: If you notice that your candles tend to burn unevenly, it may be worth experimenting with different wick sizes. A thicker or thinner wick can help achieve a more balanced and consistent burn.
- Clean Candle Containers for Repurposing: Once you have removed the wick, clean the candle container thoroughly to eliminate any remaining wax residue or soot. This will ensure a clean surface for repurposing the container.
These tips and tricks can enhance your wick removal process and improve your overall candle experience. Incorporate them into your routine to achieve optimal results.
Remember, every candle is different, so don’t be afraid to experiment and find the techniques that work best for your specific candles and preferences.
Conclusion
Removing wicks from candles is a practical skill that allows you to extend the life of your candles and repurpose their containers. By following the step-by-step instructions in this guide, you can safely and effectively remove wicks from candles, whether you’re trimming them for a clean burn or replacing them for future use.
We discussed the importance of preparing the candle beforehand, removing excess wax, loosening the wick, and ultimately removing the wick from the candle. It’s crucial to exercise caution throughout the process, prioritizing safety to avoid accidents or damage to the candle or yourself.
Additionally, we provided some valuable tips and tricks that can enhance your wick removal experience. From freezing the candle to utilizing specific tools and techniques, these suggestions can make the process more efficient and successful.
Remember to consider the safety precautions outlined in this guide and make the necessary adjustments to suit your specific situation. Stay organized, clean up any remaining wax residue, and dispose of removed wicks properly.
Now that you have the knowledge and confidence to remove wicks from candles, you can enjoy the satisfaction of reusing candle containers, creating custom candles, and maintaining a clean and optimal burning experience.
So go ahead, unleash your creativity, and continue to enjoy the warm and inviting ambiance of candles, knowing that you have the skills to keep the flame burning bright!
Frequently Asked Questions about How To Remove Wicks From Candles
Was this page helpful?
At Storables.com, we guarantee accurate and reliable information. Our content, validated by Expert Board Contributors, is crafted following stringent Editorial Policies. We're committed to providing you with well-researched, expert-backed insights for all your informational needs.


0 thoughts on “How To Remove Wicks From Candles”