Articles
How To Remove Delta Tub Spout Adapter
Modified: December 7, 2023
Learn how to remove a Delta tub spout adapter with our helpful articles. Find step-by-step instructions and expert tips to complete the task efficiently.
(Many of the links in this article redirect to a specific reviewed product. Your purchase of these products through affiliate links helps to generate commission for Storables.com, at no extra cost. Learn more)
Introduction
Removing a Delta tub spout adapter may seem like a daunting task, but with the right tools and a little know-how, it can be a relatively simple process. Whether you’re replacing an old or damaged adapter, or simply want to upgrade to a different style, this guide will walk you through the steps to successfully remove the Delta tub spout adapter.
Before we dive into the removal process, it’s important to note that Delta tub spouts come in various types, including slip-on, threaded, and diverter tub spouts. Each type requires its own specific approach for removal. Identifying the type of adapter you have is crucial in order to complete the removal process accurately and efficiently.
In this guide, we will cover the general steps involved in removing a Delta tub spout adapter. However, it’s important to consult the manufacturer’s instructions or seek professional assistance if you encounter any difficulties or have a unique situation.
Now that you have a general idea of what to expect, let’s review the tools and materials you’ll need to successfully complete the removal process. By having all the necessary supplies on hand, you’ll be well-prepared to tackle this task with ease. So gather your tools and let’s get started on removing that Delta tub spout adapter!
Key Takeaways:
- Proper identification of the Delta tub spout adapter type is crucial for successful removal. Whether it’s slip-on, threaded, or diverter, knowing the type ensures accurate removal and prevents potential complications.
- Thoroughly testing for leaks after installing the new Delta tub spout adapter is essential for ensuring a watertight installation. This step helps identify and address any potential issues, ensuring a trouble-free experience.
Read more: How To Remove A Bathtub Spout
Tools and Materials Needed
To remove the Delta tub spout adapter, you’ll need the following tools and materials:
1. Adjustable wrench: This will be used to loosen and remove the set screw holding the tub spout in place. Make sure the wrench fits securely around the set screw for a firm grip.
2. Screwdriver: Depending on the type of set screw used, you will need either a Phillips or flathead screwdriver to remove it. Check the screw head to determine the appropriate type of screwdriver.
3. Silicone lubricant: This will help in loosening any stuck or hard-to-remove tub spout adapter. Apply a small amount of silicone lubricant to the threads of the adapter for easier removal.
4. Pipe wrench: If you’re dealing with a stubborn or tightly secured tub spout adapter, a pipe wrench may be necessary to provide extra leverage. This tool will help you unscrew the adapter from the pipe.
5. Replacement tub spout adapter: If you’re removing the existing adapter for replacement purposes, be sure to have the new adapter ready before starting the removal process. Ensure that the new adapter is compatible with your Delta tub spout model.
6. Towel or rag: This will come in handy for wiping away any debris or excess lubricant during the removal process. It will also help protect the finish of the tub spout from scratches or damage.
It’s essential to have these tools and materials readily available before starting the removal process. This will not only ensure a smooth and efficient removal but also minimize the risk of causing any damage to your tub spout or plumbing system. Now that you’re equipped with the necessary tools, let’s move on to the step-by-step process of removing the Delta tub spout adapter.
Step 1: Preparation
Before you begin the process of removing the Delta tub spout adapter, it’s important to take a few preliminary steps to ensure a smooth and hassle-free removal process. Here’s what you need to do:
1. Shut off the water supply: Locate the main water valve for your bathroom and turn it off. This will prevent any water from flowing when you remove the tub spout adapter, minimizing the risk of leakage or water damage.
2. Protect the tub surface: To prevent any scratches or damage to the tub surface, place a towel or rag over the drain and surrounding area. This will provide a protective barrier against accidental slips or scratches during the removal process.
3. Clean the tub spout: Before removing the tub spout adapter, give the tub spout itself a thorough cleaning. Use a mild cleaner or soap solution and a soft cloth or sponge to remove any dirt, grime, or residue. Cleaning the tub spout will not only make the removal process easier but also ensure a clean surface for the installation of the new adapter, if needed.
4. Prepare your workspace: Clear the area around the tub spout of any clutter or obstacles that may hinder your movement or access. It’s important to have a clear and unobstructed workspace to allow for easier maneuverability during the removal process.
By taking these preparatory steps, you’ll set yourself up for a successful and smooth removal process. Once you’ve completed these preparations, you’re ready to move on to the next step: identifying the type of Delta tub spout adapter you have.
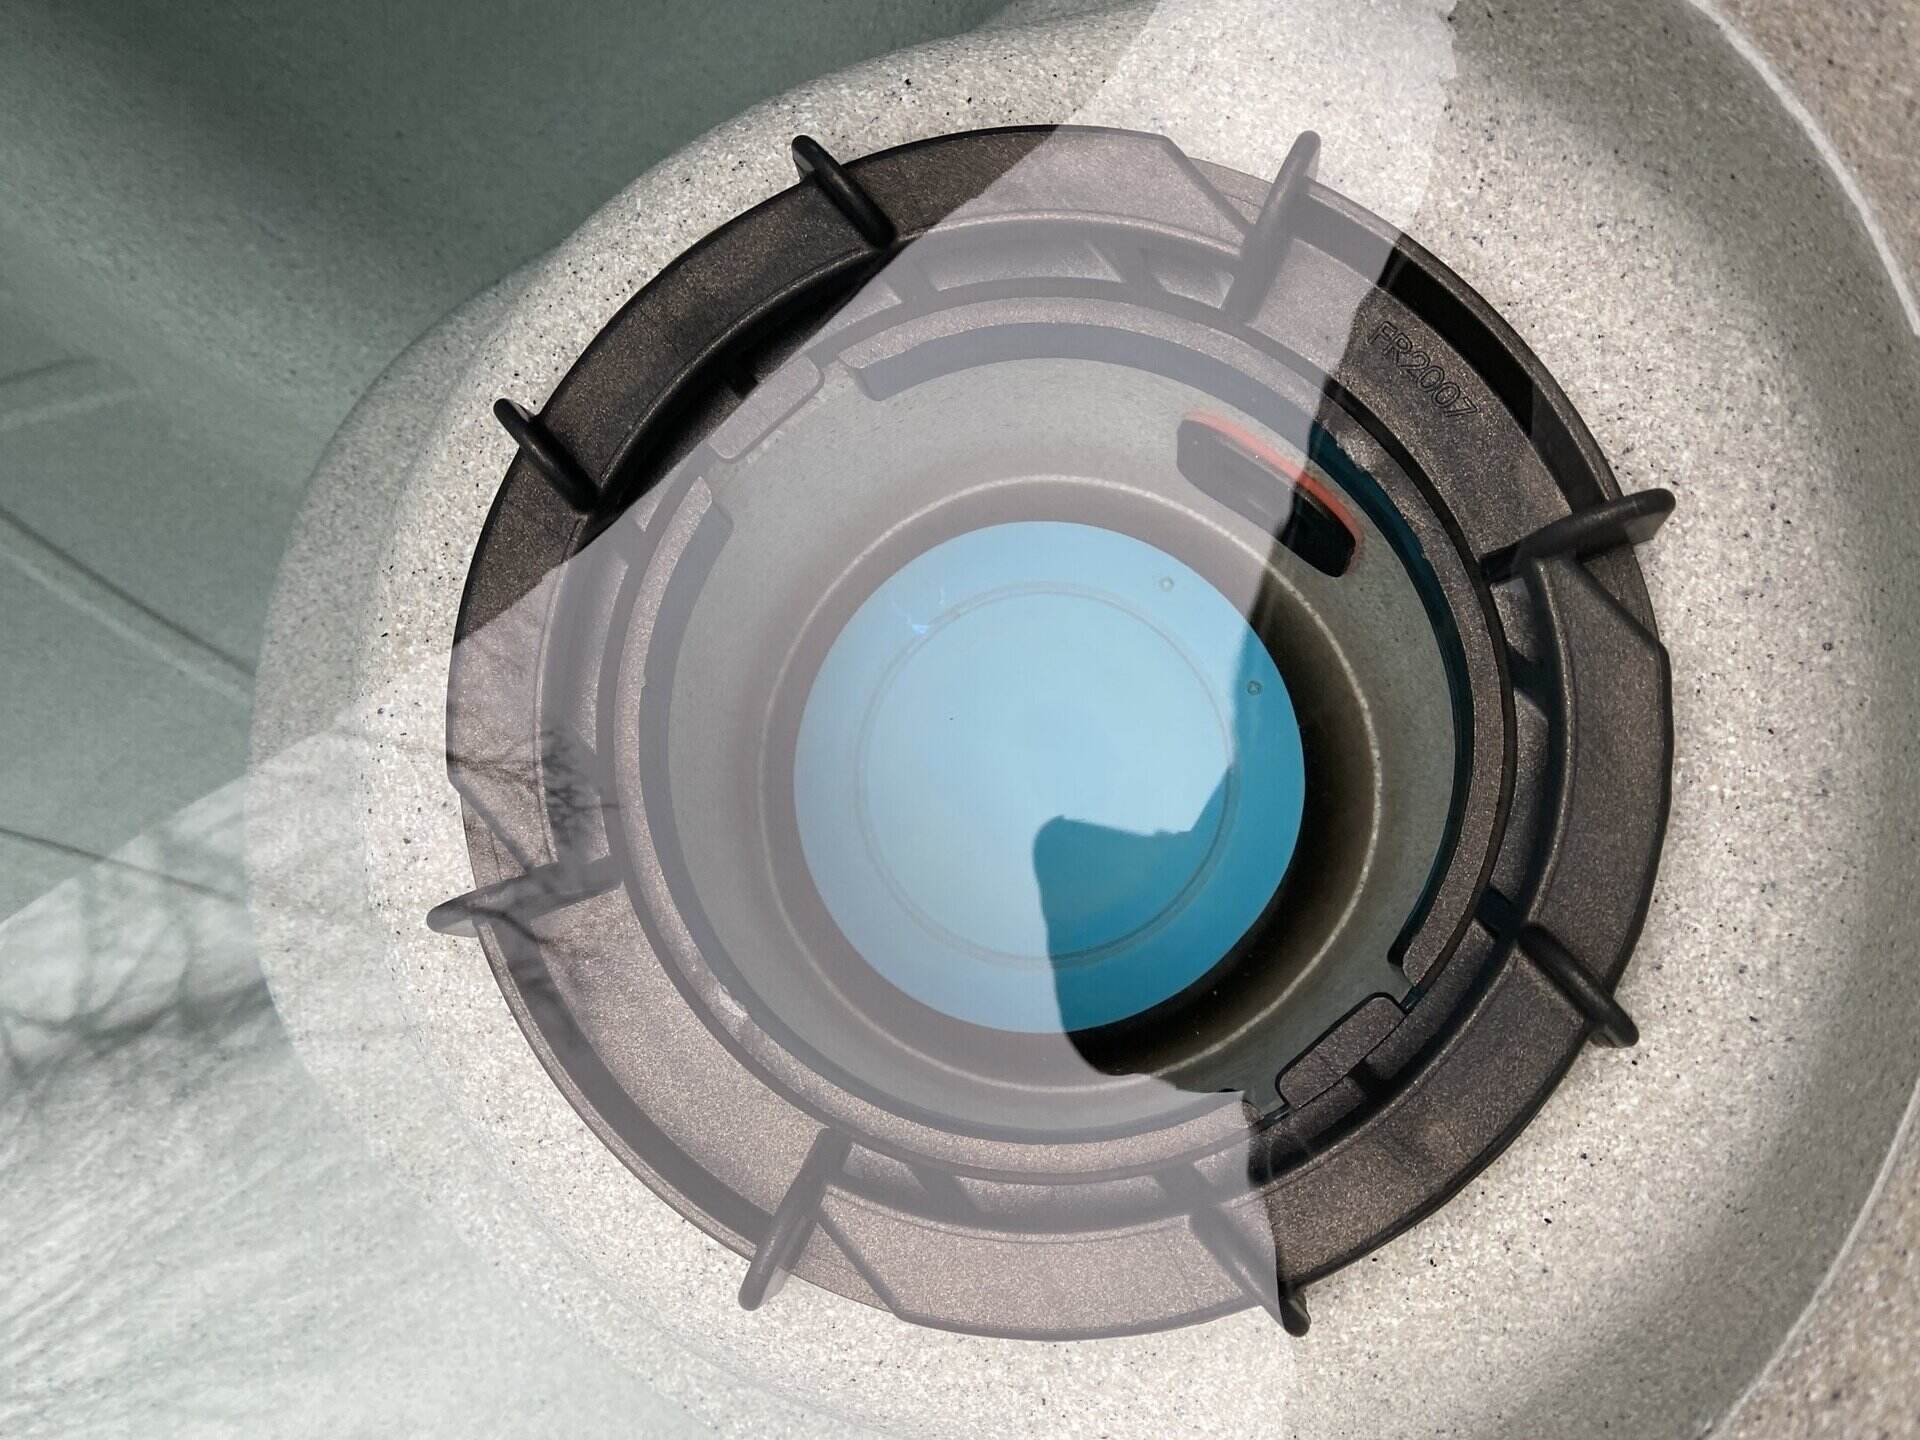
Step 2: Identify the Type of Delta Tub Spout Adapter
Before you can successfully remove the Delta tub spout adapter, it’s essential to identify the type of adapter you have. Delta tub spouts come in different styles and designs, and each requires a specific method for removal. Here are the main types of Delta tub spout adapters:
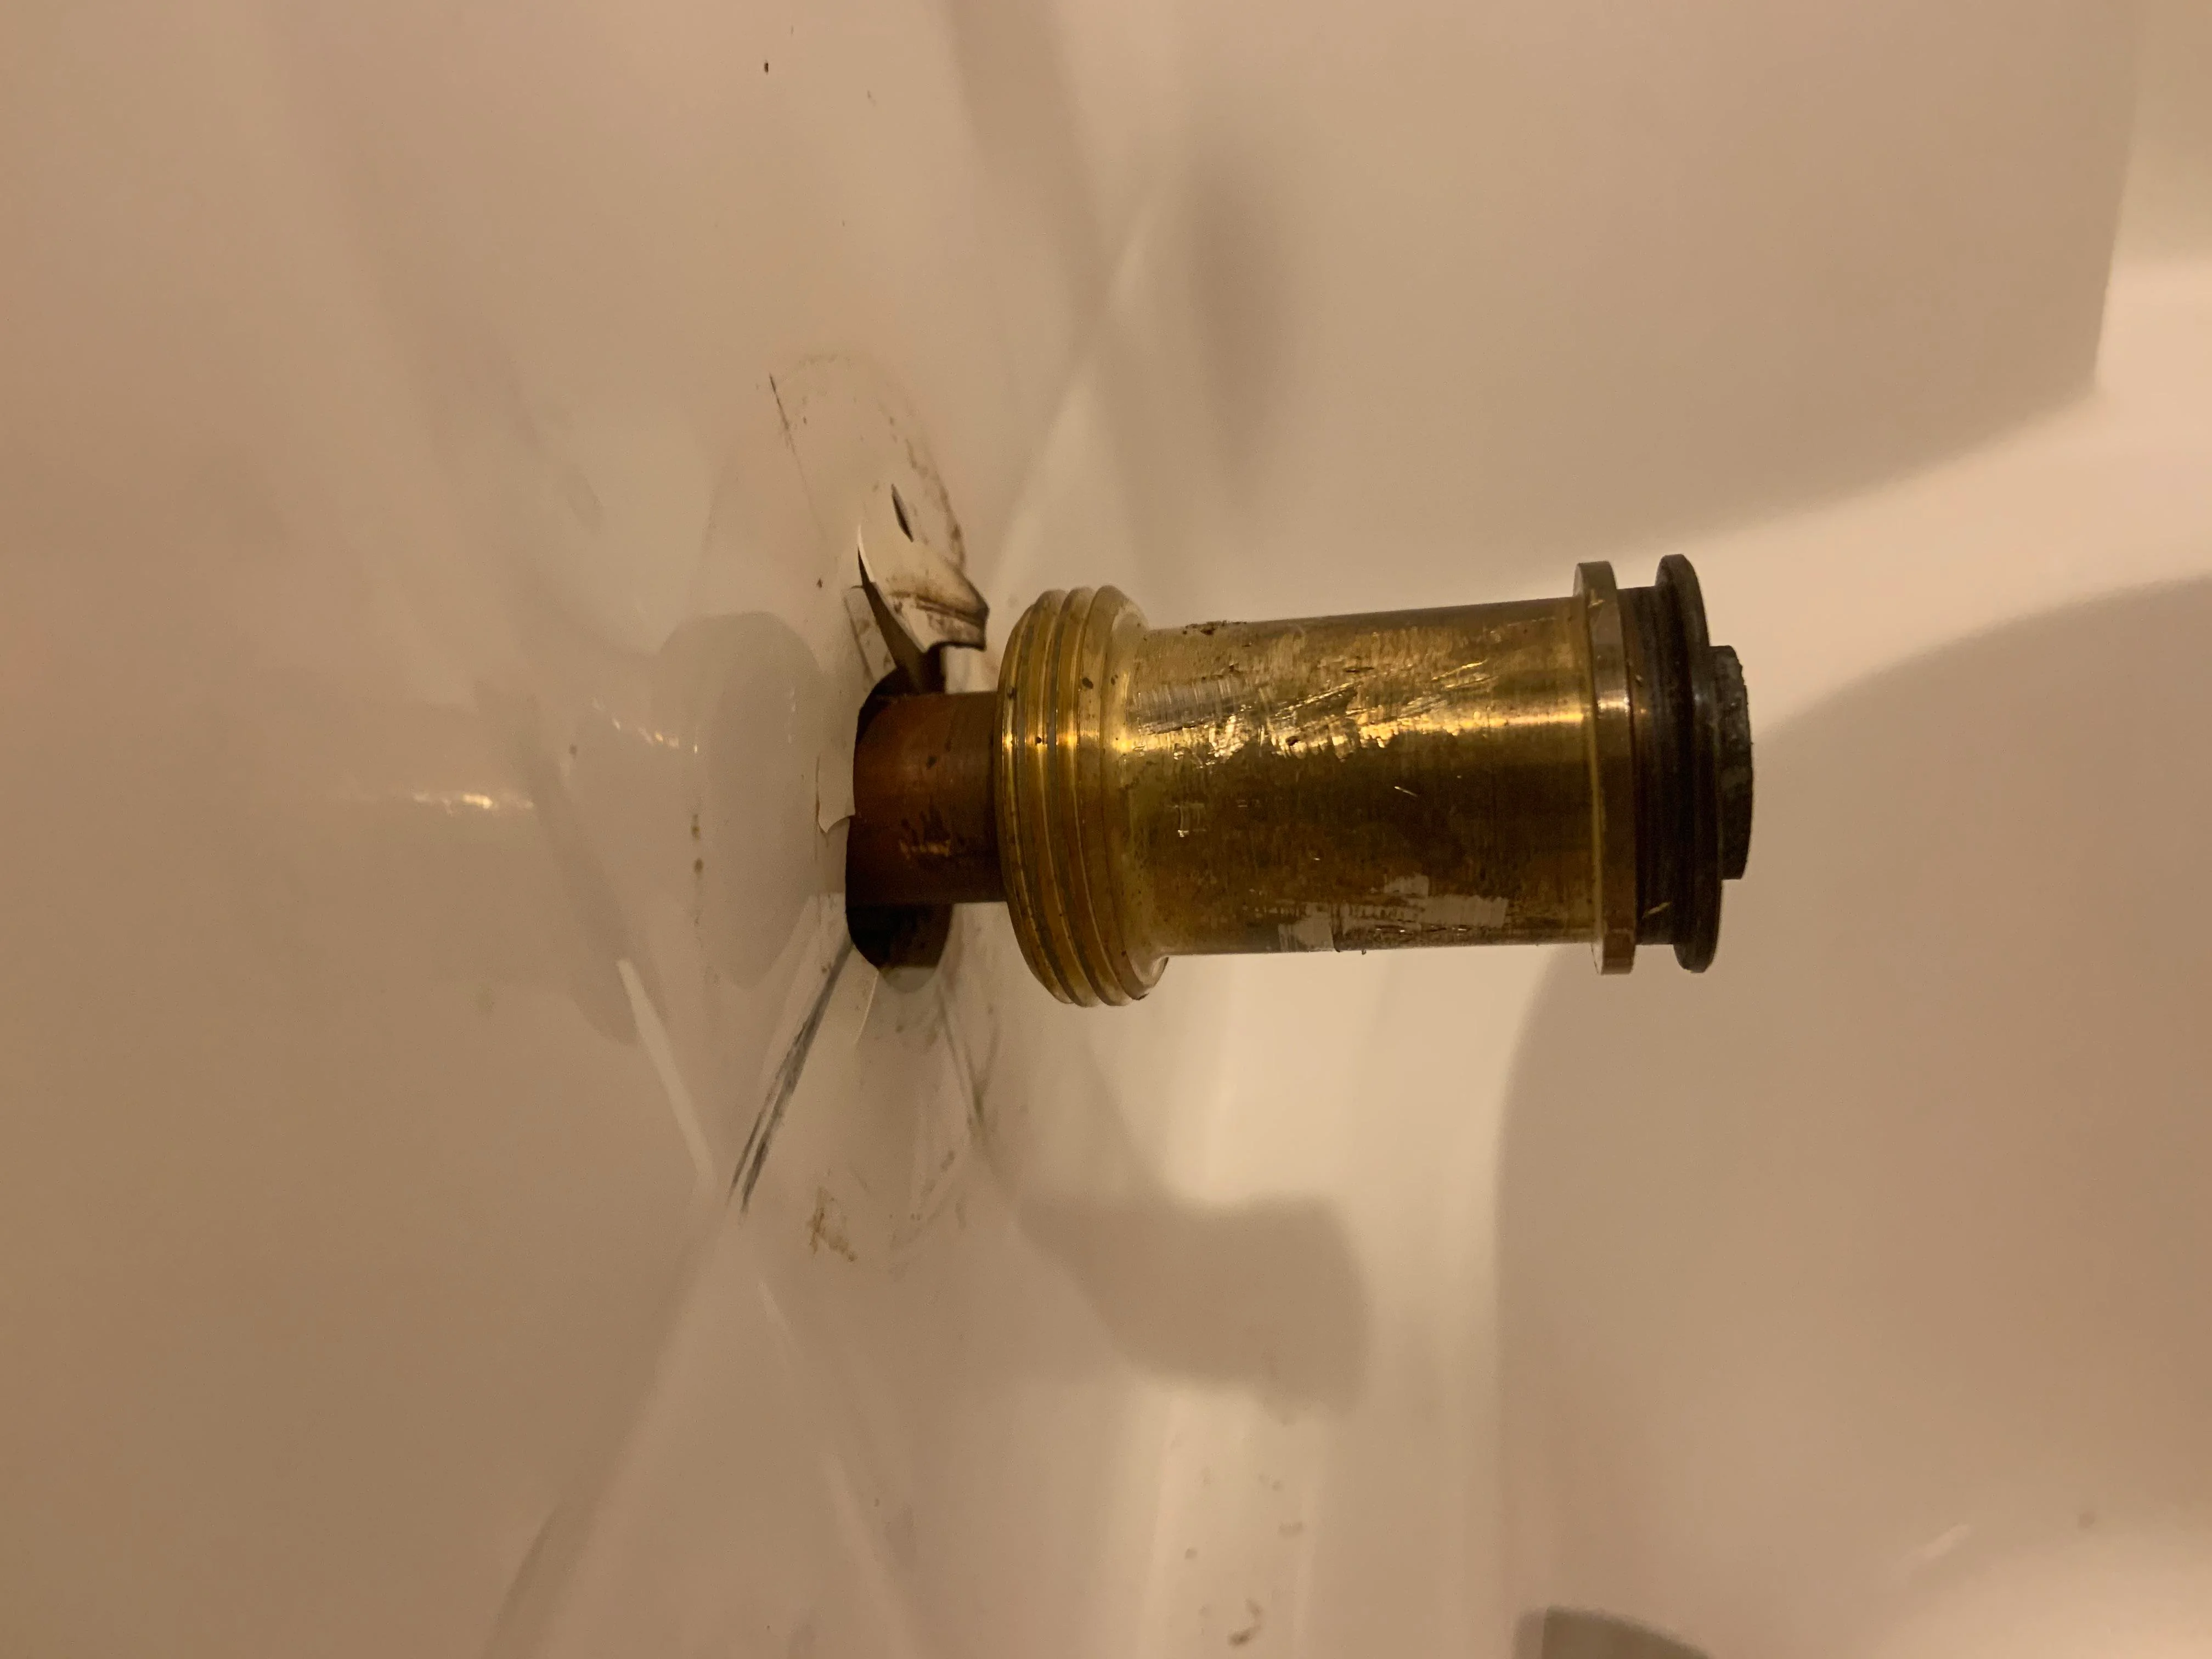
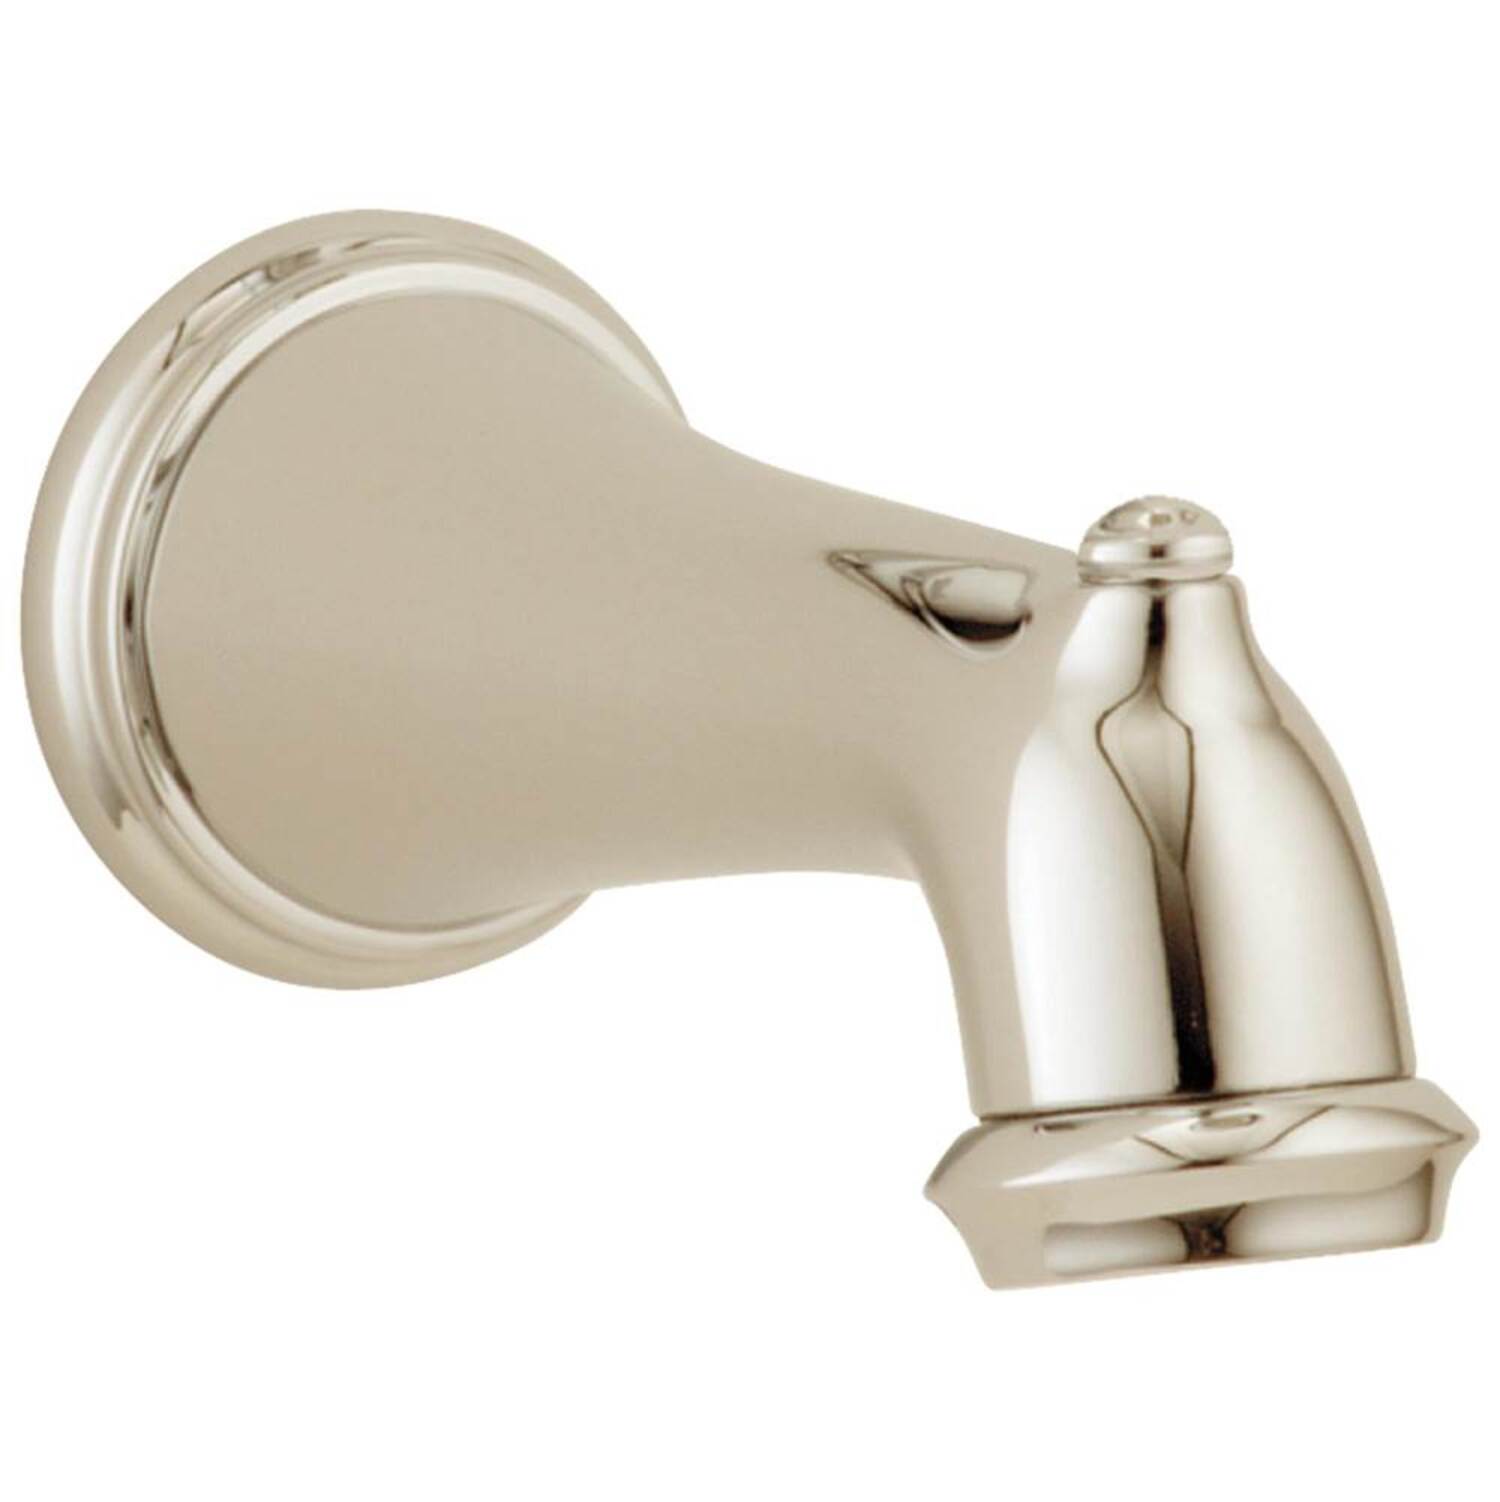
1. Slip-On Adapter: This type of adapter is commonly found on older Delta tub spout models. It slides onto the pipe and is held in place by a set screw located on the bottom side. To remove a slip-on adapter, you’ll need to locate and remove the set screw, which secures the spout to the pipe.
2. Threaded Adapter: Threaded adapters are found on newer Delta tub spout models. They screw onto the threaded pipe, allowing for a more secure connection. To remove a threaded adapter, you’ll need to unscrew it counterclockwise from the pipe.
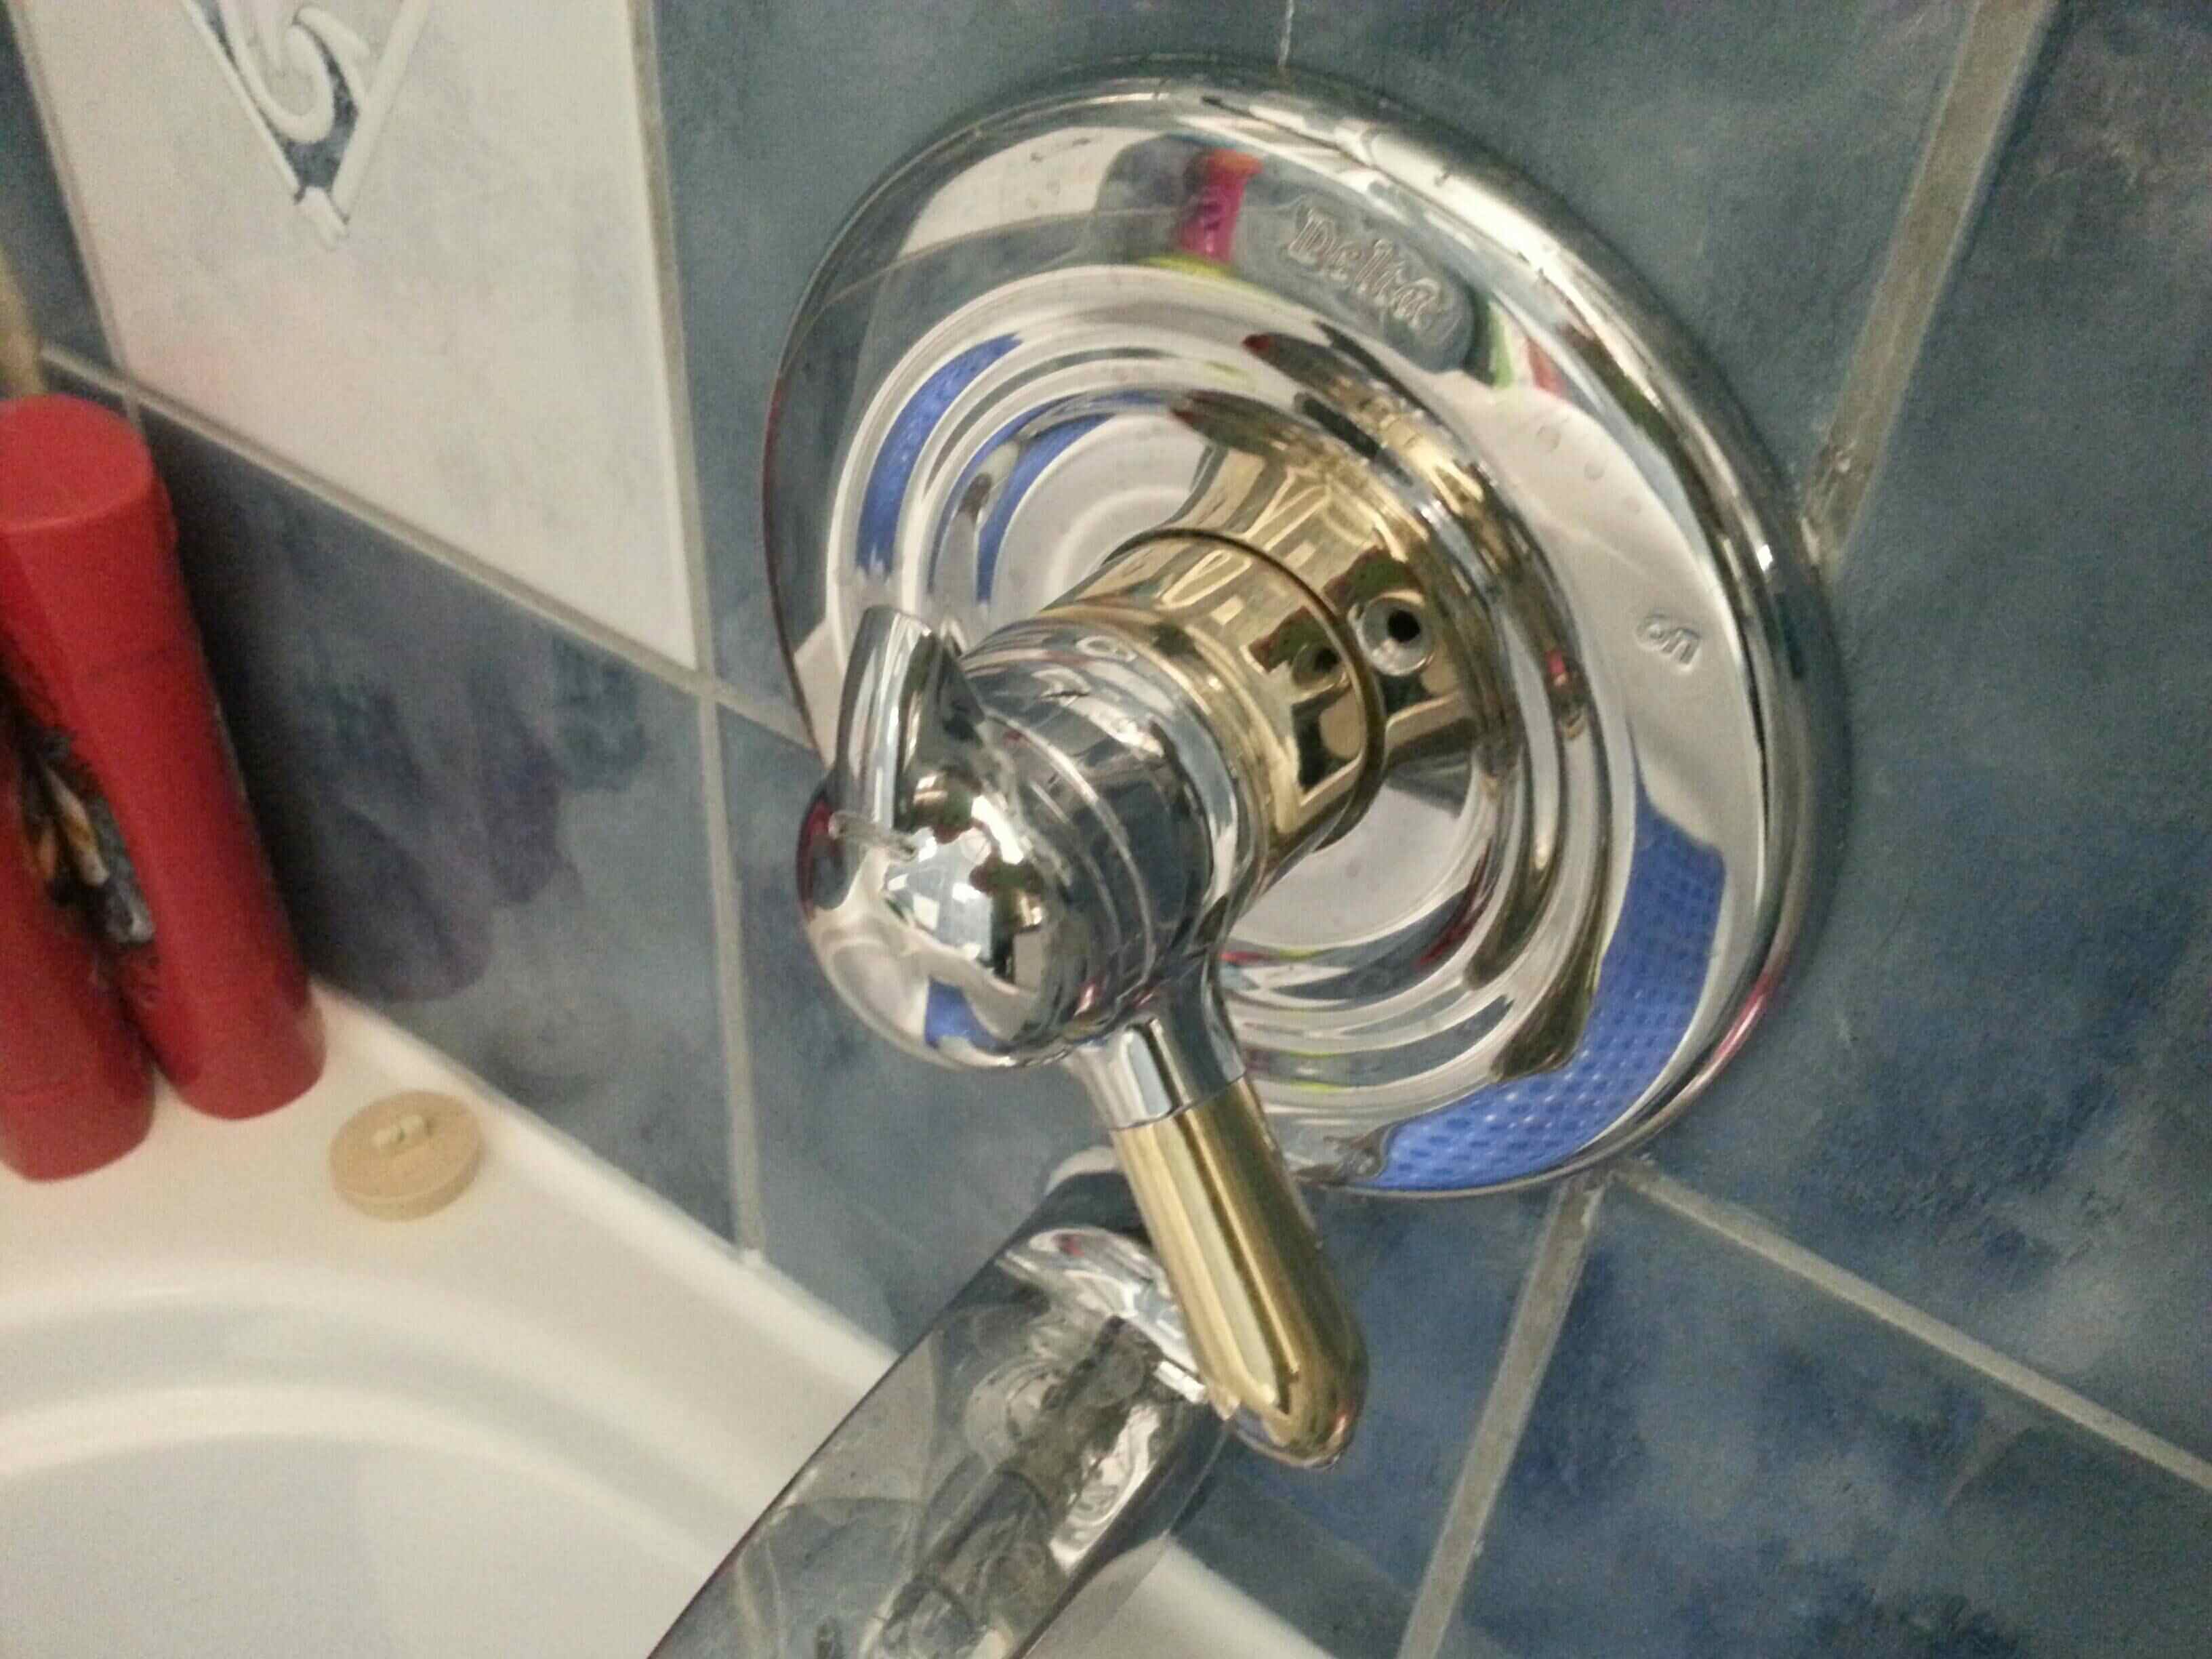
3. Diverter Tub Spout Adapter: Diverter tub spouts are equipped with an adapter that diverts water between the tub spout and the showerhead. These adapters usually have a lever or knob that controls the flow of water. To remove a diverter tub spout adapter, you’ll need to follow the specific instructions provided by the manufacturer, as the removal process can vary based on the design.
To identify the type of Delta tub spout adapter you have, visually inspect your tub spout and look for any distinguishing features or characteristics. Check for the presence of a set screw, threads on the pipe, or a diverter mechanism. Additionally, refer to the manufacturer’s documentation or look up your specific Delta tub spout model to determine the type of adapter it uses.
By correctly identifying the type of Delta tub spout adapter you have, you’ll be able to proceed with the removal process accurately and avoid any potential issues or complications. Once you’ve determined the type of adapter, you’re ready to move on to the next step: removing the set screw (if applicable) in Step 3.
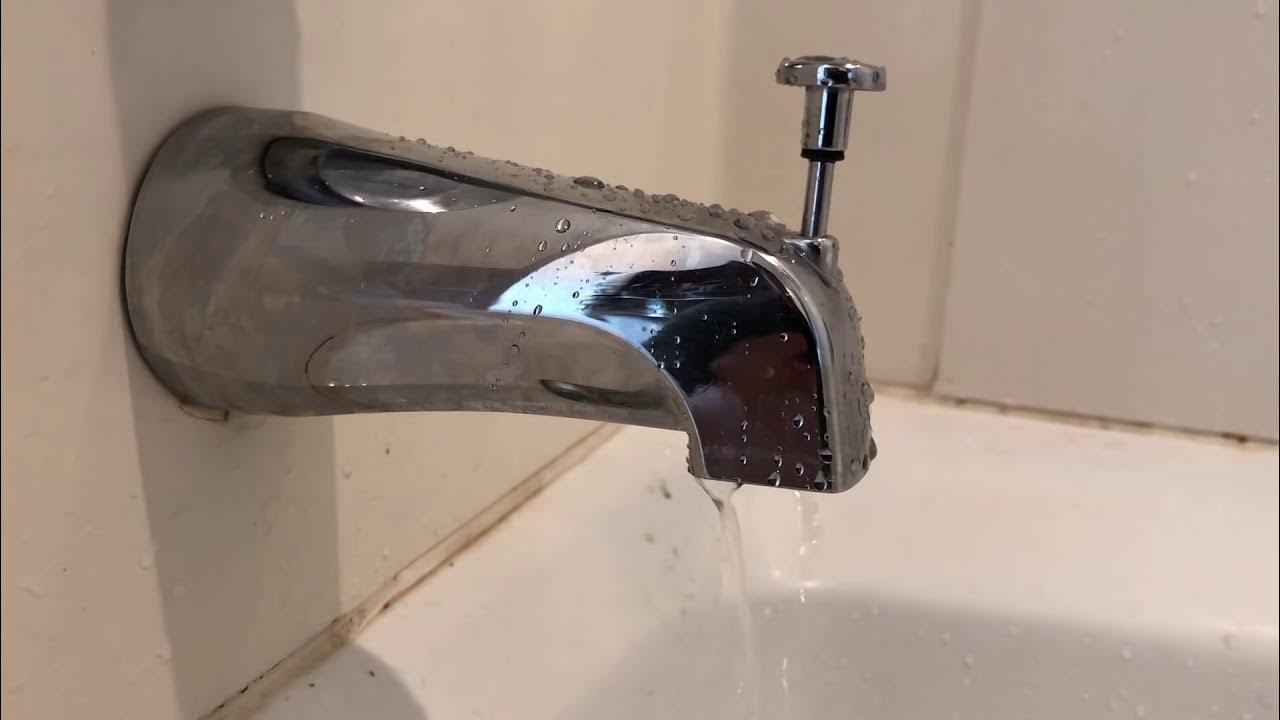
Step 3: Remove the Set Screw
If your Delta tub spout adapter is a slip-on type, it will be secured in place with a set screw. Removing this set screw is the first step in the removal process. Follow these steps to remove the set screw:
1. Locate the set screw: The set screw is typically located on the underside of the tub spout, near the wall. Look for a small hole or indentation where the set screw is housed. If you can’t find it, consult the manufacturer’s documentation or look up your specific Delta tub spout model for guidance.
2. Use a small screwdriver: Once you’ve located the set screw, use a small Phillips or flathead screwdriver that matches the type of screw head. Insert the screwdriver into the set screw and turn it counterclockwise to loosen it. Be careful not to apply too much force, as you don’t want to strip the screw.
3. Remove the set screw: Once the set screw is loose, continue turning it counterclockwise until it is completely removed. Place the set screw in a safe place, as you’ll need it when reinstalling the tub spout or installing a new adapter.
4. Pull the tub spout adapter: With the set screw removed, you can now pull the tub spout adapter away from the pipe. Gently wiggle and twist the adapter to loosen it from the pipe. If it’s difficult to remove, you can apply a small amount of silicone lubricant to the threads of the adapter to help loosen it.
It’s important to note that not all Delta tub spout adapters have set screws. If your tub spout adapter is threaded or a diverter type, you can skip this step and proceed to the next corresponding step in the removal process.
By removing the set screw, you’ve completed an important step in the removal process. With the set screw out of the way, you’re now ready to move on to Step 4: loosening and removing the Delta tub spout adapter itself.
Use a pipe wrench to grip the adapter and turn it counterclockwise to loosen and remove it from the tub spout. If it’s stuck, apply penetrating oil and let it sit for a few hours before trying again.
Read more: How To Remove An Old Bathtub Spout
Step 4: Loosen and Remove the Delta Tub Spout Adapter
Once the set screw has been removed (if applicable), it’s time to loosen and remove the Delta tub spout adapter itself. Follow these steps to accomplish this:
1. Apply silicone lubricant (if necessary): If the tub spout adapter feels stuck or difficult to remove, apply a small amount of silicone lubricant to the threads of the adapter. This will help loosen the adapter and make it easier to unscrew.
2. Grip the tub spout adapter: Depending on the type of adapter, you may have different options for gripping and turning it. For slip-on adapters, you can use your hands to grip and twist the adapter counterclockwise to loosen it. If it’s difficult to twist by hand, you can use an adjustable wrench or a strap wrench for added leverage.
3. Turn counterclockwise to remove: With a firm grip on the tub spout adapter, turn it counterclockwise to unscrew it from the pipe. Apply steady and even pressure as you turn to prevent any damage to the threads or plumbing. If you encounter resistance, stop and reapply silicone lubricant to the threads before continuing.
4. Continue unscrewing until fully removed: Keep turning the tub spout adapter counterclockwise until it is completely removed from the pipe. Be careful not to force it if it becomes stubborn or stuck. If necessary, use a pipe wrench to provide additional leverage and control while turning the adapter.
5. Inspect the pipe and clean if needed: Once the tub spout adapter is removed, take a moment to inspect the pipe for any debris or buildup. If you notice any dirt or mineral deposits, use a soft cloth or brush to clean the pipe threads before installing a new adapter.
By successfully loosening and removing the Delta tub spout adapter, you’ve made significant progress in the removal process. With the adapter removed, you can now move on to the next step: cleaning and preparing the pipe for a new Delta tub spout adapter, or proceeding with the installation of a new tub spout altogether if needed.
Step 5: Clean and Prepare the Pipe
After removing the Delta tub spout adapter, it’s important to clean and prepare the pipe to ensure a proper and secure fit for the new adapter or tub spout. Follow these steps to clean and prepare the pipe:
1. Inspect the pipe thread: Take a close look at the pipe where the tub spout adapter was attached. Check for any dirt, debris, or old sealant that may be present on the pipe thread. It’s essential to have a clean and smooth surface for the new adapter or tub spout to properly fit.
2. Remove any residue: If you notice any residue or old sealant on the pipe thread, use a soft cloth or brush to gently scrub it away. Be cautious not to damage the pipe while cleaning. Ensure that all debris is fully removed to create a clean surface for the new adapter.
3. Check for damage: While inspecting the pipe thread, keep an eye out for any signs of damage or corrosion. Look for cracks, breaks, or significant wear that may affect the installation of the new adapter. If you notice any damage, consult a professional plumber for further assistance.
4. Apply plumber’s tape: Before installing the new Delta tub spout adapter, it’s recommended to apply a layer of plumber’s tape to the pipe threads. Plumber’s tape, also known as Teflon tape, helps create a tight seal and prevents leaks. Start at the end of the pipe threads and wrap the tape around in a clockwise direction. Make sure to cover the entire threaded area with tape, overlapping the edges slightly.
5. Secure the tape: After applying the plumber’s tape, press it firmly against the pipe threads to ensure it adheres securely. This will help prevent the tape from unraveling during the installation process.
By properly cleaning and preparing the pipe, you’re ensuring that the new Delta tub spout adapter or tub spout will fit securely and prevent any leaks or loose connections. With the pipe cleaned and prepped, you’re now ready to proceed with the installation of a new Delta tub spout adapter in Step 6, or install a new tub spout altogether if needed.
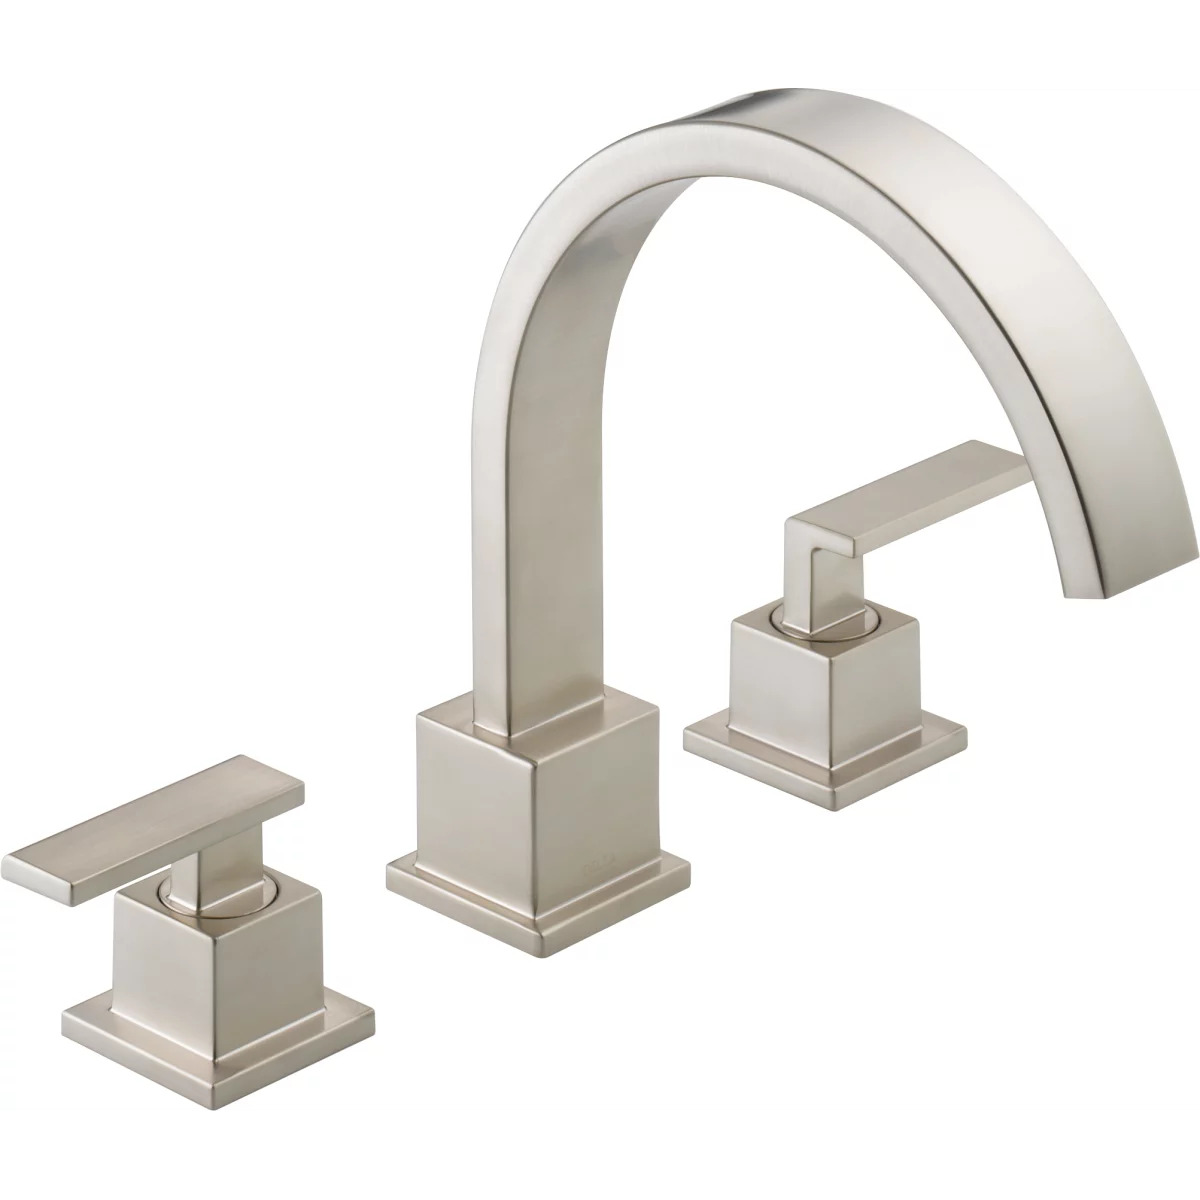
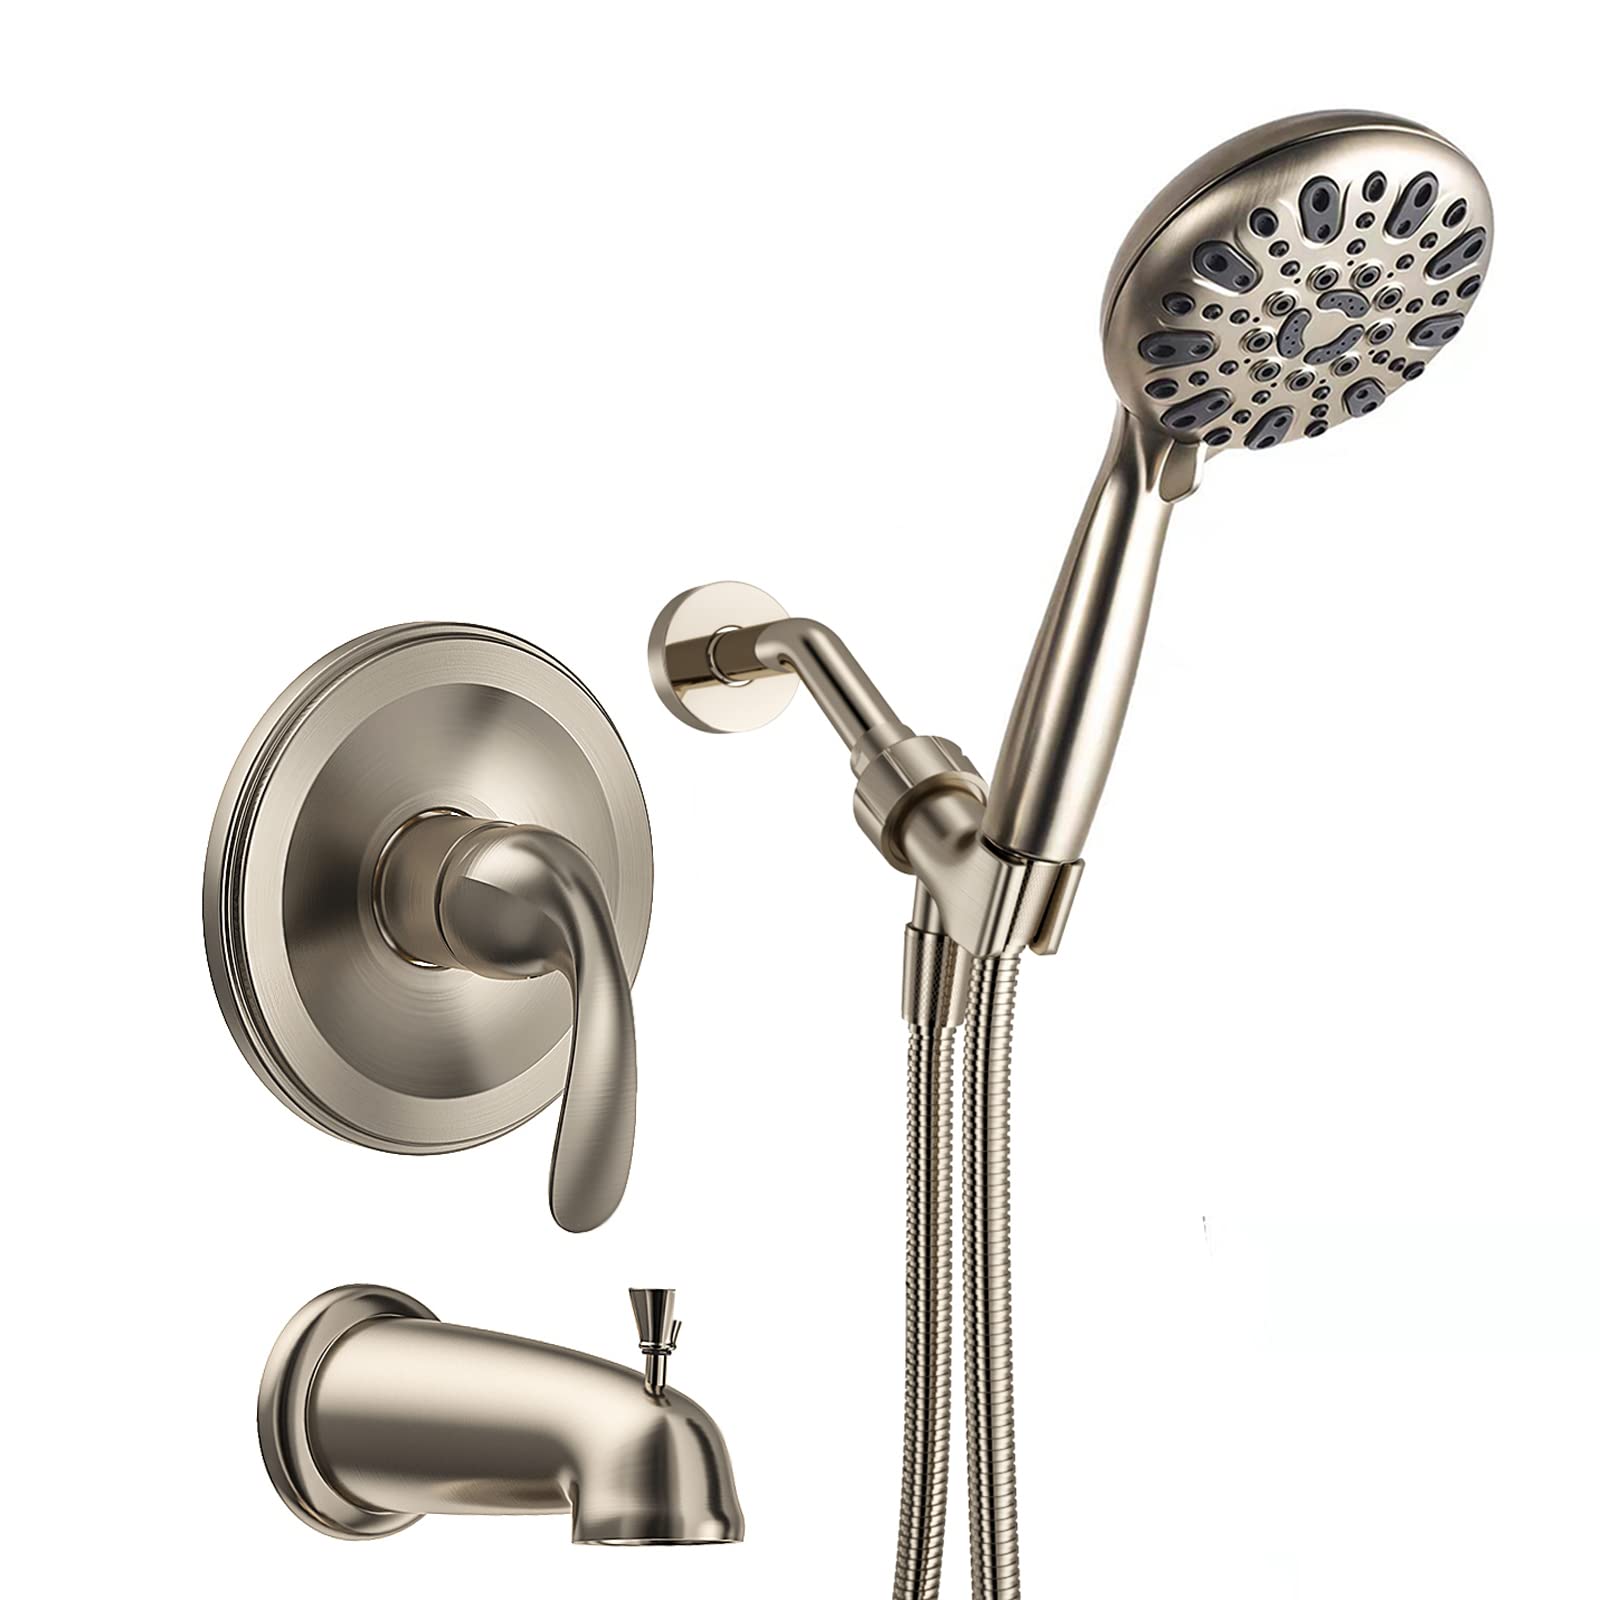
Step 6: Install a new Delta Tub Spout Adapter
If you are replacing the old Delta tub spout adapter with a new one, or if you’re installing a tub spout for the first time, follow these steps to properly install the new Delta tub spout adapter:
1. Select the appropriate adapter: Ensure that you have the correct type of Delta tub spout adapter that is compatible with your tub spout model. Refer to the manufacturer’s instructions or the guidelines specific to your tub spout to ensure a proper fit.
2. Apply plumber’s tape: Just like in Step 5, wrap a layer of plumber’s tape clockwise around the pipe threads. This will create a tight seal and help prevent any leaks.
3. Align the adapter: Hold the new Delta tub spout adapter and align it with the pipe threads. Make sure the adapter is in the correct orientation, as per the manufacturer’s instructions or the markings on the adapter itself.
4. Hand-tighten the adapter: Begin screwing the adapter onto the pipe threads by hand, turning it clockwise. Apply gentle pressure as you tighten the adapter, ensuring that the threads are properly aligned. Continue tightening until the adapter is snug against the pipe.
5. Use an adjustable wrench (if necessary): If the adapter needs additional tightening or if the manufacturer’s instructions call for it, use an adjustable wrench to gently tighten the adapter. Be cautious not to overtighten, as this can damage the threads or the adapter itself. Use a cloth or rag to protect the finish of the adapter from any scratches or marks while using the wrench.
6. Check for proper alignment: Once the adapter is securely tightened, check that it is properly aligned with the wall or the desired direction for the tub spout installation. Adjust as necessary before moving on to the next step.
By following these steps, you can successfully install a new Delta tub spout adapter. Remember to consult the manufacturer’s instructions or seek professional assistance if you encounter any difficulties or have a unique situation. With the new adapter installed, you’re now ready to move on to Step 7: testing for leaks.
Step 7: Test for Leaks
After installing the new Delta tub spout adapter, it’s essential to test for any potential leaks. Follow these steps to ensure that the installation is secure and watertight:
1. Turn on the water supply: Go to the main water valve for your bathroom and slowly turn it back on. Allow water to flow through the pipes and into the tub spout.
2. Inspect for visible leaks: Carefully examine the area around the new Delta tub spout adapter for any signs of water leakage. Check for dripping or pooling water on the wall, floor, or spout itself. If you notice any leaks, promptly turn off the water supply and assess the installation for possible issues or mistakes.
3. Check for hidden leaks: Sometimes, leaks may not be immediately visible. To identify any hidden leaks, place a dry cloth or paper towel around the base of the tub spout adapter. Leave it in place for a few minutes and then check for any wet spots or moisture on the cloth. If you detect any signs of a hidden leak, address the issue promptly.
4. Tighten if necessary: If you notice any minor leaks or dripping, try gently tightening the Delta tub spout adapter using an adjustable wrench. Be careful not to overtighten, as this can cause damage. After tightening, retest for leaks.
5. Seek professional assistance if needed: If you encounter persistent leaks or are unsure about the installation, it’s advisable to consult a professional plumber. They can assess the situation, provide guidance, and ensure that the Delta tub spout adapter is securely installed without any leaks.
By thoroughly testing for leaks, you can confidently confirm that the new Delta tub spout adapter is properly installed and functioning as intended. Once you’re satisfied that there are no leaks, you can enjoy the convenience and functionality of your new Delta tub spout. Congratulations on completing the process of removing and installing a Delta tub spout adapter!
Read more: How To Remove Spout From Homestead Kegerator
Conclusion
Removing and replacing a Delta tub spout adapter may seem like a challenging task, but with the right tools, knowledge, and careful steps, it can be accomplished successfully. Throughout this guide, we covered the essential steps to help you remove the Delta tub spout adapter and install a new one.
Starting with the preparation and identification of the tub spout adapter type, you ensured that you had the necessary tools and materials and understood the specific requirements for removal. Removing the set screw, loosening and removing the adapter itself, cleaning and preparing the pipe, and finally installing the new Delta tub spout adapter – each step was important in ensuring a seamless transition.
Lastly, we emphasized the importance of testing for leaks to ensure a watertight installation. By following these steps and checking for any signs of leaks, you can ensure a successful and trouble-free installation.
Remember, if you encounter any difficulties along the way or have a unique situation, it is always best to consult the manufacturer’s instructions or seek professional assistance. They can provide expert guidance and ensure that the installation is done correctly.
By successfully removing and installing a new Delta tub spout adapter, you have not only improved the functionality of your tub but also gained the satisfaction of completing a DIY project. You now have the knowledge and skills to tackle similar tasks in the future, which can empower you to make small repairs and improvements to your plumbing.
Remember to always prioritize safety and take necessary precautions when working with plumbing systems. With proper care and attention to detail, you can maintain a well-functioning and aesthetically pleasing bathroom for years to come.
Congratulations on completing the process of removing and installing a Delta tub spout adapter! Enjoy the enhanced functionality and convenience it brings to your bathing experience.
Frequently Asked Questions about How To Remove Delta Tub Spout Adapter
Was this page helpful?
At Storables.com, we guarantee accurate and reliable information. Our content, validated by Expert Board Contributors, is crafted following stringent Editorial Policies. We're committed to providing you with well-researched, expert-backed insights for all your informational needs.

0 thoughts on “How To Remove Delta Tub Spout Adapter”