Articles
How To Remove Freon From A Refrigerator
Modified: August 27, 2024
Learn how to properly remove Freon from a refrigerator with our informative articles. Get step-by-step instructions and expert tips to ensure safe and efficient removal.
(Many of the links in this article redirect to a specific reviewed product. Your purchase of these products through affiliate links helps to generate commission for Storables.com, at no extra cost. Learn more)
Introduction
When it comes to refrigerators, one of the most important components is the refrigerant, which helps to cool the air inside the appliance. However, there may be instances where you need to remove the refrigerant, such as when you are disposing of an old refrigerator or servicing a unit. Removing refrigerant, particularly the commonly used Freon or R-22, requires proper knowledge and equipment to ensure safety and environmental compliance.
In this article, we will walk you through the steps on how to remove Freon from a refrigerator safely and responsibly. We will provide you with essential information on safety precautions, required tools and materials, as well as a detailed step-by-step guide.
Note: Before proceeding with removing Freon from a refrigerator, it is important to check the regulations and requirements in your location regarding the proper handling, disposal, or recycling of refrigerants.
Key Takeaways:
- Prioritize safety by following proper ventilation, using personal protective equipment, and turning off the refrigerator before removing Freon. Always comply with local regulations for responsible disposal.
- Gather the necessary tools, locate the service valve, and follow step-by-step instructions to safely extract and store the Freon. Dispose of the refrigerant properly and ensure a thorough final clean-up for a successful process.
Read more: How To Remove Freon From An Air Conditioner
Safety Precautions
Before you begin the process of removing Freon from a refrigerator, it is crucial to prioritize safety. Refrigerants can be harmful to human health and the environment if not handled properly. Keep the following safety precautions in mind:
- Ensure proper ventilation: Work in a well-ventilated area like a garage or outdoor space to avoid inhaling any potentially harmful fumes.
- Use personal protective equipment (PPE): Wear safety goggles, gloves, and a respirator mask to protect yourself from contact with the refrigerant and any other chemicals.
- Turn off the refrigerator: Before starting any work, make sure to disconnect the power supply and turn off the refrigerator.
- Avoid open flames or sparks: Refrigerants are highly flammable, so ensure there are no open flames or sparks in the vicinity while working with them.
- Familiarize yourself with safety protocols: Read and understand the safety guidelines provided by the manufacturer of the recovery unit and follow them carefully.
- Dispose of materials properly: Dispose of used refrigerant containers, gloves, and any other waste in accordance with local regulations.
- Seek professional assistance if needed: If you are unsure about any aspect of the process or if you are dealing with a large amount of refrigerant, it is best to consult with a professional refrigeration technician.
Remember, the goal is to remove the Freon safely both for personal safety and to minimize negative impacts on the environment. So, always prioritize safety precautions and proper disposal methods.
Gather Required Tools and Materials
Before you can start removing Freon from your refrigerator, gather the following tools and materials:
- Refrigerant Recovery Unit: This is the main tool used to extract the Freon from the refrigerator. Ensure that the recovery unit is compatible with the type of refrigerant you are working with.
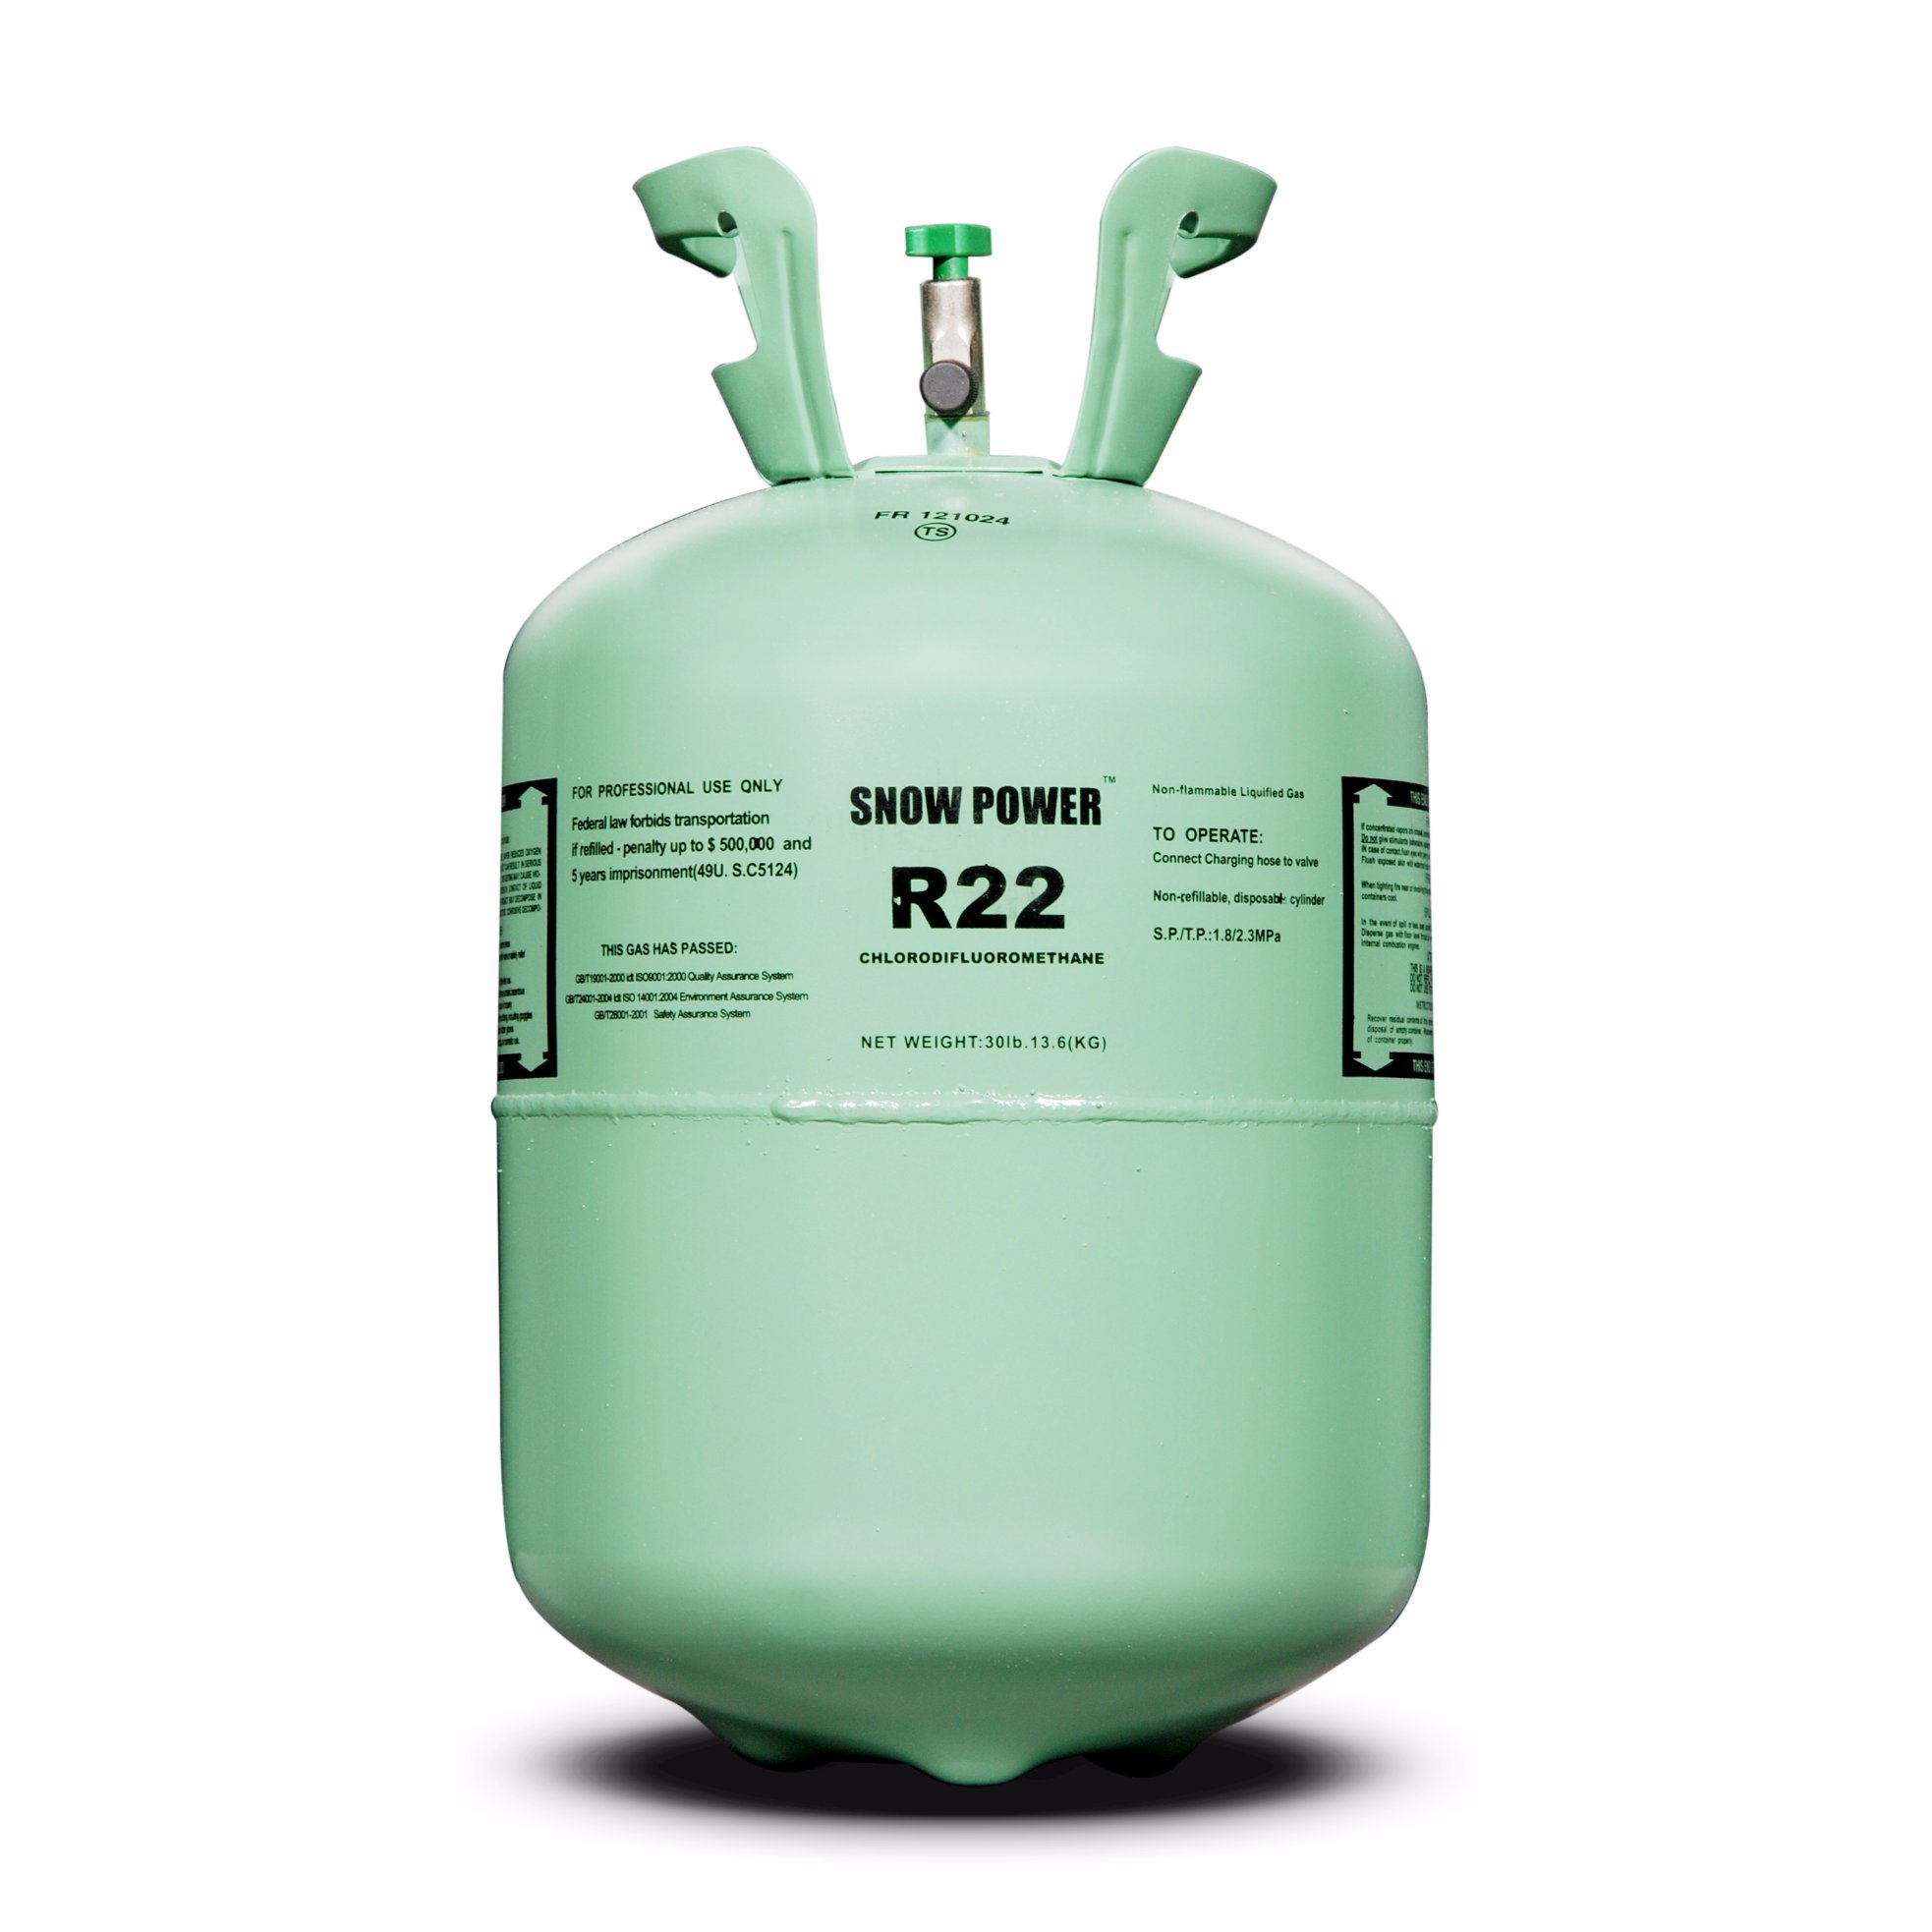
- Refrigerant Cylinder: You will need a cylinder to collect and store the extracted Freon. Make sure it is rated for the refrigerant you are handling.
- Manifold Gauge Set: This set helps you measure the pressure and temperature of the refrigerant during the recovery process.
- Wrenches: Have a set of wrenches on hand to help with removing any necessary components of the refrigerator.
- Leak Detector: It is essential to have a reliable electronic leak detector to check for any leaks in the refrigerant system.
- Gloves and Safety Goggles: Protect your hands and eyes with suitable gloves and safety goggles.
- Respirator Mask: Use a respirator mask approved for handling refrigerants to prevent inhaling any harmful fumes.
- Sealable Bags: These are useful for storing small components, such as valves or caps, to prevent them from getting lost during the process.
- Plastic Wrap and Tape: You may need these to cover any open ends of the refrigerant lines or connections to prevent air or moisture from entering the system.
- Waste Disposal Containers: Prepare appropriate containers for disposing of any waste materials generated during the process.
Ensure that all tools and materials are in good working condition and that you have a clear understanding of their usage.
Once you have gathered all the necessary tools and materials, you are ready to proceed with the process of removing Freon from your refrigerator.
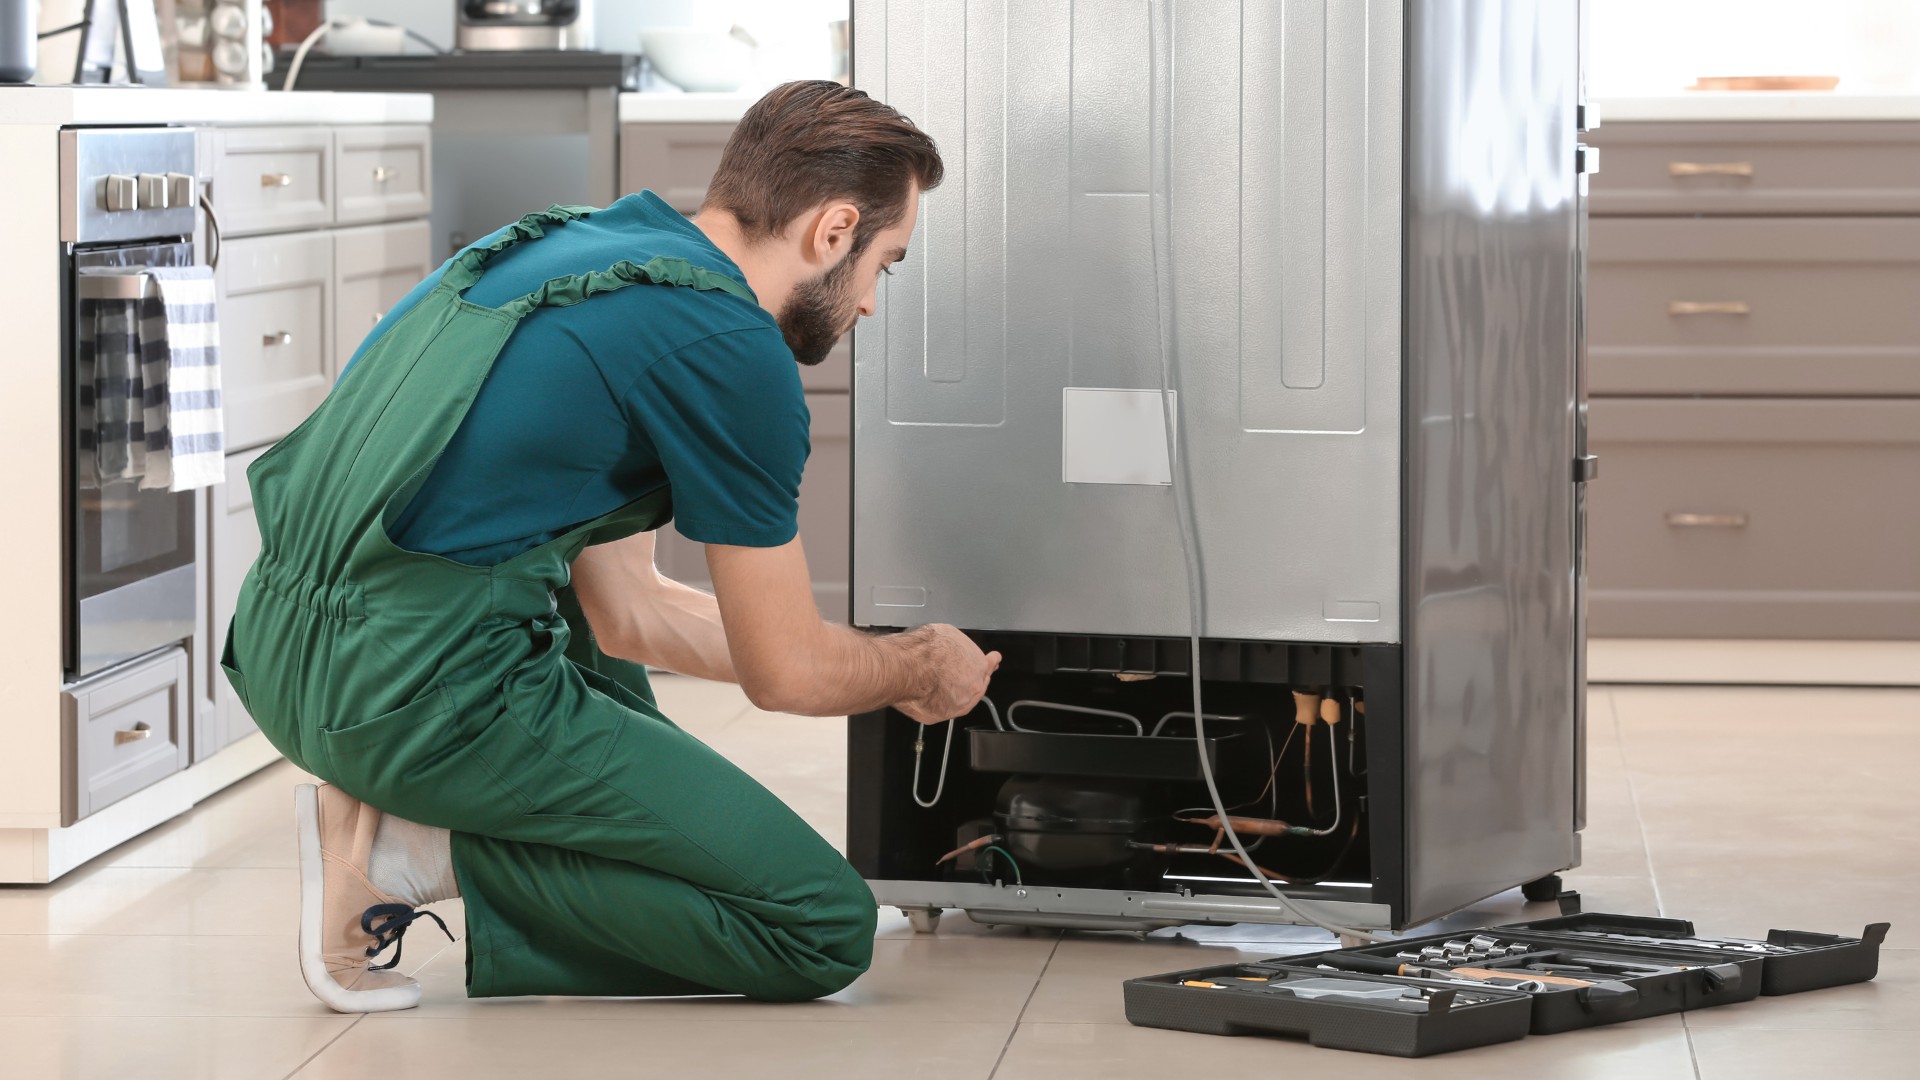
Step 1: Turn off the Refrigerator
Before you begin the process of removing Freon from your refrigerator, the first step is to turn off the appliance. This ensures that there is no power running to the refrigerator, minimizing any potential electrical hazards during the process.
Follow these steps to safely turn off the refrigerator:
- Unplug the refrigerator: Locate the power cord of the refrigerator and unplug it from the electrical outlet. This ensures that no power is being supplied to the appliance.
- Turn off the circuit breaker or fuse: Locate the circuit breaker panel or fuse box in your home. Identify the circuit or fuse that supplies power to the refrigerator and switch it off or remove the corresponding fuse.
- Confirm power is off: Once you have unplugged the refrigerator and turned off the circuit breaker or removed the fuse, verify that the appliance is no longer receiving power. Check that the lights inside the refrigerator no longer turn on and that the compressor is not running.
It is crucial to ensure that the refrigerator is completely powered off before proceeding to the next steps. This eliminates the risk of electrical shock and allows for a safer working environment.
Once you have successfully turned off the refrigerator, you can move on to the next step of the Freon removal process.
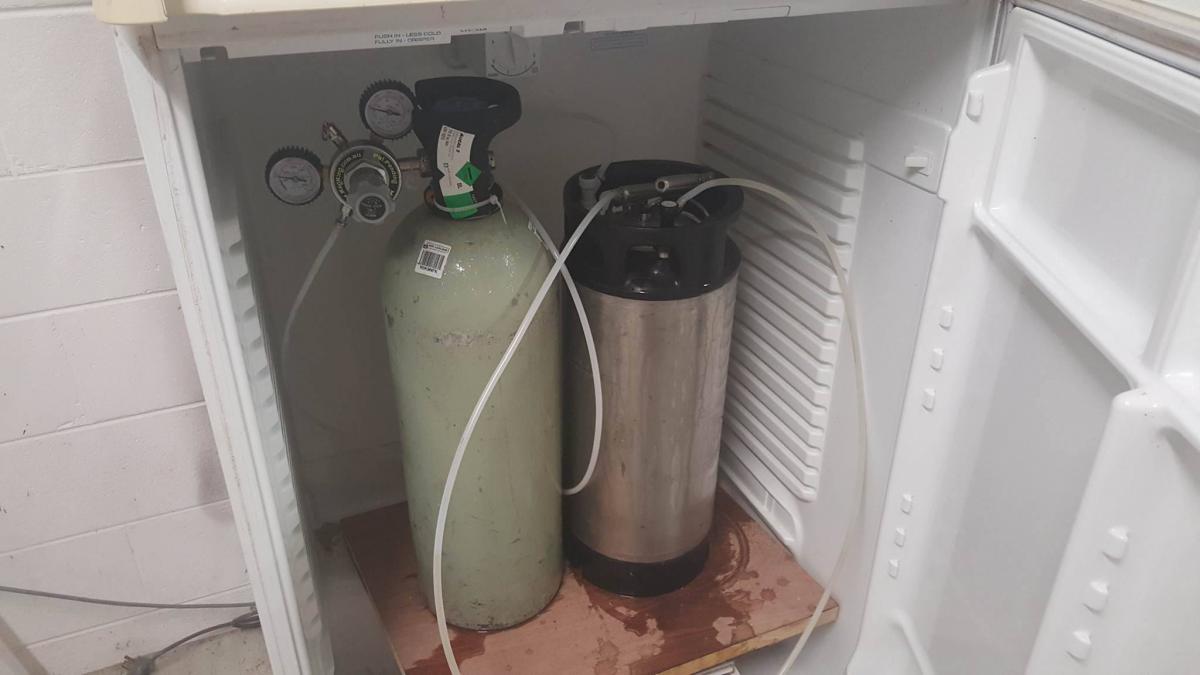
Step 2: Locate the Service Valve
After you have turned off the refrigerator, the next step in removing Freon is to locate the service valve. The service valve is the access point through which you can connect the refrigerant recovery unit to extract the Freon from the system.
Follow these steps to locate the service valve:
- Refer to the owner’s manual: The owner’s manual of your refrigerator will provide specific instructions on where to locate the service valve. It may be located on the back, bottom, or inside the refrigerator compartment.
- Inspect the refrigerator components: Look for metal tubing or pipes that connect to the compressor or condenser unit of the refrigerator. The service valve is typically located along these refrigerant lines.
- Identify the service valve markings: The service valve may be marked with a “V” or “VALVE” label. It can also be identified by its unique appearance, often with a hexagonal or square-shaped stem.
- Take note of the valve type: There are two common types of service valves – the low-side valve and the high-side valve. The low-side valve is typically larger and is located on the suction line of the refrigerator, while the high-side valve is smaller and located on the discharge line.
It is important to accurately locate the service valve to ensure a proper connection with the refrigerant recovery unit. Be thorough in your inspection and consult the owner’s manual if necessary.
Once you have successfully located the service valve, you are ready to proceed to the next step in the process of removing Freon from your refrigerator.
Read more: How To Put Freon In A Refrigerator
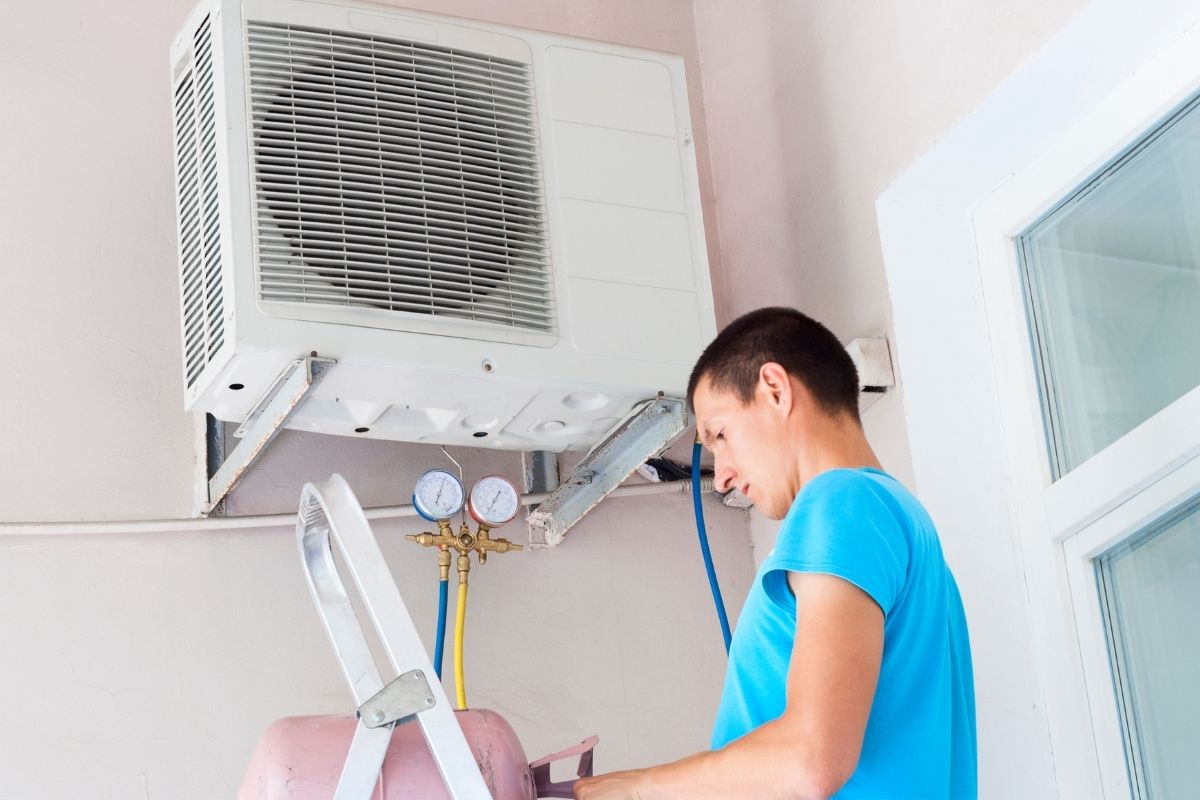
Step 3: Attach the Refrigerant Recovery Unit
Once you have located the service valve on your refrigerator, the next step is to attach the refrigerant recovery unit. This unit will allow you to safely and efficiently extract the Freon from the system.
Follow these steps to properly attach the refrigerant recovery unit:
- Ensure the recovery unit is turned off: Before connecting the recovery unit, make sure it is in the “off” position.
- Identify the inlet and outlet ports: The refrigerant recovery unit will have clearly labeled inlet and outlet ports. The inlet port connects to the service valve on the refrigerator, while the outlet port attaches to the refrigerant cylinder.
- Inspect the service valve: Before connecting the recovery unit, inspect the service valve to ensure it is clean and free from any debris or damage. Use a clean, lint-free cloth to wipe away any dirt or residue.
- Attach the recovery unit to the service valve: Align the inlet port of the recovery unit with the service valve on the refrigerator. Apply firm but gentle pressure to push the fitting onto the valve. Twist the fitting clockwise to secure it in place.
- Tighten the connection: Use a wrench to carefully tighten the connection between the recovery unit and the service valve. Be cautious not to over-tighten, as it could cause damage to the valves.
- Secure the recovery unit: If necessary, use straps or clamps to secure the recovery unit to a stable surface, such as a workbench or cart. This will prevent any accidental movement during the extraction process.
It is essential to ensure a secure and proper connection between the refrigerant recovery unit and the service valve to avoid any leaks during the Freon extraction process.
Once you have successfully attached the refrigerant recovery unit, you are ready to proceed to the next step in removing Freon from your refrigerator.
Before removing freon from a refrigerator, make sure to wear protective gear such as gloves and safety goggles. Additionally, use a recovery machine to safely extract the freon from the refrigerator’s system.
Step 4: Follow the Instructions on the Recovery Unit
With the refrigerant recovery unit properly attached to the service valve, it is time to follow the specific instructions provided by the manufacturer of the unit. Each recovery unit may have its own set of guidelines and operating procedures to ensure a safe and effective extraction of the Freon from your refrigerator.
Here are some general steps to follow while using the recovery unit:
- Ensure all valves are closed: Before starting the recovery process, make sure that all valves on the recovery unit are closed.
- Connect the refrigerant cylinder: Attach the outlet port of the recovery unit to the refrigerant cylinder using the appropriate connectors. Ensure a tight and secure connection.
- Open the service valve: Slowly open the service valve on the refrigerator to allow the flow of Freon into the recovery unit. Monitor the pressure and temperature gauge on the recovery unit to ensure proper operation.
- Follow the recovery unit instructions: Refer to the user manual or instructions provided by the manufacturer of the recovery unit for specific guidance on setting up and running the unit. This may include adjusting pressure levels, recording measurements, or monitoring the recovery process.
- Monitor the refrigerant extraction: Keep an eye on the pressure and temperature readings on the recovery unit. Once the extraction process begins and the refrigerant is flowing into the cylinder, continue to monitor until the recovery unit indicates that the process is complete.
It is important to carefully follow the instructions provided by the recovery unit manufacturer to ensure the proper and safe extraction of the Freon from your refrigerator. Incorrect usage or not following the guidelines can lead to inefficiency or potential hazards during the process.
Once you have completed the steps according to the recovery unit instructions, you can move on to the next step of collecting and storing the extracted Freon.
Step 5: Collect and Store the Freon Safely
After successfully extracting the Freon from your refrigerator using the recovery unit, it is essential to handle and store the refrigerant properly to ensure safety and prevent any environmental harm.
Follow these steps to collect and store the extracted Freon safely:
- Check the refrigerant cylinder: Inspect the cylinder to ensure it is in good condition without any visible damage or leaks. Make sure the cylinder is compatible with the type of refrigerant you have extracted.
- Label the cylinder: Properly label the cylinder with the type of refrigerant and the date of extraction. This information is important for future reference and compliance with disposal regulations.
- Seal the cylinder: Ensure that the cylinder is tightly sealed to prevent any leakage or escape of the Freon. Use a cap or valve cover provided with the cylinder.
- Store the cylinder properly: Keep the cylinder in a cool, dry, and well-ventilated area away from direct sunlight and sources of heat. Follow any specific storage instructions provided by the cylinder manufacturer.
- Keep records: Document the amount of extracted Freon and any other relevant details, such as the refrigerator model and serial number, for future reference or compliance purposes.
It is crucial to handle the extracted Freon with care and ensure that it does not come into contact with open flames or sparks. Freon is a refrigerant that can be harmful to both human health and the environment, so proper storage and disposal are necessary.
Remember, it is essential to familiarize yourself with local regulations regarding the storage and disposal of refrigerants. Some jurisdictions may require specific procedures or licensed professionals to dispose of the collected Freon safely.
Once you have safely collected and stored the Freon, you can proceed to the next step of disposing of it properly.
Step 6: Dispose of the Freon Properly
Disposing of the extracted Freon properly is crucial to protect the environment and ensure compliance with regulations. Freon is a refrigerant that can have harmful effects on the ozone layer if released into the atmosphere. Therefore, it is important to follow the appropriate procedures for safe disposal.
Here are some steps to help you dispose of Freon properly:
- Research local regulations: Check the regulations in your area regarding the disposal of refrigerants. Each jurisdiction may have specific guidelines and requirements that you need to follow.
- Contact a professional disposal service: In many cases, it is best to engage the services of a licensed professional or a certified refrigeration technician who can properly dispose of the collected Freon.
- Return the Freon to a certified recycler: Look for certified recycling centers or authorized facilities that specialize in refrigerant disposal. These facilities have the necessary equipment and expertise to handle the proper recycling or destruction of the Freon.
- Provide necessary documentation: When disposing of the Freon, ensure that you have the required documentation, such as records of the amount and type of refrigerant being disposed of. This helps to demonstrate compliance with regulations.
- Follow any local guidelines for packaging and transportation: If you need to transport the Freon to a disposal facility, make sure to follow any guidelines for packaging, labeling, and transportation of hazardous materials.
It is crucial to dispose of Freon properly to prevent any harm to the environment and to comply with legal requirements. Improper disposal can lead to fines and penalties for non-compliance with environmental regulations.
By following the appropriate disposal procedures, you can ensure that the extracted Freon is handled responsibly and doesn’t contribute to environmental degradation.
Once you have disposed of the Freon properly, you can proceed to the final steps of cleaning up and completing the process.
Read more: How To Remove Refrigerant From Car AC
Step 7: Final Steps and Clean Up
After successfully removing and disposing of the Freon from your refrigerator, there are final steps and clean-up tasks to ensure that everything is properly wrapped up. These steps will help you leave the work area clean and safe.
Follow these final steps and clean-up procedures:
- Ensure proper closure and sealing: Double-check that all valves on the recovery unit and service valve are closed tightly to prevent any leakage. Seal any remaining openings with plastic wrap and tape to prevent moisture or debris from entering the system.
- Disconnect and pack away the equipment: Carefully disconnect and securely pack away the refrigerant recovery unit, gauges, wrenches, gloves, and other tools used during the Freon removal process.
- Clean and tidy up the work area: Thoroughly clean the work area, removing any debris, spilled materials, or waste generated during the process. Properly dispose of any used gloves, wipes, or other disposable items in the designated waste containers.
- Inspect for any remaining leaks: Perform a final inspection of the refrigerator and the surrounding area to check for any leaks or signs of refrigerant residue. If you notice any leaks or concerns, consult a professional refrigeration technician for further assistance.
- Dispose of waste materials responsibly: Properly dispose of the collected refrigerant containers, used materials, and any other waste generated during the process. Follow local regulations for disposal, recycling, or hazardous waste collection.
- Review and ensure compliance: Review the entire process and make sure you have followed all safety precautions, disposal guidelines, and local regulations related to Freon removal. Document the process for future reference or compliance audits.
By following these final steps and clean-up procedures, you can ensure that the work area is left in a safe and clean condition, and that all equipment and materials used during the Freon removal process are properly stored or disposed of.
Congratulations on successfully removing and disposing of the Freon from your refrigerator. You have taken an important step towards ensuring safety and environmental responsibility!
Remember, if you are unsure about any aspect of the process or if you have any concerns, it is always best to consult with a professional refrigeration technician to ensure the proper handling of Freon and compliance with regulations.
With the completion of the final steps and clean-up, you have successfully completed the process of removing Freon from your refrigerator. Well done!
Conclusion
Removing Freon from a refrigerator is a task that requires careful attention to safety and environmental considerations. By following the proper steps and guidelines, you can successfully extract and dispose of the refrigerant in a responsible manner.
In this article, we have provided a comprehensive guide on how to remove Freon from a refrigerator. We highlighted the importance of safety precautions, gathering the necessary tools and materials, and following a step-by-step process. We discussed the significance of locating the service valve, attaching the refrigerant recovery unit, and properly collecting and storing the extracted Freon. Additionally, we emphasized the importance of responsible disposal and final clean-up steps.
Throughout the process, it is essential to prioritize safety measures such as proper ventilation, wearing personal protective equipment, and understanding local regulations. Handling Freon incorrectly can have detrimental effects on human health and the environment. Therefore, it is crucial to be well-informed and seek professional assistance when needed.
By following the guidelines provided in this article, you can confidently and responsibly remove Freon from your refrigerator. Remember that regulations and best practices may vary depending on your location, so ensure that you comply with your local regulations regarding the handling, disposal, or recycling of refrigerants.
Thank you for taking the time to learn how to remove Freon from a refrigerator. By doing so, you have contributed to the safety of yourself, others, and the environment. With proper knowledge and adherence to safety protocols, you can successfully navigate the process and carry out the necessary steps with confidence.
Stay safe and environmentally conscious as you undertake the task of removing Freon from your refrigerator!
Frequently Asked Questions about How To Remove Freon From A Refrigerator
Was this page helpful?
At Storables.com, we guarantee accurate and reliable information. Our content, validated by Expert Board Contributors, is crafted following stringent Editorial Policies. We're committed to providing you with well-researched, expert-backed insights for all your informational needs.


0 thoughts on “How To Remove Freon From A Refrigerator”