Home>Articles>How To Fix Squeaky Stairs Without Removing A Carpet
Articles
How To Fix Squeaky Stairs Without Removing A Carpet
Modified: October 22, 2024
Learn how to fix squeaky stairs without removing a carpet with our informative articles. Get step-by-step instructions and handy tips to stop the annoying noise.
(Many of the links in this article redirect to a specific reviewed product. Your purchase of these products through affiliate links helps to generate commission for Storables.com, at no extra cost. Learn more)
Introduction
Have you ever experienced the annoyance of squeaky stairs in your home? The constant creaking and groaning underfoot can be not only irritating, but also disruptive to the peace and tranquility of your living space. While removing a carpet might seem like the only solution to access the underlying problem, there are alternative methods to fix squeaky stairs without resorting to such drastic measures.
In this article, we will guide you through a step-by-step process to identify the cause of the squeaky noise and remedy it effectively. By following these instructions, you can eliminate those pesky creaks and enjoy a quiet and comfortable staircase once again.
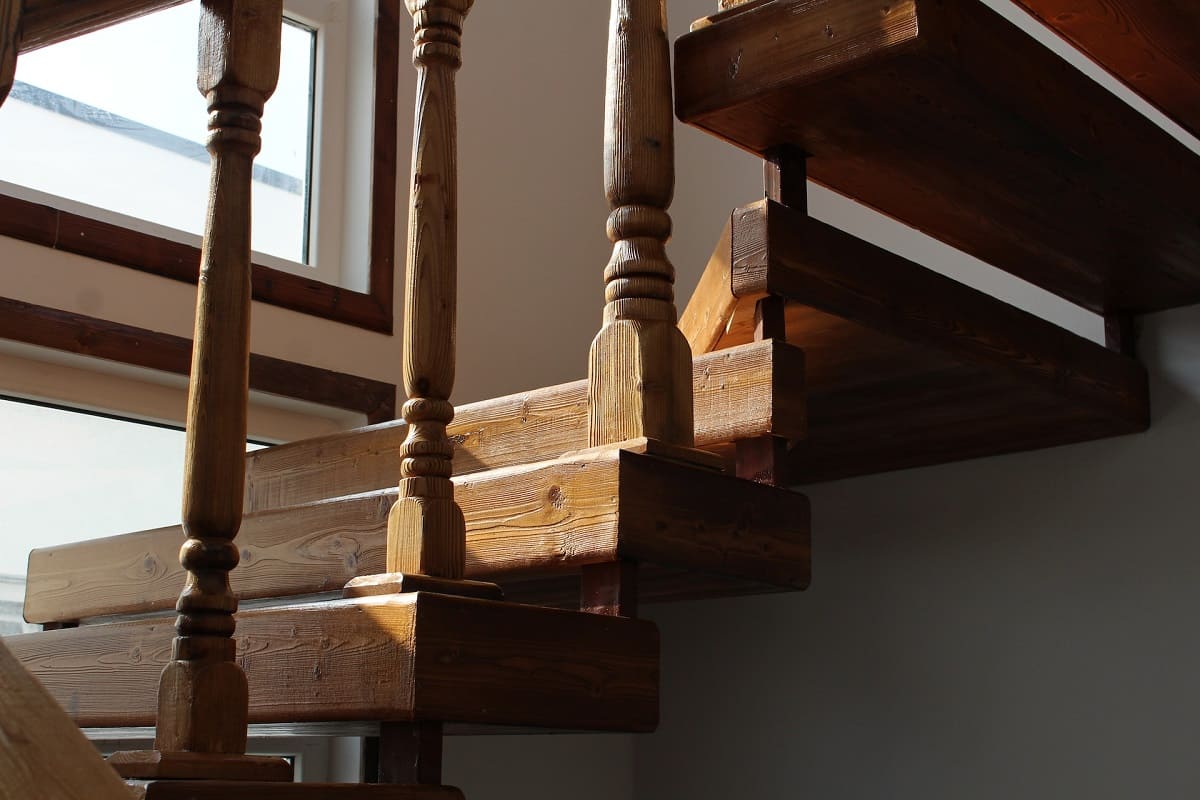
Before we dive into the details, it’s important to understand that squeaky stairs are typically caused by two main factors: loose wooden components and friction. Over time, the constant pressure and foot traffic can loosen the connection between the treads and risers, resulting in movement and noise. Additionally, the friction between the wood can create squeaks as the stairs are stepped on.
Now, let’s move on to the step-by-step process of fixing squeaky stairs without removing a carpet, so you can restore peace and quiet to your home.
Key Takeaways:
- Say goodbye to annoying squeaky stairs by following simple steps to identify, fix, and maintain a quiet staircase without the need to remove a carpet. Enjoy peace and tranquility in your home once again.
- With the right tools and methods, you can effectively address loose components, friction, and instability to eliminate squeaky stairs. Regular maintenance and proactive repairs will ensure a quiet and stable staircase for years to come.
Read more: How To Fix Squeaky Carpeted Stairs
Step 1: Identify the Cause of the Squeaky Noise
The first step in fixing squeaky stairs is to identify the root cause of the noise. This will help determine the best approach to resolving the issue. Here are a few common scenarios to consider:
- Loose treads or risers: Squeaks often occur when the treads (the horizontal steps) or risers (the vertical boards between the steps) become loose. Check for any visible movement or gaps between the stairs and the underlying structure.
- Friction between tread and riser: Sometimes, the noise is caused by friction between the tread and riser. This can happen if there is insufficient lubrication or if the wood has dried out over time.
- Unstable stair stringers or support beams: In some cases, the squeaking may be due to an unstable foundation, such as loose or damaged stair stringers (the diagonal supports) or support beams. Examine these areas for any signs of instability.
To determine the source of the squeaks, begin by walking up and down the stairs slowly, paying close attention to the specific areas where the noise is most prominent. You may need to step on individual stairs with varying pressure to pinpoint the exact location. Listen for any distinct creaking or popping sounds.
Once you have identified the general area of the squeaks, you can proceed to the next steps in the process. Keep in mind that it may be necessary to inspect the stairs from beneath (if possible) to get a clearer view of the problem.
By taking the time to identify the cause of the squeaky noise, you will be better equipped to apply the appropriate solution and effectively eliminate the problem. Let’s move on to the next step: gathering the necessary tools and materials.
Step 2: Gather Necessary Tools and Materials
Before you can start fixing the squeaky stairs, it’s important to gather the necessary tools and materials. Having everything prepared in advance will save you time and ensure a smooth and efficient process. Here are the essential items you will need:
- Screwdriver: A screwdriver is one of the most important tools for fixing squeaky stairs. It will be used to tighten loose screws or secure loose components.
- Drill: Depending on the specific problem, you may need a drill to reinforce the stairs or replace old screws. Make sure to have the appropriate drill bits on hand.
- Wood glue: If the squeaks are caused by loose treads or risers, wood glue can help strengthen the connection between the wooden components.
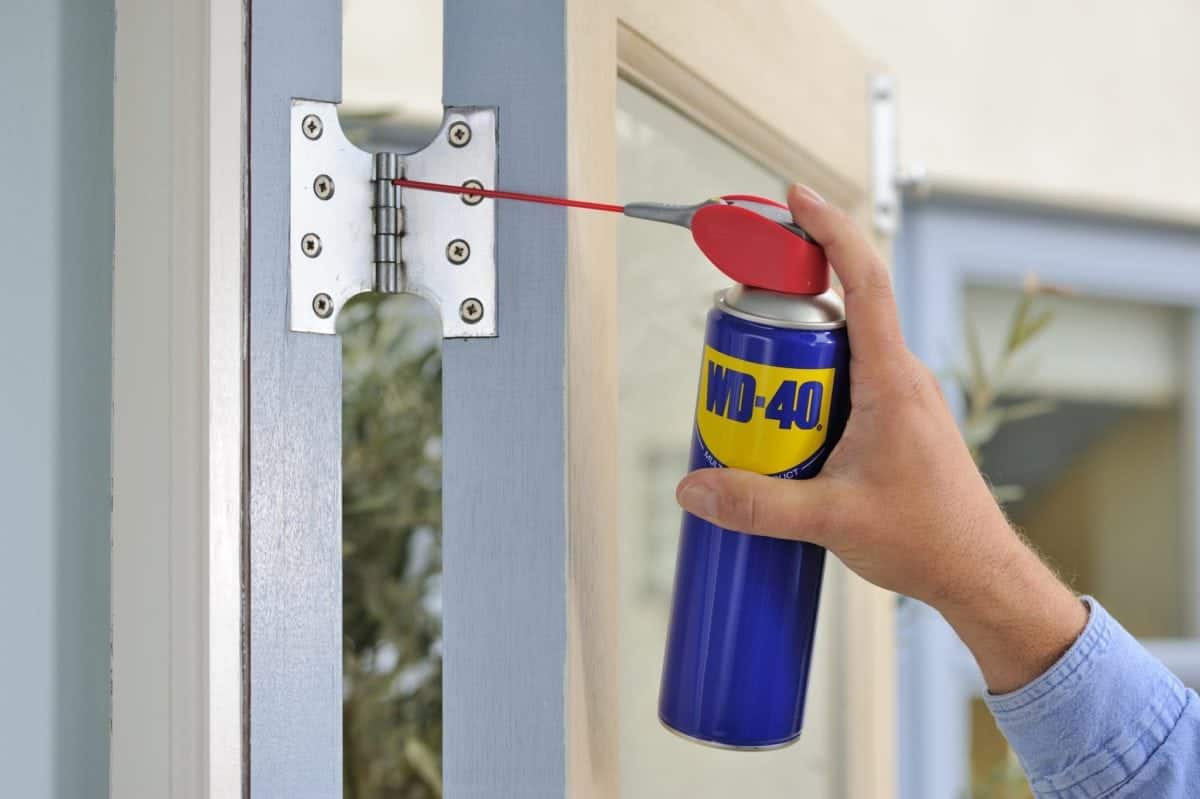
- Powdered graphite or silicone lubricant: If the noise is due to friction between the tread and riser, powdered graphite or silicone lubricant can be applied to reduce the rubbing and eliminate the squeaks.
- Extra screws: In some cases, the existing screws may be worn out or too short to provide a secure hold. It’s a good idea to have extra screws of appropriate length and size on hand.
- Clamps: Clamps can be useful for securing loose components while the glue dries or for applying pressure during reinforcement.
- Flashlight: If you need to inspect the stairs from beneath, a flashlight will help you see in dimly lit areas.
Make sure to have all these tools and materials readily available before you proceed to the next steps. It’s also a good idea to wear protective gloves and safety glasses to ensure your safety throughout the process.
By gathering the necessary tools and materials, you will be prepared to tackle the specific issues causing the squeaks and facilitate a successful repair. Now that you have everything you need, it’s time to move on to the next step: inspecting and reinforcing the stairs from below.
Step 3: Inspect and Reinforce the Stairs from Below
Once you have gathered the necessary tools and materials, it’s time to inspect the stairs from beneath and reinforce them to eliminate the squeaks. This step is crucial as it allows you to address any loose or weak areas that may be causing the noise. Follow these steps to effectively inspect and reinforce the stairs:
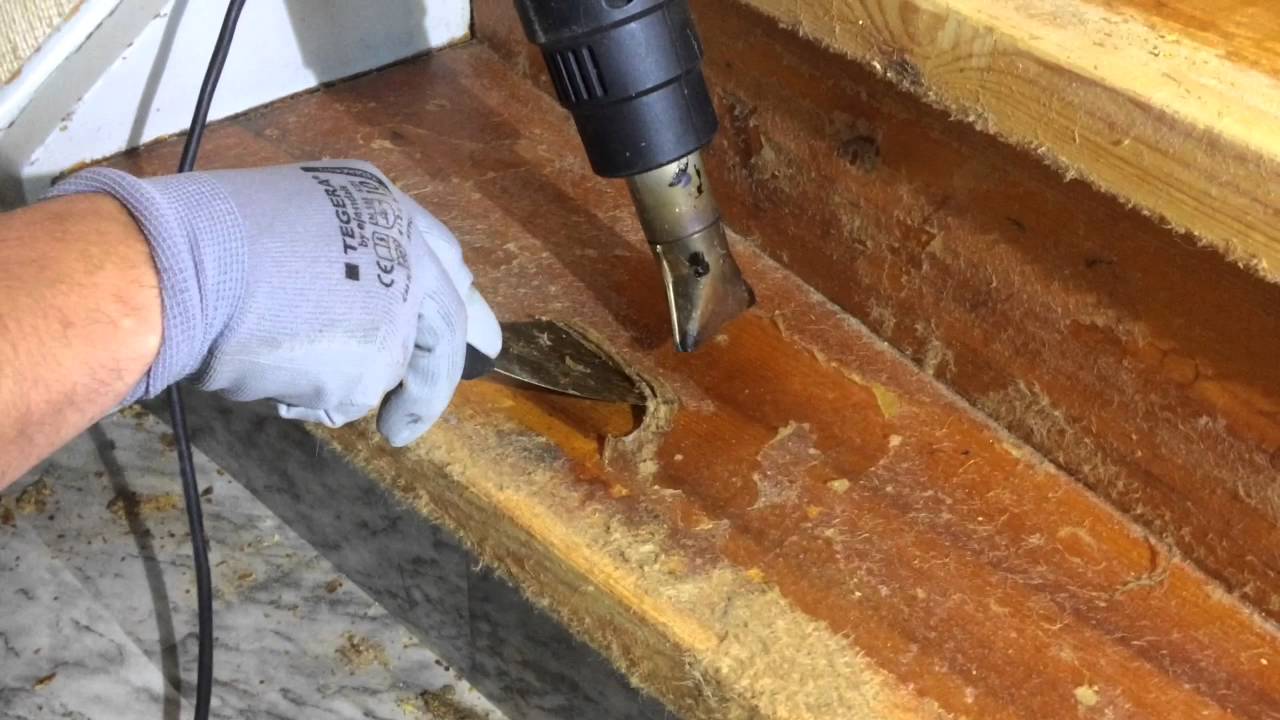
- Access the underside of the stairs: If you have a basement or crawl space beneath the stairs, this should provide easy access. Use a flashlight to navigate in dimly lit areas.
- Identify loose components: Examine the underside of the stairs to locate any loose treads, risers, or support beams. Look for gaps, movement, or signs of damage.
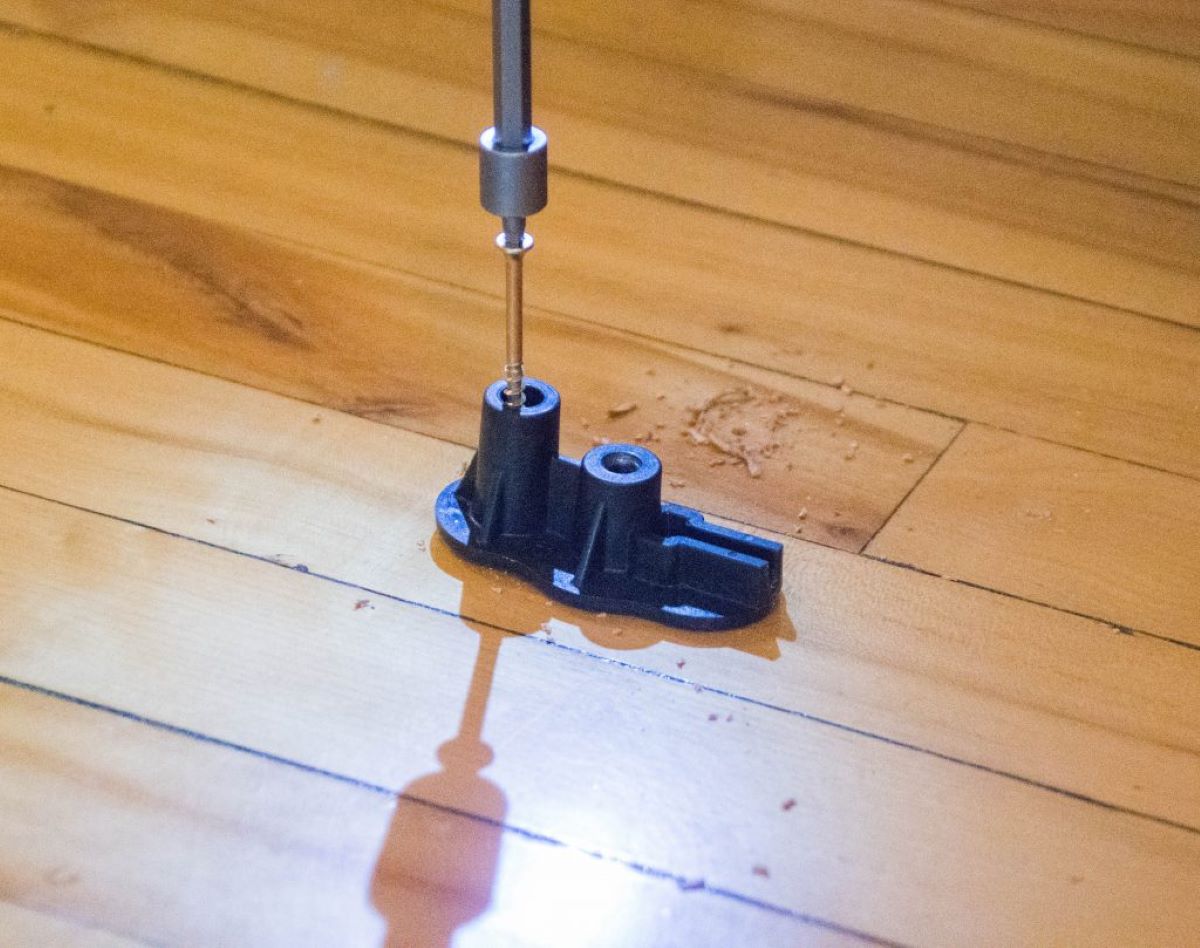
- Tighten screws and fasteners: Using a screwdriver or drill, tighten any loose screws or fasteners that are connecting the treads and risers to the support structure. This will help stabilize the stairs and reduce movement.
- Apply wood glue: If you find any loose components that cannot be secured with screws alone, apply a generous amount of wood glue to the joints or connections. Use clamps to hold the pieces together while the glue dries. Follow the manufacturer’s instructions for the drying time.
- Check for weak spots: Assess the condition of the support beams or stringers. If any of them are weak or damaged, consider reinforcing them with additional bracing or by adding structural support, such as angle brackets or screws. This will provide added stability for the stairs.
As you work from beneath the stairs, be thorough in your inspection and reinforce any areas that show signs of weakness. By securing loose components and strengthening the support structure, you will significantly reduce the chances of future squeaks.
Once you have completed the inspection and reinforcement, you can proceed to the next step: applying lubrication to the problematic areas. This will help eliminate any remaining friction and further reduce squeaks.
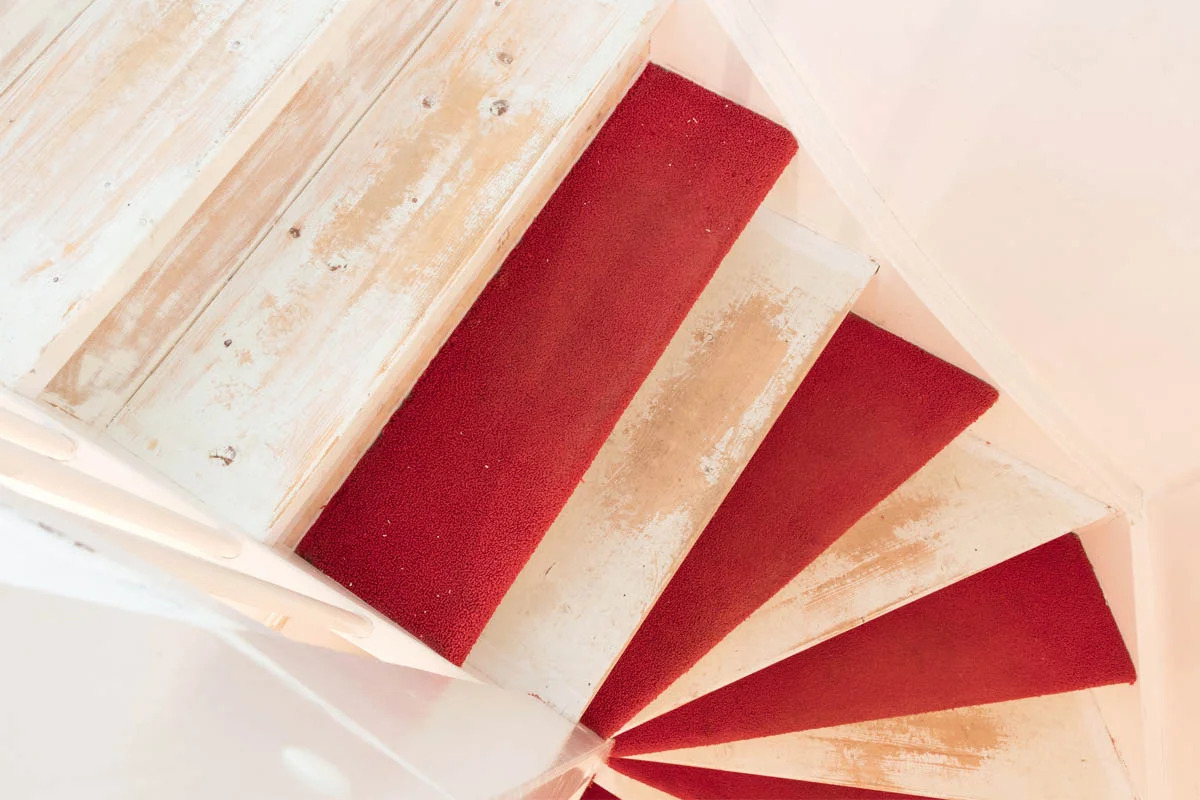
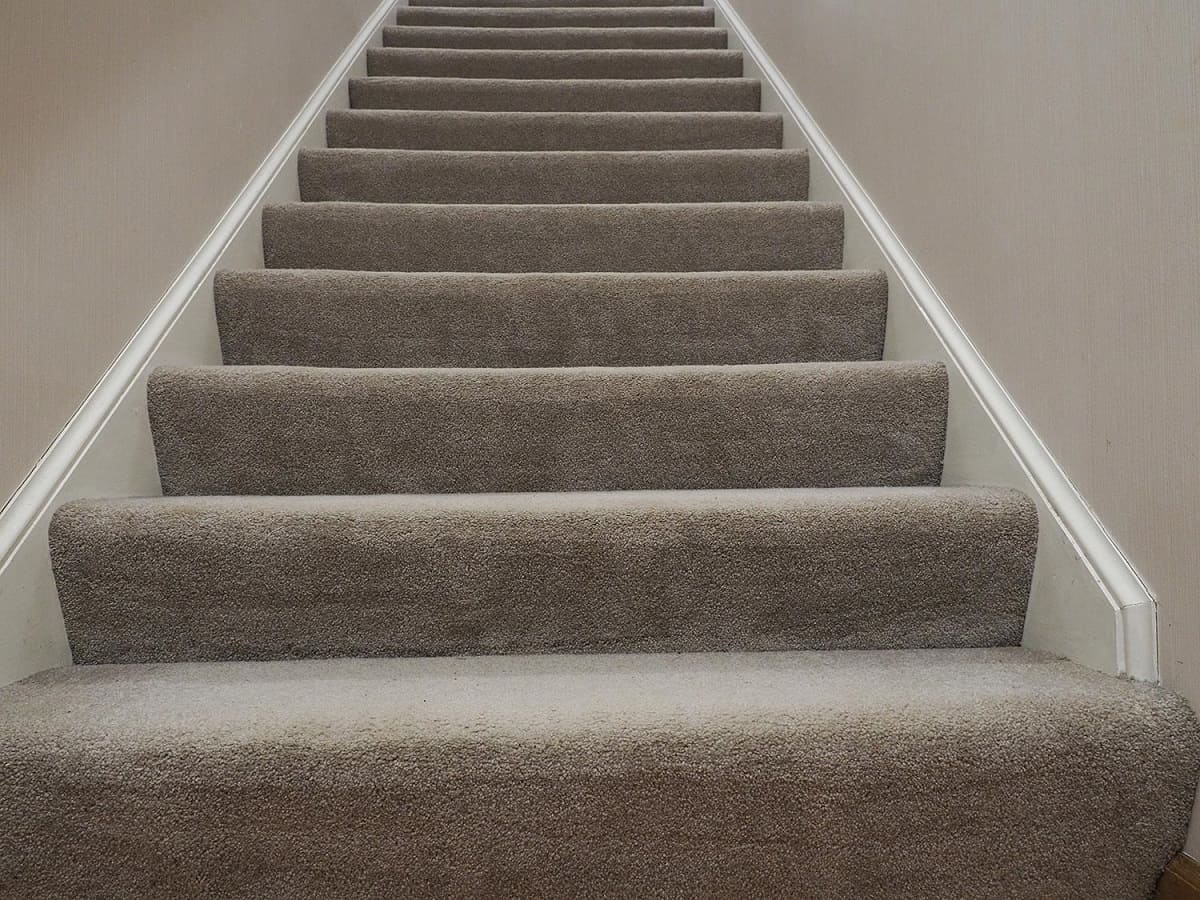
Use powdered graphite or talcum powder to lubricate the squeaky areas under the carpet. Lift the edge of the carpet and apply the powder to the squeaky spots, then press the carpet back down.
Step 4: Apply Lubrication to the Problematic Areas
After inspecting and reinforcing the stairs, it’s time to address any remaining squeaks caused by friction between the tread and riser. Applying lubrication to these problematic areas will help reduce the rubbing and eliminate the source of the noise. Follow these steps to effectively apply lubrication:
- Identify the squeaky spots: Walk up and down the stairs, paying attention to the specific areas where the noise is still present. These are the spots that will require lubrication.
- Choose the appropriate lubricant: Select a lubricant that is suitable for use with wood. Common options include powdered graphite or silicone-based lubricants. These products reduce friction without causing damage to the wooden components.
- Apply the lubricant: Depending on the type of lubricant you chose, follow the instructions provided. With powdered graphite, you can sprinkle a small amount onto the squeaky areas and use a brush or cloth to spread it evenly. For silicone-based lubricants, apply a thin layer to the rubbing surfaces.
- Work the lubricant into the joints: Once you have applied the lubricant, gently work it into the joints by flexing the stairs up and down. This will help ensure that the lubricant reaches all the necessary areas and penetrates the tight spaces between treads and risers.
- Wipe off any excess: After working in the lubricant, use a clean cloth to wipe off any excess and prevent it from becoming sticky or attracting dirt.
By applying lubrication to the squeaky spots, you will effectively reduce friction and eliminate the remaining noise. This step is particularly important for wooden stairs that have dried out over time and are more prone to rubbing and squeaking.
Now that you have addressed the friction-related squeaks, it’s time to move on to the next step: securing any loose treads or risers that may still be causing the noise.
Read more: How To Remove Carpet On Stairs
Step 5: Secure Loose Treads or Risers
Even with the inspection and lubrication steps completed, you may still encounter squeaky stairs if there are loose treads or risers. In this step, we will guide you through securing these components to eliminate any lingering noise. Follow these instructions to effectively secure loose treads or risers:
- Identify the loose areas: Walk up and down the stairs, paying close attention to any remaining squeaks or noticeable movement in the treads or risers. These are the areas that require your attention.
- Remove existing screws: Use a screwdriver or drill to carefully remove any screws that are currently securing the loose treads or risers. Set the screws aside for later use.
- Apply wood glue: Generously apply wood glue to the underside of the loose tread or riser, as well as the area where it connects to the support structure. Spread the glue evenly to ensure a strong bond.
- Reposition the component: Carefully reposition the tread or riser back into its correct placement, pressing it firmly against the support structure. Make sure that it is aligned properly.
- Secure with screws: Insert the previously removed screws back into their original holes and tighten them using a screwdriver or drill. Ensure that they are securely in place, but be cautious not to overtighten and risk damaging the wood.
- Wipe away excess glue: Use a damp cloth to wipe away any excess wood glue that may have squeezed out during the process. This will help create a cleaner and more polished finish.
Securing the loose treads or risers is crucial in eliminating any remaining squeaks caused by movement. By reattaching them securely with wood glue and screws, you will restore stability and reduce the likelihood of further noise.
Once you have completed this step, the last and final step is to test and reevaluate the stairs for any remaining squeaks. Let’s move on to the concluding step of the process.
Step 6: Test and Reevaluate the Stairs for Remaining Squeaks
After diligently following the previous steps to fix the squeaky stairs, it’s essential to test and reevaluate the stairs for any remaining squeaks. This final step will ensure that the necessary repairs have been successful and that your stairs are now quiet and stable. Here’s how to test and reevaluate the stairs:
- Walk up and down the stairs: Carefully walk up and down the stairs, applying varying pressure with each step. Pay close attention to any signs of squeaking or movement.
- Listen for squeaks: Focus on areas that were previously squeaky or showed signs of movement. Listen carefully for any lingering squeaks or creaks.
- Inspect for any issues: If you encounter any remaining squeaks or notice any continued movement, investigate the specific areas by inspecting them from above and below the stairs. Look for loose screws, gaps in connections, or any other signs of instability.
- Apply additional reinforcement if necessary: If you discover any remaining issues, repeat the appropriate steps to secure loose components, apply lubrication, or address any other specific problems.
- Reevaluate the stairs: After taking corrective measures, test the stairs again for squeaks. Repeat this process as many times as needed until all squeaks are completely eliminated.
By testing and reevaluating the stairs, you ensure that your efforts to fix the squeaks have been successful. It’s normal to encounter occasional adjustments or fine-tuning, especially in older or heavily used staircases. Continuously monitoring and addressing any issues promptly will help maintain a quiet and safe staircase for years to come.
Congratulations! You have completed all the necessary steps to fix squeaky stairs without removing a carpet. You can now enjoy a peaceful and noise-free staircase, adding comfort and tranquility to your home.
If you encounter persistent squeaks or if the problem persists despite your best efforts, it may be advisable to consult a professional carpenter or contractor who specializes in stair repairs. They can provide expert guidance and help resolve the issue effectively.
Remember to keep up with regular maintenance and be proactive in addressing any future concerns to preserve the integrity and functionality of your stairs.
Conclusion
Squeaky stairs can be a constant source of annoyance and frustration in your home. However, the good news is that you don’t have to go through the hassle of removing a carpet to fix the problem. By following the steps outlined in this article, you can successfully eliminate squeaky stairs and restore peace and quiet to your living space.
Throughout the process, we have highlighted the importance of identifying the cause of the squeaks, gathering the necessary tools and materials, inspecting and reinforcing the stairs from below, applying lubrication, securing loose treads or risers, and testing and reevaluating the stairs for any remaining issues.
By taking a systematic approach to understand and address the underlying problems, you can effectively resolve the squeaky noise. Whether it’s tightening loose screws, using wood glue to strengthen connections, applying lubrication to reduce friction, or securing loose components, each step plays a crucial role in achieving a quiet and stable staircase.
It’s important to note that regular maintenance is key to avoiding future squeaky stairs. Keep an eye out for any signs of wear and tear, and promptly address any issues as they arise. Regularly inspecting and performing small repairs can help prevent squeaks and extend the lifespan of your stairs.
If you encounter persistent squeaks or if the problem persists despite your efforts, it may be a good idea to consult a professional carpenter or contractor. They have the expertise and experience to provide specialized solutions and ensure a long-lasting fix.
Remember, in addition to functionality, your staircase serves as an important visual element in your home. A well-maintained and noise-free staircase not only enhances the overall aesthetic but also contributes to a more peaceful and enjoyable living environment.
So, don’t let squeaky stairs disrupt the tranquility of your home. Take action today using the step-by-step instructions provided in this article and say goodbye to the irritating creaks and groans. Enjoy the comfort and silence of a beautifully functioning staircase.
Frequently Asked Questions about How To Fix Squeaky Stairs Without Removing A Carpet
Was this page helpful?
At Storables.com, we guarantee accurate and reliable information. Our content, validated by Expert Board Contributors, is crafted following stringent Editorial Policies. We're committed to providing you with well-researched, expert-backed insights for all your informational needs.