Articles
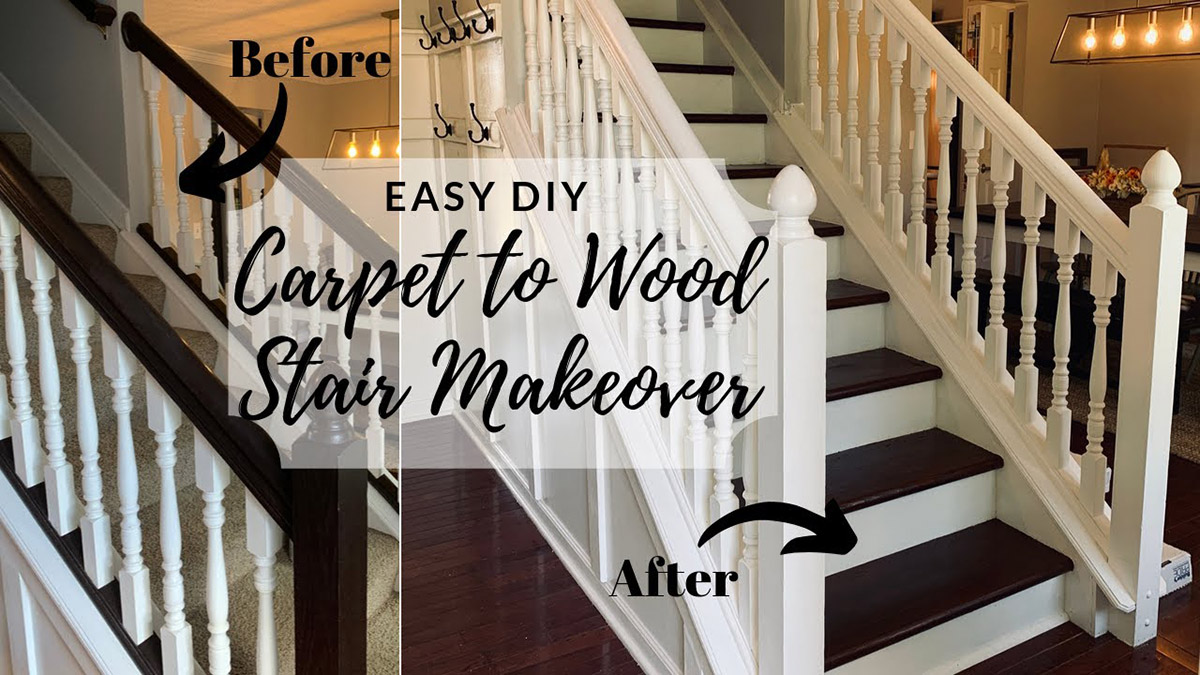
How To Change Stairs From Carpet To Wood
Modified: October 20, 2024
Discover how to transform your stairs from carpet to wood with our in-depth articles. Step-by-step guides and expert tips for a stunning wooden staircase renovation.
(Many of the links in this article redirect to a specific reviewed product. Your purchase of these products through affiliate links helps to generate commission for Storables.com, at no extra cost. Learn more)
Introduction
In many homes, carpeted stairs can become worn, stained, or outdated over time. If you’re looking to give your staircase a fresh new look, changing the carpet to wood is a popular and stylish option. Not only does it add a touch of elegance to your home, but it also provides durability and easy maintenance.
While the idea of changing stairs from carpet to wood may seem daunting, with the right tools, materials, and a little know-how, you can transform your staircase into a beautiful focal point of your home. In this article, we will guide you through the step-by-step process of removing the carpet, preparing the stairs, choosing the right wood, cutting the wood, and installing it to achieve a stunning final result.
Before you embark on this project, it’s essential to assess the condition of your stairs and ensure that the underlying structure is in good shape. Also, keep in mind that this process requires some basic carpentry skills and tools, so if you’re not comfortable with DIY projects, it might be worth considering hiring a professional to do the job.
With that said, let’s dive into the exciting world of transforming your carpeted stairs into beautiful wooden ones!
Key Takeaways:
- Transform your home by changing carpeted stairs to wood for a stylish, durable, and low-maintenance upgrade. Follow the step-by-step process for a stunning and elegant staircase transformation.
- Carefully choose the right wood, prepare the stairs, and install with precision to achieve a seamless and professional finish. Add finishing touches for enhanced durability and aesthetic appeal.
Read more: How To Redo Stairs From Carpet To Wood
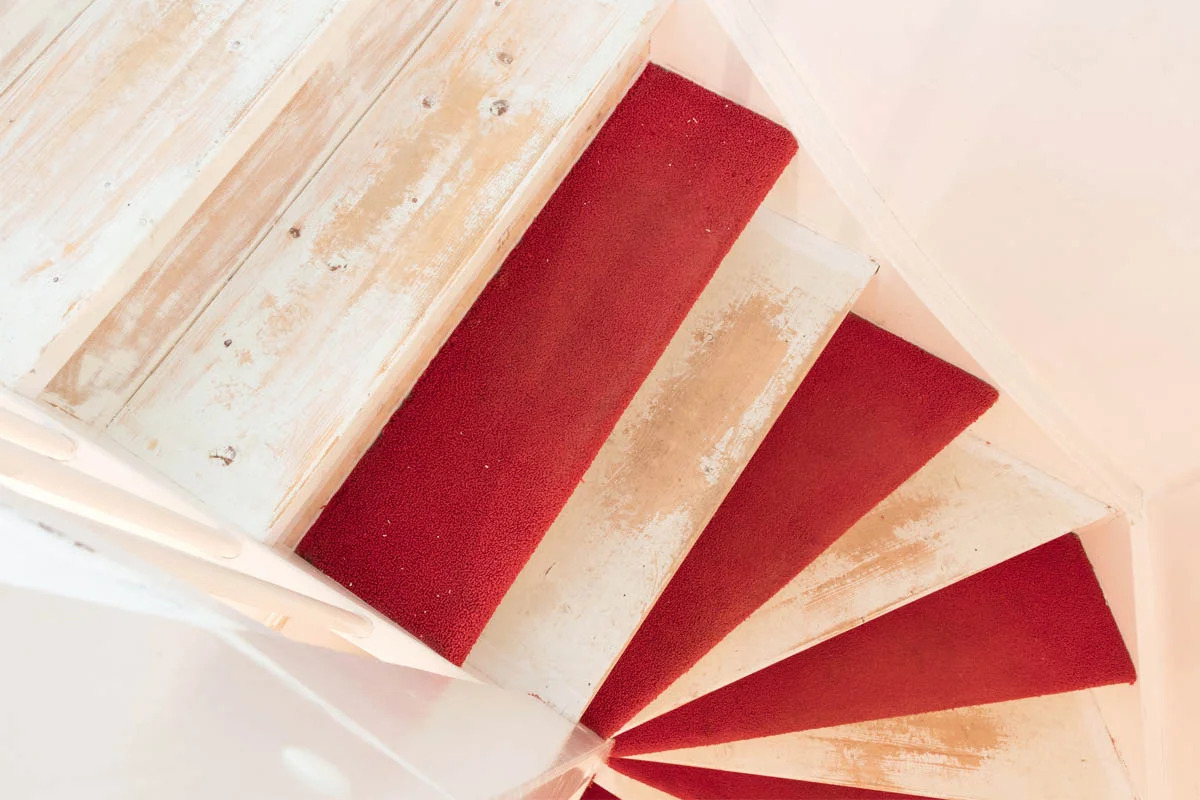
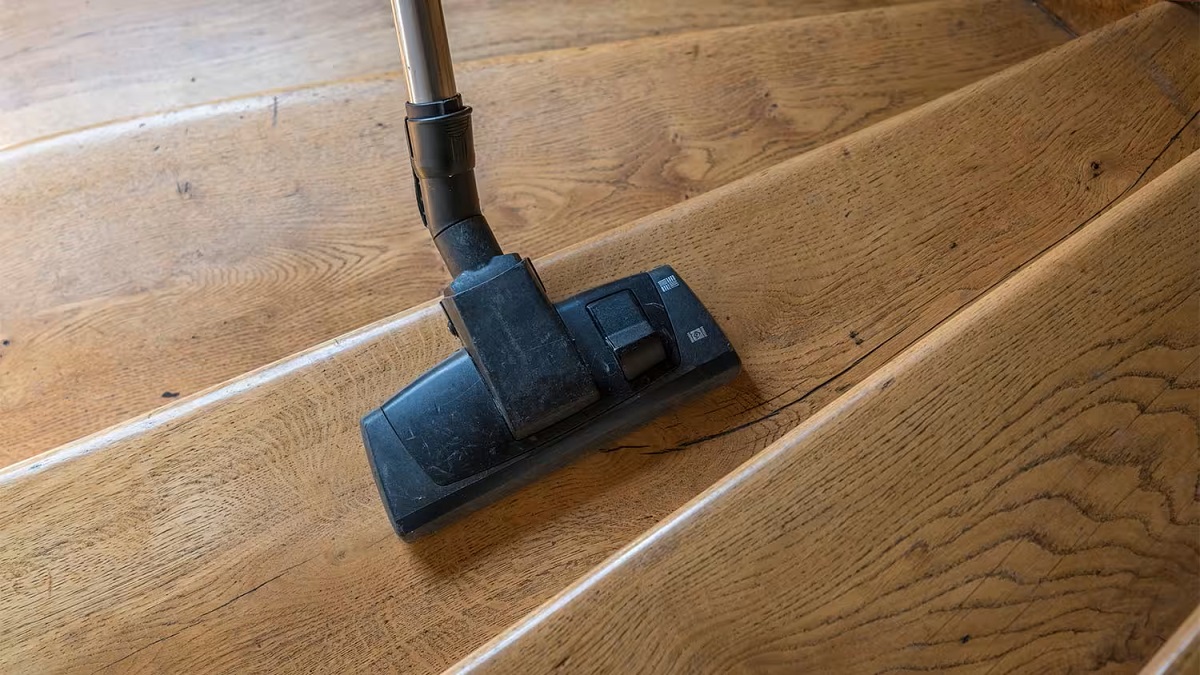
Removing the Carpet
The first step in changing stairs from carpet to wood is to remove the existing carpet. This process requires some effort and can get messy, so it’s important to be prepared and take your time.
- Start by removing any trims or moldings around the edges of the stairs. Use a pry bar and a hammer to gently loosen and remove them.
- Next, carefully cut the carpet into manageable sections using a utility knife. Start at the top of the stairs and work your way down. Roll up each section of carpet as you go, making it easier to dispose of later.
- Beneath the carpet, you will find padding or underlayment. Remove this as well, using a utility knife or a scraper.
- Once the carpet and padding are removed, you may notice tack strips along the edges of the stairs. These strips are used to hold the carpet in place. Use a hammer and pry bar to carefully remove them. Take caution not to damage the stairs or injure yourself in the process.
- Finally, inspect the stairs for any remaining staples or nails. Use pliers to remove them, ensuring that the surface is clean and free of any debris.
Once you have successfully removed the carpet and prepared the stairs, you are ready to move on to the next step: preparing the stairs for the wood installation.
Preparing the Stairs
Before you can install the wood on your stairs, it’s crucial to prepare the surface properly. This step ensures that the wood will adhere securely and that you will achieve a smooth and professional finish.
- Begin by thoroughly cleaning the stairs. Use a broom or vacuum to remove any dust, dirt, or loose particles. Wipe down the stairs with a damp cloth to ensure a clean surface.
- Inspect the stairs carefully for any damage, such as cracks or chips. Fill in any holes or imperfections with wood filler or epoxy, following the manufacturer’s instructions. Allow sufficient time for the filler to dry and sand the area to ensure a smooth surface.
- Measure the dimensions of each step to determine the amount of wood you will need. Take accurate measurements and calculate the number of planks required for each step. It’s always a good idea to account for some extra material to accommodate any errors or adjustments.
- Once you have your measurements, cut the wood planks to the desired size using a circular saw or miter saw. Ensure that the cuts are precise and accurate, allowing for a seamless installation.
- Before attaching the wood, ensure that the stairs are level. If necessary, use a level to adjust and make any necessary modifications to achieve an even surface.
- Apply a high-quality wood adhesive or construction adhesive to the back of each wood plank. Make sure to evenly coat the entire surface to provide a strong and secure bond. Apply the adhesive in a zigzag pattern or using a notched trowel to ensure consistent coverage.
- Carefully place each wood plank on the stairs, starting from the bottom and working your way up. Press firmly to ensure proper adhesion and use a rubber mallet or hammer and a tapping block to secure the planks in place.
- Continue this process for each step, ensuring that the planks are aligned and tightly fitted together. Use clamps or weights to hold the planks in place while the adhesive dries, following the manufacturer’s recommendations for drying time.
- Once the adhesive has fully dried, you can move on to the next step: choosing the right wood for your staircase.
By properly preparing the stairs, you will create a solid foundation for the wood installation and ensure a beautiful and long-lasting end result.
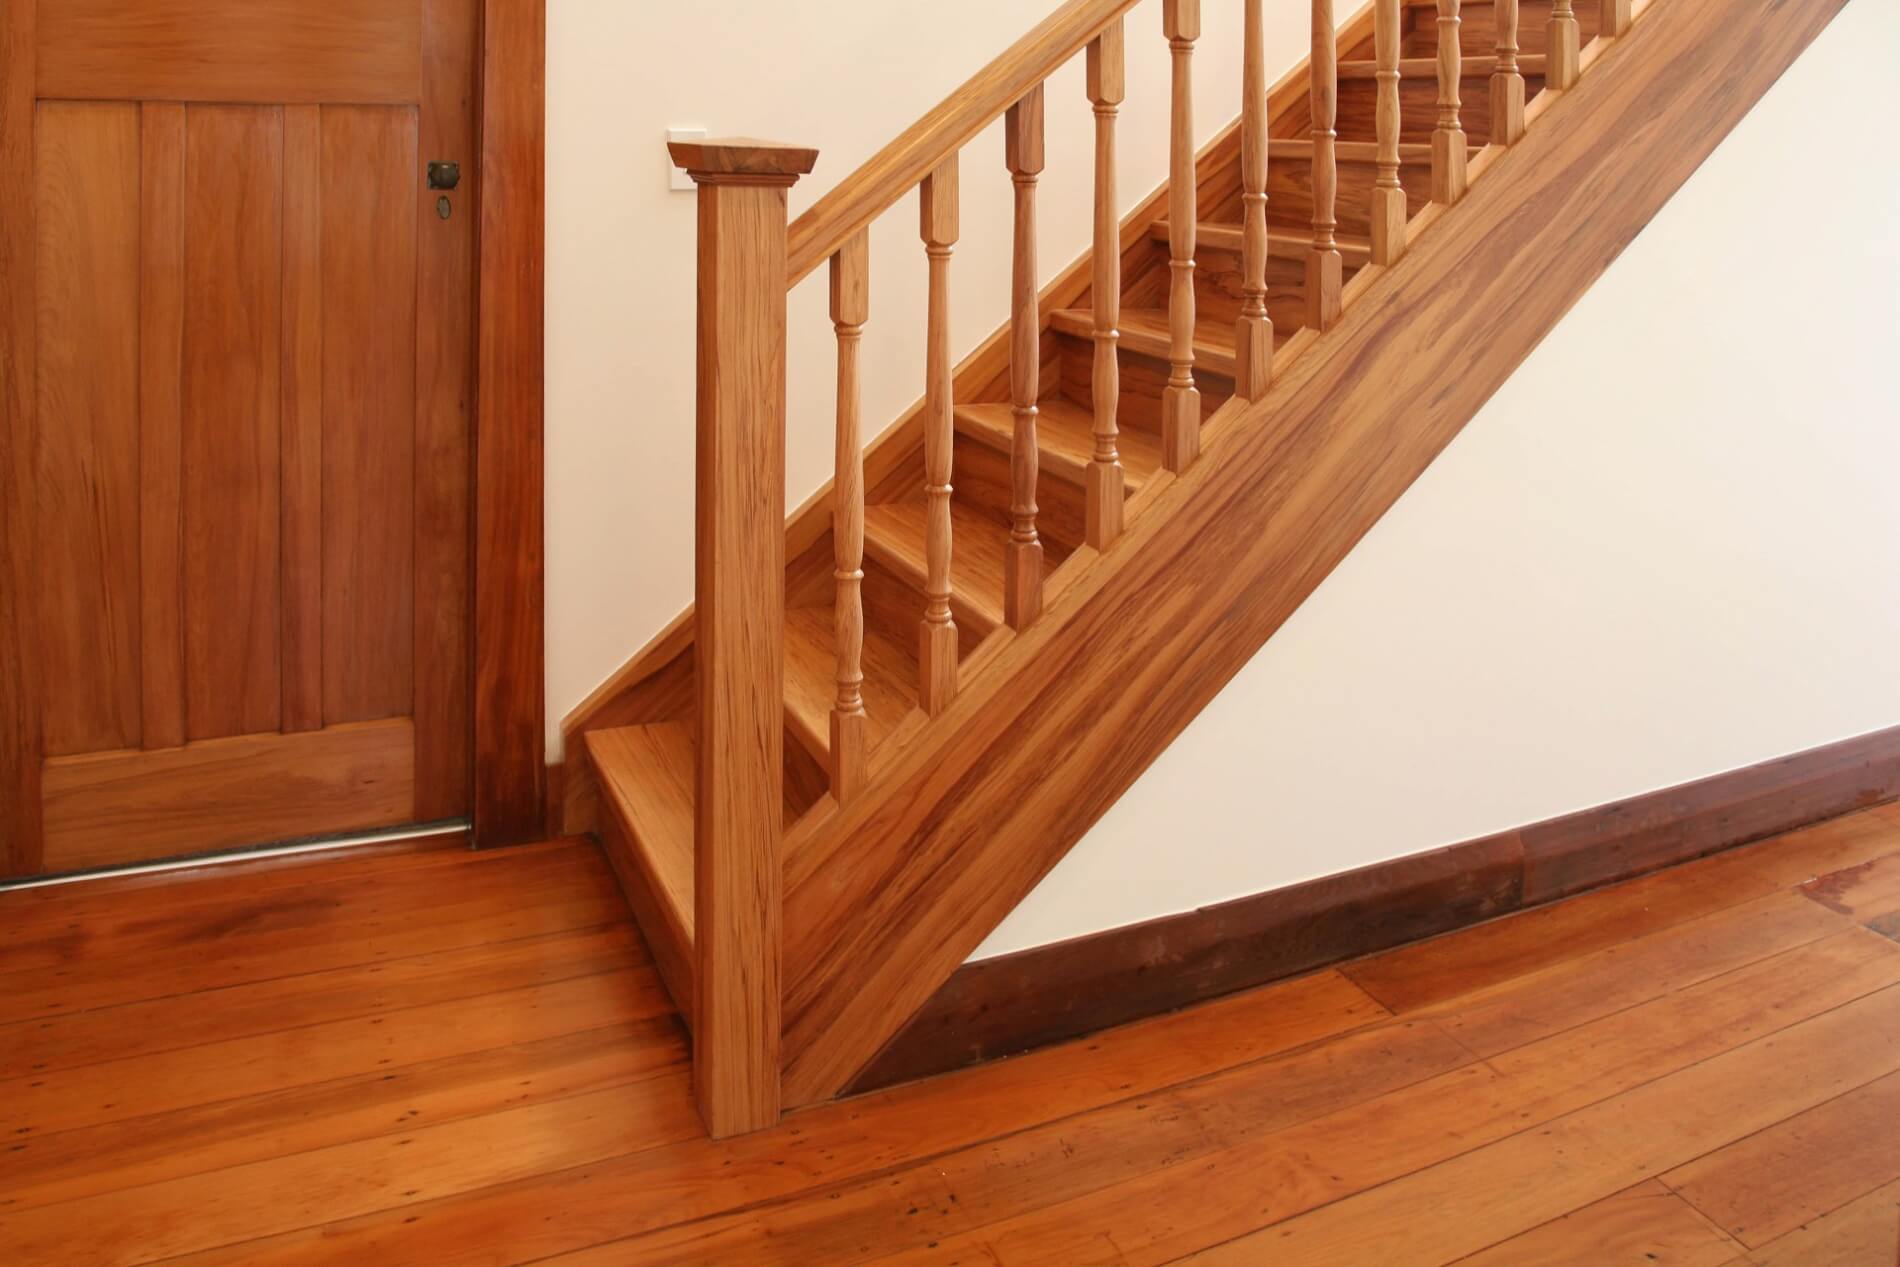
Choosing the Wood
When it comes to choosing the right wood for your staircase, there are several factors to consider, including durability, style, and budget. Here are some key points to keep in mind when selecting the perfect wood for your project.
- Hardwood vs. Engineered Wood: Hardwood is a popular choice for stairs due to its strength and durability. It offers a classic and timeless appeal. Engineered wood, on the other hand, is made up of multiple layers of wood veneers and offers increased stability and resistance to moisture. Consider your specific needs and preferences to determine which option works best for you.
- Wood Species: The type of wood you choose will greatly impact the overall look and feel of your stairs. Common options include oak, maple, walnut, and cherry. Each wood species has its own unique grain patterns and color variations, so be sure to choose one that complements the aesthetic of your home.
- Finish: Decide whether you want a prefinished or unfinished wood for your stairs. Prefinished wood comes already sealed with a protective coating, making installation quicker and easier. Unfinished wood allows you to customize the color and finish according to your preferences.
- Budget: Consider your budgetary constraints when selecting the wood for your stairs. Keep in mind that hardwood tends to be more expensive than engineered wood. However, investing in high-quality materials can lead to better durability and longevity.
- Safety: Ensure that the wood you choose has a slip-resistant surface to prevent any accidents. Look for options with appropriate texturing or consider adding stair treads or anti-slip mats for added safety.
- Maintenance: Different wood species require varying levels of care and maintenance. Consider how much time and effort you’re willing to put into maintaining the wood finish. Some woods may need regular polishing or refinishing to keep them looking their best.
Take your time to research and explore different wood options before making a decision. Visit local suppliers or consult with professionals to gather samples, compare prices, and get expert advice on the most suitable wood for your specific staircase project.
Once you have chosen the perfect wood, it’s time to move on to the next step: cutting the wood to fit your stairs.
Before starting the project, make sure to measure the dimensions of the stairs accurately and choose the right type of wood for the job. It’s also important to properly prepare the stairs by removing the old carpet and any adhesive residue before installing the new wood.
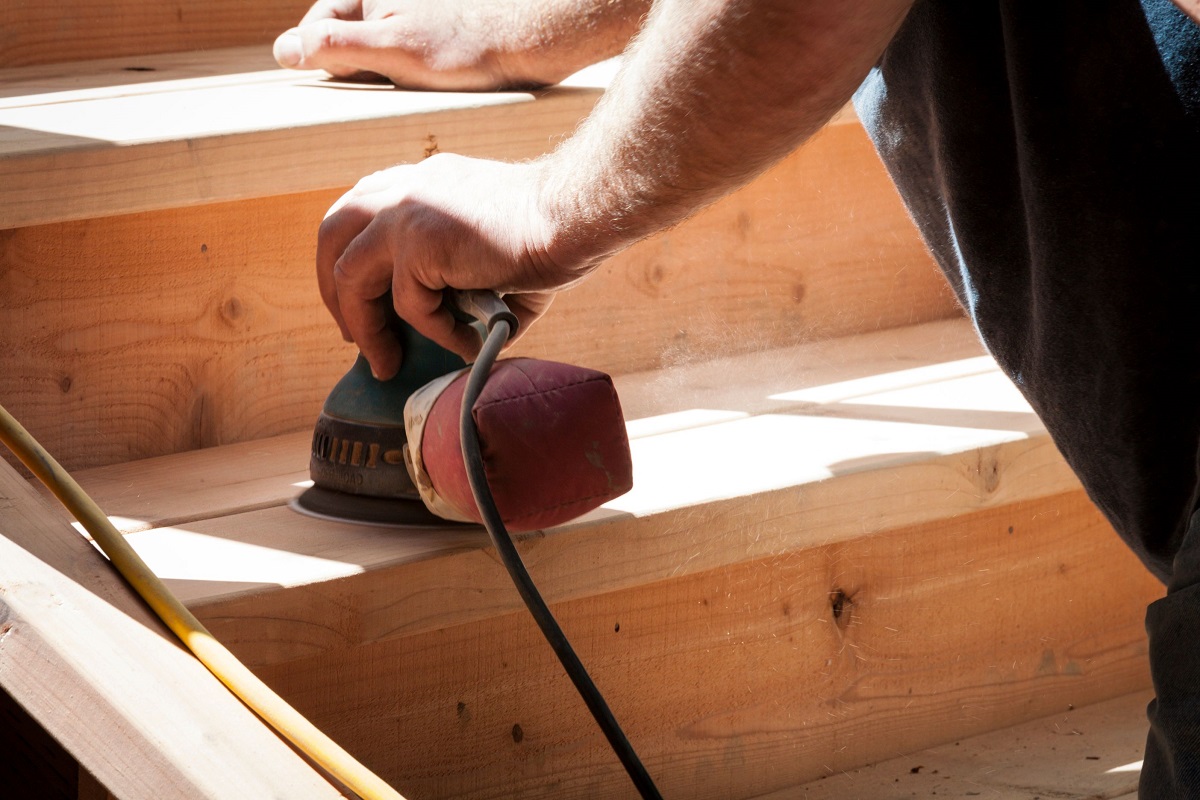
Cutting the Wood
Now that you have chosen the right wood for your staircase, it’s time to cut the wood to fit each step. Cutting the wood accurately is essential to achieve a seamless and professional-looking installation. Here are the steps to follow:
- Start by measuring each step carefully. Use a measuring tape to determine the length and width of each step. Make sure to account for any overhang or nosing that you want to include in your design.
- Transfer the measurements onto the wood planks that you have chosen. Use a pencil or a marker to mark the cutting lines. Double-check the measurements and ensure that they are accurate before proceeding.
- Secure the wood plank firmly in place. Use clamps or weights to keep it steady during the cutting process. This will help prevent any splintering or shifting of the wood.
- If you have access to a circular saw or a miter saw, use it to make the cuts. Make sure to adjust the saw settings according to the thickness of the wood and follow all safety precautions. Take your time and make smooth, controlled cuts along the marked lines.
- If you don’t have access to a power saw, you can use a hand saw or a jigsaw as an alternative. Ensure that you have a sharp blade suitable for cutting wood. Take your time and follow the marked lines while maintaining a steady and controlled cutting motion.
- After making the cuts, double-check the dimensions of each wood piece to ensure they match the measurements of each step. Sand any rough edges or imperfections to create a smooth and uniform surface.
Remember to wear appropriate safety equipment, such as safety goggles and gloves, during the cutting process. Take your time and exercise caution to prevent any accidents or injuries.
Once you have cut the wood pieces to fit your stairs, it’s time to move on to the next step: installing the wood on the staircase.
Read more: How To Remove Carpet Glue From Wood Stairs
Installing the Wood
With the wood pieces cut to fit your stairs, it’s time to proceed with the installation process. Installing the wood requires careful precision and attention to detail to ensure a secure and visually appealing result. Here’s a step-by-step guide to help you through the process:
- Begin by applying an adhesive to the back of each wood piece. Use a high-quality wood adhesive or construction adhesive recommended for your specific type of wood. Apply the adhesive evenly and thoroughly to ensure proper bonding.
- Starting from the bottom step, carefully place the wood piece onto the prepared step. Align it properly and press it firmly to ensure a strong bond with the adhesive. Use a rubber mallet or a hammer and a tapping block to secure the wood piece in place, ensuring it sits flush against the riser and the adjacent piece.
- Continue the installation process for each step, ensuring that each wood piece is aligned correctly and fits snugly against the previous one. Use clamps or weights to hold the planks in place while the adhesive dries, following the manufacturer’s recommended drying time.
- If you encounter any unevenness or gaps between the wood pieces, use a sander or sandpaper to smooth out the surface and create a seamless transition. Be careful not to remove too much material, as you want to maintain a consistent thickness across the stairs.
- Once all the wood pieces are installed and the adhesive has fully dried, secure them further by using finishing nails or screws. Pre-drill holes to prevent the wood from splitting, and counter-sink the nails or screws slightly below the wood surface. Fill the holes with wood filler and sand the area to create a seamless finish.
- Take the time to inspect each step after installation to ensure that they are securely attached and free from any loose or uneven areas. Make any necessary adjustments or repairs before moving on to the final step.
Installing the wood on your stairs is a meticulous process that requires patience and precision. Take your time and double-check your work to ensure a high-quality installation that will stand the test of time.
Now that the wood is installed, it’s time to add the finishing touches to complete the transformation of your stairs.
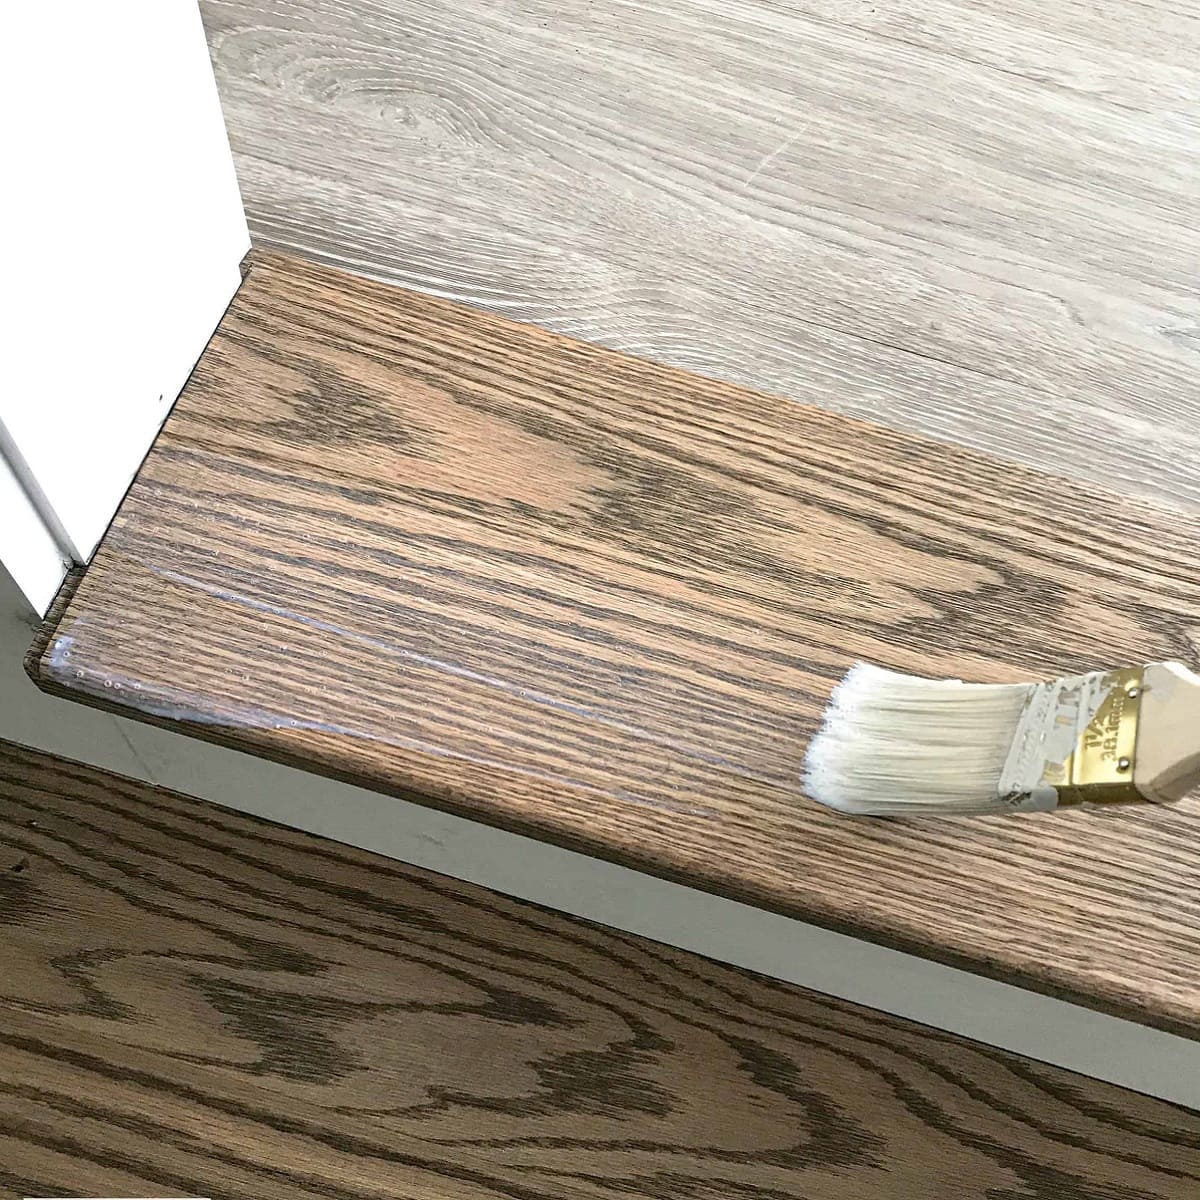
Finishing Touches
With the wood installed on your stairs, it’s time to add the finishing touches to enhance the overall appearance and longevity of your staircase. These final steps will give your project a polished and professional look. Here’s what you need to do:
- Sanding: Use a sanding block or a power sander to smooth out any rough edges or imperfections. Pay attention to the edges of each step and ensure that they blend seamlessly with the surrounding wood.
- Staining or Painting: If you chose unfinished wood, you have the option to stain or paint it to your desired color. Apply a wood stain or paint in even strokes, following the manufacturer’s instructions. Allow sufficient drying time between coats, and apply multiple coats if necessary to achieve the desired color depth and protection.
- Applying a Finish: To protect the wood and enhance its natural beauty, apply a clear finish or polyurethane coating. This will provide a protective layer against wear and tear, as well as spills and stains. Apply multiple coats, following the manufacturer’s guidelines, and allow sufficient drying time between coats.
- Adding a Nosing or Bullnose: To soften the edges of your wooden stairs and add a touch of style, consider adding a nosing or bullnose. These decorative elements not only enhance the visual appeal of your staircase but also provide a smooth and safe transition from one step to another.
- Installing Handrails: If your staircase doesn’t already have handrails, consider adding them for safety and convenience. Choose handrails that complement the wood and overall aesthetic of your staircase. Install them securely, following local building codes and regulations.
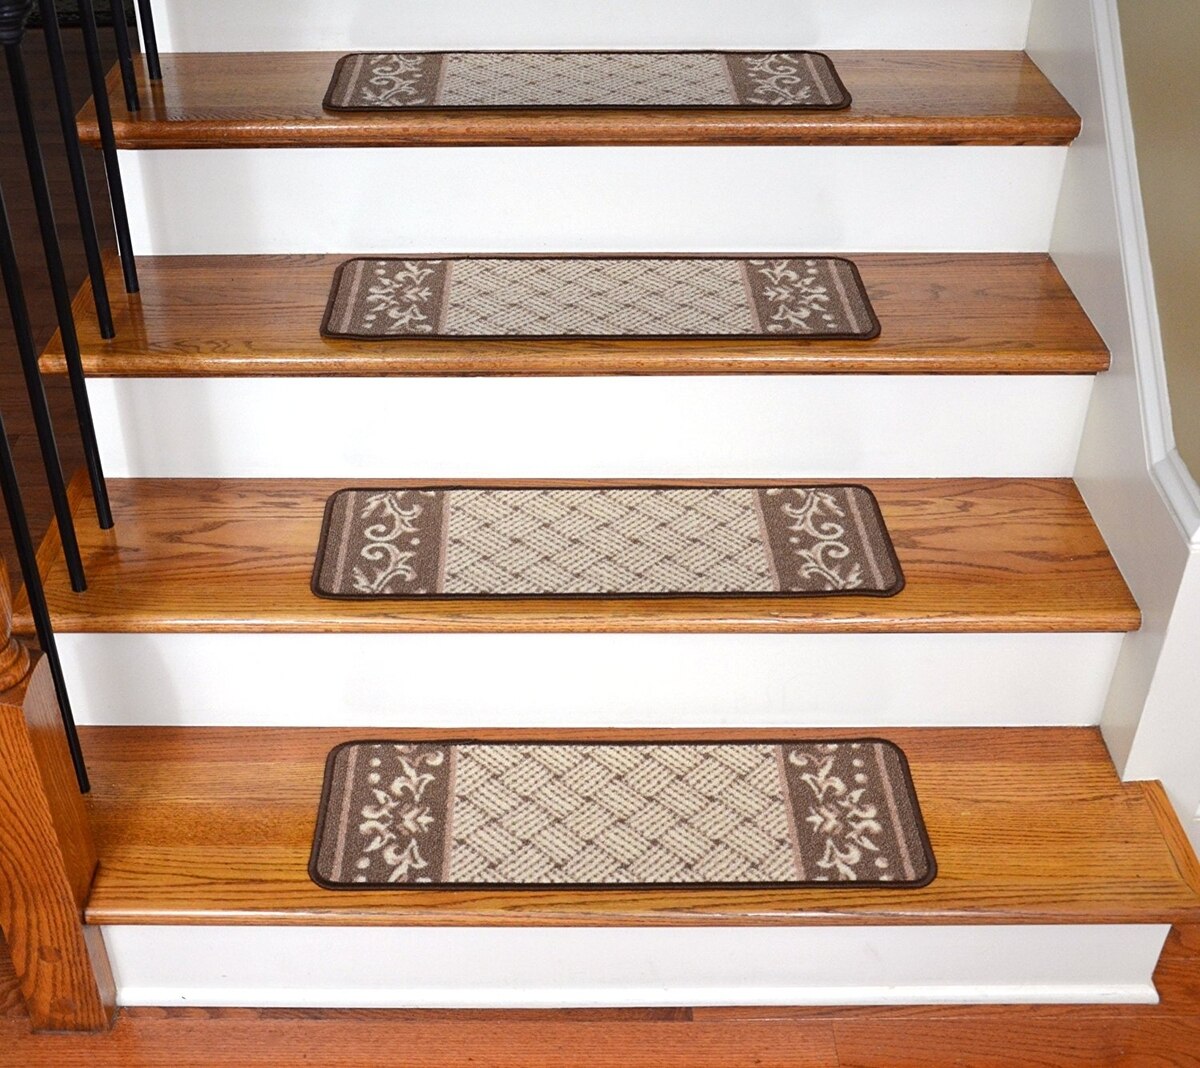
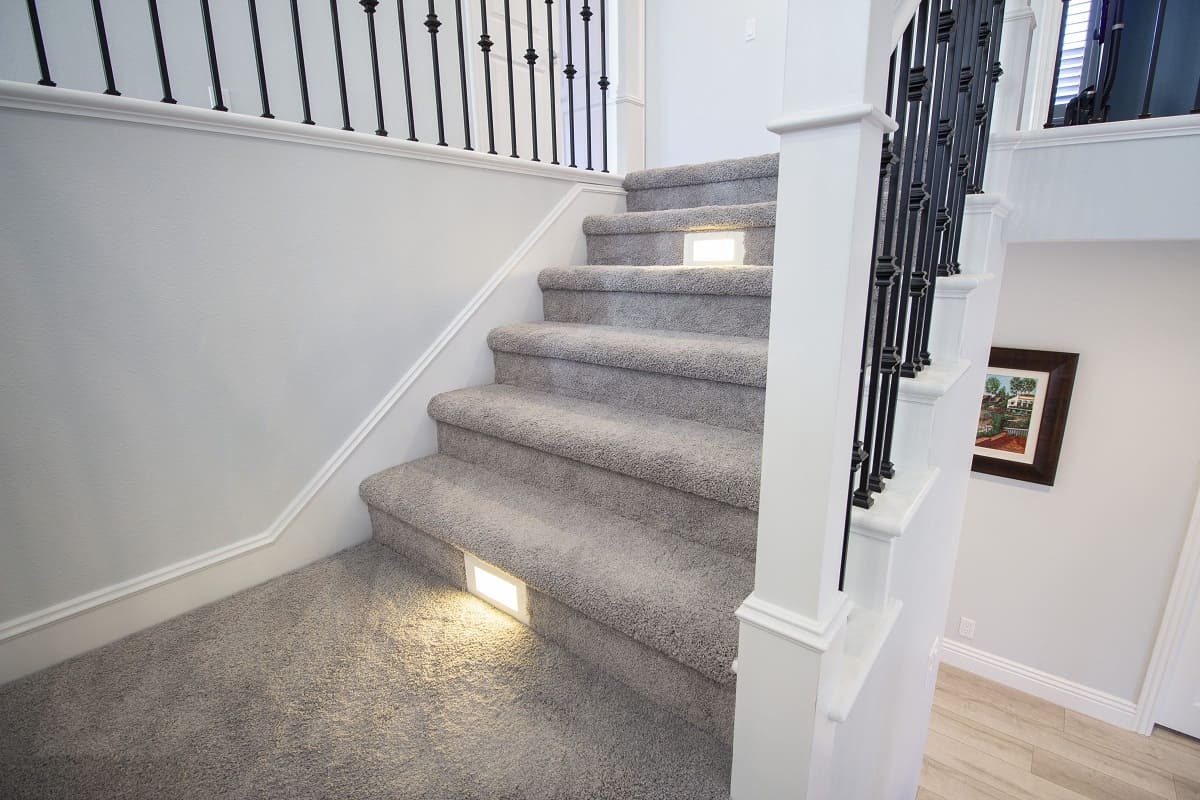
- Adding Stair Runner or Carpet: For added comfort and style, you may choose to install a stair runner or carpet on your newly transformed wooden stairs. This can provide a soft and cozy feel underfoot while adding an additional layer of visual interest to your staircase.
By completing these finishing touches, you will not only enhance the aesthetic appeal of your staircase but also ensure its durability and functionality for years to come.
After adding the finishing touches, step back and admire the beauty of your newly transformed stairs. You’ve successfully changed your stairs from carpet to wood, giving your home a fresh and elegant upgrade!
Conclusion
Changing stairs from carpet to wood is a rewarding project that can completely transform the look and feel of your home. By following the step-by-step process outlined in this article, you can achieve a stunning and durable staircase that adds elegance and sophistication to your living space.
Starting with the removal of the carpet, you carefully prepare the stairs, choosing the right wood that suits your style and budget. Cutting the wood accurately and installing it securely ensures a seamless and professional finish. Adding the finishing touches, such as sanding, staining or painting, and applying a protective finish, elevates the appearance and longevity of your wood stairs.
Throughout the process, it’s important to exercise caution, follow safety guidelines, and seek professional help if needed. Remember to take accurate measurements, use quality materials, and ensure a level and properly prepared surface for the wood installation.
Changing stairs from carpet to wood not only enhances the aesthetic appeal of your home but also increases its value and provides a durable and low-maintenance solution for your staircase. With proper care and maintenance, your wooden stairs will continue to impress for years to come.
Now that you have the knowledge and guidelines to embark on this project, it’s time to turn your vision into reality. Embrace the beauty and elegance of wooden stairs, and enjoy the luxurious and timeless appeal they bring to your home.
So go ahead, take the first step, and start transforming your carpeted stairs into stunning wood masterpieces!
Frequently Asked Questions about How To Change Stairs From Carpet To Wood
Was this page helpful?
At Storables.com, we guarantee accurate and reliable information. Our content, validated by Expert Board Contributors, is crafted following stringent Editorial Policies. We're committed to providing you with well-researched, expert-backed insights for all your informational needs.


0 thoughts on “How To Change Stairs From Carpet To Wood”