Articles
How To Repair Scratches On Wood Furniture
Modified: October 19, 2024
Learn effective techniques to repair scratches on wood furniture with simple DIY methods. Restore the beauty and durability of your beloved furniture with these easy-to-follow tips!
(Many of the links in this article redirect to a specific reviewed product. Your purchase of these products through affiliate links helps to generate commission for Storables.com, at no extra cost. Learn more)
Introduction
Welcome to the ultimate guide on how to repair scratches on wood furniture! Nothing is more disheartening than noticing unsightly scratches on your beloved furniture. Whether it’s an accidental scrape from a pet, a child’s toy, or just the wear and tear of everyday life, scratches can mar the beauty and elegance of your furniture.
But fear not, as there are effective ways to restore your wood furniture to its former glory. From superficial scratches that merely affect the surface to deeper scratches that penetrate the wood, this guide will take you through the step-by-step process of repairing and restoring your furniture. By following these techniques, you can save money on professional repairs and take pride in your own DIY skills.
Before we delve into the specific methods of repairing scratches, it’s important to understand the different types of scratches that can occur on wood furniture. By categorizing the scratches, you’ll be better equipped to choose the appropriate technique for repair.
So, let’s jump right in and explore the various types of wood furniture scratches and how to address them!
Key Takeaways:
- Restore the beauty of your wood furniture by identifying and repairing different types of scratches, from superficial marks to deep gouges, using DIY methods and professional techniques.
- Protect your wood furniture from future scratches by applying a protective sealant and implementing preventive measures, such as using protective pads, coasters, and proper cleaning techniques.
Read more: How To Repair Scratches On Wood Floor
Understanding the Types of Wood Furniture Scratches
When it comes to wood furniture, there are different types of scratches that can occur. Understanding these variations is crucial because different techniques and materials are required for each type of scratch.
1. Surface Scratches: These scratches are superficial and only affect the top layer of the wood. They are usually shallow and may appear as light marks on the surface. Surface scratches can be caused by everyday use, such as sliding objects or accidentally scraping the furniture with sharp items.
2. Deep Scratches: Unlike surface scratches, deep scratches penetrate the wood and are more severe. They may be caused by heavy objects being dragged across the furniture or accidental deep gouges from sharp objects. These scratches are generally more noticeable and require a different repair approach.
3. Finish Scratches: Finish scratches occur on the protective coating or finish of the wood furniture rather than the wood itself. They can happen due to exposure to heat, moisture, or chemicals. These types of scratches may appear as dull spots, discoloration, or peeling of the finish. Repairing finish scratches involves refinishing or reapplying the protective coating.
4. Color Scratches: Color scratches refer to scratches that affect the stained or painted surface of the wood furniture. They may occur when the color layer is scratched off, revealing the lighter or raw wood underneath. Repairing color scratches involves restoring the color and applying a new coat of stain or paint.
By identifying the type of scratches on your wood furniture, you can choose the appropriate repair technique and materials. Surface scratches may require simple DIY methods, while deep scratches may need more extensive repairs. Now that you understand the different types of scratches, let’s move on to preparing the necessary materials for repair.
Preparing the Necessary Materials
Before you begin the process of repairing scratches on your wood furniture, it’s essential to gather all the necessary materials. Having everything prepared in advance will make the repair process smoother and more efficient. Here’s a list of materials you’ll need:
- Wood filler: For deeper scratches, you’ll need wood filler to fill in the gaps and create a smooth surface. Choose a filler that matches the color of your wood furniture.
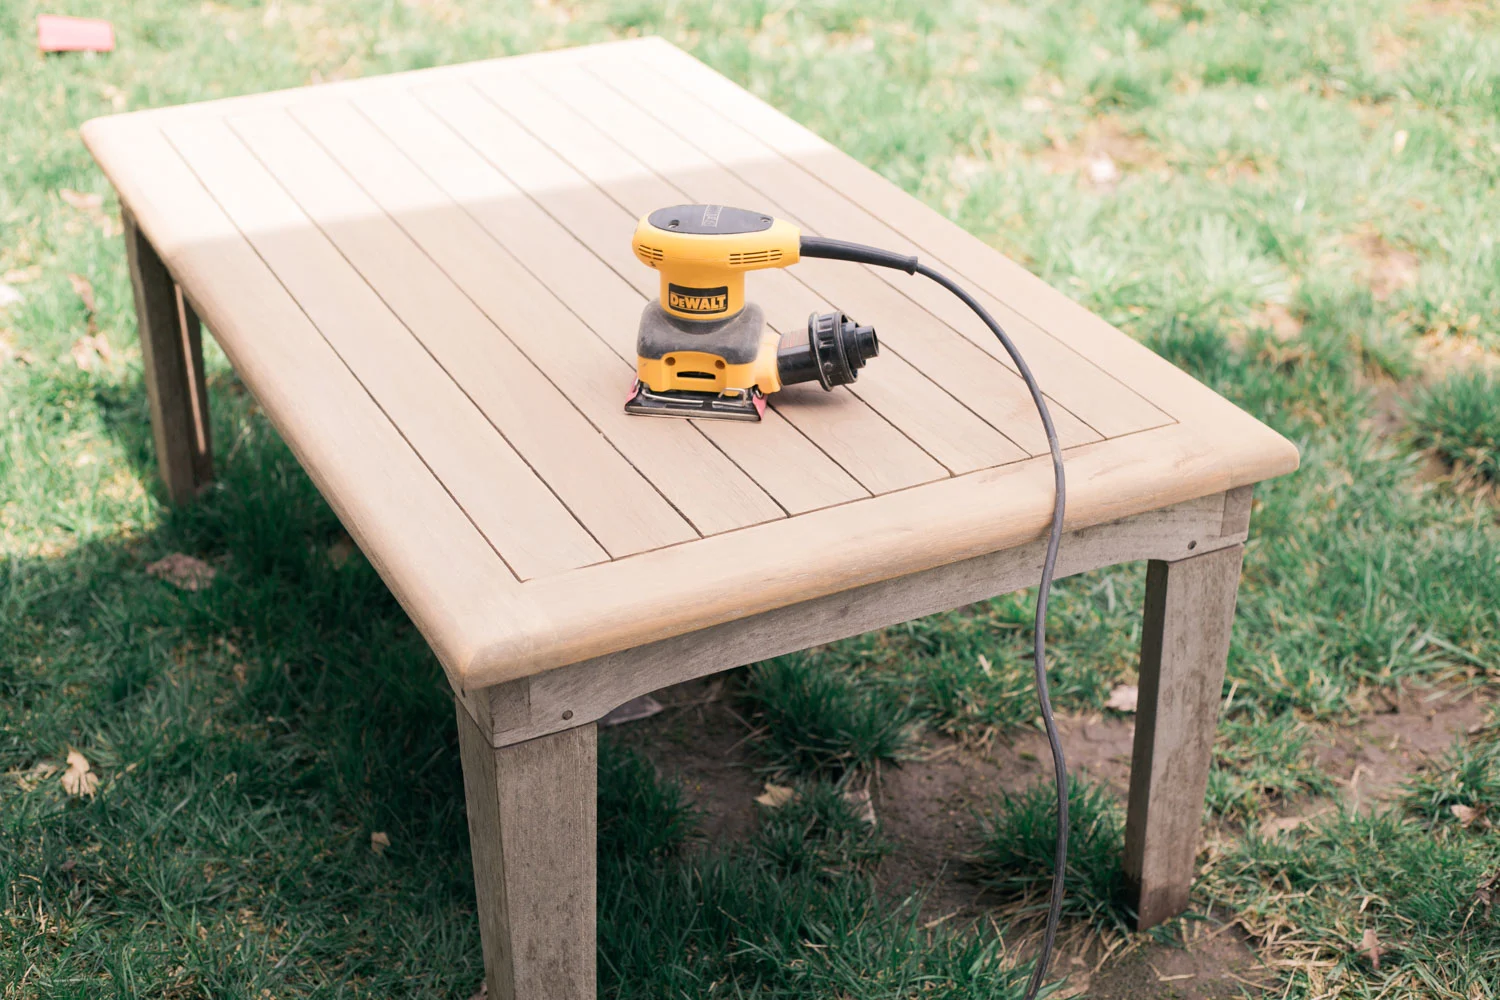
- Sandpaper: Sandpaper is crucial for smoothing out the repaired areas and preparing the surface for refinishing. Choose different grits, ranging from coarse to fine, depending on the severity of the scratches.
- Stain or paint: If you have color scratches or need to touch up the finish, you’ll need stain or paint that matches the original color of the furniture.
- Brushes: You’ll need brushes for applying wood filler, stain, or paint. Use narrow, fine-bristle brushes for precise application.
- Soft cloths: Soft, lint-free cloths are essential for wiping and buffing the surface of the furniture during the repair process.
- Wood polish: Once the repair is complete, a wood polish can help restore the luster and shine of the furniture.
- Protective sealant: To prevent future scratches and maintain the longevity of the furniture, consider applying a protective sealant after the repair is complete.
It’s crucial to ensure that all the materials you use are of high quality and suitable for your specific type of wood furniture. If you’re uncertain about which products to choose, consult with a furniture specialist or refer to the manufacturer’s recommendations.
Now that you have all the necessary materials on hand, let’s move on to the next step: assessing the severity of the scratches on your wood furniture.
Assessing the Severity of the Scratches
Before you dive into repairing the scratches on your wood furniture, it’s important to assess the severity of the damage. By understanding the extent of the scratches, you can determine the appropriate course of action and choose the right repair method.
Here’s how you can assess the severity of the scratches:
- Take a closer look: Examine the scratches closely to determine their depth and width. Use good lighting and angle your viewing position to get a better understanding of the damage.
- Run your fingernail over the scratch: Gently run your fingernail across the scratch. If your nail gets caught or can feel a significant groove, the scratch is likely deeper. If your nail glides smoothly over the surface, it may be a surface scratch.
- Observe the visibility: Step back and observe the scratches from a few feet away. Note how noticeable they are. Superficial scratches may be barely visible, while deep scratches will be more prominent.
Based on your assessment, you can determine whether the scratches are surface-level or if they require more extensive repair. Superficial scratches can often be remedied with simple DIY methods, while deep scratches may require filling, sanding, and refinishing.
Keep in mind that some scratches may be too severe or extensive to fix on your own. In such cases, it’s advisable to seek professional help to ensure the best possible outcome.
Once you’ve assessed the severity of the scratches, you’re ready to move on to the next step: repairing superficial scratches. We’ll explore various methods to tackle these types of scratches in the following section.
Repairing Superficial Scratches
If you’ve determined that the scratches on your wood furniture are superficial, you’re in luck! These types of scratches can often be easily repaired with some basic DIY methods. Here are some techniques to help you restore the beauty of your furniture:
- Use a scratch repair pen: A scratch repair pen is a convenient tool that contains a dye or stain to fill in and conceal the scratches. Simply apply the pen to the scratch, following the directions provided. Make sure to choose a repair pen that matches the color of your furniture.
- Apply a furniture touch-up marker: Furniture touch-up markers are another quick and effective solution for superficial scratches. Select a marker that matches the color of your wood furniture and carefully apply it to the scratch, gently filling it in.
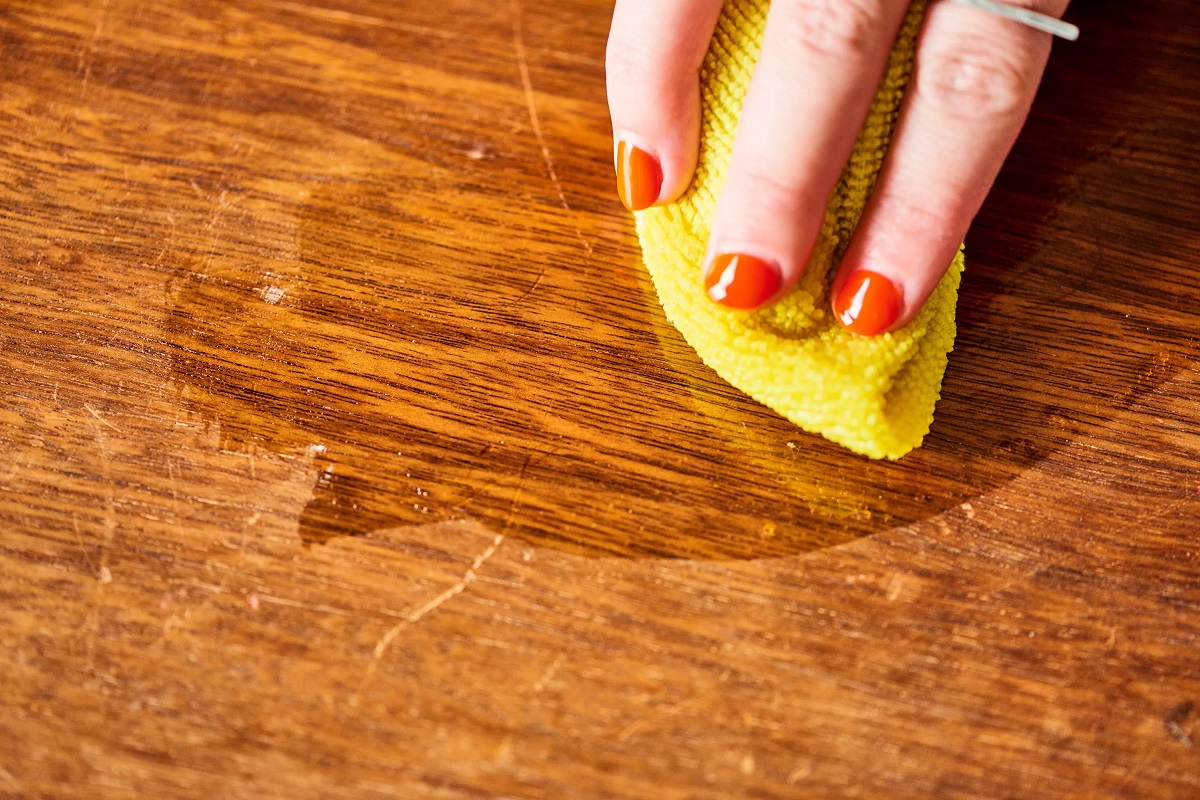
- Try a homemade solution: For lighter surface scratches, you can create a DIY solution by mixing equal parts of vinegar and olive oil. Dampen a soft cloth with the mixture and rub it gently over the scratches, following the direction of the grain. This can help minimize the appearance of the scratches.
- Utilize a walnut or a crayon: For smaller surface scratches, you can rub a piece of a raw walnut or the wax from a crayon that matches the wood color onto the scratch. Buff the area gently with a soft cloth to blend it in.
Remember to always test any method on a small, inconspicuous area of the furniture before applying it to the entire scratch. This will help ensure that the method and color are compatible with your wood furniture.
If these DIY methods do not provide satisfactory results, or if the scratches are deeper than initially thought, it may be necessary to move on to more advanced repair techniques. In the next section, we’ll explore how to fix deeper scratches on your wood furniture.
Use a wood filler or crayon that matches the color of the wood to fill in the scratch. Gently sand the area and apply a wood polish to blend it in.
Read more: How To Fix Chipped Wood On Furniture
Fixing Deeper Scratches
When dealing with deeper scratches on your wood furniture, it’s important to take a more involved approach to repair them effectively. Here are the steps to fix deeper scratches:
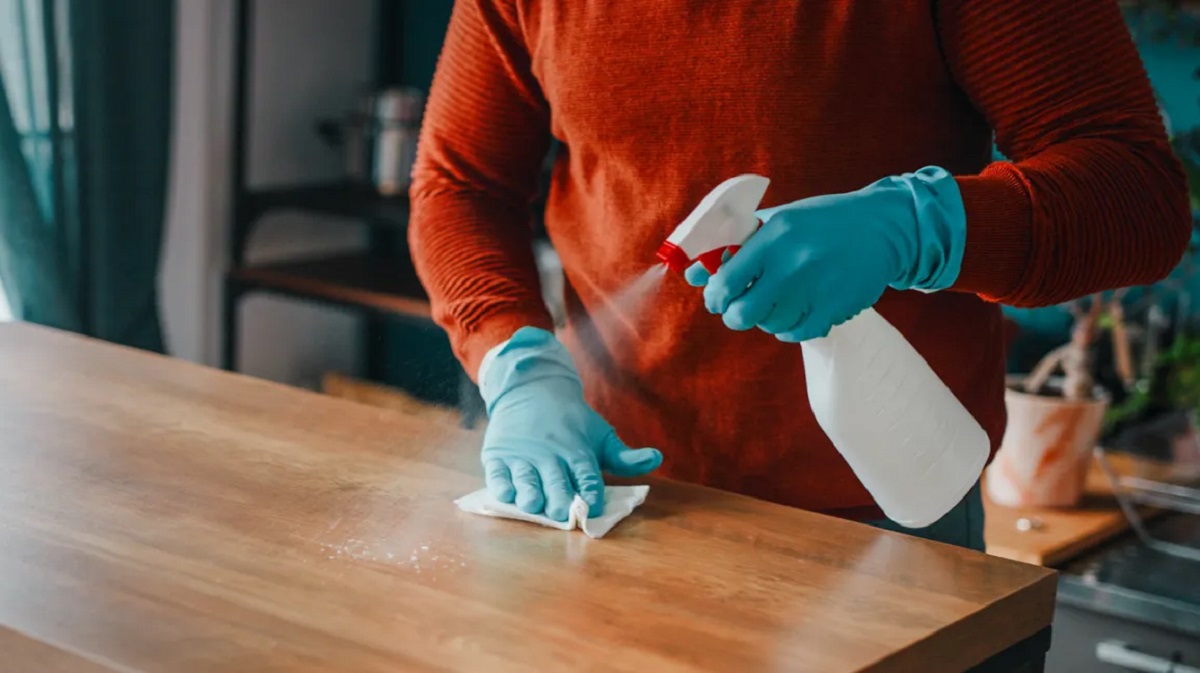
- Clean and prepare the area: Start by cleaning the damaged area with a mild soap and water solution. This will remove any dirt or debris that could interfere with the repair process. Dry the area thoroughly before proceeding.
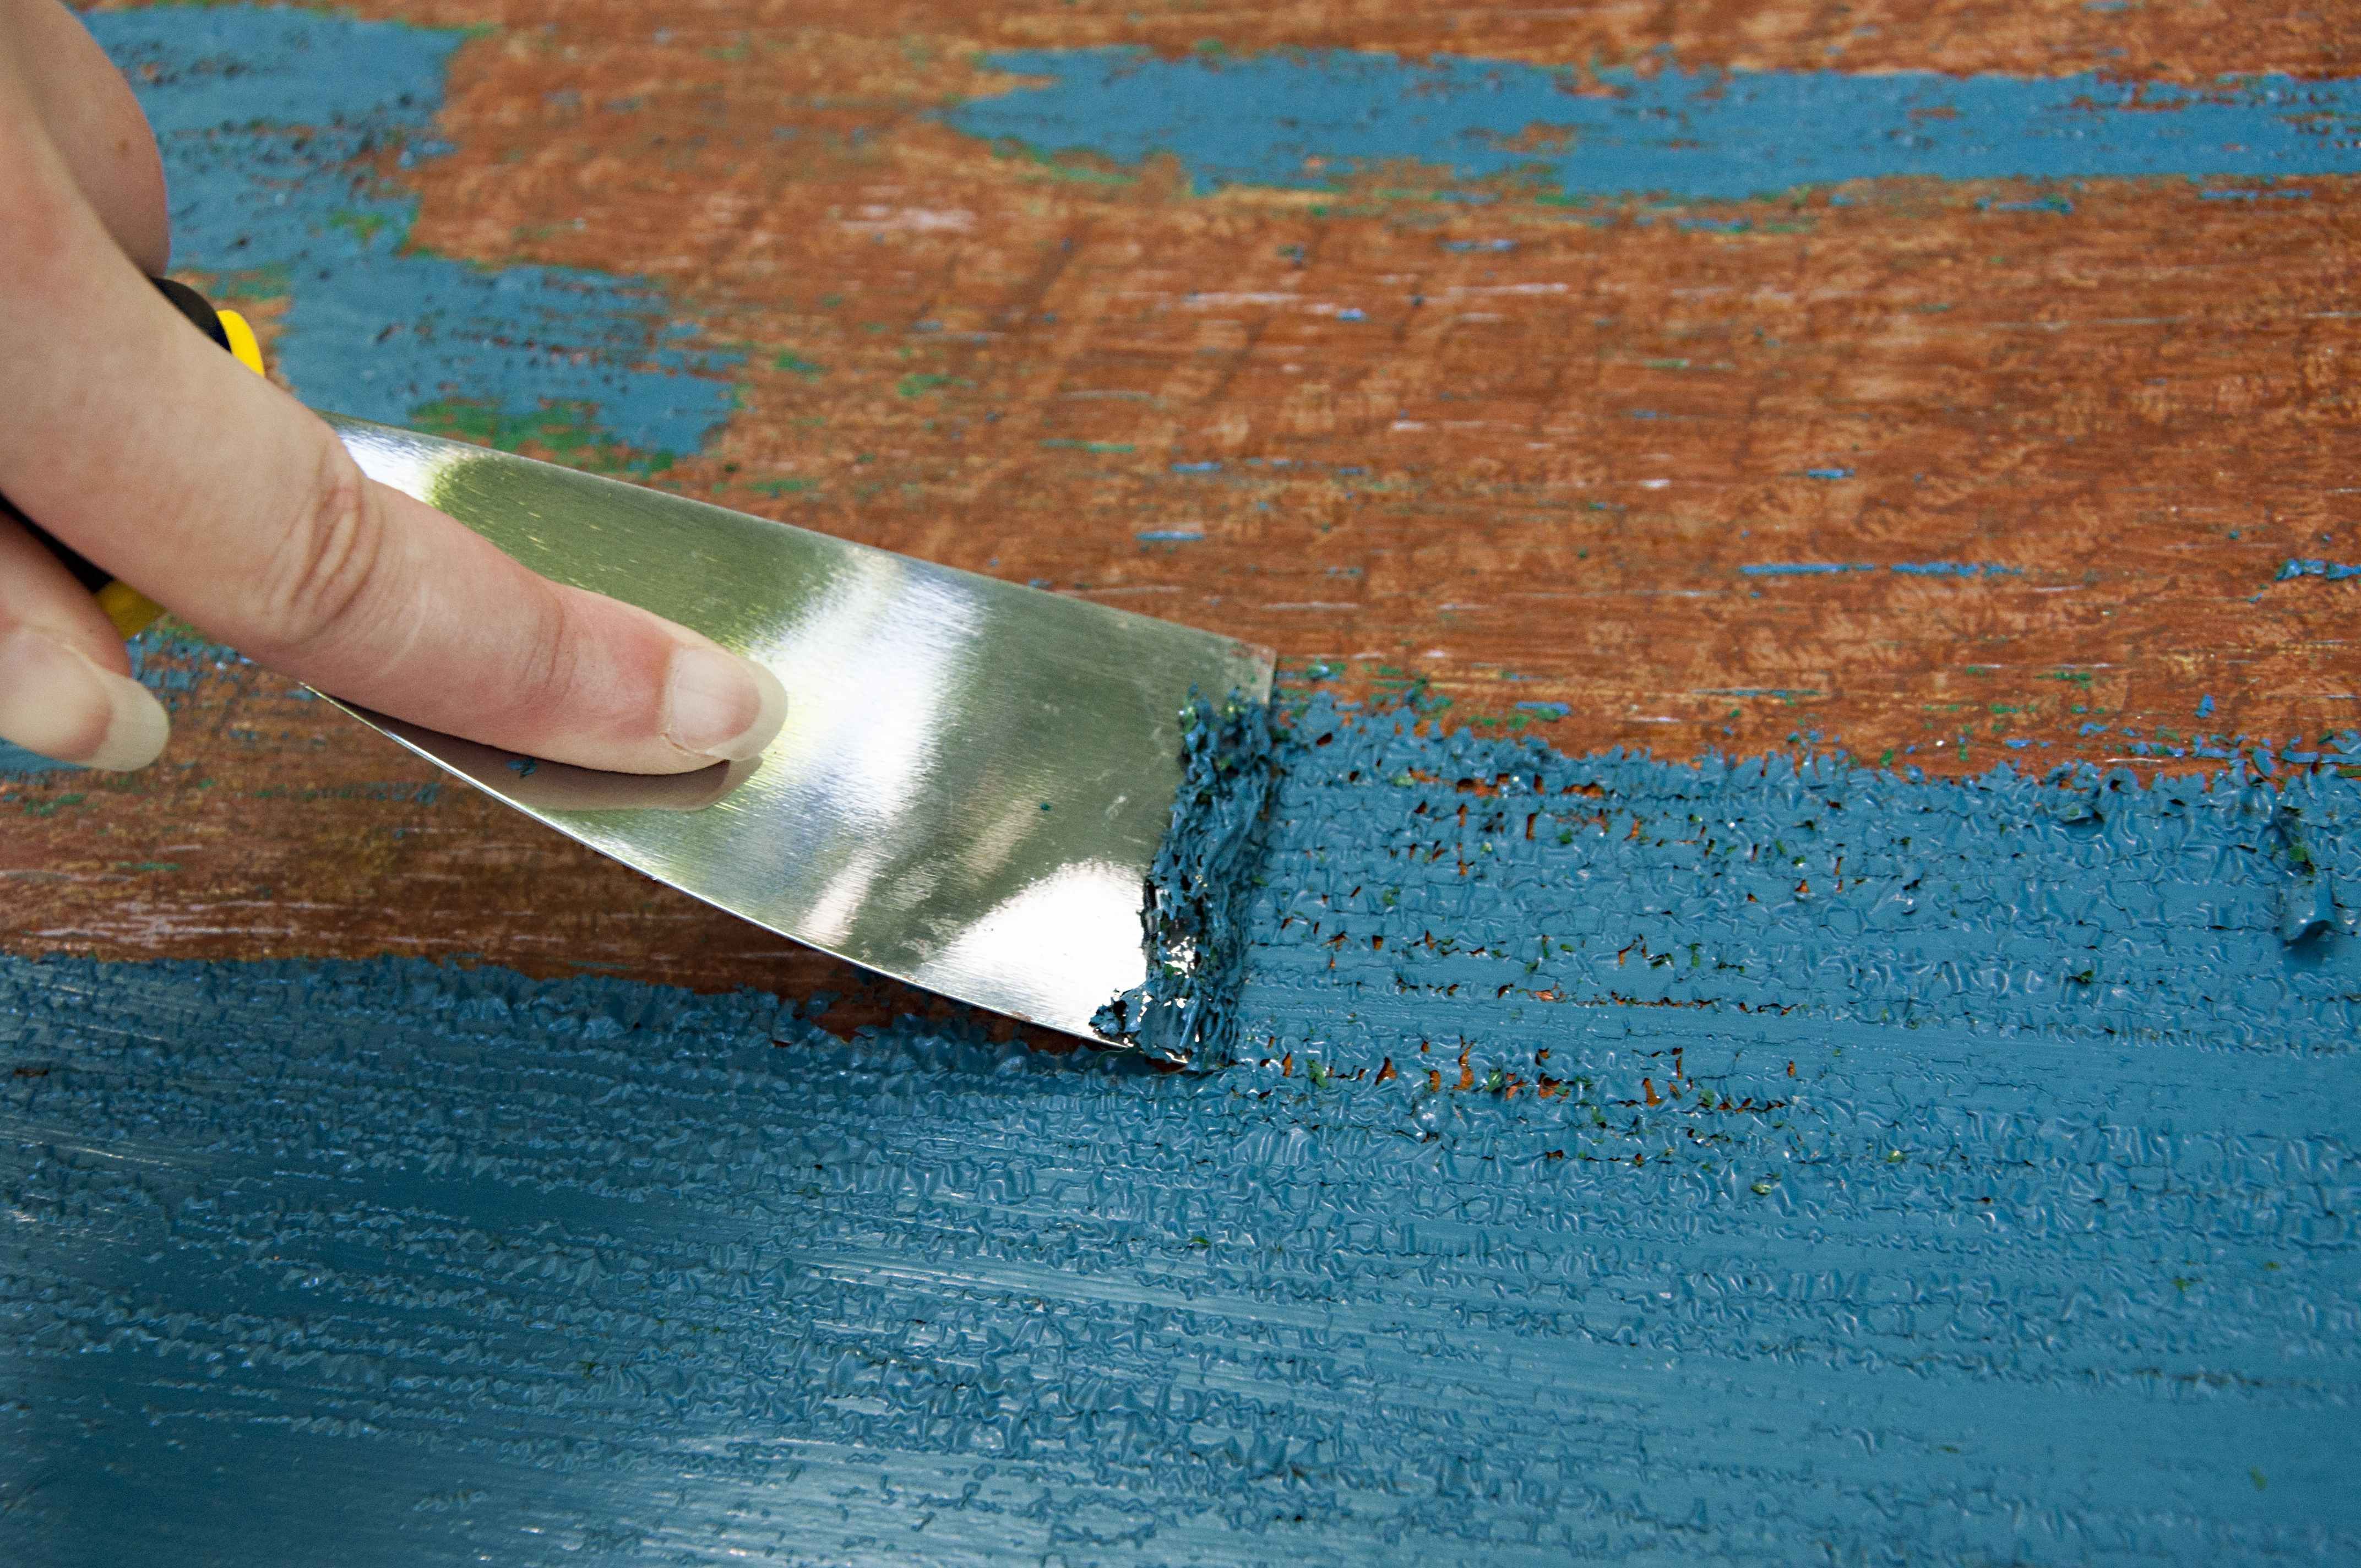
- Fill the scratch: Apply a wood filler that matches the color of your furniture over the scratch, using a putty knife. Make sure to press the filler firmly into the scratch to ensure it fills the gap completely. Smooth out the excess filler on the surface with the putty knife, making it level with the rest of the wood.
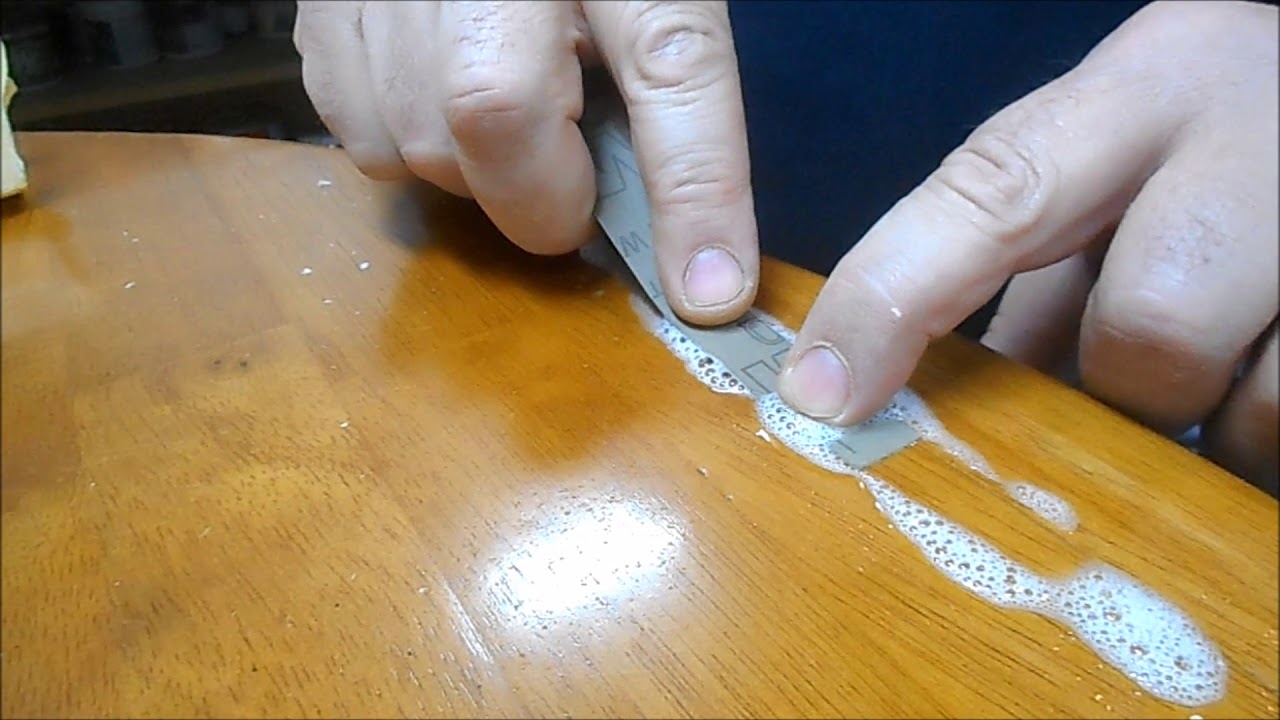
- Sand the repaired area: Once the wood filler is dry, gently sand the repaired area using fine-grit sandpaper. The goal is to create a smooth and even surface. Be careful not to sand too aggressively, as it can damage the surrounding wood.
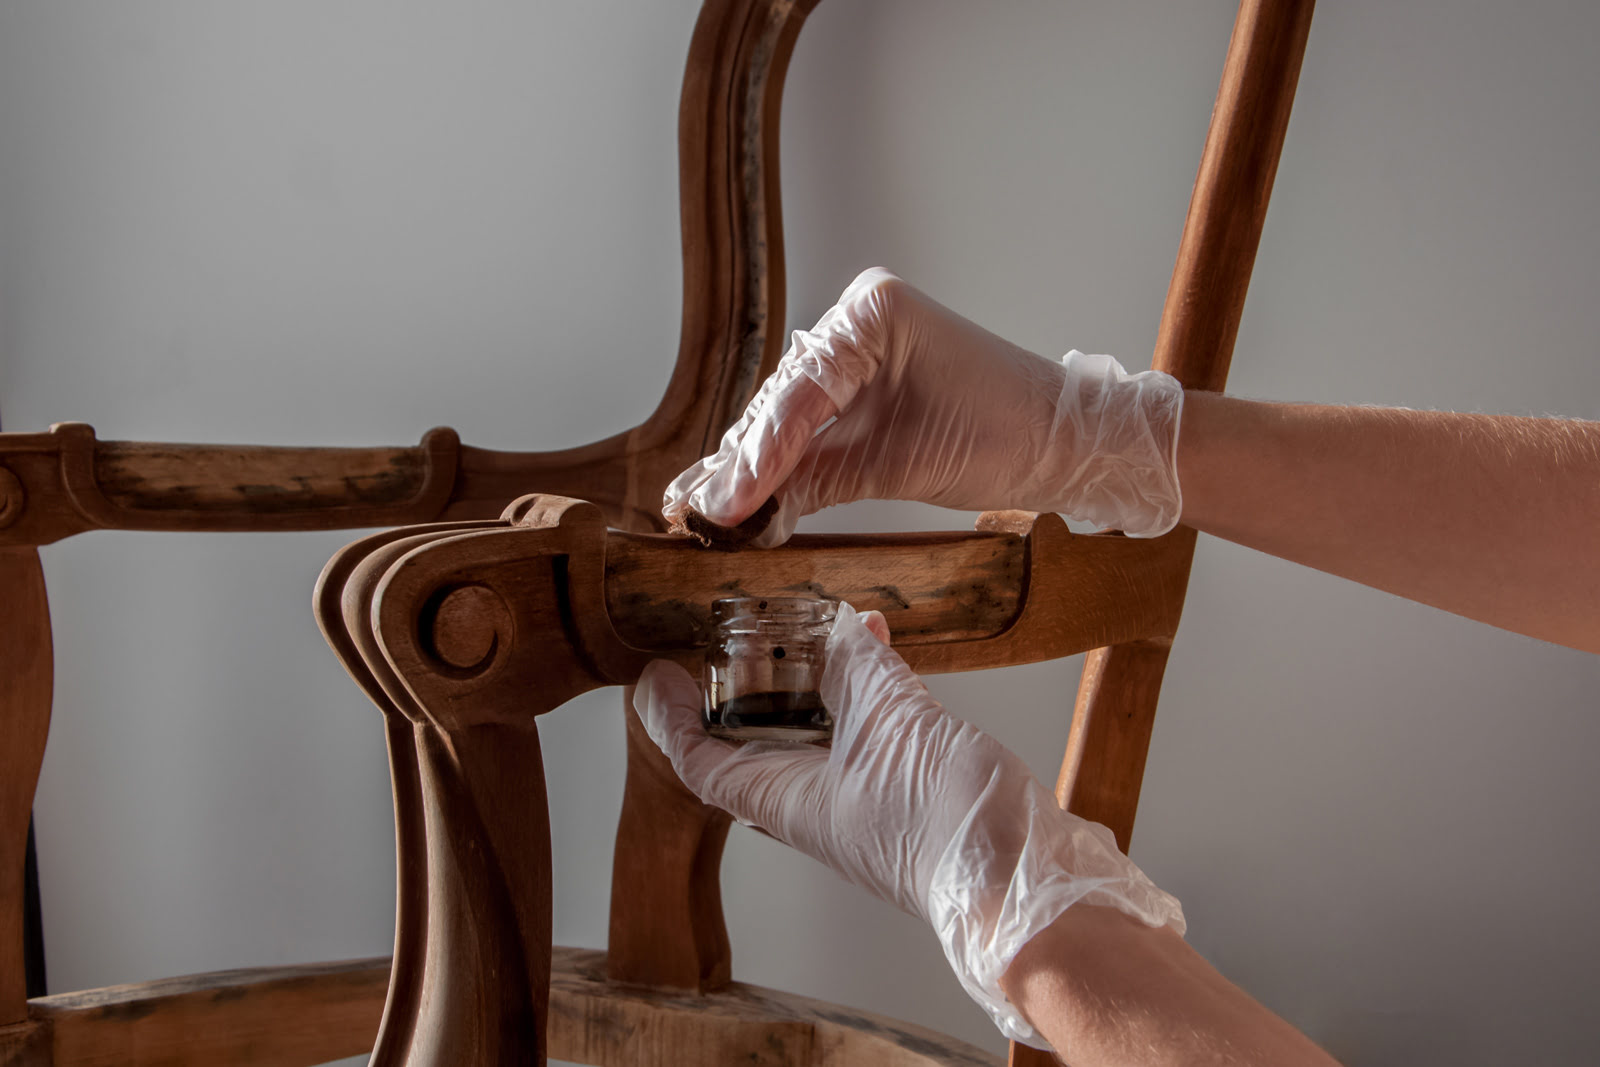
- Blend the color: If the repaired area appears lighter or different in color than the rest of the furniture, you can use a wood stain or marker to blend the color. Apply the stain or marker to the repaired area, following the manufacturer’s instructions, and blend it carefully with the surrounding wood. Wipe off any excess stain or marker with a clean cloth.
- Protect the repair: To protect the repaired area, apply a thin layer of clear wood sealant or finish over the entire surface of the furniture. This will help prevent future damage and ensure a seamless repair.
It’s important to note that deeper scratches may require multiple applications of wood filler and sanding to achieve a satisfactory result. Take your time, be patient, and ensure each step is completed properly for a professional-looking repair.
Once you’ve successfully fixed the deeper scratches, the next step is to restore the finish of your wood furniture. We’ll discuss this in detail in the following section.
Restoring the Finish
Restoring the finish of your wood furniture is an essential step in the repair process, especially if the scratches have affected the protective coating or finish. Here’s how you can restore the finish:
- Remove the existing finish: If the scratch has damaged the existing finish, you’ll need to remove it before applying a new one. Use a fine-grit sandpaper or a liquid finish remover to gently strip away the old finish. Be cautious not to damage the surrounding wood.
- Prepare the surface: After removing the old finish, sand the entire surface of the furniture using progressively finer-grit sandpaper. This will smoothen the surface and ensure optimal adhesion for the new finish.
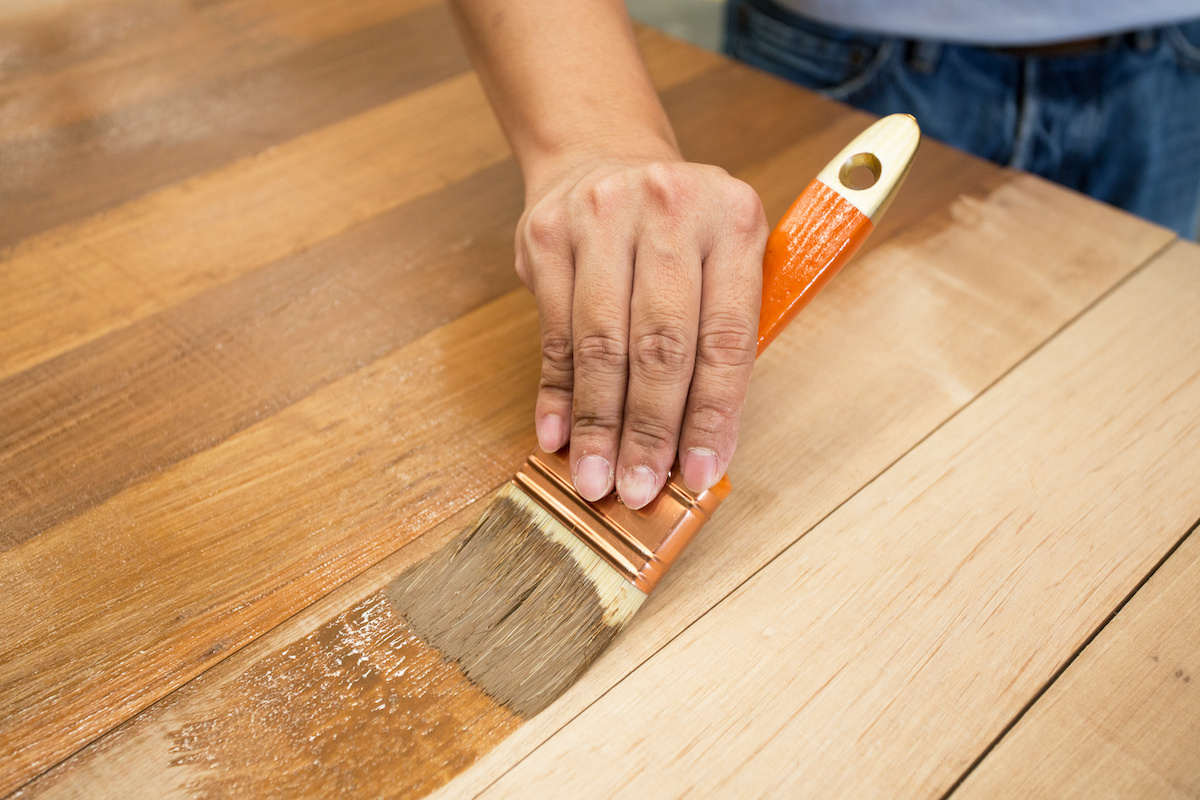
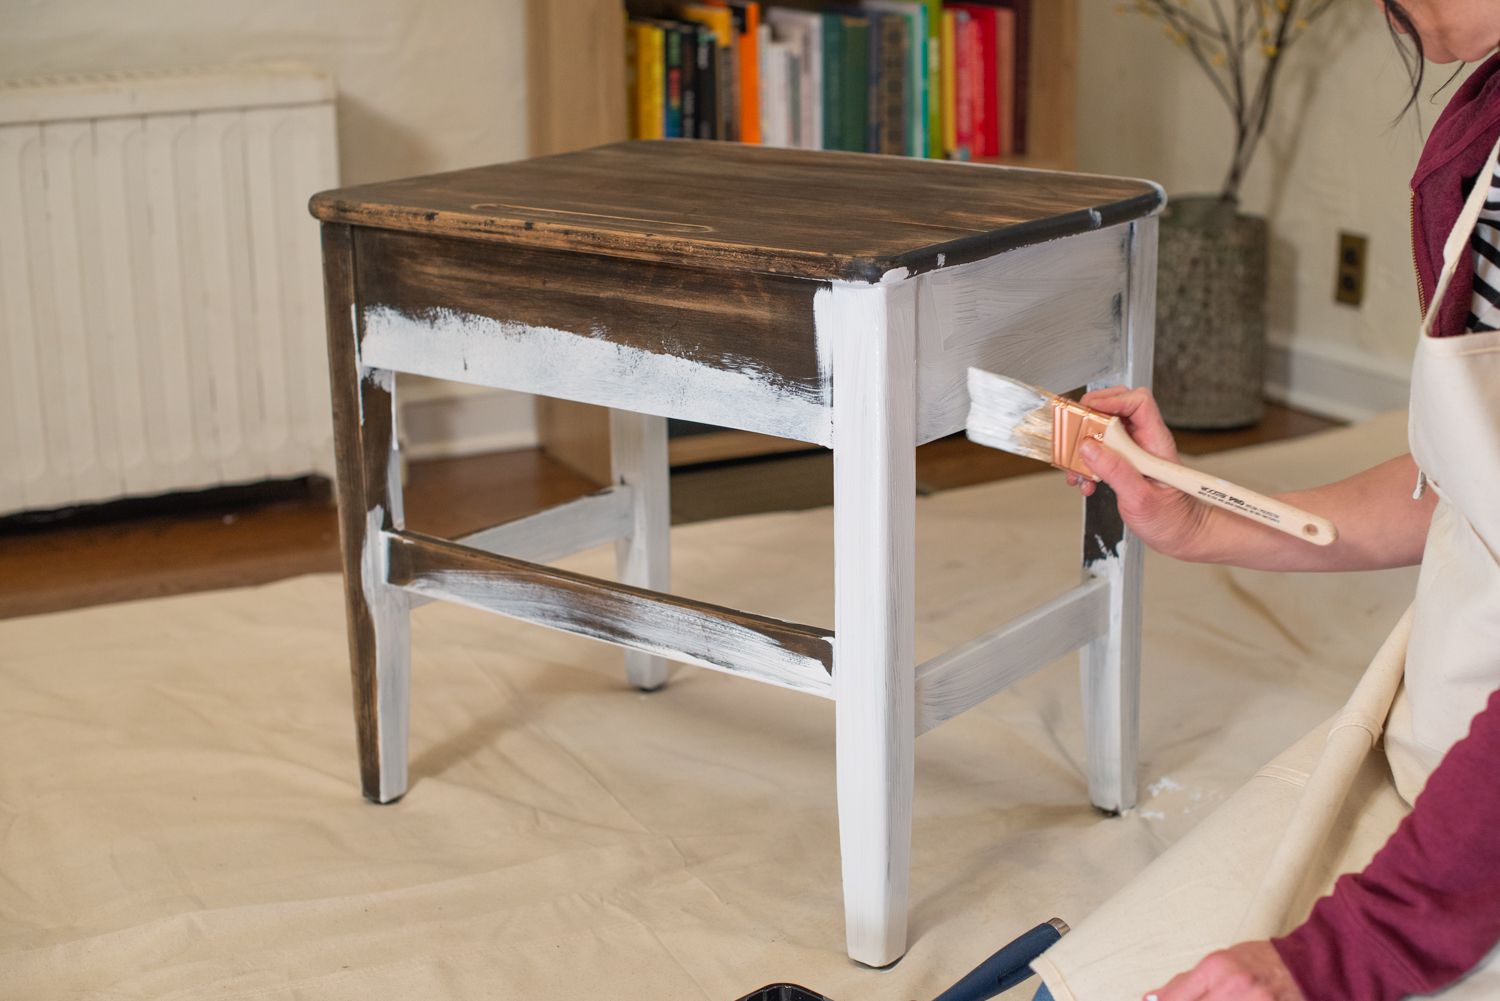
- Apply the stain or paint: If your furniture has a stained or painted finish, you’ll need to match the original color and apply a new coat. Use a brush or sponge to evenly apply the stain or paint, following the manufacturer’s instructions. Allow it to dry completely before moving on to the next step.
- Add a protective topcoat: Once the stain or paint is dry, apply a protective topcoat to seal the finish. This can be a polyurethane, varnish, or lacquer, depending on your preference. Use a brush to apply an even, thin layer and allow it to dry according to the manufacturer’s instructions. Repeat this step for multiple coats, if desired.
Restoring the finish not only helps to conceal the repaired scratches but also adds a layer of protection to your wood furniture, preventing further damage and enhancing its longevity.
After completing the restoration process, it’s important to take some additional steps to ensure the longevity and protection of your furniture. We’ll discuss these preventive measures in the next section.
Applying a Protective Sealant
To safeguard your newly repaired and restored wood furniture, it’s crucial to apply a protective sealant. A protective sealant acts as a barrier, keeping your furniture safe from scratches, wear, and moisture. Here’s how you can apply a protective sealant:
- Clean the surface: Before applying the sealant, ensure that the surface of your furniture is clean and free from any dust or debris. Use a soft cloth or a brush to gently remove any particles.
- Choose the right sealant: There are various types of sealants available, including polyurethane, varnish, wax, or oil. Select a sealant that is compatible with your furniture’s finish and follow the manufacturer’s instructions for application.
- Apply the sealant: Using a brush or a lint-free cloth, apply a thin and even layer of the sealant to the surface of the furniture. Ensure that you cover all exposed areas, including the repaired scratches. Follow the recommended drying time between coats, if multiple coats are required.
- Give it ample drying time: Allow the sealant to dry completely before using or placing any objects on the furniture. Follow the manufacturer’s instructions for the recommended drying time, which can vary based on the type of sealant used.
Applying a protective sealant not only adds an extra layer of defense against scratches and damage but also enhances the overall appearance of your wood furniture. Remember to periodically inspect and reapply the sealant as necessary to maintain its protective properties.
Now that you’ve successfully repaired, restored, and protected your wood furniture, it’s important to take preventive measures to avoid future scratches, keeping your furniture looking its best for years to come.
Preventing Future Scratches
While it’s inevitable for furniture to experience some wear and tear over time, there are proactive steps you can take to minimize the likelihood of future scratches. By implementing these preventive measures, you can keep your wood furniture looking pristine and well-maintained. Here are some tips to prevent future scratches:
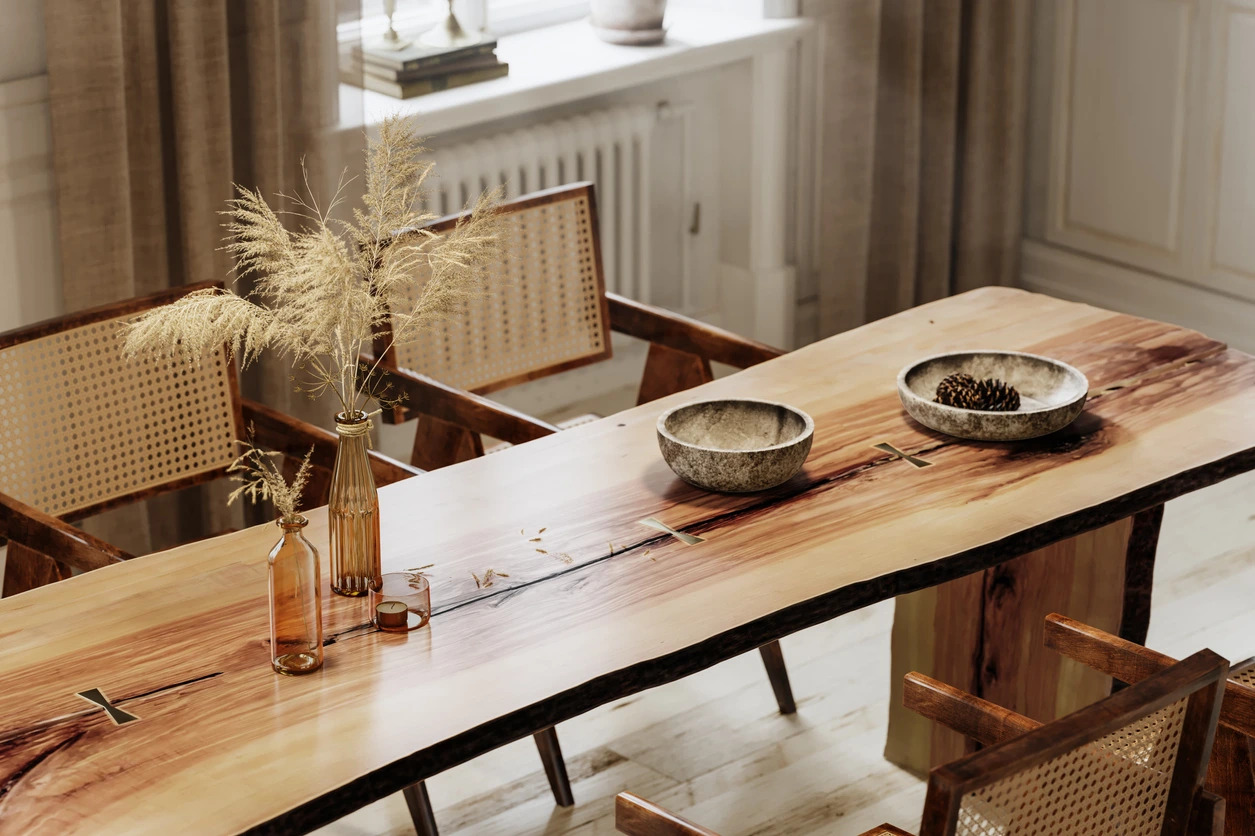
- Use protective pads and coasters: Place felt pads or coasters under objects that come in contact with your furniture, such as vases, lamps, or dishes. This will provide a cushioning effect and prevent scratches caused by direct contact with hard or rough surfaces.
- Use placemats and tablecloths: When using your wood furniture as a dining table or workspace, cover it with a placemat or tablecloth. This will protect the surface from scratches caused by utensils, dishes, or desk accessories.
- Avoid dragging or sliding objects: Be mindful of how you handle objects on your wood furniture. Lift and place them instead of dragging or sliding them, as this can easily cause scratches on the surface.
- Regularly clean and dust: Keeping your furniture clean and dust-free helps prevent abrasive particles from causing scratches. Use a soft, lint-free cloth or a dusting brush to gently remove dust and dirt.
- Use proper cleaning techniques: When cleaning your wood furniture, avoid harsh chemicals or abrasive cleaners that can damage the surface. Opt for a mild soap and water solution or choose a wood-specific cleaner that is recommended for your furniture.
- Keep pets and children in mind: If you have pets or young children, take additional precautions to protect your furniture. Offer scratching posts or mats for pets and set up play areas away from valuable wood furniture to avoid accidents or rough play.
- Maintain consistent indoor humidity: Fluctuations in humidity can cause wood to expand or contract, leading to potential cracks or scratches. Maintain consistent indoor humidity levels to minimize the impact on your furniture.
By incorporating these preventive measures into your daily routine, you can greatly reduce the risk of future scratches on your wood furniture. Remember, prevention is key to maintaining the beauty and longevity of your beloved pieces.
With these tips and techniques under your belt, you are now equipped with the knowledge and tools to repair, restore, protect, and prevent scratches on your wood furniture. Enjoy the process of caring for your furniture and revel in the satisfaction of keeping them in impeccable condition for years to come!
Always remember to follow the manufacturer’s instructions and test any products or techniques on a small, inconspicuous area before applying them to the entire piece of furniture.
Read more: How To Train Cats To Not Scratch Furniture
Conclusion
Repairing scratches on wood furniture doesn’t have to be a daunting task. With the right knowledge, techniques, and materials, you can effectively restore the beauty of your furniture and protect it from future damage. Remember, patience and attention to detail are key to achieving successful results.
In this comprehensive guide, we explored the different types of wood furniture scratches, from surface scratches to deeper gouges, as well as finish and color scratches. We discussed the importance of assessing the severity of the scratches and preparing the necessary materials for repair.
We then delved into repairing superficial scratches using scratch repair pens, furniture touch-up markers, homemade solutions, and natural remedies. For deeper scratches, we covered the process of filling, sanding, color blending, and applying a protective sealant.
We also discussed the importance of restoring the finish of your wood furniture, including removing the existing finish, preparing the surface, applying stain or paint, and adding a protective topcoat.
To ensure the long-lasting beauty of your furniture, we explored the importance of applying a protective sealant and implementing preventive measures to avoid future scratches. These measures include using protective pads, coasters, placemats, and proper cleaning techniques.
By following these steps and maintaining a consistent care routine, you can keep your wood furniture looking its best for years to come.
Remember, if you’re unsure about the severity of the damage or if the scratches are too extensive to repair on your own, it’s always advisable to seek professional help. They can provide expert guidance and assistance in restoring your furniture.
Now it’s time to roll up your sleeves, gather your materials, and start repairing those scratches on your wood furniture. Embrace the process and enjoy seeing your furniture revived and refreshed, bringing back its original beauty and charm.
Happy repairing!
Frequently Asked Questions about How To Repair Scratches On Wood Furniture
Was this page helpful?
At Storables.com, we guarantee accurate and reliable information. Our content, validated by Expert Board Contributors, is crafted following stringent Editorial Policies. We're committed to providing you with well-researched, expert-backed insights for all your informational needs.


0 thoughts on “How To Repair Scratches On Wood Furniture”