Articles
How To Remove Whirlpool Stove Burners
Modified: December 7, 2023
Learn how to remove Whirlpool stove burners easily with these helpful articles. Save time and hassle with step-by-step instructions and tips from experts.
(Many of the links in this article redirect to a specific reviewed product. Your purchase of these products through affiliate links helps to generate commission for Storables.com, at no extra cost. Learn more)
Introduction
Whirlpool stoves are a popular choice for many households due to their reliability and efficiency in cooking. However, over time, the burners on your Whirlpool stove may become dirty and clogged with food residue, affecting their performance. To ensure your stove continues to function properly and to maintain optimal cooking conditions, it is important to regularly clean and remove the burners.
In this article, we will guide you through the step-by-step process of removing Whirlpool stove burners, providing you with the knowledge and confidence to tackle this task on your own. By following these simple instructions, you will be able to keep your Whirlpool stove burners in top condition, ensuring that your cooking experience remains hassle-free and enjoyable.
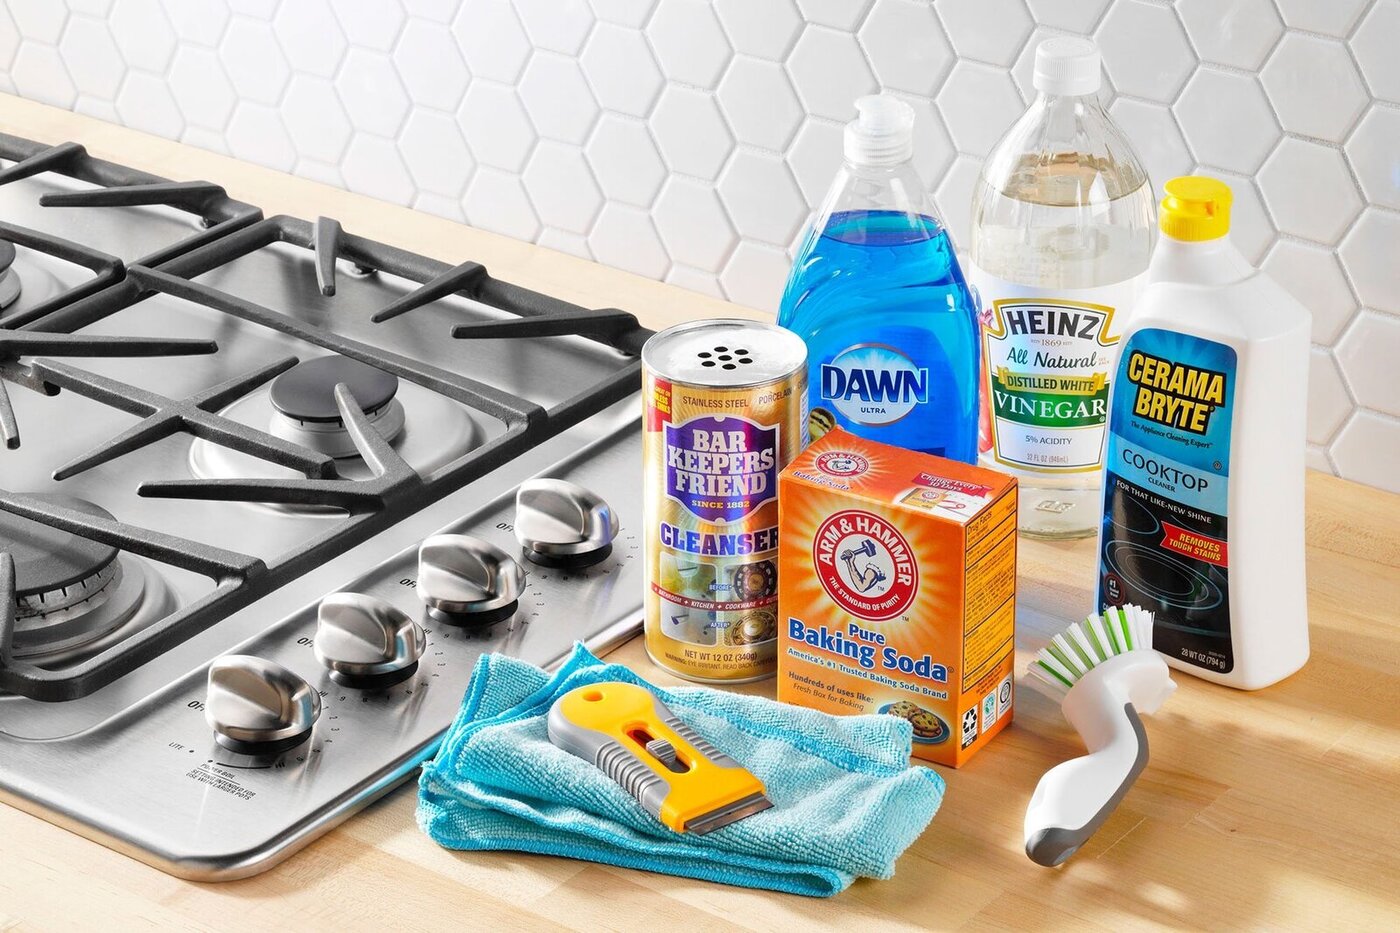
Before diving into the cleaning process, it is essential to gather the necessary tools and materials that will be needed. This will help you complete the task efficiently and effectively. Here are the tools and materials you will need:
- Screwdriver
- Mild detergent
- Soft-bristled brush
- Warm water
- Microfiber cloth
Now that you have all the required tools and materials, let’s move on to the step-by-step process of removing the Whirlpool stove burners.
Key Takeaways:
- Regularly cleaning and maintaining Whirlpool stove burners is crucial for optimal performance and longevity. Follow the step-by-step process to ensure hassle-free cooking and a sparkling clean stove.
- Prioritize safety by turning off the power before cleaning and reassembling the burners. With the right tools and care, you can easily maintain your Whirlpool stove for years of delicious meals.
Read more: How To Clean Whirlpool Stove Burners
Tools and Materials Needed
Before you begin the process of removing the Whirlpool stove burners, it’s important to gather all the necessary tools and materials. Having everything on hand will help you complete the task more efficiently and smoothly. Here is a list of the tools and materials you will need:
- Screwdriver: You will need a screwdriver to detach the burners from the stove. A Phillips or flathead screwdriver should work fine, depending on the type of screws used in your particular stove model.
- Mild detergent: A mild detergent, such as dish soap, will be used to clean the burner assembly and remove any grease or residue buildup. Make sure to choose a detergent that is safe for use on stove surfaces.
- Soft-bristled brush: A soft-bristled brush will help you scrub away any stubborn stains or debris on the burner assembly. Look for a brush with gentle bristles that won’t scratch or damage the stove surface.
- Warm water: Warm water will be used to rinse off the cleaning solution and remove any remaining residue. Fill a basin or sink with warm water to easily access during the cleaning process.
- Microfiber cloth: A microfiber cloth is a great tool for drying off the burner assembly and preventing any water spots or streaks. Its soft and absorbent texture makes it ideal for this task.
By ensuring you have all the necessary tools and materials beforehand, you can save time and avoid any interruptions during the burner removal process. Having these items readily available will allow you to proceed smoothly and achieve the best results.
Step 1: Turn Off the Power
Safety should always be the top priority when working with any electrical appliance. Before you begin the process of removing Whirlpool stove burners, it is crucial to turn off the power to the stove. This will help prevent any accidents or injuries while handling the burners.
Follow these steps to safely turn off the power to your Whirlpool stove:
- Locate the main power source for your stove. This is typically found either behind the stove or in the electrical panel of your home.
- Identify the circuit breaker or fuse that controls the power supply to the stove. It should be labeled accordingly.
- Switch off the circuit breaker or remove the fuse to disconnect the power to the stove completely. This will ensure that no electricity is running through the stove while you work on removing the burners.
Once you have successfully turned off the power to the stove, ensure that you place a visible warning sign or tape over the stove controls to remind everyone in the household that the power is turned off and the stove is undergoing maintenance.
Remember, working on the stove when the power is still connected can result in electric shock or other hazardous situations. Always prioritize safety by taking the necessary precautions and following the manufacturer’s guidelines.
Now that the power is turned off, you can proceed with confidence to the next steps of removing the Whirlpool stove burners.
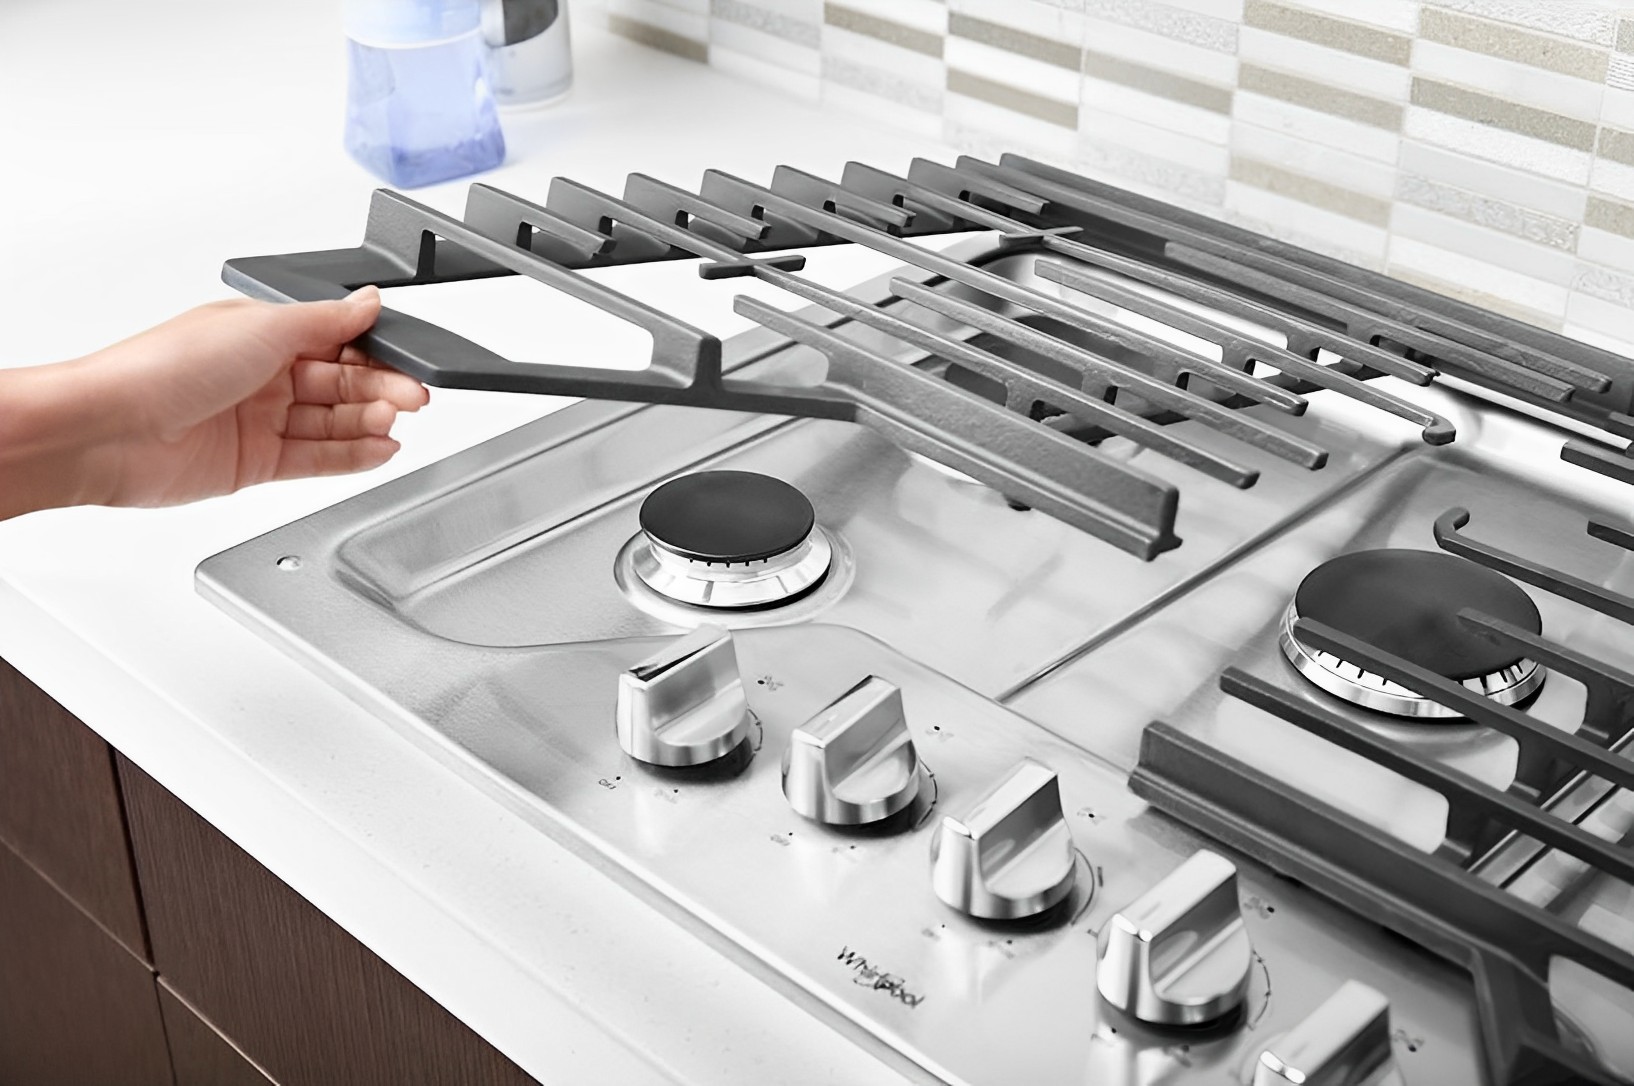
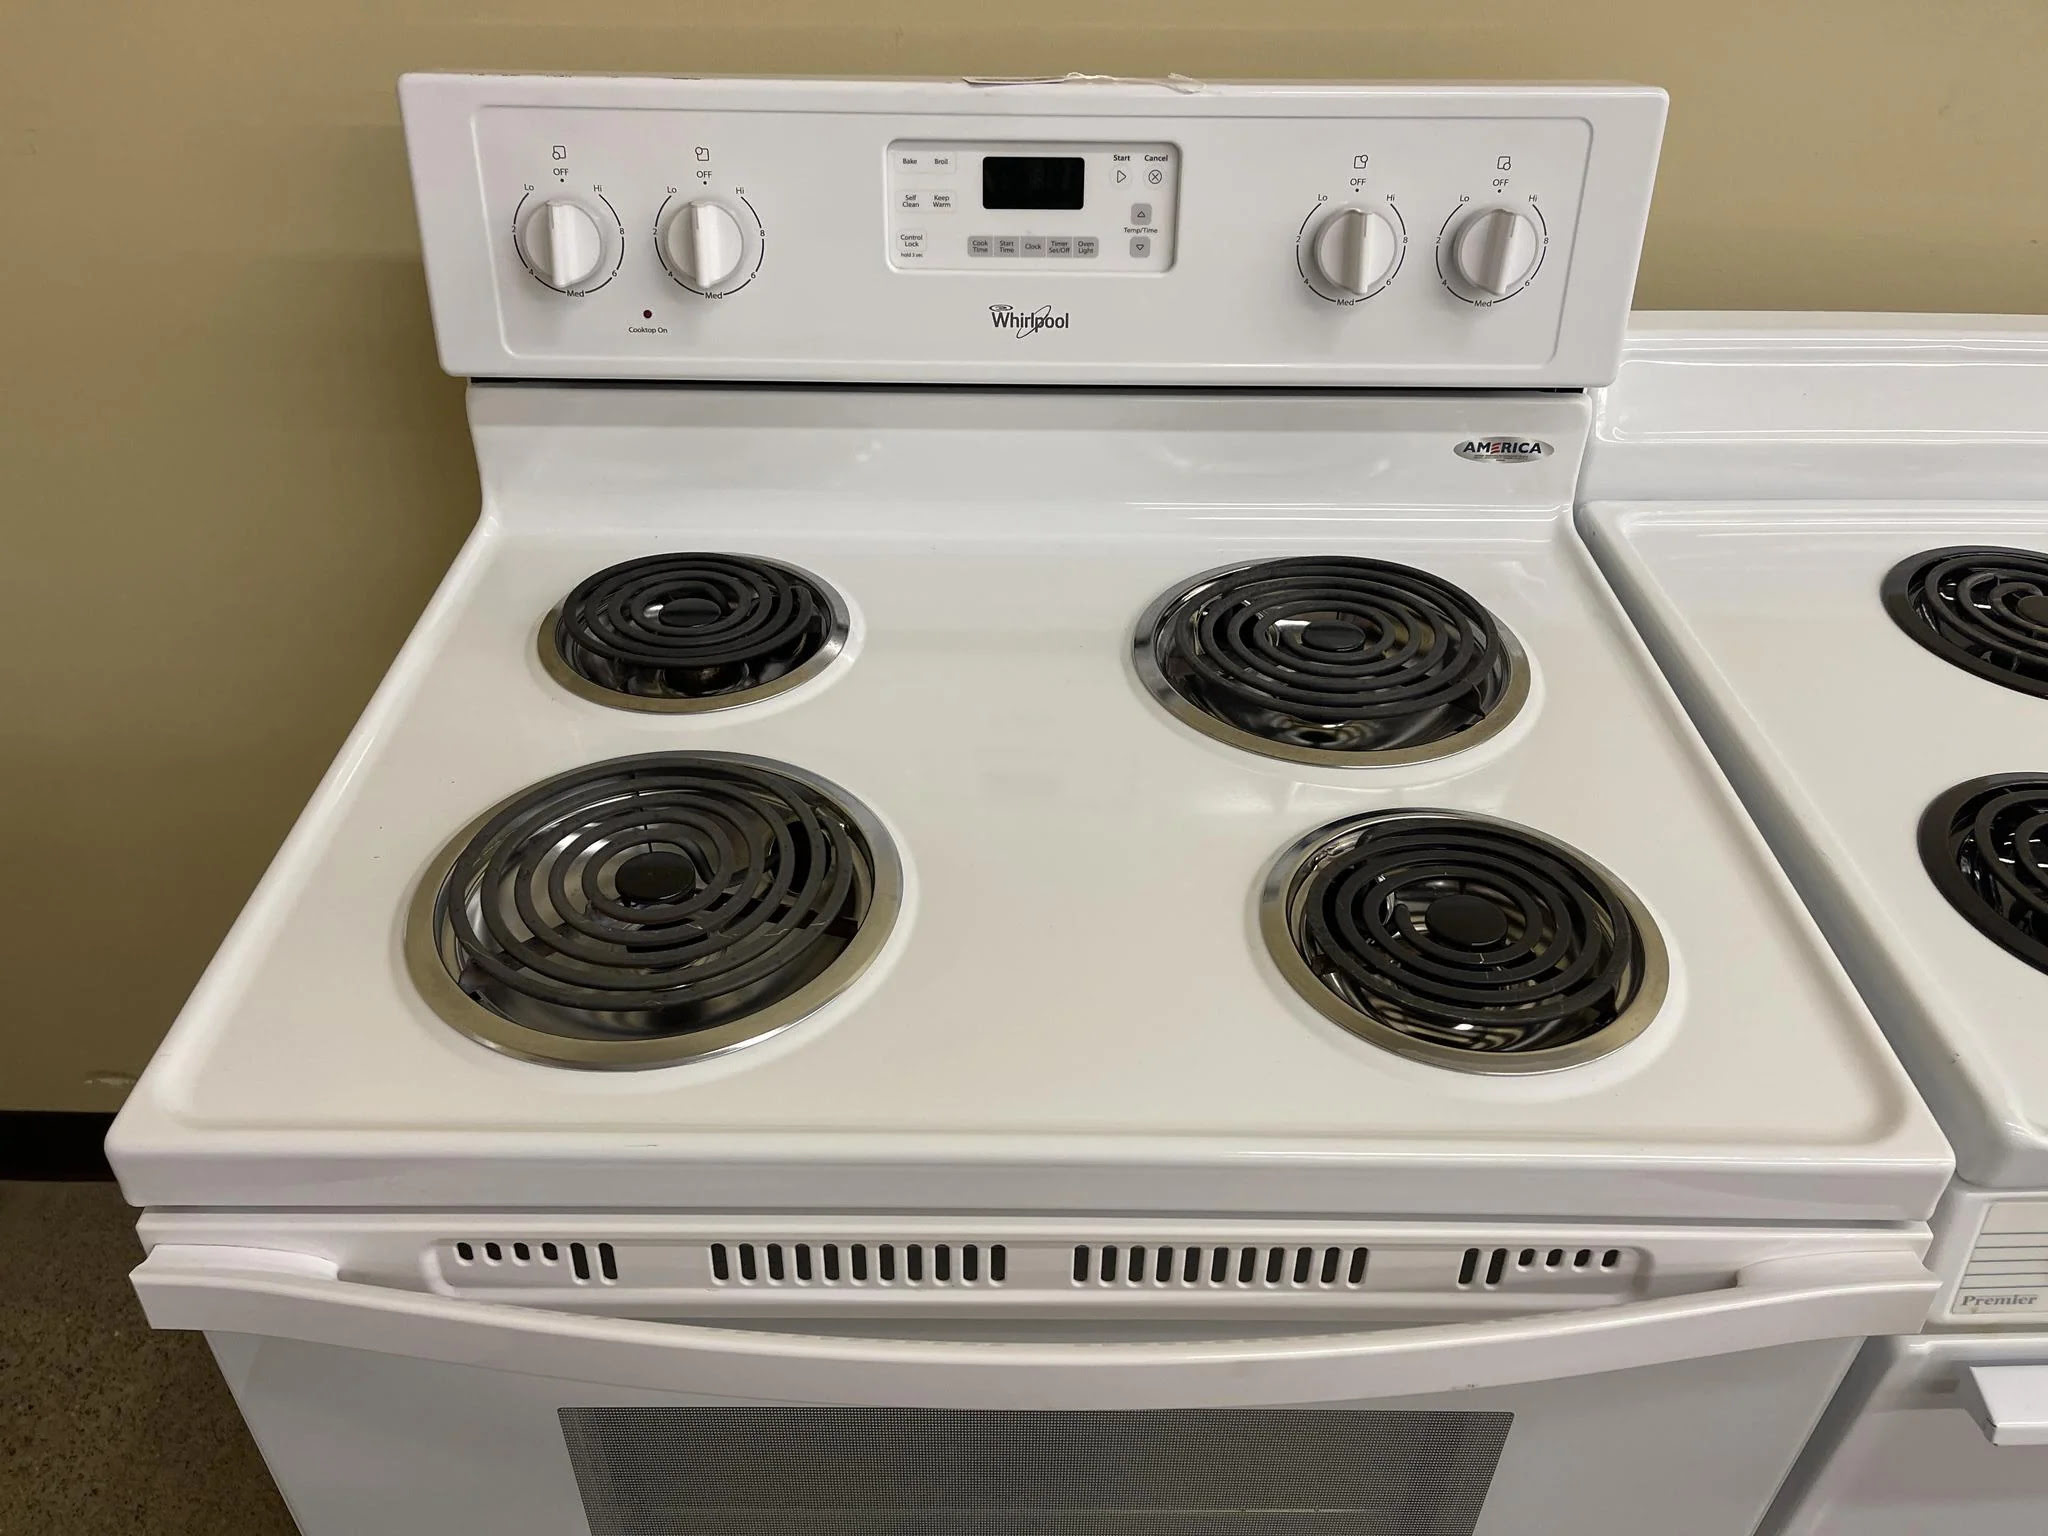
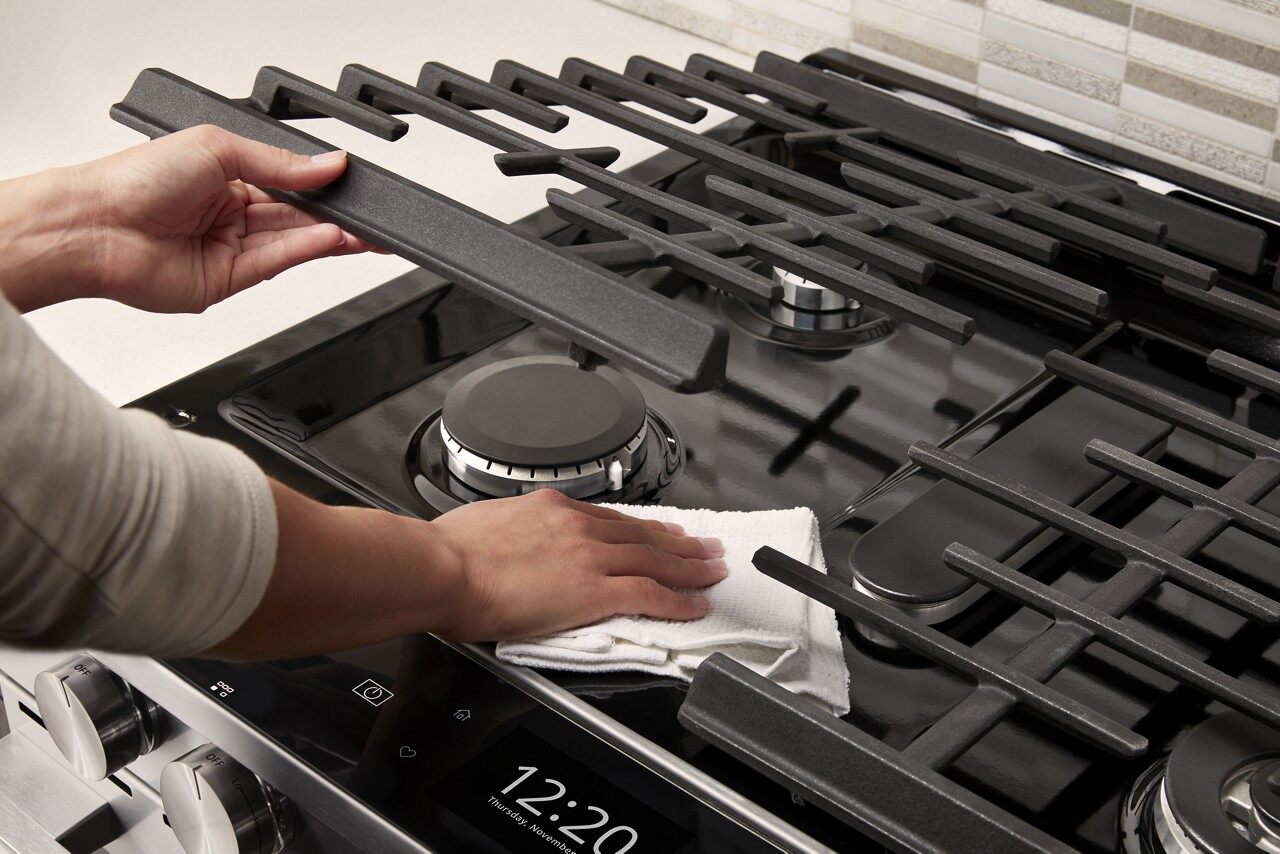
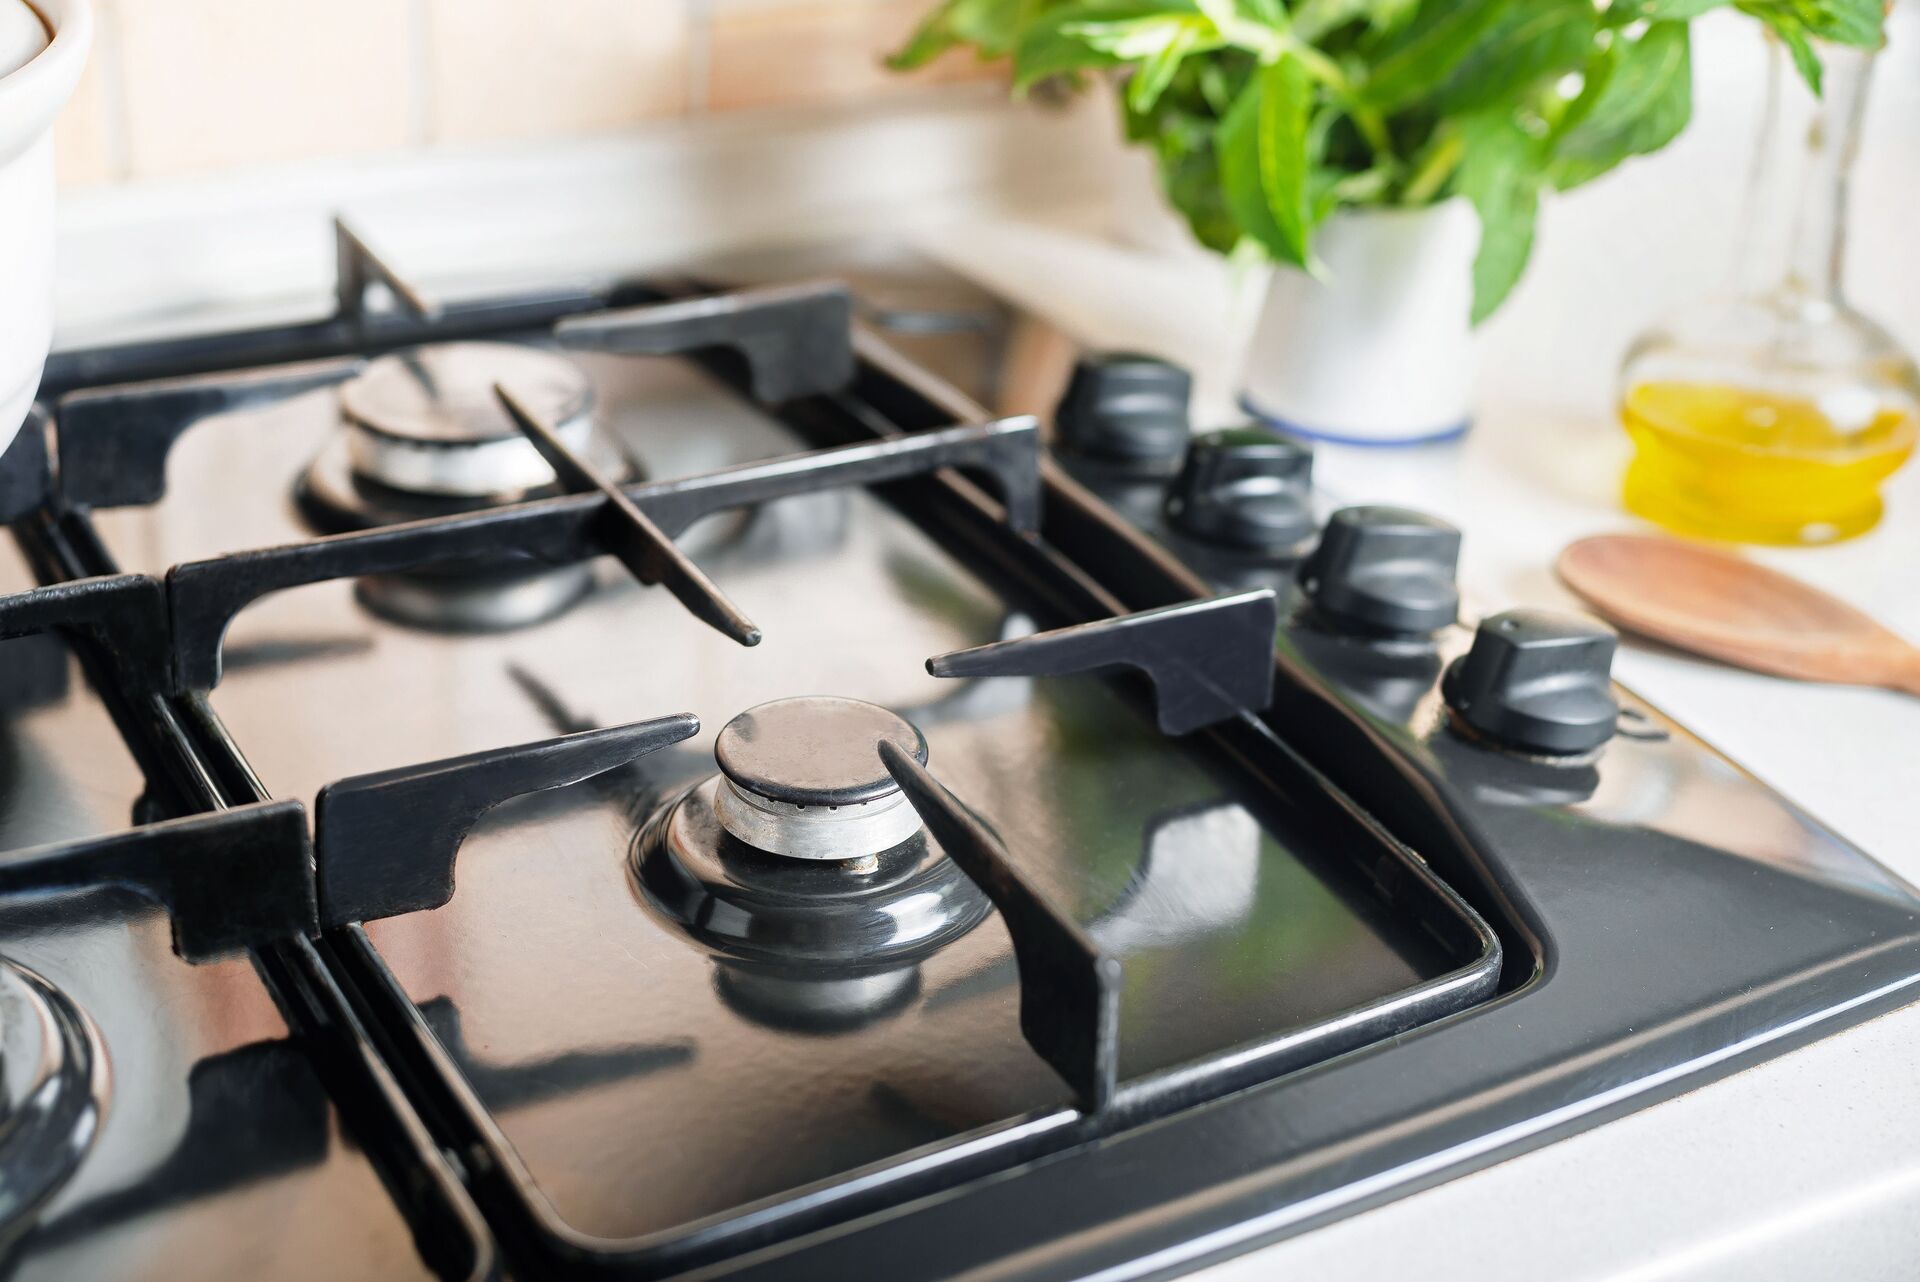
Step 2: Remove the Grates and Burner Caps
Now that you have safely turned off the power to your Whirlpool stove, it’s time to start removing the burners. Before doing so, it’s important to remove the grates and burner caps to access the burners more easily.
Follow these steps to remove the grates and burner caps:
- Make sure the stove has completely cooled down before starting this step. This will prevent any potential burns or injuries.
- Gently lift and remove the grates from the stove. Place them on a soft surface, such as a kitchen towel or a countertop, to avoid scratching or damaging them.
- Next, locate the burner caps. These are usually circular or square-shaped components that sit on top of the burners. Depending on your stove model, they may be connected or removable.
- If the burner caps are removable, carefully lift them off the burners and set them aside. Take note of their positioning or any markings to ensure correct reassembly later.
- If the burner caps are connected to the burners, use a gentle twisting motion to detach them. Be careful not to apply too much force or use any sharp objects that could cause damage.
- Once the grates and burner caps are removed, set them aside in a safe place. It’s a good idea to clean them separately from the burners to ensure a thorough cleaning process.
Removing the grates and burner caps will provide you with easier access to the burners, allowing for a more effective and stress-free cleaning process. Remember to handle these components with care to avoid any potential damage.
Now that the grates and burner caps are removed, you’re ready to move on to the next step: detaching the burner assembly.
Step 3: Detach the Burner Assembly
With the grates and burner caps safely removed, it’s time to detach the burner assembly from your Whirlpool stove. This step will allow you to thoroughly clean the burners and ensure optimal performance.
Follow these steps to detach the burner assembly:
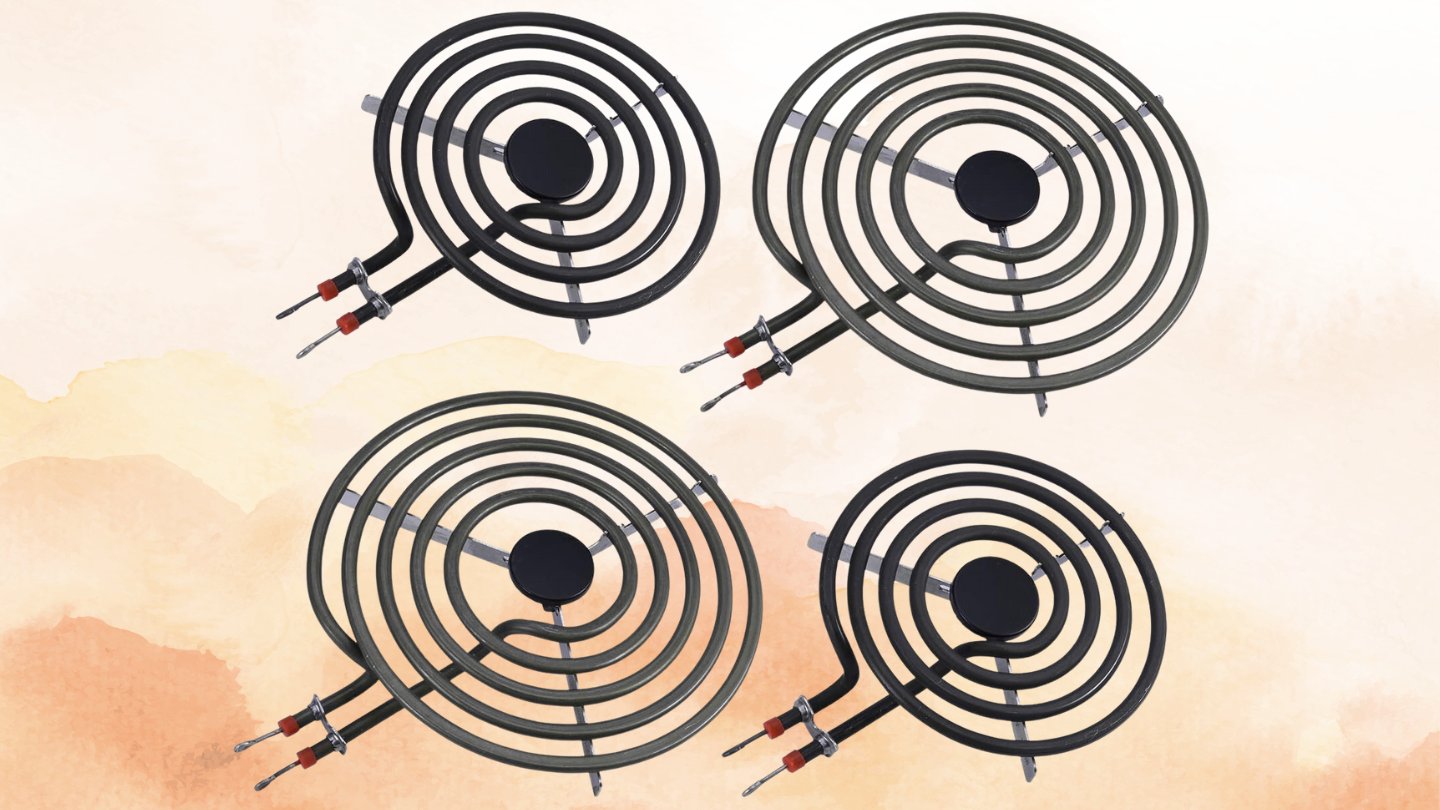
- Locate the burner assembly, which consists of the burners and the ignitor components. Each burner will have its own assembly.
- Carefully lift and detach the burner assembly by gently lifting it up from the stove. Be mindful of any wires or connectors that may be attached to the assembly.
- If your burner assembly is connected by wires, take note of their position and any markings to ensure proper reassembly later.
- If there are any screws holding the burner assembly in place, use a screwdriver to loosen and remove them. Set the screws aside in a safe place to prevent loss.
- Once any screws have been removed, gently lift the burner assembly completely off the stove and set it aside on a clean surface.
It’s important to handle the burner assembly with care during this step to avoid any damage or disconnections. Take your time and be mindful of any delicate components attached to the assembly.
By detaching the burner assembly, you’ll have a clear view of the burners, making it easier to clean off any accumulated grease or residue. This step is crucial for maintaining the performance and efficiency of your Whirlpool stove.
Now that the burner assembly is detached, you’re ready to move on to the next step: cleaning the burner assembly.
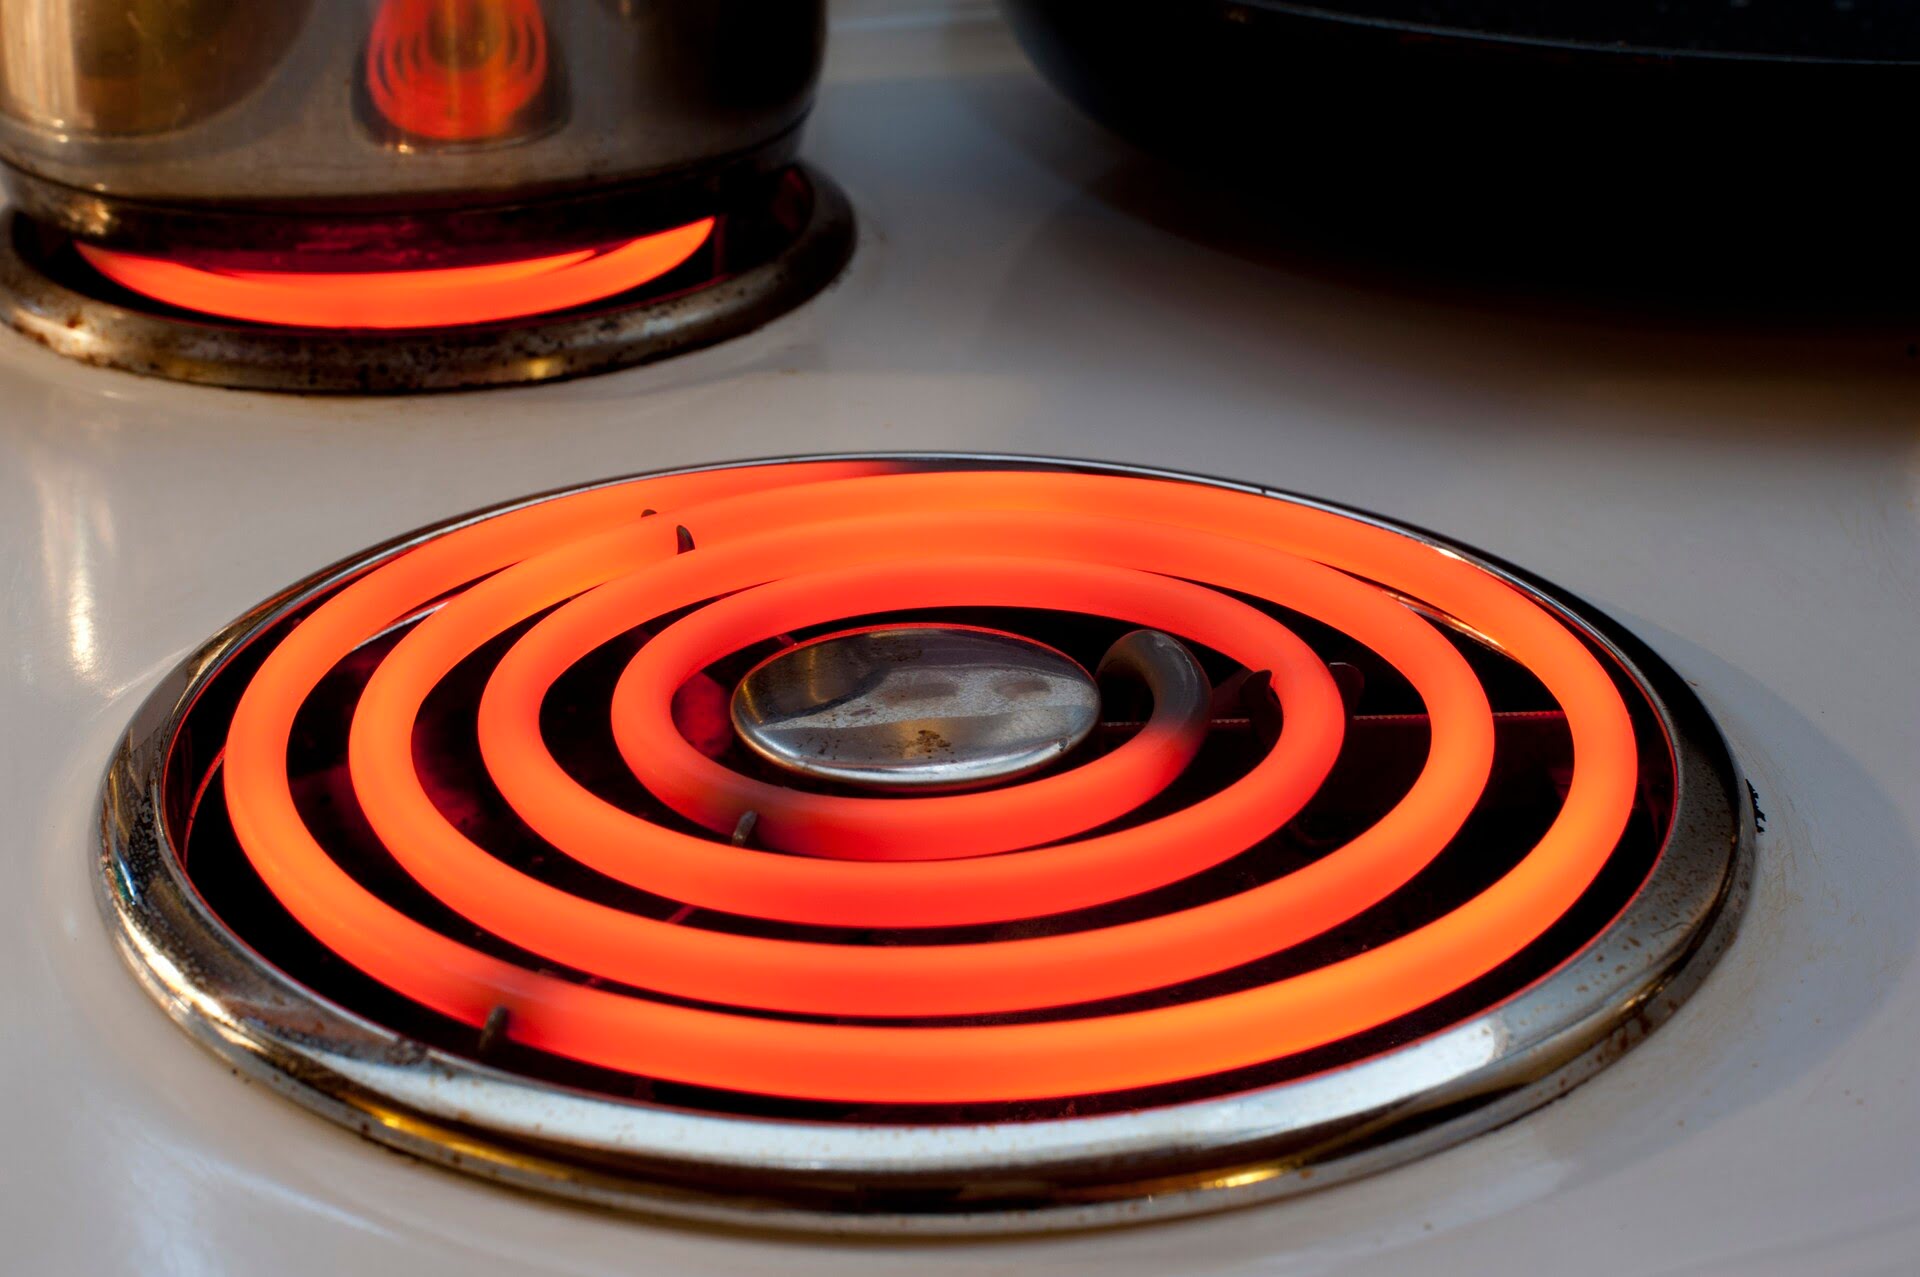
To remove Whirlpool stove burners, first ensure they are cool. Then, gently lift the burner and disconnect it from the socket. Clean the area before reattaching.
Read more: How To Remove Stove Burners
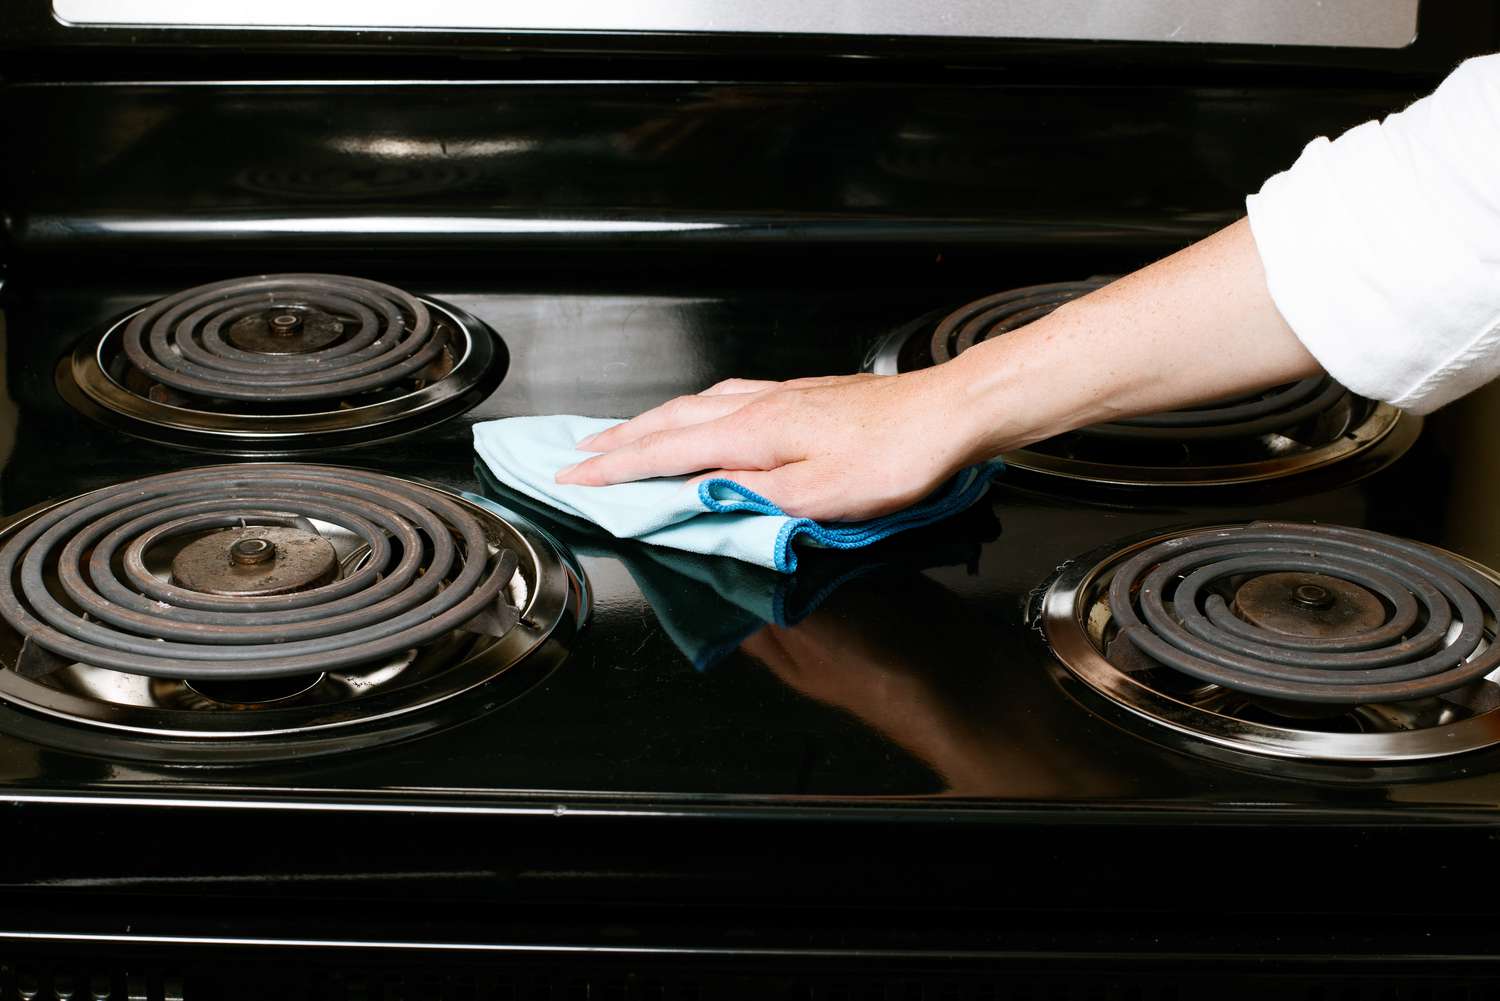
Step 4: Clean the Burner Assembly
Now that you have safely detached the burner assembly from your Whirlpool stove, it’s time to give it a thorough cleaning. Over time, burners can become clogged with grease, food residue, and other buildup, affecting their performance. Cleaning the burner assembly will help restore its efficiency and ensure even heat distribution during cooking.
Follow these steps to clean the burner assembly:
- Prepare a cleaning solution by mixing a mild detergent with warm water in a basin or sink.
- Submerge the burner assembly in the cleaning solution, ensuring that all parts are fully immersed. Allow it to soak for a few minutes to loosen any stubborn residue.
- Use a soft-bristled brush to gently scrub the burner assembly, paying special attention to the burner ports and any areas with visible buildup. Ensure that you clean both the top and bottom surfaces of the assembly.
- Rinse the burner assembly thoroughly with clean water to remove any soap residue. Ensure that all cleaning solution is completely washed away.
- Inspect the burner assembly for any stubborn stains or residue. If necessary, repeat the cleaning process or use a degreaser specifically designed for stoves to tackle tough buildup.
- Once the burner assembly is clean, carefully dry it with a microfiber cloth to prevent any water spots or streaks. Ensure that all parts are completely dry before reassembling.
It’s important to handle the burner assembly with care during the cleaning process, as it contains delicate components. Avoid using abrasive materials or harsh chemicals that could damage the assembly.
Cleaning the burner assembly regularly will not only improve the performance of your Whirlpool stove but also extend its lifespan. By ensuring that the burners are clean and free from buildup, you’ll be able to cook with precision and efficiency.
Now that the burner assembly is clean, you can move on to the next step: reassembling the burner assembly.
Step 5: Reassemble the Burner Assembly
After cleaning the burner assembly of your Whirlpool stove, it’s time to reassemble it and get it back into working order. Proper reassembly is crucial to ensure that the burners function correctly and safely.
Follow these steps to reassemble the burner assembly:
- Inspect the burner assembly components, ensuring they are clean and dry.
- If you had detached any wires during the disassembly process, carefully reconnect them to their respective positions. Pay attention to any markings or labels that indicate the correct connections.
- If there are any screws that you had removed earlier, use the screwdriver to securely fasten them back into place. Ensure that the burner assembly is securely attached to the stove.
- If you had removed any burner caps, place them back onto the burners in their correct positions. Make sure they are aligned properly to ensure even heat distribution during cooking.
- Place the grates back onto the stove, ensuring that they fit securely over the burners. Gently press them down to ensure a snug fit.
As you reassemble the burner assembly, take your time to ensure that each component is properly aligned and securely attached. Double-check all the connections and fastenings to prevent any issues during cooking.
Proper reassembly of the burner assembly is essential to maintain the optimal performance and safety of your Whirlpool stove. Taking the time to reassemble it correctly will ensure that you can continue to enjoy cooking without any interruptions.
Now that the burner assembly is reassembled, you’re ready to move on to the next step: cleaning the grates and burner caps.
Step 6: Clean the Grates and Burner Caps
With the burner assembly reassembled, it’s time to clean the grates and burner caps. These components can also accumulate grease and food residue over time, affecting the overall appearance and functionality of your Whirlpool stove.
Follow these steps to clean the grates and burner caps:
- Fill a basin or sink with warm water and add a mild detergent.
- Submerge the grates and burner caps in the soapy water, ensuring that they are fully covered.
- Allow the components to soak for a few minutes to loosen any stubborn stains or debris.
- Using a soft-bristled brush or sponge, gently scrub the grates and burner caps to remove any residue. Pay extra attention to any areas with visible buildup.
- Rinse the grates and burner caps thoroughly with clean water to remove any soap residue.
- Dry the components with a microfiber cloth, ensuring that they are completely dry before placing them back on the stove.
When cleaning the grates and burner caps, it is important to use gentle scrubbing motions and avoid harsh abrasives that could scratch or damage the surfaces.
Regularly cleaning the grates and burner caps will not only improve the appearance of your Whirlpool stove but also prevent the buildup of stubborn stains and residue. This will ultimately result in a more enjoyable cooking experience.
Once the grates and burner caps are clean and dry, you’re ready to move on to the final step: turning the power back on to your Whirlpool stove.
Step 7: Turn On the Power
After completing the cleaning process and reassembling the components of your Whirlpool stove, it’s time to turn the power back on and get ready to cook your favorite meals once again.
Follow these steps to turn on the power to your Whirlpool stove:
- Locate the circuit breaker or fuse that controls the power supply to your stove.
- If you had switched off the circuit breaker, flip it back on. If you had removed the fuse, insert it back into its slot securely.
- With the power restored, check the stove controls to ensure they are functioning properly.
- Remove any warning signs or tape that you had placed on the stove controls to indicate that maintenance was being performed.
Once you have turned on the power, give your Whirlpool stove a quick test by turning on a burner. Ensure that it ignites and heats up properly. This will confirm that the cleaning and reassembly process was successful.
Congratulations! You have successfully completed the process of removing, cleaning, and reassembling the burners of your Whirlpool stove. By following these steps regularly, you can maintain the performance and longevity of your stove, ensuring that it continues to provide delicious meals for years to come.
Remember to always prioritize safety when working with any electrical appliance. If you encounter any issues or concerns during the process, it is recommended to consult the manufacturer’s instructions or seek professional assistance.
Enjoy your freshly cleaned and functioning Whirlpool stove, and happy cooking!
Read more: How To Remove Electric Stove Burners
Conclusion
Maintaining the cleanliness and optimal performance of your Whirlpool stove burners is essential for an enjoyable and efficient cooking experience. By following the step-by-step process outlined in this article, you can easily remove, clean, and reassemble the burners, ensuring they work efficiently and look great.
Remember to prioritize safety at all times by turning off the power before starting any maintenance tasks. Equipping yourself with the necessary tools and materials, such as a screwdriver, mild detergent, soft-bristled brush, warm water, and a microfiber cloth, will help you complete the cleaning process more efficiently.
Throughout the cleaning process, be sure to handle the components with care and avoid using any abrasive materials or harsh chemicals that may damage the surfaces. Taking the time to thoroughly clean the burner assembly, grates, and burner caps will not only improve the appearance of your Whirlpool stove but also ensure even heat distribution and prevent any potential issues caused by buildup or clogs.
Once you’ve finished cleaning and reassembling the burners, turn the power back on and test the stove to ensure everything is functioning properly. By incorporating regular cleaning and maintenance into your routine, you can extend the lifespan of your Whirlpool stove and continue to enjoy its reliable performance for years to come.
Thank you for following along with this comprehensive guide on how to remove Whirlpool stove burners. We hope that the information provided has been helpful and that you feel confident in maintaining the cleanliness and efficiency of your stove. Happy cooking!
Frequently Asked Questions about How To Remove Whirlpool Stove Burners
Was this page helpful?
At Storables.com, we guarantee accurate and reliable information. Our content, validated by Expert Board Contributors, is crafted following stringent Editorial Policies. We're committed to providing you with well-researched, expert-backed insights for all your informational needs.


0 thoughts on “How To Remove Whirlpool Stove Burners”