Home>Articles>How To Remove Restrictor From Hansgrohe Croma C 75 Showerhead
Articles
How To Remove Restrictor From Hansgrohe Croma C 75 Showerhead
Modified: August 27, 2024
Learn how to remove the restrictor from your Hansgrohe Croma C75 showerhead with our step-by-step guide. Enjoy a powerful shower experience with our helpful articles.
(Many of the links in this article redirect to a specific reviewed product. Your purchase of these products through affiliate links helps to generate commission for Storables.com, at no extra cost. Learn more)
Introduction
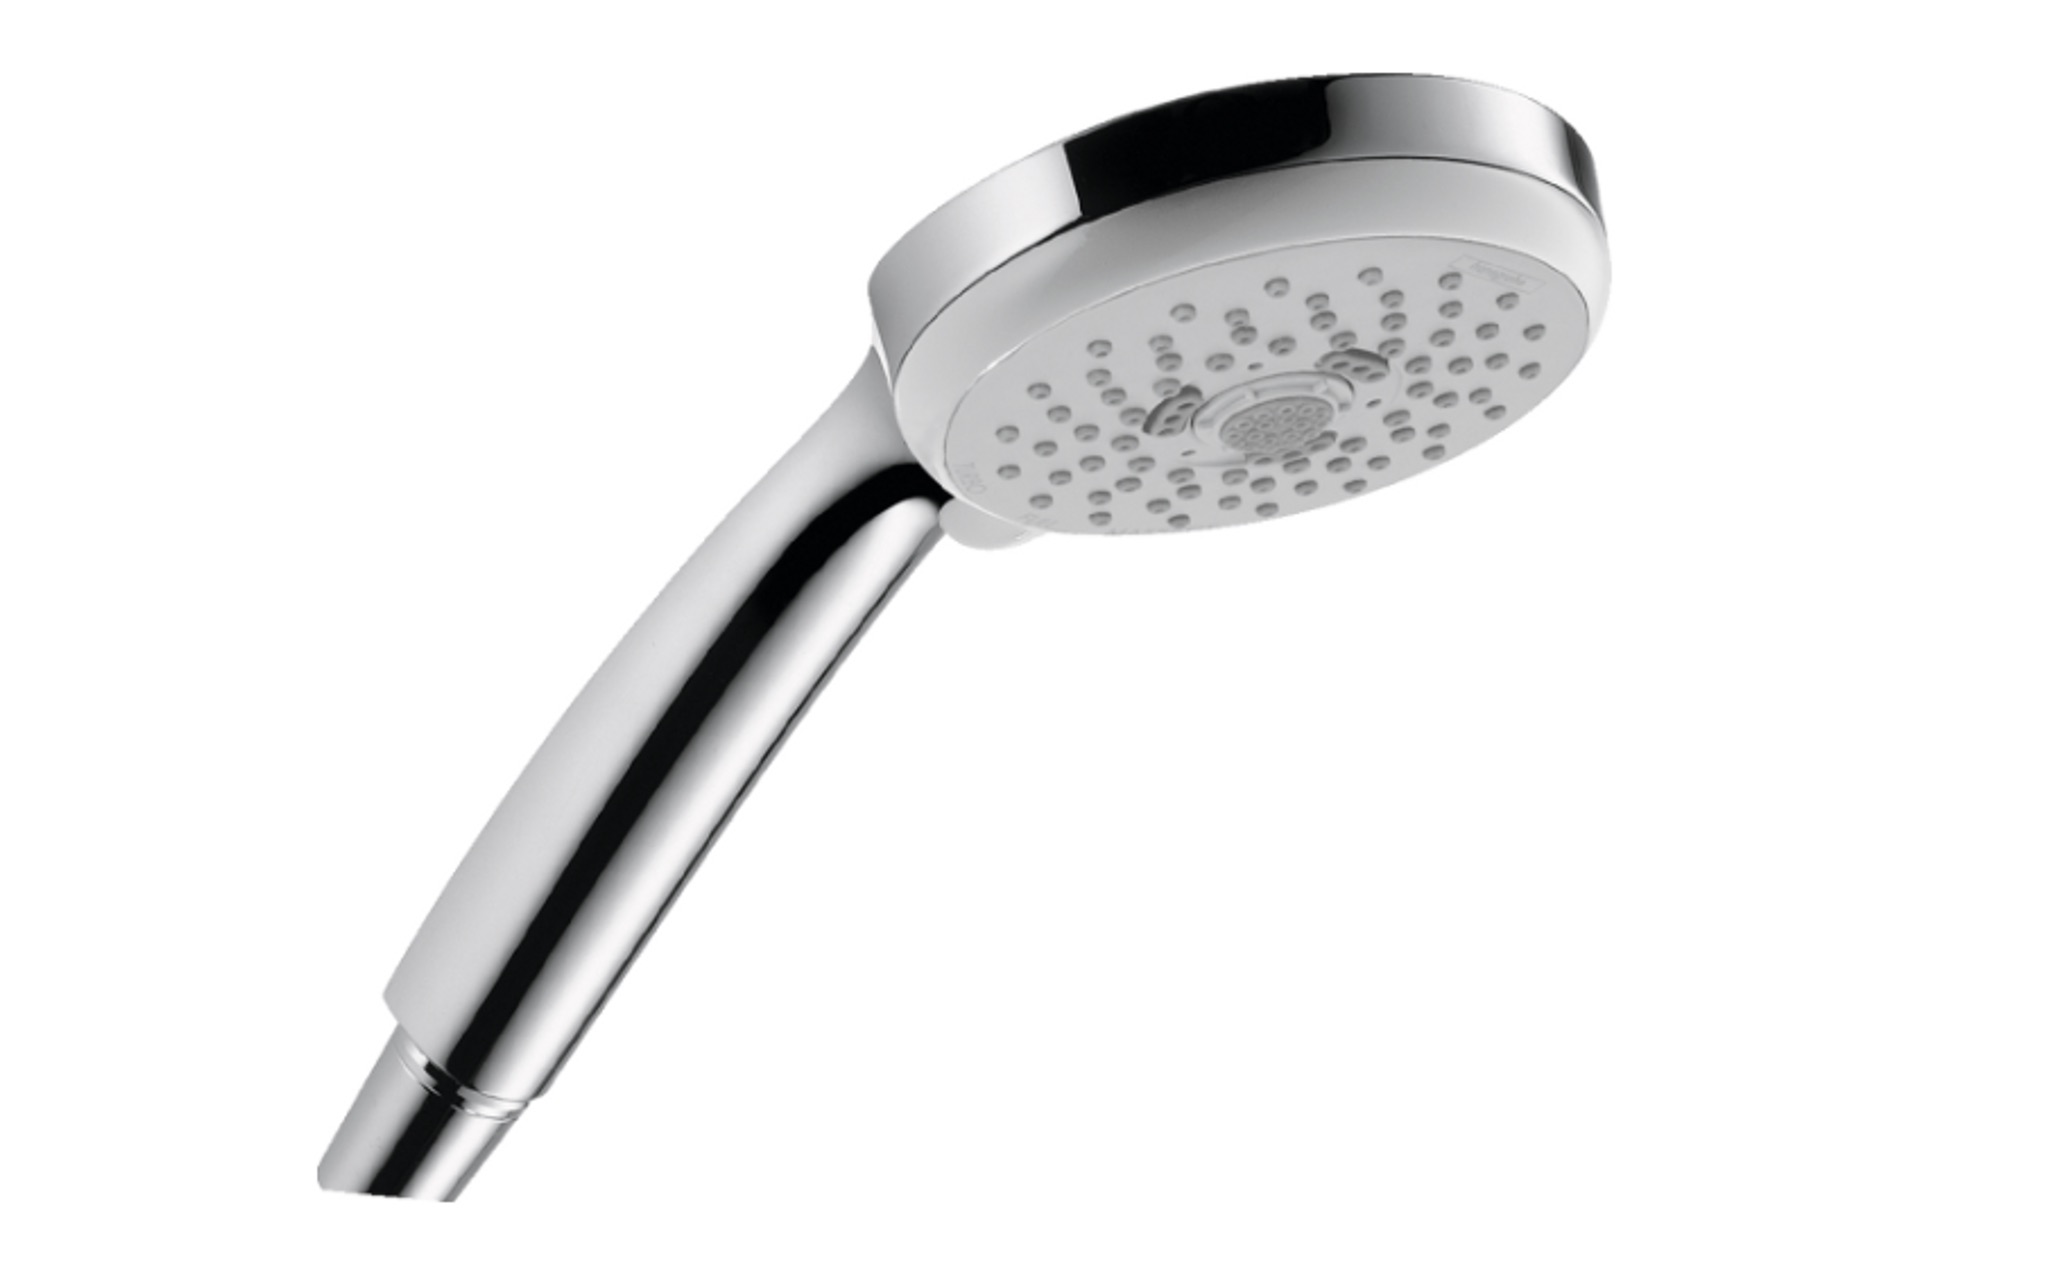
Welcome to our comprehensive guide on how to remove the restrictor from the Hansgrohe Croma C75 showerhead. If you have noticed a decrease in water pressure during your shower and want to improve your showering experience, removing the restrictor can be a simple and effective solution.
The Hansgrohe Croma C75 showerhead is known for its high-quality craftsmanship and innovative design. However, some users may find the water flow to be too gentle or restricted due to the installed restrictor. By removing the restrictor, you can optimize the water pressure to suit your preferences.
Before we begin, it’s important to note that removing the restrictor may void the warranty of your showerhead. Make sure to check the manufacturer’s guidelines and warranty terms before proceeding. Additionally, keep in mind that higher water flow can lead to increased water consumption, so use the shower responsibly.
In the following steps, we will guide you through the process of safely removing the restrictor from your Hansgrohe Croma C75 showerhead. Please follow these steps diligently to ensure the optimal outcome:
Key Takeaways:
- Safely removing the restrictor from your Hansgrohe Croma C75 showerhead can significantly enhance your showering experience by increasing water pressure, but it’s crucial to prioritize safety, follow manufacturer guidelines, and consider potential environmental impacts.
- After removing the restrictor, thoroughly clean and reassemble the showerhead, test the water flow, and adjust as needed to achieve the desired pressure. Always be mindful of water consumption and usage habits to avoid wastage.
Why Remove the Restrictor?
The restrictor is a small device installed in showerheads to regulate water flow and reduce water consumption. While it serves an important purpose in conserving water, some people may find the reduced water pressure to be less than satisfactory. Here are a few reasons why you might consider removing the restrictor from your Hansgrohe Croma C75 showerhead:
- Improved Water Pressure: Removing the restrictor can noticeably increase the water pressure in your shower. This can provide a more invigorating and satisfying showering experience.
- Personal Preference: Everyone has different preferences when it comes to water flow. If you prefer a stronger and more powerful water stream, removing the restrictor can help you achieve the desired water pressure.
- Enhanced Showering Experience: A higher water pressure can effectively rinse away soap and shampoo, leaving you with a cleaner feeling. It can also help to relieve muscle tension and provide a more relaxing showering experience.
- Increased Efficiency: While removing the restrictor may result in slightly higher water consumption, it can also lead to quicker showering times. With a stronger water flow, you can rinse off more efficiently, potentially saving time in your daily routine.
- Compatibility with Low Water Pressure: If you are dealing with low water pressure in your area, removing the restrictor can help compensate for the lack of pressure and improve your shower experience.
Although removing the restrictor can have its benefits, it’s important to weigh them against the potential drawbacks. Keep in mind that higher water flow can lead to increased water consumption and may not be environmentally friendly. Additionally, removing the restrictor may void the warranty of your showerhead, so make sure to consider these factors before proceeding.
In the next sections, we will guide you through the process of safely removing the restrictor from your Hansgrohe Croma C75 showerhead, ensuring that you can enjoy an enhanced shower experience tailored to your preferences.
Safety Precautions
Before you begin the process of removing the restrictor from your Hansgrohe Croma C75 showerhead, it is essential to prioritize safety. Here are some important safety precautions to keep in mind:
- Turn Off the Water: Before starting any work on your showerhead, make sure to turn off the water supply. This will prevent any potential water leakage or accidents during the process.
- Protective Gear: It is recommended to wear protective gloves and eye goggles to shield yourself from any potential injury while handling the showerhead or tools.
- Be Mindful of Hot Surfaces: The showerhead may become hot during a shower. Before removing the restrictor, ensure that the showerhead has cooled down to avoid burns or discomfort.
- Use Proper Tools: Make sure to use the appropriate tools for the job. This may include pliers, wrenches, or screwdrivers. Using the wrong tools can lead to damage or injury.
- Read the Manufacturer’s Instructions: Familiarize yourself with the manufacturer’s guidelines and warranty terms. Removing the restrictor may void the warranty, so be aware of any potential consequences before proceeding.
- Take Your Time: Patience is key when working with delicate bathroom fixtures. Rushing through the process may result in damage to the showerhead or personal injury. Take your time and proceed with caution.
- Proper Ventilation: Ensure that your bathroom has proper ventilation or use a fan to prevent the accumulation of fumes or odors from any cleaners or solvents used in the process.
- Seek Professional Help, If Needed: If you are unsure or uncomfortable performing the task yourself, it is always best to seek the assistance of a professional plumber. They have the experience and expertise to handle the job safely and effectively.
By following these safety precautions, you can minimize the risk of accidents or damage and ensure a successful removal of the restrictor from your Hansgrohe Croma C75 showerhead. Now, let’s move on to the tools and materials you will need for the task.
Tools and Materials Needed
Before you begin the process of removing the restrictor from your Hansgrohe Croma C75 showerhead, it’s important to gather the necessary tools and materials. Having everything prepared will make the process smoother and more efficient. Here’s a list of items you will need:
- Adjustable Wrench: An adjustable wrench will be useful for loosening and tightening any pipe connections or fittings.
- Pliers: Pliers can be handy for gripping and holding onto small parts while you work.
- Screwdriver: A screwdriver will be necessary to remove any screws or fasteners holding the showerhead together.
- Old Toothbrush: An old toothbrush will come in handy for cleaning any debris or build-up that may accumulate during the process.
- Teflon Tape: Teflon tape is used to create a watertight seal when reassembling the showerhead. It helps prevent any leaks.
- Bowl or Container: Have a bowl or container nearby to catch any water that may drip from the showerhead during the process.
- Clean Cloth or Towel: Keep a clean cloth or towel on hand to wipe away any excess water or debris.
- Cleaning Solution or Vinegar: A mild cleaning solution or vinegar can be used to clean any mineral deposits or residue that may have built up inside the showerhead.
Make sure to gather all the necessary tools and materials before proceeding with the removal of the restrictor. Having everything readily available will save you time and ensure a smooth and successful process. Now that you have everything prepared, let’s move on to the step-by-step instructions for removing the restrictor from your Hansgrohe Croma C75 showerhead.
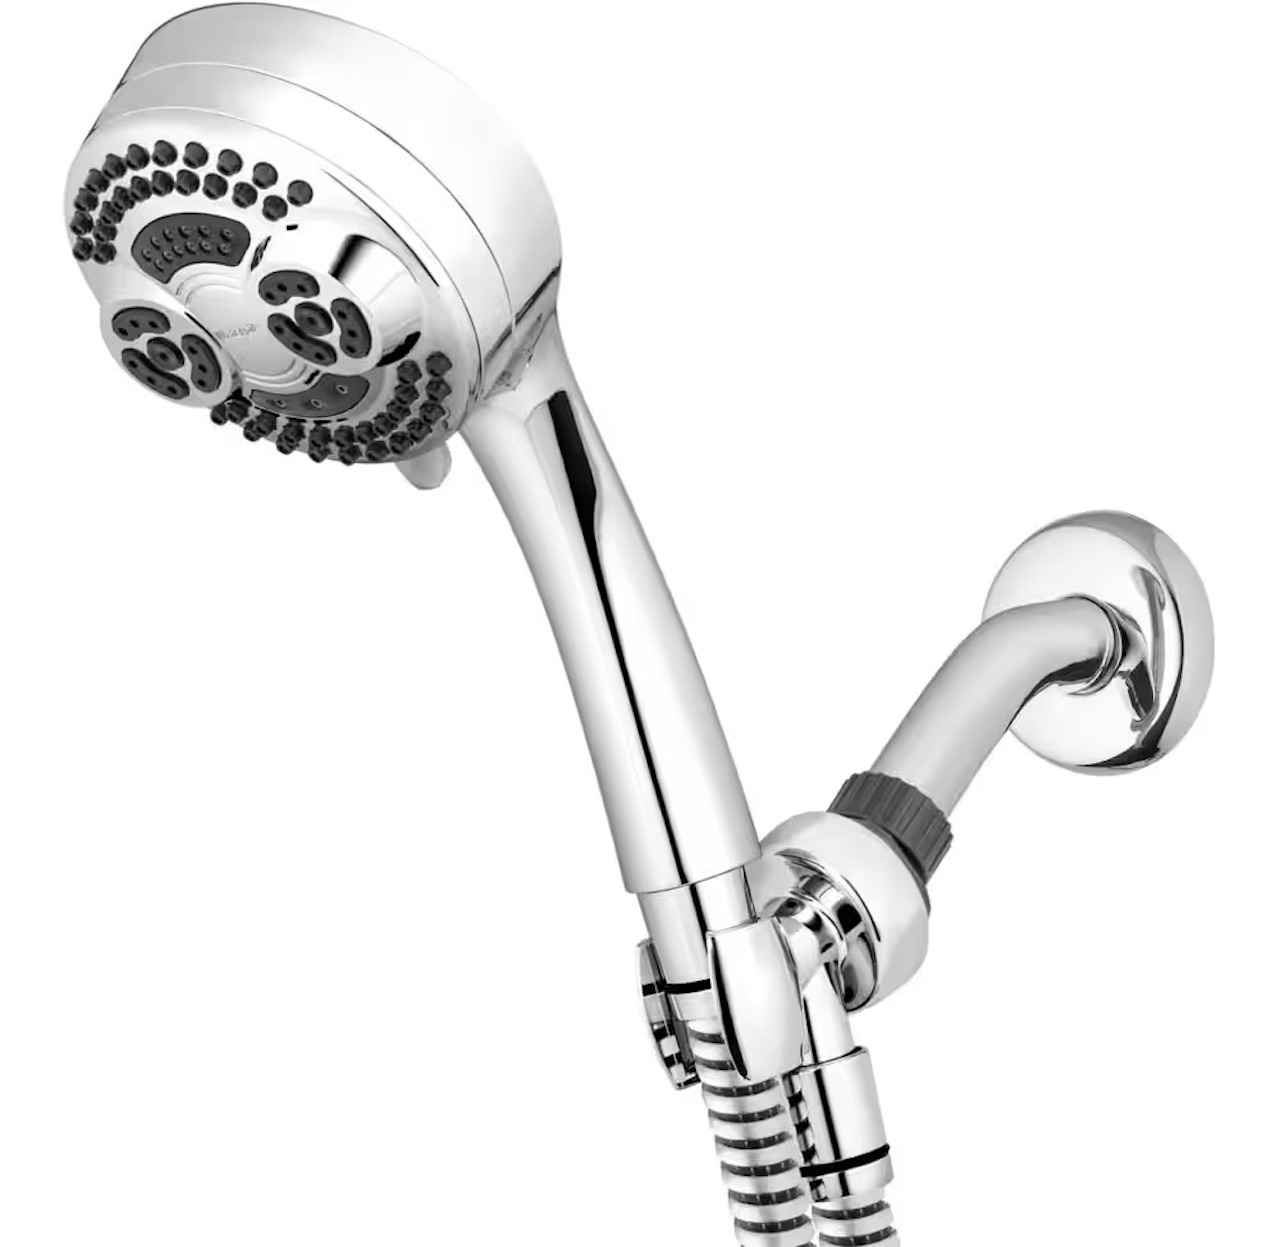
Step 1: Prepare the Showerhead
Before you begin removing the restrictor from your Hansgrohe Croma C75 showerhead, it’s important to prepare the showerhead for the process. Follow these steps to ensure a smooth and successful removal:
- Turn off the Water: Make sure to turn off the water supply to the showerhead. This will prevent any accidental leaks or water flow during the process.
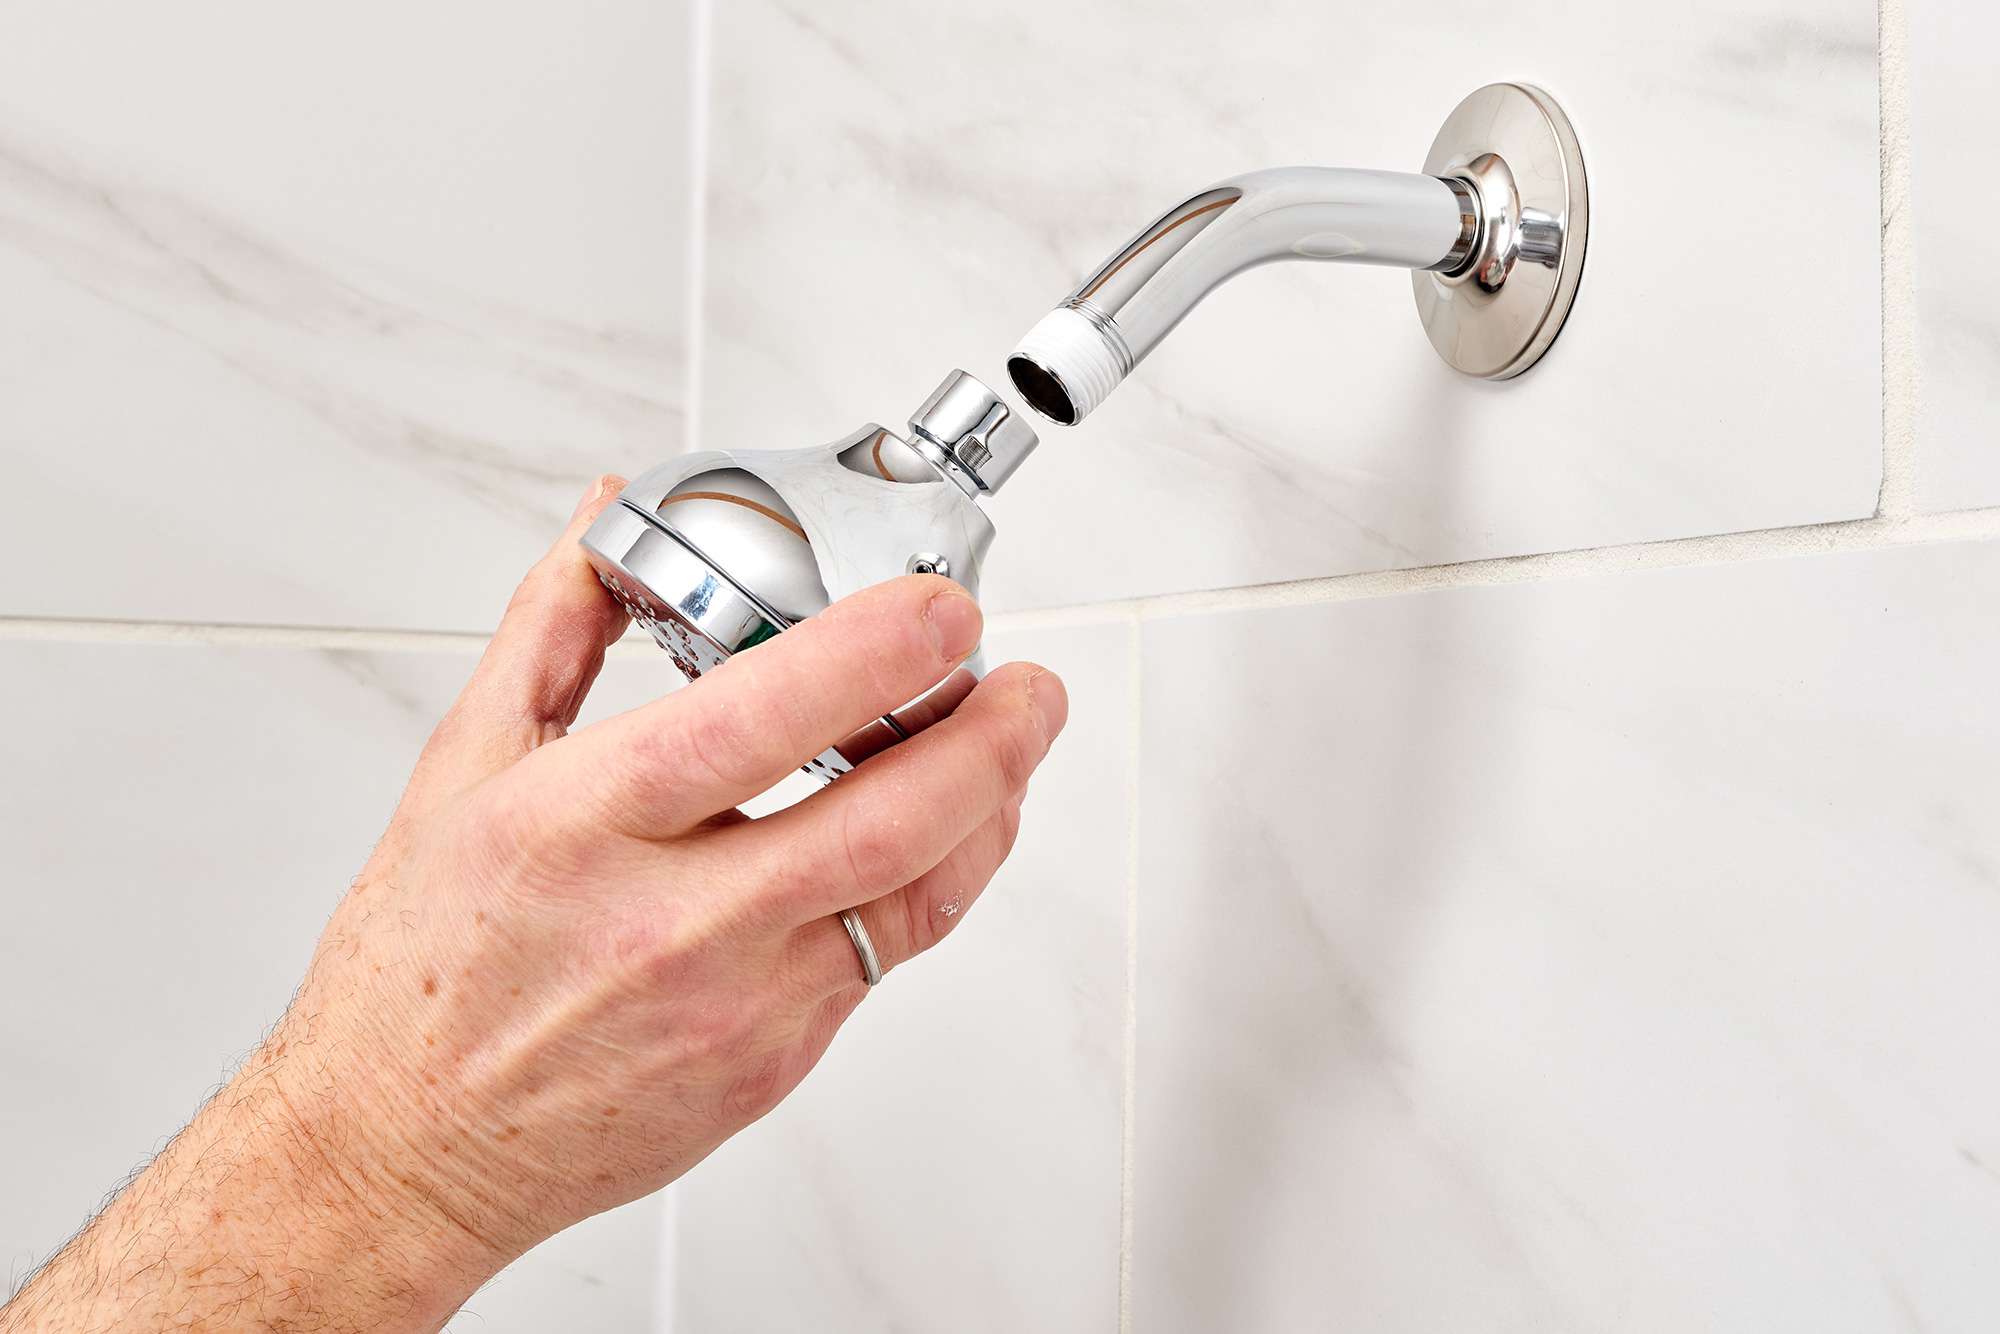
- Remove the Showerhead: Use an adjustable wrench or pliers to loosen and remove the showerhead from the shower arm. Gently turn it counterclockwise until it becomes loose enough to be removed by hand.
- Inspect the Showerhead: Take a close look at the inside of the showerhead to locate the restrictor. It is usually a small plastic or rubber piece that regulates the water flow. Make a mental note of its location for the next step.
- Inspect the Rubber Gasket: In some showerheads, there may be a rubber gasket located between the showerhead and the shower arm. Check the condition of the gasket and replace it if it shows signs of wear or damage. A new gasket will ensure a proper seal when you reattach the showerhead.
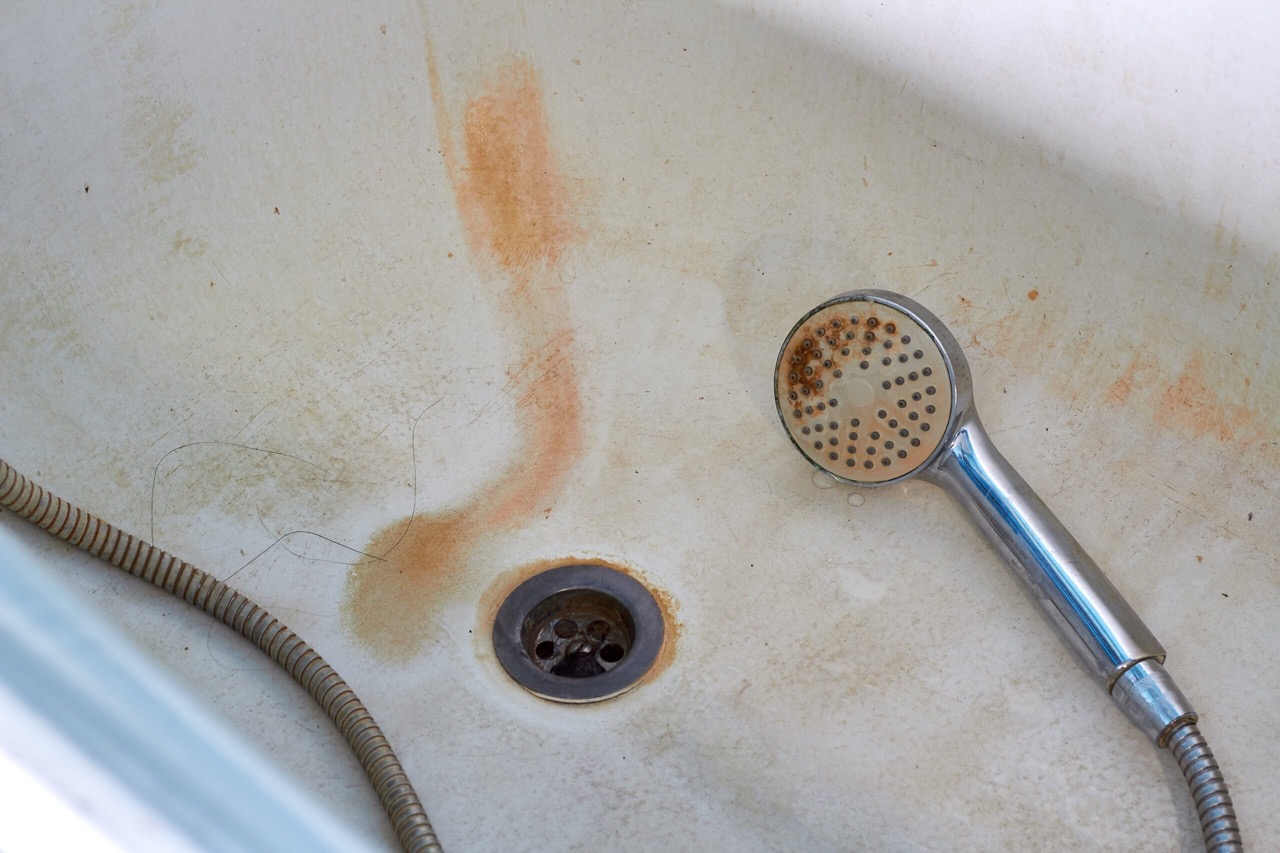
- Clean the Showerhead: Take this opportunity to clean the showerhead using a mild cleaning solution or vinegar. This will help remove any mineral deposits, dirt, or grime that may have accumulated over time. Use an old toothbrush to scrub the nozzles and rinse well with water.
- Dry the Showerhead: After cleaning, make sure to dry the showerhead thoroughly using a clean cloth or towel. This will prevent any water dripping during the removal process.
By preparing the showerhead properly, you ensure a clean and clear access to the restrictor. This will make the removal process easier and reduce the risk of any damage to the showerhead. Once the showerhead is prepared, you can move on to the next step: locating the restrictor.
Step 2: Locate the Restrictor
Once you have prepared the showerhead, the next step is to locate the restrictor. The restrictor is a small device that regulates the water flow inside the showerhead. Follow these steps to locate the restrictor in your Hansgrohe Croma C75 showerhead:
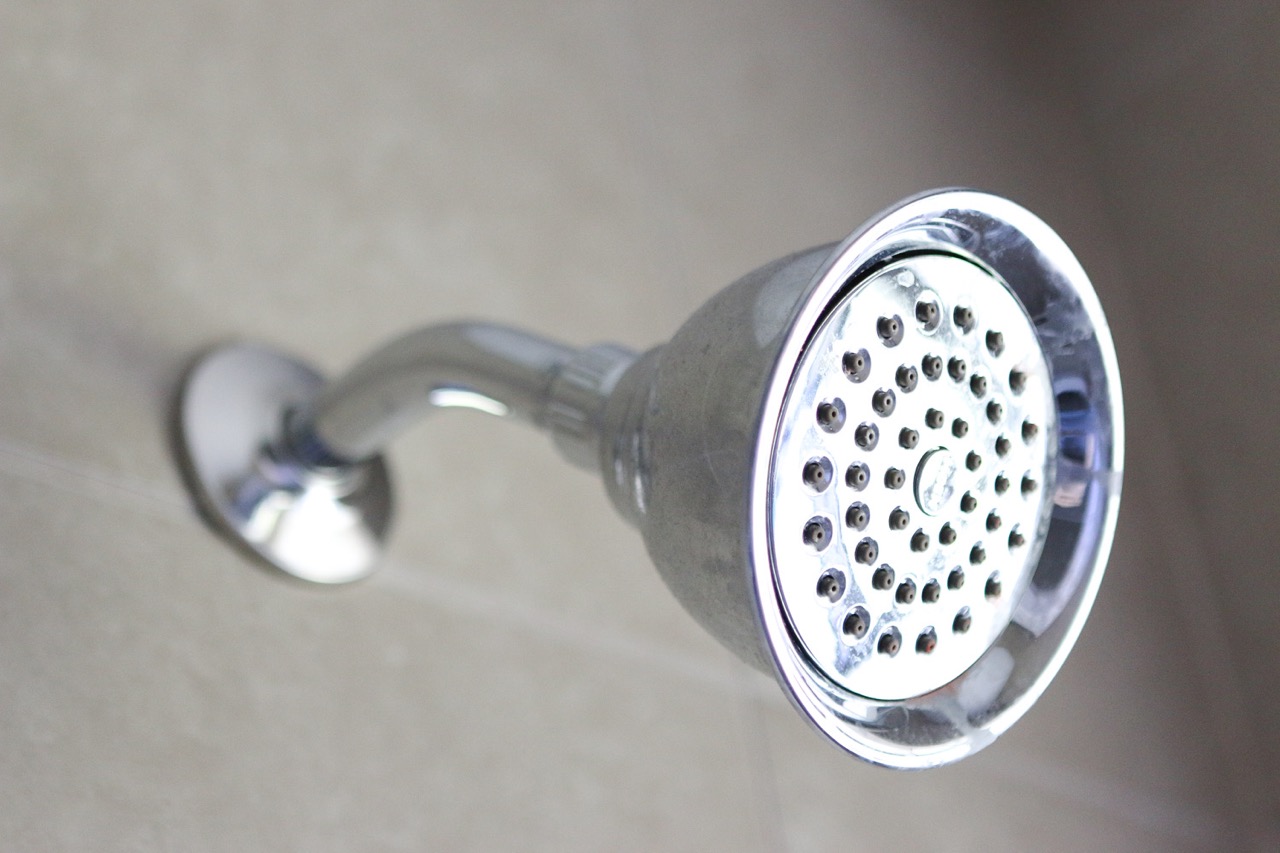
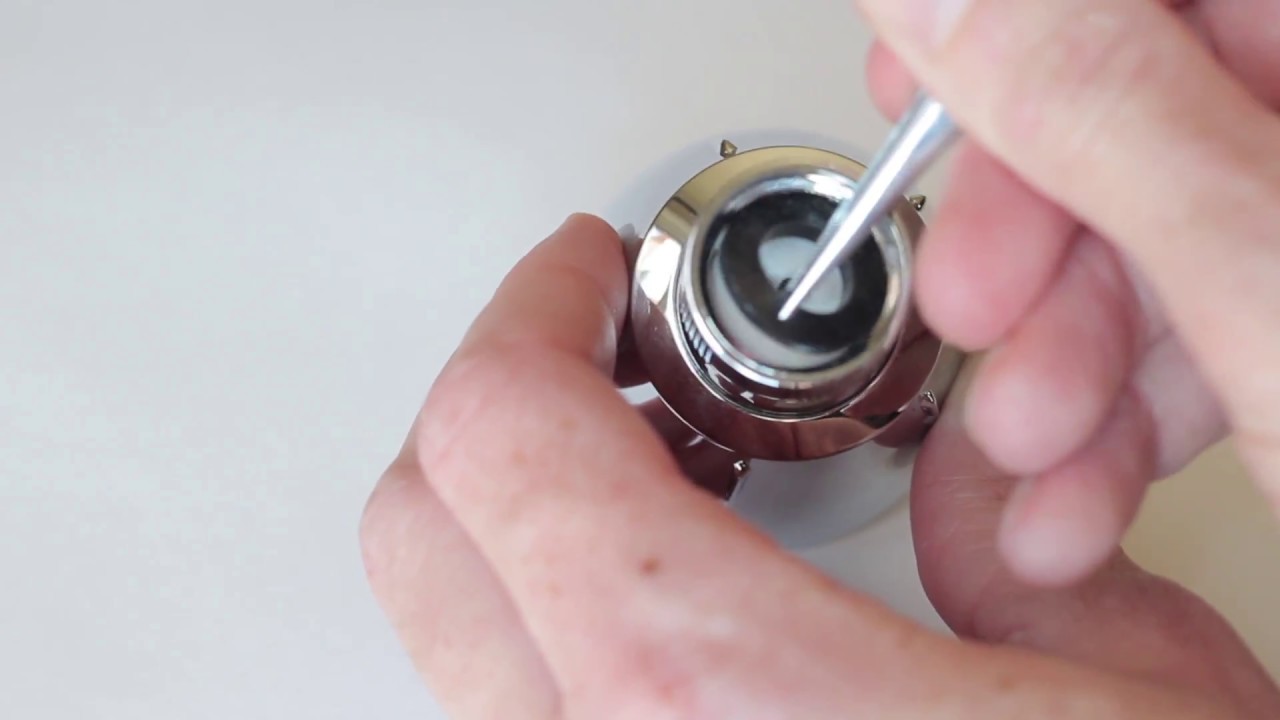
- Inspect the Nozzles: Examine the nozzles of the showerhead for any visible obstructions. The restrictor is often located behind or inside the nozzles, so check for any signs of blockage.
- Check the Spray Face: Look at the front of the showerhead, also known as the spray face. In some showerheads, the restrictor may be located behind the spray face. Look for any screws or fasteners that may be securing the spray face to the showerhead.
- Refer to the Manufacturer’s Manual: Consult the manufacturer’s manual or documentation that came with your Hansgrohe Croma C75 showerhead. It may provide specific guidance on the location of the restrictor and how to access it.
- Search Online Resources: If you are unable to locate the restrictor based on visual inspection, you can search online resources specific to your showerhead model. Many manufacturers provide detailed diagrams and instructional videos that can help you find the restrictor.
- Ask for Expert Advice: If you are still uncertain about the location of the restrictor, don’t hesitate to reach out to the manufacturer’s customer support or consult a professional plumber for guidance.
It’s important to note that the location of the restrictor may vary depending on the showerhead model. In some cases, it may be easily accessible, while in others, it may require disassembling certain parts of the showerhead. Take your time to locate the restrictor to ensure a successful removal process.
Once you have found the restrictor, you can proceed to the next step: removing the rubber gasket.
To remove the restrictor from a Hansgrohe Croma C75 showerhead, unscrew the showerhead from the shower arm using a wrench or pliers. Then, locate the restrictor inside the showerhead and gently pry it out using a small screwdriver. Be careful not to damage the showerhead while removing the restrictor.
Step 3: Remove the Rubber Gasket
After locating the restrictor in your Hansgrohe Croma C75 showerhead, the next step is to remove the rubber gasket. The rubber gasket is typically found between the showerhead and the shower arm and helps create a seal to prevent leaks. Follow these steps to safely remove the rubber gasket:
- Inspect the Rubber Gasket: Take a close look at the rubber gasket to check its condition. Look for any signs of wear, damage, or deterioration. If the gasket appears worn out or damaged, it is recommended to replace it with a new one before reassembling the showerhead.
- Use Pliers or Fingers: Depending on the tightness of the gasket, you can either use pliers or your fingers to gently grip and twist the gasket counterclockwise. The gasket should start to loosen and detach from the showerhead.
- Remove the Gasket: Continue twisting until the gasket is completely removed from the showerhead. Be careful not to damage the gasket or any surrounding parts during the removal process.
- Inspect and Clean: Once the gasket is removed, inspect it for any debris or residue. Clean the gasket thoroughly using water and a mild cleaning solution if necessary. Make sure the gasket is completely dry before reassembling the showerhead.
- Set Aside the Gasket: Store the removed gasket in a safe place, as you may need to reinstall it later. However, if the gasket is damaged or worn out, it’s best to replace it with a new one before reassembling the showerhead.
By removing the rubber gasket, you provide better access to the internal components of the showerhead, including the restrictor. Make sure to handle the gasket with care to avoid any damage. With the rubber gasket removed, you are ready to proceed to the next step: removing the restrictor plate itself.
Step 4: Remove the Restrictor Plate
Now that you have removed the rubber gasket, you can proceed to remove the restrictor plate from your Hansgrohe Croma C75 showerhead. The restrictor plate is the component responsible for regulating the water flow. Follow these steps to safely remove the restrictor plate:
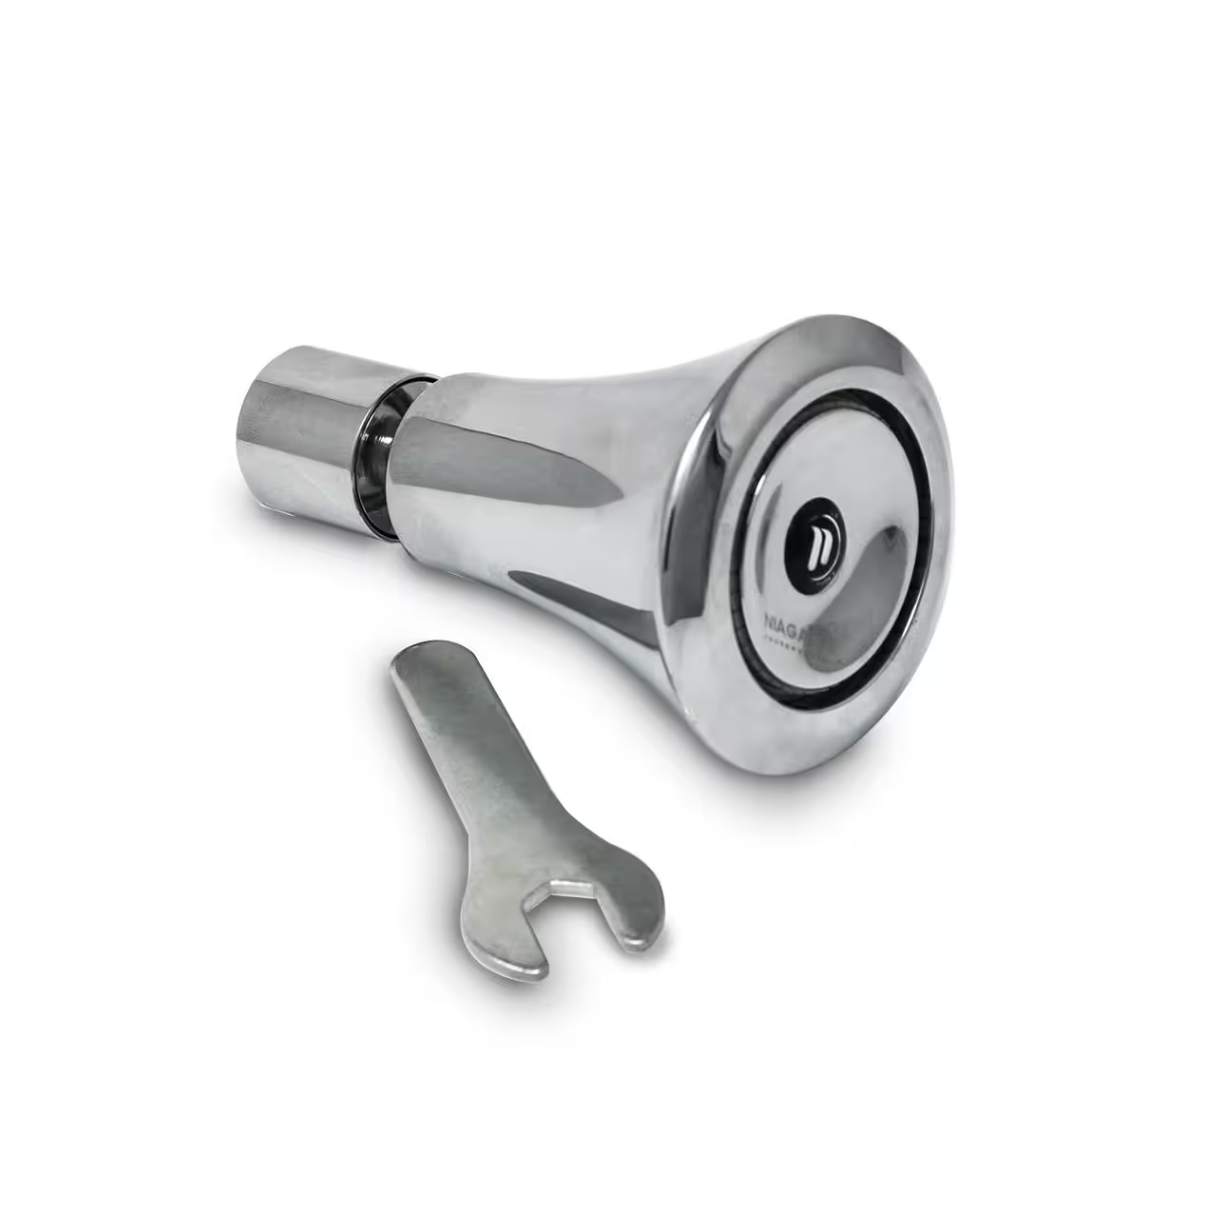
- Identify the Restrictor Plate: Look for a small plate or disc located near the center of the showerhead. This is the restrictor plate that needs to be removed in order to increase the water flow.
- Use a Screwdriver or Pliers: Depending on the design of your showerhead, you may need to use a screwdriver or pliers to gently pry the restrictor plate out. Be careful not to apply too much force to avoid damaging the surrounding parts.
- Gently Lift or Unscrew: If the restrictor plate is easily accessible, you can try gently lifting it using your fingers. If it is not easily lifted, use a screwdriver or pliers to unscrew it counterclockwise. Take your time and be patient to avoid any potential damage to the showerhead.
- Inspect and Clean: Once the restrictor plate is removed, inspect it for any debris or mineral deposits. Clean the plate thoroughly using water and a mild cleaning solution if necessary. Make sure the plate is completely dry before reassembling the showerhead.
- Set Aside the Restrictor Plate: Keep the restrictor plate in a safe place, as you may want to reinstall it in the future if desired. However, if you prefer to have a higher water flow, you can choose not to reinstall the restrictor plate.
Removing the restrictor plate will allow for a higher water flow in your shower. However, keep in mind that this may lead to increased water consumption. Make sure to evaluate your water usage responsibly. With the restrictor plate removed, you are now ready to clean and reassemble the showerhead in the next step.
Step 5: Clean and Reassemble the Showerhead
After removing the restrictor plate, it’s essential to clean and reassemble your Hansgrohe Croma C75 showerhead. This will ensure optimal performance and prevent any potential leaks. Follow these steps to effectively clean and reassemble the showerhead:
- Clean the Showerhead Components: Take this opportunity to clean all the components of the showerhead, including the spray face, nozzles, and any other removable parts. Use a mild cleaning solution or vinegar to remove any mineral deposits or debris. Scrub gently with an old toothbrush and rinse well with water.
- Inspect and Clean the Threads: Check the threads on both the showerhead and the shower arm for any dirt, debris, or old Teflon tape. Use a clean cloth or towel to wipe away any residue and ensure a clean surface for reassembly.
- Apply Teflon Tape: To create a watertight seal, wrap Teflon tape around the threads of the shower arm. This will help prevent any potential leaks during use. Wrap the tape in a clockwise direction, overlapping it slightly as you go.
- Reattach the Showerhead: Carefully align the showerhead with the shower arm and begin threading it onto the arm in a clockwise direction. Use your hand to tighten it securely, making sure not to overtighten and risk damaging the threads.
- Tighten with a Wrench: If necessary, use an adjustable wrench to give the showerhead a final tightening. Be cautious not to apply excessive force, as this can lead to damage. The showerhead should be snug and secure on the shower arm.
- Test for Leaks: Turn on the water supply and let it run for a few minutes. Carefully inspect the connections and showerhead for any signs of leaks. If you notice any leaks, tighten the connections or add more Teflon tape as needed to ensure a watertight seal.
By cleaning and reassembling the showerhead properly, you’re ensuring optimal functionality and preventing any leaks or water wastage. Now that your Hansgrohe Croma C75 showerhead is clean and reassembled, it’s time to move on to the final step: testing the water flow.
Step 6: Test the Water Flow
With your Hansgrohe Croma C75 showerhead cleaned, reassembled, and securely attached to the shower arm, it’s time to test the water flow. This step will allow you to determine if removing the restrictor has achieved the desired increase in water pressure. Follow these steps to properly test the water flow:
- Turn on the Water: Slowly turn on the water supply to the showerhead. Start with a gentle flow to prevent any sudden changes in water pressure.
- Observe the Water Flow: Stand under the showerhead and observe the water flow. Pay attention to the strength and pressure of the water. Compare it to the previous flow with the restrictor in place.
- Adjust if Necessary: If the water flow is too strong or uncomfortable, you can adjust it by partially closing the showerhead’s built-in flow regulator or by reinstalling the restrictor plate if you have previously set it aside.
- Enjoy Your Shower: Once you are satisfied with the water flow, you can enjoy your shower with the newly optimized pressure. Take a moment to appreciate the enhanced showering experience that removing the restrictor has provided.
- Monitor Water Usage: Keep an eye on your water consumption and usage habits. The increased water flow may lead to higher water consumption, so it’s important to be mindful of your usage to avoid wasting water.
Testing the water flow allows you to ensure that removing the restrictor has achieved the desired outcome. Remember, finding the right water pressure for your comfort may require some adjustments. By closely observing and adjusting as needed, you can customize your shower experience to your preferences.
Congratulations! You have successfully removed the restrictor from your Hansgrohe Croma C75 showerhead and optimized the water flow. Enjoy your revitalized showering experience. If you need to reinstall the restrictor in the future, make sure to follow the reverse steps to put it back in place.
It is important to note that altering your showerhead may void the warranty and it is always best to consult the manufacturer’s guidelines before making any modifications. If you have any concerns or are unsure about the process, don’t hesitate to seek assistance from a professional plumber.
Thank you for following this comprehensive guide. We hope it has been helpful in your quest for an optimal showering experience!
Conclusion
Removing the restrictor from your Hansgrohe Croma C75 showerhead can have a significant impact on your showering experience. By following the step-by-step guide provided in this article, you have learned how to safely remove the restrictor and increase water flow. However, it’s essential to keep a few key points in mind:
Firstly, consider why you want to remove the restrictor. It may be to improve water pressure, suit personal preferences, or compensate for low water pressure in your area. Understand the impact it may have on water consumption and whether it aligns with your values and environmental consciousness.
Secondly, always prioritize safety. Turn off the water supply before starting any work, wear protective gear, and be mindful of hot surfaces. If you are unsure about the process, seek guidance from a professional plumber.
Additionally, take the time to properly clean and reassemble the showerhead after removing the restrictor. This ensures optimal functionality and prevents leaks. Test the water flow and adjust as necessary to achieve the desired pressure for your showering pleasure.
Finally, be aware that removing the restrictor may void the warranty of your showerhead. Refer to the manufacturer’s guidelines and warranty terms before proceeding.
By following these guidelines and understanding the potential consequences, you can make an informed decision when removing the restrictor from your Hansgrohe Croma C75 showerhead. Enjoy your rejuvenated shower experience and remember to use water responsibly!
Frequently Asked Questions about How To Remove Restrictor From Hansgrohe Croma C 75 Showerhead
Was this page helpful?
At Storables.com, we guarantee accurate and reliable information. Our content, validated by Expert Board Contributors, is crafted following stringent Editorial Policies. We're committed to providing you with well-researched, expert-backed insights for all your informational needs.


0 thoughts on “How To Remove Restrictor From Hansgrohe Croma C 75 Showerhead”