Home>Articles>How To Remove Flow Restrictor From Delta Showerhead
Articles
How To Remove Flow Restrictor From Delta Showerhead
Modified: August 26, 2024
Learn how to remove the flow restrictor from your Delta showerhead with this informative article. Enhance your shower experience by increasing water flow.
(Many of the links in this article redirect to a specific reviewed product. Your purchase of these products through affiliate links helps to generate commission for Storables.com, at no extra cost. Learn more)
Introduction
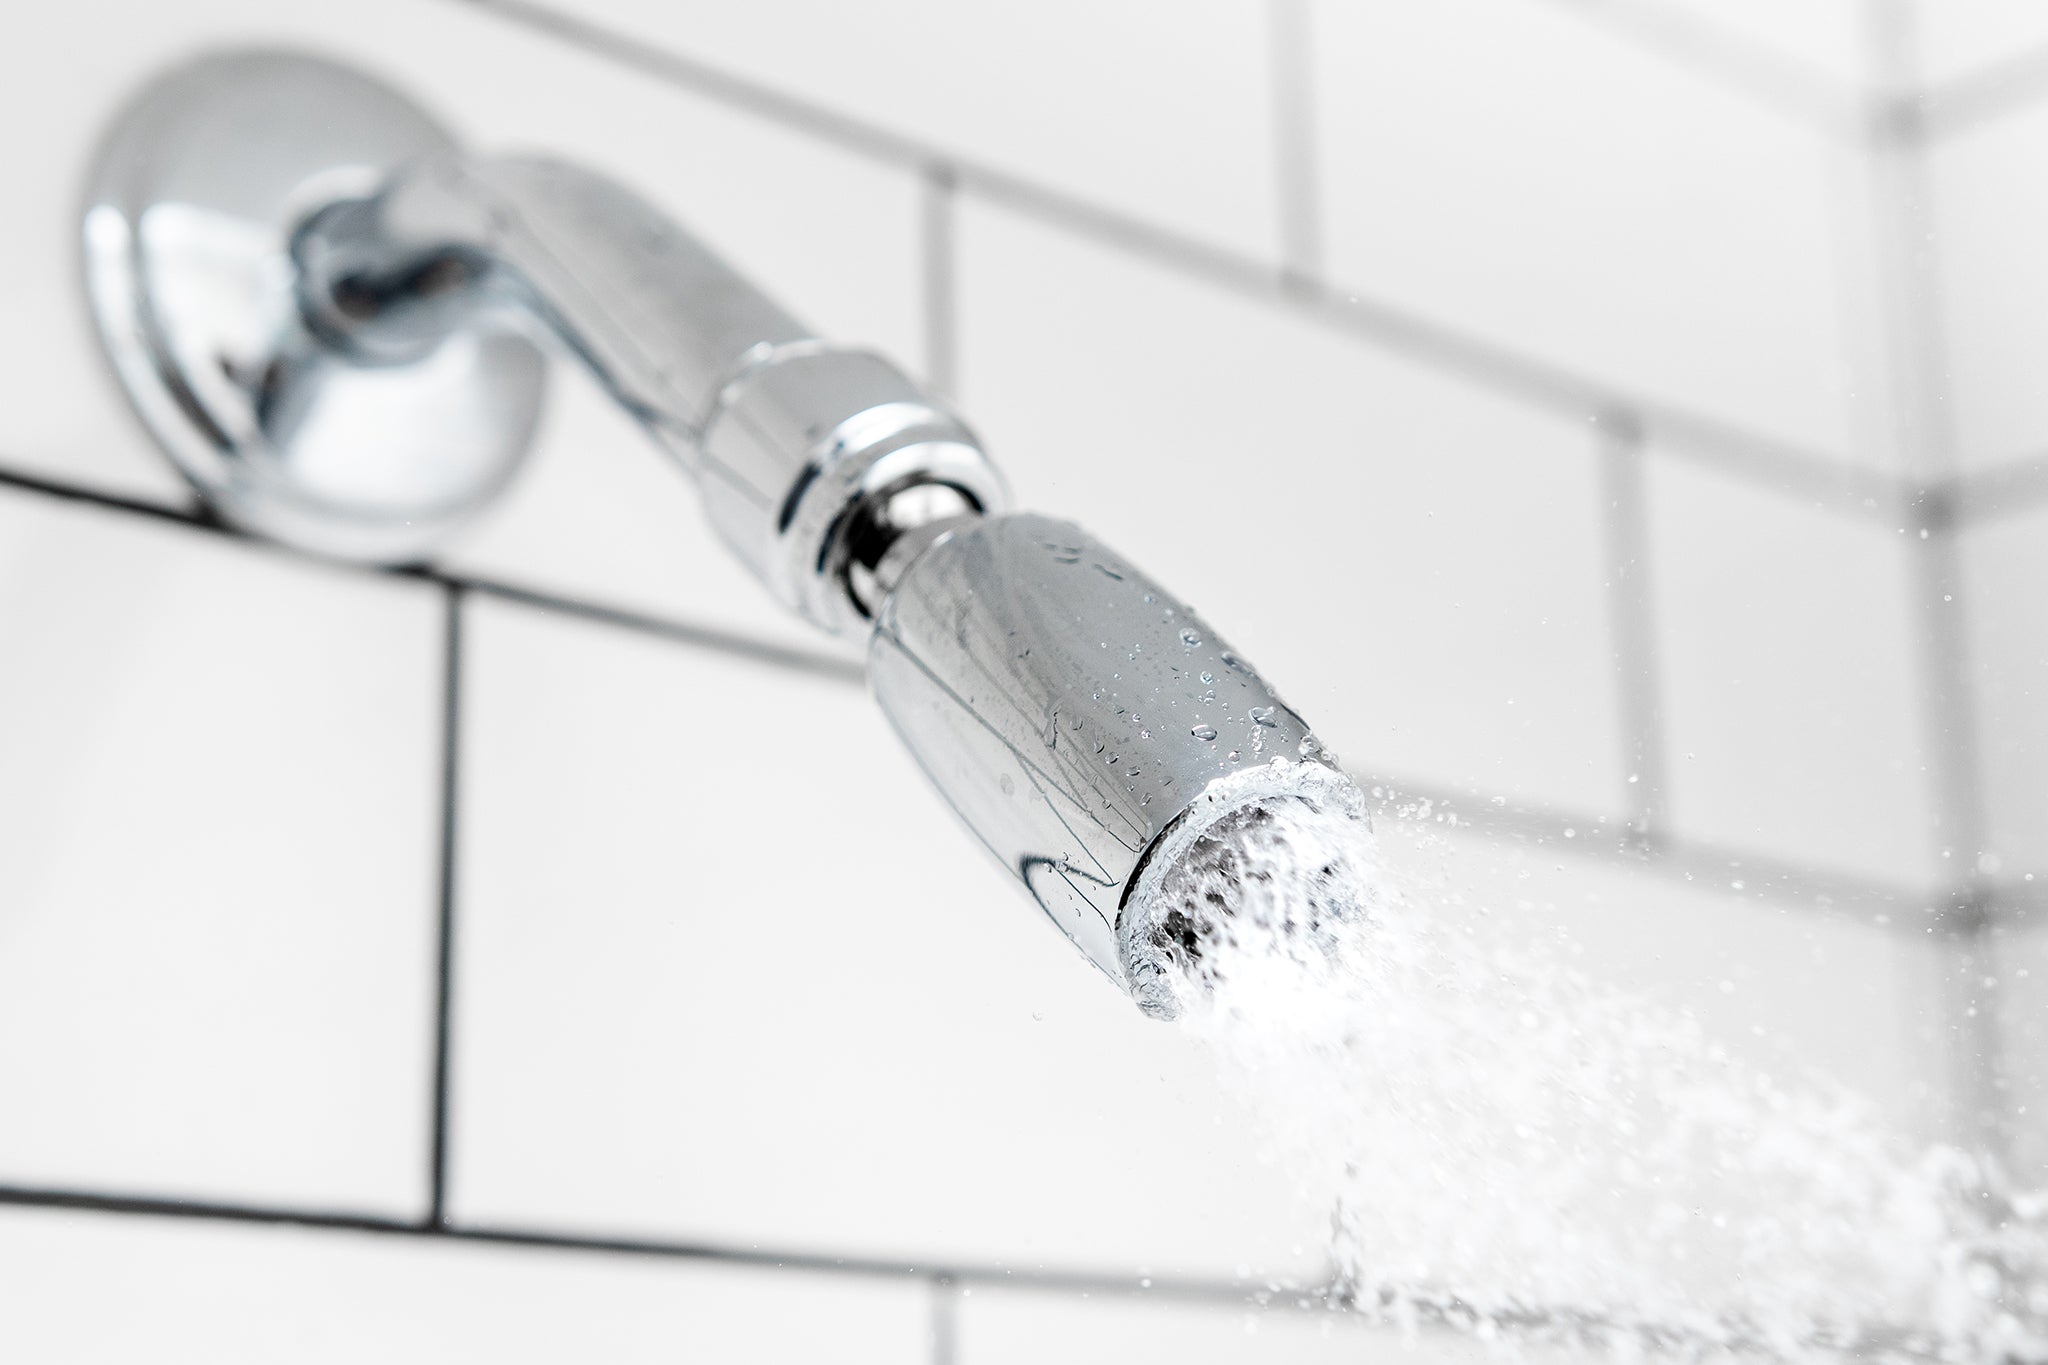
Having a good shower is a refreshing and revitalizing experience. One component of a great shower is a showerhead that delivers a strong and steady water flow. However, many showerheads come with flow restrictors installed to conserve water and comply with water efficiency regulations.
While flow restrictors have their benefits, they can sometimes limit the showering experience by reducing the water pressure. If you find that your Delta showerhead is not providing enough water flow and you want to remove the flow restrictor, this article will guide you through the process.
By removing the flow restrictor from your Delta showerhead, you can potentially increase water flow and enjoy a more satisfying shower. However, it’s important to note that removing the flow restrictor may result in higher water consumption. Therefore, it’s advisable to check your local water usage regulations beforehand.
Before diving into the process, let’s take a look at why you might want to remove the flow restrictor from your Delta showerhead.
Key Takeaways:
- Enhance Your Shower Experience
By removing the flow restrictor from your Delta showerhead, you can enjoy a stronger water flow, personalized shower experience, and improved water pressure, revitalizing your daily routine. - Mindful Water Usage
While removing the flow restrictor can optimize your shower, be mindful of potential higher water consumption and local water usage regulations to balance enjoyment with conservation efforts.
Why would you want to remove the flow restrictor?
There are a few reasons why you may want to remove the flow restrictor from your Delta showerhead. While flow restrictors are designed to conserve water, they can sometimes result in a less satisfying shower experience. Here are some scenarios where removing the flow restrictor might be beneficial:
- Low water pressure: If you have low water pressure in your home, the flow restrictor may further restrict the flow, making the shower feel weak and unsatisfying. By removing the flow restrictor, you can potentially improve the water pressure and enjoy a more invigorating shower.
- Desire for a stronger flow: Some individuals simply prefer a stronger water flow to fully experience the refreshing sensation of a shower. By removing the flow restrictor, you can increase the water flow and have a more powerful shower experience.
- Personal preference: Everyone has their own preferences when it comes to showering. While some people enjoy a gentle and aerated flow, others prefer a strong and focused stream. If you find that the current water flow from your Delta showerhead doesn’t suit your personal preference, removing the flow restrictor allows you to customize your shower experience.
- Use of well water or water filtration systems: If you have a well or use a water filtration system in your home, you may already have sufficient filtration to remove impurities and sediment. In this case, the flow restrictor might not be necessary, and removing it can improve the water flow without compromising the quality.
It’s important to note that removing the flow restrictor may result in higher water consumption, so consider the implications before making this adjustment. Additionally, it’s always a good idea to check your local water usage regulations to ensure compliance and be mindful of water conservation efforts in your area.
Tools and materials needed
Before you begin the process of removing the flow restrictor from your Delta showerhead, make sure you have the following tools and materials on hand:
- Adjustable wrench
- Plastic bag or container
- Teflon tape
- Old toothbrush or small brush
The adjustable wrench will be used to loosen and remove the showerhead from the shower arm. It’s important to use an adjustable wrench to ensure a secure grip without damaging the showerhead or the shower arm.
A plastic bag or container will come in handy to collect any small parts, such as the flow restrictor, that may come loose during the disassembly process. This will prevent any parts from getting lost down the drain.
Teflon tape is a thin white tape that is commonly used to create a watertight seal on threaded connections. You will need this tape when reassembling the showerhead to ensure a tight and leak-free connection between the showerhead and the shower arm.
An old toothbrush or small brush can be used to clean any debris or sediment that may have accumulated inside the showerhead. This step is optional but recommended, as it can help improve water flow and maintain the performance of your showerhead.
With these tools and materials ready, you’re all set to begin removing the flow restrictor from your Delta showerhead.
Step 1: Turn Off the Water Supply
Before removing the flow restrictor from your Delta showerhead, it’s important to turn off the water supply to avoid any water leakage or damage. Here’s how you can do it:
- Locate the water shut-off valve in your bathroom. It is usually located near the shower or in the basement/utility area.
- Turn the valve clockwise to shut off the water supply. This will prevent any water from flowing through the showerhead while you’re working on it.
- Once you’ve shut off the water supply, test it by turning on the shower faucet to ensure that no water is coming out. If water continues to flow, double-check that you’ve correctly turned off the valve or consult a professional plumber if needed.
By turning off the water supply, you eliminate the risk of water spraying or leaking from the showerhead during the disassembly process. This step ensures that you can work on removing the flow restrictor safely and effectively.
Once you’ve turned off the water supply, you can proceed to the next step of removing the showerhead itself.
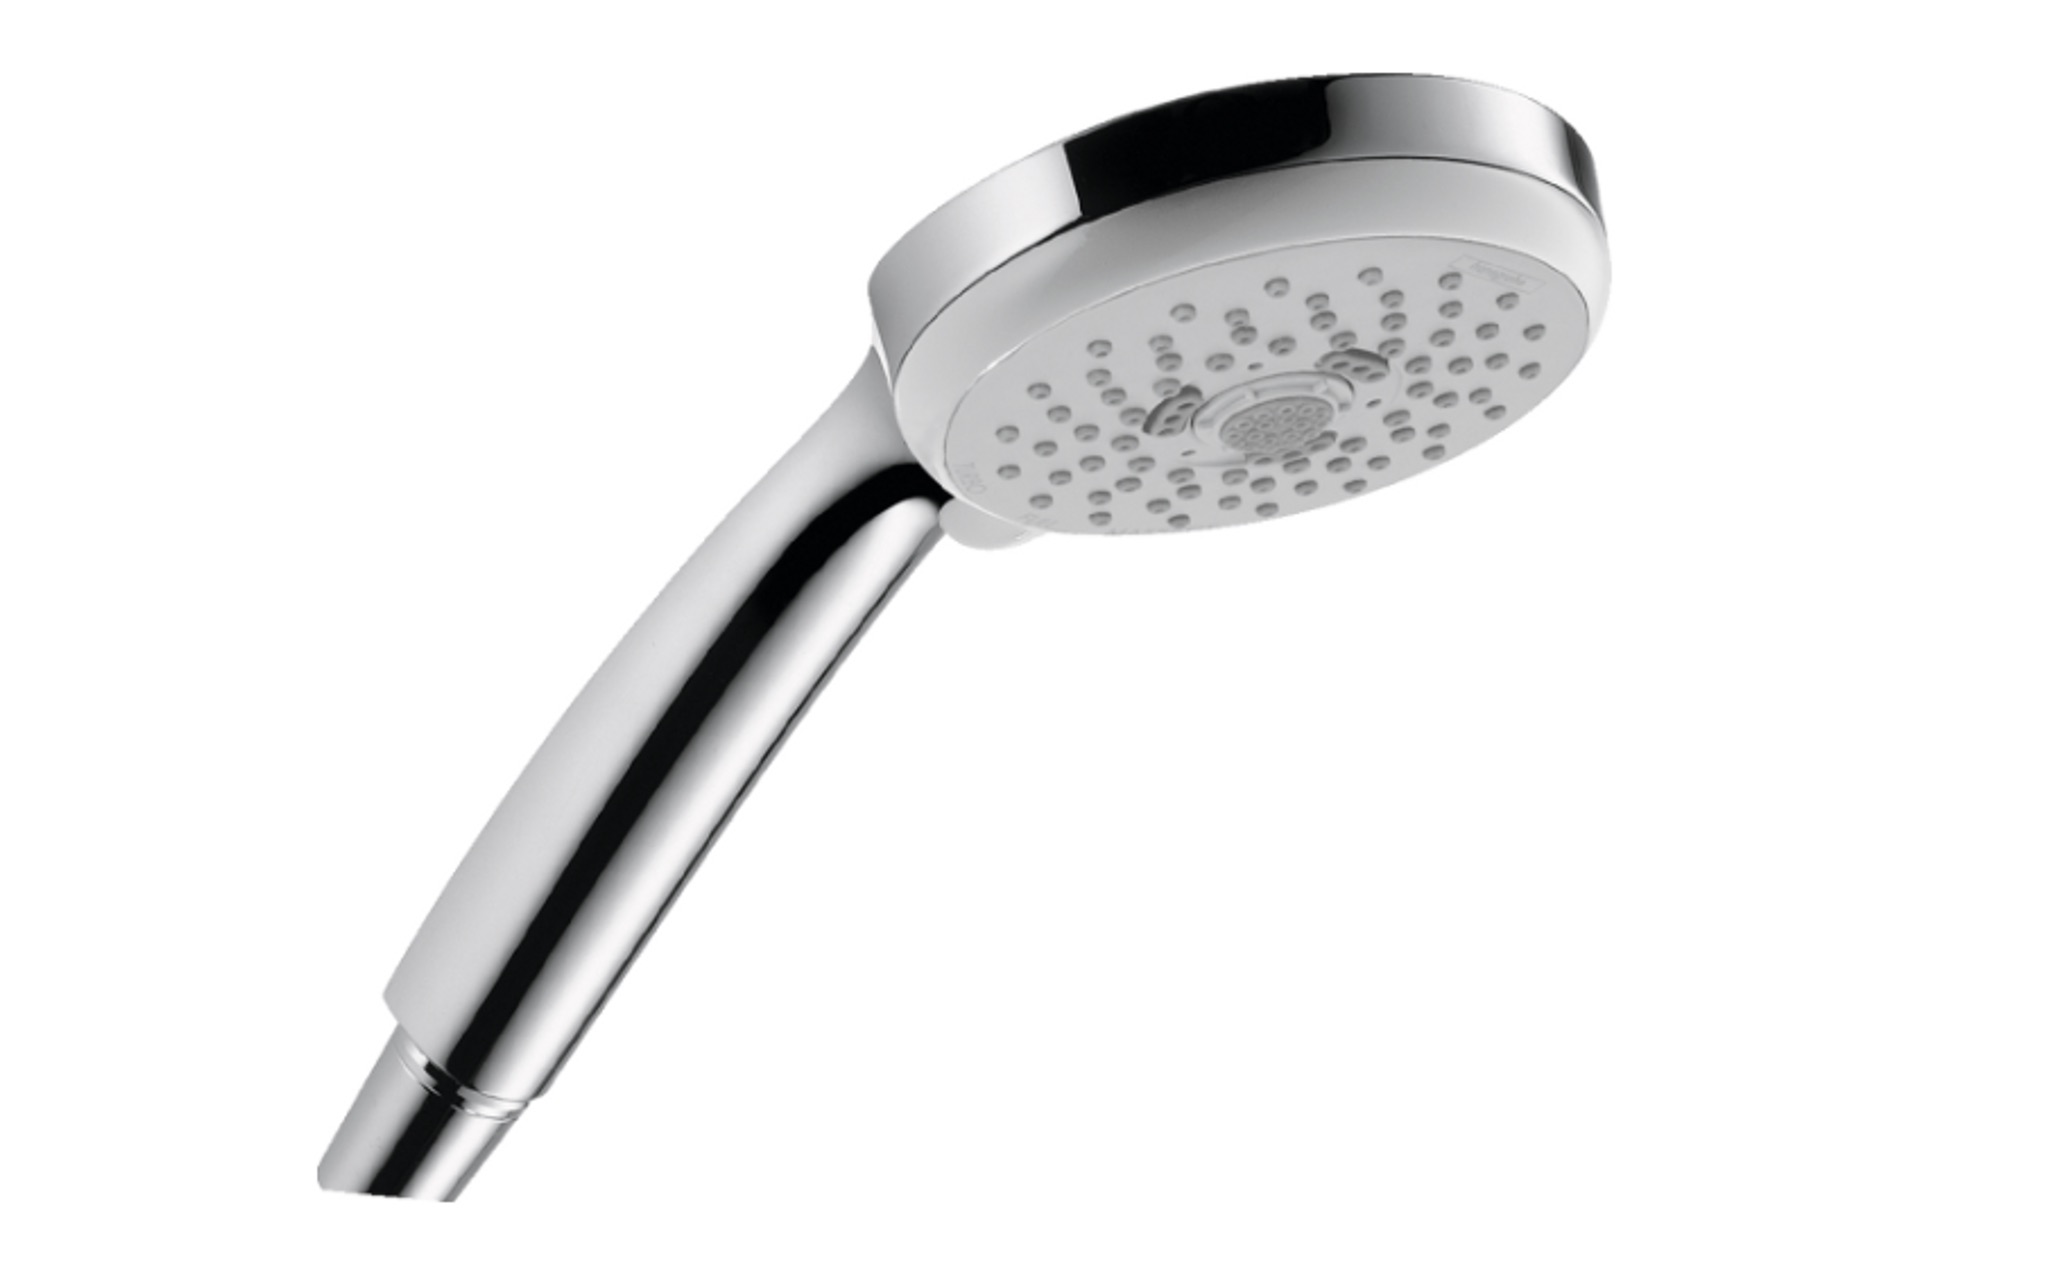
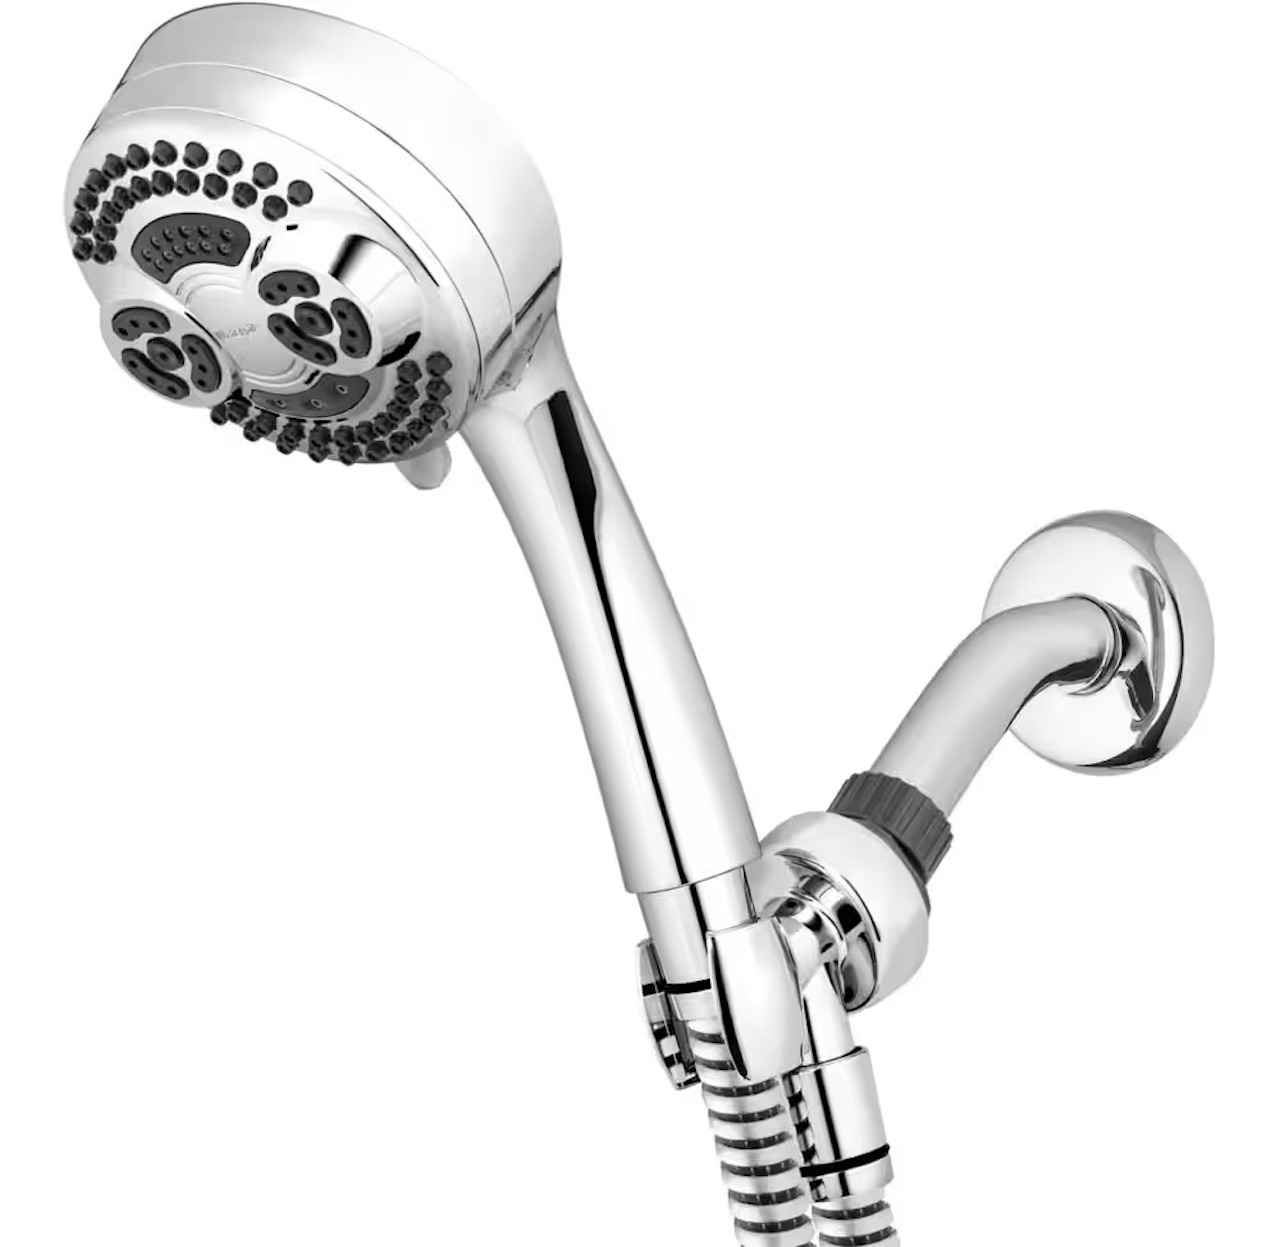
Step 2: Remove the Showerhead
Now that you’ve turned off the water supply, it’s time to remove the showerhead from the shower arm. Follow these steps:
- Locate the connection point between the showerhead and the shower arm. This is where the showerhead is attached to the wall.
- Using an adjustable wrench, grip the showerhead’s connecting nut firmly. Be careful not to apply too much force to avoid damaging the showerhead or shower arm.
- Slowly rotate the wrench counterclockwise to loosen and remove the showerhead. If the showerhead is tightly secured, you may need to use a bit more force, but always be mindful of not causing any damage.
- Once loosened, continue unscrewing the showerhead with your hands until it is completely detached from the shower arm.
With the showerhead removed, take a moment to inspect the shower arm and clean any debris or mineral buildup that may be present. This step will help ensure optimal water flow once the flow restrictor is removed and the showerhead is reinstalled.
Set aside the removed showerhead in a safe place, and proceed to the next step to locate the flow restrictor within the showerhead.
Use a pair of pliers to grip the flow restrictor and twist it counterclockwise to remove it from the Delta showerhead. Be careful not to damage the showerhead while doing this.
Step 3: Locate the Flow Restrictor
Once you have removed the showerhead, it’s time to locate the flow restrictor within it. Follow these steps to find it:
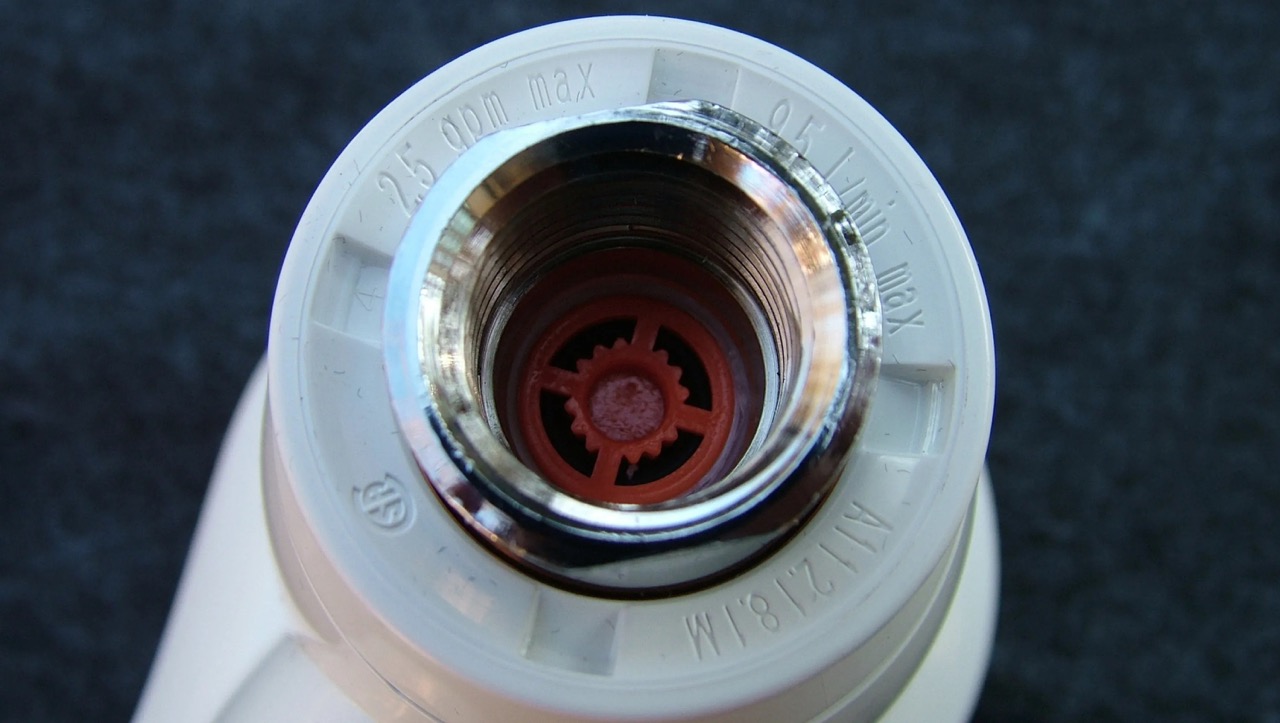
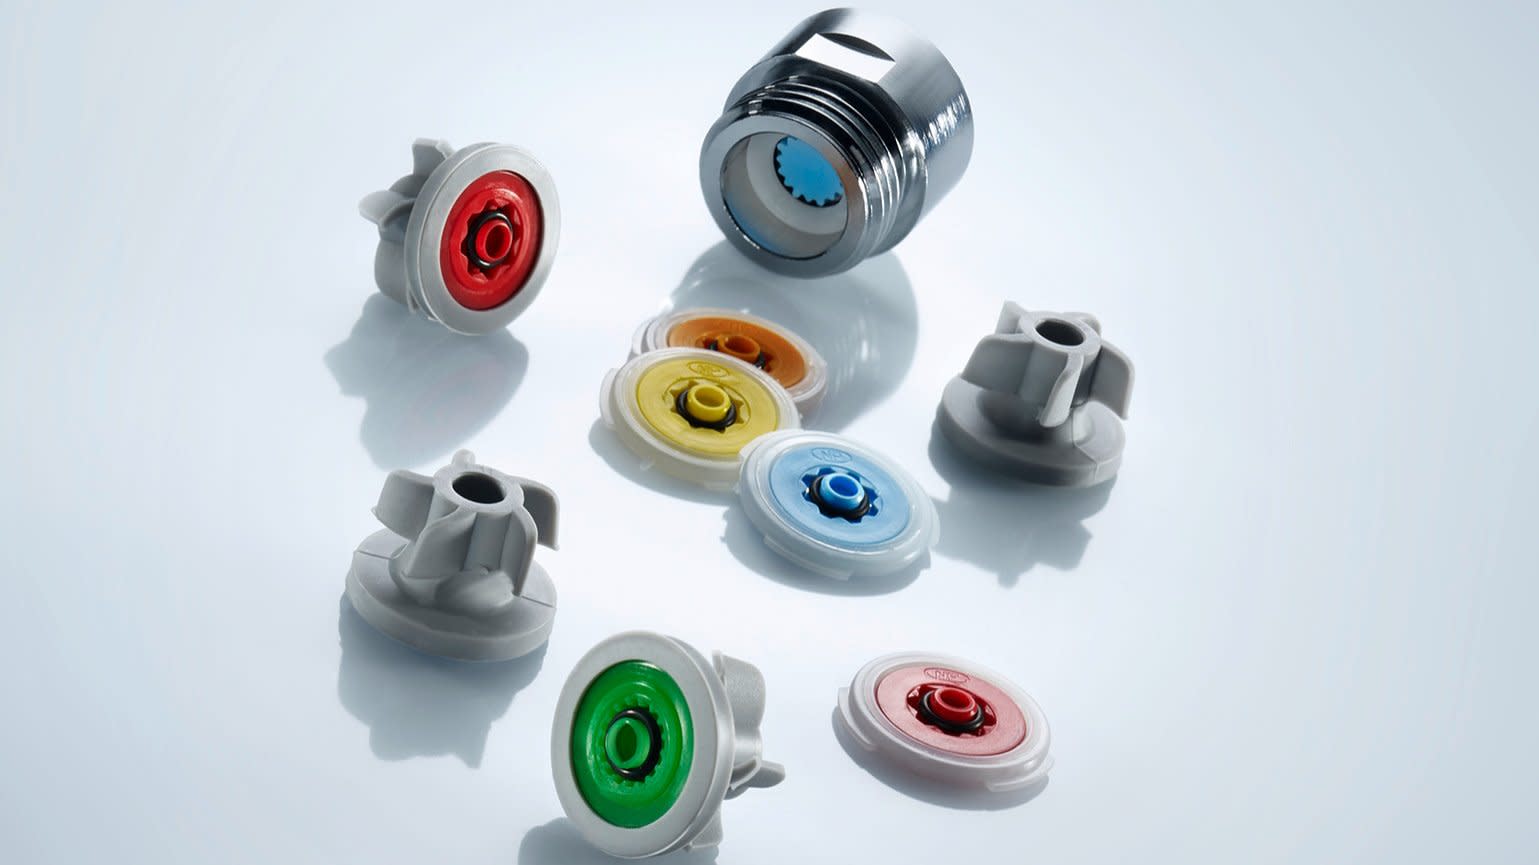
- Inspect the interior of the showerhead where the water flows through. You may notice a small plastic piece or disc that is inserted into the showerhead. This is the flow restrictor.
- The flow restrictor is usually located near the connection point where the showerhead attaches to the shower arm. It may be colored white or blue and can sometimes have a star-shaped or X-shaped design on it.
- In some cases, the flow restrictor may be attached to a plastic or metal screen. If that’s the case, you may need to remove the screen to access the flow restrictor.
Take a moment to familiarize yourself with the flow restrictor’s appearance and location within the showerhead. This will make it easier to identify and remove it in the next step.
It’s important to note that the location and design of the flow restrictor can vary depending on the specific model of your Delta showerhead. If you’re having trouble locating it, refer to the manufacturer’s instructions or seek assistance from their customer support.
Once you have located the flow restrictor, you can move on to the next step of removing it from the showerhead.
Step 4: Remove the Flow Restrictor
Now that you have located the flow restrictor within your Delta showerhead, it’s time to remove it. Follow these steps:
- Using your fingers or a small pair of pliers, grip the flow restrictor and gently twist it counterclockwise to unscrew it from the showerhead. Be careful not to apply excessive force to avoid damaging the showerhead or the flow restrictor itself.
- If the flow restrictor is tightly secured and difficult to remove by hand, you can try using a small flathead screwdriver or an awl to carefully pry it out.
- Once loosened, continue twisting or prying until the flow restrictor is completely removed from the showerhead.
After the flow restrictor is removed, you may notice a small rubber O-ring or washer attached to it. Take note of its position and ensure that you don’t lose it during the removal process.
Depending on the showerhead model, there may be additional components, such as a gasket or filter, that are connected to the flow restrictor. Take care to remove them as well, if applicable.
With the flow restrictor removed, you have successfully eliminated the device that restricts the water flow within your Delta showerhead. The next step involves reassembling the showerhead for normal operation.
Step 5: Reassemble the Showerhead
Now that you have removed the flow restrictor from your Delta showerhead, it’s time to reassemble it for normal operation. Follow these steps to put the showerhead back together:
- If you removed any additional components such as a gasket or filter during the flow restrictor removal, make sure to reattach them to the showerhead.
- Inspect the threads on the shower arm and the showerhead to ensure they are clean and free from any debris or old Teflon tape. Use an old toothbrush or small brush to clean the threads if needed.
- Take a piece of Teflon tape and wrap it clockwise around the threads of the shower arm. Make at least three to four wraps around the threads to create a tight seal.
- Attach the showerhead back onto the shower arm, starting by hand tightening it in a clockwise direction. Once snug, use an adjustable wrench to give it an additional quarter-turn to ensure a secure connection. Be careful not to overtighten to avoid damaging the showerhead or the shower arm.
Make sure the showerhead is aligned properly and facing the correct direction before fully tightening it. This will ensure that the water flow is directed properly when you turn on the shower.
Once the showerhead is securely reassembled, you’re almost ready to test the water flow. However, before doing so, it’s important to perform one more step to ensure optimal performance.
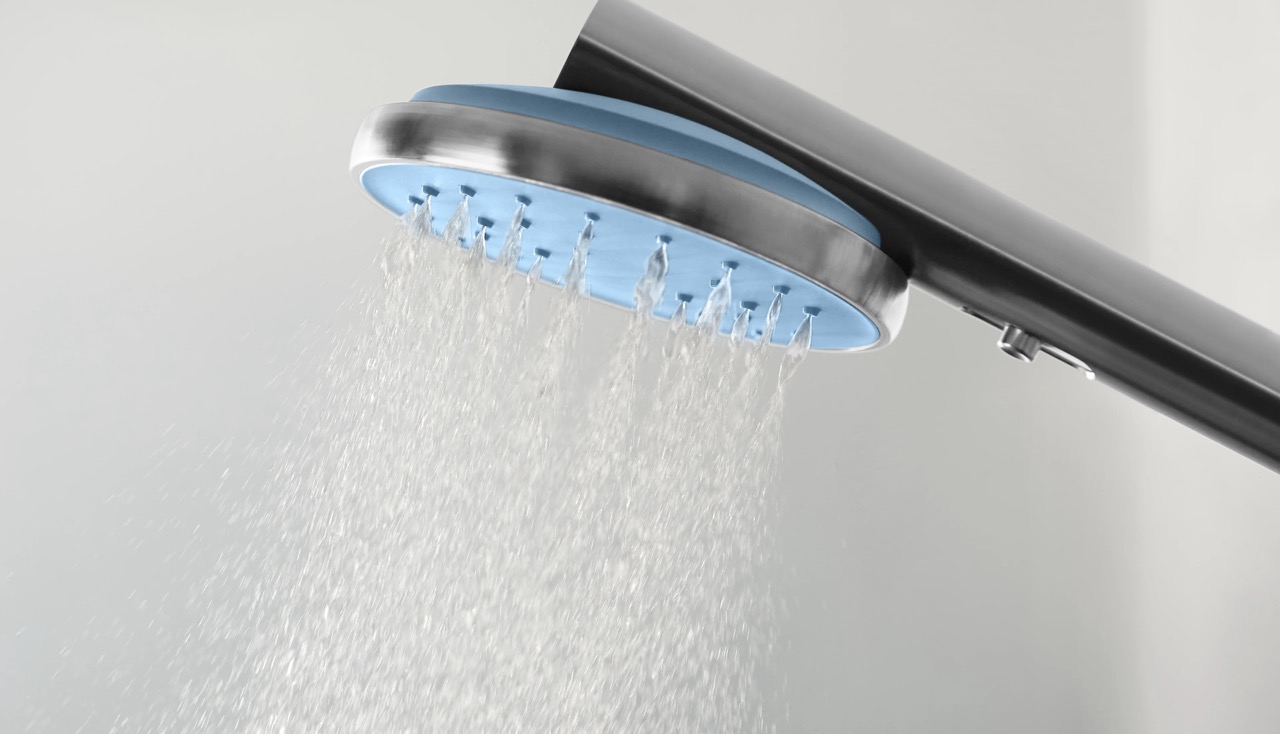
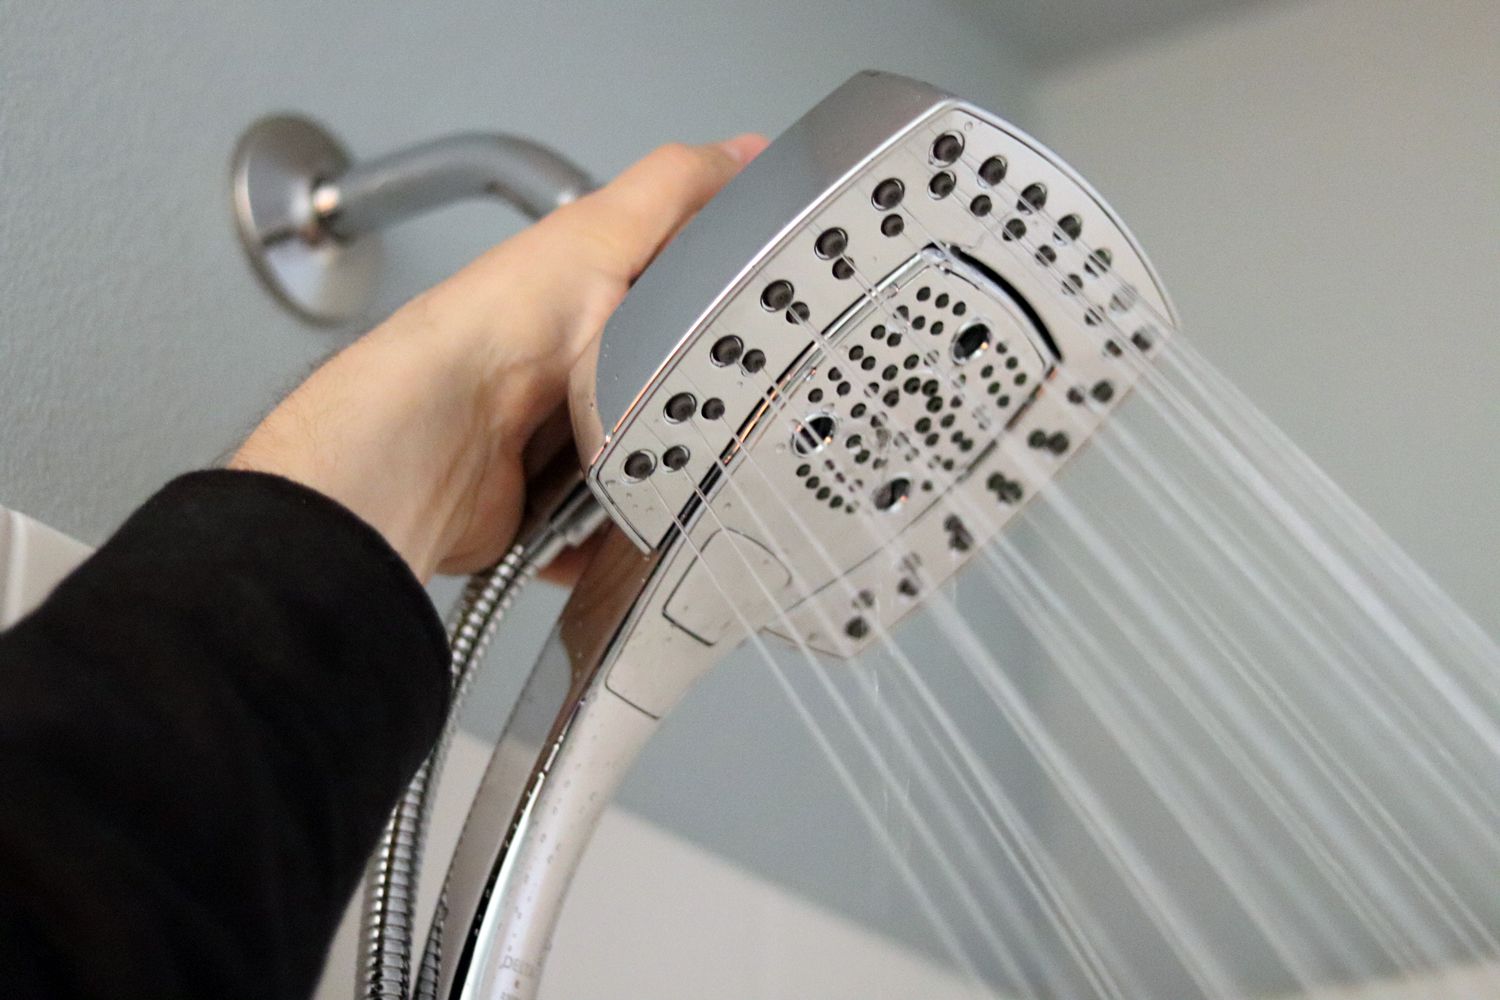
Step 6: Test the Water Flow
With the Delta showerhead reassembled, it’s time to test the water flow to ensure that the removal of the flow restrictor has resulted in the desired outcome. Follow these steps to test the water flow:
- Turn on the water supply by rotating the water shut-off valve counterclockwise. This will allow water to flow through the showerhead.
- Step into the shower and turn on the faucet to the desired temperature and pressure.
- Observe the water flow from the showerhead. If the water flow feels stronger and more satisfying compared to before, then the removal of the flow restrictor has been successful in increasing the water flow.
- If you are not satisfied with the water flow or notice any issues such as leaks or inconsistent pressure, you may need to revisit the previous steps to ensure that the flow restrictor was removed correctly and that the showerhead is securely reassembled.
During the testing phase, it’s also a good idea to check for any leaks around the connections between the showerhead and the shower arm. If you notice any leaks, you may need to disassemble and reassemble the showerhead again, ensuring that you use Teflon tape and tighten the connections properly.
If everything looks and feels satisfactory, congratulations! You have successfully removed the flow restrictor from your Delta showerhead and optimized the water flow to suit your preferences.
Remember to keep in mind any local water usage regulations and conservation efforts as you enjoy your revitalized showering experience.
Read more: How To Remove The Low-Flow From A Showerhead
Conclusion
Removing the flow restrictor from your Delta showerhead can be a simple and effective way to enhance your showering experience. By following the steps outlined in this article, you can enjoy a stronger and more satisfying water flow during your showers.
However, it’s important to remember that removing the flow restrictor may result in higher water consumption. It’s essential to be mindful of water conservation efforts and check your local water usage regulations before making this adjustment.
Throughout the process, you have learned how to turn off the water supply, remove the showerhead, locate and remove the flow restrictor, reassemble the showerhead, and test the water flow. These steps allow you to customize your shower experience according to your preferences.
If you encounter any difficulties or have concerns during the process, contacting the manufacturer’s customer support or seeking assistance from a professional plumber can be useful.
Remember, your shower is a place for relaxation and rejuvenation. By removing the flow restrictor from your Delta showerhead, you can create an invigorating shower experience that leaves you feeling refreshed and revitalized.
So, go ahead and enjoy your renewed showering experience without the limitations of a flow restrictor, and make the most out of every shower.
Now that you've mastered removing the flow restrictor from your Delta showerhead, why not explore upgrading to a model that truly suits your needs? Our detailed guide on the latest and greatest models will walk you through the 12 best Delta showerheads for 2024, ensuring you find one that elevates your daily shower ritual. Don't miss out on our comprehensive review to help make your choice easier and more informed. Dive into our guide and discover which showerhead can transform your bathroom into a spa-like retreat.
Frequently Asked Questions about How To Remove Flow Restrictor From Delta Showerhead
Was this page helpful?
At Storables.com, we guarantee accurate and reliable information. Our content, validated by Expert Board Contributors, is crafted following stringent Editorial Policies. We're committed to providing you with well-researched, expert-backed insights for all your informational needs.


0 thoughts on “How To Remove Flow Restrictor From Delta Showerhead”