Home>Articles>How To Remove The Flow Restrictor In A Speakman Showerhead
Articles
How To Remove The Flow Restrictor In A Speakman Showerhead
Modified: October 20, 2024
Looking to remove the flow restrictor in your Speakman showerhead? Our informative articles will guide you through the process effortlessly.
(Many of the links in this article redirect to a specific reviewed product. Your purchase of these products through affiliate links helps to generate commission for Storables.com, at no extra cost. Learn more)
Introduction
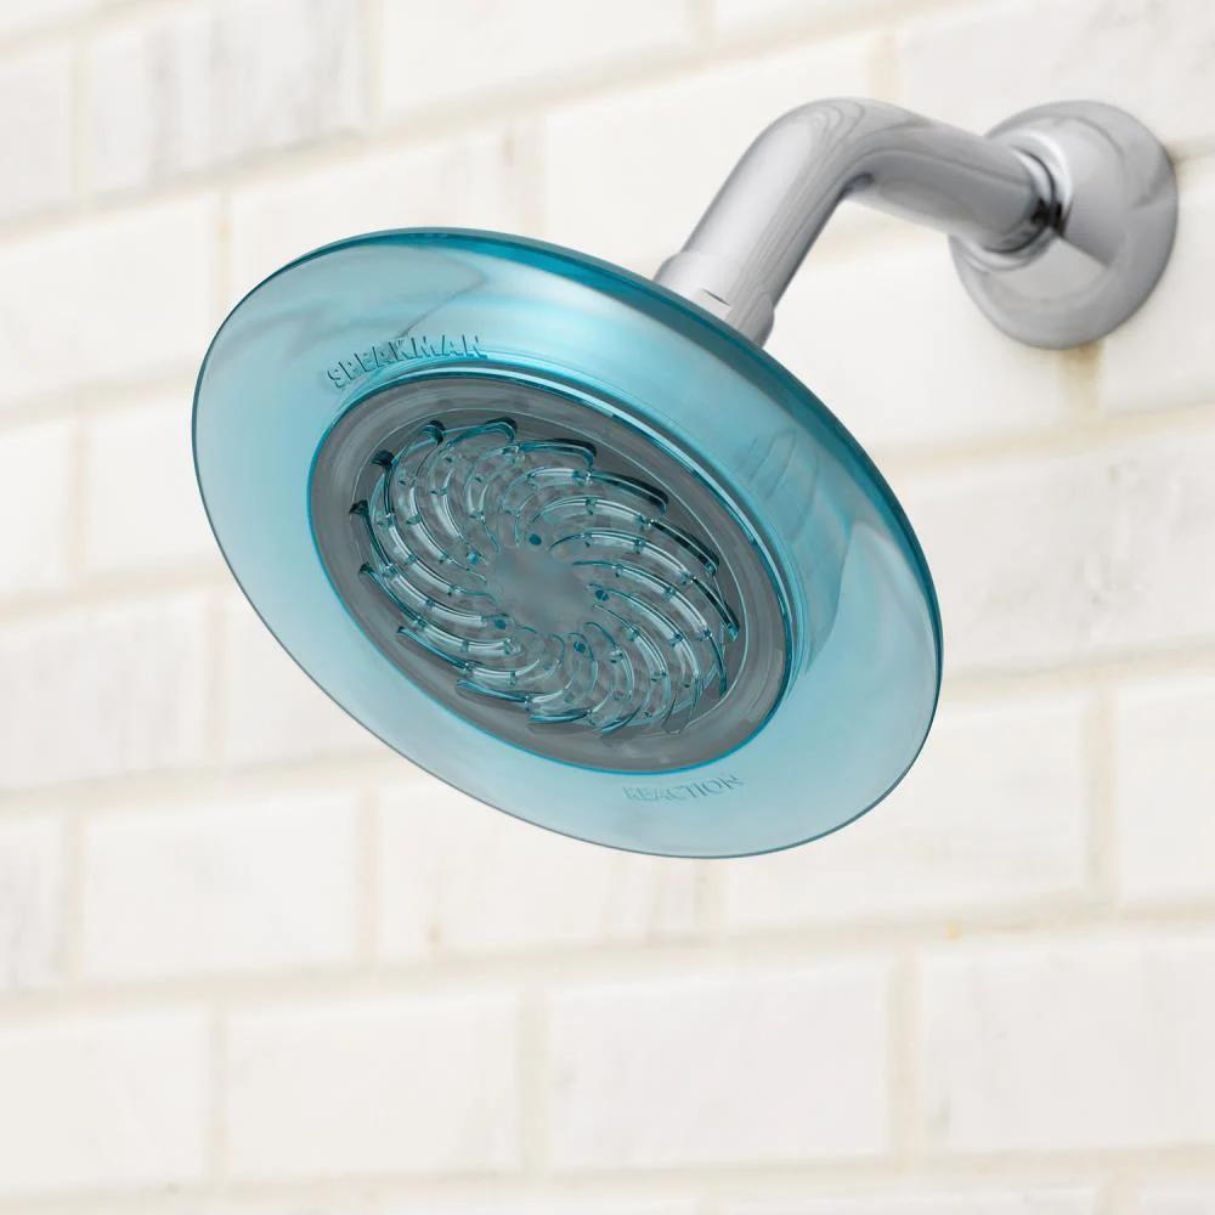
Are you tired of a weak water flow in your Speakman showerhead? The culprit could be the flow restrictor, a small device installed to conserve water. While it serves a noble purpose, it can sometimes hinder your shower experience, leaving you longing for a more powerful water stream.
In this article, we will guide you through the process of removing the flow restrictor in a Speakman showerhead, allowing you to enjoy a stronger water flow and a more satisfying shower experience. Before we dive into the step-by-step guide, let’s take a moment to understand what exactly a flow restrictor is and why it is installed in showerheads.
Flow restrictors are small components typically made of plastic or rubber that control the flow rate of water. They are designed to reduce the amount of water that comes out of the showerhead, helping to conserve water and energy. In areas where water scarcity is a concern, flow restrictors have become standard fixtures in modern showerheads.
While saving water and energy is commendable, some people prefer a shower with stronger water pressure. If you are one of those individuals, removing the flow restrictor can be a simple solution to increase the water flow in your Speakman showerhead.
Before we proceed with the removal process, there are a few essential tools you will need. It is important to gather these items beforehand to ensure a smooth and hassle-free experience. Let’s take a look at the tools required for removing the flow restrictor.
Key Takeaways:
- Enjoy a more invigorating shower experience by removing the flow restrictor from your Speakman showerhead. Follow the step-by-step guide and use the necessary tools for a successful removal.
- Prioritize water conservation while customizing your shower experience. Check local regulations, inspect the flow restrictor, and maintain your showerhead for optimal performance.
Understanding the Flow Restrictor
Before we jump into the process of removing the flow restrictor in your Speakman showerhead, it’s important to have a basic understanding of how it works and why it is installed in the first place.
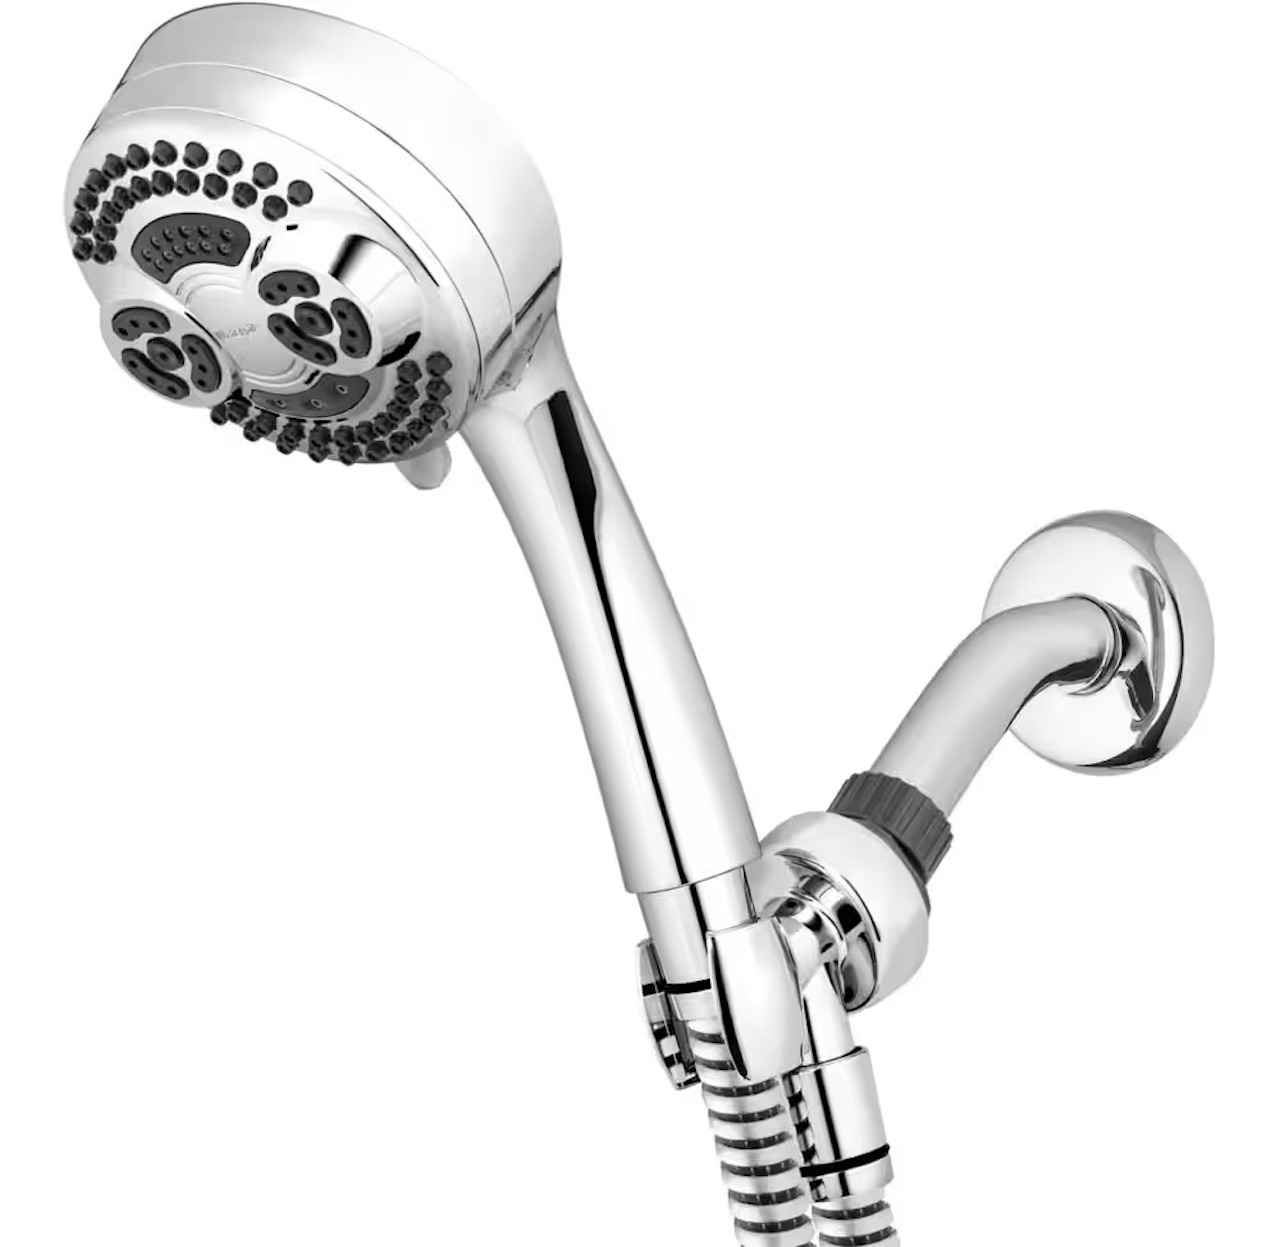
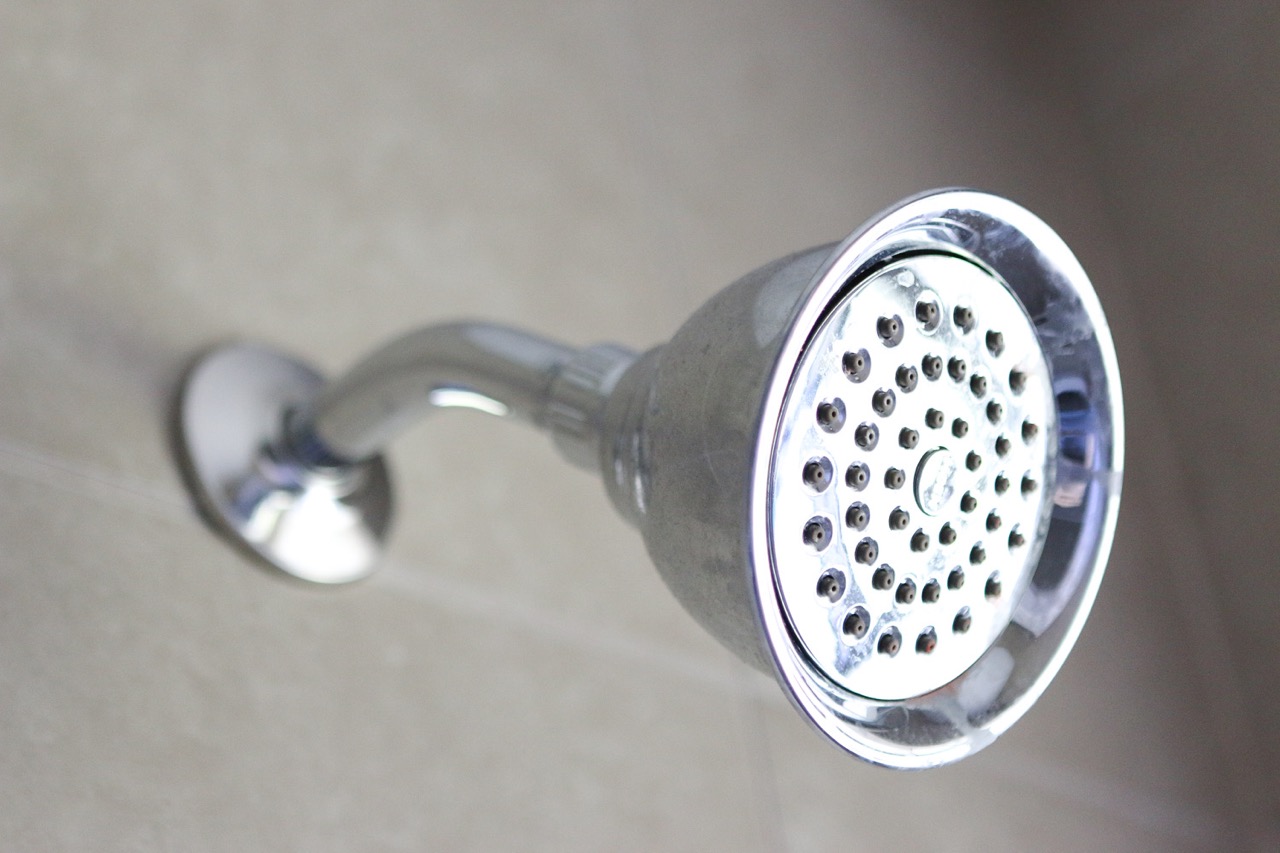
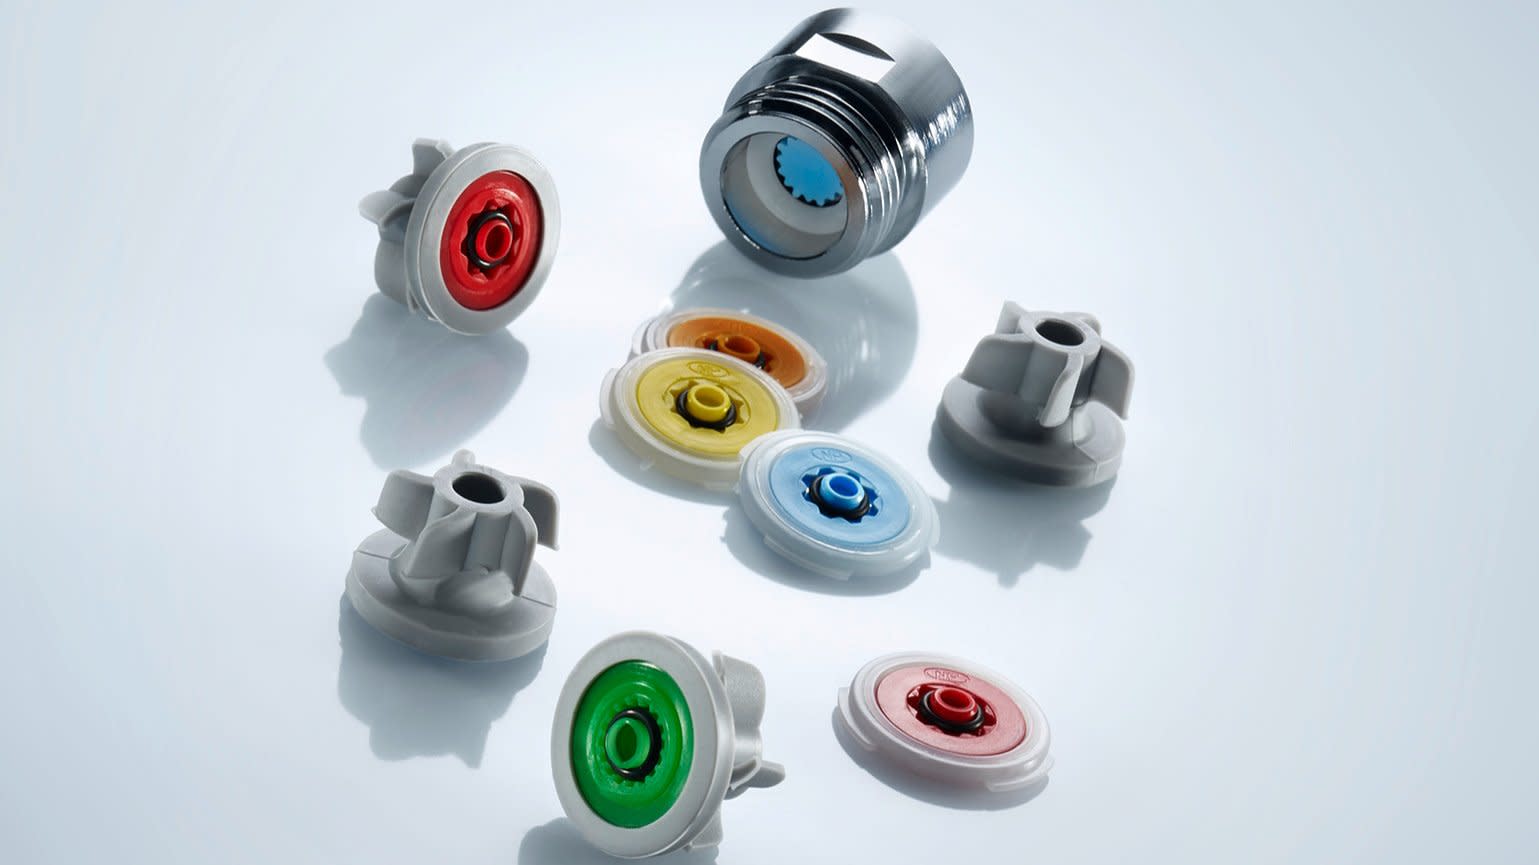
The flow restrictor is a small device that limits the water flow in a showerhead. It is typically installed behind the showerhead’s water outlet, either screwed into place or integrated directly into the showerhead design.
Why are flow restrictors used in showerheads? The primary reason is water conservation. By limiting the amount of water that flows through the showerhead, flow restrictors help reduce water usage, which is beneficial in areas where water scarcity is a concern. These devices are designed to regulate the flow rate, usually measured in gallons per minute (GPM), to a level considered efficient for daily showering while still providing a satisfactory shower experience.
Flow restrictors are mandated by federal standards, such as the U.S. Environmental Protection Agency’s WaterSense program, which aims to promote water-efficient products. Many showerheads, including Speakman models, are designed to comply with these regulations and incorporate flow restrictors to meet the required flow rate limitations.
While flow restrictors play an important role in conserving water, their presence can sometimes lead to a weaker water flow, much to the disappointment of those seeking a more invigorating shower experience. If you find the water pressure in your Speakman showerhead underwhelming, removing the flow restrictor can be a viable solution to restore a stronger water flow. However, keep in mind that removing the flow restrictor may increase the water usage during your showers.
In the next section, we will outline the tools you will need in order to remove the flow restrictor from your Speakman showerhead.
Tools Required
Before you start the process of removing the flow restrictor from your Speakman showerhead, it’s important to gather the necessary tools. Having the right equipment on hand will make the task much easier and ensure that you can complete it successfully. Here are the tools you will need:
- Adjustable Wrench: This tool will come in handy for gripping and loosening the showerhead. Make sure to choose an adjustable wrench that can fit the size of your showerhead.
- Plumber’s Tape: Also known as Teflon tape, plumber’s tape is used to create a watertight seal. You will need this to reassemble the showerhead after removing the flow restrictor.
- Thin Cloth or Rag: This will be useful to protect the showerhead’s finish during the removal process. Wrap the cloth around the showerhead before applying any tools to prevent scratches or damage.
- Bucket or Container: It’s always a good idea to have a bucket or container nearby to catch any water that may spill during the removal process.
By gathering these tools beforehand, you will be well-prepared for the task and minimize any potential frustrations. Now that you have everything you need, let’s move on to the step-by-step guide on removing the flow restrictor from your Speakman showerhead.
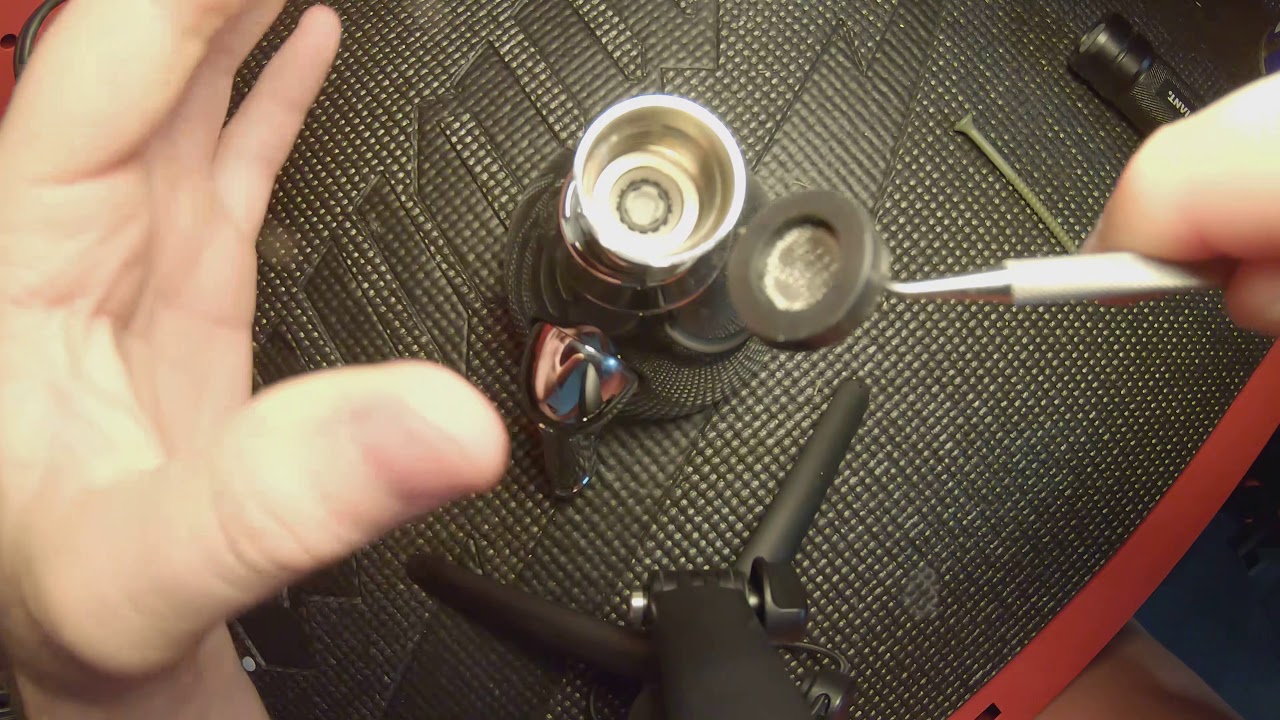
Use a pair of needle-nose pliers to grip and twist the flow restrictor counterclockwise to remove it from the Speakman showerhead. Be careful not to damage the showerhead while doing this.
Step-by-Step Guide to Removing the Flow Restrictor
Now that you have the necessary tools, let’s dive into the step-by-step process of removing the flow restrictor from your Speakman showerhead. Follow these instructions carefully to ensure a successful removal:
- Turn off the water supply: Before you begin, make sure to turn off the water supply to your showerhead. This will prevent any water from spraying out while you’re working.
- Wrap the showerhead: Take a thin cloth or rag and wrap it around the showerhead. This will help protect the finish and prevent any scratches or damage during the removal process.
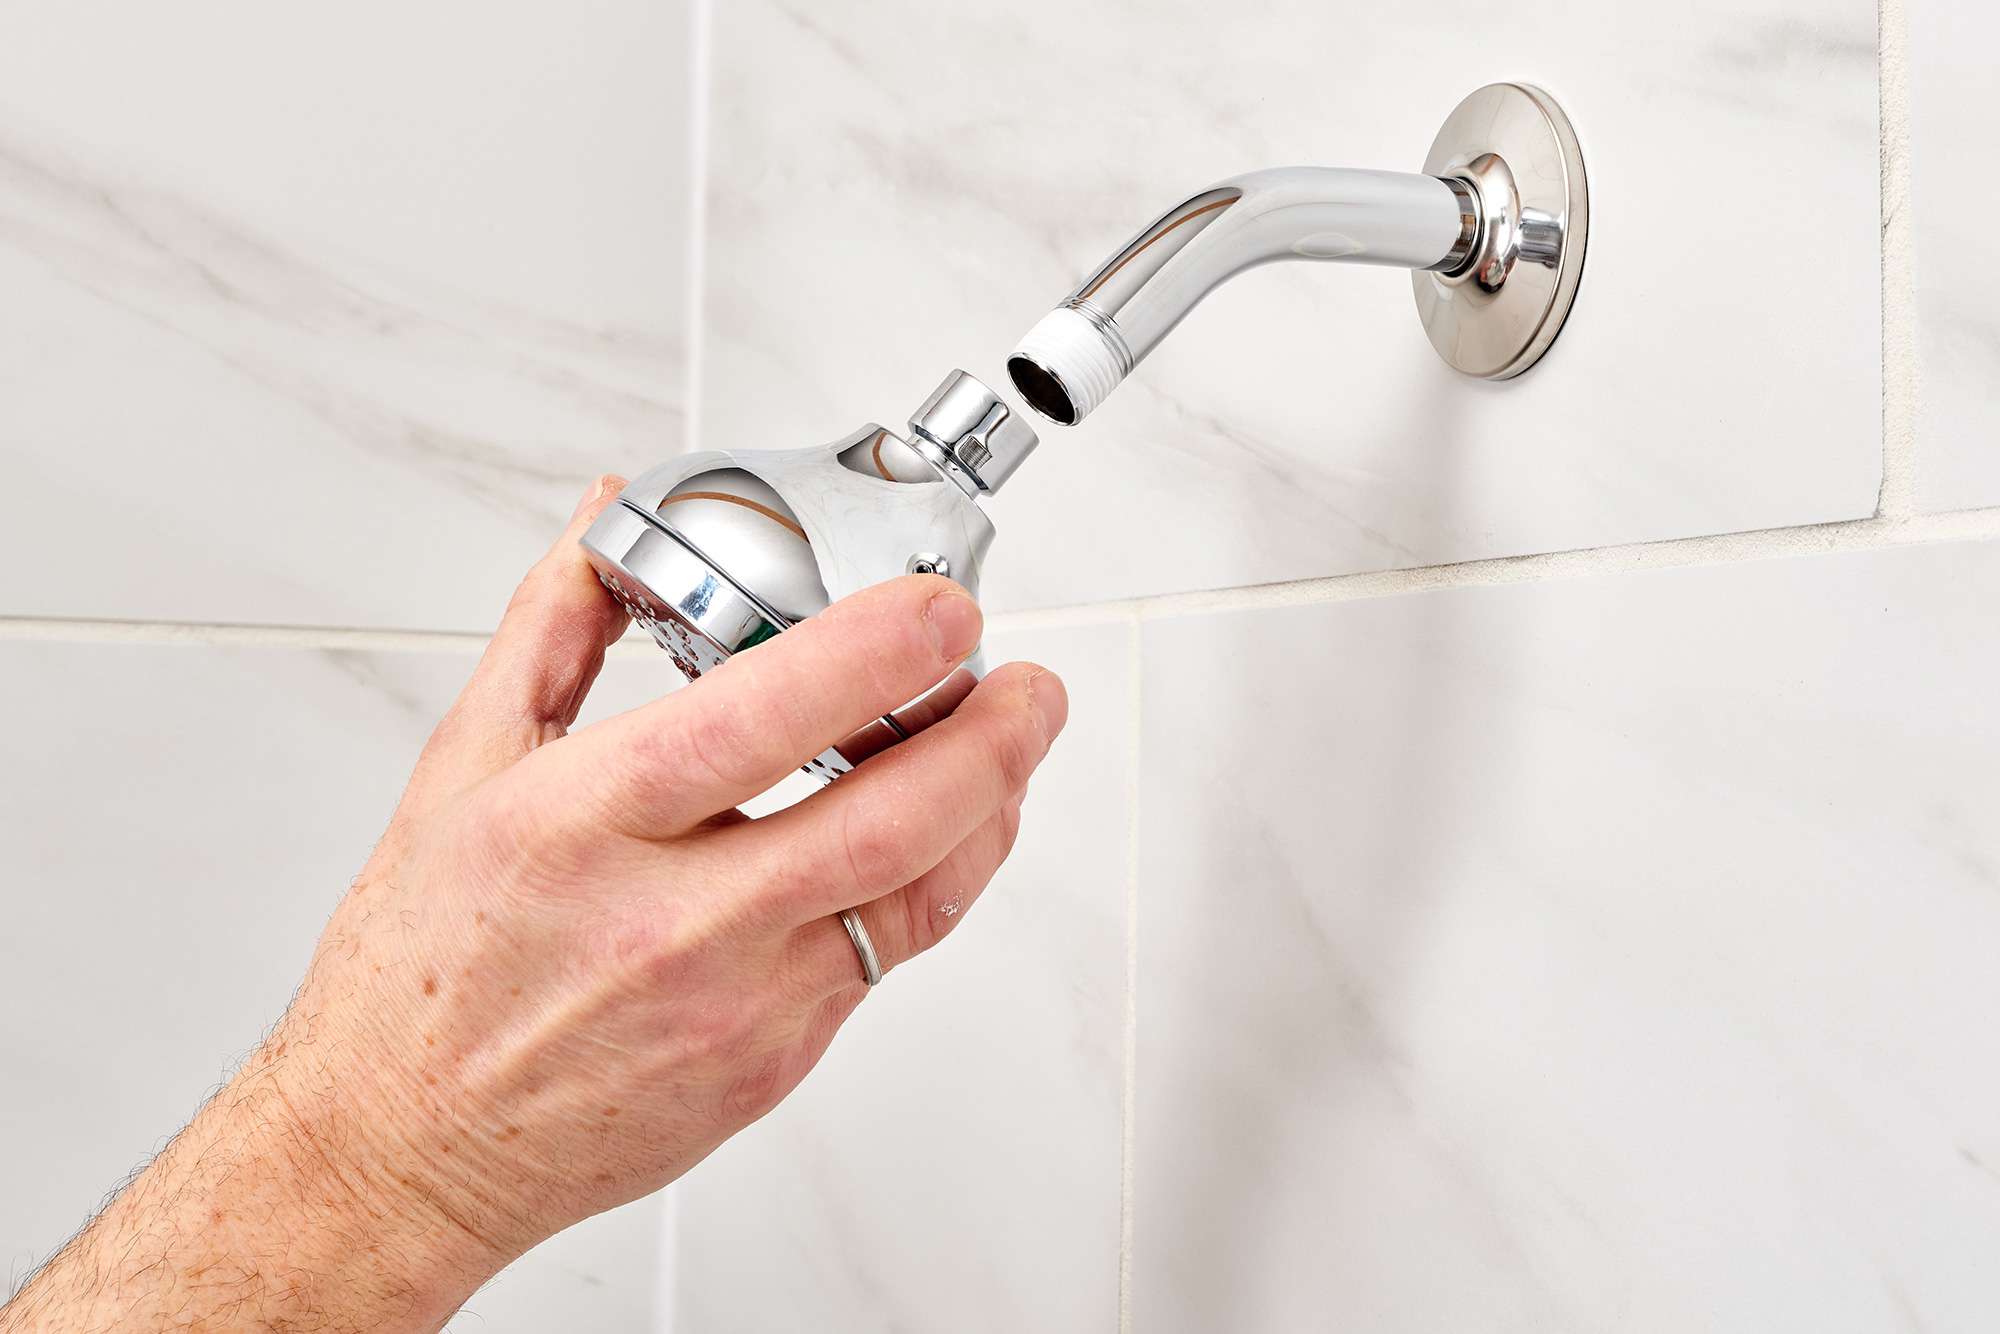
- Locate the flow restrictor: Look for the area where the showerhead connects to the shower arm. This is where you’ll find the flow restrictor. It often appears as a small plastic or rubber piece with tiny holes or slots.
- Remove the showerhead: Use an adjustable wrench to grip the showerhead securely. Turn it counterclockwise to loosen and unscrew it from the shower arm. Be careful not to apply too much force, as this could damage the showerhead or the plumbing.
- Inspect the flow restrictor: Once the showerhead is removed, take a close look at the flow restrictor. It will likely be located at the base of the showerhead, where the water enters. Examine how it is secured and determine the best method for removal.
- Remove the flow restrictor: Depending on the design of your showerhead, you may be able to simply pry out the flow restrictor with your fingers or use a small screwdriver for leverage. Apply gentle pressure and twist or wiggle the restrictor until it loosens and comes out.
- Clean the showerhead: Once the flow restrictor is removed, take the opportunity to clean any debris or buildup from the showerhead. Rinse it thoroughly to ensure clear water flow.
- Reassemble the showerhead: Apply plumber’s tape to the threaded end of the shower arm. This will create a watertight seal when you reattach the showerhead. Screw the showerhead back onto the shower arm, using your fingers to tighten it initially and then using the adjustable wrench to ensure a snug fit. Be careful not to overtighten and damage the threads.
- Turn on the water supply: Finally, turn on the water supply to the showerhead and test the water flow. You should notice a difference without the flow restrictor in place, with a stronger and more satisfying stream of water.
Following these steps will help you successfully remove the flow restrictor from your Speakman showerhead. Enjoy your revitalized shower experience with increased water pressure!
Additional Tips and Precautions
While removing the flow restrictor from your Speakman showerhead is a relatively straightforward process, there are a few additional tips and precautions to keep in mind:
- Check local regulations: Before you proceed with removing the flow restrictor, it’s important to check your local regulations regarding water usage. Some areas have strict water conservation policies, and removing the flow restrictor may not be allowed or may result in penalties.
- Inspect the flow restrictor carefully: Take a close look at the flow restrictor before removing it to ensure that it is indeed causing the low water pressure. Sometimes, the issue may be with the showerhead itself or other factors, such as mineral buildup. It’s important to accurately identify the cause of the problem before proceeding.
- Save the flow restrictor: If you remove the flow restrictor but later decide you prefer a lower water flow, it can be helpful to save the restrictor for future use. Keep it in a safe place so you can easily reinstall it if desired.
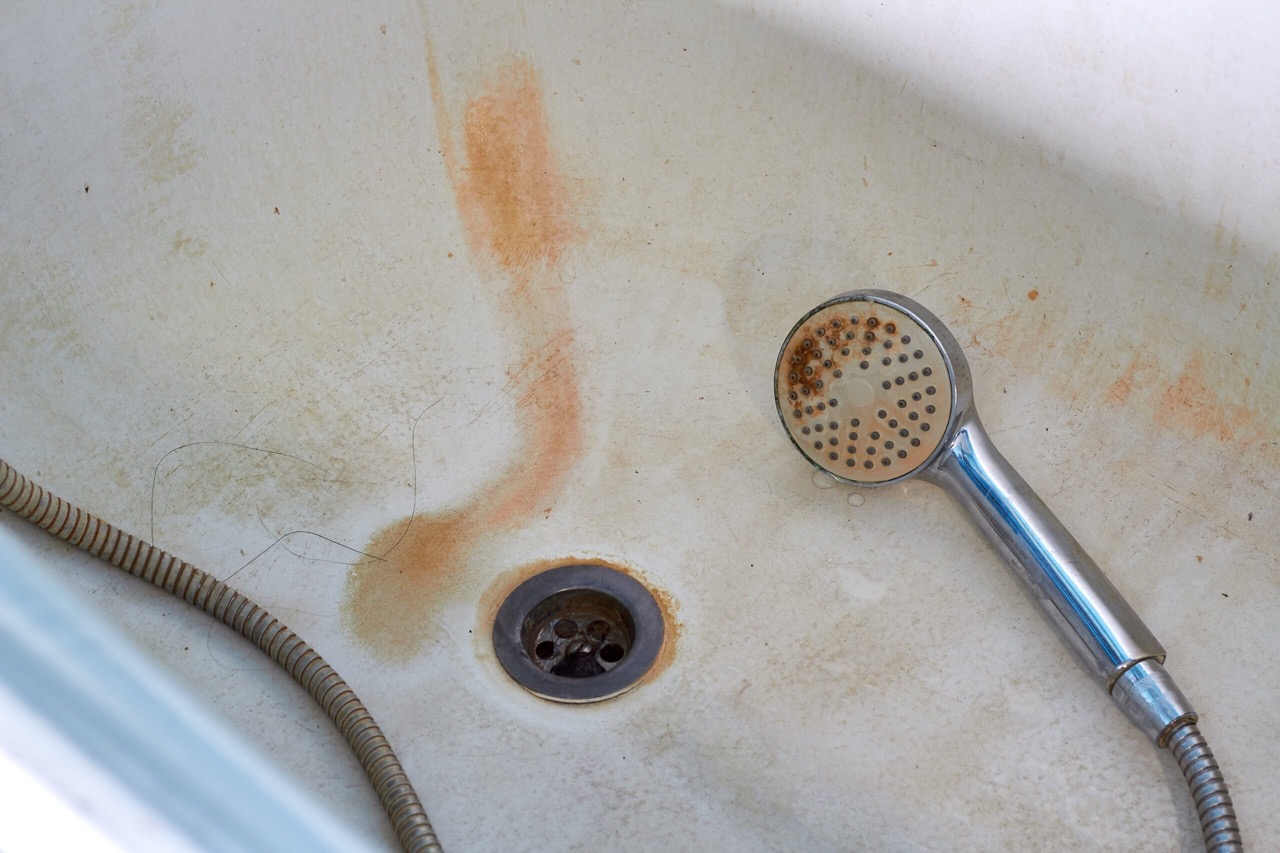
- Regularly clean your showerhead: Even without the flow restrictor, it’s essential to clean your showerhead regularly to prevent mineral buildup and maintain optimal performance. Use a mild cleaner or vinegar solution to remove any debris or lime scale.
- Be careful with overtightening: When reassembling the showerhead, make sure not to overtighten it. Over-tightening can lead to damage to the showerhead or the plumbing, causing leaks or other issues.
By following these additional tips and precautions, you can ensure a safe and successful removal of the flow restrictor from your Speakman showerhead. Always prioritize water conservation and comply with local regulations to maintain an eco-friendly approach while improving your shower experience.
Now that you have completed the process, you can enjoy a revitalized shower with a stronger water flow. Kick back, relax, and revel in the invigorating sensation of a powerful shower!
Conclusion
Removing the flow restrictor from your Speakman showerhead can be a simple yet effective way to enhance your shower experience by increasing water flow and pressure. While the flow restrictor serves the important purpose of water conservation, some individuals prefer a stronger water stream for a more invigorating shower.
In this article, we have provided you with a step-by-step guide to removing the flow restrictor from your Speakman showerhead. By following these instructions and using the necessary tools, you can successfully eliminate the flow restrictor and restore a more satisfying water flow.
However, it’s important to be mindful of local regulations and water conservation efforts. Before proceeding with the removal process, make sure to check your local regulations and guidelines regarding water usage. In areas where water scarcity is a concern, removing the flow restrictor may not be allowed or may result in penalties.
Additionally, remember to inspect the flow restrictor carefully to ensure that it is indeed the cause of low water pressure. Sometimes, other factors such as showerhead clogs or mineral buildup can contribute to reduced water flow. It’s important to accurately identify the root cause of the issue before proceeding with the removal.
Lastly, regularly clean and maintain your showerhead to prevent mineral buildup and ensure optimal performance. By adopting good maintenance practices, you can prolong the lifespan of your showerhead and continue to enjoy a satisfying shower experience even without the flow restrictor.
With the knowledge and guidance provided in this article, you are now equipped to remove the flow restrictor from your Speakman showerhead and customize your shower experience to suit your preferences. Just remember to balance your desire for a stronger water flow with the importance of water conservation in your daily routine.
So go ahead, put these steps into action, remove the flow restrictor, and savor a revitalizing shower experience!
Frequently Asked Questions about How To Remove The Flow Restrictor In A Speakman Showerhead
Was this page helpful?
At Storables.com, we guarantee accurate and reliable information. Our content, validated by Expert Board Contributors, is crafted following stringent Editorial Policies. We're committed to providing you with well-researched, expert-backed insights for all your informational needs.


0 thoughts on “How To Remove The Flow Restrictor In A Speakman Showerhead”