Home>Articles>How To Remove Water Saver From A Price Pfister’s Showerhead

Articles
How To Remove Water Saver From A Price Pfister’s Showerhead
Modified: August 26, 2024
Looking for articles on how to remove a water saver showerhead? Find the price, Fisher brand options, and step-by-step guides in this comprehensive guide.
(Many of the links in this article redirect to a specific reviewed product. Your purchase of these products through affiliate links helps to generate commission for Storables.com, at no extra cost. Learn more)
Introduction
Are you tired of low water pressure in your shower? Do you want to enjoy a more invigorating shower experience? If so, removing the water saver from your showerhead might be the solution you’re looking for. Many modern showerheads come with built-in water-saving features, such as flow restrictors or low-flow showerheads. While these features are intended to conserve water, they can sometimes result in a less satisfying shower experience.
In this article, we will guide you through the process of removing the water saver from your showerhead, allowing you to enjoy a fuller and more luxurious shower. By following these simple steps, you can enhance your shower experience without having to purchase a new showerhead.
Before we proceed, it’s important to note that removing the water saver from your showerhead may affect your water usage and could potentially violate local water conservation regulations. It’s always a good idea to check your local laws and regulations regarding water usage before making any modifications to your plumbing fixtures.
Now, let’s get started with the step-by-step guide on how to remove the water saver from your showerhead.
Key Takeaways:
- Enjoy a more invigorating shower experience by removing the water saver from your showerhead. Follow the simple steps to enhance water flow and create a luxurious showering experience.
- Remember to check local water regulations before removing the water saver. Enjoy the revitalized shower experience while practicing responsible water usage.
Read more: How To Remove Mold From Showerhead
Step 1: Gather the necessary tools
Before you begin the process of removing the water saver from your showerhead, it’s important to gather all the necessary tools. Having the right tools on hand will make the process much easier and more efficient. Here’s what you’ll need:
- Adjustable wrench or pliers
- Pipe tape or plumber’s tape
- Cloth or towel
- Bowl or container
An adjustable wrench or pliers will allow you to disconnect the showerhead from the shower arm. Choose a wrench or pliers that are the appropriate size for your showerhead, ensuring a secure grip without damaging the fixture.
Pipe tape or plumber’s tape is used to create a watertight seal when reassembling the showerhead. This tape is applied to the threads of the shower arm to prevent leaks and ensure a smooth connection.
A cloth or towel will come in handy to protect the showerhead and shower arm from scratches or damage during the removal process. It’s always a good idea to wrap the cloth or towel around the showerhead before using the wrench or pliers.
Lastly, you’ll need a bowl or container to catch any water that may spill out during the removal process. This will help prevent water from splashing all over your bathroom floor.
Once you have gathered all the necessary tools, you’re ready to move on to the next step: turning off the water supply.
Step 2: Turn off the water supply
Before you begin working on your showerhead, it’s essential to turn off the water supply to avoid any potential water damage or leaks. Here’s how you can do it:
- Locate the water shut-off valve for your shower. This is usually located near the shower or in the basement.
- Turn the valve clockwise to shut off the water supply. Ensure that the valve is fully closed to prevent any water from flowing.
- Once the water supply is turned off, turn on your shower faucet to release any remaining water pressure. This step will help reduce the risk of any water spraying out when you remove the showerhead.
By turning off the water supply and releasing any remaining water pressure, you can proceed with the next step of removing the showerhead without any risk of water leakage or mess.
Now that the water supply is turned off, it’s time to move on to step 3: removing the showerhead.
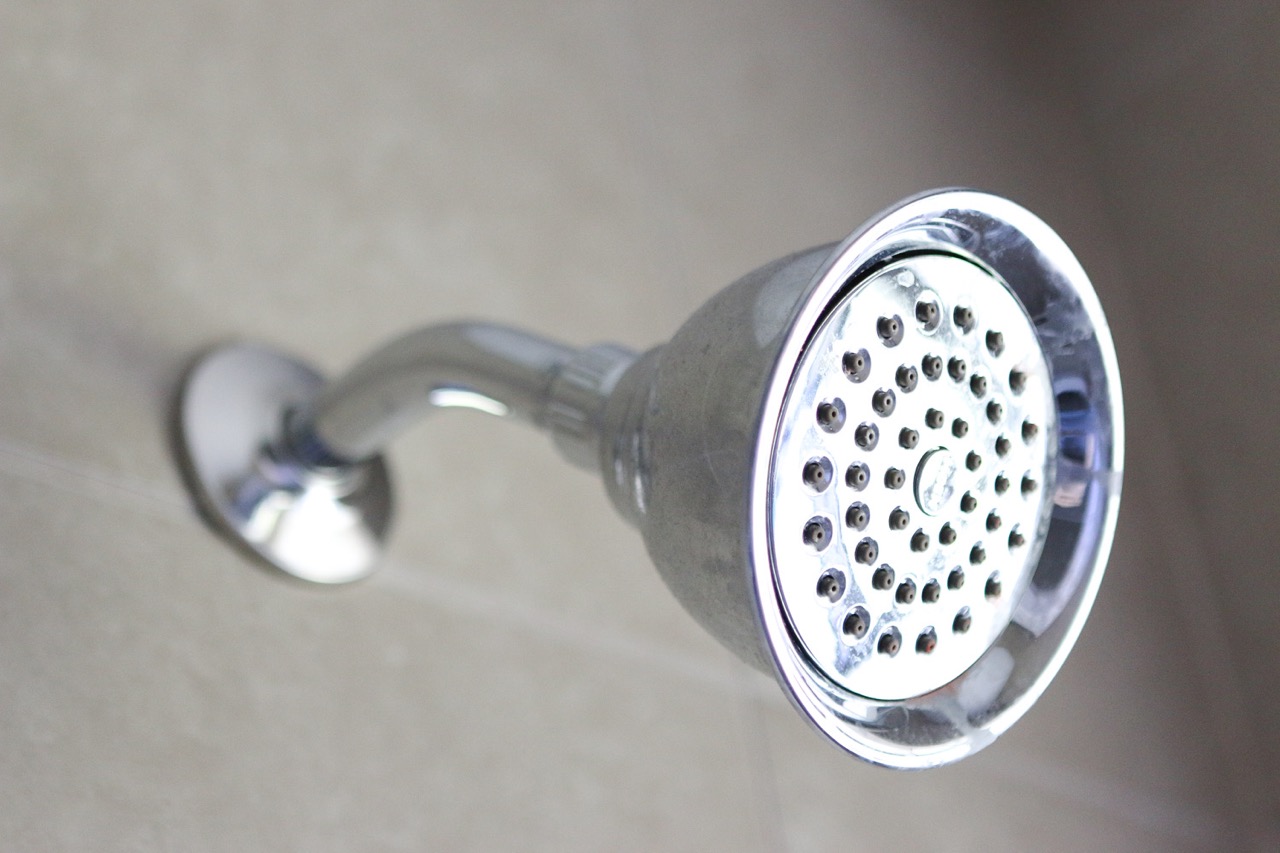
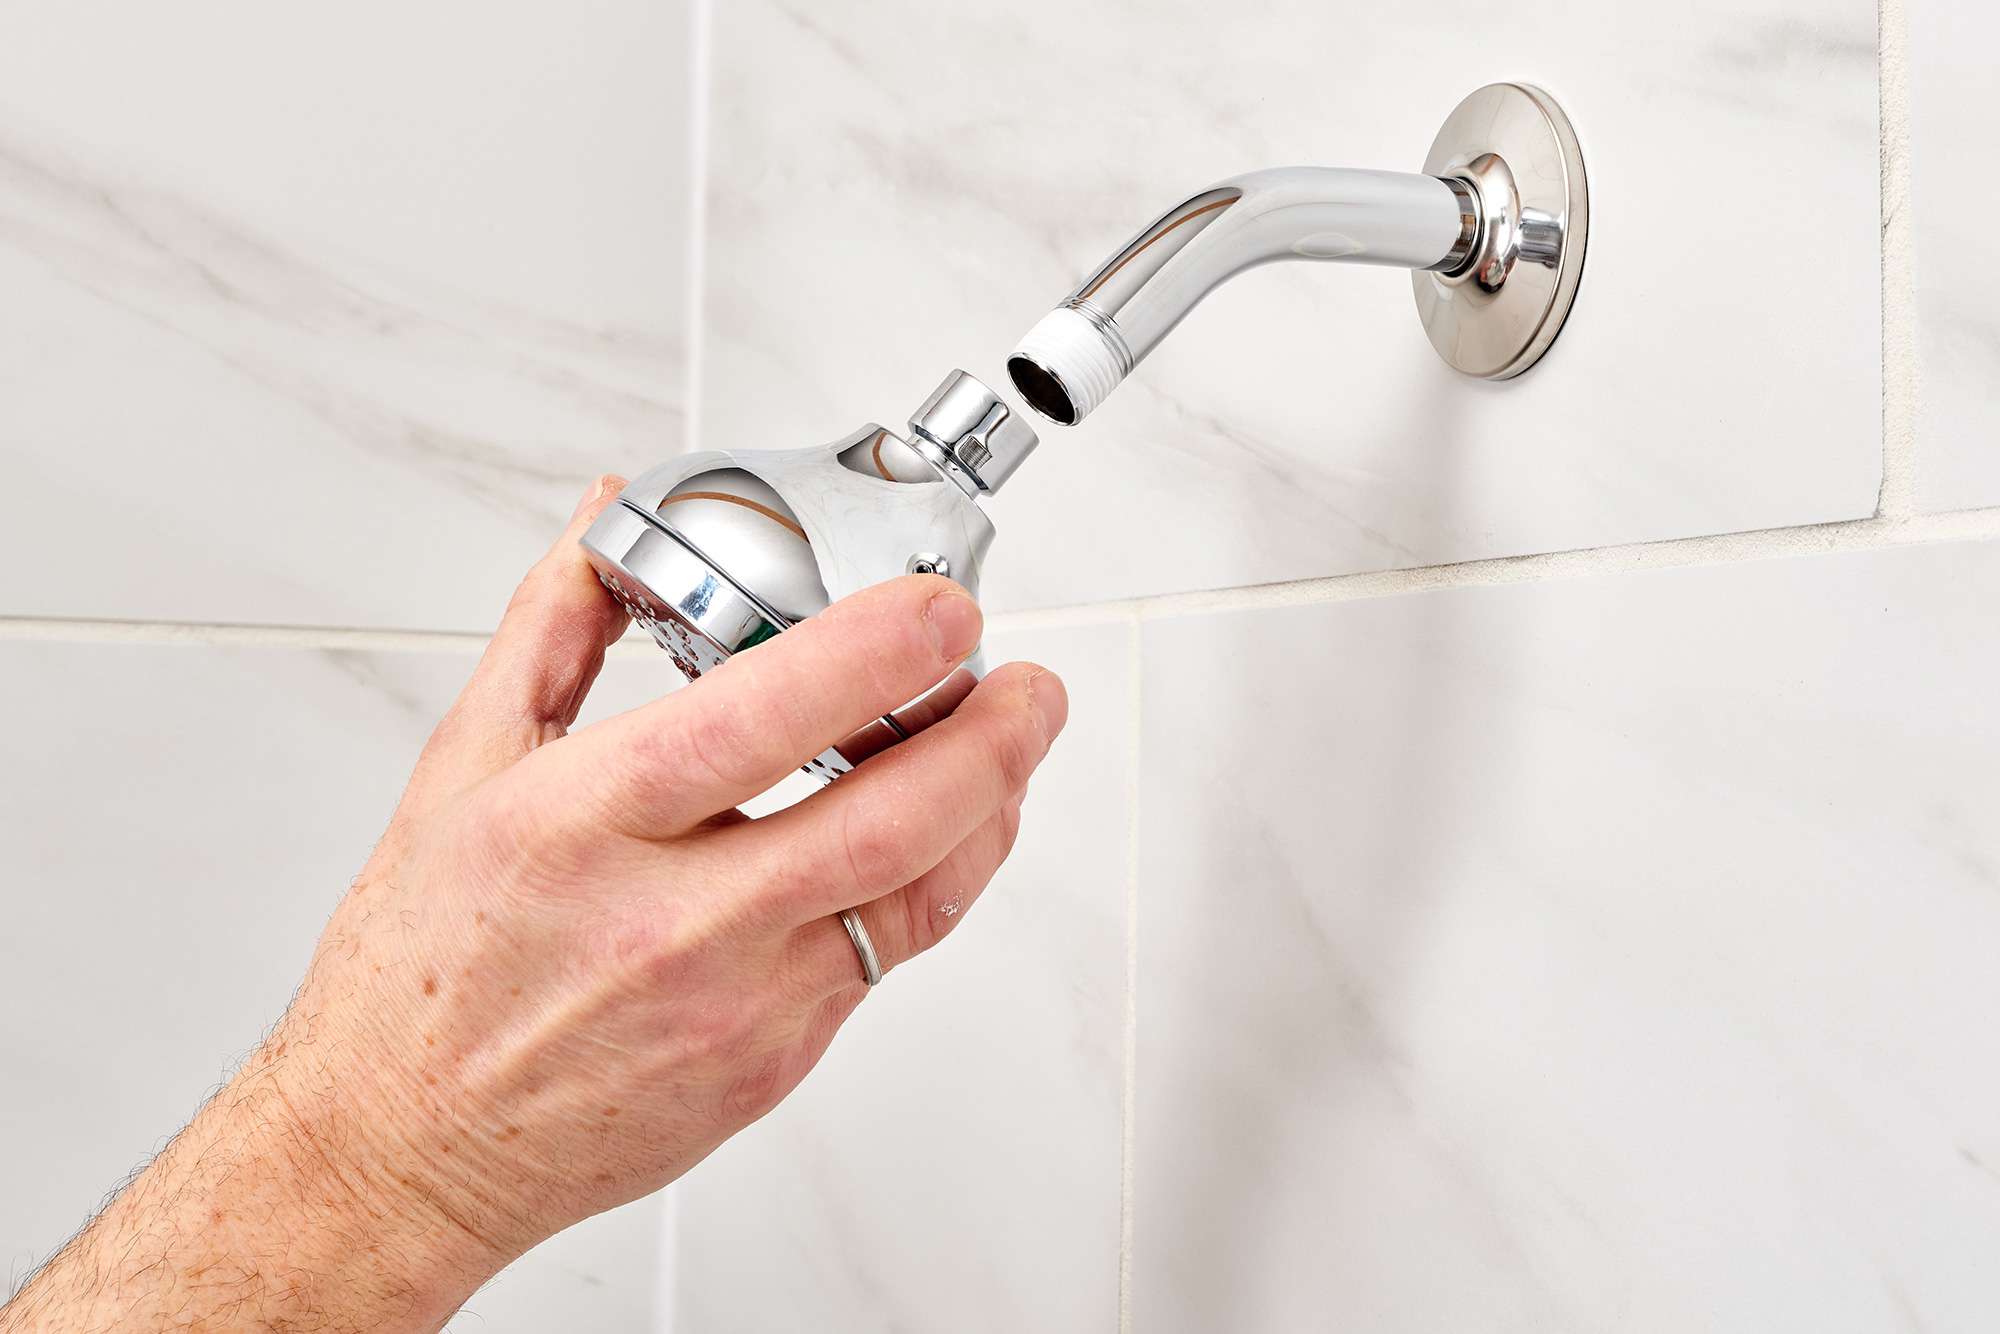
Step 3: Remove the showerhead
With the water supply turned off, it’s time to remove the showerhead from the shower arm. Follow these steps to safely remove the showerhead:
- Wrap a cloth or towel around the showerhead to protect it from scratches or damage.
- Using an adjustable wrench or pliers, grip the showerhead firmly and turn it counterclockwise to unscrew it from the shower arm. Apply gentle pressure and avoid using excessive force to prevent damaging the showerhead or shower arm.
- If the showerhead is stubborn and doesn’t unscrew easily, you can try using a lubricant, such as WD-40, to loosen it. Spray the lubricant onto the connection point and allow it to penetrate for a few minutes. Then, using the wrench or pliers, try unscrewing the showerhead again.
- Continue unscrewing the showerhead until it is completely detached from the shower arm.
Once you have successfully removed the showerhead, set it aside in a safe place where it won’t get damaged or lost. Now that the showerhead is removed, we can move on to the next step: cleaning the showerhead.
Step 4: Clean the showerhead
After removing the showerhead, it’s important to clean it thoroughly to remove any dirt, debris, or mineral buildup that may have accumulated over time. Cleaning the showerhead will not only improve its performance but also ensure a hygienic showering experience. Follow these steps to clean the showerhead:
- Inspect the showerhead for any visible dirt or clogs. If you notice any significant buildup or blockage, you can use a toothbrush or small brush to gently scrub the surface of the showerhead and dislodge any debris.
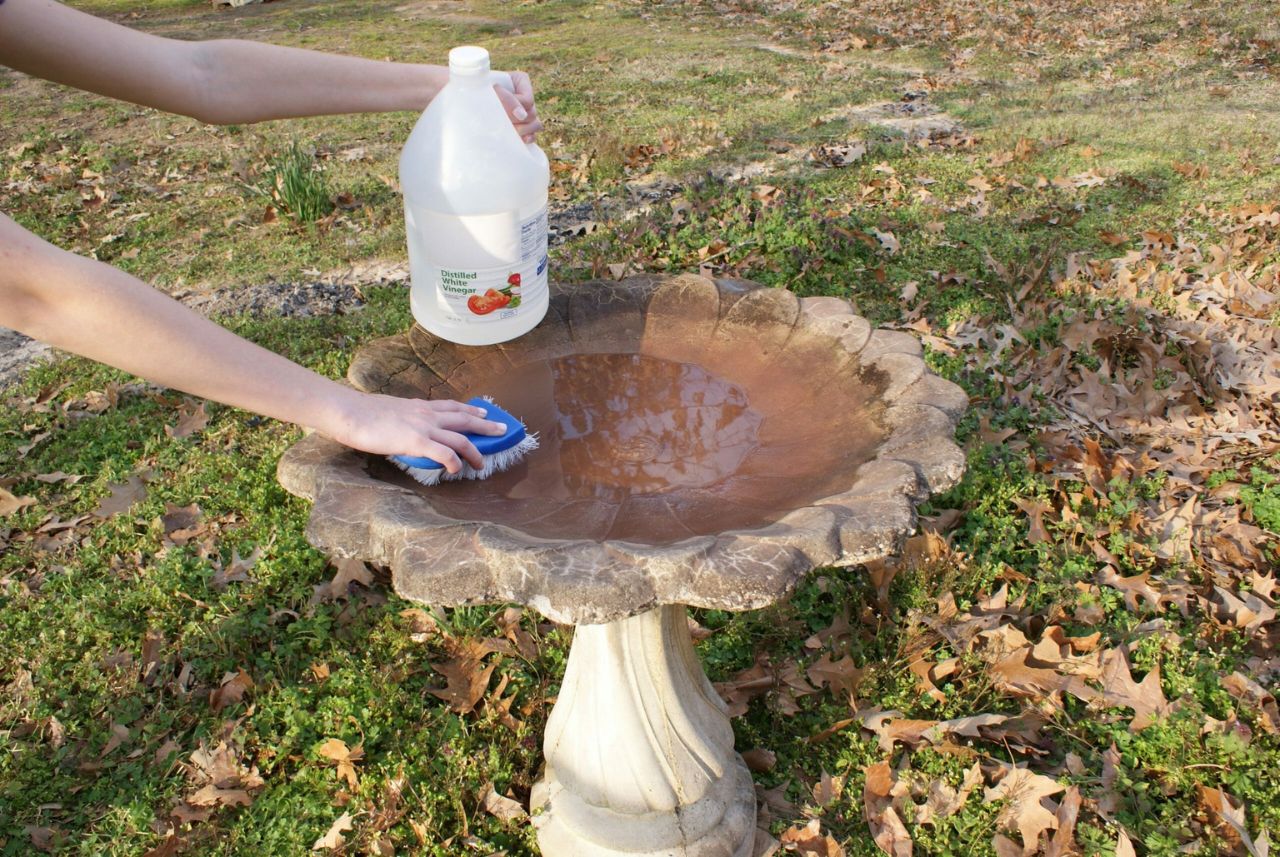
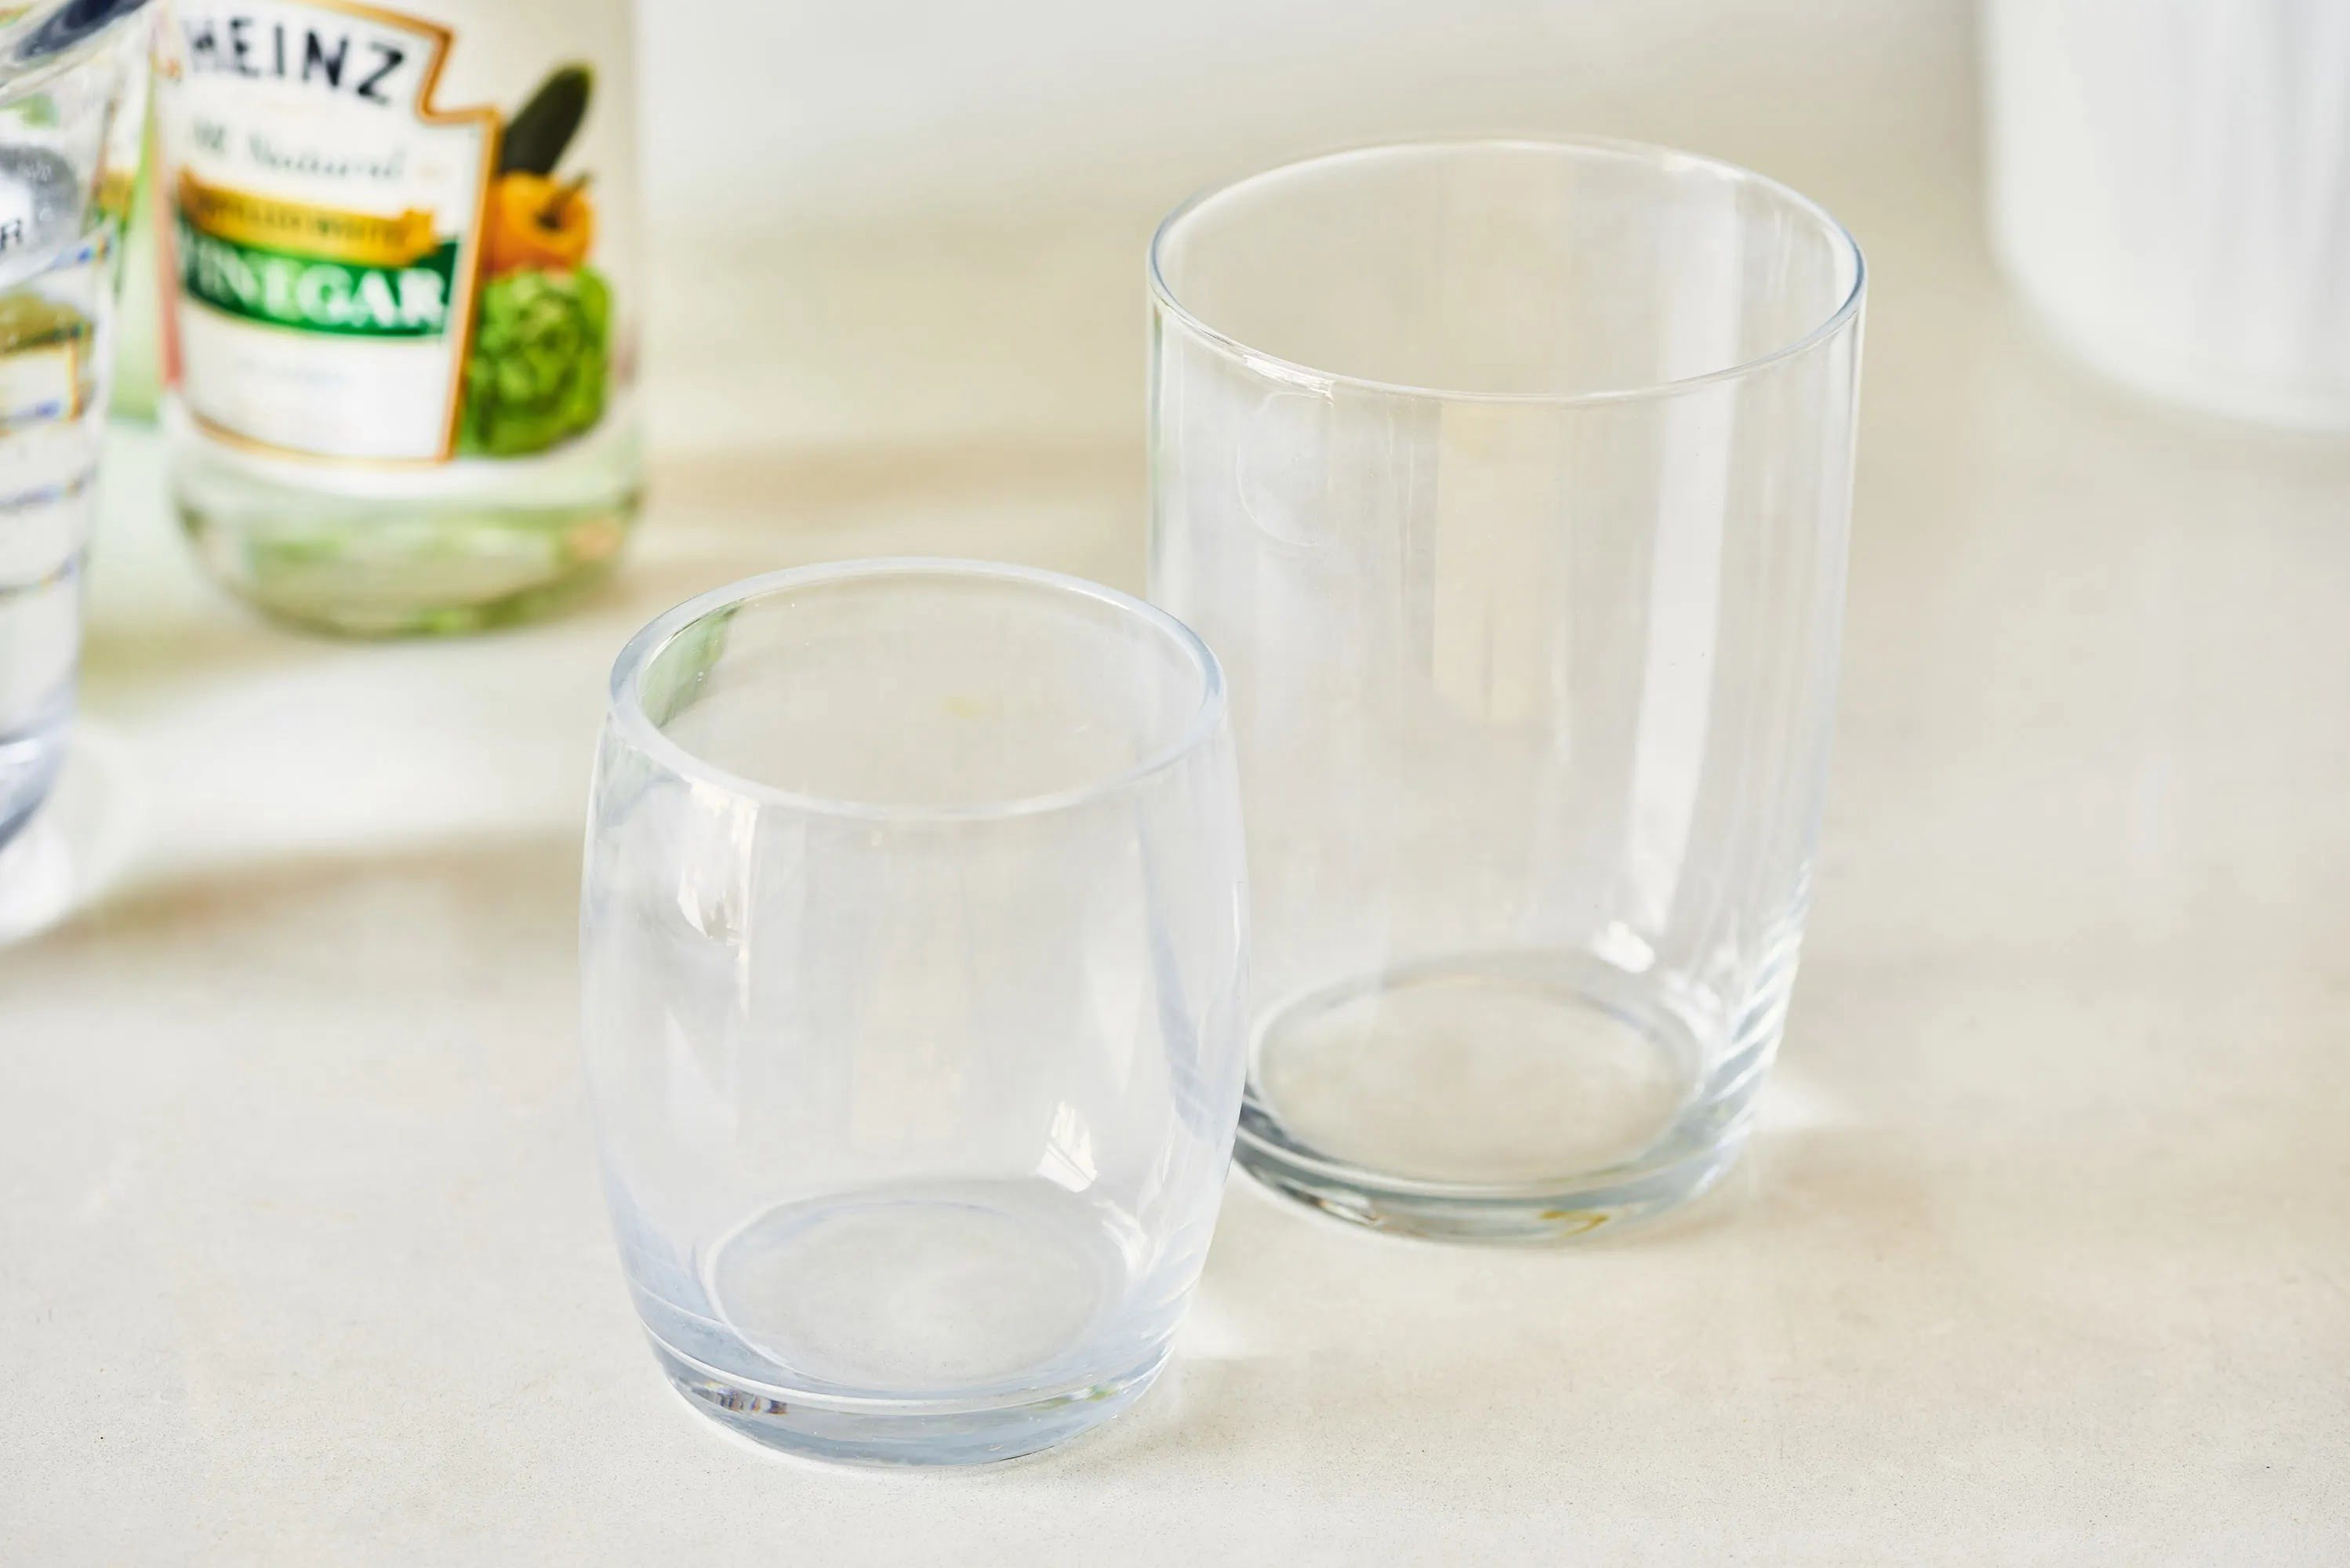
- For stubborn mineral deposits or limescale buildup, you can soak the showerhead in a solution of vinegar and water. Fill a bowl or container with equal parts vinegar and water, and submerge the showerhead in the solution. Let it soak for about 30 minutes to an hour, depending on the severity of the buildup.
- After soaking, use a toothbrush or small brush to gently scrub the showerhead and remove any loosened deposits. Pay attention to the nozzles and circulation holes to ensure they are free from any clogs.
- Rinse the showerhead thoroughly with clean water to remove any vinegar residue or loosened debris.
- Inspect the showerhead once again to ensure it is clean and free from any blockages. If necessary, repeat the cleaning process until the showerhead is completely clean.
Once you have cleaned the showerhead to your satisfaction, it’s time to move on to step 5: removing the water saver disc.
To remove a water saver showerhead, use a wrench to loosen and remove the showerhead from the pipe. Be sure to wrap the shower arm with a cloth to protect the finish. If the showerhead is stuck, use a pair of pliers to help loosen it.
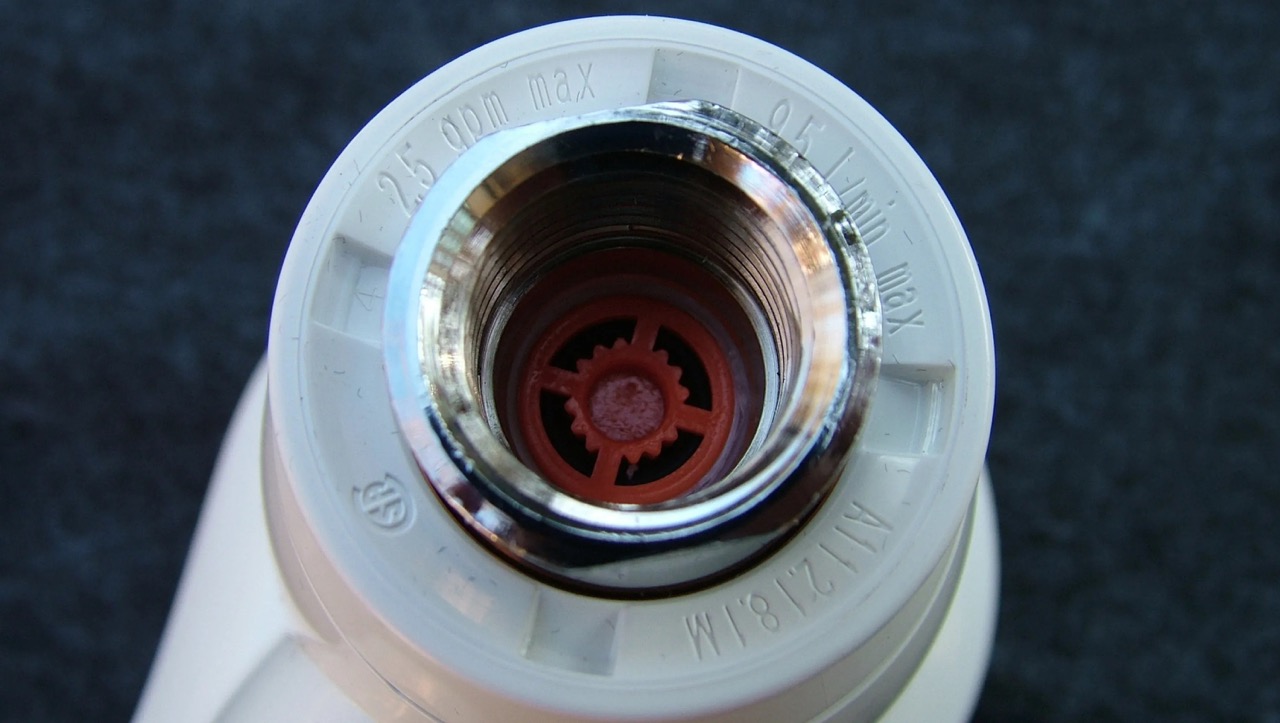
Step 5: Remove the water saver disc
Now that the showerhead is clean, it’s time to focus on removing the water saver disc. The water saver disc is a small component inside the showerhead that restricts the flow of water, reducing water usage. Removing this disc will allow for a higher water flow and a more satisfying shower experience. Here’s how to remove the water saver disc:
- Inspect the interior of the showerhead and locate the water saver disc. It is usually a small plastic or rubber piece that is inserted into the showerhead.
- Using a small screwdriver or a pair of tweezers, gently pry or pull out the water saver disc from its position. Be careful not to damage or break the disc during the removal process.
- Once the water saver disc is removed, inspect it to ensure it is intact and undamaged. You can choose to discard the water saver disc or keep it for future use if desired.
By removing the water saver disc, you are allowing for a higher water flow through the showerhead, resulting in a more powerful and enjoyable showering experience. With the disc removed, we can now move on to step 6: reassembling the showerhead.
Step 6: Reassemble the showerhead
With the water saver disc removed, it’s time to reassemble the showerhead. Follow these steps to securely reattach the showerhead to the shower arm:
- Take a piece of pipe tape or plumber’s tape and wrap it clockwise around the threads of the shower arm. This will create a watertight seal and prevent any leaks.
- Hold the showerhead against the shower arm and screw it clockwise until it is snug and tightly secured. Use an adjustable wrench or pliers if necessary, but be careful not to overtighten and damage the showerhead or the shower arm.
- Once the showerhead is securely attached, use a cloth or towel to wipe away any excess pipe tape or plumber’s tape.
Ensure that the showerhead is properly aligned and facing the desired direction. This will ensure an optimal showering experience and prevent any water leakage or spray in unwanted directions.
Now that the showerhead is reassembled, it’s time to move on to the final step: testing the showerhead.
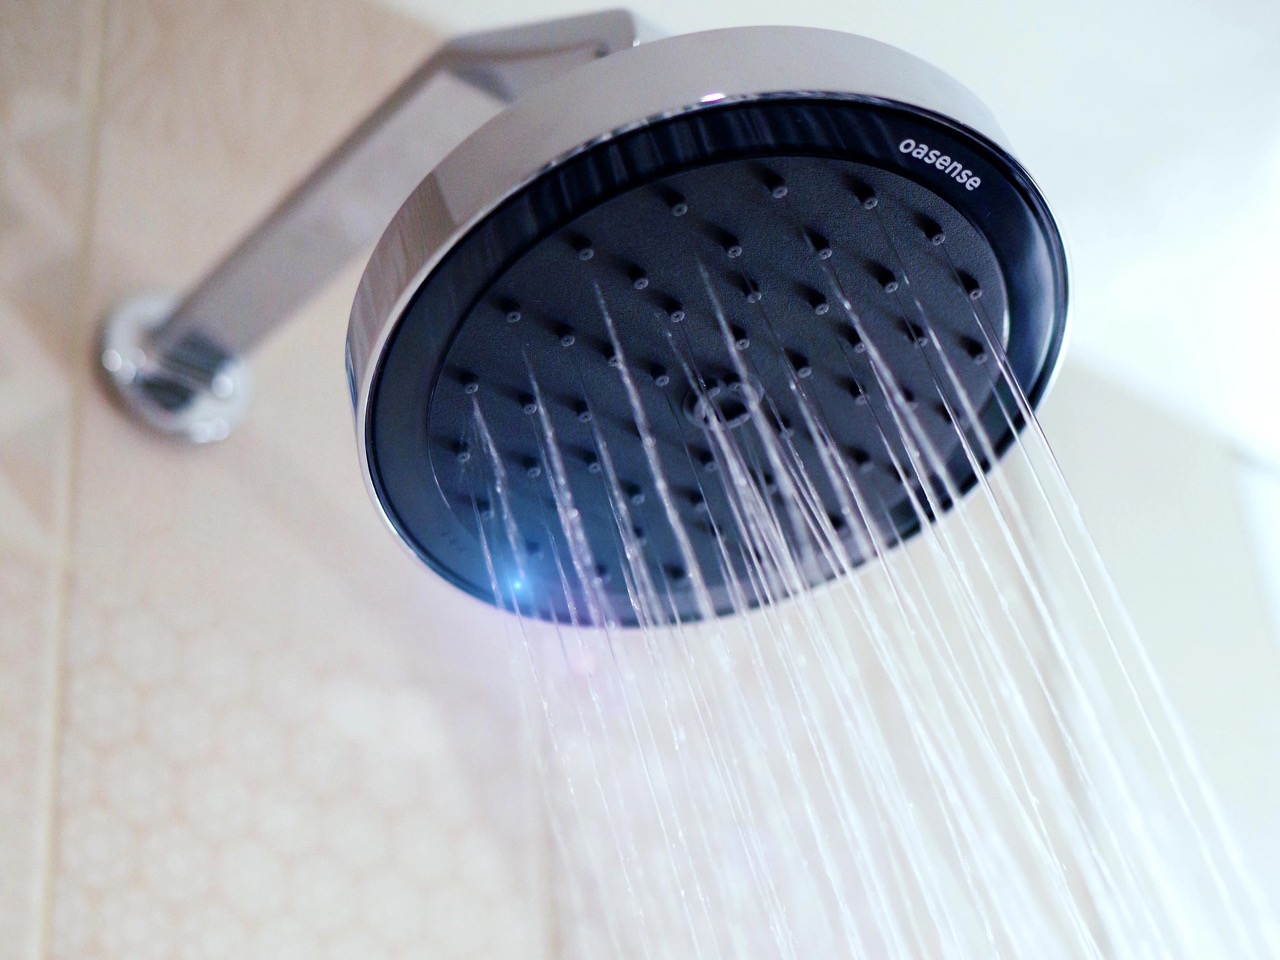
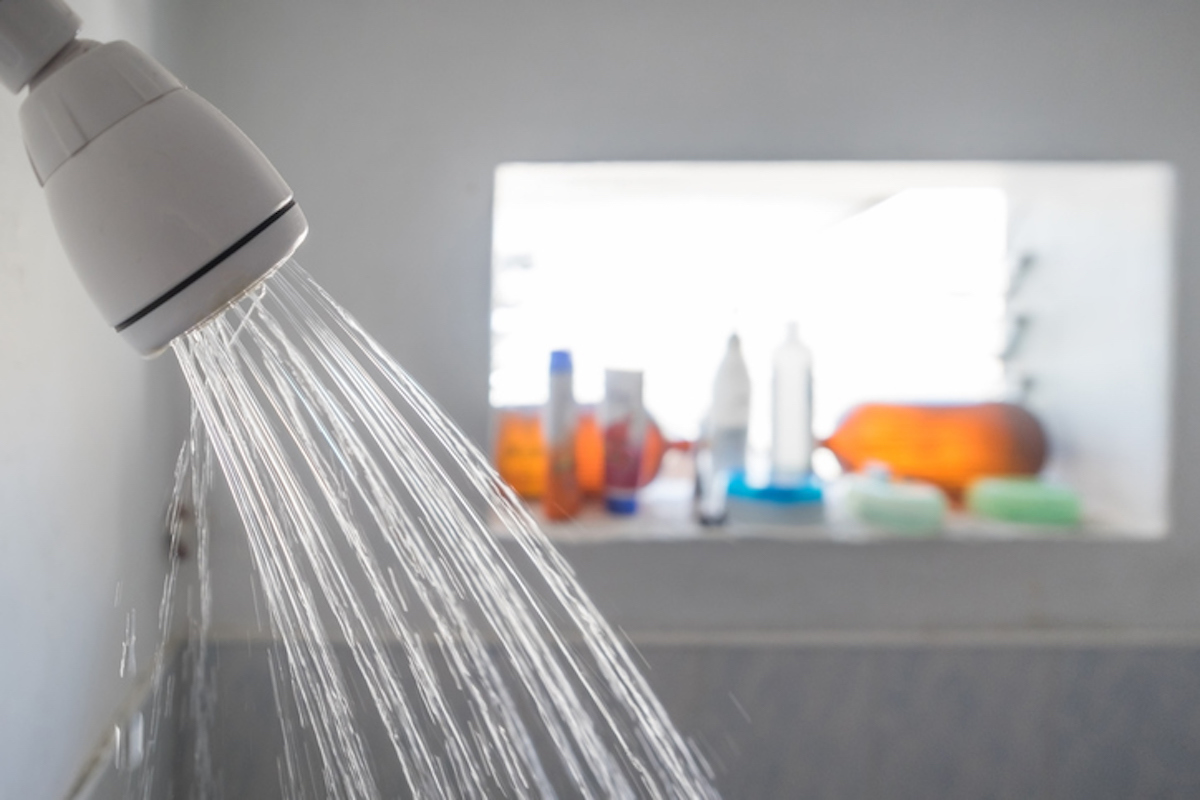
Step 7: Test the showerhead
Now that you have successfully reassembled the showerhead, it’s time to test it and ensure that everything is working as expected. Follow these steps to test the showerhead:
- Turn on the water supply by gently turning the water shut-off valve counterclockwise.
- Turn on the shower faucet and let the water flow through the showerhead.
- Observe the water flow and check if it feels stronger and more invigorating compared to before. Without the water saver disc, you should experience a higher water flow and a more satisfying shower experience.
- Check for any leaks or drips around the connection point between the showerhead and the shower arm. If you notice any leaks, use an adjustable wrench or pliers to tighten the showerhead further.
If everything is working properly and there are no leaks, congratulations! You have successfully removed the water saver from your showerhead and improved your shower experience.
Keep in mind that removing the water saver from your showerhead may increase your water usage. Be mindful of your water consumption and always follow local water usage regulations to ensure responsible water usage.
Now that you have completed all the steps, you can enjoy a fuller and more luxurious shower. Sit back, relax, and enjoy the revitalizing experience of your newly modified showerhead!
With these simple steps, you have learned how to remove the water saver from your showerhead, enhance your water flow, and create a more enjoyable shower experience. Remember to periodically clean your showerhead to maintain its performance and prevent any future mineral buildup.
Thank you for reading, and happy showering!
Conclusion
Removing the water saver from your showerhead can greatly enhance your showering experience, providing you with a more invigorating and satisfying shower. By following the steps outlined in this guide, you have learned how to remove the water saver disc from your showerhead and improve the water flow.
Remember, before making any modifications to your showerhead, it is essential to check your local laws and regulations regarding water usage. While removing the water saver can enhance your shower experience, it may also increase your water consumption. Practicing responsible water usage is crucial to conserve this valuable resource.
Throughout this guide, we have covered the step-by-step process of removing the water saver disc, cleaning the showerhead, and reassembling the showerhead. We have also emphasized the importance of testing for leaks and maintaining responsible water usage.
Now that you have successfully removed the water saver from your showerhead, it’s time to enjoy the improved water flow and the luxurious shower experience. Feel the rejuvenating water cascading over you and savor the revitalizing sensation.
Remember to periodically clean your showerhead to prevent mineral buildup and ensure optimal performance. By taking proper care of your showerhead, you can continue to enjoy the enhanced water flow for years to come.
We hope this guide has been helpful in assisting you with removing the water saver from your showerhead. Enjoy your revitalized shower experience and embrace the refreshing moments that each shower brings.
Thank you for reading, and happy showering!
Frequently Asked Questions about How To Remove Water Saver From A Price Pfister's Showerhead
Was this page helpful?
At Storables.com, we guarantee accurate and reliable information. Our content, validated by Expert Board Contributors, is crafted following stringent Editorial Policies. We're committed to providing you with well-researched, expert-backed insights for all your informational needs.


0 thoughts on “How To Remove Water Saver From A Price Pfister’s Showerhead”