Home>Articles>How To Remove Flow Restrictor From Bathroom Faucet
Articles
How To Remove Flow Restrictor From Bathroom Faucet
Modified: October 18, 2024
Learn how to remove the flow restrictor from your bathroom faucet with these helpful articles. Improve water flow and enhance your faucet experience.
(Many of the links in this article redirect to a specific reviewed product. Your purchase of these products through affiliate links helps to generate commission for Storables.com, at no extra cost. Learn more)
Introduction
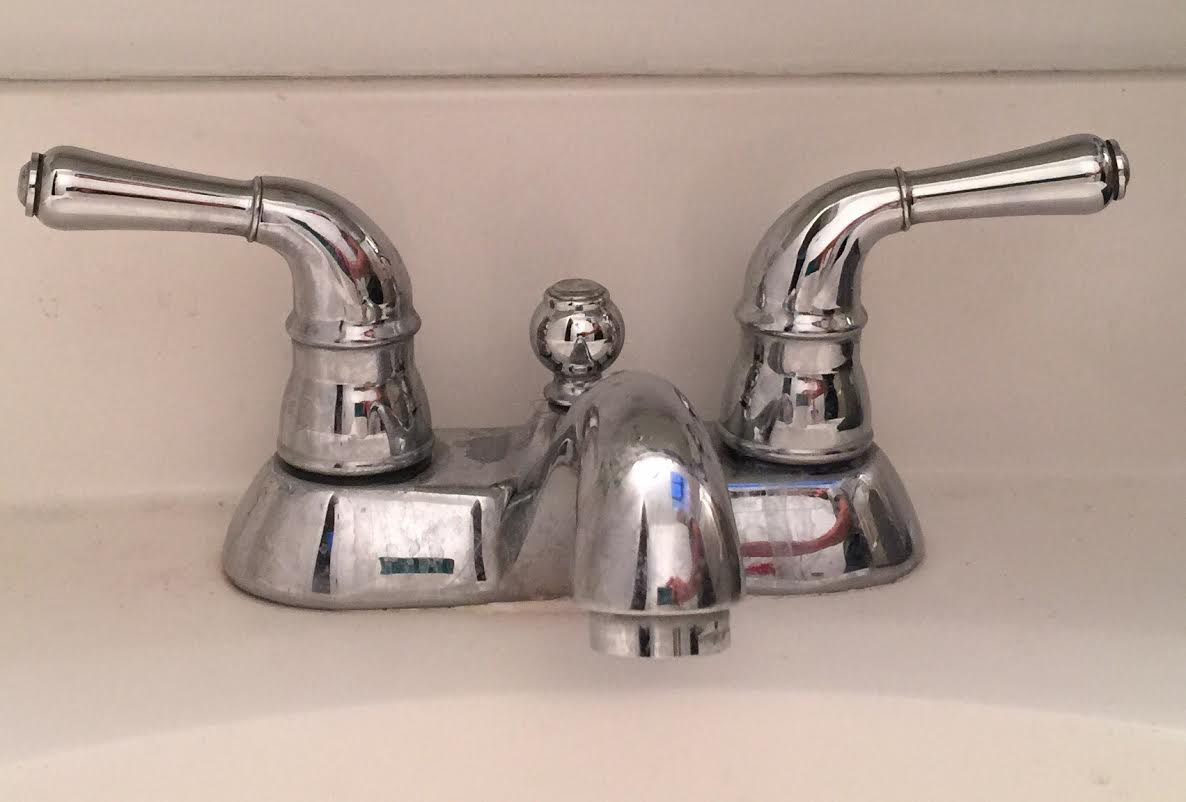
Having a steady and efficient water flow in your bathroom faucet is essential for a smooth and comfortable experience. However, sometimes you may feel that the water pressure is lacking or inadequate. One possible reason for this could be the presence of a flow restrictor in the faucet. Flow restrictors are small devices installed in faucets to limit the amount of water that can flow through, thereby conserving water and saving on utility bills. While this is an environmentally friendly feature, it may not always be ideal for everyone’s needs.
Fortunately, removing the flow restrictor from a bathroom faucet is a relatively simple process that can potentially restore the water pressure to its original level. In this article, we will guide you through the step-by-step process of removing the flow restrictor from your bathroom faucet, ensuring a satisfying water flow without compromising on efficiency.
Key Takeaways:
- Enhance water pressure and customize flow by removing the flow restrictor from your bathroom faucet. Enjoy improved functionality and a more satisfying water flow for everyday tasks.
- Carefully follow the step-by-step instructions to safely remove the flow restrictor and optimize your bathroom fixtures. Experiment with different water flow rates for the perfect balance.
What is a flow restrictor?
A flow restrictor, also known as a water regulator, is a small device installed inside faucets and showerheads to control the flow of water. Its primary purpose is to limit the volume and speed of water flow, thereby conserving water and reducing water consumption. Flow restrictors are typically made of rubber or plastic and are designed to restrict the flow of water by reducing the size of the water opening.
Flow restrictors are commonly used in bathroom faucets and showerheads to meet water efficiency regulations and promote water conservation. These regulations aim to reduce water wastage and encourage responsible water usage. By limiting the amount of water flowing through your faucet, flow restrictors help to save water, lower utility bills, and minimize the environmental impact by conserving this precious resource.
The flow restrictor is usually located at the end of the faucet spout or inside the showerhead, where water passes through before reaching the user. It is designed to restrict the water flow to a certain maximum flow rate, typically measured in gallons per minute (GPM). The flow rate is usually indicated on the restrictor itself or in the product specifications provided by the manufacturer.
While flow restrictors play a crucial role in water conservation efforts and reducing water usage, they may not be suitable for everyone’s needs. Some individuals may experience low water pressure due to the presence of a flow restrictor, which can affect the overall functionality and convenience of their bathroom fixtures. In such cases, removing the flow restrictor can help restore the water pressure and provide a more satisfying user experience.
Why would you want to remove the flow restrictor?
While flow restrictors serve a valuable purpose in conserving water and promoting eco-friendly practices, there are several reasons why you may choose to remove the flow restrictor from your bathroom faucet:
- Low water pressure: Flow restrictors can sometimes cause a decrease in water pressure, resulting in a weak stream of water from the faucet. If you find the water pressure to be insufficient for your needs or preferences, removing the flow restrictor can help restore a stronger and more satisfying water flow.
- Improved functionality: Some individuals, especially those with low water pressure in their homes, may prefer to remove the flow restrictor to enhance the functionality of their bathroom faucet. By doing so, they can ensure a reliable and powerful stream of water for tasks such as washing hands, rinsing dishes, or filling up containers.
- Customization: The removal of the flow restrictor allows for customization of the water flow to suit individual needs and preferences. Whether you prefer a gentle flow for delicate tasks like washing your face or a stronger flow for more efficient cleaning, removing the flow restrictor gives you the freedom to adjust the water flow to your liking.
- Compatibility with water-saving fixtures: In some cases, individuals may have already installed other water-saving fixtures in their home, such as low-flow showerheads or aerators. With these fixtures already in place, the additional flow restrictor in the bathroom faucet may not be necessary. Removing it ensures that the overall water pressure and flow are optimized throughout the bathroom.
Regardless of the reason for removing the flow restrictor, it is important to note that doing so may increase water usage. It is essential to use water responsibly and be mindful of conservation efforts to minimize any potential environmental impact.
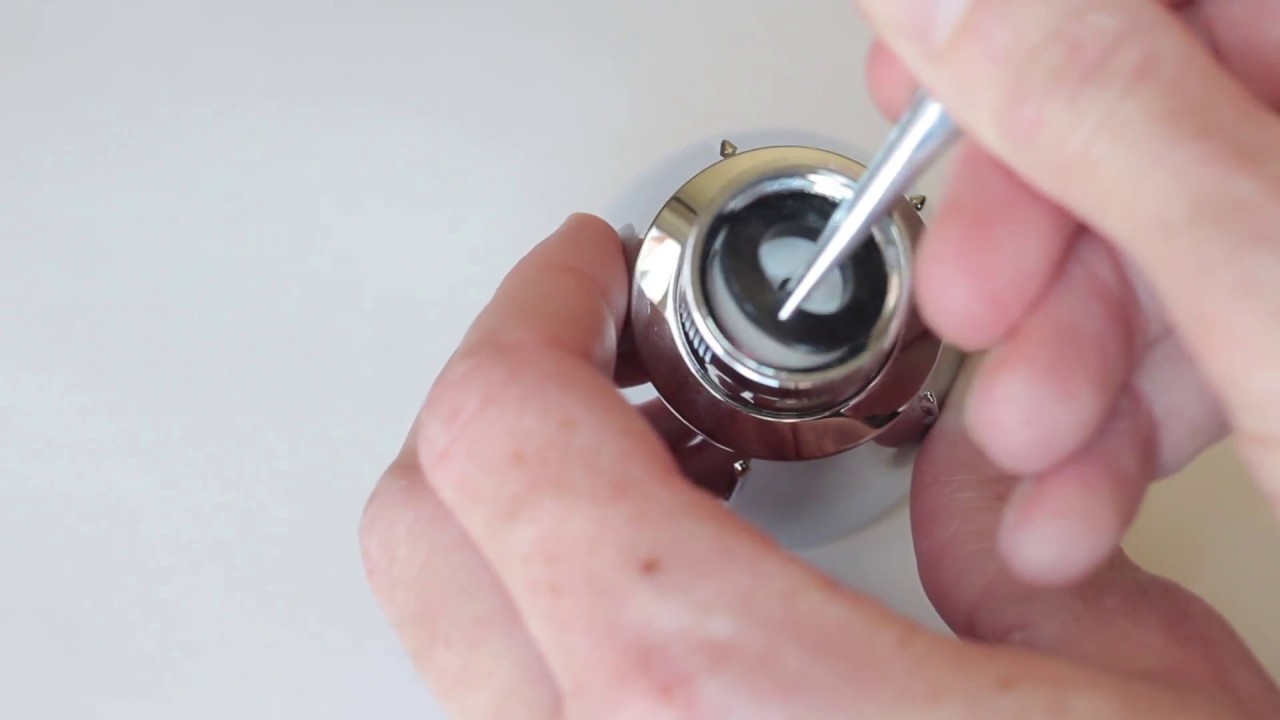
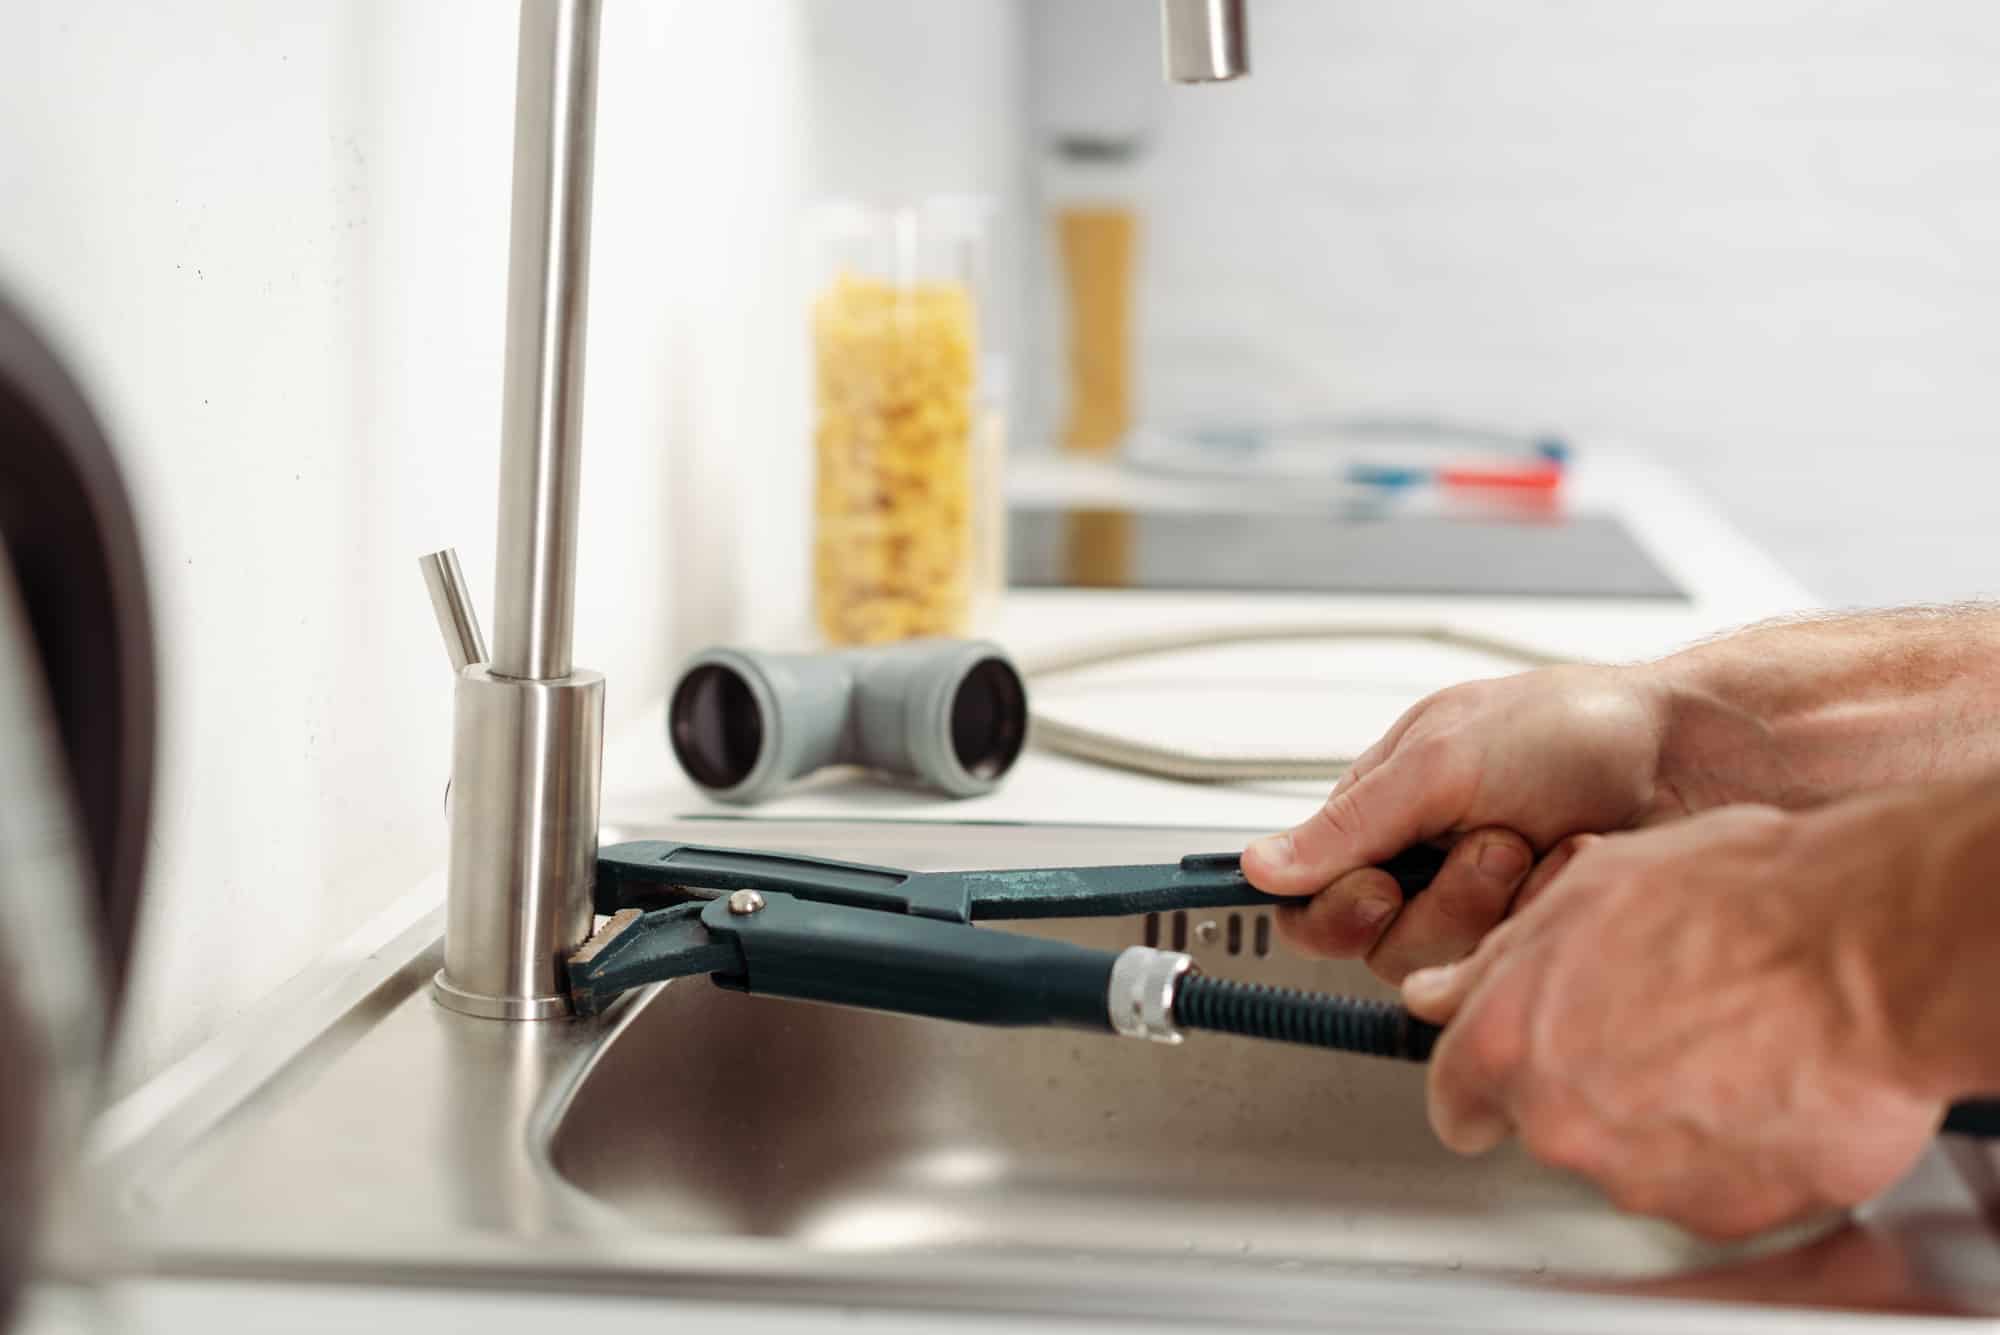
Use a pair of pliers to grip the flow restrictor and twist it counterclockwise to remove it from the bathroom faucet. Be careful not to damage the surrounding parts.
Tools required
Before you begin the process of removing the flow restrictor from your bathroom faucet, it is important to gather the necessary tools. Fortunately, you don’t need a wide array of specialized tools for this task. Here are the tools you will need:
- Adjustable wrench or pliers: You will need an adjustable wrench or pliers to loosen and remove the aerator housing. This tool will allow you to get a firm grip and apply the necessary force without damaging the faucet.
- Needle-nose pliers: Needle-nose pliers are useful for handling small parts, such as the flow restrictor itself. They can help you grip and remove the flow restrictor safely and with precision.
- Flathead screwdriver: A flathead screwdriver can be helpful if there are any screws or clips securing the aerator housing. It can assist in loosening and removing these components so you can access the flow restrictor.
- Teflon tape (optional): Teflon tape can be used to wrap around the aerator threads to create a better seal when reassembling the faucet. This tape helps prevent any leaks from occurring.
These tools should be readily available in most households or can be easily obtained from a local hardware store if needed. Once you have gathered these tools, you will be well-prepared to proceed with removing the flow restrictor from your bathroom faucet.
Steps to remove the flow restrictor from a bathroom faucet
Now that you have gathered the necessary tools, let’s walk through the step-by-step process of removing the flow restrictor from your bathroom faucet. Please follow these instructions carefully to ensure a successful removal:
- Prepare the workspace: Start by clearing the area around your bathroom sink and ensuring you have enough space to work comfortably. Place a towel or cloth beneath the faucet to catch any falling parts or water.
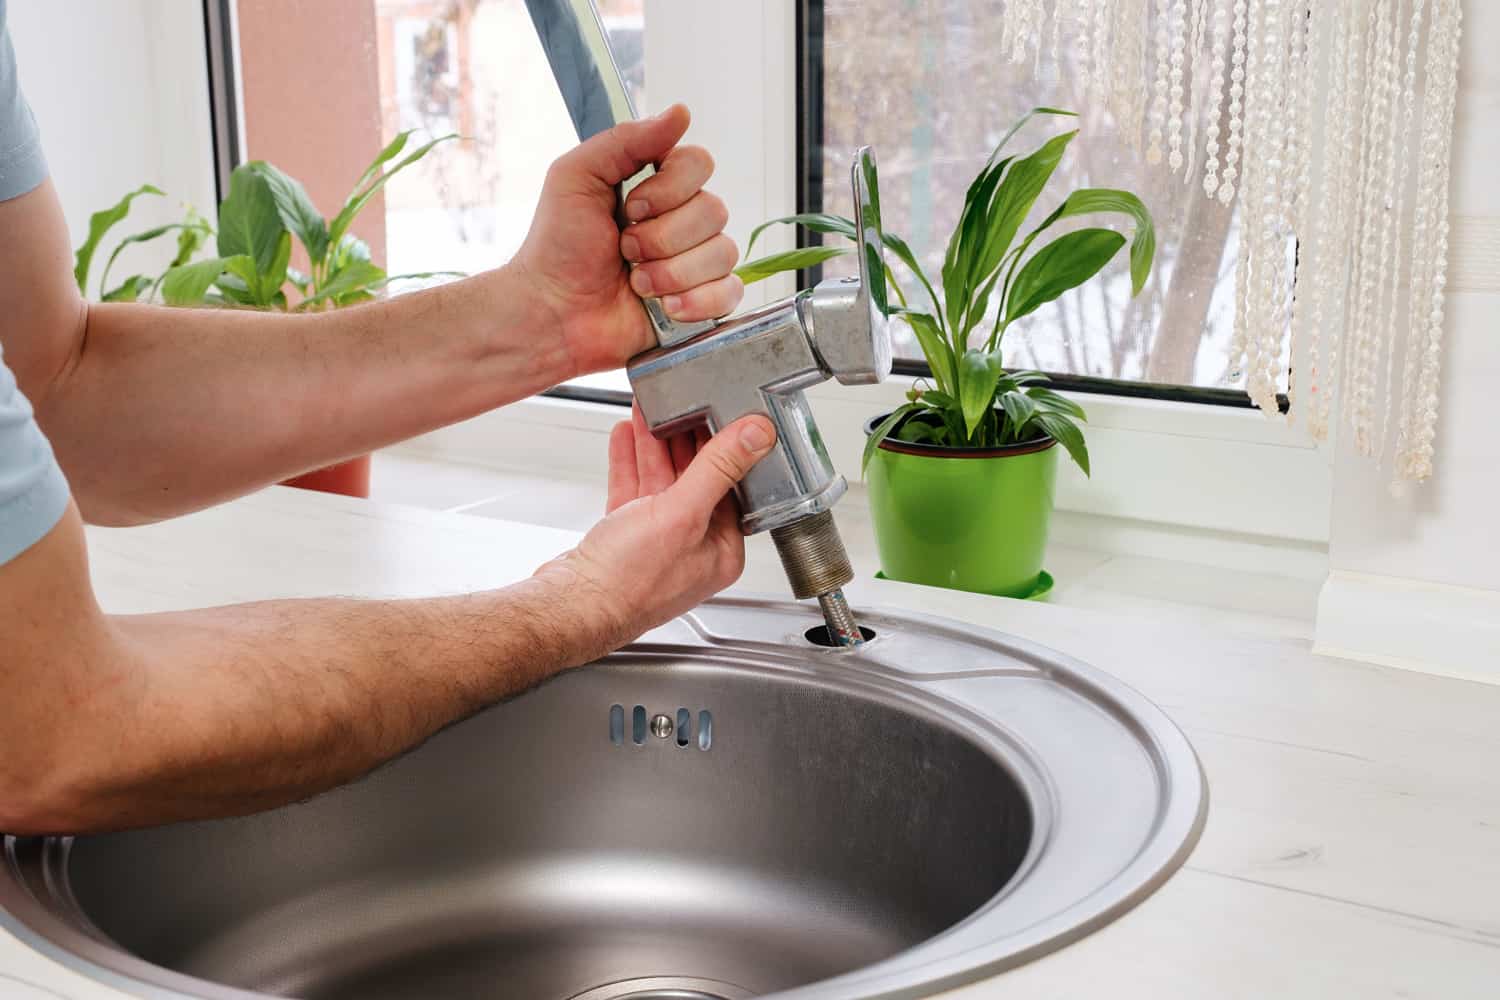
- Locate the aerator: The aerator is the small cap or housing at the end of the faucet where the water flows out. Carefully inspect the aerator to determine how it is attached to the faucet. In some cases, it may be screwed on, while in others, it may be attached with a clip or other fastening mechanism.
- Remove the aerator: Use an adjustable wrench or pliers to loosen and unscrew the aerator housing, turning it counterclockwise. If there are any clips or fasteners, use a flathead screwdriver to carefully release them. Be cautious not to apply excessive force, as this can damage the aerator or faucet.
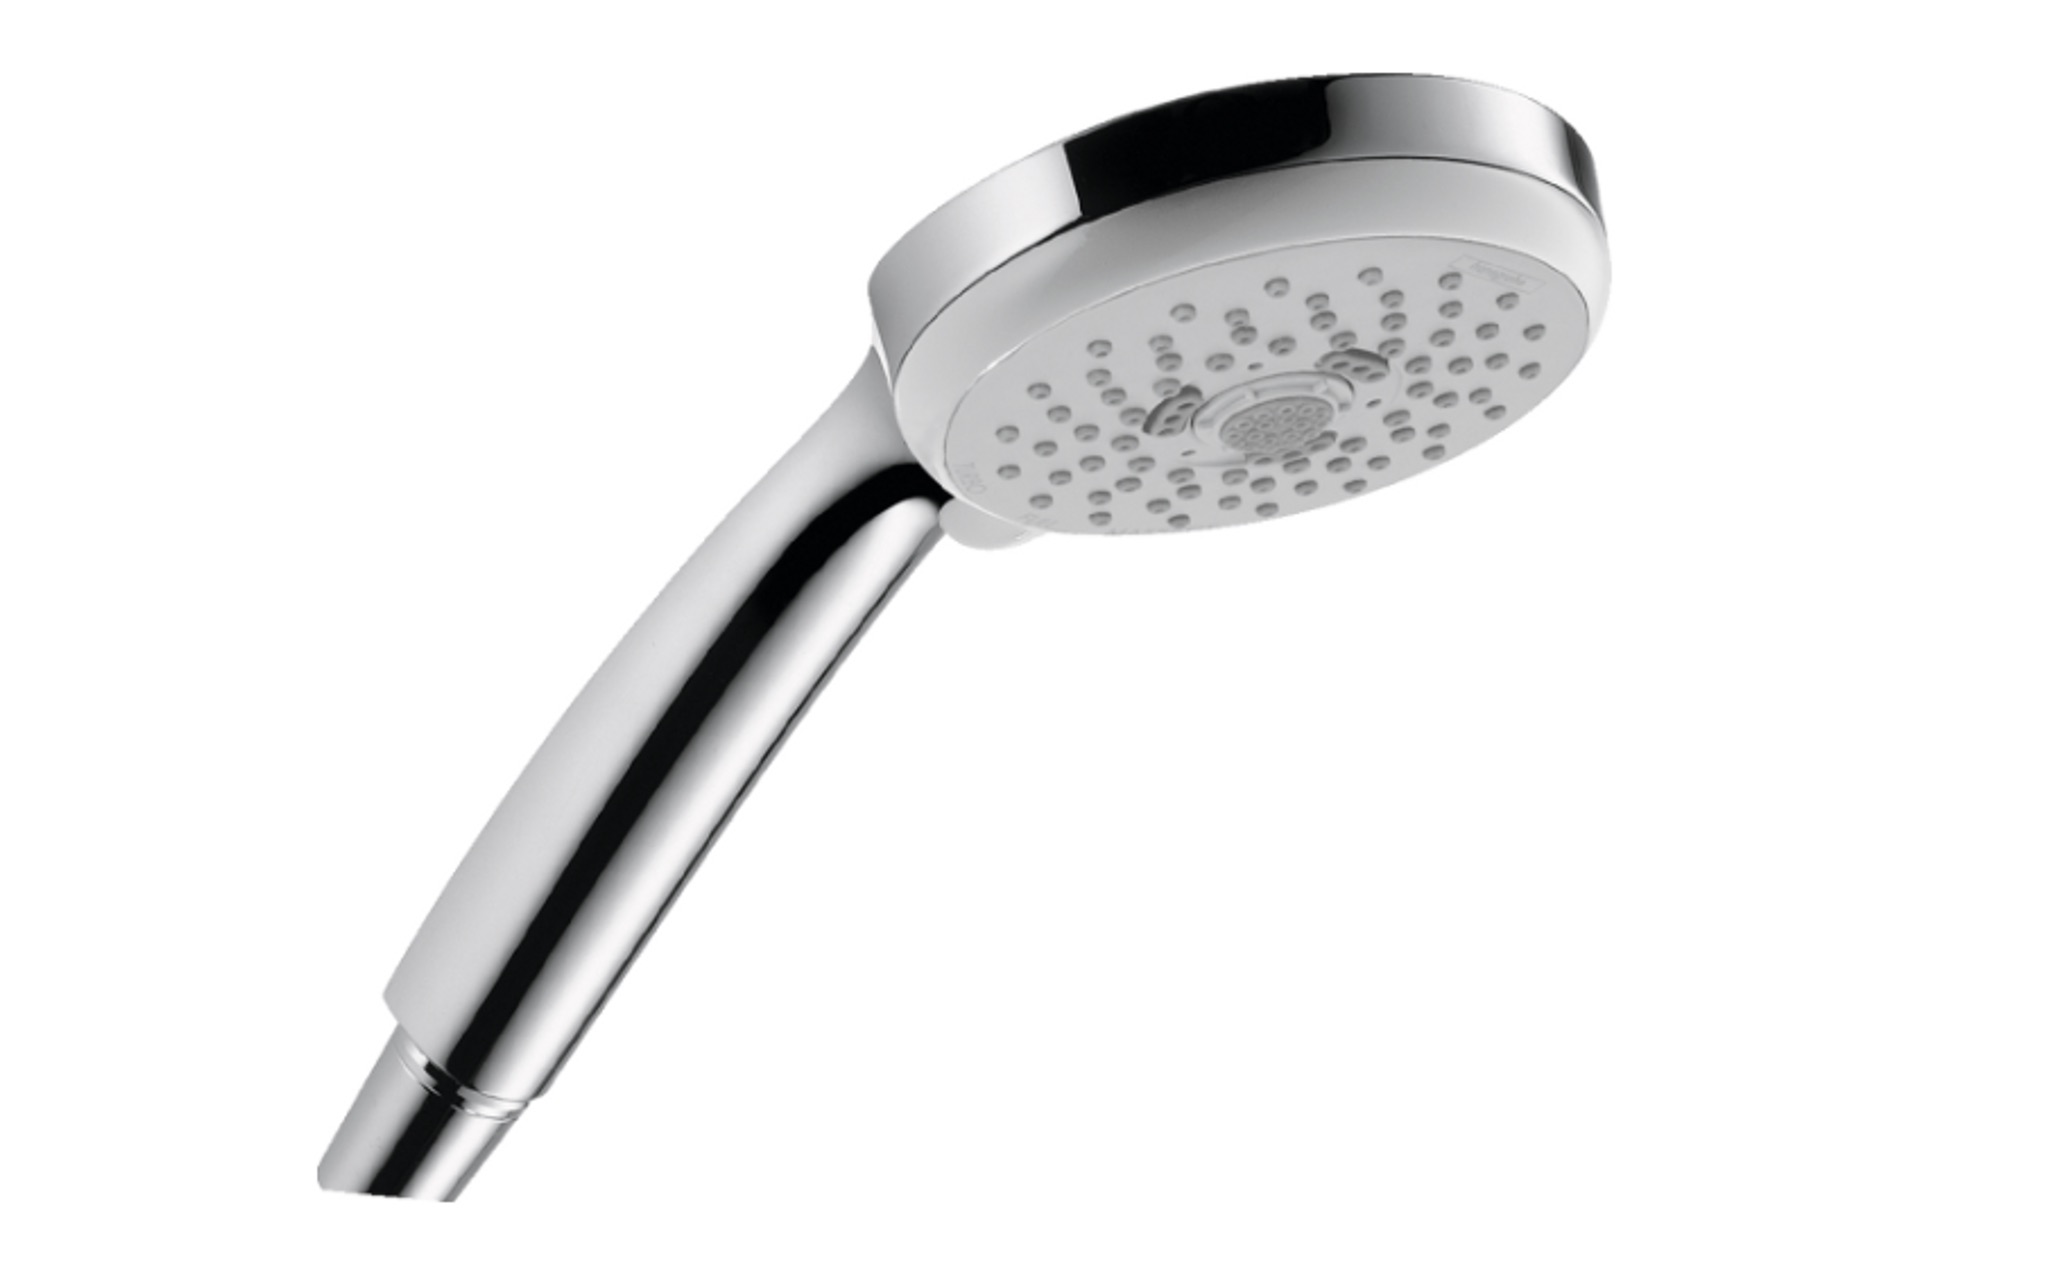
- Inspect the aerator: Once you have removed the aerator, examine it closely to locate the flow restrictor. The flow restrictor is typically a small round insert with small holes or slots in it. It may be made of plastic or rubber and can easily be identified by its distinct shape and design.
- Remove the flow restrictor: Use needle-nose pliers to grip the flow restrictor and gently pull it out from the aerator. If it is difficult to remove, you can use a gentle twisting motion to loosen it. Take care not to damage the aerator or any other components during this process.
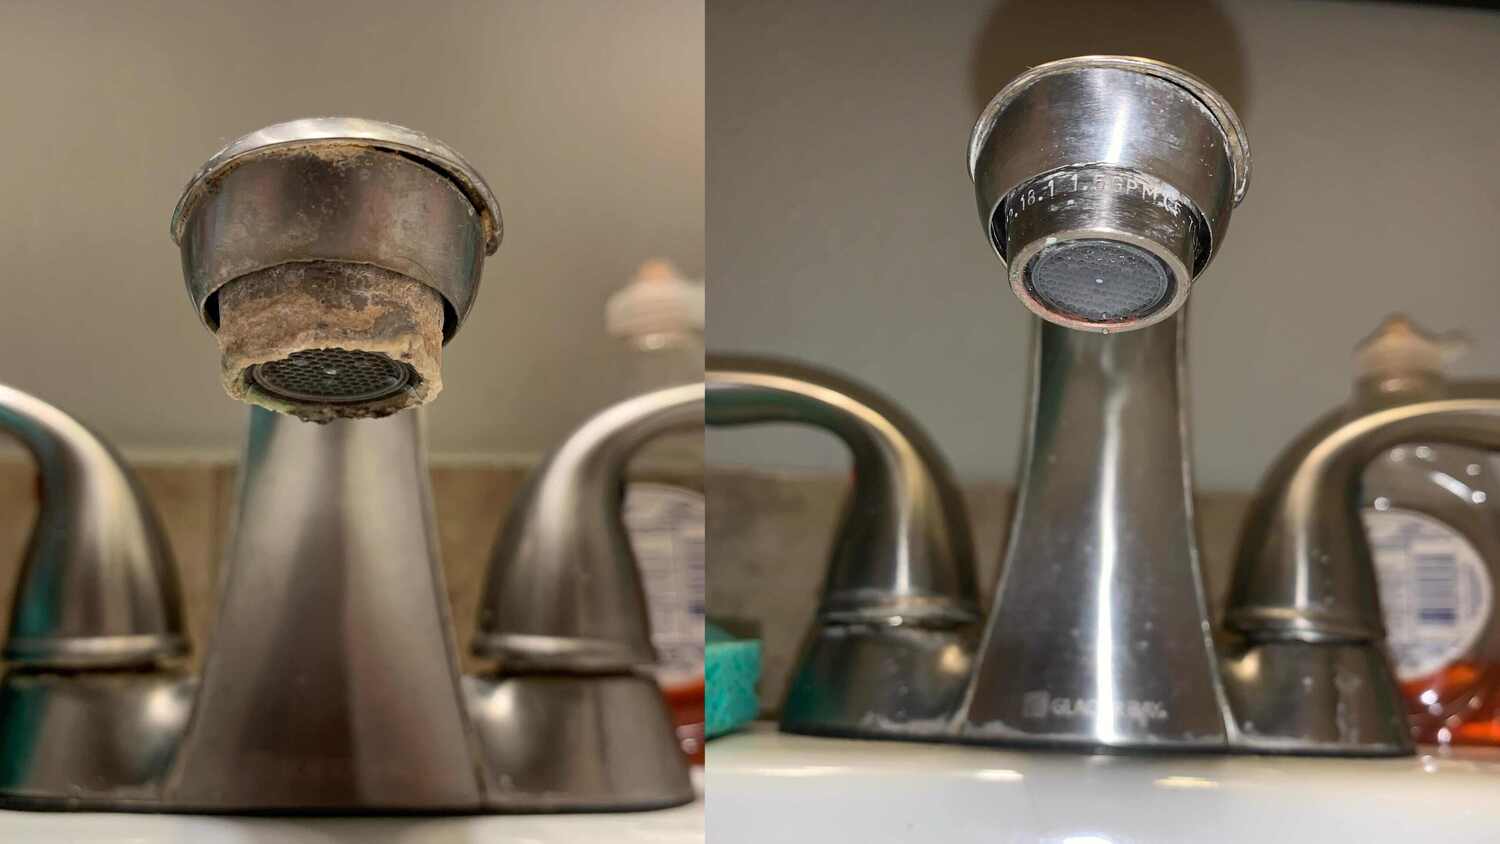
- Clean and reassemble: Now that you have removed the flow restrictor, take the opportunity to clean any debris or mineral buildup from the aerator and other components. Rinse them thoroughly with water and scrub gently if necessary. Once cleaned, reassemble the aerator and ensure it is tightly screwed back onto the faucet.
- Test the water flow: Turn on the water and observe the flow from the bathroom faucet. If you have successfully removed the flow restrictor, you should notice an improvement in water pressure and flow. Adjust the flow by turning the faucet handle as needed to find the desired water flow rate.
Congratulations! You have successfully removed the flow restrictor from your bathroom faucet. Enjoy the improved water pressure and customize your faucet’s flow to suit your needs and preferences.
Conclusion
Removing the flow restrictor from a bathroom faucet can be a simple and effective way to enhance the water pressure and customize the water flow to your liking. Whether you are looking to improve functionality, address low water pressure, or optimize your bathroom fixtures, the steps outlined in this article can guide you through the process.
By removing the flow restrictor, you have the opportunity to restore a stronger and more satisfying water flow, making everyday tasks in the bathroom more efficient and enjoyable. However, it is important to remember that removing the flow restrictor may increase water usage, so it is crucial to use water responsibly and be mindful of conservation efforts.
Before attempting to remove the flow restrictor, ensure that you have the necessary tools and take proper precautions to avoid damaging any components of the faucet. Carefully follow the step-by-step instructions provided in this article to safely remove the flow restrictor and enjoy the improved water flow.
Remember, customization is key. Experiment with different water flow rates to find the perfect balance between water pressure and conservation. If at any point you want to reinstall the flow restrictor, consult the manufacturer’s instructions or seek professional assistance.
We hope this article has been helpful in guiding you through the process of removing the flow restrictor from your bathroom faucet. Enjoy the renewed water pressure and make the most of your bathroom experience!
Now that you've mastered removing a flow restrictor, why stop there? If you're feeling inspired to tackle more projects, consider exploring how long a full bathroom makeover takes. Perfect for planning your next big home improvement, this guide will help you set realistic timelines and expectations. For those dealing with leaky faucets, don't miss our review of the best Delta faucet repair kits coming up in 2024. These kits are essential for any DIY enthusiast looking to fix common faucet issues efficiently and effectively.
Frequently Asked Questions about How To Remove Flow Restrictor From Bathroom Faucet
Was this page helpful?
At Storables.com, we guarantee accurate and reliable information. Our content, validated by Expert Board Contributors, is crafted following stringent Editorial Policies. We're committed to providing you with well-researched, expert-backed insights for all your informational needs.


0 thoughts on “How To Remove Flow Restrictor From Bathroom Faucet”