Home>Articles>How To Use The Key To Remove A Showerhead By Niagara Conservation
Articles
How To Use The Key To Remove A Showerhead By Niagara Conservation
Modified: October 22, 2024
Learn how to remove a showerhead using the key tool from Niagara Conservation. This helpful article provides step-by-step instructions for easy showerhead removal.
(Many of the links in this article redirect to a specific reviewed product. Your purchase of these products through affiliate links helps to generate commission for Storables.com, at no extra cost. Learn more)
Introduction
Removing a showerhead may seem like a daunting task, but with the right tools and a bit of guidance, it can be a simple and straightforward process. Whether you’re looking to replace a worn-out showerhead or clean a clogged one, using a key to remove the showerhead can make the job much easier. In this article, we will guide you through the steps on how to use the key to remove a showerhead, specifically the one provided by Niagara Conservation.
Niagara Conservation is a well-known brand in the industry that specializes in creating innovative water-saving products. Their showerheads are designed to deliver a satisfying shower experience while conserving water usage. To maintain and clean the showerhead effectively, removing it from the arm is necessary. The key provided by Niagara Conservation is a convenient tool specifically designed for this purpose.
Before you begin the process, gather the necessary tools and materials. Having everything ready beforehand will ensure a smooth and efficient removal process. Let’s take a look at what you’ll need:
- Key provided by Niagara Conservation
- Adjustable wrench
- Teflon tape
- Cleaning solution (optional)
- Clean cloth or sponge
Key Takeaways:
- Using the key provided by Niagara Conservation, removing a showerhead becomes a simple and efficient process. With the right tools and steps, you can easily clean or replace your showerhead for a revitalized shower experience.
- Regular maintenance and cleaning of showerheads are crucial for optimal performance and water conservation. By following the outlined steps, you can ensure a hassle-free removal and installation process, enhancing your shower experience while reducing water usage.
Read more: How To Remove Showerhead Without Wrench
Tools and Materials Needed
Before starting the process of removing your showerhead using the key provided by Niagara Conservation, make sure you have the following tools and materials at hand:
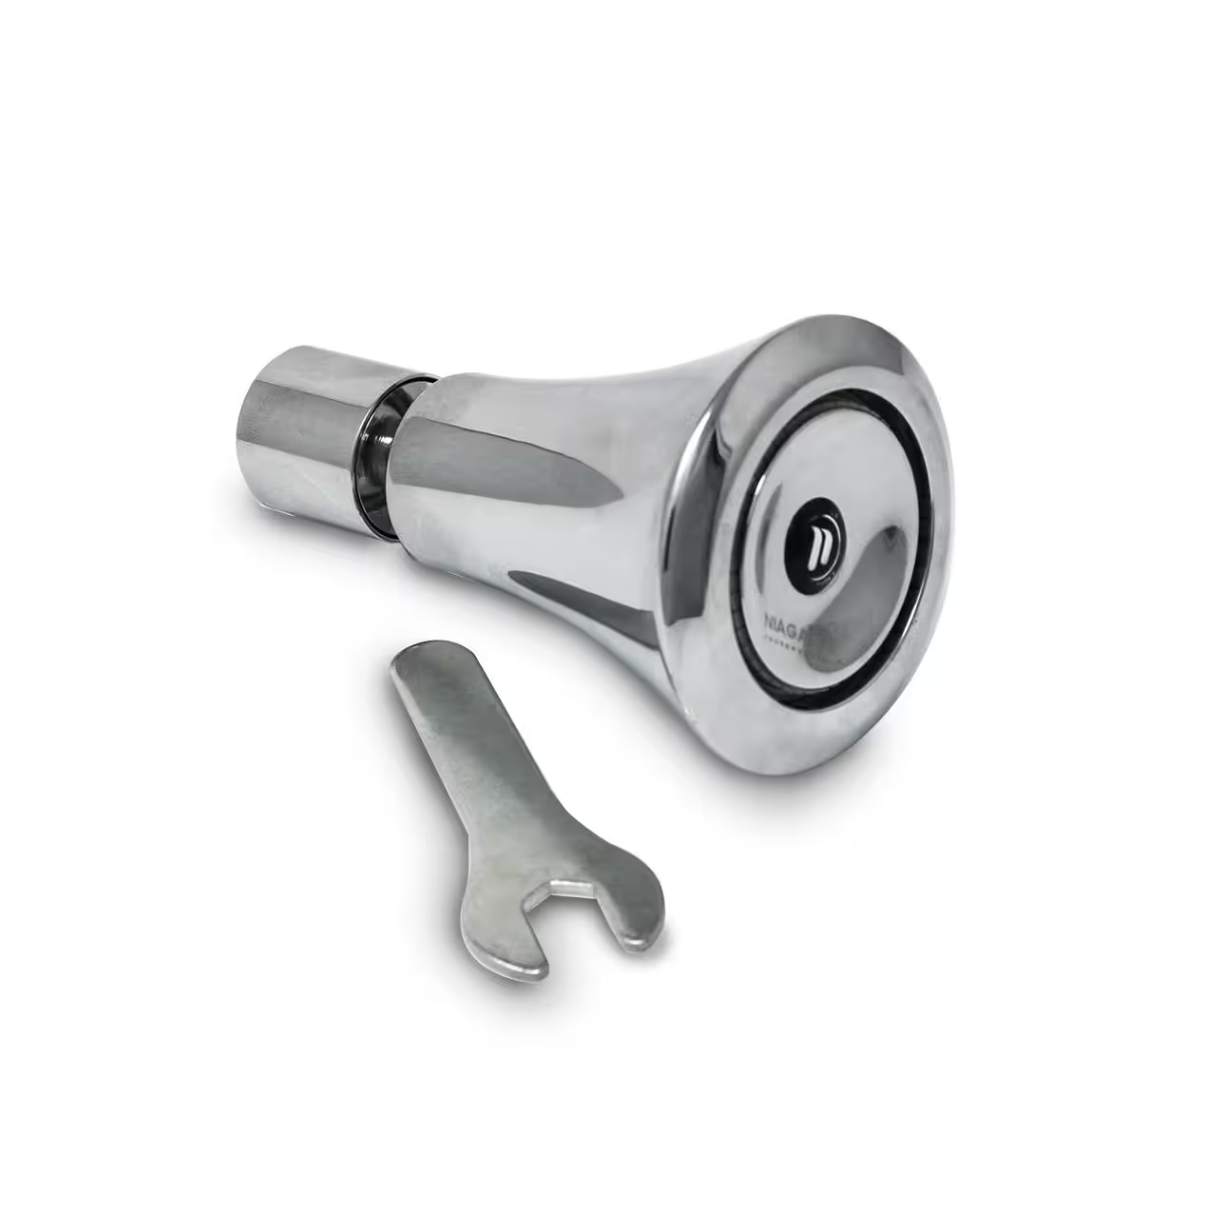
- Key provided by Niagara Conservation: This is the key specifically designed for the removal of Niagara Conservation showerheads. It is a small, durable plastic tool that fits perfectly into the keyhole of the showerhead.
- Adjustable wrench: You will need an adjustable wrench to help loosen any connections between the showerhead and the shower arm. This tool will enable you to have a firm grip and apply the necessary torque.
- Teflon tape: Teflon tape, also known as plumber’s tape, is a thin white tape that is used to create a watertight seal on threaded connections. It will come in handy when reattaching the showerhead to the shower arm later on.
- Cleaning solution (optional): If your showerhead is clogged or has a build-up of mineral deposits, having a cleaning solution can be beneficial. You can either use a store-bought cleaning solution or create your own using vinegar and water.
- Clean cloth or sponge: After removing the showerhead, it’s important to clean it thoroughly before reattaching. Having a clean cloth or sponge will ensure that you can wipe away any dirt, grime, or residue from the showerhead surface.
Having these tools and materials ready will make the removal process smoother and more efficient. Now that you have everything you need, let’s move on to the steps of using the key to remove the showerhead.
Step 1: Turn off the Water Supply
Before you begin the process of removing the showerhead, it is important to turn off the water supply to avoid any water leakage or damage. Locate the shut-off valve for the shower in your bathroom and turn it off. This valve is typically located on the wall near the shower or in the basement if you have one.
If you are unable to find the shut-off valve, another option is to turn off the main water supply to your entire house. This step is crucial to ensure that you can safely remove the showerhead without any water spraying out.
Once you have turned off the water supply, test the shower to make sure no water is coming out. This will guarantee that the supply is fully shut off. Now that the water is turned off, you can proceed to the next step with the confidence that you are working in a safe and controlled environment.
Turning off the water supply is an important first step in removing the showerhead using the key provided by Niagara Conservation. It prevents any unwanted water flow and ensures a hassle-free removal process. With the water supply turned off, you can move on to the next step, which involves locating and exposing the keyhole on the showerhead.
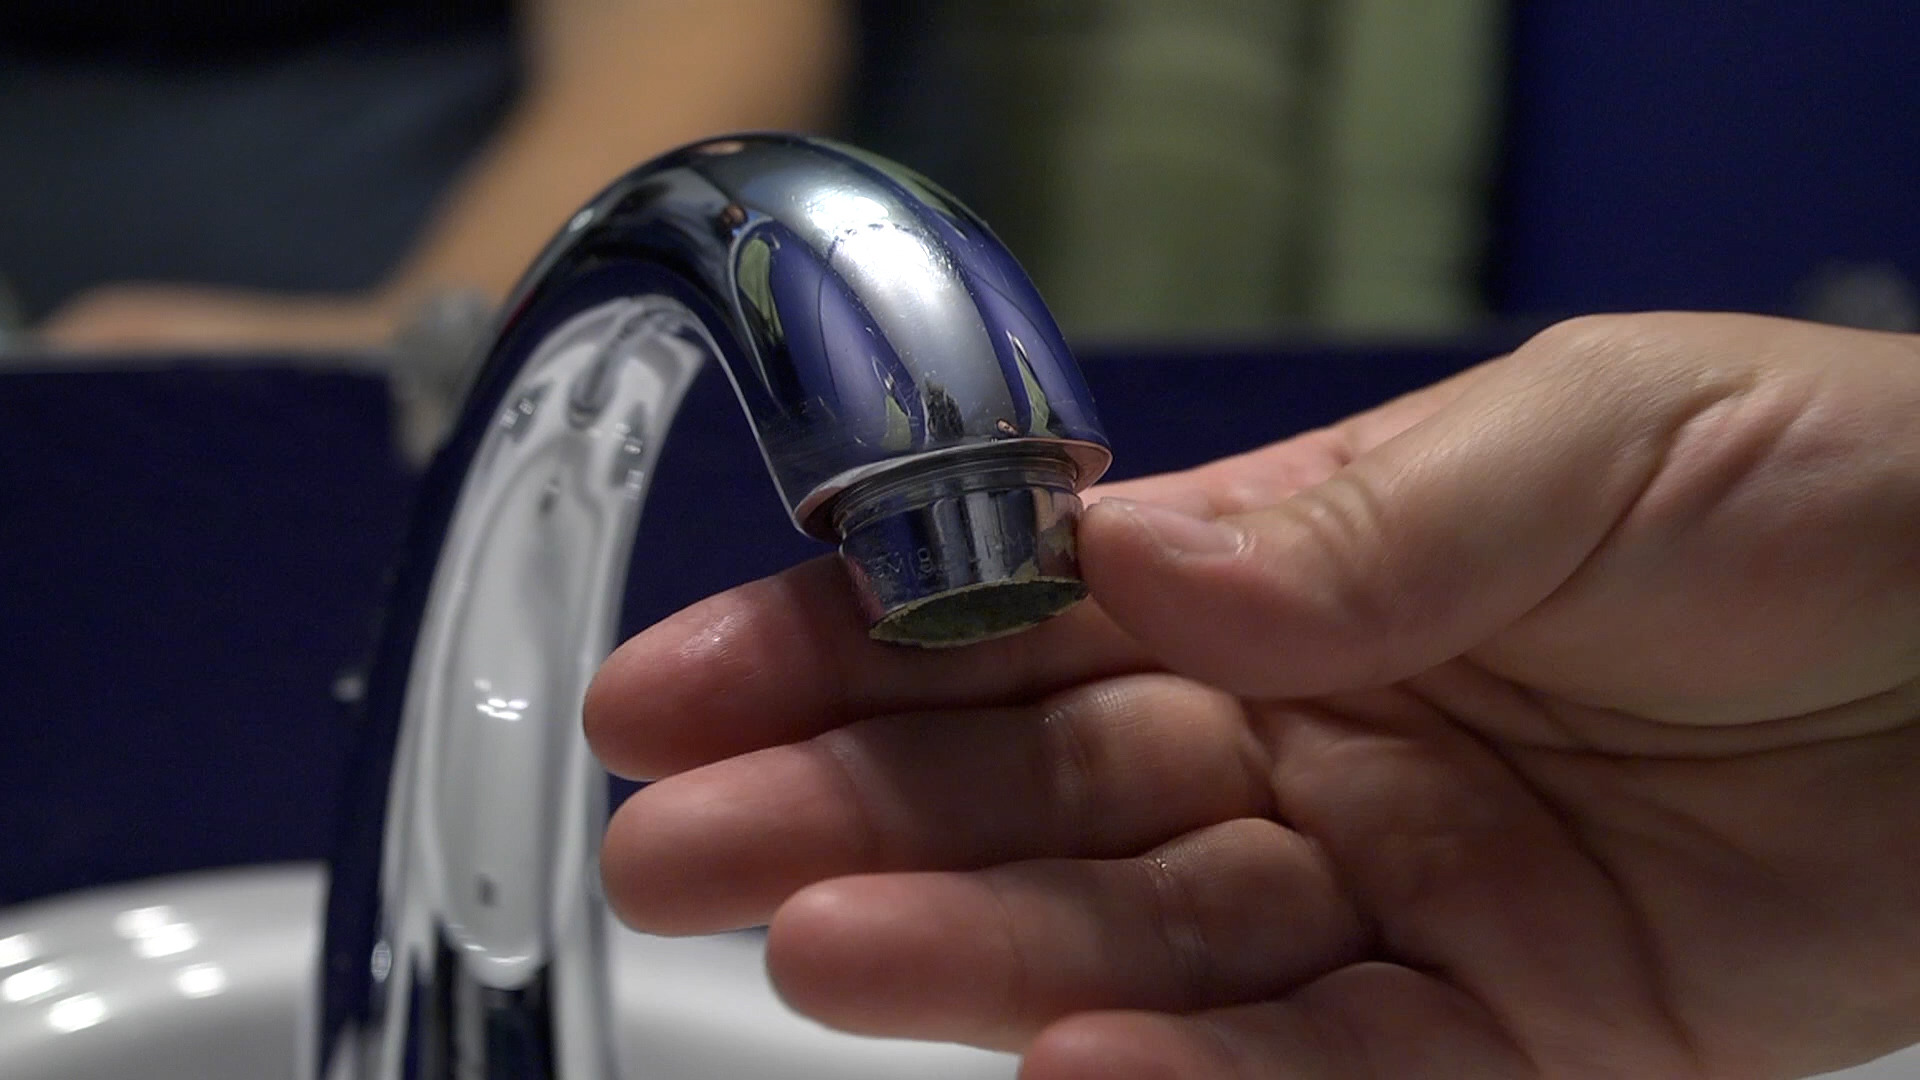
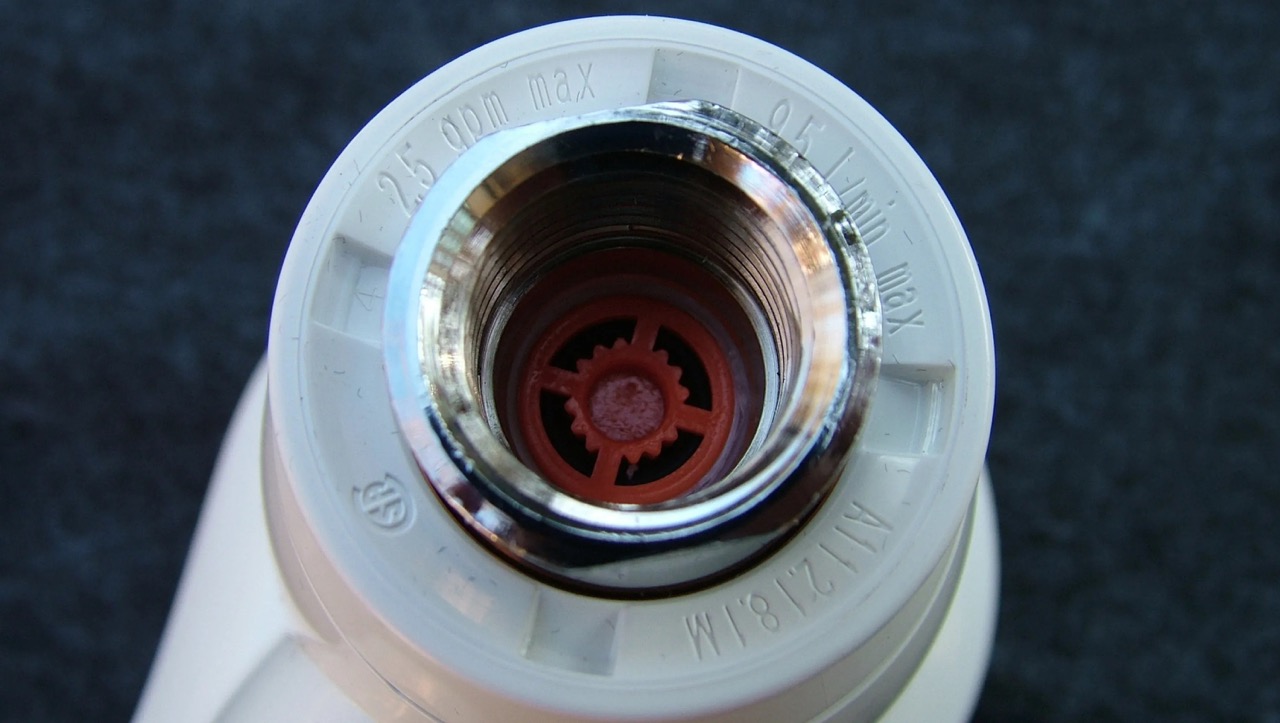
Step 2: Locate and Expose the Keyhole
Now that you have turned off the water supply, the next step is to locate and expose the keyhole on the showerhead. The keyhole is a small opening on the side or underside of the showerhead where the key provided by Niagara Conservation will be inserted.
Inspect the showerhead closely to find the keyhole. It is usually marked with an arrow or a label that indicates the direction to insert the key. If you are unable to locate the keyhole, refer to the manufacturer’s instructions or consult the product manual for guidance.
Once you have identified the keyhole, you may need to remove any decorative or protective covers that are covering it. Gently pry them off using your fingers or a small flat-head screwdriver, taking care not to damage the showerhead or surrounding surfaces.
Exposing the keyhole is an important step in using the key to remove the showerhead. It provides access to the internal mechanism and allows you to insert the key securely. With the keyhole exposed, you are now ready for the next step: inserting the key into the keyhole.
Step 3: Insert the Key into the Keyhole
With the keyhole exposed, it’s time to insert the key into the keyhole. Take the key provided by Niagara Conservation and align it with the keyhole on the showerhead. Ensure that the key is positioned correctly, following any directional markers or labels.
Gently insert the key into the keyhole, applying slight pressure to make sure it is securely fitted. You may need to rotate the key slightly to align it properly or engage with the internal mechanism of the showerhead.
As you insert the key, you may feel some resistance, but this is normal. It indicates that the key is properly engaged and ready to be twisted for removal. If the key does not go in smoothly or fit securely, double-check the alignment and try again.
Once the key is fully inserted into the keyhole, hold it firmly with one hand. Ensure that your grip is strong and stable to prevent any slippage or damage to the showerhead or surrounding tiles.
Inserting the key into the keyhole is a crucial step in using the key to remove the showerhead. It allows the key to properly interact with the internal components and prepares it for the twisting and removal process. With the key securely in place, it’s time to move on to the next step: twisting and removing the showerhead.
When using the key to remove a showerhead by Niagara Conservation, make sure to turn off the water supply to the shower to avoid any leaks or water damage.
Read more: How To Remove Door Lock Without Key
Step 4: Twist and Remove the Showerhead
Now that the key is securely inserted into the keyhole, it’s time to twist and remove the showerhead. Hold the key firmly with one hand and use your other hand to grip the showerhead itself for stability.
Start by gently rotating the key in a counterclockwise direction. Apply steady and even pressure as you twist to loosen the showerhead from the shower arm. It may take a few turns before the showerhead starts to loosen, so be patient and continue twisting.
As you twist, you may hear a slight clicking sound or feel slight resistance. This indicates that the internal mechanism is disengaging, allowing you to remove the showerhead. Keep twisting until the showerhead is completely loosened and can be easily lifted off the shower arm.
Once the showerhead is loose, carefully lift it up and away from the shower arm. Set it aside in a safe place where it won’t be damaged or cause any obstruction.
Removing the showerhead using the key provided by Niagara Conservation is a simple yet important step in the process. It allows you to detach the showerhead safely and efficiently, making way for cleaning or replacement. With the showerhead removed, it’s time to move on to the next step: cleaning and replacing the showerhead.
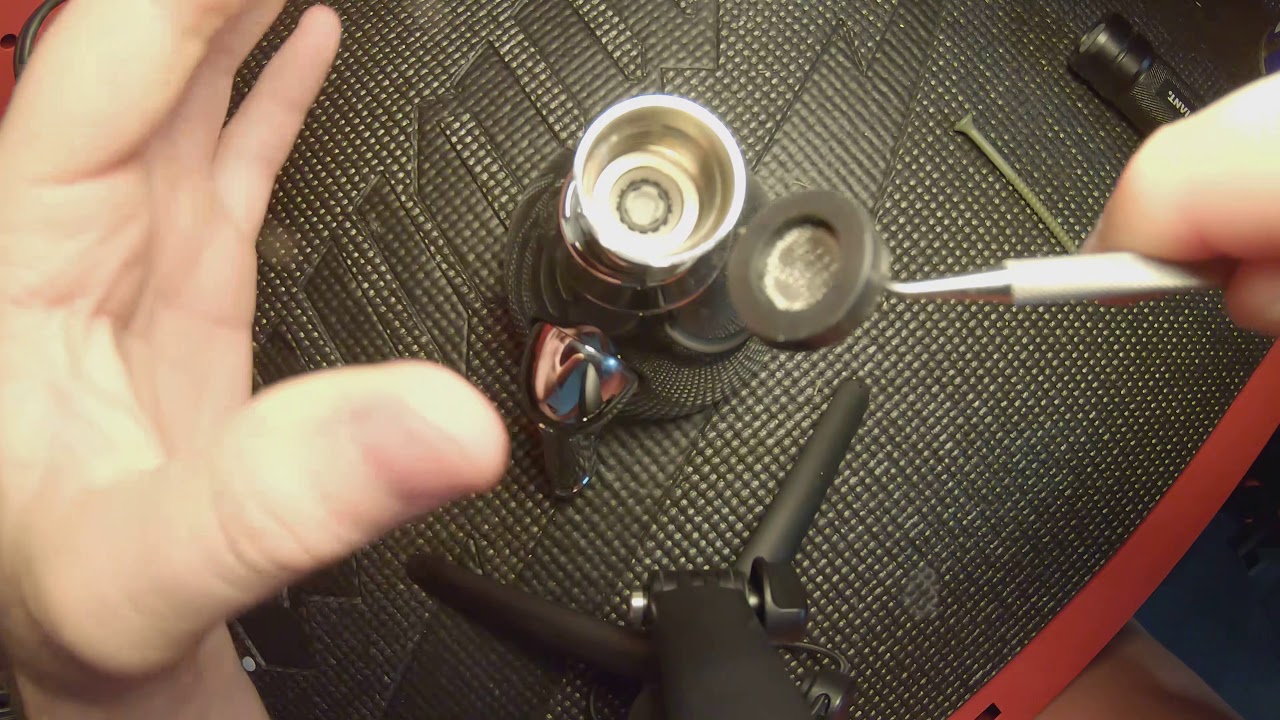
Step 5: Clean and Replace the Showerhead
Now that you have successfully removed the showerhead, it’s time to clean and prepare it for either reinstallation or replacement. Cleaning the showerhead helps to remove any dirt, mineral deposits, or buildup that may be affecting its performance.
Start by inspecting the showerhead for any visible debris or blockage. If you notice any clogs or buildup, you can use a cleaning solution to remove them. If you have a store-bought cleaner, follow the instructions on the packaging. Alternatively, you can create your own cleaning solution using equal parts vinegar and water.
Dip a clean cloth or sponge into the cleaning solution and gently scrub the showerhead, paying close attention to the nozzles. If the buildup is stubborn, you can use a toothbrush or a small brush to carefully scrub the affected areas. Rinse the showerhead thoroughly with water and ensure that all cleaning solution residue is removed.
Once the showerhead is clean, inspect the threads on both the showerhead and the shower arm for any damage or debris. Clean the threads with a cloth or brush to ensure a smooth and secure connection when reinstalling the showerhead.
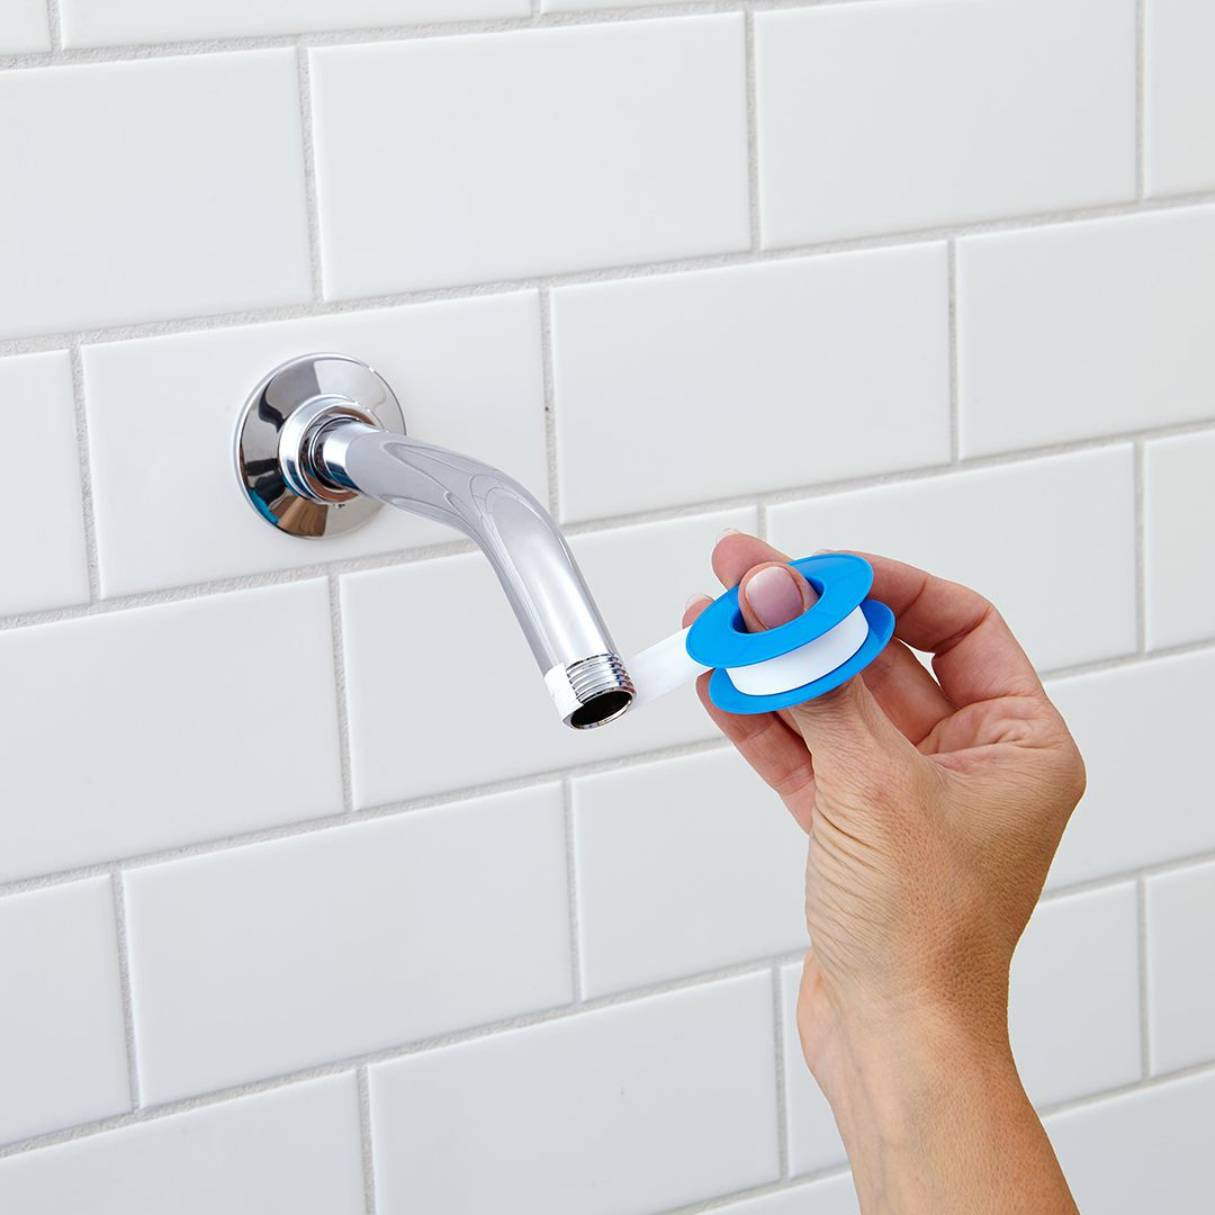
If you are replacing the showerhead, this is the time to install the new one. Apply a layer of Teflon tape to the threads of the shower arm, wrapping it in a clockwise direction. This tape provides a secure and leak-free seal.
Align the new showerhead with the shower arm and twist it clockwise until it is securely tightened. Use an adjustable wrench to give it a final snug fit, being careful not to overtighten and cause damage.
If you are reattaching the cleaned showerhead, apply a fresh layer of Teflon tape to the shower arm threads before twisting it back into place. Use an adjustable wrench to tighten it securely.
With the showerhead cleaned and replaced, it’s time to turn on the water supply and test it.
Step 6: Turn on the Water Supply and Test the Showerhead
Now that you have cleaned and replaced the showerhead, it’s time to turn on the water supply and test it for proper functionality and any potential leaks.
Make sure that the showerhead is securely reattached to the shower arm. Double-check the tightness and use an adjustable wrench if necessary to ensure a snug fit.
Once you are confident that the showerhead is properly installed, slowly turn on the water supply. Gradually increase the flow and allow the water to run for a few minutes to flush out any air or debris that may have accumulated during the installation process.
While the water is running, observe the showerhead for any signs of leakage. Check the connections between the showerhead and the shower arm, as well as the surrounding area, for any dripping or spraying water.
If you notice any leaks, try tightening the connections further. If the leakage persists, you may need to remove the showerhead again and inspect the threads for any damage or debris that may be causing the issue.
If the showerhead is functioning properly and there are no leaks, you can proceed to test the water pressure and spray pattern. Adjust the showerhead settings, if applicable, to your desired spray pattern and feel the water pressure.
If you are satisfied with the performance of the new showerhead or the cleaned one, congratulations! You have successfully used the key provided by Niagara Conservation to remove and replace the showerhead.
In the event that you encounter any issues or difficulties, consult the manufacturer’s instructions or seek professional assistance to ensure a proper installation.
Lastly, enjoy your revitalized shower experience with a clean and efficient showerhead!
+
Conclusion
Removing a showerhead may seem like a daunting task, but with the right tools and guidance, it can be a straightforward process. The key provided by Niagara Conservation offers a convenient and efficient way to remove their showerheads for cleaning or replacement.
By following the steps outlined in this article, you can successfully use the key to remove a showerhead and complete the task with ease. Remember to gather all the necessary tools and materials before starting, turn off the water supply, locate and expose the keyhole, insert the key, twist and remove the showerhead, clean and replace it, and finally, turn on the water supply and test the showerhead.
Regular maintenance and cleaning of showerheads are important for ensuring optimal performance and water conservation. By removing the showerhead and thoroughly cleaning it, you can remove any mineral deposits or debris that may affect its functionality.
Whether you are looking to replace an old showerhead or simply give your shower a refresh, using the key provided by Niagara Conservation makes the removal and installation process much simpler and more efficient.
With a clean and properly functioning showerhead, you can enhance your shower experience while also reducing water usage. Take the time to care for your showerhead and enjoy the benefits of a revitalized and efficient shower system.
So, the next time you need to remove your showerhead, remember the key provided by Niagara Conservation and follow the steps outlined in this article for a seamless and successful removal process.
Frequently Asked Questions about How To Use The Key To Remove A Showerhead By Niagara Conservation
Was this page helpful?
At Storables.com, we guarantee accurate and reliable information. Our content, validated by Expert Board Contributors, is crafted following stringent Editorial Policies. We're committed to providing you with well-researched, expert-backed insights for all your informational needs.


0 thoughts on “How To Use The Key To Remove A Showerhead By Niagara Conservation”