Home>Renovation & DIY>Home Renovation Guides>How To Remove Laminate Countertop Backsplash
Home Renovation Guides
How To Remove Laminate Countertop Backsplash
Modified: August 17, 2024
Learn how to remove a laminate countertop backsplash with our comprehensive home renovation guide. Follow our step-by-step instructions for a hassle-free process.
(Many of the links in this article redirect to a specific reviewed product. Your purchase of these products through affiliate links helps to generate commission for Storables.com, at no extra cost. Learn more)
Introduction
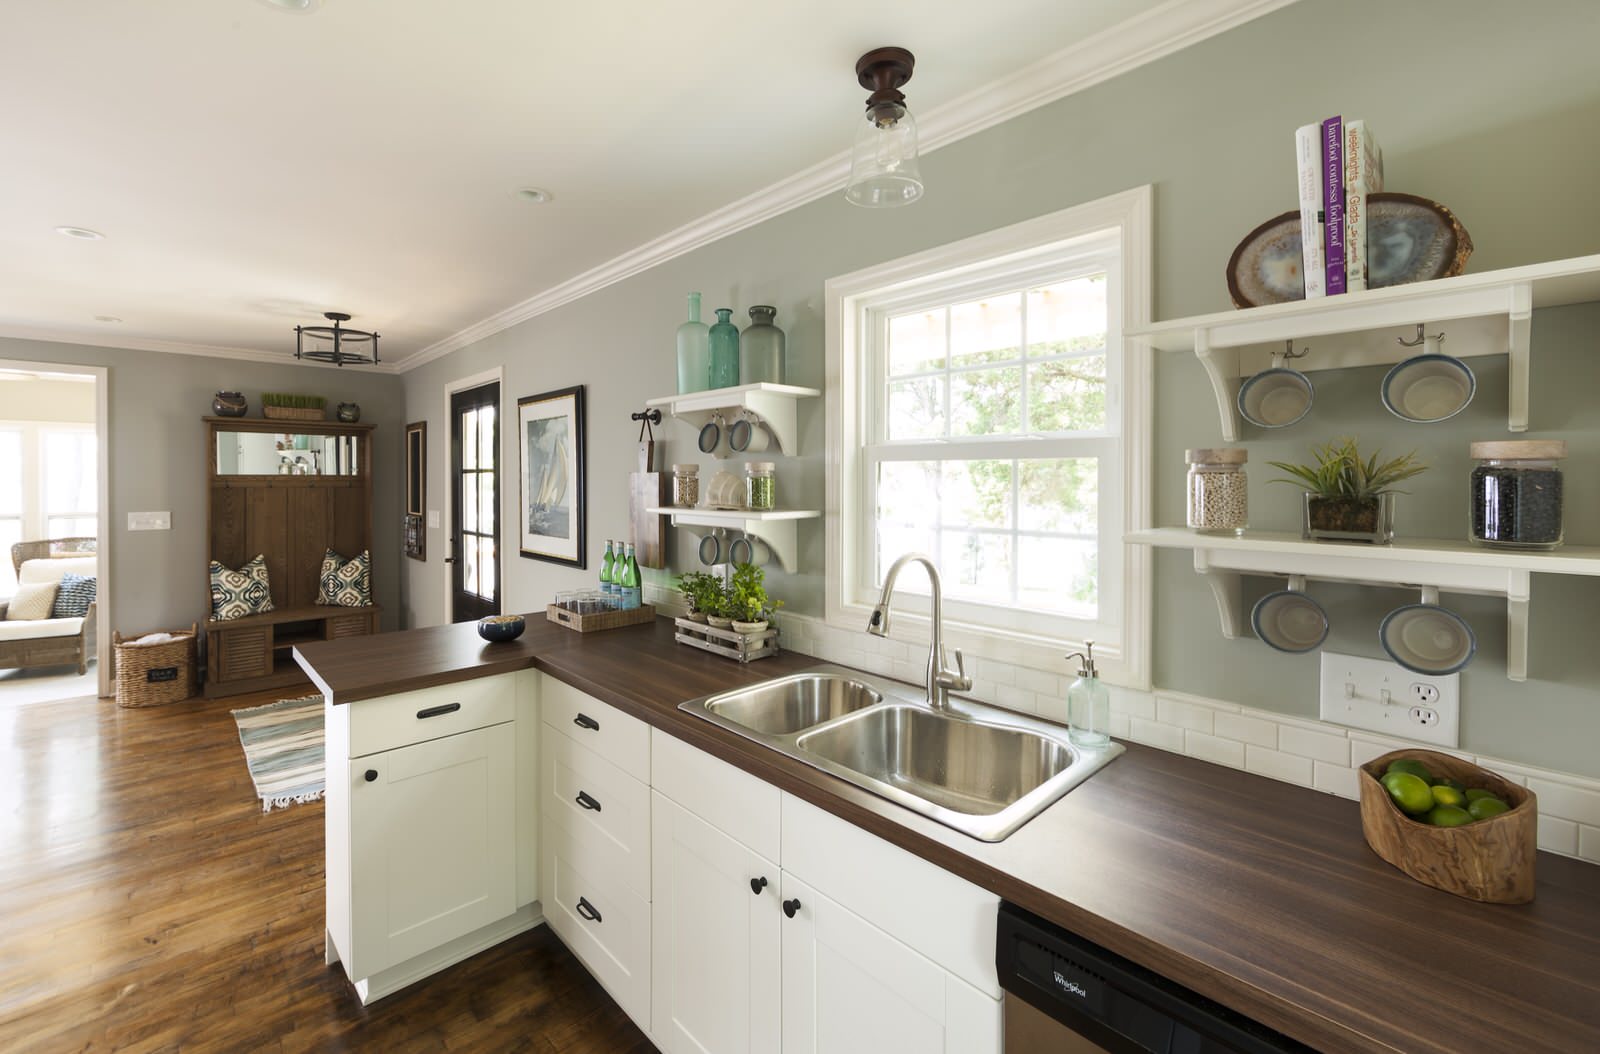
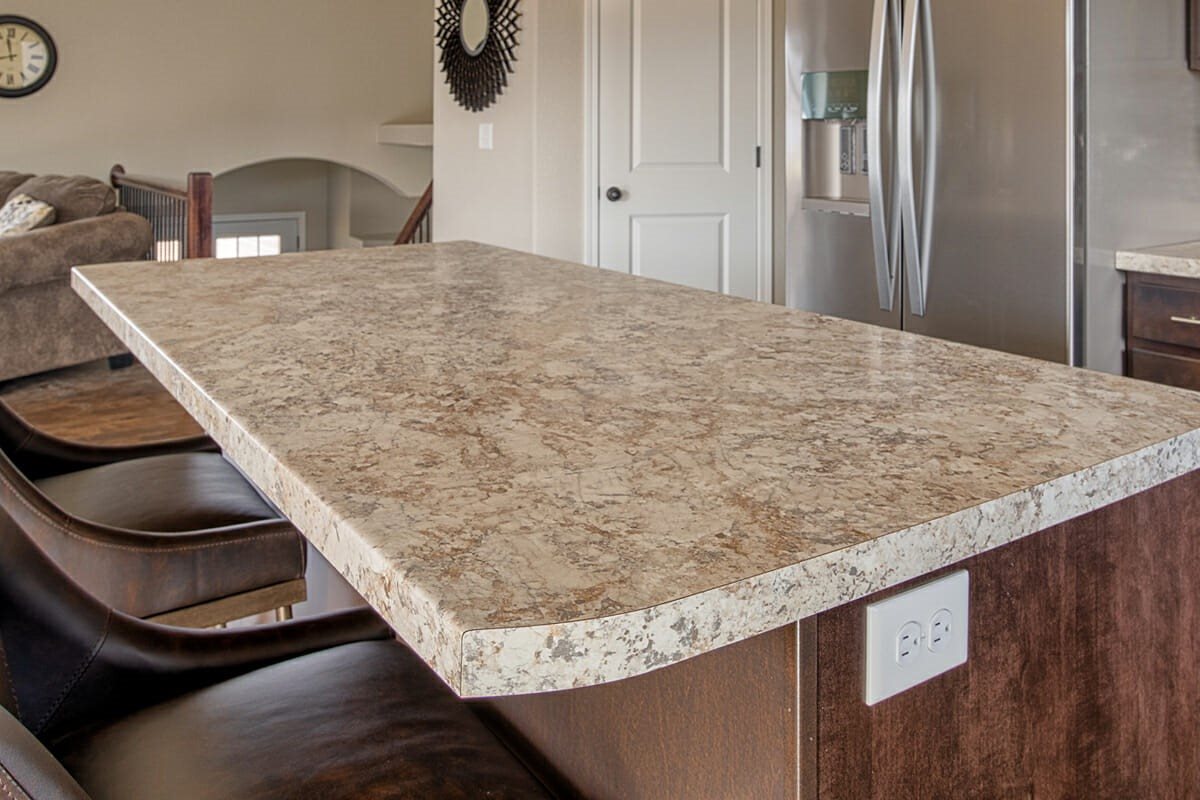
Removing a laminate countertop backsplash can breathe new life into your kitchen or bathroom. Whether you're renovating the space or simply updating the look, this DIY project can make a significant impact. By following a few simple steps and using the right tools, you can successfully remove the laminate countertop backsplash without damaging the surrounding area.
This guide will walk you through the process, providing clear instructions and tips to ensure a smooth and efficient removal. From gathering the necessary tools and materials to cleaning up the work area, each step is essential to achieving a professional-looking result. With a bit of patience and attention to detail, you can transform the appearance of your countertop and give your space a fresh, updated feel.
As you embark on this project, keep in mind that safety is paramount. Always wear appropriate protective gear, such as gloves and safety goggles, to prevent injuries. Additionally, take your time and proceed with caution to avoid causing any damage to the countertop or surrounding fixtures.
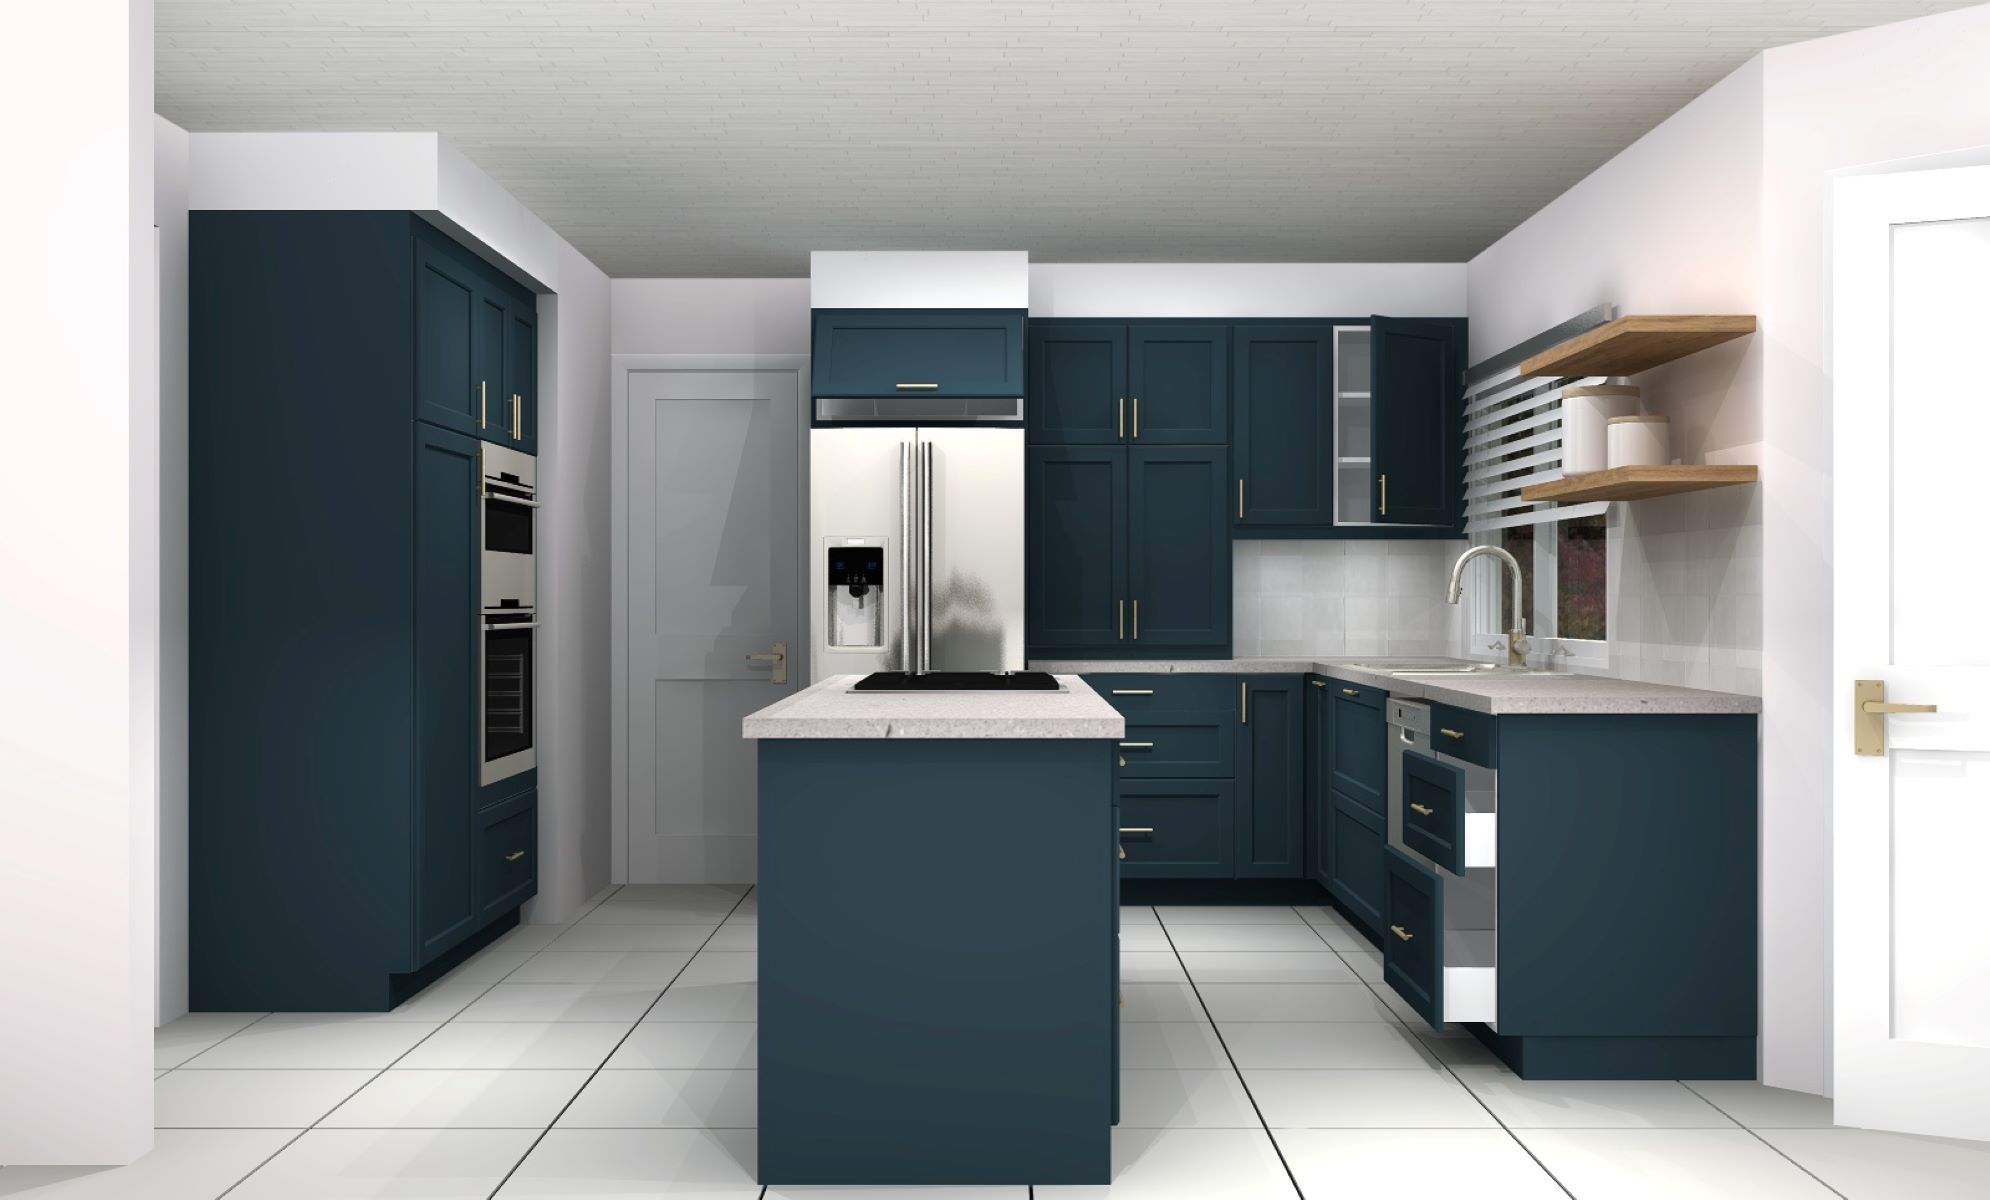
Now, let's dive into the step-by-step process of removing a laminate countertop backsplash, and get ready to revitalize your kitchen or bathroom with a modern and refreshed look.
Key Takeaways:
- Revitalize your kitchen or bathroom by removing a laminate countertop backsplash. Gather tools, protect surfaces, and clean thoroughly for a successful DIY project.
- Prioritize safety, patience, and attention to detail when removing a laminate countertop backsplash. Prepare the work area, loosen adhesive, and finish with a clean, polished surface.
Step 1: Gather the necessary tools and materials
Before embarking on the task of removing a laminate countertop backsplash, it's crucial to gather all the essential tools and materials. Having the right equipment at your disposal will not only streamline the process but also ensure that the task is carried out effectively and safely.
Tools you will need:
- Utility Knife: A sharp utility knife will be indispensable for cutting through the caulk and adhesive securing the backsplash to the wall and countertop.
- Putty Knife: This tool will aid in prying the backsplash away from the wall without causing damage to the surrounding surfaces.
- Pry Bar: A sturdy pry bar will help in gently loosening the backsplash from the countertop, facilitating its removal.
- Safety Gloves and Goggles: It's crucial to prioritize safety, so be sure to wear protective gloves and goggles to shield your hands and eyes from potential hazards.
- Drop Cloth or Tarp: To protect the countertop and surrounding area from debris and scratches, lay down a drop cloth or tarp.
- Plastic Sheeting: Covering the cabinets and appliances with plastic sheeting will prevent dust and debris from settling on them during the removal process.
- Screwdriver: Depending on the type of trim or fasteners used, a screwdriver may be necessary to remove any screws or nails holding the backsplash in place.
Materials to prepare:
- Caulk Remover: A caulk remover solution or gel will aid in softening and dissolving the caulk, making it easier to remove.
- Adhesive Remover: This product will help in loosening the adhesive bonding the backsplash to the wall and countertop, facilitating its removal.
- Cleaning Solution: Once the backsplash is removed, a cleaning solution or mild detergent will be needed to thoroughly clean the countertop surface.
- Rags or Paper Towels: Keep plenty of rags or paper towels on hand to wipe away excess caulk, adhesive remover, and cleaning solution.
- Trash Bags: Have a few trash bags nearby to dispose of any debris and discarded materials.
By ensuring that you have all the necessary tools and materials ready, you can approach the project with confidence and efficiency, setting the stage for a successful removal process.
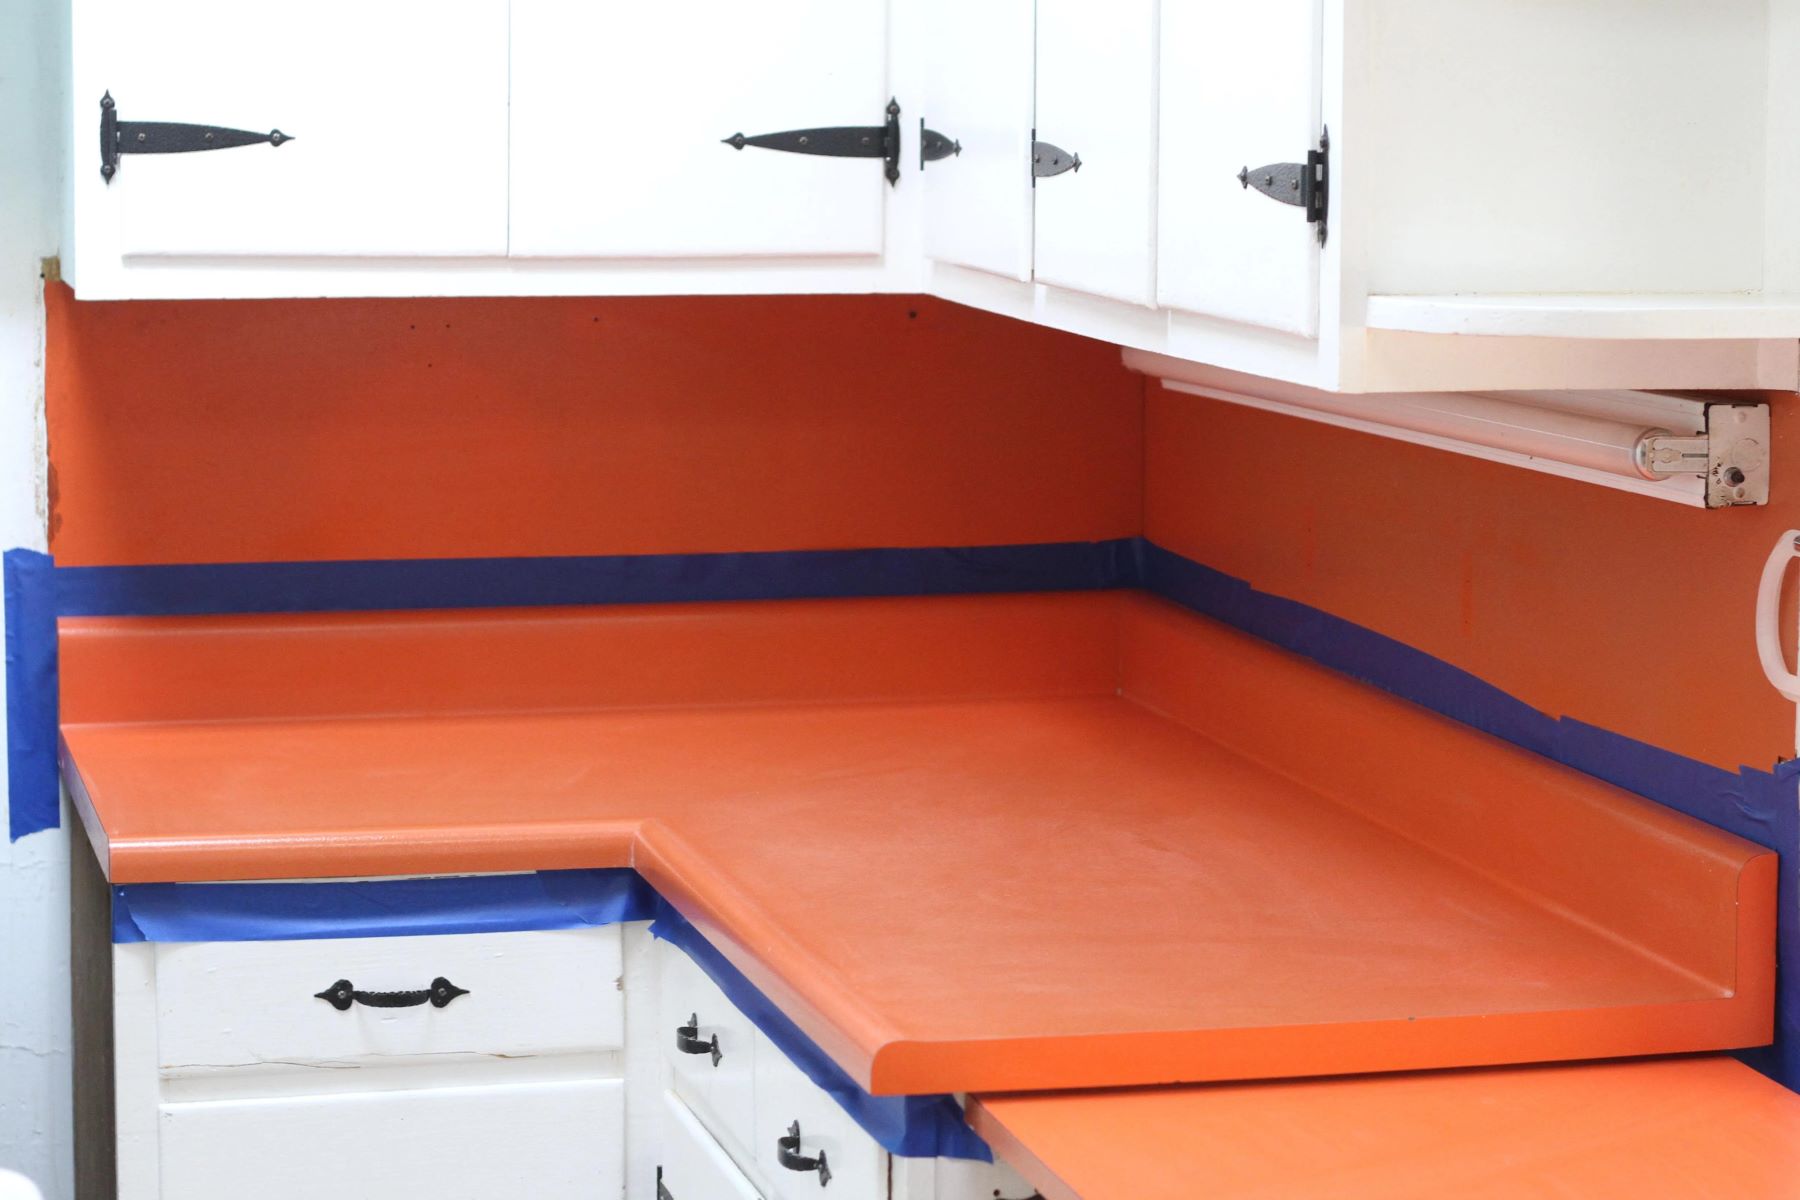
Step 2: Prepare the work area
Preparing the work area is a crucial preliminary step before embarking on the removal of a laminate countertop backsplash. By taking the time to set up the space properly, you can minimize potential damage to surrounding surfaces and ensure a smooth and organized removal process.
Clear the Countertop and Surrounding Area
Start by clearing the countertop of any items, such as small appliances, utensil holders, or decorative pieces. This will create a clear and unobstructed workspace, allowing you to maneuver more effectively during the removal process. Additionally, remove any items from the surrounding area to prevent them from being accidentally damaged or covered in debris.
Protect the Countertop and Cabinets
To safeguard the countertop from scratches and debris, lay down a drop cloth or tarp over the entire surface. This protective layer will serve as a barrier, ensuring that the countertop remains unscathed throughout the removal process. Furthermore, cover the cabinets and appliances with plastic sheeting to prevent dust and debris from settling on them.
Ventilation and Lighting
Ensure that the work area is well-ventilated by opening windows or using fans to promote air circulation. This is particularly important when using caulk and adhesive removers, as adequate ventilation will help dissipate fumes and odors. Additionally, ensure that the work area is well-lit to provide optimal visibility during the removal process.
Organize Tools and Materials
Arrange the gathered tools and materials within easy reach of the work area. Having everything organized and readily accessible will streamline the removal process and prevent unnecessary disruptions. Keep the utility knife, putty knife, adhesive remover, and other essential tools within arm's reach to facilitate a smooth workflow.
Read more: What Are Laminate Countertops
Safety Precautions
Before commencing the removal process, don appropriate safety gear, including gloves and safety goggles, to protect yourself from potential hazards. It's essential to prioritize safety throughout the project to prevent injuries and ensure a secure working environment.
By meticulously preparing the work area, you can create an environment conducive to a successful backsplash removal. This proactive approach sets the stage for a seamless and efficient removal process, minimizing the risk of damage and ensuring a professional outcome.
Step 3: Remove the caulk and trim
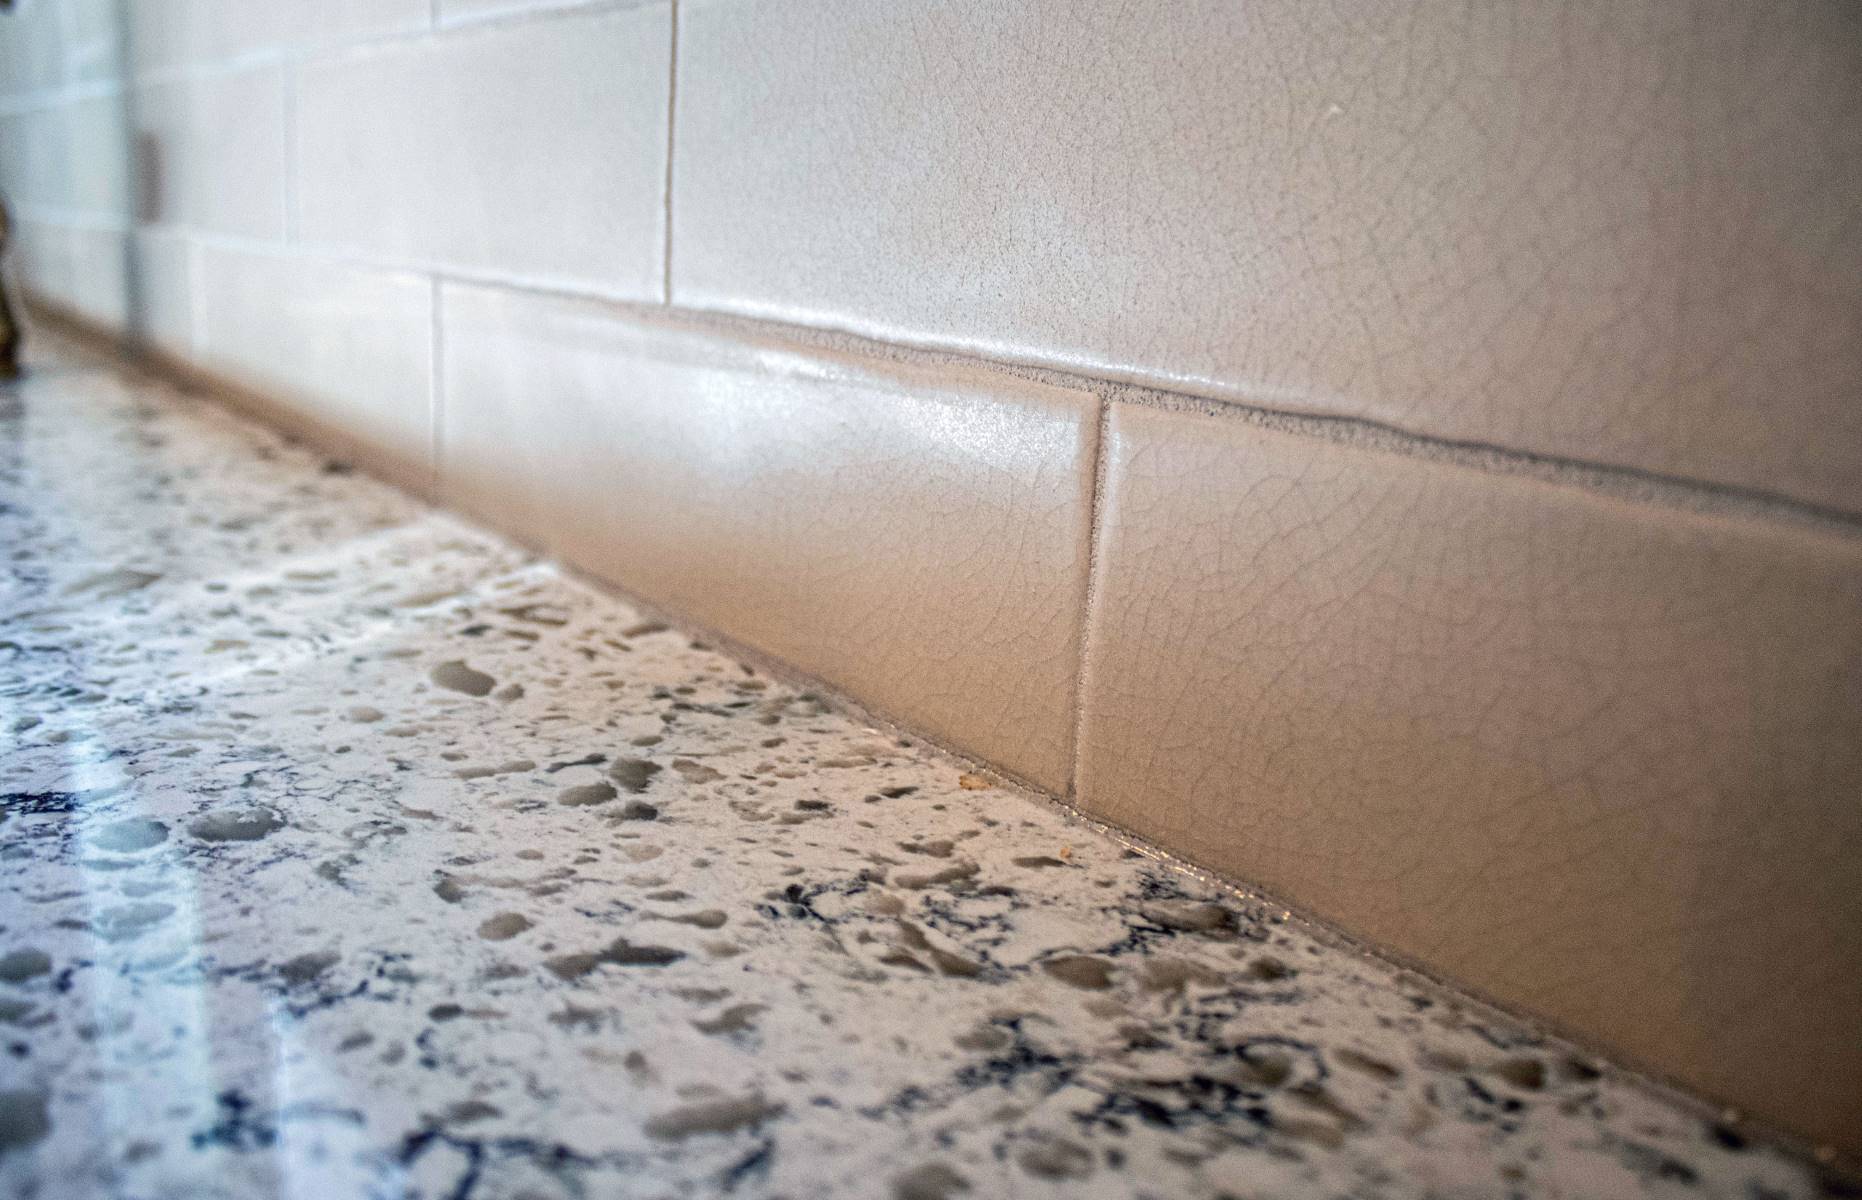
Removing the caulk and trim is a critical step in the process of eliminating a laminate countertop backsplash. The caulk serves as a sealant, securing the backsplash to the wall and countertop, while the trim provides a finished edge. By carefully addressing these elements, you can effectively prepare the backsplash for removal without causing damage to the surrounding surfaces.
Addressing the Caulk
Begin by using a utility knife to carefully cut through the caulk along the top and bottom edges of the backsplash. This will help loosen the bond between the backsplash and the wall and countertop. Exercise caution to avoid applying excessive pressure, as this could result in unintended damage to the adjacent surfaces. Once the caulk has been scored, gently pry the edges of the backsplash to further loosen the caulk seal.
Removing the Trim
If the backsplash is adorned with trim, such as metal or plastic edging, use a putty knife or pry bar to carefully detach the trim from the wall. Take care to work slowly and methodically, ensuring that the trim is removed without causing any damage to the underlying wall surface. In some cases, the trim may be secured with screws or nails, which should be carefully removed using a screwdriver.
Read more: How To Protect Laminate Countertops
Cleaning the Area
After the caulk and trim have been successfully removed, take a moment to clean the exposed edges of the wall and countertop. Use a damp cloth to wipe away any residual caulk or debris, ensuring that the surfaces are clean and ready for the next phase of the removal process.
By meticulously addressing the caulk and trim, you can effectively prepare the backsplash for removal while safeguarding the surrounding surfaces. This careful approach sets the stage for a smooth and efficient removal process, ensuring that the project progresses seamlessly.
Step 4: Loosen the adhesive
With the caulk and trim successfully removed, the next crucial step in removing a laminate countertop backsplash is to address the adhesive securing the backsplash to the wall and countertop. The adhesive plays a pivotal role in bonding the backsplash to the surfaces, and effectively loosening it is essential for a smooth and damage-free removal process.
To begin, apply an adhesive remover solution or gel along the edges of the backsplash where it meets the wall and countertop. Ensure that the adhesive remover is evenly distributed and adequately covers the bonded areas. The solution works to soften and dissolve the adhesive, gradually weakening its grip on the surfaces.
Allow the adhesive remover to penetrate and work its magic for the recommended duration specified by the product instructions. This waiting period is crucial, as it gives the solution ample time to effectively loosen the adhesive, making the removal process significantly easier.
As the adhesive remover continues to work, gently insert a putty knife or pry bar between the backsplash and the wall. Apply gentle pressure to gradually separate the backsplash from the wall, taking care not to force the removal. It's important to work methodically and patiently, allowing the adhesive remover to do the heavy lifting in weakening the bond.
If resistance is encountered during the process, apply additional adhesive remover and patiently continue the gentle separation. Avoid using excessive force, as this can lead to damage to the wall or countertop surfaces.
Once the adhesive has been sufficiently loosened, carefully lift and remove the backsplash from the wall and countertop. Take your time to ensure a smooth and controlled removal, minimizing the risk of damage to the surrounding areas.
By effectively loosening the adhesive, you can facilitate the removal of the laminate countertop backsplash with precision and care. This meticulous approach ensures that the removal process progresses smoothly, setting the stage for the final steps of the project.
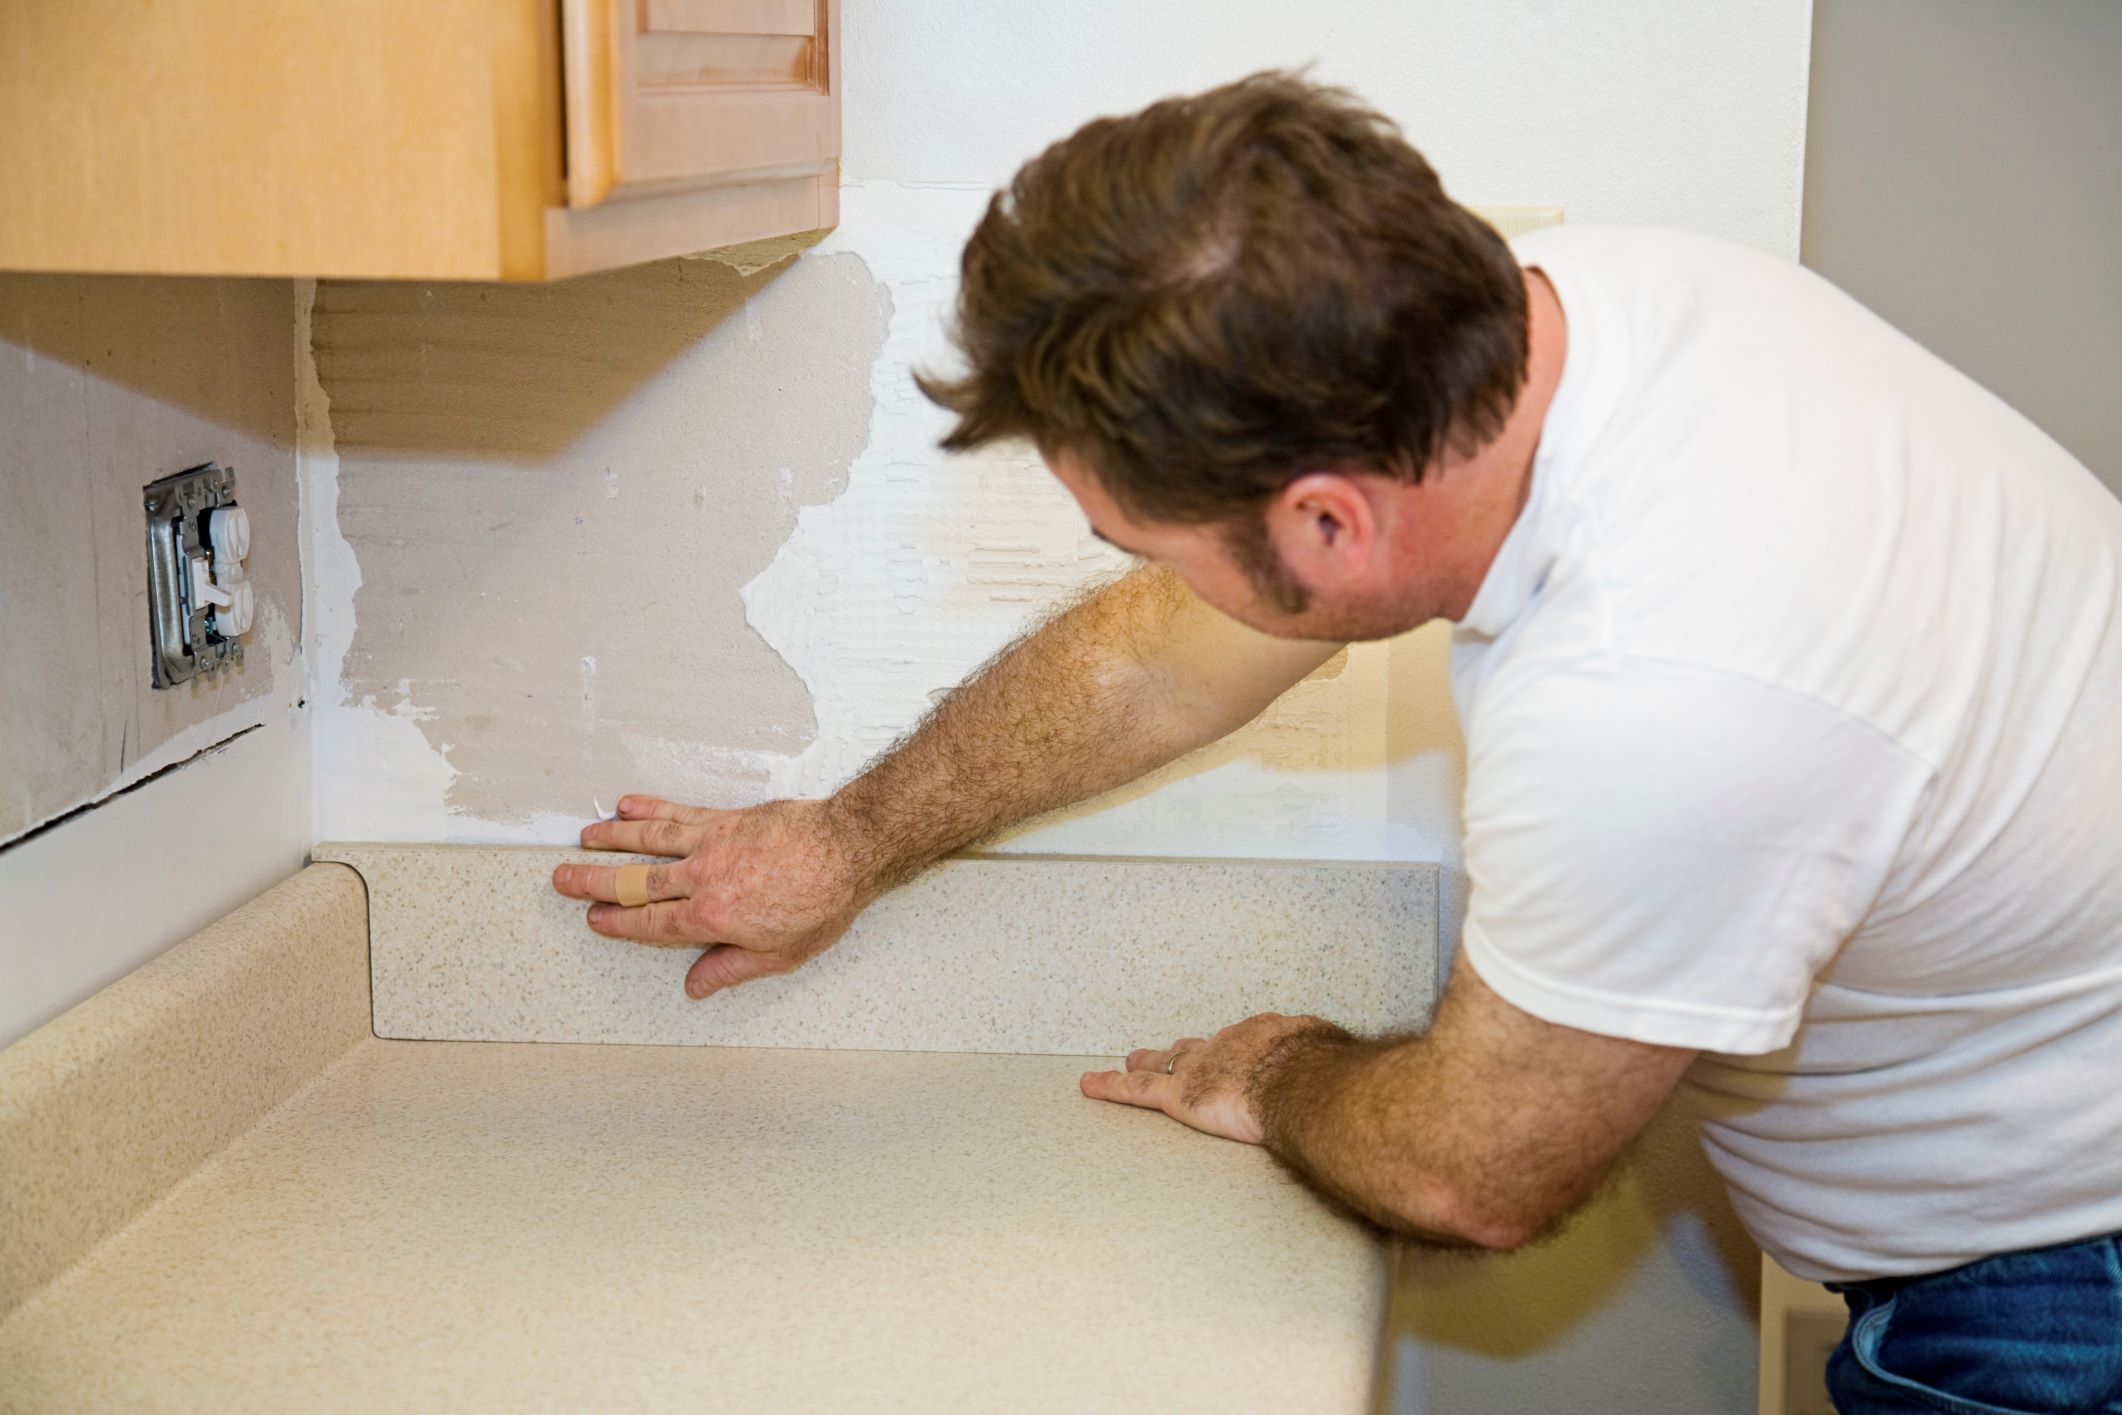
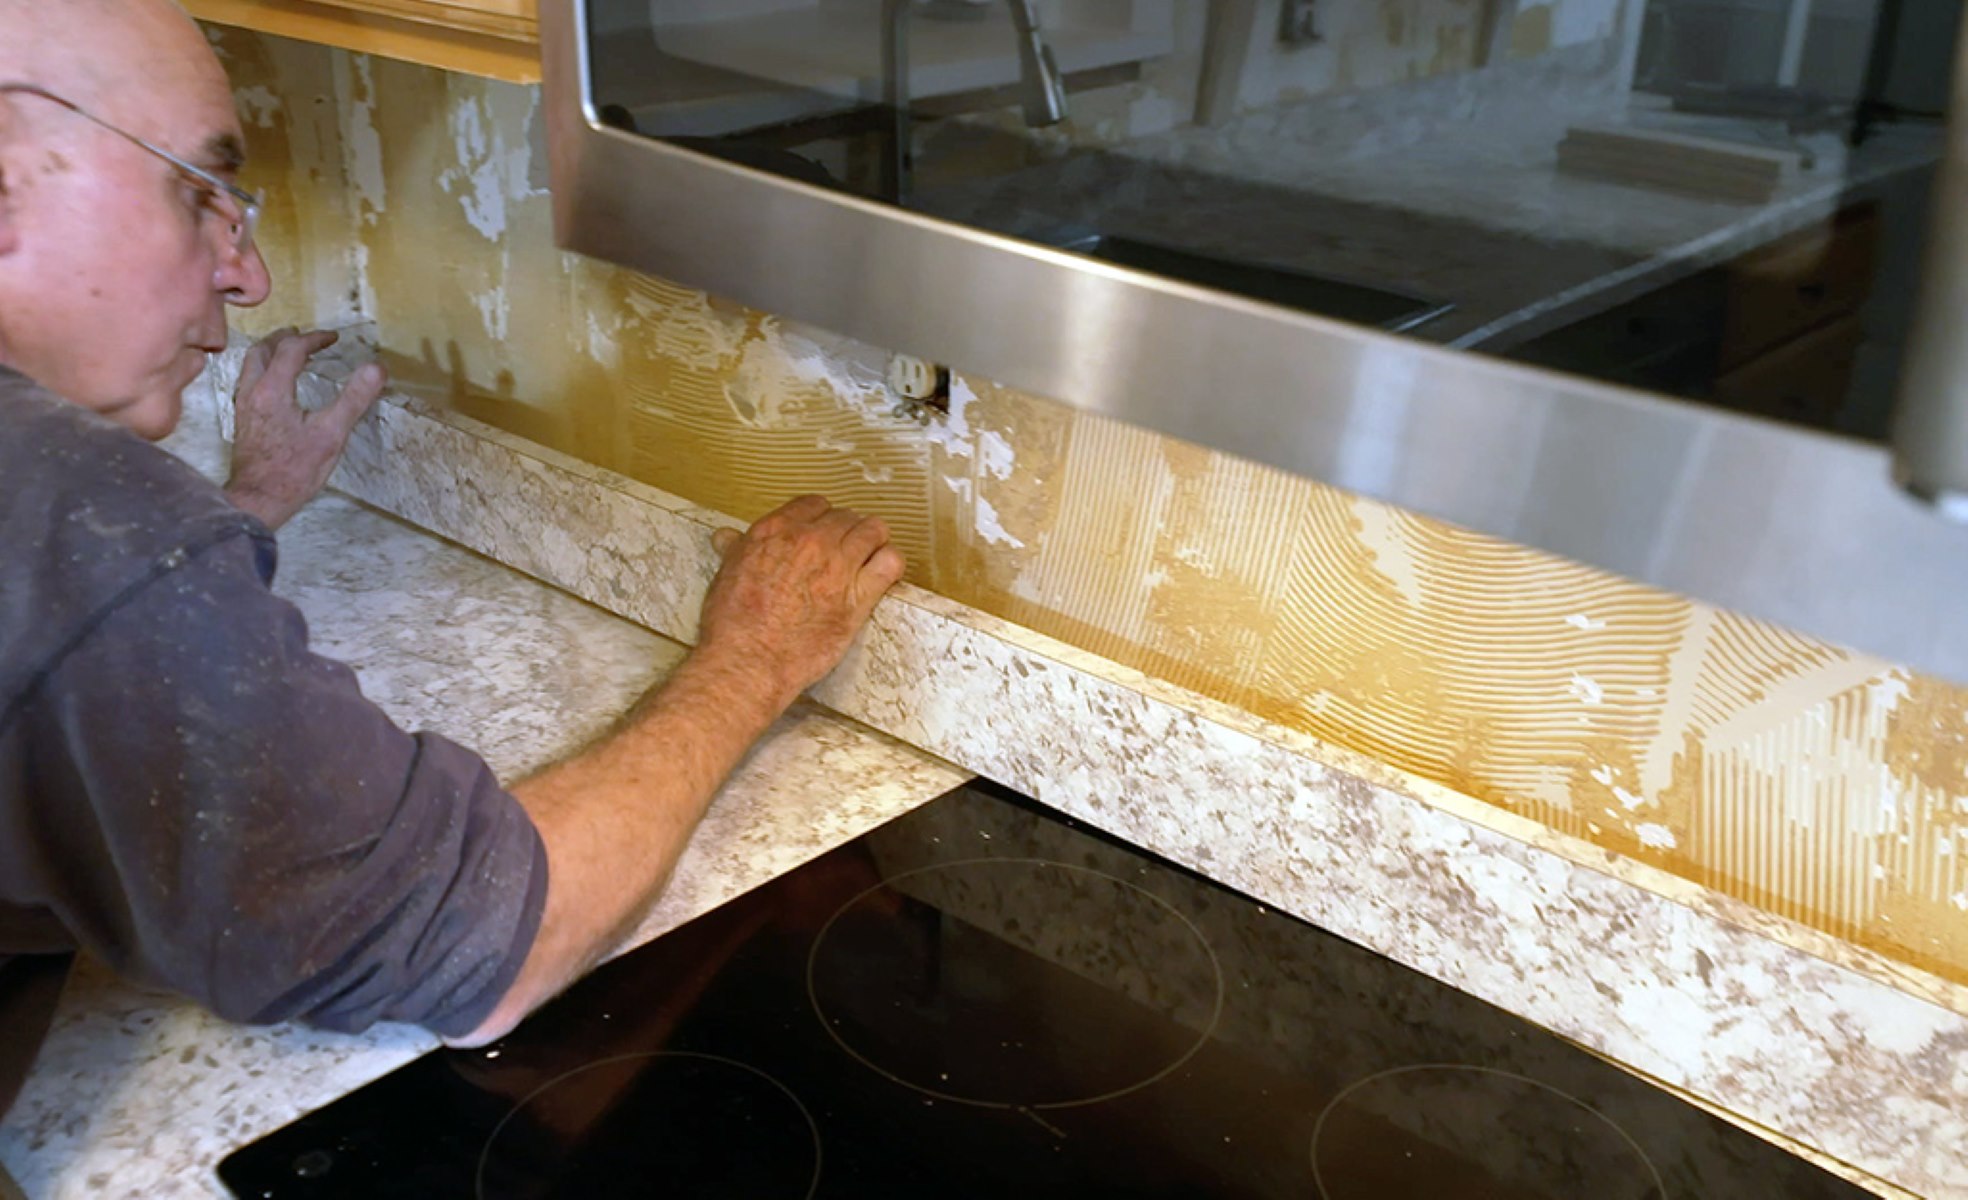
Step 5: Remove the backsplash
With the adhesive successfully loosened and the surrounding area prepared, it's time to proceed with the pivotal step of removing the laminate countertop backsplash. This phase requires precision and patience to ensure that the backsplash is detached without causing any damage to the wall or countertop.
Begin by gently lifting the edges of the backsplash using a pry bar or putty knife. Exercise caution and apply even pressure to gradually separate the backsplash from the wall. It's essential to work methodically, focusing on one section at a time to maintain control over the removal process.
As the backsplash begins to detach from the wall, continue to lift and pry along its length, taking care to avoid sudden or forceful movements. If resistance is encountered, apply additional adhesive remover to further weaken the bond and facilitate a smoother removal.
Once the backsplash has been fully detached from the wall, carefully lift it away, ensuring that it remains intact and free from any damage. Take your time to maneuver the backsplash, keeping it level and stable to prevent any accidental mishaps.
As the backsplash is lifted away, set it aside in a safe and designated area, ensuring that it is positioned securely to prevent any potential damage. This step is crucial, as it sets the stage for the subsequent cleaning and finishing processes.
By methodically removing the backsplash with precision and care, you can successfully complete this pivotal phase of the removal process. This meticulous approach ensures that the backsplash is detached smoothly and safely, paving the way for the final steps of the project.
This detailed and deliberate removal process sets the stage for the subsequent cleaning and finishing steps, ensuring that the project progresses seamlessly towards achieving a professional and polished outcome.
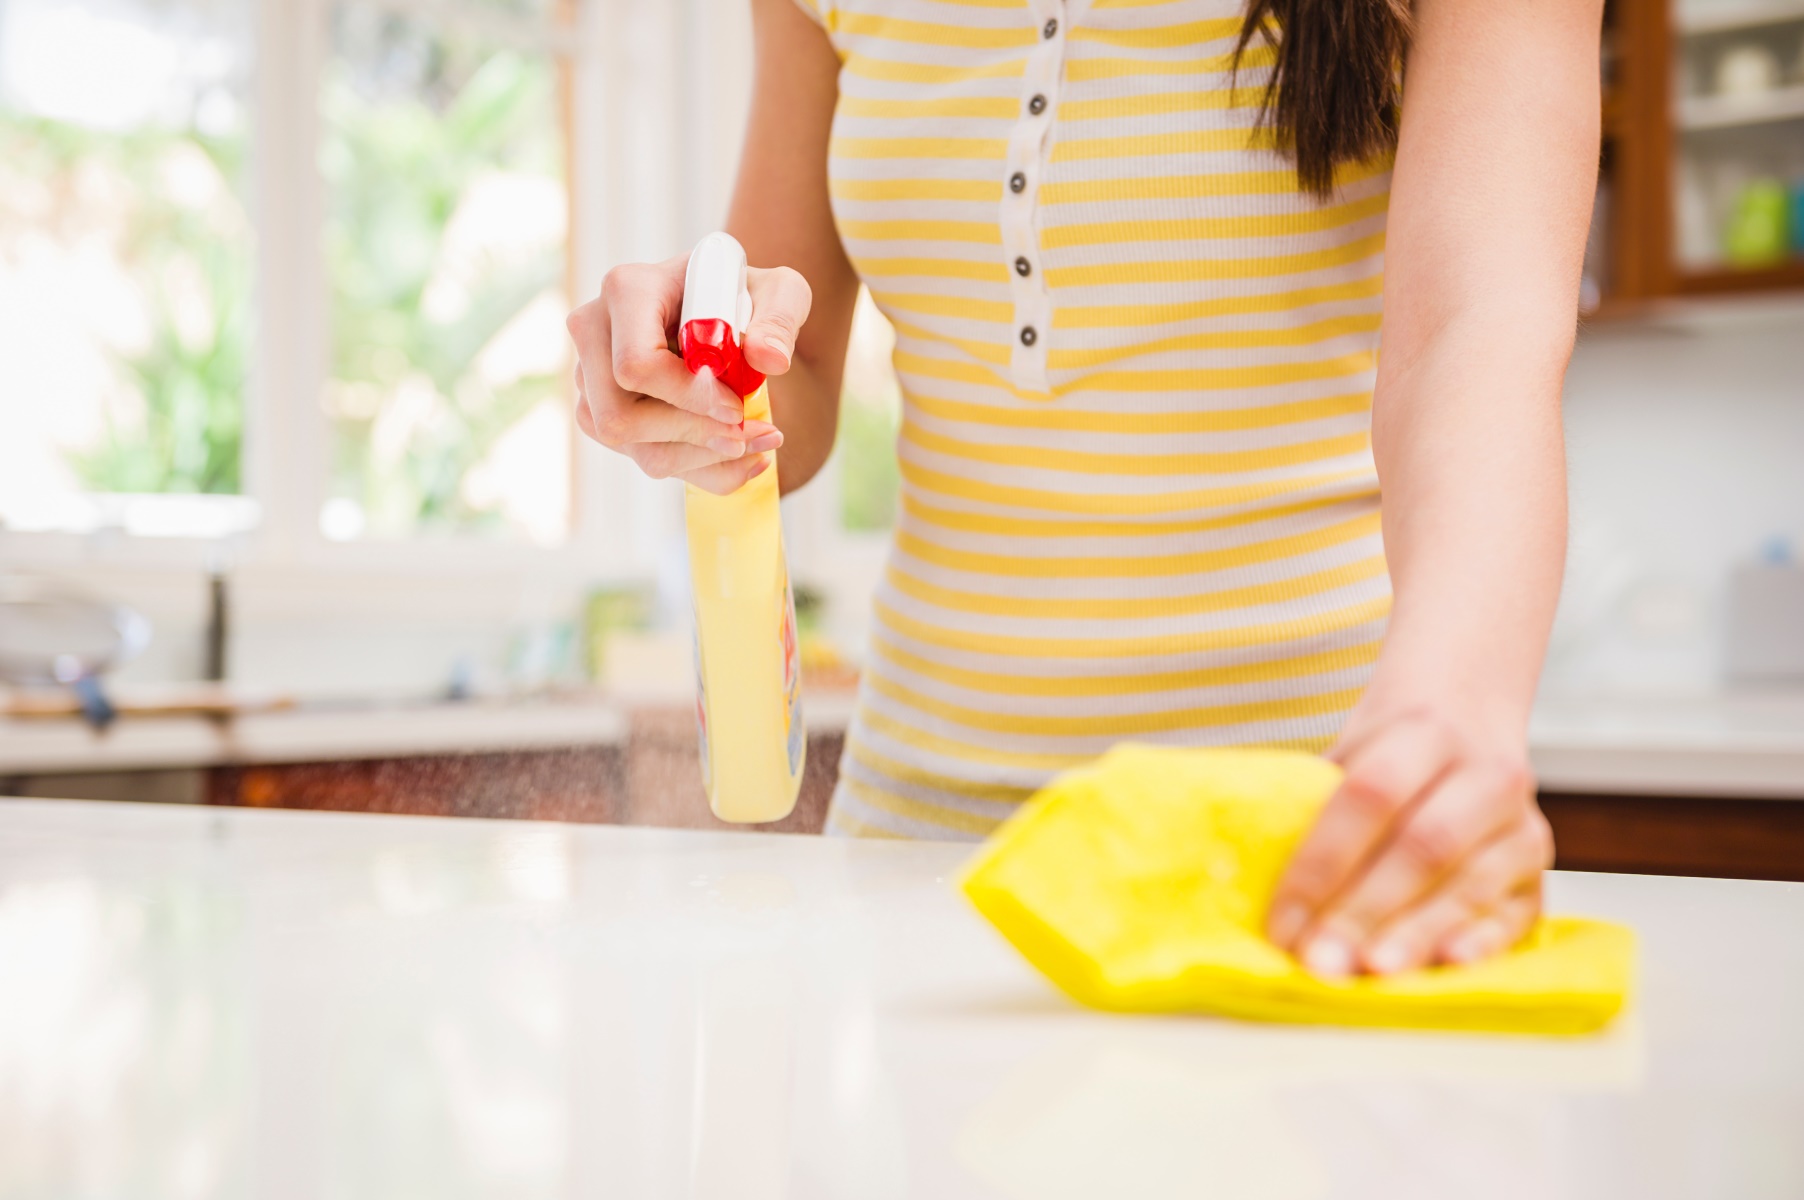
Step 6: Clean the countertop
After successfully removing the laminate countertop backsplash, the next crucial step is to thoroughly clean the countertop surface. This essential task ensures that any residual adhesive, caulk, or debris is effectively removed, leaving the countertop pristine and ready for the next phase of your renovation project.
Begin by inspecting the countertop surface for any remnants of adhesive or caulk. Use a putty knife or scraper to gently remove any stubborn adhesive residue, taking care not to scratch or damage the countertop material. It's important to approach this task with patience and precision, ensuring that the surface is meticulously cleaned without causing any unintended harm.
Next, prepare a cleaning solution by mixing a mild detergent or countertop cleaner with warm water. Dampen a clean cloth or sponge with the solution and thoroughly wipe down the entire countertop surface. Pay close attention to any areas where adhesive or caulk was previously present, ensuring that they are effectively cleaned and free from any residue.
For particularly stubborn adhesive or caulk remnants, consider using a specialized adhesive remover or solvent as recommended by the countertop manufacturer. Apply the remover sparingly and follow the manufacturer's instructions to safely and effectively eliminate any lingering residue.
Once the countertop surface has been cleaned and any adhesive remnants have been addressed, rinse the area with clean water to remove any remaining cleaning solution. Use a dry cloth to thoroughly dry the countertop, ensuring that no moisture is left behind.
As a final touch, inspect the countertop surface to ensure that it is completely clean and free from any debris or residue. This meticulous cleaning process sets the stage for the subsequent steps of your renovation project, ensuring that the countertop is primed and ready for the next phase, whether it involves installing a new backsplash or applying a fresh finish to the surface.
By dedicating attention to detail and meticulously cleaning the countertop, you can ensure that the removal process culminates in a pristine and refreshed surface. This thorough cleaning step sets the foundation for the successful completion of your renovation project, leaving you with a clean and polished countertop ready to showcase your desired aesthetic.
Read more: How To Seam Laminate Countertops
Step 7: Finish and clean up
With the laminate countertop backsplash successfully removed and the countertop surface thoroughly cleaned, the final step involves completing the finishing touches and ensuring a comprehensive cleanup of the work area. This pivotal phase not only marks the culmination of the removal process but also sets the stage for the next steps in your renovation journey.
Inspect and Address Any Damage
Begin by carefully inspecting the wall and countertop surfaces for any signs of damage or wear resulting from the removal process. Address any minor imperfections, such as small nicks or scratches, by using a touch-up paint or repair kit specifically designed for the material of your countertop. This proactive approach ensures that any minor blemishes are promptly attended to, maintaining the overall aesthetic appeal of the space.
Prepare for the Next Phase
If your renovation plans include installing a new backsplash or making further enhancements to the countertop area, take this opportunity to prepare the space for the upcoming tasks. Clear the work area of any debris, organize your tools and materials, and ensure that the countertop surface is dry and ready for the next phase of your project. This proactive preparation sets the stage for a seamless transition to the subsequent renovation steps.
Dispose of Debris and Unused Materials
Gather any discarded materials, such as the removed backsplash, trim, and any debris generated during the removal process, and dispose of them responsibly. Place the debris in designated trash bags and ensure that they are properly sealed for disposal. By promptly clearing the work area of debris and unused materials, you can maintain a clean and organized space, setting the foundation for the next stages of your renovation project.
Read more: How To Measure Countertops For Laminate
Final Clean-Up
Conclude the removal process by conducting a final clean-up of the work area. Remove the protective coverings from the countertop and cabinets, ensuring that any dust or debris is thoroughly wiped away. Use a vacuum or broom to sweep the floor and eliminate any residual particles, leaving the entire area clean and free from any remnants of the removal process.
Celebrate Your Progress
As you conclude the finishing and clean-up phase, take a moment to appreciate the progress you've made in revitalizing your space. Whether you're embarking on a full-scale renovation or simply updating the look of your kitchen or bathroom, each completed step brings you closer to achieving your desired vision for the space.
By meticulously attending to the finishing touches and conducting a thorough clean-up, you can ensure that the removal process culminates in a polished and organized work area. This proactive approach sets the stage for the seamless continuation of your renovation project, allowing you to move forward with confidence and enthusiasm as you embark on the next phases of your home transformation.
Frequently Asked Questions about How To Remove Laminate Countertop Backsplash
Was this page helpful?
At Storables.com, we guarantee accurate and reliable information. Our content, validated by Expert Board Contributors, is crafted following stringent Editorial Policies. We're committed to providing you with well-researched, expert-backed insights for all your informational needs.


0 thoughts on “How To Remove Laminate Countertop Backsplash”