Articles
How To Remove Mold From Lunch Box
Modified: May 6, 2024
Looking for articles on how to remove mold from your lunch box? Check out our helpful tips and tricks to keep your lunch box clean and mold-free!
(Many of the links in this article redirect to a specific reviewed product. Your purchase of these products through affiliate links helps to generate commission for Storables.com, at no extra cost. Learn more)
Introduction
Welcome to the ultimate guide on how to remove mold from a lunch box. Lunch boxes are essential for keeping our food fresh and protected, but over time, they can become a breeding ground for mold and bacteria. The presence of mold not only poses health risks but also imparts an unpleasant odor and taste to our meals. However, with the right tools and techniques, you can easily eliminate mold from your lunch box and ensure that it remains clean and safe to use.
In this article, we will walk you through a step-by-step process to effectively remove mold from your lunch box. We’ll cover everything from gathering the necessary supplies to thoroughly cleaning and storing the lunch box. By following these instructions, you’ll be able to restore your lunch box to its pristine condition and enjoy fresh, mold-free meals again.
Before we delve into the steps, it’s essential to understand the importance of addressing mold growth promptly. Mold is a type of fungus that thrives in moist and dark environments, making lunch boxes a perfect breeding ground. Exposure to mold can lead to respiratory issues, allergies, and other health problems. Additionally, mold can spread quickly, contaminating other items in close proximity. Therefore, it’s vital to tackle mold as soon as you notice its presence.
Now, let’s get started on the process of removing mold from your lunch box, step by step.
Key Takeaways:
- Say goodbye to moldy lunch boxes with these 6 simple steps: gather supplies, prepare the box, remove visible mold, treat affected areas, clean thoroughly, and dry and store properly. Enjoy fresh, mold-free meals every day!
- Keep your lunch box mold-free by following these steps: gather supplies, prepare the box, remove visible mold, treat affected areas, clean thoroughly, and dry and store properly. With proper care, your lunch box will stay fresh and safe for years to come.
Read more: How To Remove Mold From Attic
Step 1: Gather necessary supplies
The first step in removing mold from your lunch box is to gather all the necessary supplies. Having the right tools and cleaning agents will make the process more efficient and effective. Here are the supplies you’ll need:
- Hot water: Hot water is essential for cleaning and disinfecting the lunch box. Make sure the water is hot enough to kill any mold spores.
- Dishwashing soap: Choose a mild dishwashing soap that is effective in removing grease and grime without harming the lunch box material.
- Vinegar: Vinegar is a natural cleaner and disinfectant that can effectively kill mold spores. It is especially useful for removing stubborn mold stains.
- Baking soda: Baking soda is another natural cleaning agent that can help eliminate odors caused by mold. It is also slightly abrasive, making it useful for scrubbing away mold growth.
- Toothbrush or cleaning brush: A soft-bristle toothbrush or a cleaning brush will help you reach into the tight corners and crevices of the lunch box.
- Microfiber cloth or sponge: A microfiber cloth or sponge is gentle on the surface of the lunch box and helps in wiping away mold and cleaning agents.
- Plastic bag or container: You’ll need a plastic bag or container to store any removed moldy items or debris safely.
Once you have gathered all the necessary supplies, you’re ready to move on to the next step: preparing the lunch box for mold removal.
Step 2: Preparing the lunch box
Before you begin the process of removing mold from your lunch box, it’s important to properly prepare it. This step will help ensure that the cleaning process is as effective as possible. Here’s what you need to do:
- Empty the lunch box: Start by removing all the contents from the lunch box. Dispose of any leftover food or snacks and discard any items that have come into direct contact with the mold.
- Take it apart (if possible): If your lunch box is made up of different compartments or inserts, disassemble them to reach all the nooks and crannies where mold may be lurking. This will allow for a more thorough cleaning.
- Open all the compartments and pockets: Next, open all the compartments and pockets of the lunch box. This will expose any hidden mold and make it easier to clean.
- Remove any detachable parts: If your lunch box has removable parts such as lids, dividers, or straps, take them out for separate cleaning. This will ensure that every component of the lunch box is thoroughly treated.
By properly preparing your lunch box, you’ll be able to access all the areas where mold may be present. This will allow for a more effective mold removal process in the following steps.
Step 3: Removing visible mold
Now that your lunch box is prepared, it’s time to tackle the visible mold. This step involves physically removing any visible mold growth from the surface of the lunch box. Here’s what you need to do:
- Put on protective gloves: Before you start handling the mold, protect your hands by wearing a pair of disposable gloves.
- Inspect the lunch box: Carefully examine the lunch box for any visible mold. Pay close attention to the corners, crevices, and areas that are prone to moisture accumulation.
- Use a toothbrush or cleaning brush: Dip a toothbrush or cleaning brush in hot soapy water and scrub the areas with visible mold. Make sure to apply gentle pressure to avoid damaging the lunch box.
- Rinse the lunch box: Rinse the lunch box thoroughly with hot water to remove any loosened mold particles and cleaning residue.
- Inspect for remaining mold: After rinsing, inspect the lunch box again to check if any mold residue remains. If there are still areas with mold, repeat the scrubbing and rinsing process until the lunch box is free from visible mold.
It’s crucial to remove visible mold as thoroughly as possible because even a small amount left behind can quickly grow and spread. Additionally, getting rid of visible mold will also help eliminate the unsightly stains it leaves behind.
Once you have successfully removed the visible mold, it’s time to move on to the next step: treating the affected area to prevent mold regrowth.
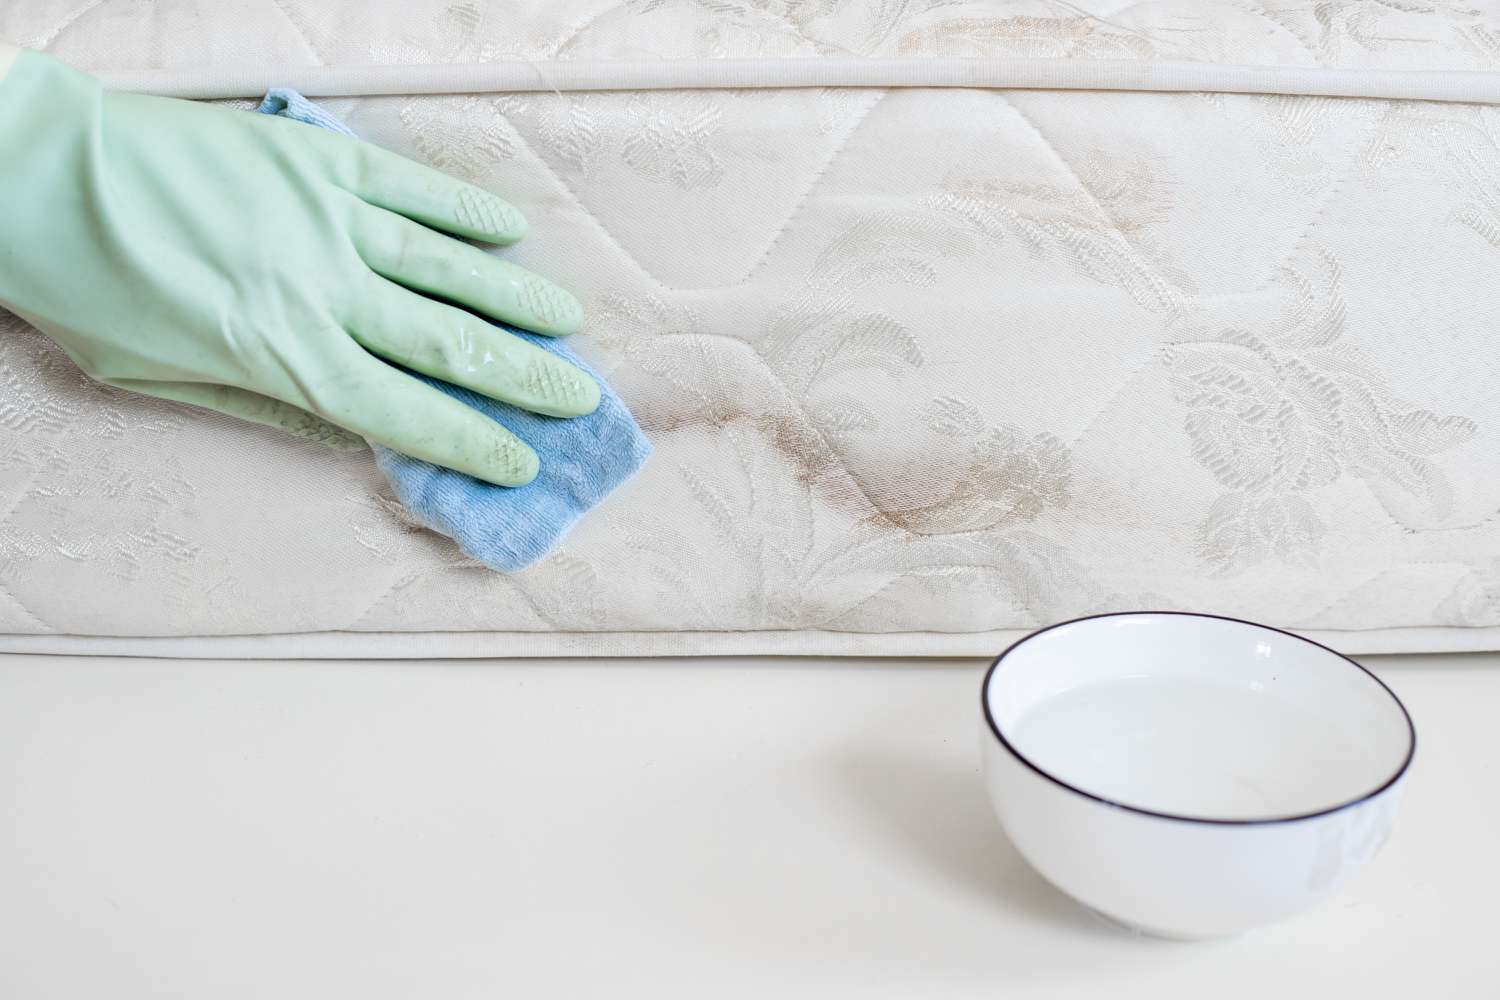
To remove mold from a lunch box, create a solution of equal parts water and white vinegar. Use a cloth to scrub the affected areas, then rinse and dry thoroughly. Repeat if necessary.
Step 4: Treating the affected area
After removing the visible mold from your lunch box, it’s important to treat the affected area to prevent mold regrowth. Even if the mold is no longer visible, there may still be spores lurking within the lunch box that can lead to future mold growth. Here’s how to effectively treat the affected area:
- Mix a solution of vinegar and water: In a bowl, combine equal parts white vinegar and water. Vinegar is a natural disinfectant that can kill mold spores and prevent them from growing back.
- Apply the solution to the affected area: Dip a clean cloth or sponge into the vinegar-water solution and gently wipe the entire inside surface of the lunch box. Pay extra attention to the areas that had visible mold growth.
- Let the solution sit: Allow the vinegar-water solution to sit inside the lunch box for 10-15 minutes. This will give it time to kill any remaining mold spores.
- Rinse the lunch box: Thoroughly rinse the lunch box with hot water to remove the vinegar residue. This step is important to ensure that no vinegar odor or taste remains in the lunch box.
- Dry the lunch box: After rinsing, use a clean towel to dry the lunch box completely. Mold thrives in damp environments, so it’s essential to remove any moisture to prevent mold growth.
Treating the affected area with vinegar not only eliminates mold spores but also helps neutralize any lingering odors. The acidity of vinegar also aids in breaking down any remaining stains left by the mold. Once you have completed the treatment, it’s time to move on to the next step: cleaning the lunch box thoroughly.
Read more: How To Remove Molding From Floor
Step 5: Cleaning the lunch box thoroughly
Now that you have removed the visible mold and treated the affected area, it’s time to clean the lunch box thoroughly. This step will ensure that any remaining mold spores, dirt, and bacteria are eliminated, leaving your lunch box fresh and hygienic. Here’s how to clean the lunch box:
- Prepare a cleaning solution: In a sink or basin, mix hot water with a small amount of mild dishwashing soap. This solution will effectively clean the lunch box without damaging the material.
- Submerge the lunch box: Place the lunch box in the soapy water solution and allow it to soak for a few minutes. This will help loosen any remaining dirt and grime.
- Use a soft-bristle toothbrush: Take a toothbrush and gently scrub all surfaces of the lunch box, including the interior and exterior. Pay attention to the corners, crevices, and hard-to-reach areas.
- Rinse the lunch box: Rinse the lunch box thoroughly with hot water to remove any soap residue. Make sure to rinse off all the soap to avoid leaving a film on the lunch box.
- Inspect for cleanliness: After rinsing, inspect the lunch box to ensure that it is clean and free from any remaining dirt or debris. If necessary, repeat the cleaning process to achieve the desired level of cleanliness.
Cleaning the lunch box thoroughly is essential for maintaining its cleanliness and preventing the growth of mold and bacteria. Regular cleaning, even when there are no visible signs of mold, will help prolong the life of the lunch box and ensure that it remains sanitary for future use.
After you have cleaned the lunch box, it’s important to dry and store it properly, which brings us to the final step: drying and storing the lunch box.
Step 6: Drying and storing the lunch box
After thoroughly cleaning your lunch box, it’s crucial to ensure that it is properly dried and stored. This step will prevent any moisture buildup and inhibit the growth of mold and bacteria. Here’s what you need to do:
- Pat dry with a towel: Use a clean, dry towel to remove any remaining water from the lunch box. Pay attention to the corners and crevices where water may pool.
- Air dry in a well-ventilated area: Place the lunch box in a well-ventilated area or near a fan to allow for proper air circulation. This will aid in the drying process and ensure that no moisture remains inside the lunch box.
- Keep the lunch box open: To further facilitate drying, keep the lunch box open by leaving the lids off and any compartments or dividers unsealed. This will help prevent any trapped moisture.
- Store in a clean, dry place: Once the lunch box is completely dry, store it in a clean and dry place. Avoid storing it in a damp or humid environment as it can encourage mold growth. If possible, store the lunch box with the lids and compartments separated to promote airflow.
Properly drying and storing the lunch box is vital for maintaining its cleanliness and preventing any future mold growth. Remember to periodically check the lunch box for any signs of mold or unusual odors, and repeat the cleaning process as necessary.
By following these six steps – gathering necessary supplies, preparing the lunch box, removing visible mold, treating the affected area, cleaning the lunch box thoroughly, and drying and storing it properly – you can successfully remove mold from your lunch box and ensure its longevity and safety.
Remember, prevention is key to avoiding mold growth in the future. After each use, make sure to clean and dry your lunch box before storing it. Additionally, avoid leaving perishable food items in the lunch box for extended periods and inspect it regularly for any signs of mold or damage.
With proper care and maintenance, your lunch box will continue to serve its purpose, keeping your meals fresh and safe for years to come.
Conclusion
Removing mold from a lunch box is essential for keeping your food safe, fresh, and enjoyable. Mold not only poses health risks but can also leave behind unpleasant odors and stains. By following the step-by-step process outlined in this guide, you can effectively remove mold from your lunch box and prevent its regrowth.
It all starts with gathering the necessary supplies, including hot water, dishwashing soap, vinegar, baking soda, and cleaning tools like a toothbrush or cleaning brush. Preparing the lunch box by emptying it, disassembling if possible, and opening all compartments sets the stage for successful mold removal.
The process continues by removing visible mold using a toothbrush or cleaning brush, rinsing the lunch box, and inspecting for any remaining mold. Treating the affected area with a vinegar-water solution helps kill mold spores and neutralize any odor. Cleaning the lunch box thoroughly with soapy water and a soft-bristle toothbrush ensures that all dirt and debris are removed.
After cleaning, the lunch box should be properly dried to prevent moisture buildup and stored in a clean, dry place. By following these steps, you’ll be able to maintain a mold-free lunch box that is safe for everyday use.
Remember, prevention is key in avoiding mold growth. Regularly cleaning and drying your lunch box, as well as storing it in a suitable environment, will help keep mold at bay. Inspect your lunch box periodically for any signs of mold or damage, and address it promptly to prevent further issues.
By taking care of your lunch box and following the tips in this guide, you can ensure that your meals remain fresh, healthy, and free from mold. Happy lunching!
Now that you've tackled mold in your lunch box, why stop there? Wooden furniture can suffer from similar issues. Our guide on mold removal from wood furniture offers practical steps to restore your pieces to their former glory. Also, if your kitchen needs a refresh, don't miss our cleaning tips for a sparkling refrigerator. Both guides provide easy-to-follow advice to enhance your home's cleanliness and overall appeal!
Frequently Asked Questions about How To Remove Mold From Lunch Box
Was this page helpful?
At Storables.com, we guarantee accurate and reliable information. Our content, validated by Expert Board Contributors, is crafted following stringent Editorial Policies. We're committed to providing you with well-researched, expert-backed insights for all your informational needs.


0 thoughts on “How To Remove Mold From Lunch Box”