Home>Furniture & Design>Bathroom Accessories>How To Remove Mold In A Bathtub
Bathroom Accessories
How To Remove Mold In A Bathtub
Modified: October 18, 2024
Learn effective methods to remove mold in your bathtub with the right bathroom accessories. Say goodbye to mold and keep your bathroom clean and healthy.
(Many of the links in this article redirect to a specific reviewed product. Your purchase of these products through affiliate links helps to generate commission for Storables.com, at no extra cost. Learn more)
Introduction
Dealing with mold in a bathtub can be a frustrating and unsightly issue for many homeowners. The presence of mold not only diminishes the aesthetic appeal of the bathroom but also poses potential health risks. However, with the right knowledge and tools, it is possible to effectively remove mold and prevent its recurrence.
In this comprehensive guide, we will explore the step-by-step process of removing mold in a bathtub, along with essential tips for preventing its regrowth. By understanding the nature of mold and following the recommended techniques, you can restore the cleanliness and hygiene of your bathroom space.
Mold thrives in damp and humid environments, making the bathroom an ideal breeding ground. The combination of moisture, warmth, and organic matter provides the perfect conditions for mold spores to take hold and proliferate. When left unchecked, mold can spread rapidly, discoloring grout lines, caulking, and other surfaces, and emitting a musty odor that permeates the air.
By addressing mold growth promptly and effectively, you can not only improve the visual appeal of your bathroom but also create a healthier living environment for you and your family. With the right approach and a commitment to regular maintenance, you can keep mold at bay and enjoy a clean, fresh bathroom for years to come.
Now, let's delve into the process of understanding mold in bathtubs and the tools and techniques needed to tackle this common household challenge. With the right information and a proactive mindset, you can take control of mold growth and maintain a pristine bathroom space.
Key Takeaways:
- Say goodbye to mold in your bathtub by using bleach or white vinegar, scrubbing thoroughly, and ensuring proper ventilation. Keep your bathroom clean and healthy for you and your family.
- Prevent mold from coming back by regularly cleaning, addressing leaks, and using mold-resistant products. Stay proactive and maintain a fresh, mold-free bathroom environment.
Read more: How To Get Rid Of Mold On Bathtub
Understanding Mold in Bathtubs
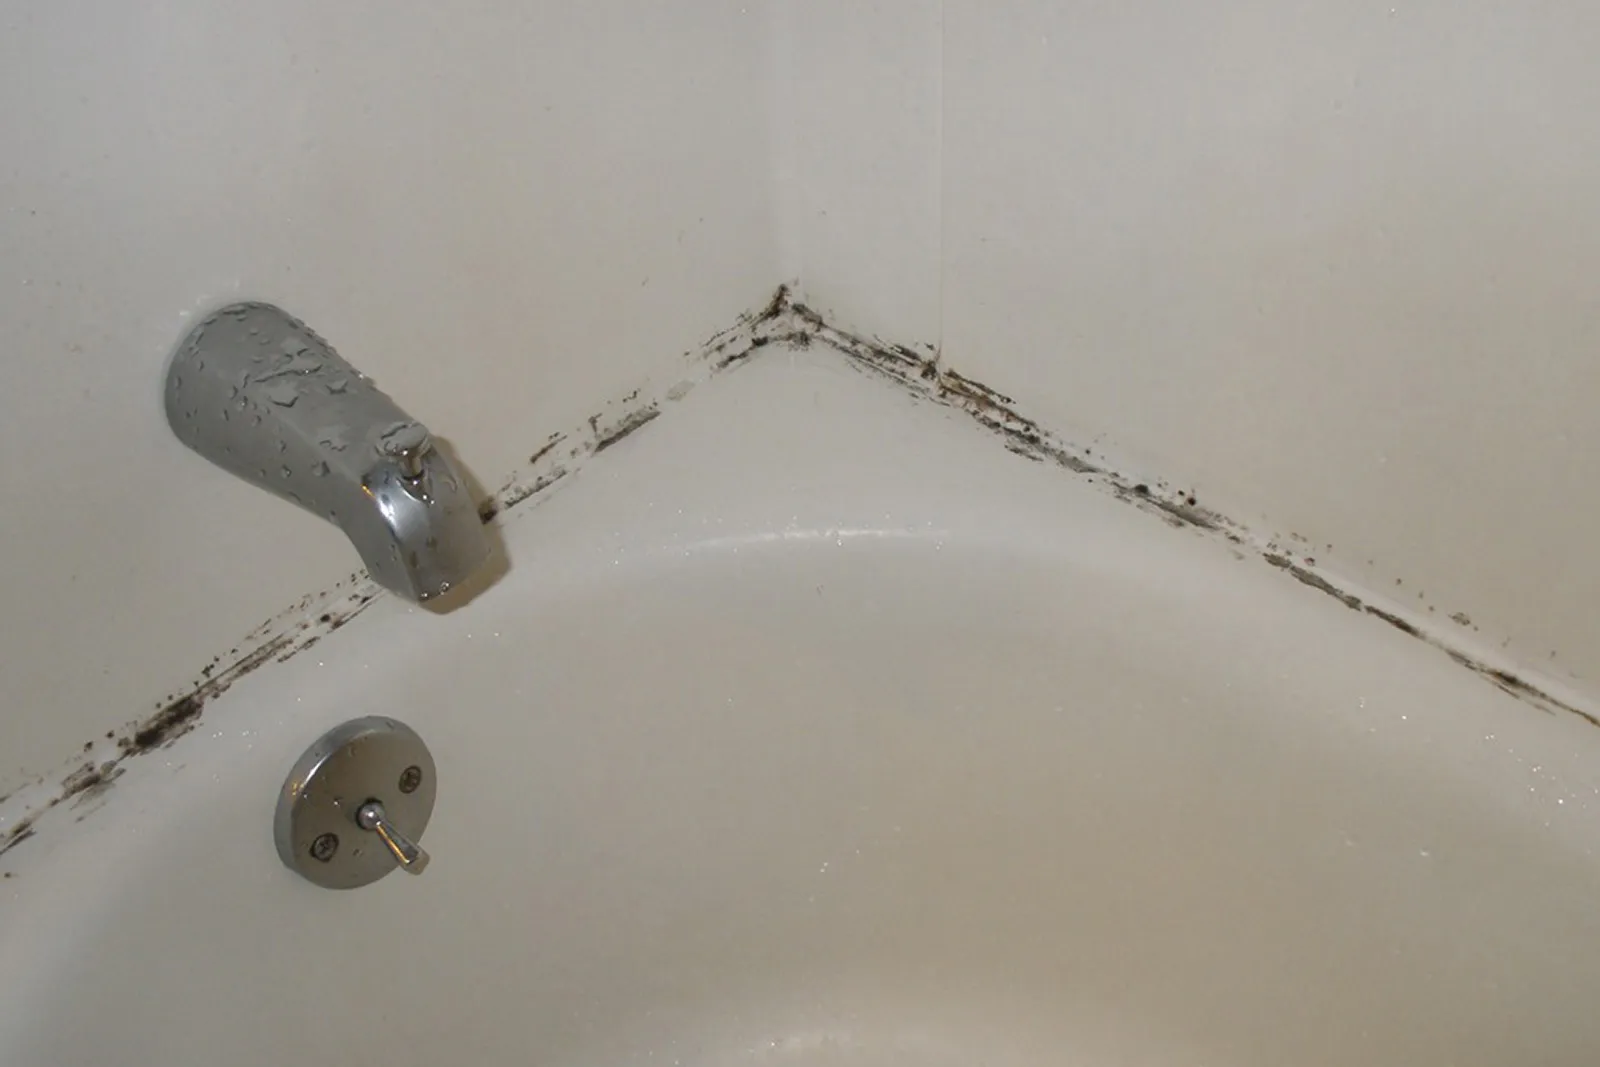
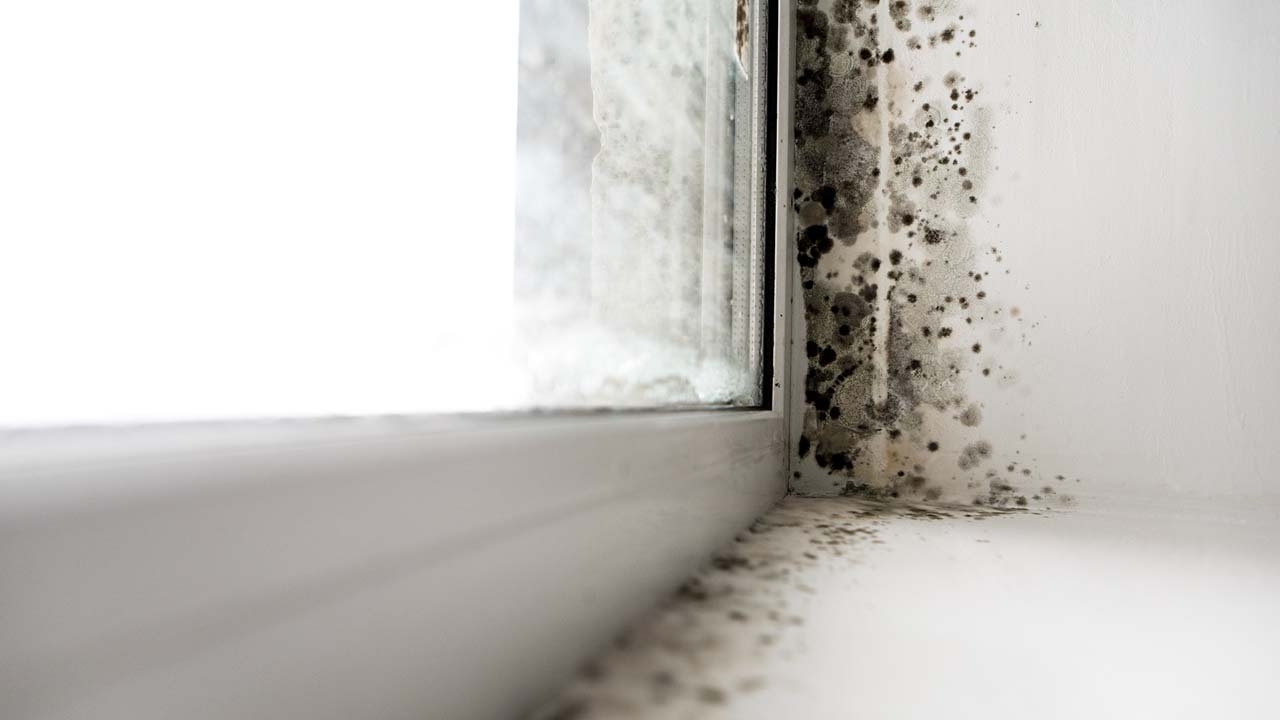
Mold is a type of fungus that thrives in moist, warm environments, making the bathroom an ideal breeding ground. In bathtubs, mold commonly appears as black, green, or brown patches, often concentrated in the grout lines, caulking, and other porous surfaces. This unsightly growth not only detracts from the visual appeal of the bathroom but also poses potential health risks.
Mold spores are omnipresent in the environment, and when they land on a damp surface, they can begin to grow and spread. In the bathroom, the combination of moisture from showering and bathing, warmth, and organic matter provides the perfect conditions for mold to flourish. Additionally, inadequate ventilation can exacerbate the issue, creating a humid environment that further encourages mold growth.
The presence of mold in bathtubs is not only a cosmetic concern but also a health hazard. Mold can trigger allergic reactions and respiratory issues, particularly in individuals with sensitivities or compromised immune systems. Furthermore, prolonged exposure to mold spores can lead to respiratory infections and exacerbate existing conditions such as asthma.
It's important to address mold growth promptly and effectively to prevent it from spreading and causing further damage. Understanding the nature of mold and its preferred conditions for growth is crucial in formulating an effective removal and prevention strategy. By recognizing the factors that contribute to mold growth, such as moisture, warmth, and poor ventilation, homeowners can take proactive measures to mitigate these conditions and prevent mold from recurring.
In the next sections, we will explore the tools and materials needed, as well as the step-by-step process for removing mold in a bathtub. By gaining a comprehensive understanding of mold and its behavior, you can approach the task of mold removal with confidence and ensure a thorough and lasting solution.
Tools and Materials Needed
To effectively remove mold from a bathtub and prevent its recurrence, you will need a set of essential tools and materials. These items are instrumental in facilitating the cleaning process and ensuring thorough mold removal. By assembling the following tools and materials, you can approach the task with confidence and efficiency.
1. Protective Gear
- Rubber Gloves: These provide hand protection from the cleaning solution and mold spores, minimizing skin contact with potentially harmful substances.
- Safety Goggles: Eye protection is essential to prevent the cleaning solution and dislodged mold particles from coming into contact with your eyes.
2. Cleaning Solutions
- Bleach: A powerful disinfectant and mold remover, bleach effectively kills mold spores and inhibits their regrowth. Ensure proper ventilation when using bleach and follow safety guidelines.
- White Vinegar: An eco-friendly alternative to bleach, white vinegar possesses mild acidic properties that can help dissolve and inhibit mold growth.
Read more: How To Remove Mold From Attic
3. Scrubbing Tools
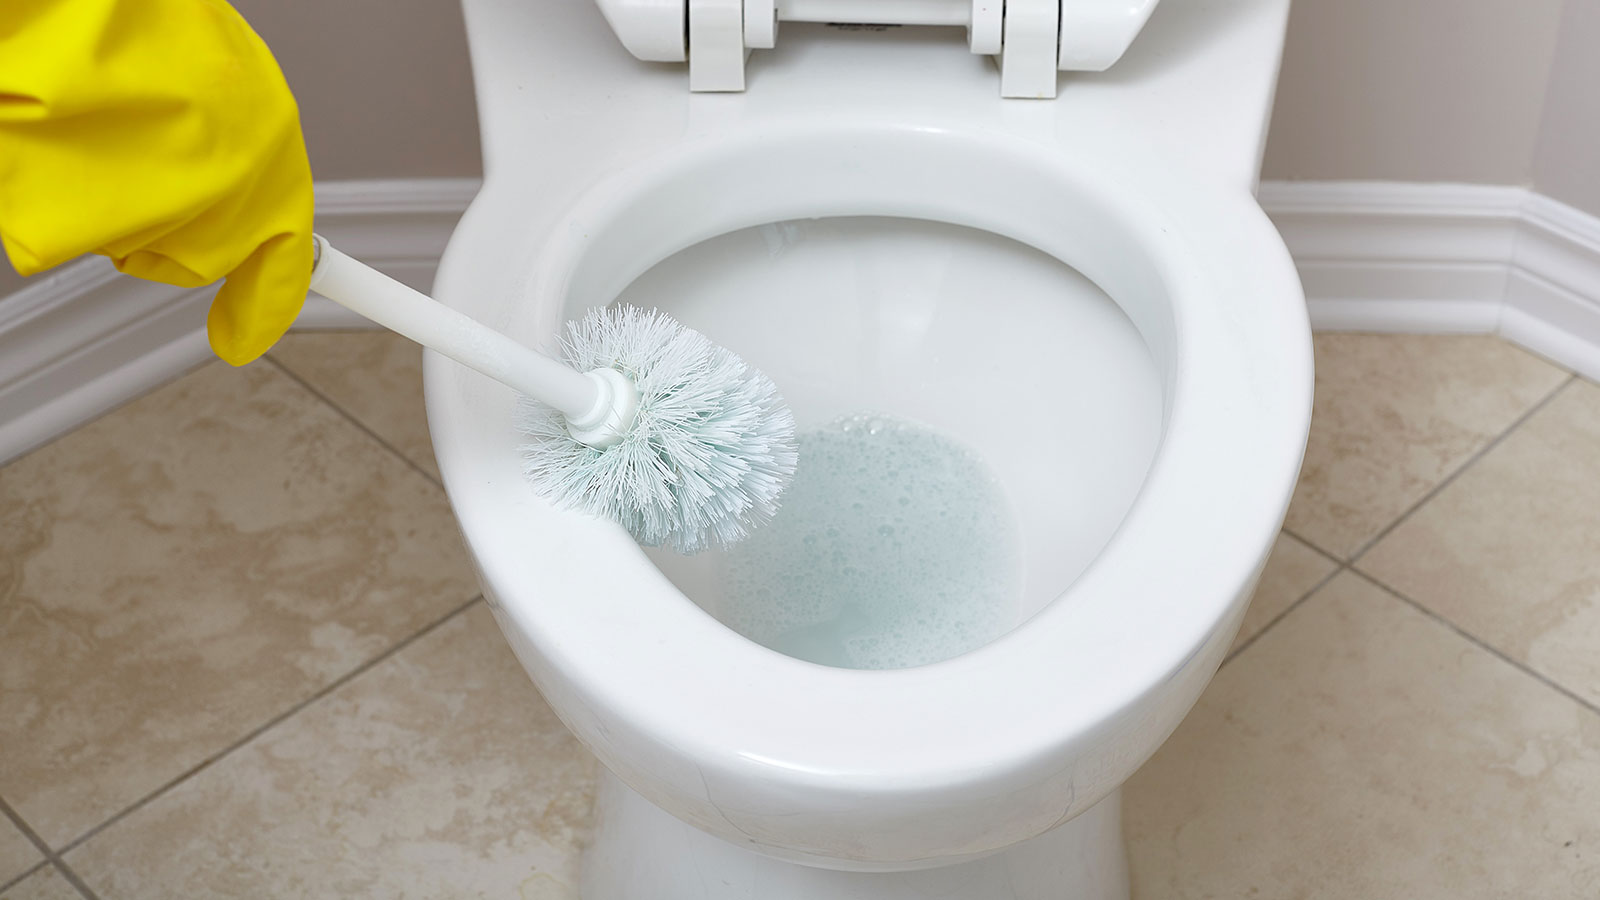
- Stiff-Bristled Brush: Ideal for scrubbing mold-infested grout lines and other porous surfaces, a stiff-bristled brush facilitates the physical removal of mold.
- Old Toothbrush: Useful for reaching tight corners and crevices where mold may be present, an old toothbrush allows for detailed cleaning.
4. Protective Mask
- N95 Respirator Mask: When dealing with extensive mold growth or if you are sensitive to mold spores, wearing an N95 respirator mask can provide respiratory protection.
5. Ventilation
- Fan: A fan can help improve air circulation and ventilation in the bathroom, aiding in the drying process and reducing moisture levels that contribute to mold growth.
6. Additional Materials
- Plastic Spray Bottle: Use this to apply the cleaning solution evenly to the affected areas.
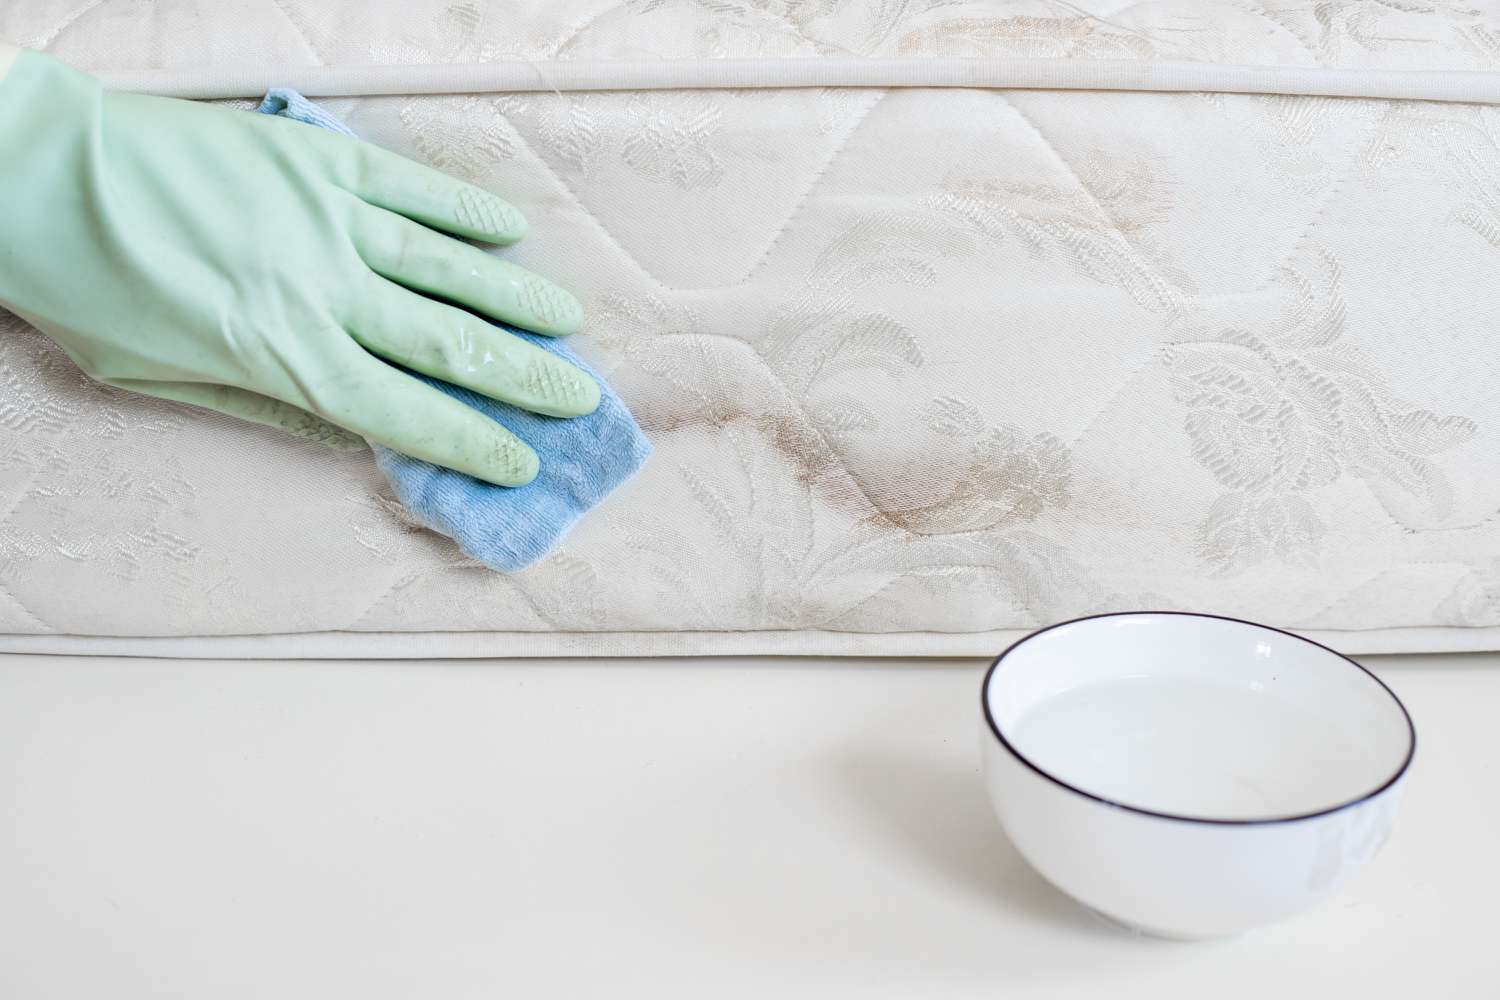
- Microfiber Cloths: These are effective for wiping and drying surfaces after cleaning, leaving them free of moisture that could promote mold regrowth.
By ensuring that you have the necessary tools and materials on hand, you can proceed with the mold removal process in a safe and organized manner. These items are essential for not only removing existing mold but also implementing preventive measures to discourage its return. With the right tools and materials at your disposal, you are well-equipped to tackle the task of mold removal and maintain a clean, mold-free bathtub for the long term.
Read more: How To Remove Molding From Floor
Step 1: Safety Precautions
Before embarking on the process of removing mold from a bathtub, it is crucial to prioritize safety precautions to safeguard your well-being during the cleaning procedure. Mold removal involves the handling of potentially harmful substances and the use of powerful cleaning solutions, necessitating the implementation of safety measures to minimize risks and ensure a safe environment for the task at hand.
Protective Gear
Wearing appropriate protective gear is paramount when dealing with mold in a bathtub. This includes:
- Rubber Gloves: Utilize durable rubber gloves to shield your hands from direct contact with the cleaning solution and mold spores. This protective barrier minimizes skin exposure to potentially harmful substances, reducing the risk of irritation or allergic reactions.
- Safety Goggles: Safeguard your eyes with the use of safety goggles to prevent the cleaning solution and dislodged mold particles from coming into contact with your eyes. Eye protection is essential to avoid potential eye irritation or injury during the cleaning process.
Respiratory Protection
In instances where extensive mold growth is present or if you are sensitive to mold spores, wearing a protective mask is advisable. Consider using an N95 respirator mask to protect your respiratory system from inhaling mold spores and airborne particles. This precautionary measure is particularly important for individuals with respiratory sensitivities or allergies.
Adequate Ventilation
Proper ventilation is key to creating a safe and healthy environment for mold removal. Ensure that the bathroom is well-ventilated by opening windows and using exhaust fans to facilitate air circulation. Adequate ventilation helps disperse fumes from cleaning solutions and reduces moisture levels, contributing to a safer and more comfortable workspace.
Read more: How To Remove Mold From Showerhead
Handling Cleaning Solutions
When working with cleaning solutions such as bleach or white vinegar, it is essential to follow safety guidelines and recommendations. Ensure that the area is well-ventilated to minimize inhalation of fumes, and avoid mixing cleaning agents, as this can produce hazardous chemical reactions. Additionally, store cleaning solutions out of reach of children and pets to prevent accidental exposure.
By prioritizing safety precautions at the outset of the mold removal process, you can create a secure and controlled environment for effectively addressing the issue. These measures not only protect your well-being but also contribute to a systematic and organized approach to mold removal. With safety as a top priority, you can proceed with confidence and focus on achieving thorough and lasting results in removing mold from your bathtub.
Step 2: Preparing the Area
Before commencing the process of removing mold from a bathtub, it is essential to prepare the surrounding area to ensure an organized and efficient cleaning procedure. Proper preparation sets the stage for effective mold removal and minimizes the risk of cross-contamination or accidental exposure to cleaning solutions. By following these preparatory steps, you can create a controlled and conducive environment for addressing the mold issue in your bathtub.
Clearing the Surrounding Space
Begin by removing any personal care products, bath accessories, or items from the bathtub and its immediate surroundings. Clearing the area of bath toys, shampoo bottles, loofahs, and other items not only provides unobstructed access to the affected surfaces but also prevents these items from coming into contact with cleaning solutions or dislodged mold particles.
Ventilation and Air Circulation
Ensure that the bathroom is well-ventilated to facilitate air circulation and minimize the concentration of fumes from cleaning solutions. Open windows and doors to promote cross-ventilation, and if available, utilize exhaust fans to further improve air circulation. Adequate ventilation helps disperse fumes and airborne particles, creating a safer and more comfortable environment for the mold removal process.
Read more: How To Remove Mold In A Washing Machine
Protecting Adjacent Surfaces
Cover any adjacent surfaces or fixtures near the bathtub that are not intended for cleaning with plastic sheeting or drop cloths. This precautionary measure helps prevent accidental contact with cleaning solutions and minimizes the risk of inadvertent damage to surrounding surfaces. By shielding adjacent areas, you can focus on targeted mold removal without concerns about affecting other parts of the bathroom.
Securing Personal Protective Equipment
Ensure that all necessary personal protective equipment, including rubber gloves, safety goggles, and respiratory protection if required, is readily accessible. Verify that the protective gear is in good condition and properly fitted before proceeding with the mold removal process. Having the appropriate protective equipment on hand reinforces a safety-conscious approach and minimizes potential risks during the cleaning procedure.
Organizing Cleaning Tools and Materials
Gather all the essential cleaning tools and materials, such as scrubbing brushes, cleaning solutions, spray bottles, and microfiber cloths, and arrange them within easy reach. Organizing the cleaning supplies in close proximity to the work area streamlines the process and minimizes disruptions, allowing for a focused and efficient approach to mold removal. Additionally, having the necessary tools readily available ensures a seamless transition between cleaning steps.
By meticulously preparing the area before initiating the mold removal process, you can establish a controlled and organized environment conducive to effective cleaning. These preparatory measures not only contribute to a systematic approach but also promote safety, efficiency, and thoroughness in addressing mold growth in your bathtub. With the area properly prepared, you are poised to proceed with the subsequent steps of applying the cleaning solution and physically removing the mold, ultimately restoring the cleanliness and hygiene of your bathroom space.
Step 3: Applying the Cleaning Solution
Once the area is prepared and safety precautions are in place, the next step in removing mold from a bathtub involves the application of an effective cleaning solution. The choice of cleaning solution plays a pivotal role in breaking down mold and inhibiting its regrowth, making it essential to select a potent yet safe option for this task.
One of the most commonly used and highly effective cleaning solutions for mold removal is bleach. When using bleach, it is crucial to dilute it with water in a well-ventilated area, following the recommended ratios for safe and efficient application. Alternatively, white vinegar can serve as a natural and eco-friendly alternative to bleach, leveraging its mild acidic properties to dissolve and inhibit mold growth.
To apply the cleaning solution, fill a plastic spray bottle with the diluted bleach solution or undiluted white vinegar. Ensure that the spray bottle is labeled and dedicated solely for this purpose to avoid cross-contamination with other cleaning products. With the spray bottle in hand, evenly coat the mold-infested surfaces, focusing on grout lines, caulking, and any areas where mold is present. The goal is to thoroughly saturate the affected surfaces with the cleaning solution, allowing it to penetrate and break down the mold.
After applying the cleaning solution, allow it to dwell on the surfaces for a specified duration, typically 10 to 15 minutes, to maximize its effectiveness in killing mold spores and loosening the mold from the surfaces. During this dwell time, the cleaning solution works to disinfect the area and weaken the grip of the mold, preparing it for the subsequent scrubbing and removal process.
The application of the cleaning solution marks a critical phase in the mold removal process, as it sets the stage for physically removing the mold and restoring the cleanliness of the bathtub. By ensuring thorough and even application of the chosen cleaning solution, you lay the groundwork for a comprehensive and effective mold removal procedure, ultimately contributing to a cleaner and healthier bathroom environment.
Read more: How To Remove A Bathtub Handle
Step 4: Scrubbing and Removing Mold
After allowing the cleaning solution to dwell and penetrate the mold-infested surfaces, the next crucial step in the mold removal process involves physically scrubbing and removing the loosened mold. This hands-on phase is instrumental in dislodging the mold from grout lines, caulking, and other porous surfaces, effectively restoring the cleanliness and hygiene of the bathtub.
To begin the scrubbing process, equip yourself with a stiff-bristled brush, ideally designed for tackling mold and mildew. The stiff bristles facilitate the mechanical removal of mold, allowing you to agitate and dislodge the mold from the surfaces. Additionally, have an old toothbrush on hand to reach tight corners and crevices where mold may be present, ensuring thorough and detailed cleaning.
With the scrubbing tools at the ready, commence the process by vigorously scrubbing the mold-infested areas, focusing on targeted sections to ensure comprehensive coverage. Employ firm and deliberate strokes to dislodge the mold, paying particular attention to grout lines and areas with visible mold growth. As you scrub, periodically rinse the brush or toothbrush to remove dislodged mold particles, preventing their reattachment to the surfaces.
Throughout the scrubbing process, periodically assess the progress to gauge the effectiveness of the cleaning efforts. Stubborn or entrenched mold may require additional attention and repeated scrubbing to achieve complete removal. Exercise patience and persistence, ensuring that all visible traces of mold are thoroughly addressed to prevent regrowth and ensure a pristine result.
As the scrubbing process progresses, periodically inspect the surfaces to monitor the removal of mold and assess the overall cleanliness. Continue scrubbing until the surfaces are free of visible mold and exhibit a renewed freshness. Once satisfied with the results, proceed to rinse the surfaces thoroughly with water, removing any residual cleaning solution and dislodged mold particles.
Following the rinsing step, dry the surfaces using microfiber cloths or towels, ensuring that all moisture is removed to discourage mold regrowth. Thorough drying is essential in preventing the resurgence of mold, as lingering moisture can create favorable conditions for mold spores to thrive.
By diligently scrubbing and removing mold from the bathtub, you can achieve a comprehensive and lasting solution to mold growth, restoring the cleanliness and appeal of the bathroom space. This hands-on phase, when executed with attention to detail and thoroughness, contributes to a mold-free environment and sets the stage for implementing preventive measures to deter future mold growth.
Step 5: Rinse and Dry
After the thorough scrubbing and removal of mold from the bathtub surfaces, the final step involves rinsing and drying the treated areas to complete the mold removal process. This critical phase is essential for removing any residual cleaning solution, dislodged mold particles, and moisture, thereby creating an environment that is inhospitable to mold regrowth.
To initiate the rinsing process, use clean water to thoroughly rinse the surfaces that have been treated with the cleaning solution. Ensure that all traces of the cleaning solution are effectively removed, as any residual bleach or vinegar can potentially interact with moisture and organic matter, inadvertently providing a conducive environment for mold resurgence. Pay particular attention to grout lines, caulking, and other porous surfaces, ensuring that they are free of any lingering cleaning solution.
Following the rinsing step, proceed to dry the surfaces meticulously using microfiber cloths or towels. Thorough drying is paramount in preventing the recurrence of mold, as residual moisture can serve as a catalyst for mold spores to take hold and proliferate once again. By diligently drying the treated areas, you create an inhospitable environment for mold growth, contributing to a lasting and effective mold removal solution.
During the drying process, focus on removing all moisture from the surfaces, including grout lines, caulking, and any recessed areas where water may accumulate. Thoroughly inspect the treated surfaces to ensure that they are completely dry, leaving no opportunity for mold spores to thrive. By addressing moisture effectively, you fortify the mold removal efforts and establish an environment that is resistant to mold regrowth.
Upon completing the rinsing and drying process, take a moment to assess the cleanliness and freshness of the treated surfaces. The absence of visible moisture and the renewed cleanliness signify the successful completion of the mold removal procedure, culminating in a bathtub that is free of mold and conducive to a healthy and hygienic bathroom environment.
By meticulously executing the rinsing and drying steps, you conclude the mold removal process with a thorough and comprehensive approach, ensuring that the bathtub surfaces are free of residual cleaning solution and moisture. This final phase not only reinforces the effectiveness of the mold removal efforts but also sets the stage for implementing preventive measures to deter future mold growth, ultimately contributing to a clean, fresh, and mold-free bathroom space.
Preventing Mold Growth in the Future
Preventing mold growth in the future is essential for maintaining a clean and healthy bathroom environment. By implementing proactive measures and regular maintenance practices, you can effectively deter the recurrence of mold in your bathtub and ensure a long-term solution to this common household challenge.
Proper Ventilation
Adequate ventilation is crucial in mitigating moisture buildup, a primary catalyst for mold growth. Ensure that your bathroom is well-ventilated during and after showering or bathing. Utilize exhaust fans to expel humid air and promote air circulation, reducing the likelihood of moisture lingering on surfaces.
Read more: How To Remove A Bathtub Spout
Regular Cleaning and Maintenance
Establish a routine for regular cleaning and maintenance of your bathtub and bathroom surfaces. Wipe down wet surfaces after use and address any water accumulation promptly. Periodically inspect grout lines, caulking, and other susceptible areas for signs of mold or mildew, addressing any early indications to prevent widespread growth.
Addressing Leaks and Water Intrusion
Promptly repair any leaks or water intrusion in and around the bathtub. Check for and address plumbing issues, faulty seals, or damaged caulking that may contribute to moisture accumulation. By addressing potential sources of water intrusion, you can minimize the conditions conducive to mold growth.
Use of Mold-Resistant Products
Consider utilizing mold-resistant caulking and grout when maintaining or renovating your bathtub. These specialized products are formulated to inhibit mold growth, providing an added layer of protection against the proliferation of mold in porous surfaces.
Regular Inspections and Maintenance
Periodically inspect the bathroom for signs of moisture accumulation, water damage, or mold growth. Address any issues promptly to prevent the escalation of mold-related problems. By staying vigilant and proactive, you can identify and mitigate potential mold growth factors before they become significant concerns.
Read more: How To Remove Mold From Pillows
Utilizing Dehumidifiers
In particularly humid climates or environments with inadequate ventilation, consider using a dehumidifier to reduce moisture levels in the bathroom. By controlling humidity, you can create an environment less conducive to mold spore germination and growth.
By incorporating these preventive measures into your regular home maintenance routine, you can effectively deter mold growth in your bathtub and maintain a clean, healthy, and mold-free bathroom environment for the long term. Proactive maintenance and vigilance are key to preventing the recurrence of mold, ensuring that your bathroom remains a welcoming and hygienic space for you and your family.
Conclusion
In conclusion, addressing mold growth in a bathtub is a multifaceted endeavor that requires a combination of proactive measures, effective cleaning techniques, and ongoing maintenance practices. By understanding the nature of mold and its preferred conditions for growth, homeowners can implement targeted strategies to remove existing mold and prevent its recurrence.
The process of removing mold from a bathtub involves a systematic approach, beginning with safety precautions and area preparation, followed by the application of a potent cleaning solution and the physical removal of mold through scrubbing. Thorough rinsing and drying of the treated surfaces are essential to complete the mold removal process, creating an environment that is inhospitable to mold regrowth.
Furthermore, preventing mold growth in the future is paramount for maintaining a clean and healthy bathroom environment. Proactive measures such as proper ventilation, regular cleaning and maintenance, addressing leaks and water intrusion, and the use of mold-resistant products contribute to deterring the recurrence of mold in the bathtub.
By incorporating these preventive measures into regular home maintenance routines, homeowners can create a bathroom environment that is resistant to mold growth, ensuring a clean, fresh, and hygienic space for daily use. The proactive approach to mold prevention not only safeguards the visual appeal of the bathroom but also contributes to a healthier living environment for occupants.
In essence, the comprehensive process of removing mold from a bathtub and implementing preventive measures underscores the importance of proactive maintenance and vigilance in deterring mold growth. By addressing mold growth promptly and effectively, homeowners can enjoy a pristine and mold-free bathroom space, creating a welcoming and hygienic environment for themselves and their families.
Frequently Asked Questions about How To Remove Mold In A Bathtub
Was this page helpful?
At Storables.com, we guarantee accurate and reliable information. Our content, validated by Expert Board Contributors, is crafted following stringent Editorial Policies. We're committed to providing you with well-researched, expert-backed insights for all your informational needs.


0 thoughts on “How To Remove Mold In A Bathtub”