Articles
How To Remove Pressure Washer Nozzle
Modified: August 28, 2024
Discover effective methods for removing pressure washer nozzle with these informative articles. Get expert tips and tricks to ensure a hassle-free cleaning experience.
(Many of the links in this article redirect to a specific reviewed product. Your purchase of these products through affiliate links helps to generate commission for Storables.com, at no extra cost. Learn more)
Introduction
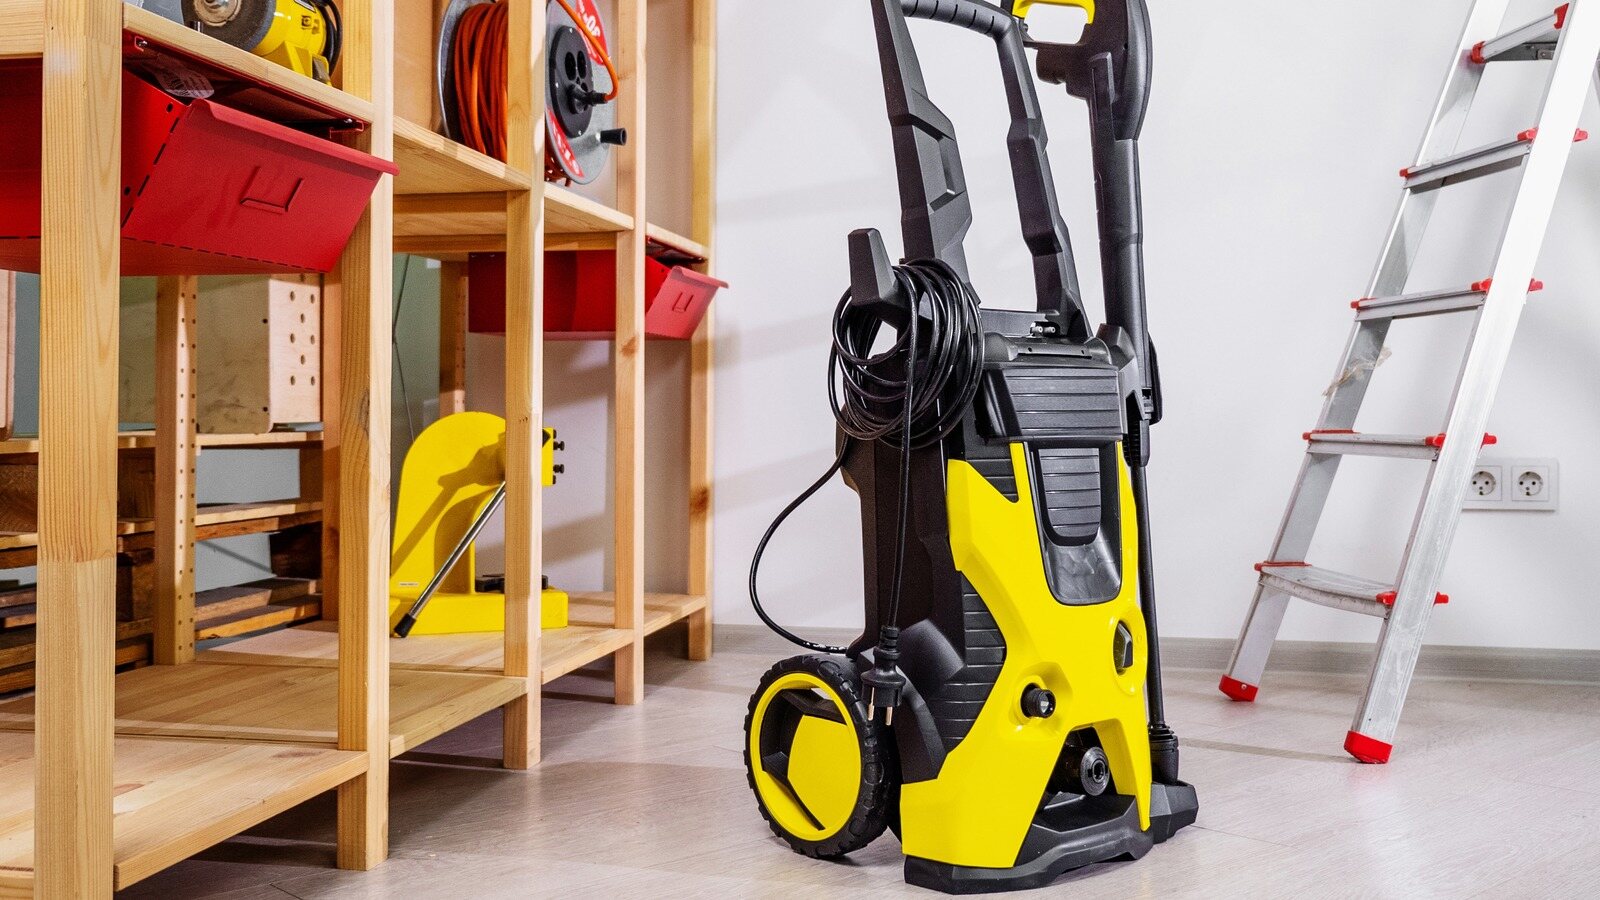
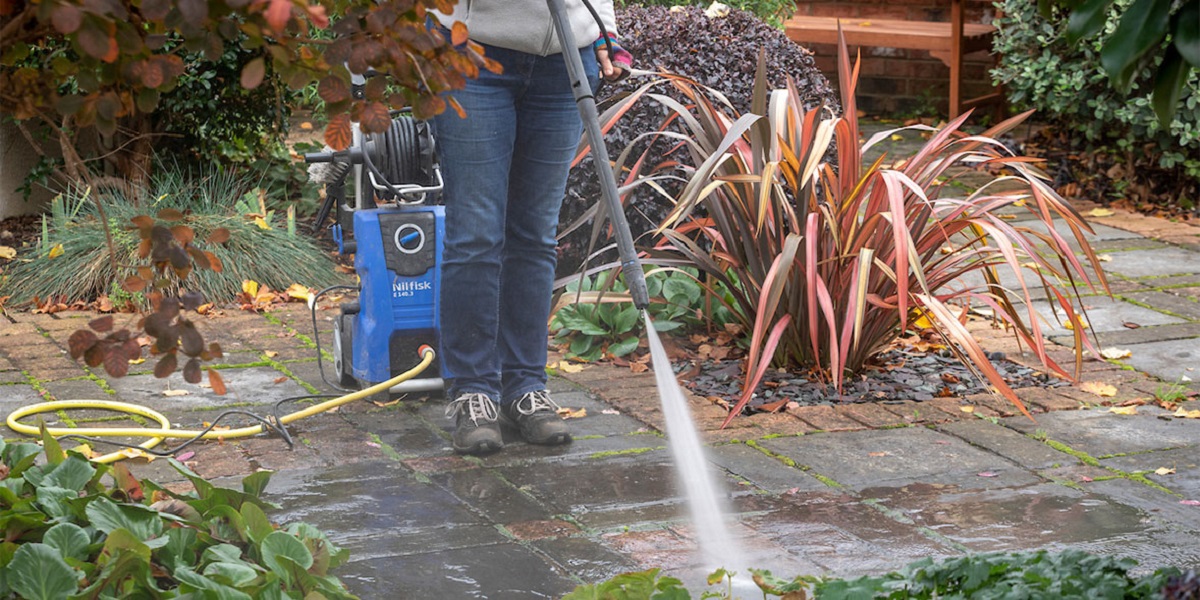
Welcome to this guide on how to remove a pressure washer nozzle. Pressure washers are incredibly useful tools for cleaning a variety of surfaces, from driveways to cars to outdoor furniture. The nozzle is a critical component of the pressure washer as it determines the spray pattern, allowing you to adjust the intensity of the water jet. Over time, the nozzle can become clogged with debris or worn out, which can affect the performance of your pressure washer. In such cases, it’s important to know how to properly remove and clean the nozzle.
Removing a pressure washer nozzle may seem like a simple task, but it’s essential to follow the correct procedure to ensure your safety and prevent any damage to the equipment. This guide will walk you through the step-by-step process of removing the nozzle, inspecting it for any damage, cleaning it thoroughly, and reattaching it.
Before we dive into the removal process, it’s crucial to emphasize the importance of safety precautions when working with pressure washers. Always make sure to wear protective goggles, gloves, and appropriate clothing to shield yourself from high-pressure water or any debris that may be expelled during the removal process. Additionally, remember to turn off the pressure washer and disconnect it from the power source before attempting any maintenance or repair tasks.
Now that we’ve covered the basics, let’s move on to the tools and materials you’ll need for removing the pressure washer nozzle.
Key Takeaways:
- Safety First!
Prioritize safety by wearing protective gear, turning off the pressure washer, and releasing built-up pressure before removing, inspecting, cleaning, and reattaching the nozzle. Regular maintenance ensures optimal performance and longevity. - Nozzle Know-How
Understanding the different nozzle types and their spray patterns is crucial for achieving optimal cleaning results. From red to black, each color indicates a specific spray pattern suitable for various cleaning tasks.
Read more: Which Pressure Washer Nozzle For Car
Overview of Pressure Washer Nozzle
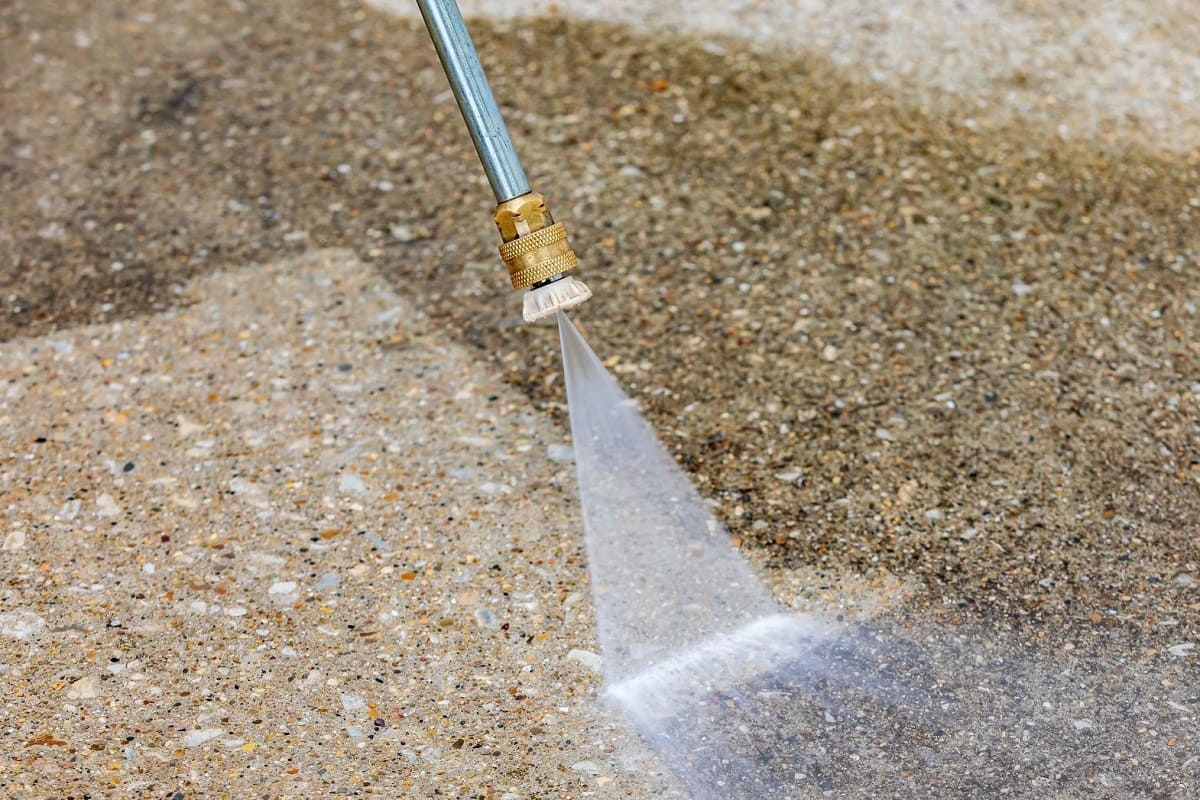
The pressure washer nozzle is a key component that determines the flow and intensity of the water spray. It is responsible for controlling the pressure and angle at which water is expelled from the pressure washer. Understanding the different types of pressure washer nozzles and their spray patterns is crucial for achieving optimal cleaning results.
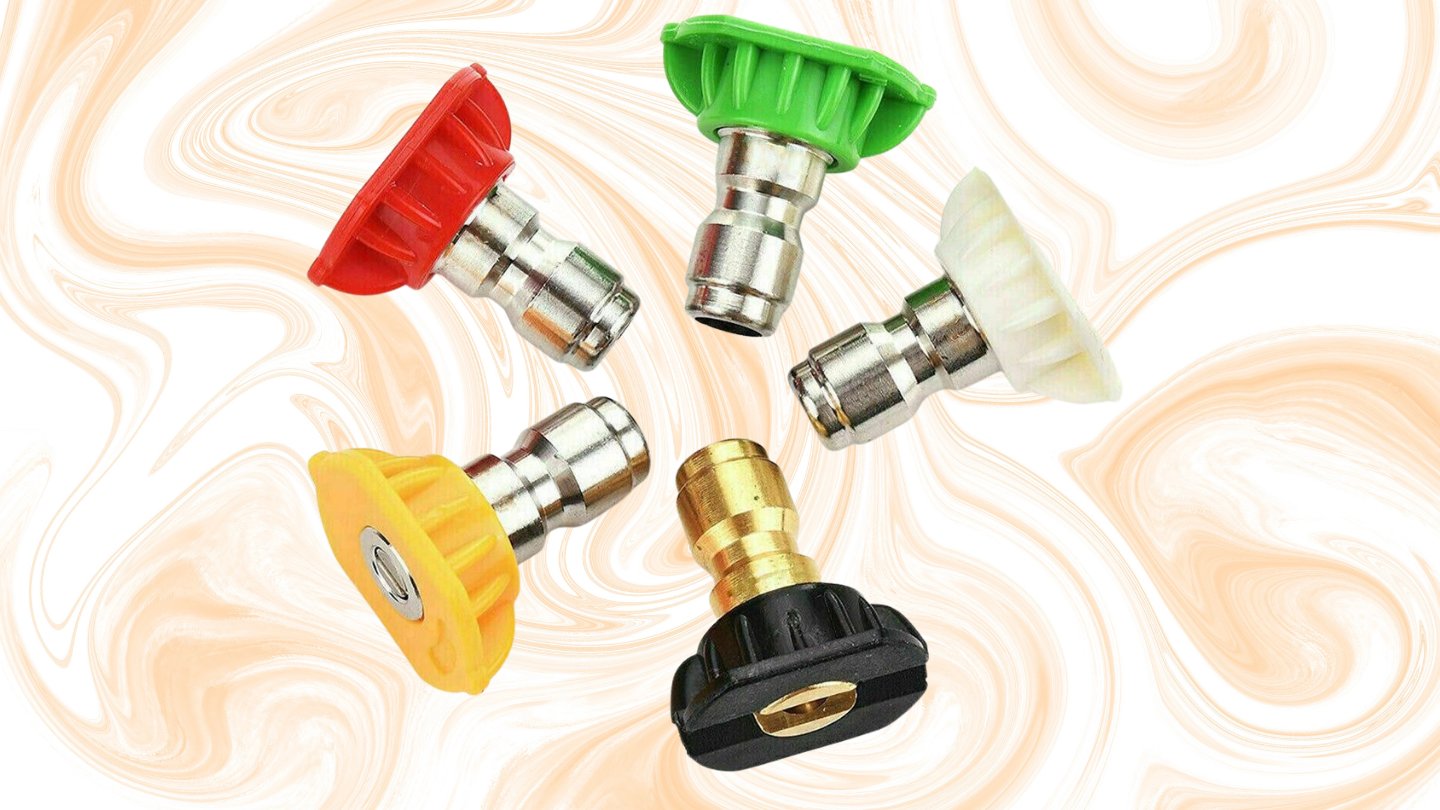
Pressure washer nozzles typically come in different colors to indicate their specific spray patterns. The most common types include:
- Red Nozzle (0-degree spray): The red nozzle delivers a concentrated and powerful stream of water in a narrow, pencil-like pattern. It is ideal for removing tough stains and for tasks that require maximum pressure. However, caution should be exercised while using this nozzle as it can easily damage delicate surfaces or cause injury if not handled properly.
- Yellow Nozzle (15-degree spray): The yellow nozzle provides a slightly wider spray pattern compared to the red nozzle. It is suitable for removing dirt and grime from surfaces such as concrete, driveways, or brickwork. The 15-degree spray is also effective for removing loose paint or preparing surfaces for painting.
- Green Nozzle (25-degree spray): The green nozzle produces a medium-width spray pattern, making it ideal for general cleaning purposes. It is commonly used for washing cars, outdoor furniture, and siding. The 25-degree spray strikes a balance between pressure and coverage, providing sufficient power to remove dirt without causing damage.
- White Nozzle (40-degree spray): The white nozzle delivers a wide fan-like spray pattern, suitable for rinsing and light cleaning tasks. It is commonly used for washing windows, screens, and other delicate surfaces where a gentle touch is needed. The 40-degree spray is the least aggressive and minimizes the risk of causing damage.
- Black Nozzle (65-degree spray): The black nozzle provides an even wider spray pattern for low-pressure cleaning applications. It is commonly used for applying detergent or soap to surfaces before rinsing them with higher pressure. The 65-degree spray is gentle and safe for delicate surfaces.
Knowing the appropriate nozzle to use for each cleaning task is essential for achieving the desired results without causing any harm. Now that we have an understanding of the different types of pressure washer nozzles, let’s move on to the safety precautions you should take before removing the nozzle.
Safety Precautions
When working with pressure washers, it’s important to prioritize safety to prevent any accidents or injuries. Here are some essential safety precautions to keep in mind before attempting to remove the pressure washer nozzle:
- Wear Protective Gear: Before starting any maintenance or repair task, ensure that you are wearing the appropriate protective gear. This includes safety goggles to protect your eyes from high-pressure water or debris, gloves to shield your hands, and suitable clothing to cover your body.
- Turn off the Pressure Washer: Before removing the nozzle, always switch off the pressure washer and disconnect it from the power source. This will prevent the accidental start-up of the machine and minimize the risk of injury.
- Release Built-Up Pressure: Even after turning off the pressure washer, residual pressure may remain in the system. Before removing the nozzle, it’s essential to release any built-up pressure by squeezing the trigger on the wand. This will ensure a safe and controlled removal process.
- Inspect the Nozzle: Before removing the nozzle, visually inspect it for any signs of damage, such as cracks or excessive wear. If you notice any issues, replace the nozzle before proceeding. Using a damaged nozzle can lead to unpredictable spray patterns or leaks, posing a safety risk.
- Handle the Nozzle Carefully: The nozzle is a small, delicate component, so handle it with care to avoid any damage. Avoid dropping it or subjecting it to unnecessary force. If the nozzle is difficult to remove, use a nozzle removal tool or gently twist it using pliers.
- Keep a Safe Distance: When using a pressure washer, maintain a safe distance from surfaces being cleaned. High-pressure water can cause injury if directed at your body or others. It’s recommended to stand at least 6 feet away from the surface and gradually move closer if needed.
- Read the Instruction Manual: Familiarize yourself with the manufacturer’s instructions and guidelines for your specific pressure washer model. This will provide valuable information on safety precautions and proper maintenance procedures.
By following these safety precautions, you can ensure a safe and incident-free process when removing the pressure washer nozzle. Now that we understand the safety measures, let’s move on to the tools and materials needed for the task.
Tools and Materials Needed
Before you begin removing the pressure washer nozzle, gather the necessary tools and materials to ensure a smooth and efficient process. Here are the items you will need:
- Wrench or Nozzle Removal Tool: Depending on your pressure washer model, you may need a wrench or a specialized nozzle removal tool to loosen and remove the nozzle. Check the manufacturer’s instructions to determine the appropriate tool required.
- Protective Gloves: Wear a pair of protective gloves to shield your hands from any debris or sharp edges while handling the nozzle and pressure washer.
- Drying Cloth or Towel: Have a drying cloth or towel handy to wipe down the nozzle and threads after removing it from the pressure washer. This will help remove any dirt or moisture and ensure a clean reattachment.
- Nozzle Cleaning Solution: Depending on the condition of the nozzle, you may need a nozzle cleaning solution. There are commercial cleaning solutions available, or you can create your own mixture using water and mild detergent.
- Cleaning Brush or Needle: A small cleaning brush or needle can be helpful to remove any debris or residue that may be clogging the nozzle. Ensure the brush or needle is appropriate for the size of the nozzle opening to avoid damaging it.
- Replacement Nozzle (optional): If your nozzle is damaged or worn out, it may be necessary to have a replacement nozzle on hand. Check the specifications of your pressure washer to ensure you choose the correct nozzle size and spray pattern.
- Bucket or Container: Prepare a bucket or container to collect any water or debris that may be expelled when removing the nozzle. This will help prevent any spills or mess during the process.
By having these tools and materials ready, you’ll be fully prepared to tackle the task of removing the pressure washer nozzle. With safety precautions in place and the necessary items at hand, we can now proceed to the step-by-step process of removing the nozzle.
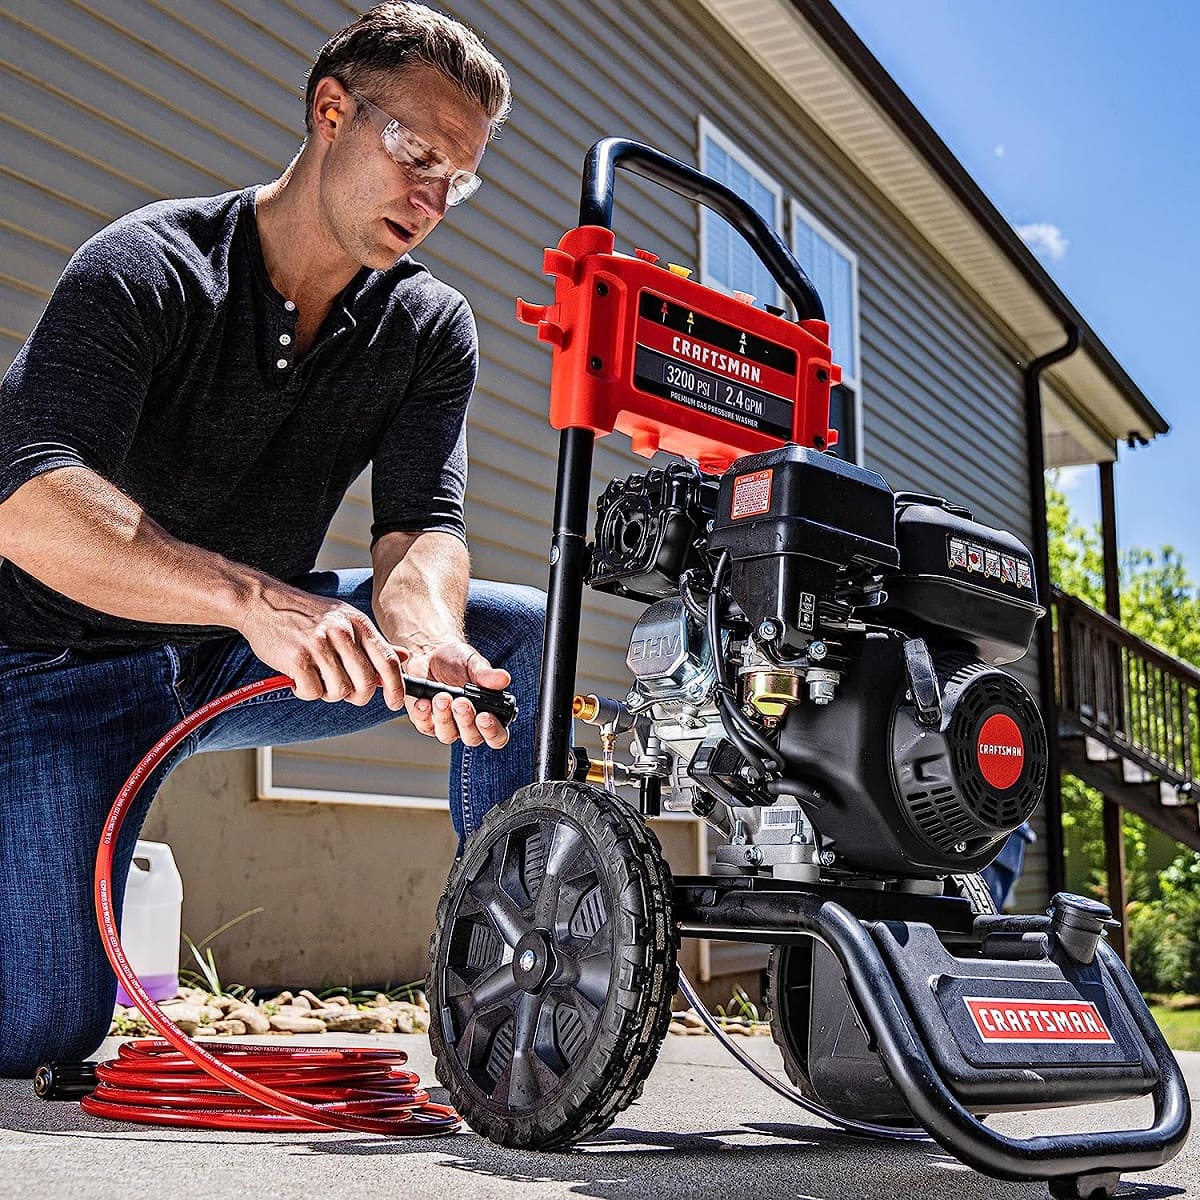
Step 1: Turning off the Pressure Washer
The first step in removing a pressure washer nozzle is to ensure that the machine is completely turned off. It’s crucial to follow this step to prevent accidental start-up and minimize the risk of injury. Here’s how to turn off the pressure washer:
- Locate the power switch or button on your pressure washer. It is typically located on the control panel or near the handle.
- Switch off the power by either pressing the power button or flipping the power switch to the “Off” position.
- Once the power is off, unplug the pressure washer from the electrical outlet, if applicable.
By following these steps, you will ensure that the pressure washer is completely powered down and disconnected from the electrical source. This step is vital for your safety and the smooth removal of the nozzle.
After turning off the pressure washer, you should also disconnect any attachments such as extension hoses or spray wands. This will give you more maneuverability and make the nozzle removal process easier.
Now that the pressure washer is fully turned off and disconnected, we can move on to the next step: releasing any built-up pressure in the system.
Read more: How To Change Ryobi Pressure Washer Nozzle
Step 2: Releasing Built-Up Pressure
Before removing the pressure washer nozzle, it’s crucial to release any built-up pressure in the system. This step ensures a safe and controlled removal process. Here’s how to release the pressure:
- Ensure that the pressure washer is turned off and unplugged from the power source.
- Hold the spray wand or gun firmly in one hand while using your other hand to manipulate the trigger.
- Point the spray wand away from yourself and others, as well as any delicate surfaces that could be damaged by the force of the water.
- Squeeze and hold the trigger on the spray wand to engage the water flow.
- Keep the trigger squeezed until you no longer feel any resistance or see any water coming out of the nozzle.
- Release the trigger to stop the water flow.
By following these steps, you will ensure that any pressure remaining in the system is safely released. This process will prevent sudden bursts of water or unexpected spray patterns during the nozzle removal.
Once you have released the built-up pressure, it’s time to proceed to the next step: removing the pressure washer nozzle.
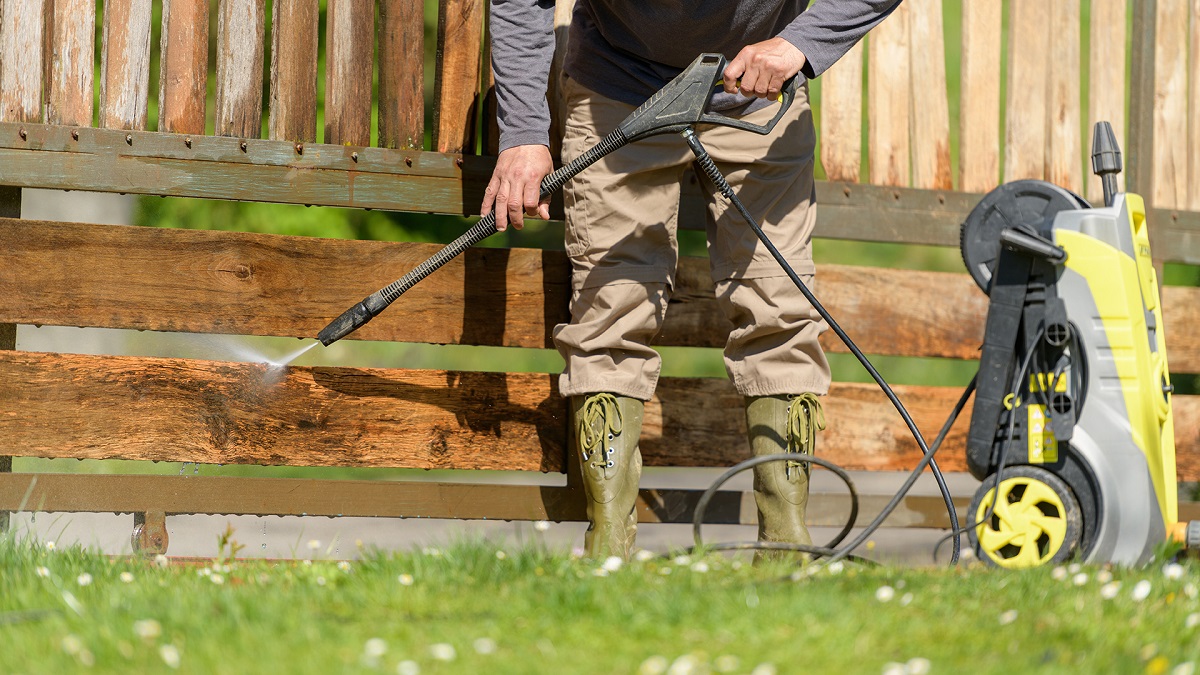
When removing a pressure washer nozzle, make sure the machine is turned off and the pressure is released. Use a wrench to carefully unscrew the nozzle in a counterclockwise direction. Be cautious not to damage the threads.
Step 3: Removing the Nozzle
Now that the pressure washer is turned off and any built-up pressure has been released, we can proceed to removing the nozzle. Follow these steps to safely remove the pressure washer nozzle:
- Locate the nozzle at the end of the spray wand or gun. It is usually threaded onto the end.
- If the nozzle is tightly secured, use a wrench or a specialized nozzle removal tool to loosen it. Grip the nozzle firmly with the wrench and turn it counterclockwise to loosen it.
- Continue turning the nozzle counterclockwise until it is completely detached from the spray wand or gun.
- Once the nozzle is loose, remove it from the spray wand or gun by pulling it straight off.
- Set the removed nozzle aside in a safe place to avoid misplacing it.
It’s important to note that some pressure washers may have a quick-connect system, where the nozzle is attached with a quick-release mechanism rather than being threaded on. In such cases, you can simply detach the nozzle by squeezing the release tabs on the sides and pulling it out.
With the nozzle safely removed, you can now move on to the next step: inspecting the nozzle for any damage.
Step 4: Inspecting the Nozzle
After removing the pressure washer nozzle, it’s important to inspect it for any signs of damage or wear. This step will help you determine if the nozzle needs to be replaced or if it can be cleaned and reused. Follow these steps to inspect the nozzle:
- Examine the nozzle for any visible cracks, breaks, or deformities. Pay close attention to the nozzle tip and the threads where it connects to the spray wand or gun.
- If you notice any damage or excessive wear, it’s recommended to replace the nozzle with a new one. Using a damaged nozzle can result in an unpredictable spray pattern or leaks, compromising the effectiveness of your pressure washer.
- If the nozzle appears to be in good condition, check for any clogs or debris that may be blocking the nozzle opening. Use a small cleaning brush or needle to remove any obstructions gently.
- Inspect the nozzle orifice, which is the small hole at the tip of the nozzle. Ensure that it is clean and free from any residue or deposits that could impede the water flow.
- If the nozzle has a filter screen, examine it for clogs or debris. Clean the filter screen with water or a soft brush to remove any buildup.
Inspecting the nozzle is crucial to ensure optimal performance and prevent any issues while using the pressure washer. Based on your inspection, you can now determine whether the nozzle needs cleaning or replacement. In the next step, we’ll cover how to clean the nozzle thoroughly.
Step 5: Cleaning the Nozzle
Cleaning the pressure washer nozzle is essential to remove any clogs or debris that may be affecting its performance. Follow these steps to clean the nozzle thoroughly:
- Prepare a cleaning solution by mixing water with a mild detergent or using a commercial nozzle cleaning solution. This will help break down any dirt or grime inside the nozzle.
- Submerge the nozzle in the cleaning solution and let it soak for a few minutes. This will loosen any stubborn debris or buildup.
- Using a small cleaning brush or needle, gently scrub the inside and outside of the nozzle. Pay special attention to the nozzle tip and the opening to ensure thorough cleaning.
- Rinse the nozzle with clean water to remove any remaining cleaning solution and debris.
- Inspect the nozzle again to ensure it is free from clogs or residue. If necessary, repeat the cleaning process until the nozzle is clean and clear.
- Once the nozzle is clean, use a drying cloth or towel to wipe it dry. Ensure that both the nozzle and the threads are completely dry before reattaching the nozzle to the pressure washer.
Cleaning the nozzle regularly will help maintain its performance and prolong its lifespan. It’s recommended to clean the nozzle after each use or whenever you notice a decrease in the pressure or spray pattern. With the nozzle thoroughly cleaned, let’s move on to the next step: reattaching the nozzle to the pressure washer.
Step 6: Reattaching the Nozzle
Now that you have cleaned the pressure washer nozzle, it’s time to reattach it to the spray wand or gun. Follow these steps to properly reattach the nozzle:
- Ensure that both the nozzle and the threads on the spray wand or gun are dry and free from any debris.
- Align the threads on the nozzle with the corresponding threads on the spray wand or gun.
- Gently push the nozzle onto the spray wand or gun and begin twisting it clockwise.
- Continue twisting the nozzle clockwise until it is snug and securely tightened. Be careful not to overtighten it, as this can cause damage.
- Give the nozzle a slight tug to confirm that it is properly attached and won’t come loose during use.
It’s important to ensure that the nozzle is properly attached to prevent any leaks or changes in the spray pattern while using the pressure washer. Always double-check that the nozzle is securely tightened before operating the machine.
With the nozzle successfully reattached, we can move on to the final step: testing the pressure washer to ensure everything is working correctly.
Step 7: Testing the Pressure Washer
After reattaching the pressure washer nozzle, it’s important to test the machine to ensure that everything is working correctly. Follow these steps to test the pressure washer:
- Connect the pressure washer to a water source and turn on the water supply.
- Check that all connections are secure and there are no leaks.
- Plug in the pressure washer and turn it on.
- Engage the trigger on the spray wand or gun to start the flow of water.
- Observe the spray pattern and pressure. Ensure that the water is flowing smoothly and there are no irregularities or disruptions in the spray.
- Test the different spray patterns by using the appropriate nozzle. Start with the widest spray pattern and gradually switch to narrower patterns to gauge the pressure and coverage.
- Pay attention to any unusual sounds or vibrations that may indicate a problem with the pressure washer.
- If everything appears to be functioning correctly, continue using the pressure washer for your desired cleaning tasks.
Testing the pressure washer is essential to ensure proper functionality and performance after reattaching the nozzle. If you notice any issues or irregularities, double-check the nozzle attachment and consult the pressure washer’s manual for troubleshooting guidance.
Congratulations! You have successfully removed, cleaned, and reattached the pressure washer nozzle. By following these steps and performing regular maintenance, you can maintain the performance and longevity of your pressure washer.
Remember to wear appropriate protective gear and follow safety precautions whenever using a pressure washer. Always read and follow the manufacturer’s instructions for your specific model to ensure safe operation.
Now you are ready to tackle your next cleaning project with a well-maintained pressure washer!
Conclusion
Removing and cleaning the pressure washer nozzle is an important maintenance task that helps ensure optimal performance and prolongs the lifespan of your pressure washer. By following the step-by-step guide outlined in this article, you can safely and effectively remove, inspect, clean, and reattach the nozzle.
Throughout the process, it’s crucial to prioritize safety by wearing appropriate protective gear, turning off the pressure washer, and releasing any built-up pressure. Additionally, carefully inspecting the nozzle for damage and cleaning it thoroughly will help maintain its performance and prevent clogs or debris from affecting the spray pattern.
With the nozzle securely reattached, you can test the pressure washer to verify that everything is working correctly. By following these guidelines, you can ensure a smooth and efficient cleaning experience.
Remember, regular maintenance and cleaning of your pressure washer, including the nozzle, will help ensure optimal performance and extend its lifespan. Proper care and attention to your equipment will result in better cleaning results and a longer-lasting investment.
Now that you have the knowledge and skills to remove and clean the pressure washer nozzle, you can confidently tackle your cleaning tasks with a well-maintained and high-performing pressure washer. So, go ahead and enjoy the benefits of a clean and refreshed environment!
Now that you've mastered removing and cleaning your pressure washer nozzle, why not boost your cleaning efficiency even further? Our next guide offers a dozen insightful pressure washer tips perfect for tackling any job with ease. From enhancing your technique to maintaining your equipment in top condition, these pointers are invaluable for any enthusiast or professional. Don’t miss out on upgrading your pressure washing skills with our expert advice.
Frequently Asked Questions about How To Remove Pressure Washer Nozzle
Was this page helpful?
At Storables.com, we guarantee accurate and reliable information. Our content, validated by Expert Board Contributors, is crafted following stringent Editorial Policies. We're committed to providing you with well-researched, expert-backed insights for all your informational needs.

0 thoughts on “How To Remove Pressure Washer Nozzle”