Articles
How To Unclog Windshield Washer Nozzle
Modified: October 20, 2024
Looking for articles on how to unclog your windshield washer nozzle? Check out our informative guide with step-by-step instructions and helpful tips to get your washer fluid flowing again!
(Many of the links in this article redirect to a specific reviewed product. Your purchase of these products through affiliate links helps to generate commission for Storables.com, at no extra cost. Learn more)
Introduction
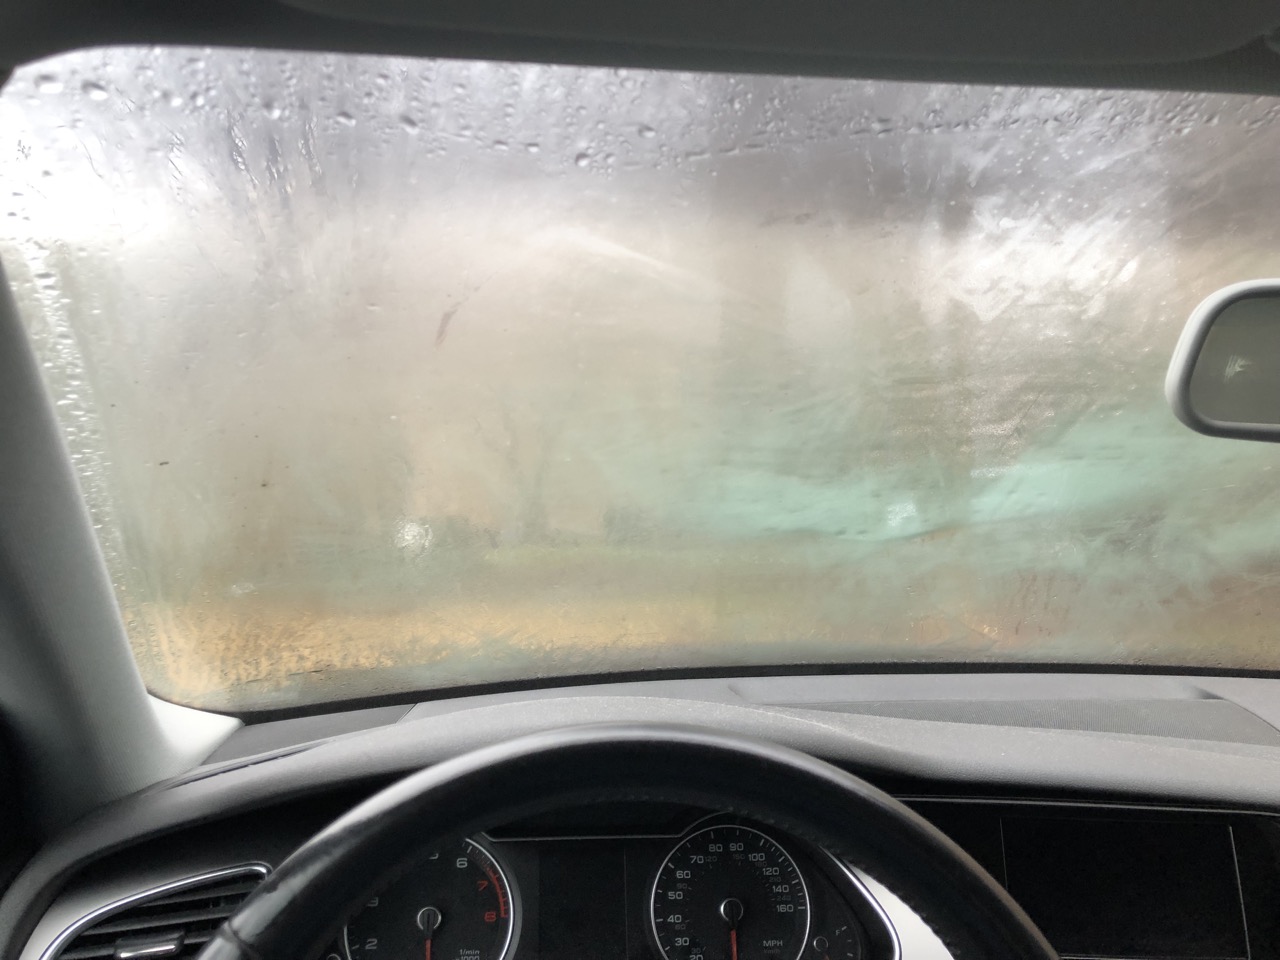
When driving, having a clear and unobstructed view of the road is crucial for your safety. Windshield washer nozzles play an important role in keeping your windshield clean and free from dirt, debris, and other unwanted substances. However, over time, these nozzles can become clogged, leading to reduced or uneven spraying of the windshield washer fluid.
Having a clogged windshield washer nozzle can be frustrating, as it can hinder your visibility on the road, especially during rainy or dusty conditions. Fortunately, unclogging a windshield washer nozzle is a relatively simple task that can be done at home with a few basic tools and materials.
In this article, we will explore why it is important to unclog windshield washer nozzles, identify the signs of a clogged nozzle, and provide a step-by-step guide on how to effectively and efficiently unclog them. We will also discuss alternative methods to unclog the nozzles, as well as preventive measures to avoid future clogging.
So, if you find yourself struggling with a clogged windshield washer nozzle, read on to discover the solutions that will help you restore clear vision and a safer driving experience.
Key Takeaways:
- Regularly unclogging windshield washer nozzles is crucial for clear visibility, safe driving, and maintaining wiper blade performance. Follow simple DIY steps and preventive measures to ensure a hassle-free driving experience.
- Prevent clogs in windshield washer nozzles by using quality washer fluid, maintaining proper fluid levels, and inspecting wiper blades regularly. Incorporate simple preventive measures to minimize clogging and ensure clear visibility on the road.
Read more: How To Drain Windshield Washer Fluid
Why is it important to unclog windshield washer nozzles?
Keeping your windshield clean is essential for your safety on the road. A clogged windshield washer nozzle can impede the proper functioning of your windshield washer system, compromising your visibility and increasing the risk of accidents. Here are a few reasons why it is important to unclog your windshield washer nozzles:
- Clear visibility: A clogged nozzle can prevent the windshield washer fluid from spraying evenly on the windshield, leaving behind streaks or areas of dirt and grime. This obstructs your vision and reduces the effectiveness of your wipers, making it harder to see the road ahead clearly.
- Safe driving in adverse conditions: During rainy, snowy, or dusty conditions, a properly functioning windshield washer system is crucial to remove any obstructions that may impair your vision. Unclogging the nozzles ensures that the washer fluid can effectively clean the windshield, allowing you to navigate safely through challenging weather conditions.
- Enhanced wiper blade performance: Clogged nozzles can also affect the performance of your wiper blades. When the washer fluid is unable to reach the windshield, the wiper blades may drag across a dry surface, causing damage over time. Unclogging the nozzles helps maintain the optimal functionality of your wiper blades, extending their lifespan.
- Prevent damage to the washer system: A clog in the nozzle can create excess pressure in the washer system, potentially leading to component damage or leaks. By regularly unclogging the windshield washer nozzles, you can help prevent costly repairs or replacements of the washer system in the long run.
By taking the time to unclog your windshield washer nozzles, you ensure that your windshield remains clean and clear, allowing you to have a safer and more enjoyable driving experience.
Signs of a clogged windshield washer nozzle
Identifying the signs of a clogged windshield washer nozzle is essential to address the issue promptly and prevent further complications. Here are some common signs that indicate your windshield washer nozzle may be clogged:
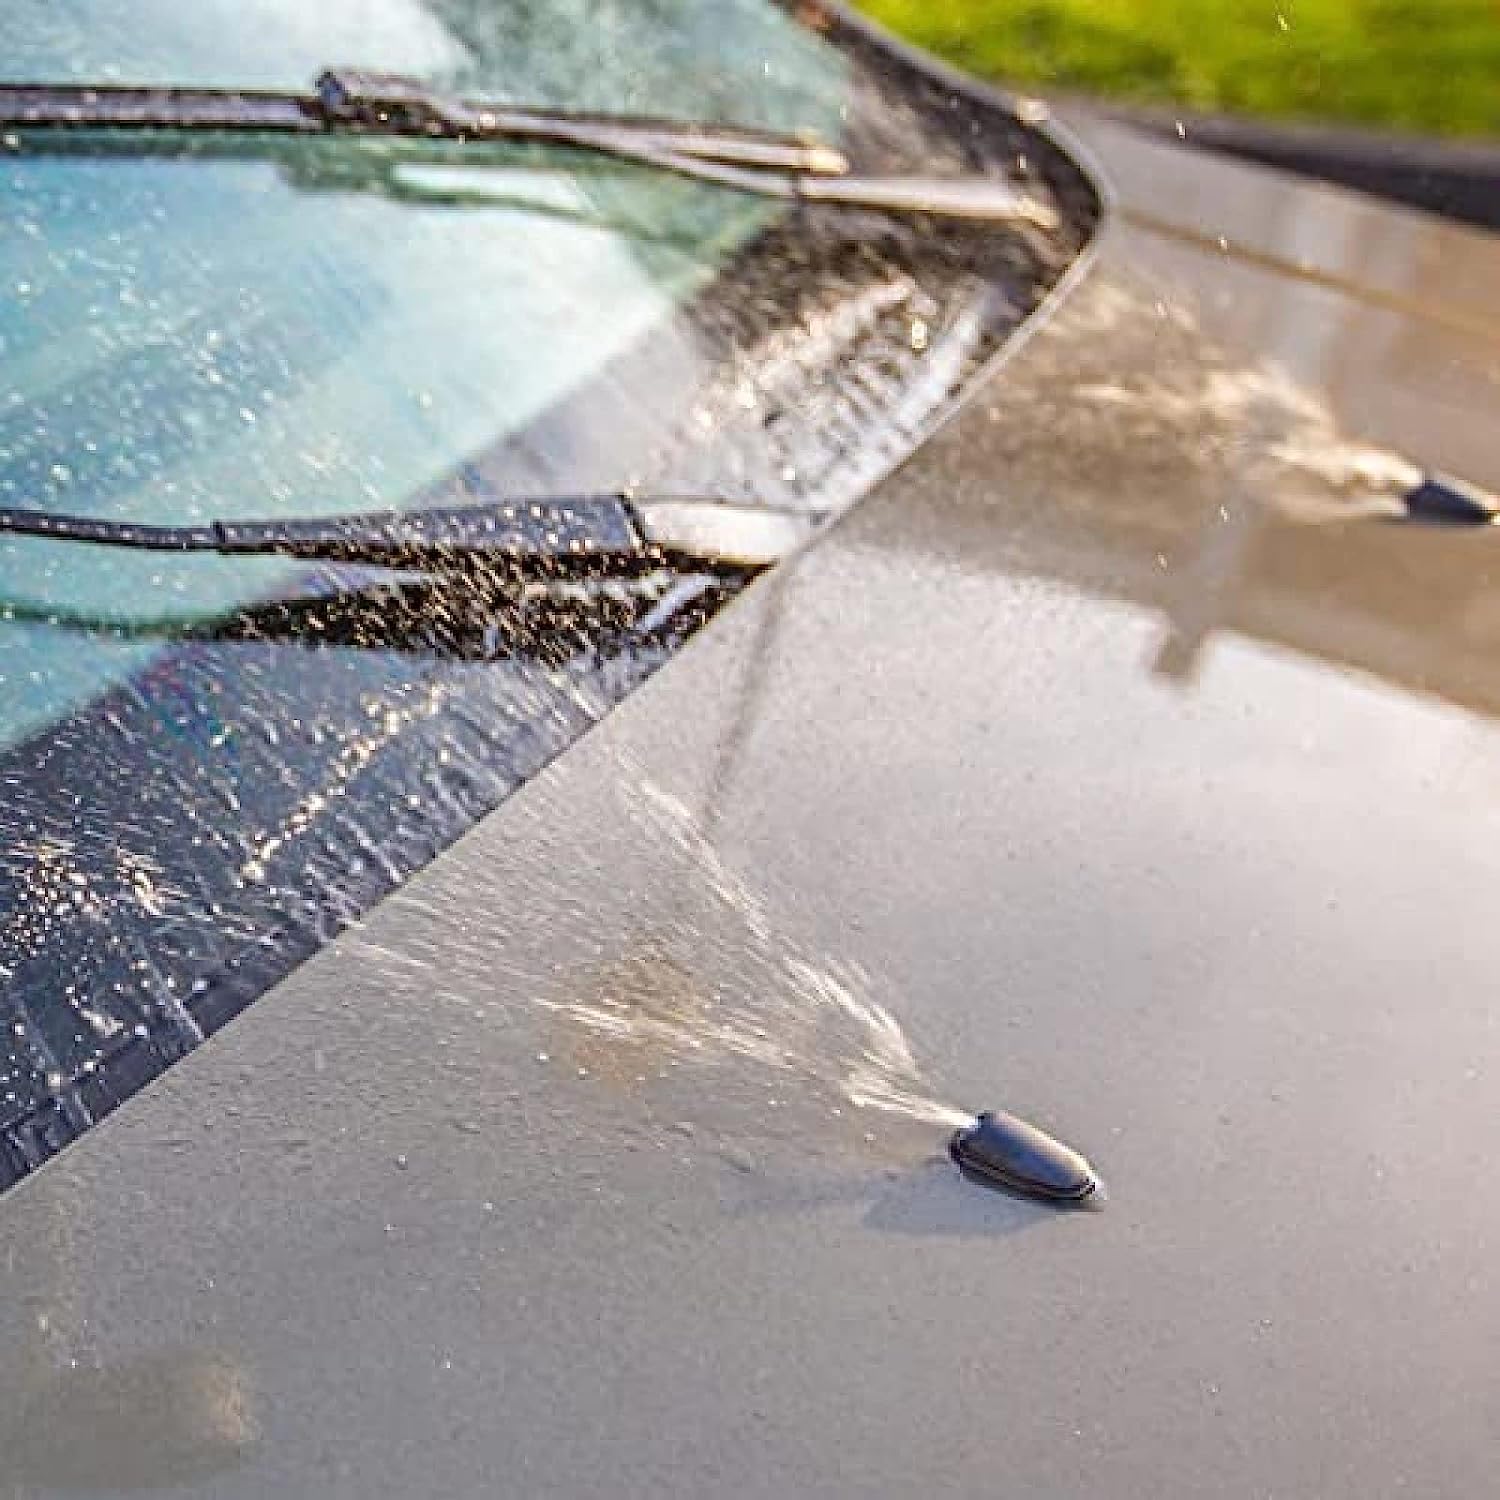
- Weak or uneven spray: When you activate the windshield washer system, the fluid should spray evenly across the windshield. If you notice a weak or uneven spray pattern, with some areas receiving little to no fluid, it is likely that there is a clog in one or both of the nozzles.
- No spray at all: Another clear indication of a clogged nozzle is when no fluid is spraying onto the windshield, even though you can hear the pump running. This suggests a complete blockage in the nozzle, preventing any fluid from being dispensed.
- Delayed or slow response: If there is a delay or a slow response when you activate the windshield washer system, it may be due to a partial clog in the nozzle. This can cause the fluid to take longer to reach the nozzle and spray onto the windshield.
- Gurgling or unusual noises: A clogged nozzle can create air pockets in the washer system, resulting in gurgling or unusual noises when you activate the washer. These noises indicate that the fluid is not flowing smoothly through the nozzle and may be obstructed by debris or buildup.
- Visible debris or particles: Upon inspection, you may notice visible debris or particles blocking the nozzle. This can include dirt, leaves, insect remains, or other foreign objects that have accumulated over time. Clearing these obstructions is necessary to restore proper functionality to the nozzle.
If you notice any of these signs, it is essential to take action to unclog your windshield washer nozzle. Ignoring a clogged nozzle can lead to decreased visibility, potential damage to the washer system, and compromised safety on the road. Fortunately, there are simple steps you can take to address this issue and restore optimal performance to your windshield washer system.
Tools and materials needed
Before you begin the process of unclogging your windshield washer nozzle, it is essential to gather the necessary tools and materials. Here is a list of items you will need:
- Needle or pin: A fine needle or pin will be used to clear any debris or obstructions from the nozzle. Make sure the needle or pin is clean and free from any rust or sharp edges.
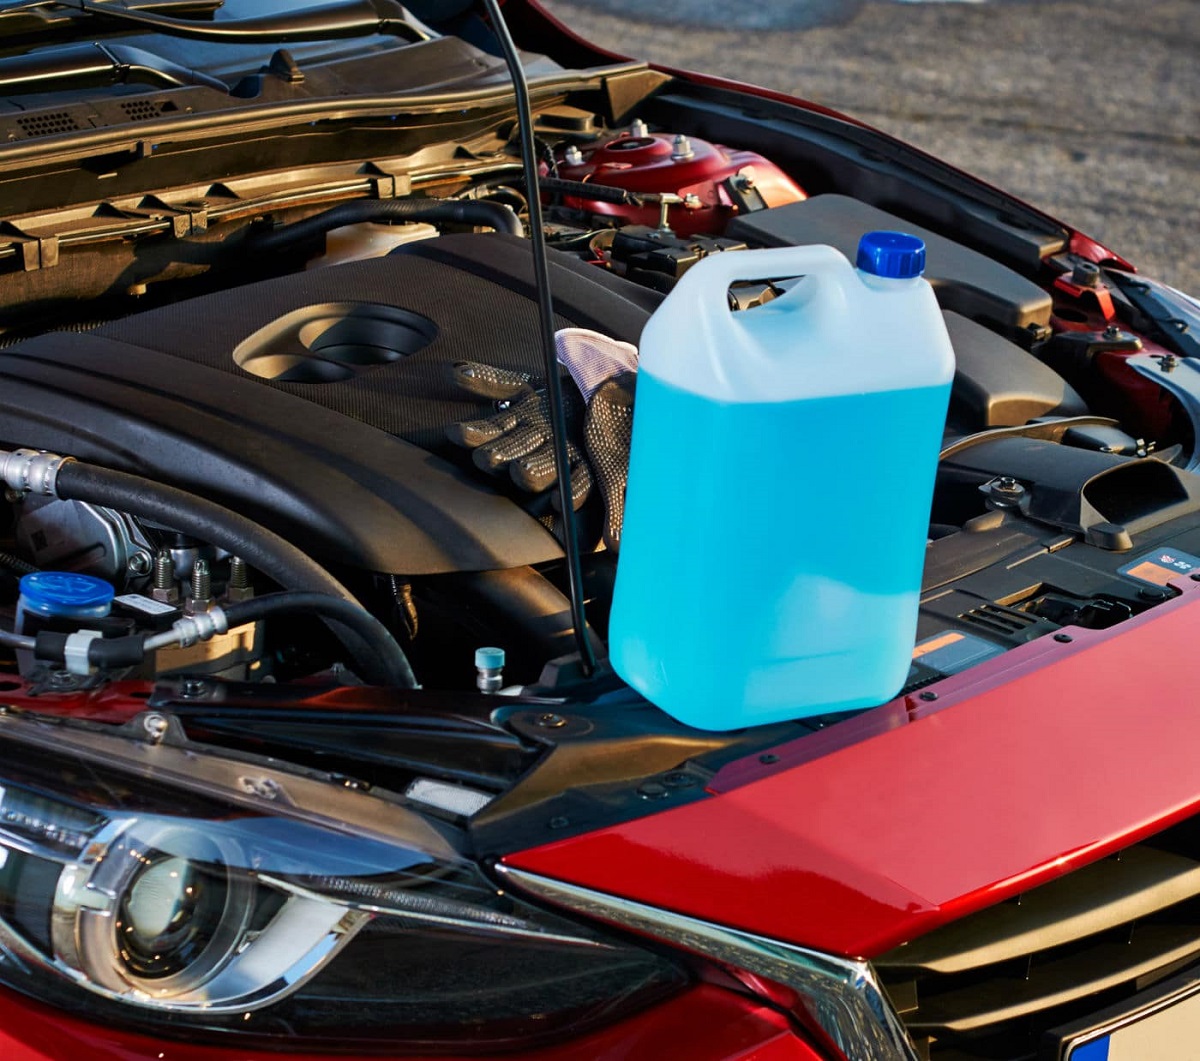
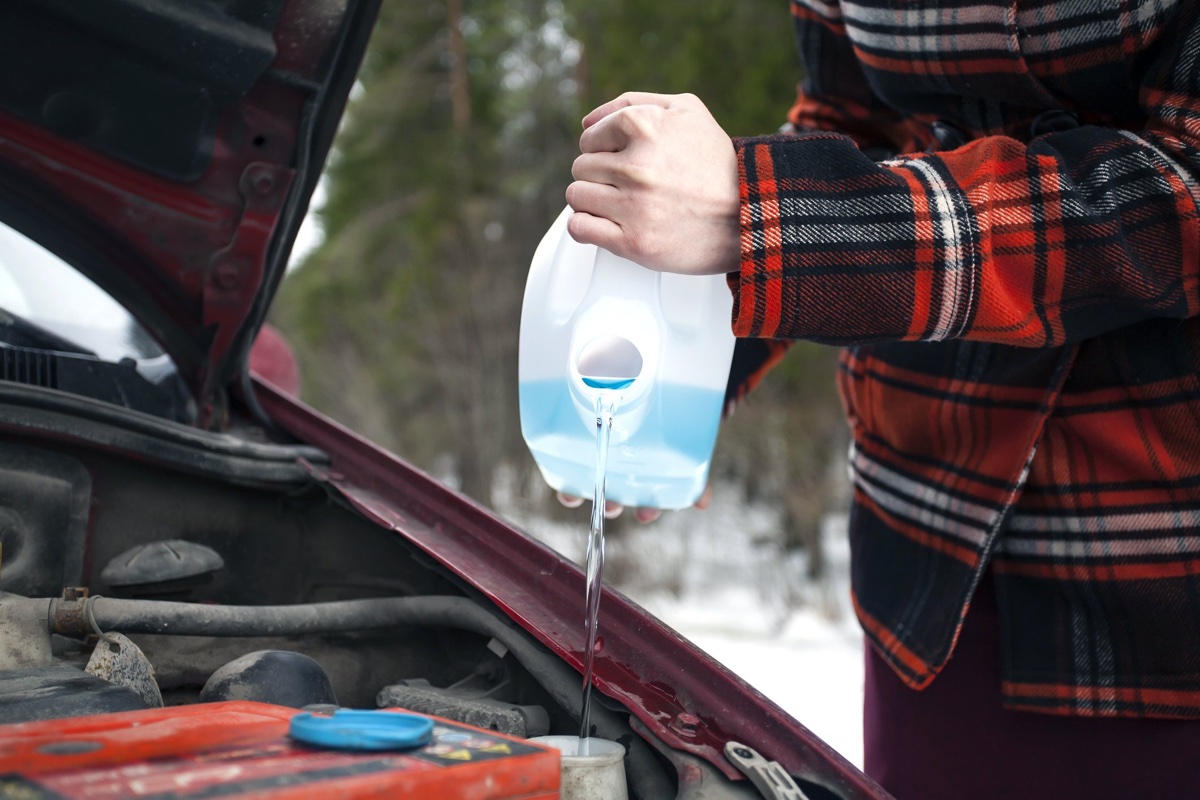
- Water or windshield washer fluid: Having a container of water or windshield washer fluid on hand is crucial for testing the nozzle after unclogging it. This will allow you to ensure the fluid is flowing properly and without any obstructions.
- Clean cloth or towel: A clean cloth or towel will be needed to wipe away any excess fluid or residual debris during the unclogging process.
- Protective gloves: It is always a good idea to wear protective gloves, such as rubber or latex gloves, to protect your hands from the washer fluid and any potential irritants.
These tools and materials are easily accessible and can be found around the house or obtained from an automotive supply store. Once you have gathered everything you need, you are ready to proceed with unclogging your windshield washer nozzle.
It’s important to note that the specific tools and materials required may vary depending on the make and model of your vehicle. Additionally, if you prefer to use a commercially available windshield washer nozzle cleaning solution, you can replace the water or washer fluid with the appropriate solution.
With the necessary tools and materials at your disposal, you are now equipped to effectively unclog your windshield washer nozzle and improve the functionality of your windshield washer system.
Step-by-step guide to unclog windshield washer nozzles
Unclogging your windshield washer nozzles can be done at home with a few simple steps. Follow this step-by-step guide to effectively unclog your windshield washer nozzles:
- Prepare the vehicle: Begin by parking your vehicle on a flat surface and turning off the engine. This will ensure your safety during the unclogging process.
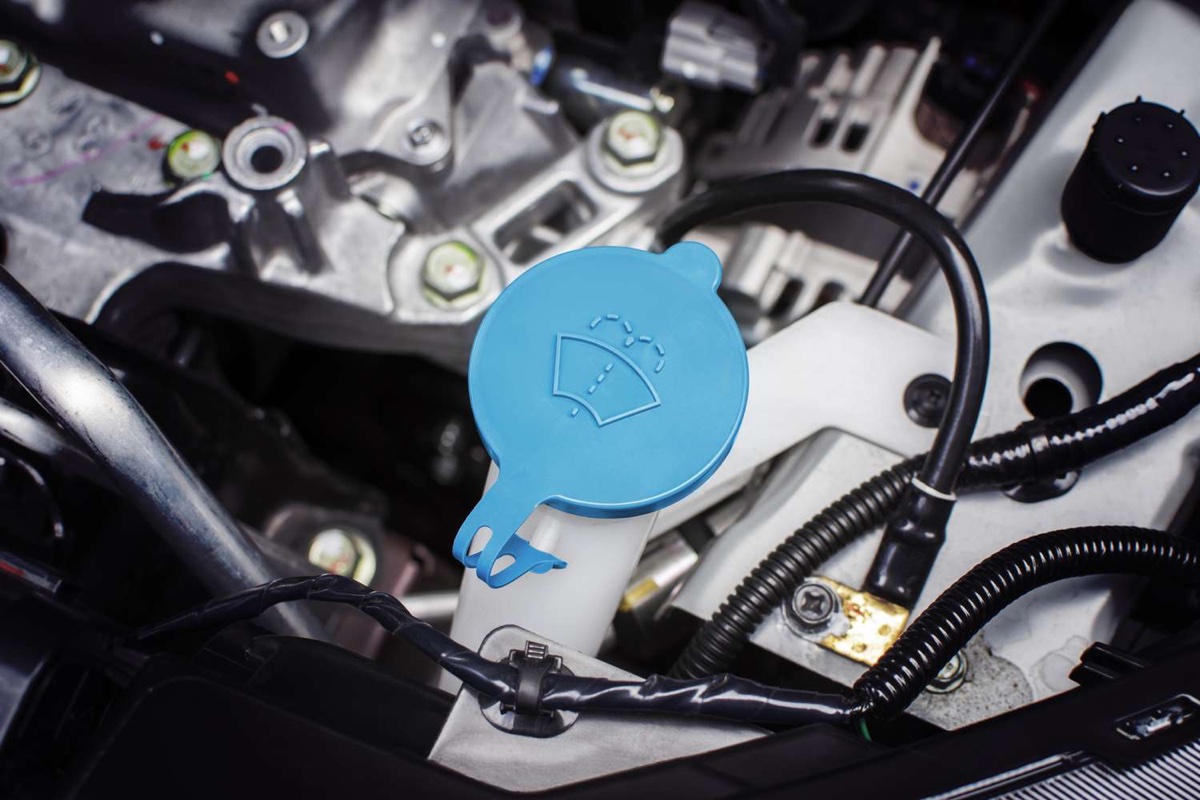
- Locate the nozzles: Identify the location of the windshield washer nozzles on your vehicle. They are typically located on the hood, near the base of the windshield. Some vehicles may have additional nozzles on the wiper arms.
- Inspect for debris: Examine the nozzles for any visible debris or obstructions. Use a clean cloth or towel to wipe away any dirt or grime that may have accumulated around the nozzle.
- Use a needle or pin: Take a fine needle or pin and carefully insert it into the nozzle opening. Gently move the needle back and forth to dislodge any debris or clogs. Be cautious not to apply excessive force, as it may damage the nozzle.
- Flush with water or washer fluid: After clearing the nozzle with the needle, pour water or windshield washer fluid into the reservoir. Activate the windshield washer system to flush the fluid through the nozzle and clear out any remaining debris.
- Test the nozzle: Turn on the windshield washer system to check if the nozzle is spraying evenly and effectively. Adjust the aim of the nozzle if necessary by using a small tool or adjusting mechanism, if applicable.
- Wipe away excess fluid: Use a clean cloth or towel to wipe away any excess fluid or residual debris from the nozzle and surrounding area.
By following these steps, you can successfully unclog your windshield washer nozzles and restore their proper functionality. It is recommended to repeat this process for all the nozzles on your vehicle for optimal results.
If you encounter persistent clogs or difficulties in unclogging the nozzles, it may be helpful to consult the vehicle’s manual or seek assistance from a professional mechanic.
Remember, regular maintenance of your windshield washer system, including unclogging the nozzles, is vital for ensuring clear visibility and a safer driving experience.
Use a pin or needle to carefully unclog the windshield washer nozzle. Gently insert the pin into the nozzle to dislodge any debris or buildup. Then, test the washer to ensure it’s working properly.
Read more: How To Remove Pressure Washer Nozzle
Alternative methods to unclog windshield washer nozzles
While the previous step-by-step guide provides an effective way to unclog windshield washer nozzles, there are alternative methods you can try if the clogs are stubborn or persistent. Here are a few alternative methods to consider:
- Compressed air: If you have access to a compressed air source, such as an air compressor or a can of compressed air, you can try using it to blow out any debris or clogs in the nozzle. Point the nozzle away from you and cautiously apply short bursts of air to avoid damaging the nozzle or creating excessive pressure in the washer system.
- Vinegar solution: A vinegar solution can be effective in breaking down stubborn clogs caused by mineral deposits or other buildup. Mix equal parts of white vinegar and water, then pour the solution into the reservoir. Activate the windshield washer system to flush the vinegar solution through the nozzles. Rinse with clean water afterward to remove any residual vinegar.
- Wire or small brush: In some cases, a thin wire or small brush can be used to dislodge and remove clogs from the nozzle. Carefully insert the wire or brush into the nozzle opening and gently scrub to loosen the debris. Be cautious not to apply excessive force, as it may damage the nozzle.
- Nozzle removal and soaking: If the clog in the nozzle seems stubborn and cannot be resolved with other methods, you may consider removing the nozzle for thorough cleaning. Consult the vehicle’s manual for instructions on how to remove the nozzle. Once removed, soak the nozzle in a mixture of warm water and mild soap or windshield washer fluid. Use a small brush to clean the nozzle thoroughly, then rinse with water and reinstall it.
These alternative methods can be attempted if the basic method of using a needle or pin does not fully resolve the clog. However, exercise caution when trying these methods to avoid damaging the nozzle or other components of the windshield washer system.
If you are unsure or uncomfortable performing these alternative methods, it is recommended to seek assistance from a professional mechanic who can effectively resolve the clog and ensure the proper functioning of your windshield washer nozzles.
Remember, regular maintenance and prompt action to resolve clogs will help maintain clear visibility and ensure a safer driving experience.
Preventive measures to avoid clogging in the future
Preventing clogs in your windshield washer nozzles is easier than dealing with them after they occur. By taking some simple preventive measures, you can minimize the chances of your nozzles becoming clogged in the future. Here are some preventive measures to consider:
- Use quality windshield washer fluid: Using a high-quality windshield washer fluid can help prevent debris buildup and clogs. Look for products specifically formulated to break down dirt and grime effectively.
- Maintain proper fluid levels: Check your windshield washer fluid levels regularly and ensure they are filled to the recommended level. Running out of fluid or using a low-level of fluid can increase the risk of debris settling in the nozzles.
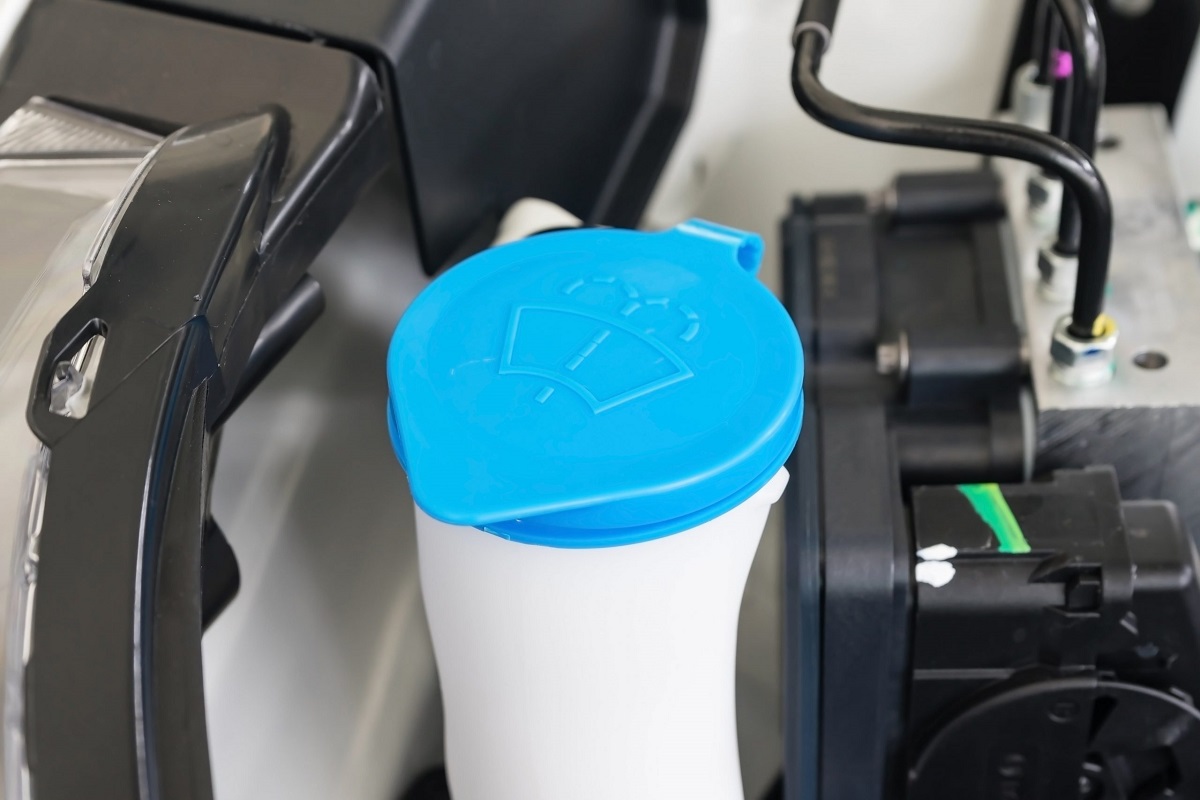
- Keep the reservoir clean: Periodically clean the windshield washer fluid reservoir to avoid sediment buildup. Drain the old fluid and rinse the reservoir with water to remove any residue. Refill it with fresh windshield washer fluid.
- Clear debris from the hood: Clean the area around the nozzles regularly to prevent dirt, leaves, or other debris from entering the nozzle openings. This will reduce the chances of clogs and ensure unobstructed flow of the washer fluid.
- Park in a covered area: Whenever possible, park your vehicle in a covered or sheltered area. This will help minimize exposure to dirt, leaves, and other environmental debris that can contribute to clogs.
- Inspect wiper blades: Damaged or worn-out wiper blades can leave behind residue and contribute to clogs in the nozzles. Regularly inspect and replace worn wiper blades to ensure they are functioning properly.
- Activate washer system regularly: Use the windshield washer system regularly, especially if you have not used it for an extended period. This helps prevent any fluid in the nozzles from drying up and causing clogs.
By incorporating these preventive measures into your vehicle maintenance routine, you can significantly reduce the likelihood of clogged windshield washer nozzles. Remember, a little proactive care goes a long way in maintaining clear visibility and ensuring a safer driving experience.
Additional tips and tricks
When it comes to maintaining your windshield washer nozzles and ensuring a clear field of vision on the road, here are some additional tips and tricks that can be helpful:
- Regularly clean your windshield: Along with unclogging the nozzles, it is important to regularly clean your windshield to remove dirt, grime, and other debris. This will prevent the buildup of residue on the windshield and minimize the chances of clogs in the nozzles.
- Avoid using plain water: While water can be used to flush out the nozzles, using plain water as a washer fluid is not recommended. Windshield washer fluid contains additives that help break down dirt and provide better cleaning performance.
- Replace washer fluid regularly: Windshield washer fluid can degrade over time, losing its effectiveness. Replace the fluid in the reservoir every few months or as recommended by the manufacturer to ensure optimal cleaning capabilities.
- Use proper windshield wiper techniques: Improper use of windshield wipers, such as using them on a dry windshield or using excessive force, can cause strain on the nozzles and lead to clogs. Use the wipers appropriately, especially in conditions where the windshield is heavily soiled.
- Check for leaks: Periodically inspect the washer system for any signs of leaks. Leaks can lead to fluid loss and decreased performance of the nozzles. If you notice any leaks, have them repaired promptly to prevent further issues.
- Be mindful of extreme temperatures: Extreme cold can lead to frozen washer fluid and clogged nozzles. In freezing conditions, use windshield washer fluid with antifreeze properties to prevent freezing. In extremely hot conditions, park your vehicle in the shade to avoid overheating the washer fluid reservoir.
- Keep your vehicle clean: Regularly washing and maintaining the cleanliness of your vehicle, including the hood and windshield, can help minimize the accumulation of dirt and debris that can potentially clog the nozzles.
By following these additional tips and tricks, you can optimize the performance of your windshield washer system and reduce the risk of clogs in the future.
Remember, maintaining a clear and unobstructed view of the road is crucial for safe driving, and taking proactive steps to care for your windshield washer nozzles will contribute to a pleasant and secure driving experience.
Conclusion
Having a clear and unobstructed view of the road is paramount for safe driving, and maintaining clean windshield washer nozzles is essential in achieving this. By unclogging the nozzles and ensuring their optimal functionality, you can enhance visibility, improve wiper blade performance, and prevent damage to the washer system.
In this article, we discussed the importance of unclogging windshield washer nozzles and the signs that indicate a clogged nozzle. We provided a step-by-step guide on how to effectively unclog the nozzles using basic tools and materials. Additionally, we explored alternative methods, such as compressed air or vinegar solutions, and offered preventive measures to avoid future clogs. We also provided additional tips and tricks to optimize the performance of your windshield washer system.
Regular maintenance, including the unclogging of windshield washer nozzles, should be part of your vehicle care routine. By following the steps outlined in this article and implementing preventive measures, you can ensure clear visibility, safer driving, and prolong the lifespan of your windshield washer system.
Remember, if you encounter persistent or challenging clogs, it is advisable to seek assistance from a professional mechanic who can provide expert guidance and resolve the issue effectively.
With a well-functioning windshield washer system, you can drive with confidence, knowing that you have a clear and unobstructed view of the road ahead.
Once you've mastered unclogging windshield washer nozzles, why stop there? Dive into our comprehensive guide on keeping your vehicle spotless and sanitary. Our next feature walks you through effective car cleaning tips, ensuring every drive is in a pristine and germ-free environment. Stay ahead with smart, simple strategies for a cleaner, fresher car.
Frequently Asked Questions about How To Unclog Windshield Washer Nozzle
Was this page helpful?
At Storables.com, we guarantee accurate and reliable information. Our content, validated by Expert Board Contributors, is crafted following stringent Editorial Policies. We're committed to providing you with well-researched, expert-backed insights for all your informational needs.

0 thoughts on “How To Unclog Windshield Washer Nozzle”