Home>Articles>How To Remove Scratches From Marble Vanity Top
Articles
How To Remove Scratches From Marble Vanity Top
Modified: April 22, 2024
Learn effective methods to remove scratches from your marble vanity top with our informative articles. Restore the beauty of your bathroom with these proven techniques.
(Many of the links in this article redirect to a specific reviewed product. Your purchase of these products through affiliate links helps to generate commission for Storables.com, at no extra cost. Learn more)
Introduction
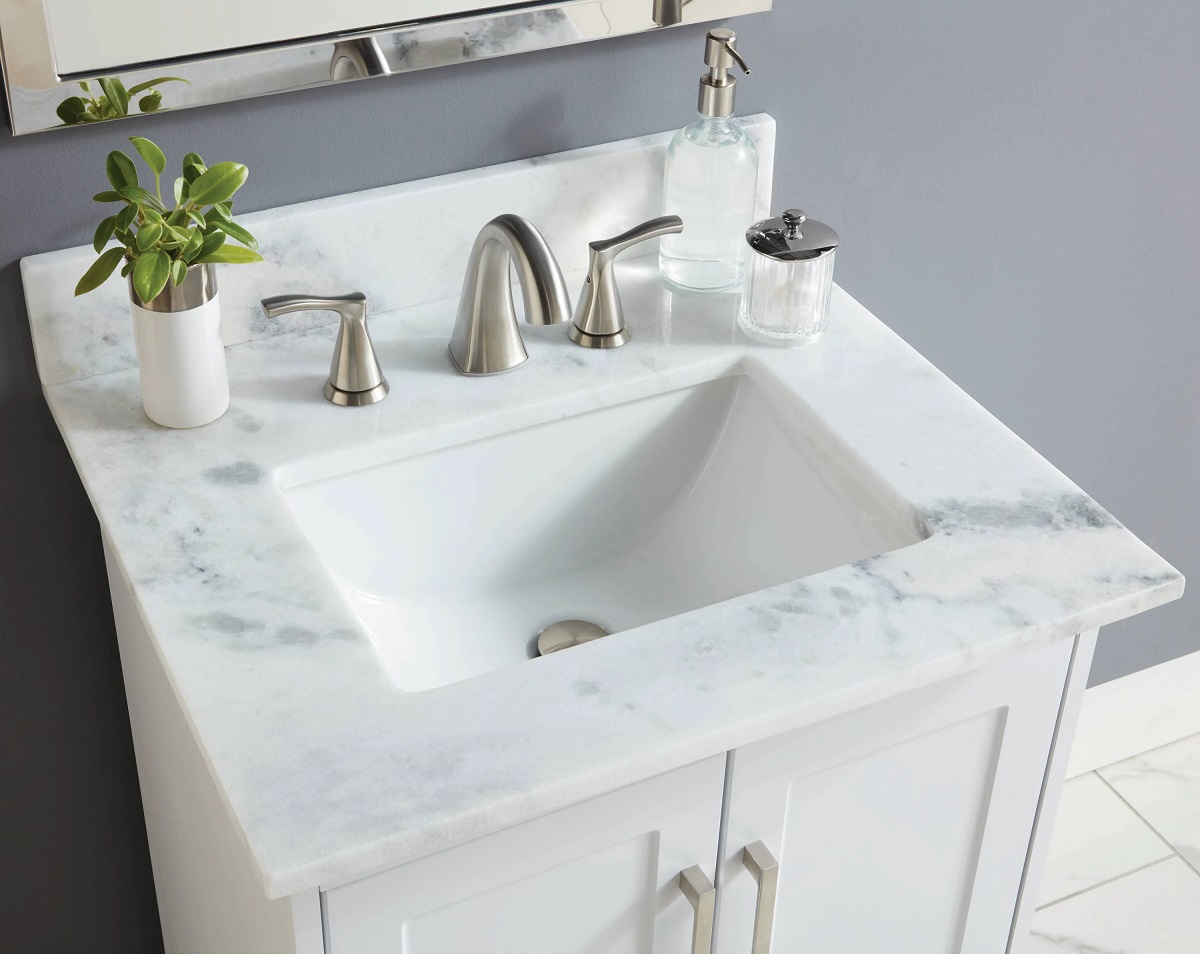
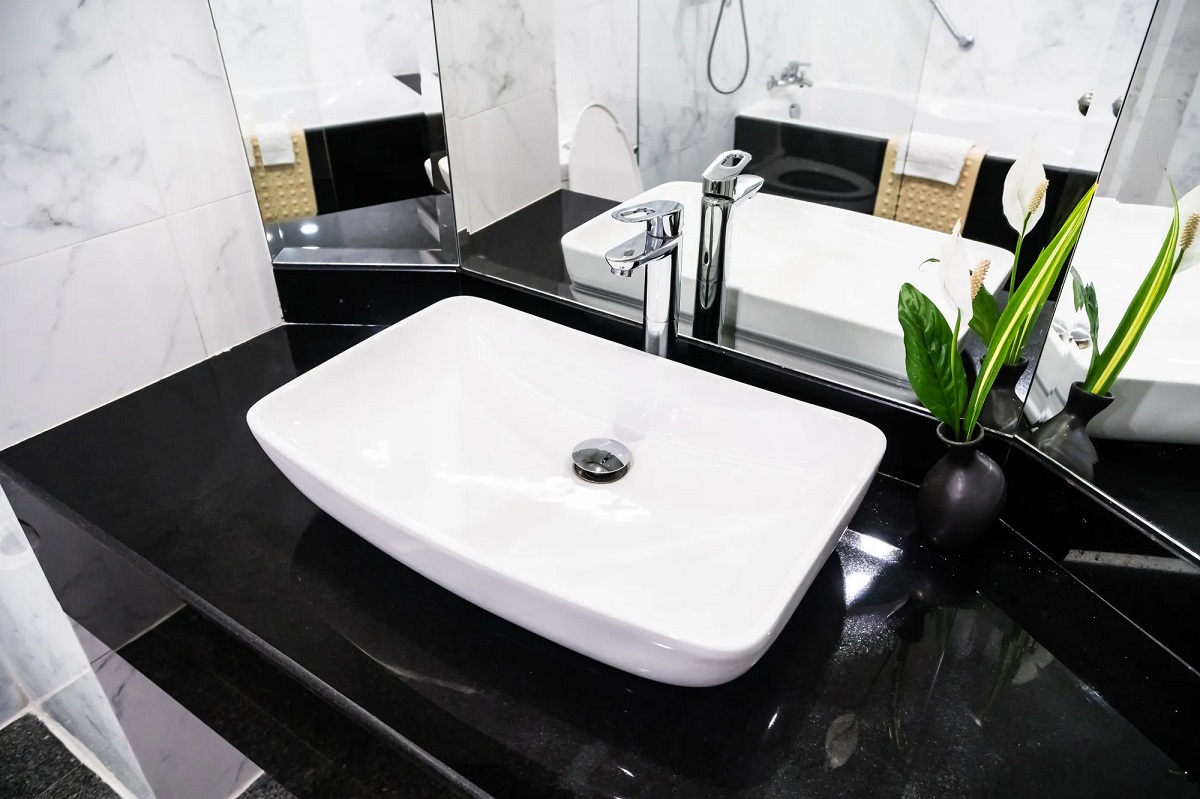
Marble is a stunning material that adds elegance and a touch of luxury to any space. Whether it’s a marble vanity top in the bathroom or a marble countertop in the kitchen, marble surfaces can enhance the beauty of your home. However, over time, these surfaces can develop scratches, which can detract from their aesthetic appeal.
If you’ve noticed scratches on your marble vanity top, you may be wondering how to restore its pristine appearance. Fortunately, with a few simple steps and the right techniques, you can remove scratches from your marble vanity top and bring back its original luster.
In this article, we will guide you through the process of removing scratches from a marble vanity top. We will explore different methods for assessing the damage, cleaning the surface, and repairing both superficial and deeper scratches. Additionally, we will cover polishing and sealing the marble to ensure long-lasting results.
Before we dive into the steps for removing scratches, it’s important to understand the nature of marble and how scratches occur on its surface.
Marble is a metamorphic rock that is formed from limestone under intense pressure and heat. It is composed of crystallized calcium carbonate minerals, giving it its distinctive veining and unique appearance. While marble is durable and can withstand the test of time, it is not impervious to damage.
Scratches on marble can be caused by a variety of factors, including abrasive materials, improper cleaning techniques, or even everyday wear and tear. The hardness of marble on the Mohs scale ranges from 3 to 5, which makes it susceptible to scratching from harder materials like metal or glass. Additionally, certain acidic substances, such as vinegar or lemon juice, can etch the surface of the marble, leaving it dull and scratched.
Now that you have a better understanding of marble and the reasons behind its scratches, let’s move on to assessing the damage on your marble vanity top.
Key Takeaways:
- Restore the elegance of your marble vanity top by understanding the nature of scratches, assessing the damage, and using gentle cleaning and polishing techniques to remove superficial and deeper scratches effectively.
- Protect and maintain the beauty of your marble vanity top by sealing the surface, incorporating prevention tips, and seeking professional advice for extensive or complex repairs. With proper care, your marble surface will continue to radiate elegance for years to come.
Read more: How To Cut Marble Vanity Top
Understanding Marble Scratches
Before you can effectively remove scratches from your marble vanity top, it’s essential to understand the depth and severity of the scratches. This will help determine the appropriate course of action for repair.
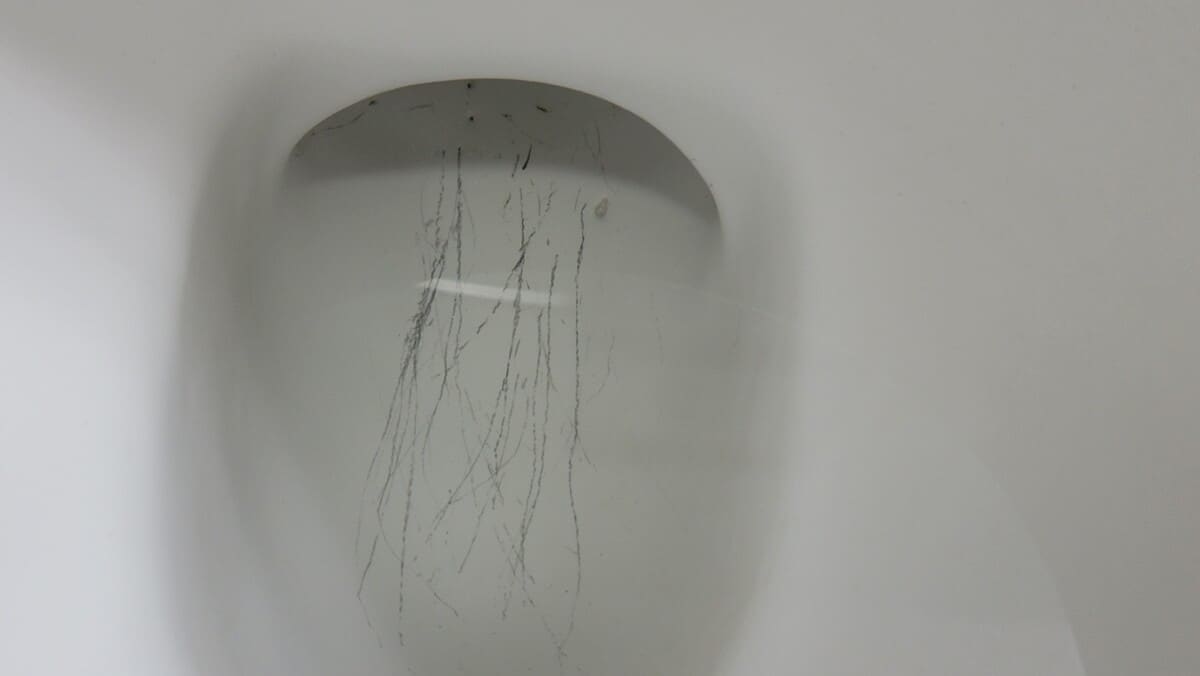
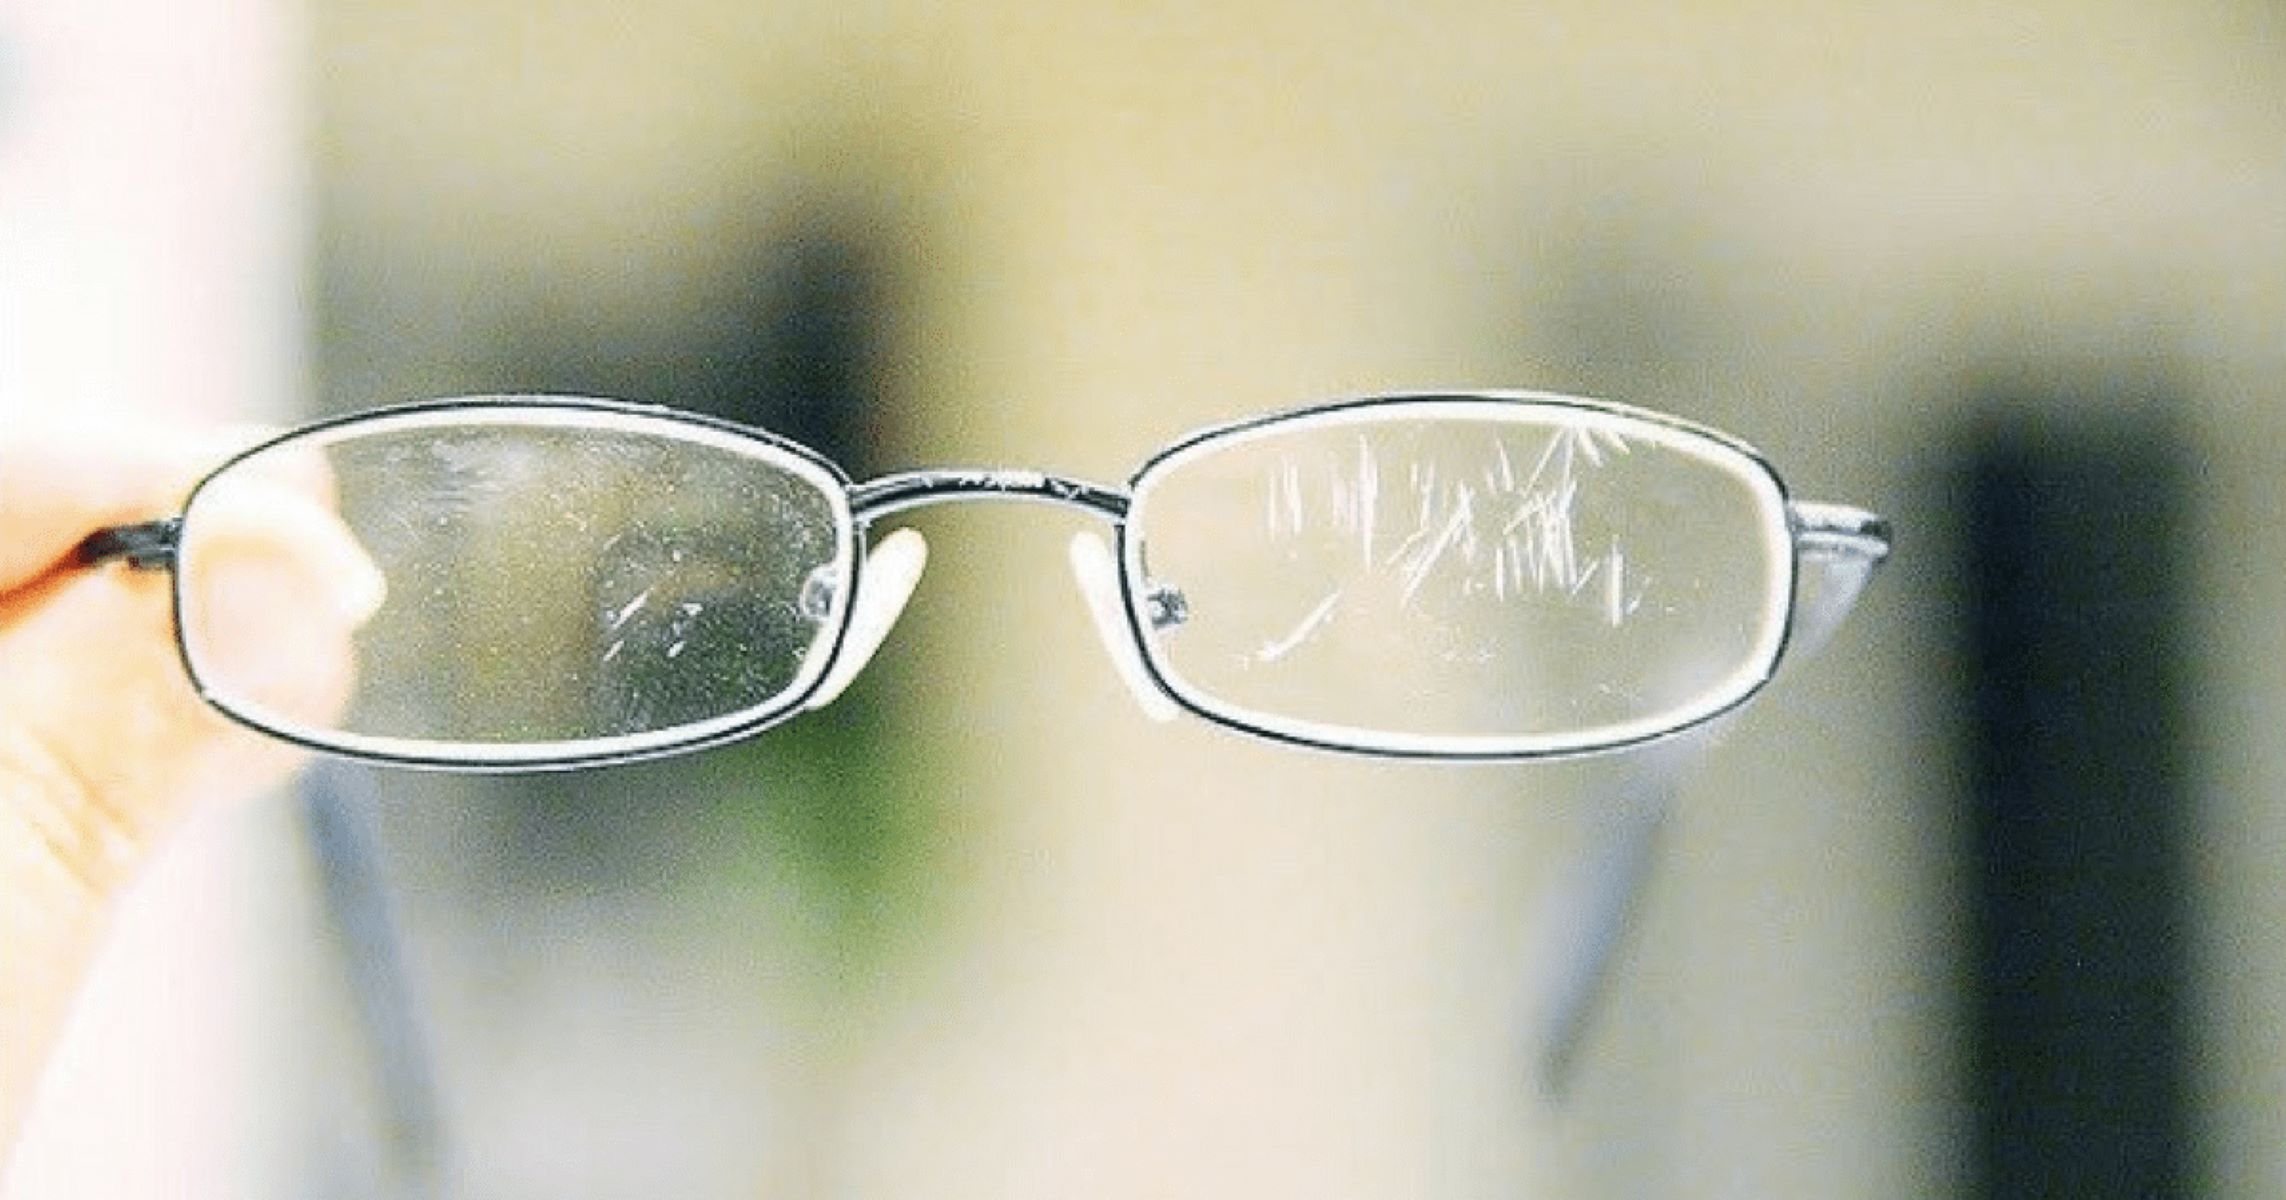
Marble scratches can be divided into two main categories: superficial scratches and deeper scratches.
Superficial scratches are surface-level scratches that only affect the top layer of the marble. These scratches are typically minor and can often be buffed out with simple cleaning and polishing techniques. They may appear as light marks or swirls on the surface of the marble.
Deeper scratches, on the other hand, penetrate through the surface layer of the marble and are more noticeable and challenging to repair. These scratches may be caused by heavier objects or abrasive materials and may require more intensive techniques to remove. Deep scratches can often appear as visible lines or grooves on the marble surface.
Assessing the severity of the scratches on your marble vanity top is crucial for choosing the most appropriate method for repair. If you’re unsure about the depth of the scratches or if they seem particularly severe, it’s recommended to consult a professional before attempting any repair techniques.
Next, let’s move on to assessing the type of marble used for your vanity top, as this can also impact the repair process.
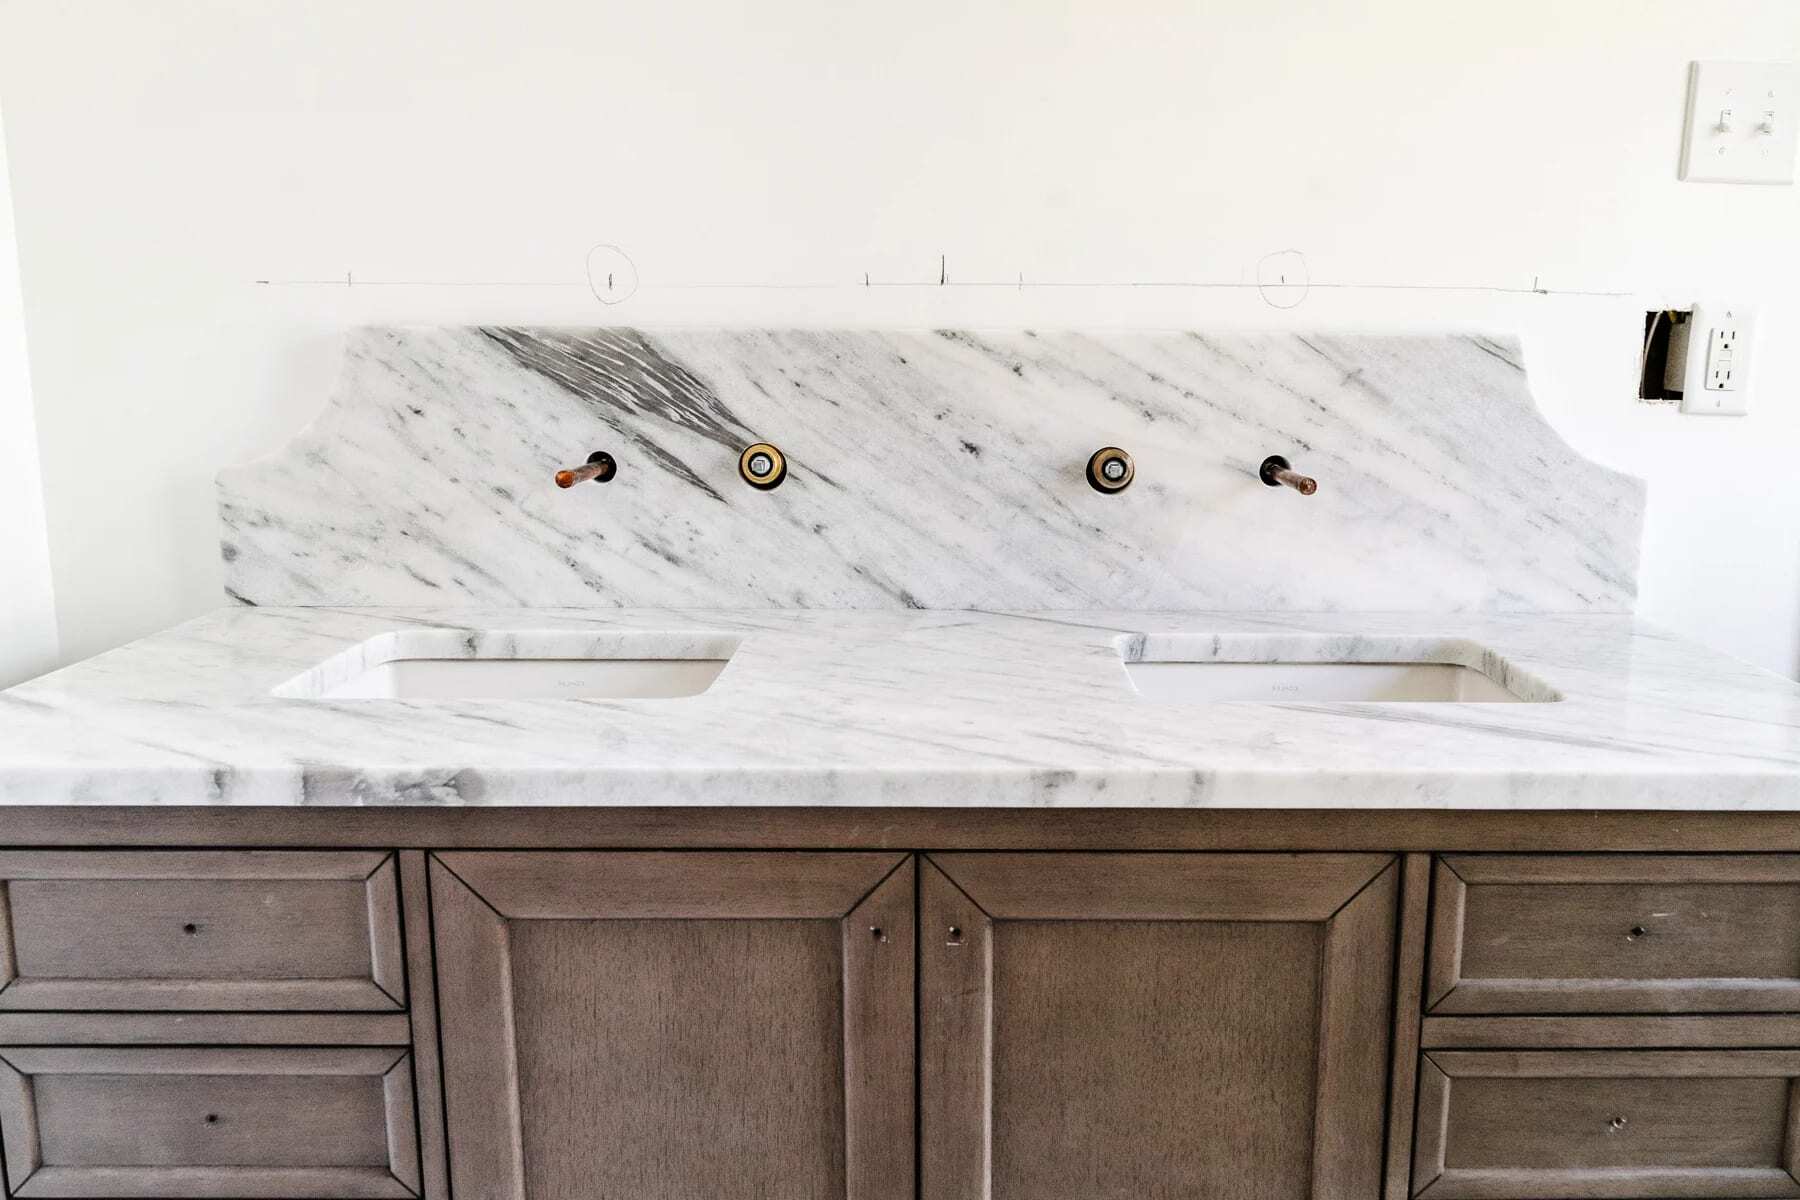
Assessing the Damage
Once you’ve identified the scratches on your marble vanity top, the next step is to assess the damage and determine the best approach for repair. Assessing the damage will help you understand the extent of the scratches, the type of repair needed, and the level of expertise required to fix the issue.
Start by examining the scratches closely and noting their depth, length, and severity. Use a bright light source or flashlight to better visualize the scratches. Determine if they are superficial or deep scratches, as this will dictate the techniques you will use to address them.
If the scratches are shallow and limited to the surface layer of the marble, they are likely superficial scratches. These scratches can often be effectively repaired through gentle cleaning, polishing, and buffing techniques.
On the other hand, if the scratches are deep and extend beyond the surface layer, they require more substantial repair methods. Deep scratches may expose raw or damaged areas of the marble, making it necessary to fill them in and restore the surface to its original smoothness.
It’s also important to assess the size and location of the scratches. Larger or more prominent scratches may require more extensive repairs and additional steps in the restoration process.
Additionally, consider the type and color of the marble used for your vanity top. Different types of marble have varying hardness and characteristics, which can influence the durability and repairability of the surface. Some marbles may be more prone to scratching, while others may be more resistant.
Take note of any other stains, etching, or damage on the marble surface that may need attention. Addressing multiple issues simultaneously can help ensure a comprehensive restoration of your marble vanity top.
Once you have thoroughly assessed the damage, you can proceed with the appropriate cleaning, repair, and restoration techniques. Remember to practice caution and take necessary precautions to avoid exacerbating the scratches or damaging the surface further.
Now that you’ve assessed the damage on your marble vanity top, it’s time to move on to the next step: determining the type of marble used for your surface.
Assessing the Marble Type
Before you begin the process of removing scratches from your marble vanity top, it’s important to identify the specific type of marble used. Different types of marble have varying characteristics, including hardness, durability, and susceptibility to scratches and stains. Understanding the marble type will help you choose the appropriate cleaning and repair techniques.
Start by examining the color and pattern of your marble vanity top. Marble comes in a wide range of colors, including white, beige, gray, black, and many variations in between. Take note of any distinct veining or patterns that may be unique to the type of marble used.
Next, research or consult with professionals to determine the specific type of marble you have. Some common types of marble include Carrara, Calacatta, Statuario, Emperador, and Crema Marfil, among others. Each type has its own characteristics and may require specific care and maintenance techniques.
Identifying the marble type will help you understand its hardness and porosity, which are crucial factors in determining the appropriate cleaning and repair methods. Some marbles, such as Carrara, are relatively soft and more susceptible to scratching and etching. Others, like black granite or green marble, may be more durable and resistant to damage.
Knowing the characteristics of your specific marble type will also guide you in selecting the right products and tools for cleaning and repair. Certain cleaning agents or abrasive materials may be too harsh for delicate marbles, while others may be suitable for more durable varieties.
Additionally, understanding the marble type will help you manage your expectations regarding the outcome of the repair process. Some types of marble may naturally have more pronounced veining or may show signs of wear and tear over time. Knowing these characteristics will help you determine if certain scratches or imperfections are part of the marble’s natural beauty or if they need repair.
If you’re unsure about the type of marble used for your vanity top, you can seek professional advice. Marble experts or stone fabricators should be able to provide insights into the specific type of marble and offer guidance on proper care and repair techniques.
With a clear understanding of the marble type, you can proceed confidently to the next steps in the process, including cleaning the surface and removing scratches from your marble vanity top.
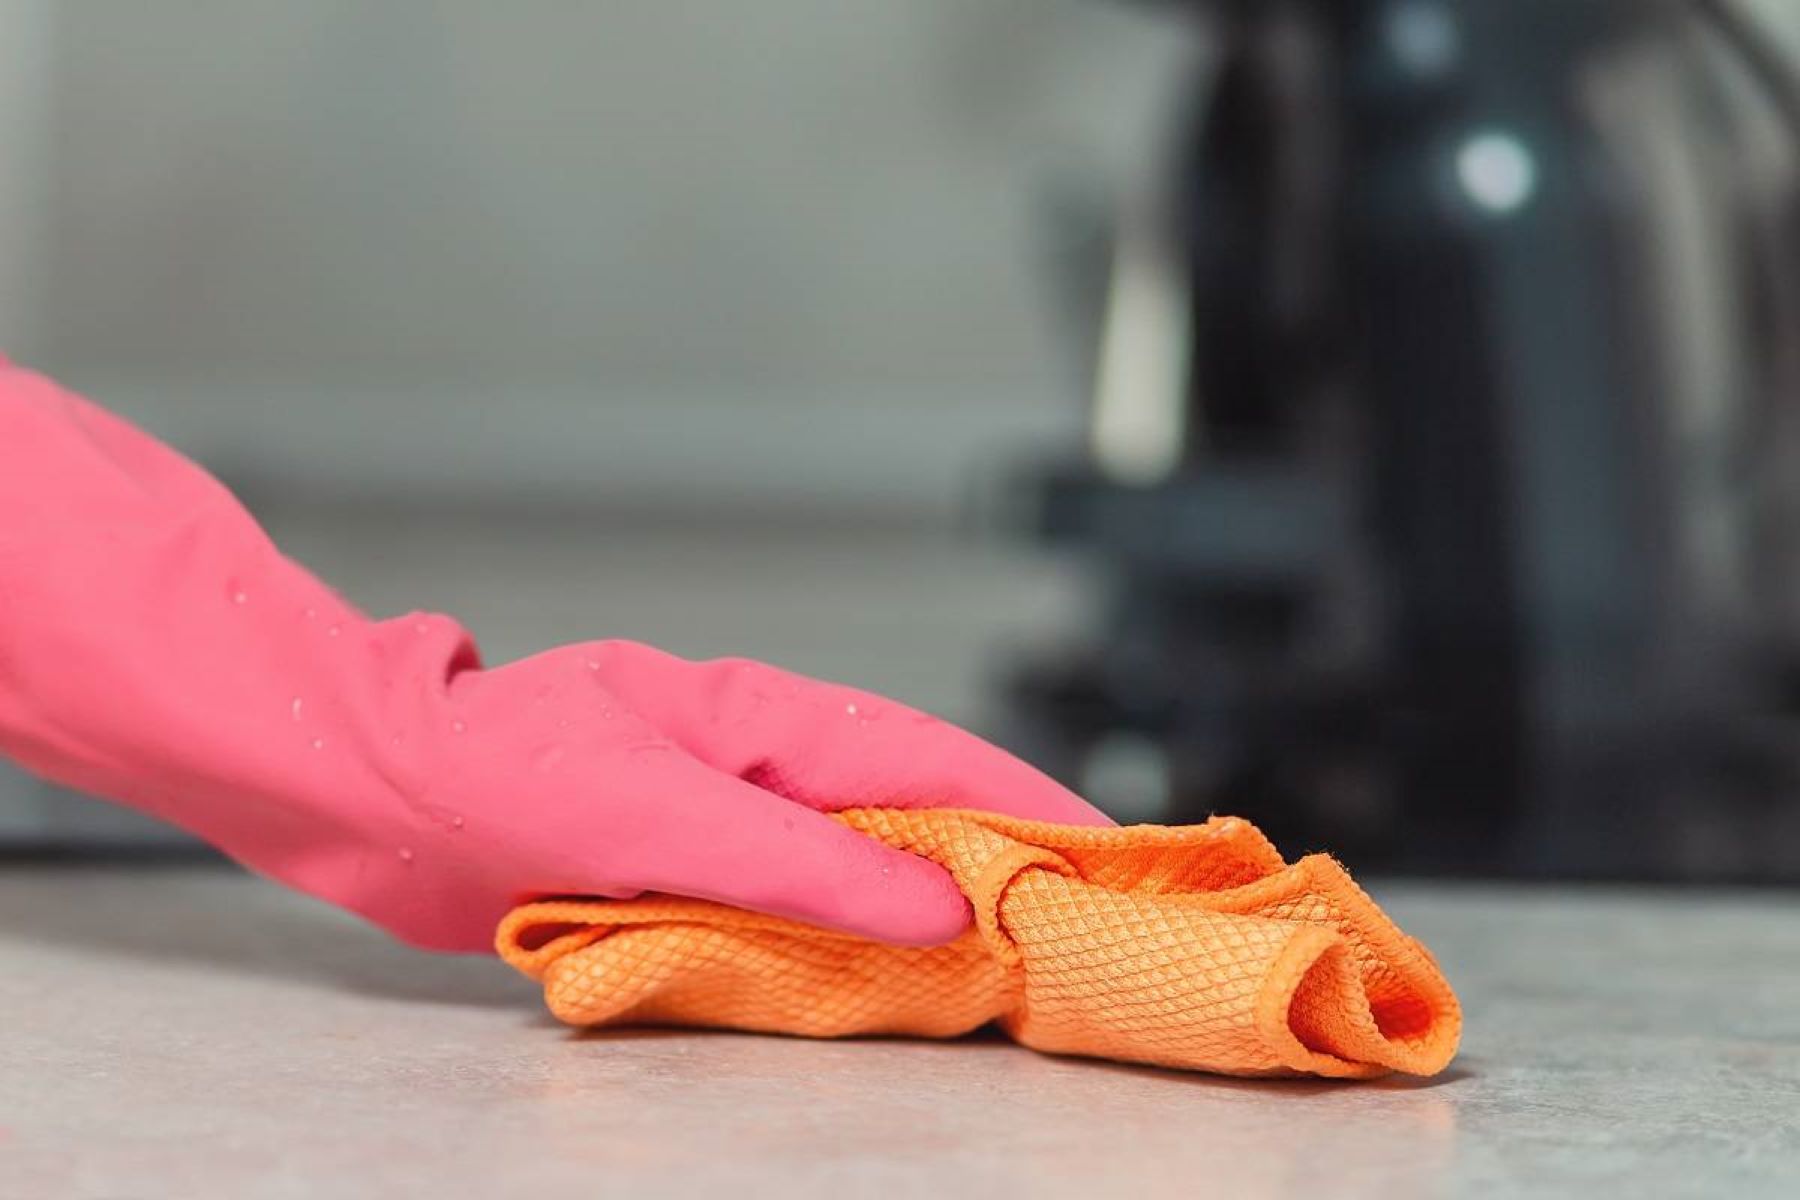
Cleaning the Surface
Before you can effectively remove scratches from your marble vanity top, it’s crucial to start with a clean surface. Cleaning the surface not only removes dirt, grime, and stains but also ensures that the marble is ready for the repair and restoration process.
Here is a step-by-step guide on how to clean your marble vanity top:
- Start by clearing the surface of any objects, toiletries, or decorative items on your vanity top. This will allow you to have full access to the entire surface and ensure a thorough cleaning.
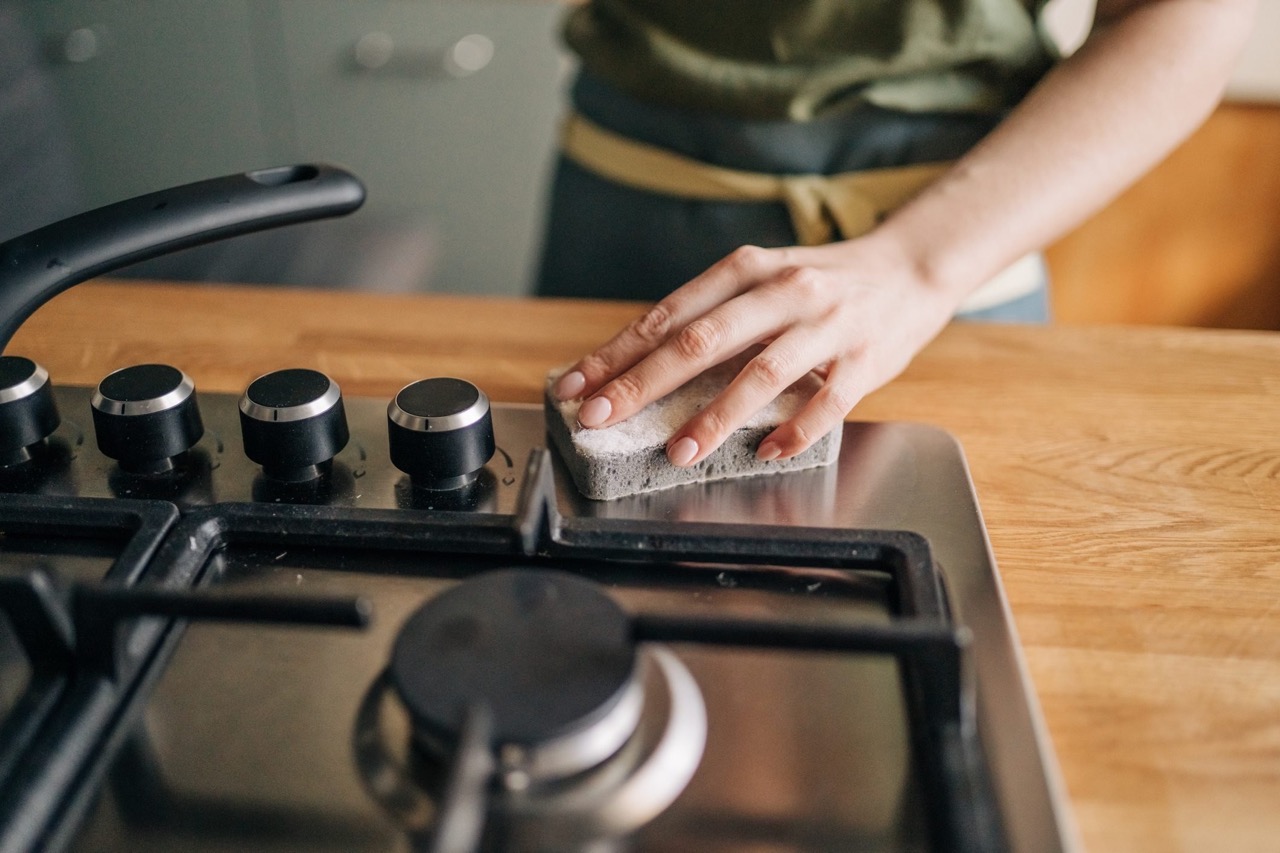
- Gently wipe the surface with a soft, microfiber cloth or a sponge to remove any loose debris, dust, or crumbs. Avoid using abrasive materials or rough cloths that could further scratch the marble.
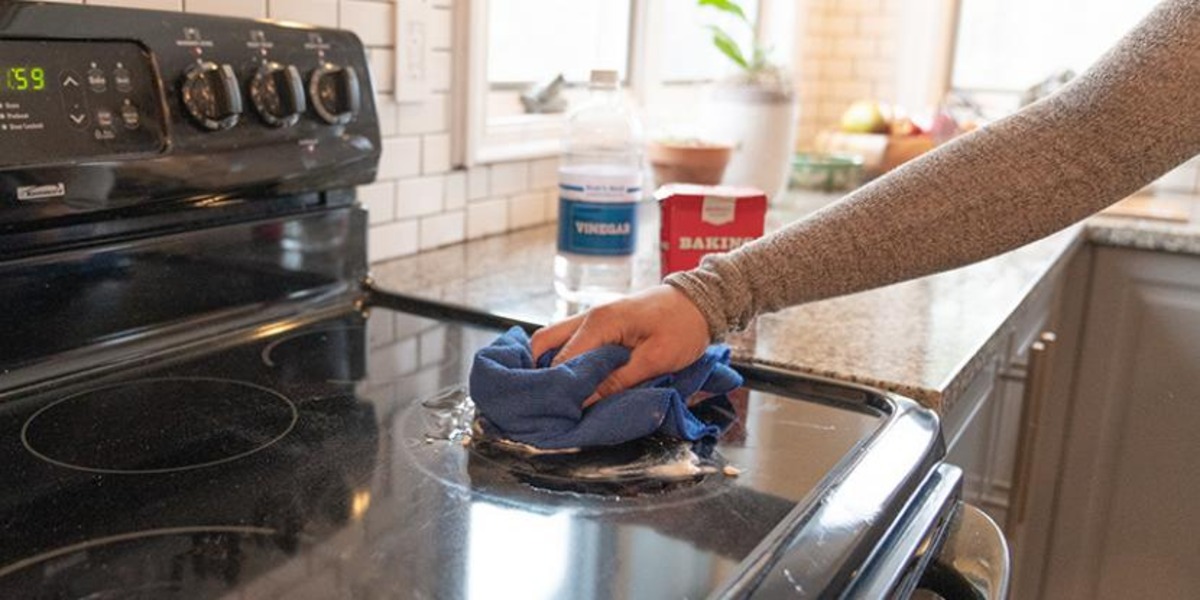
- Prepare a cleaning solution by mixing warm water and a mild, pH-neutral cleaner specifically formulated for marble surfaces. Avoid using acidic or abrasive cleaners as they can damage the marble.
- Dampen a clean cloth or sponge in the cleaning solution. Wring out any excess liquid to prevent drips or puddles on the marble surface.
- Gently wipe the entire surface of the marble vanity top, ensuring that you cover all areas, including edges and corners. Use gentle, circular motions to remove any dirt or stains.
- If there are stubborn stains or discoloration, you can create a paste by mixing a small amount of baking soda with water. Apply the paste to the affected areas and let it sit for a few minutes before gently scrubbing with a soft cloth. Rinse the area thoroughly with clean water.
- Once you have cleaned the entire surface, rinse the cloth or sponge with clean water and remove any traces of the cleaning solution from the marble.
- Lastly, use a dry, clean cloth to gently pat dry the marble vanity top. This will prevent water spots or streaks from forming on the surface.
It’s important to note that marble is porous and can be sensitive to certain substances. Avoid using harsh or acidic cleaners, such as vinegar or citrus-based cleaners, as they can etch the surface of the marble and cause further damage. Stick to recommended marble-specific cleaners or mild, pH-neutral cleaners to ensure the safety and longevity of your marble surface.
By following these cleaning steps, you will have a pristine and properly prepped surface ready for the next stage: removing scratches from your marble vanity top.
Read more: How To Clean Marble Vanity Top
Removing Superficial Scratches
If your marble vanity top has superficial scratches, which are surface-level scratches that only affect the top layer of the marble, you can often remove them using simple cleaning and polishing techniques. Here are the steps to remove superficial scratches:
- Start by cleaning the surface of the marble vanity top using the method outlined earlier. Remove any dirt, dust, or debris from the surface.
- Once the surface is clean and dry, apply a marble polishing compound specifically designed for removing scratches. These compounds are available in various forms, such as powders, creams, or liquids.
- Using a clean, soft cloth or a buffing pad, apply a small amount of the polishing compound to the scratched area of the marble vanity top. Begin by rubbing the compound in gentle, circular motions, gradually expanding the area to cover the entire affected area.
- Continue polishing the surface for several minutes, adding more polishing compound if needed. Be sure to follow the manufacturer’s instructions regarding application and usage of the specific polishing product.
- After polishing the surface, wipe away any excess compound with a clean cloth or sponge. Inspect the area to see if the scratches have been successfully removed. If needed, repeat the process on any remaining scratches.
- Once the scratches are completely removed, clean the surface again with a mild, pH-neutral cleaner and rinse with clean water. This step will remove any residue from the polishing compound.
- Finally, dry the marble vanity top thoroughly with a clean, dry cloth to prevent water spots or streaks from forming.
It’s essential to note that the effectiveness of the polishing compound may vary based on the depth and severity of the scratches. Deeper, more significant scratches may require professional attention or more intensive repair techniques.
If the superficial scratches persist or if you’re unsure about the best approach for removing them, it’s always a good idea to consult a professional stone restoration specialist or marble expert. They can assess the situation and provide tailored advice and services to restore your marble vanity top to its original beauty.
Now that you’ve successfully removed superficial scratches from your marble vanity top, let’s move on to repairing deeper scratches, which require additional steps and techniques.
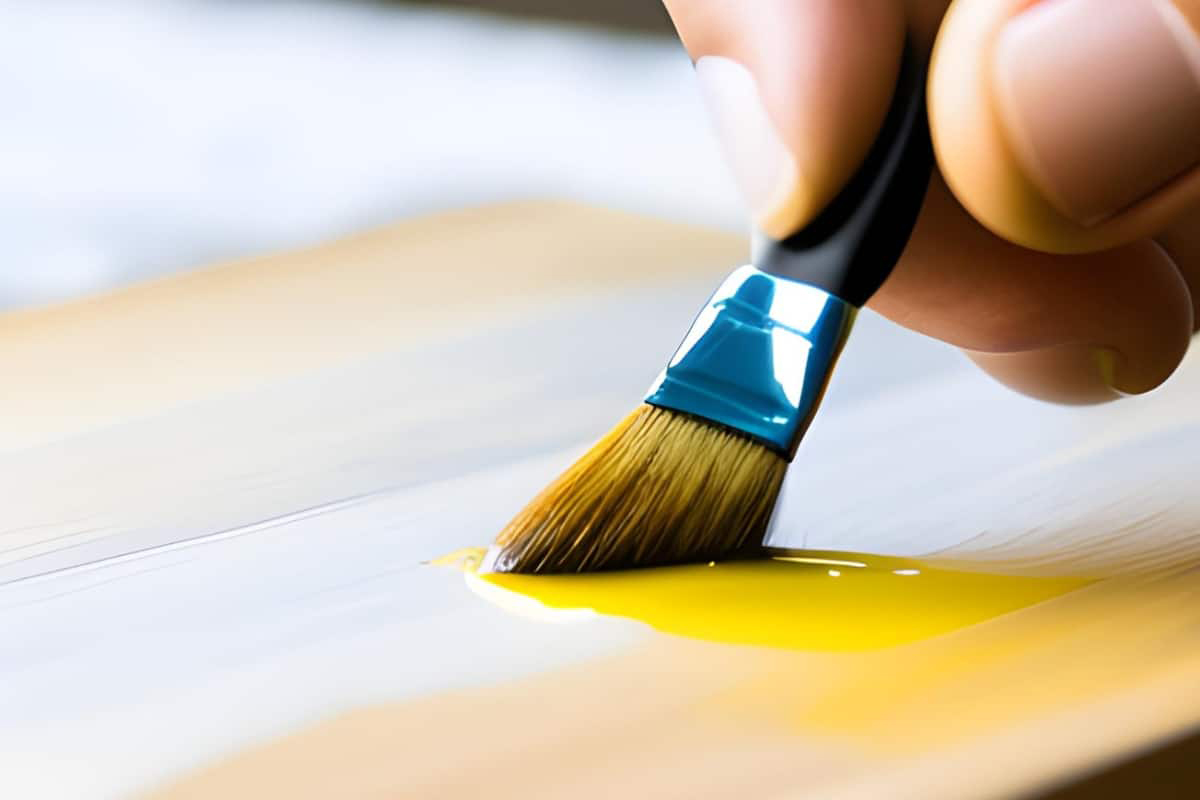
Use a marble polishing powder and a soft cloth to gently buff out the scratches on your marble vanity top. Apply the powder, dampen the cloth, and rub in a circular motion until the scratches are no longer visible.
Repairing Deeper Scratches
If your marble vanity top has deeper scratches that extend beyond the surface layer of the marble, they require more substantial repair methods. Here are the steps for repairing deeper scratches:
- Start by cleaning the surface of the marble vanity top using the method outlined earlier. Remove any dirt, dust, or debris from the surface. This will ensure a clean and prepared surface for the repair process.
- Assess the depth and severity of the scratches. If the scratches are relatively shallow, you may be able to use a marble repair kit to fill them in. These kits typically contain a specialized epoxy or resin that can be tinted to match the color of your marble.
- Follow the instructions provided with the marble repair kit to mix the epoxy or resin and apply it to the scratches. Use a small spatula or putty knife to carefully fill in the scratches. Smooth out the surface of the repaired area, ensuring that it is level with the surrounding marble.
- Allow the epoxy or resin to dry and harden according to the manufacturer’s instructions. This may take several hours to overnight, depending on the product used.
- Once the repaired area is fully dry, use a fine-grit sandpaper or a sanding block to gently sand down the surface. Start with a higher grit sandpaper, such as 400 or 600, and gradually work your way to a finer grit, such as 800 or 1000, for a smooth finish.
- After sanding, clean the surface again with a mild, pH-neutral cleaner. This will remove any residue from the sanding process and ensure a clean surface ready for polishing.
- Apply a marble polishing compound to the repaired area and the surrounding marble. Use a soft cloth or a buffing pad to gently polish the surface, blending the repaired area with the rest of the marble vanity top.
- Continue polishing the surface for several minutes until the repaired area matches the shine and smoothness of the surrounding marble. If necessary, repeat the polishing process on any remaining scratches.
- Once you’re satisfied with the results, clean the surface once again with a mild cleaner and rinse with clean water. Dry the marble vanity top thoroughly with a clean cloth to prevent water spots or streaks.
It’s important to note that repairing deeper scratches can be more challenging, and professional assistance may be necessary for extensive or complex repairs. Consider consulting a stone restoration specialist or a marble expert who can provide guidance and expertise in addressing deep scratches.
By following these steps, you can effectively repair and restore deeper scratches on your marble vanity top, bringing back its original beauty and elegance.
Now that you’ve successfully repaired the deeper scratches, let’s move on to the next step: polishing the marble to enhance its shine and luster.
Polishing the Marble
After removing scratches and repairing any deeper damage on your marble vanity top, the next step is to polish the surface to enhance its shine and luster. Polishing the marble will help to restore its natural beauty and create a smooth, reflective finish. Here’s how to polish your marble:
- Ensure that the surface is clean and dry before beginning the polishing process. Remove any dust, debris, or cleaning residue from the marble vanity top using a soft cloth or sponge.
- Apply a marble polishing compound to the surface. Use a clean, soft cloth or a buffing pad to gently rub the polishing compound onto the marble in small circular motions.
- Continue polishing the surface, applying light pressure, for several minutes. Pay extra attention to areas that may require more polishing, such as those that were repaired or had deeper scratches.
- As you polish, periodically check the surface to see the level of shine achieved. You may need to add more polishing compound if necessary.
- Once the desired shine is achieved, remove any excess polishing compound from the surface using a clean cloth or sponge. Ensure that all residue is thoroughly wiped away.
- Inspect the marble vanity top to ensure an even and consistent shine across the surface. If you notice any dull areas, repeat the polishing process on those specific areas until they match the rest of the surface.
- After polishing, give the surface a final wipe-down with a mild, pH-neutral cleaner and rinse with clean water. This will remove any residual polishing compound and ensure a clean finish.
- Dry the marble vanity top thoroughly with a clean cloth to prevent water spots or streaks from forming.
It’s important to note that the frequency of polishing will depend on factors such as the usage of the marble vanity top and the wear and tear it experiences. As a general rule, it’s recommended to polish marble surfaces every 6-12 months to maintain their shine and appearance.
In addition to regular polishing, be mindful of how you care for your marble vanity top to prevent future scratches and damage. Use coasters or mats under hot or acidic items, avoid using abrasive cleaners or materials, and promptly clean up spills to minimize the risk of stains or etching.
By following these polishing steps and taking proper care of your marble vanity top, you can enjoy its natural beauty and durability for years to come.
Now that your marble vanity top is polished and looking fabulous, let’s move on to the final step: sealing the marble to protect and maintain its appearance.
Sealing the Marble
Sealing your marble vanity top is an essential step in protecting and maintaining its appearance. Marble is a porous material, which means it can absorb liquids and be vulnerable to staining. Sealing helps create a protective barrier on the surface of the marble, making it more resistant to stains and easier to clean. Here’s how to seal your marble:
- Ensure that the marble vanity top is clean, dry, and free from any residue or debris. Use a mild, pH-neutral cleaner to remove any dirt or stains, and rinse thoroughly with clean water. Allow the surface to dry completely before proceeding.
- Choose a high-quality marble sealer specifically designed for your type of marble. Read the manufacturer’s instructions to determine the proper application and curing time for the sealer.
- Apply the sealer using a clean, lint-free cloth or a sponge. Start at one end of the vanity top and work your way across the surface, applying the sealer in thin, even coats. Be sure to cover the entire marble surface, including edges and corners.
- Allow the sealer to penetrate the marble according to the manufacturer’s instructions. Typically, this will involve letting the sealer sit on the surface for a specified amount of time to allow for proper absorption.
- After the recommended curing time, use a clean cloth to wipe away any excess sealer from the surface. Be thorough in removing any residue to ensure a smooth, even finish.
- Allow the sealer to dry completely before using the marble vanity top. This may take anywhere from a few hours to overnight, depending on the specific sealer product used.
- Once the sealer is fully dry, test its effectiveness by placing a few drops of water on the surface. If the water beads up and does not immediately absorb into the marble, the sealer is working correctly.
- Repeat the sealing process as needed, following the manufacturer’s recommendations for resealing frequency. In general, it’s recommended to seal marble surfaces every 6-12 months for optimal protection.
Sealing your marble vanity top is an ongoing maintenance task that helps preserve its beauty and longevity. Remember to clean spills promptly, using gentle cleaners suitable for marble surfaces, to prevent potential stains or etching.
It’s important to note that sealing the marble does not make it completely impervious to all types of damage or stains. Certain substances, such as acids or harsh chemicals, can still cause damage to the surface. Therefore, it’s essential to follow proper care instructions and take preventive measures to protect your marble vanity top.
By following these sealing steps and maintaining a regular resealing schedule, you can enjoy your marble vanity top in its best condition for years to come.
Now that your marble vanity top is sealed and well-protected, let’s move on to some helpful prevention tips to keep it looking its best.
Read more: What Is Cultured Marble Vanity Tops
Prevention Tips
While it’s important to know how to remove scratches from your marble vanity top, it’s equally crucial to take preventive measures to protect it from damage. By following these prevention tips, you can maintain the beauty and longevity of your marble surface:
- Use coasters or mats: Place coasters or mats under hot items, such as curling irons or hot hair tools, to prevent direct contact with the marble surface. This will help avoid heat damage or discoloration.
- Avoid abrasive materials: When cleaning your marble vanity top, avoid using harsh scrub brushes, rough sponges, or abrasive cleaning agents. Opt for soft cloths or non-abrasive sponges to clean the surface gently.
- Clean up spills promptly: Marble is susceptible to staining, especially from acidic substances like wine, citrus juices, or certain cleaning agents. Immediately wipe up any spills using a soft cloth or sponge to prevent long-lasting stains.
- Use marble-specific cleaners: Choose mild, pH-neutral cleaners specifically formulated for marble surfaces. Avoid using acidic or abrasive cleaners that can etch or damage the marble.
- Protect against etching: Be cautious with acidic substances like vinegar, lemon juice, or toiletry products that may contain acidic ingredients. These can cause etching and dullness on the marble surface. Wipe up any spills from acidic substances immediately.
- Regularly dust the surface: Dust your marble vanity top regularly using a soft cloth or duster to remove any dirt or debris that may cause scratches or dulling of the surface over time.
- Be mindful of heavy objects: Avoid placing heavy objects directly on the marble surface, as they can cause cracks or damage. Use padding or protective mats underneath heavy items to distribute the weight evenly.
- Re-seal periodically: Follow the manufacturer’s guidelines and re-seal your marble vanity top as recommended to maintain its protective barrier against stains and damage.
Following these prevention tips will help preserve the beauty and integrity of your marble vanity top, reducing the likelihood of scratches, stains, or other forms of damage.
Remember, regular maintenance and care are key to keeping your marble vanity top looking its best. By incorporating these practices into your routine, you can enjoy the elegance and beauty of your marble surface for years to come.
Now that you’re equipped with the knowledge to prevent damage and maintain your marble vanity top properly, let’s wrap up this article.
Conclusion
A marble vanity top adds a touch of elegance and luxury to any space. However, over time, scratches can detract from its beauty. Fortunately, with the right knowledge and techniques, you can remove scratches from your marble vanity top and restore its pristine appearance.
Understanding the nature of marble scratches and assessing the damage are crucial starting points. By identifying superficial scratches and deeper scratches, you can determine the most appropriate course of action for repair.
Cleaning the surface of your marble vanity top is essential before attempting any repair. By using gentle cleaning techniques and mild, pH-neutral cleaners, you can ensure a clean and prepared surface for the scratch removal process.
Superficial scratches can often be easily removed by using marble polishing compounds and gentle polishing motions. However, deeper scratches may require more extensive repair methods, such as using marble repair kits to fill in the scratches and then sanding and polishing the surface to blend the repairs seamlessly.
Once the scratches are removed, the next step is to polish the marble to enhance its shine and luster. Polishing compounds and careful buffing will bring out the natural beauty of your marble vanity top.
To protect your marble vanity top and maintain its appearance, sealing the marble is recommended. Sealing creates a protective barrier that helps resist stains and makes cleaning easier. Regular resealing is necessary to ensure ongoing protection.
Finally, incorporating prevention tips, such as using coasters, avoiding abrasive materials, cleaning up spills promptly, and using marble-specific cleaners, will help preserve the beauty of your marble vanity top and prevent future damage.
By following these steps and adopting a proactive approach to maintenance, you can ensure that your marble vanity top remains a stunning and timeless centerpiece in your home.
Remember, if you’re unsure about the best approach or the severity of the scratches, it’s always a good idea to consult a professional stone restoration specialist or marble expert. They can provide personalized advice and assistance based on the specific needs of your marble vanity top.
With proper care and attention, your marble vanity top will continue to radiate elegance and serve as a focal point in your space for many years to come.
Frequently Asked Questions about How To Remove Scratches From Marble Vanity Top
Was this page helpful?
At Storables.com, we guarantee accurate and reliable information. Our content, validated by Expert Board Contributors, is crafted following stringent Editorial Policies. We're committed to providing you with well-researched, expert-backed insights for all your informational needs.
0 thoughts on “How To Remove Scratches From Marble Vanity Top”