Articles
How To Clean Vanity Top
Modified: January 6, 2024
Learn effective techniques and tips on how to clean your vanity top in our informative Articles. Keep your vanity looking pristine and beautiful with these helpful guides.
(Many of the links in this article redirect to a specific reviewed product. Your purchase of these products through affiliate links helps to generate commission for Storables.com, at no extra cost. Learn more)
Introduction
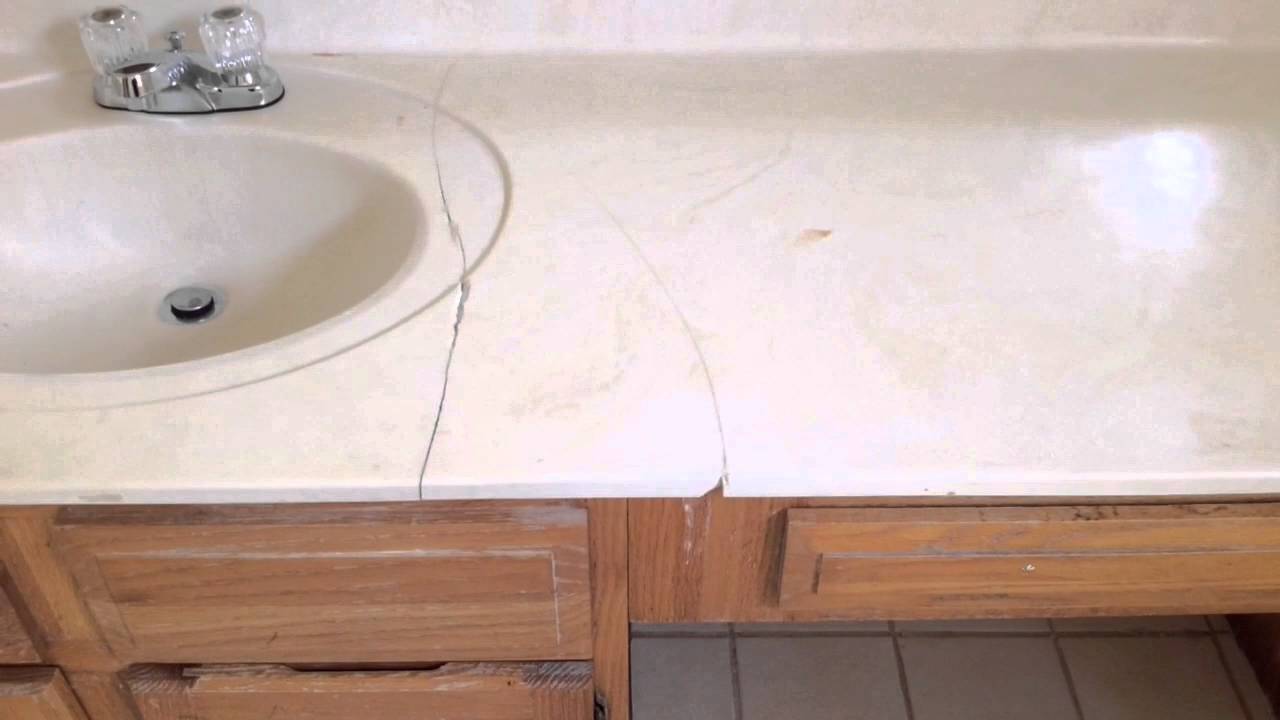
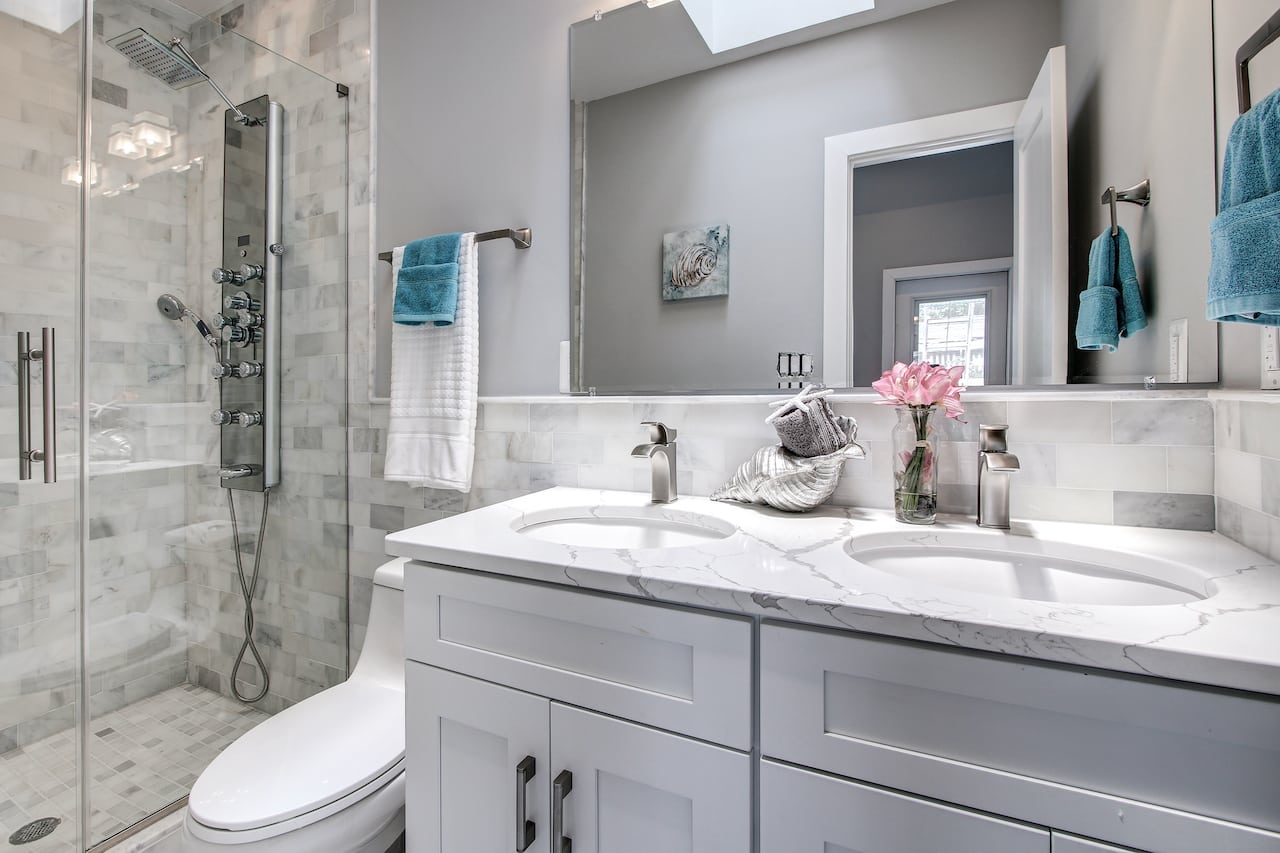
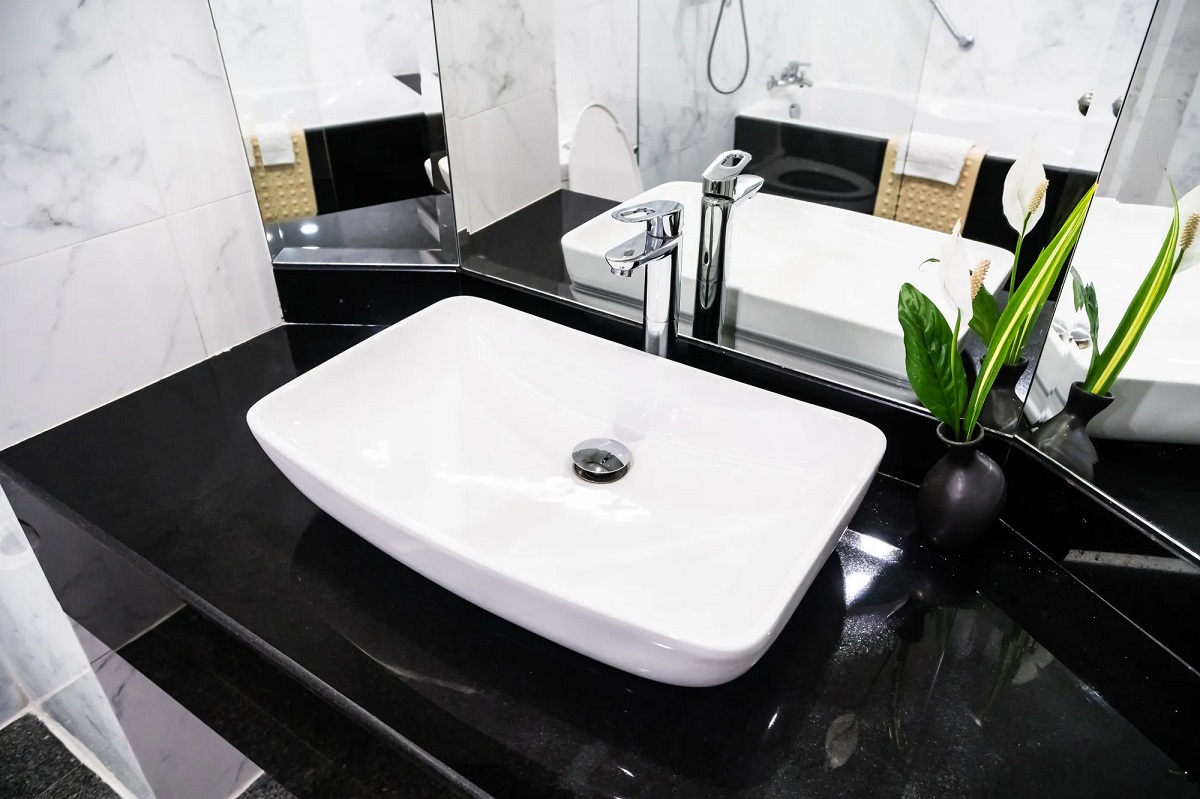
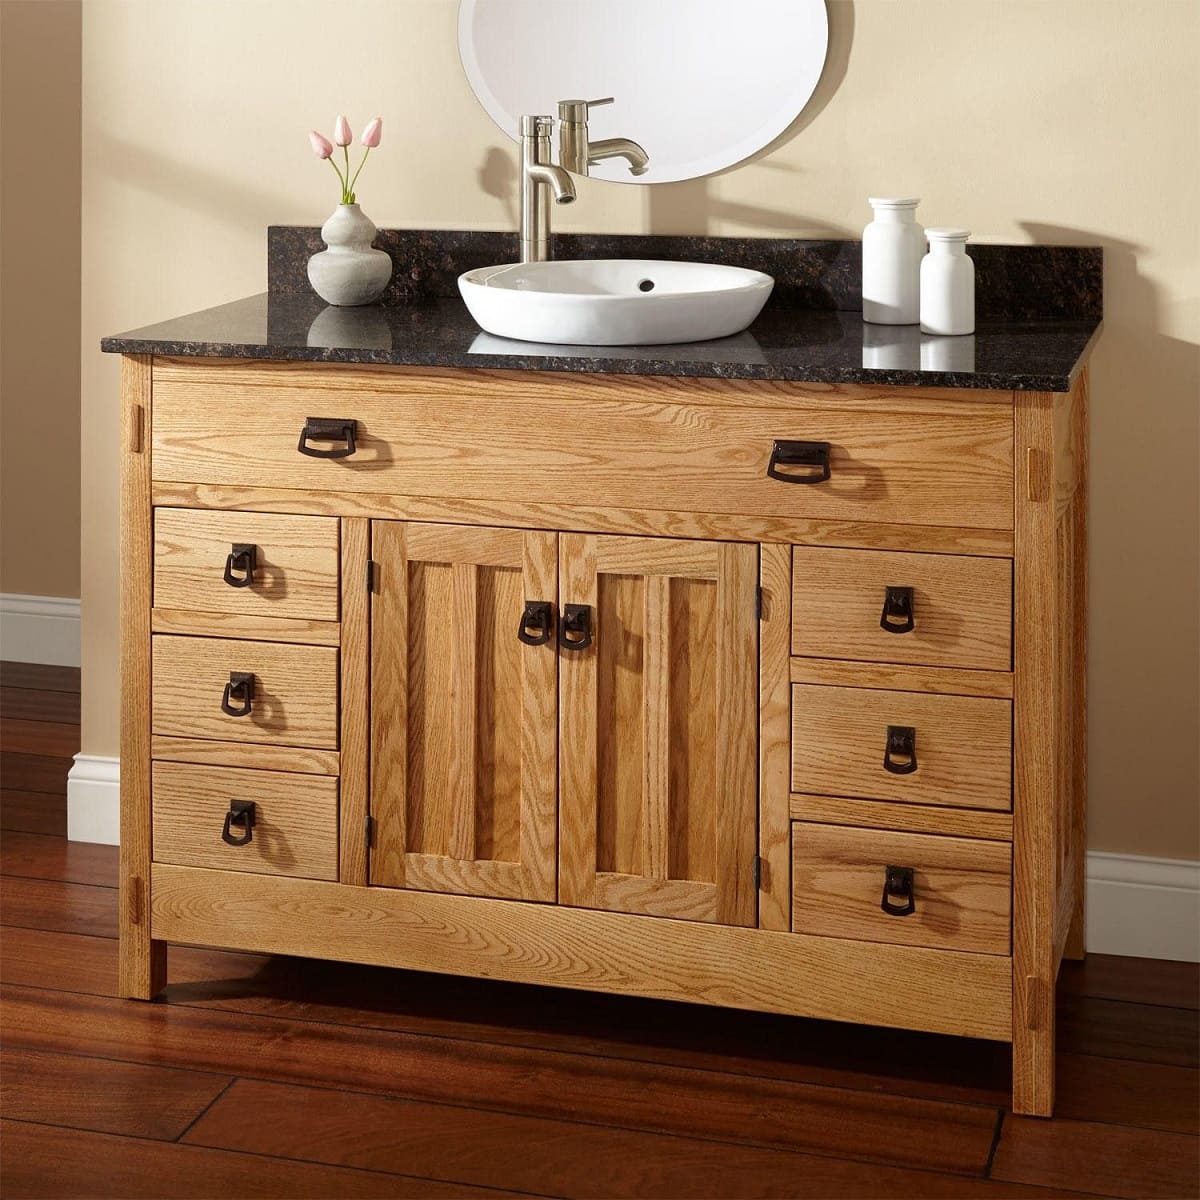
Cleaning your vanity top is an essential part of maintaining a clean and organized bathroom. Over time, dirt, dust, and everyday use can leave your vanity top looking dull and dirty. However, with the right materials and a little effort, you can restore its shine and make it look brand new again. In this article, we will guide you through the process of cleaning your vanity top, step by step.
Whether you have a marble, granite, quartz, or laminate vanity top, the cleaning process can be quite similar. By following these simple steps, you can remove stains, dirt, and grime, leaving your vanity top looking fresh and pristine.
Before we dive into the cleaning process, it’s essential to gather the necessary materials. This will ensure that you have everything you need to clean your vanity top effectively.
Key Takeaways:
- Keep your vanity top clean and shiny by following these 7 simple steps, including removing items, gentle cleaning, thorough rinsing, and proper drying. Regular maintenance will ensure a beautiful and functional bathroom space.
- Organize and declutter your vanity top to maintain a visually appealing and functional space. Use appropriate cleaning products and techniques for your specific vanity top material to keep it looking its best.
Read more: How To Clean Marble Vanity Top
Materials Needed
Before you get started on cleaning your vanity top, gather the following materials:
- A microfiber cloth or soft cloth
- A gentle cleaning solution (such as mild soap or a non-abrasive cleaner)
- Warm water
- A sponge or soft brush
- A towel or paper towels
- A polishing agent (optional)
Having these materials on hand will make the cleaning process much easier and more efficient. Now that you have everything you need, let’s move on to the first step of cleaning your vanity top.
Step 1: Remove all items from the vanity top
Before you start cleaning your vanity top, it’s important to remove all items that may be sitting on it. This includes toothbrush holders, soap dispensers, makeup organizers, and any other decorative or functional items. Clearing the surface will allow you to have easy access to every part of the vanity top and ensure a thorough cleaning.
Gently lift and remove each item, being careful not to cause any damage or scratches to the surface of the vanity top. Place them in a safe spot, such as a nearby countertop or sink, until you have finished cleaning.
This step is crucial because cleaning around items can be challenging and may result in missed spots or uneven cleaning. Removing all items will give you a clean slate to work with.
Once you have cleared the vanity top, take a moment to inspect it closely. Look for any areas with stubborn stains, soap scum, or buildup that may require extra attention. Identifying these areas beforehand will help you determine the best cleaning approach.
Now that your vanity top is free of any items, let’s move on to the next step: wiping down the surface.
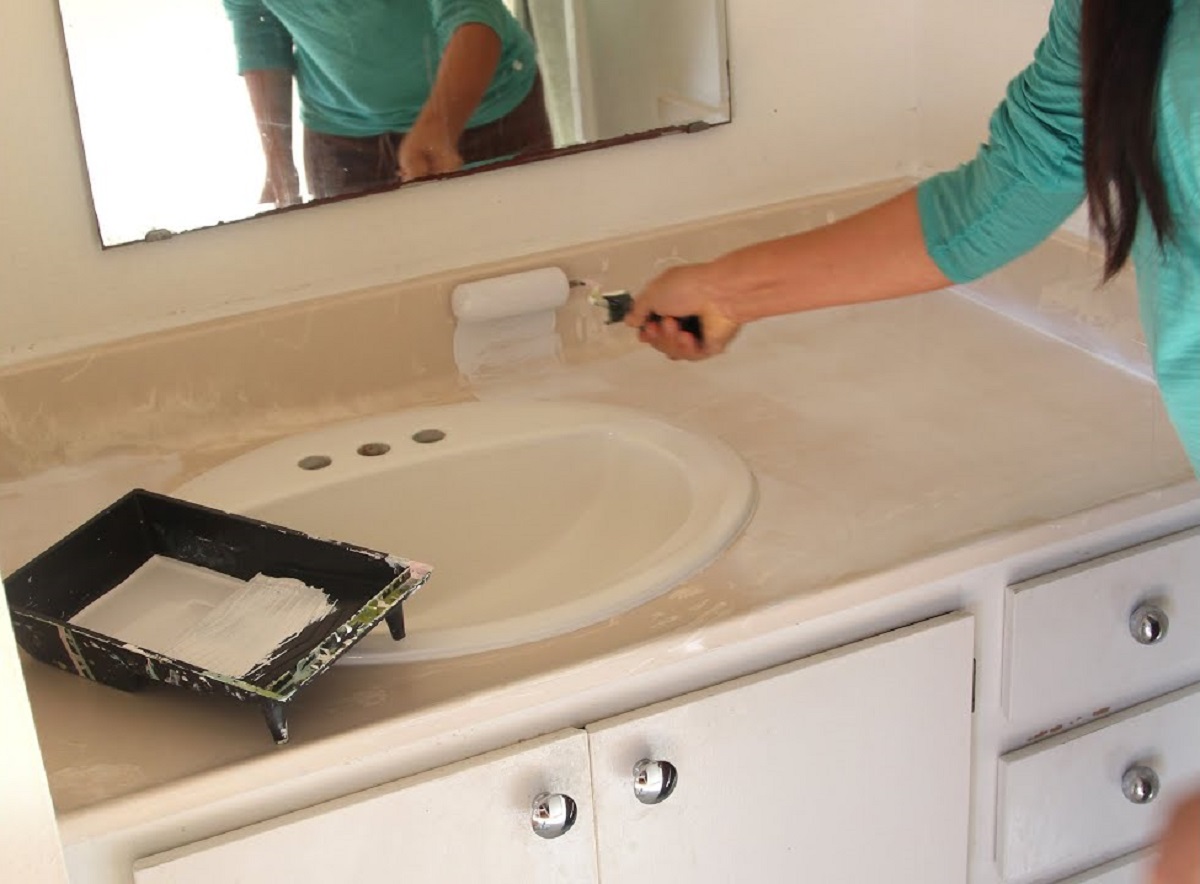
Step 2: Wipe down the surface with a microfiber cloth
With the vanity top cleared of any items, it’s time to start the cleaning process. Begin by taking a clean microfiber cloth and gently wiping down the entire surface of the vanity top. This will help remove any loose dust, dirt, or debris that may be sitting on the surface.
Microfiber cloths are ideal for this task because they are soft and non-abrasive, making them safe to use on most vanity top materials. Avoid using rough or abrasive materials, as they can cause scratches or damage to the surface.
Start from one end of the vanity top and work your way across, applying light pressure as you wipe. Use long, sweeping motions to ensure you cover the entire surface. Pay extra attention to the edges and corners, as these areas can accumulate more dirt and dust.
If you encounter areas with stubborn stains or sticky residue, you may need to apply a bit more pressure or use a gentle cleaning solution. We will discuss this further in the next steps.
Continue wiping down the vanity top until you have removed all visible dust and debris. Once you have completed this step, you are ready to move on to the next step: using a gentle cleaning solution to remove stains and buildup.
Step 3: Use a gentle cleaning solution to remove stains and buildup
After wiping down the surface of your vanity top, it’s time to tackle any stubborn stains or buildup that may be present. To do this, you will need to use a gentle cleaning solution that is suitable for your specific vanity top material.
If you have a marble or granite vanity top, it’s important to use a pH-neutral cleaner that is specifically formulated for these types of surfaces. Avoid using harsh chemicals or abrasive cleaners, as they can damage the stone and cause etching or discoloration.
For quartz or laminate vanity tops, you can use a mild soap mixed with warm water or a non-abrasive cleaner. These materials are more forgiving and can withstand a slightly more robust cleaning solution.
To apply the cleaning solution, dampen a sponge or soft brush with the solution and gently scrub the stained or dirty areas. Use circular motions and apply light pressure, working the cleaner into the surface of the vanity top. Be sure to cover all areas, including the edges and corners.
If you have a particularly stubborn stain or buildup, you can let the cleaning solution sit on the surface for a few minutes before scrubbing. This will help loosen the dirt and make it easier to remove.
Once you have thoroughly scrubbed the vanity top, rinse the sponge or brush with clean water and go over the surface again to remove any residual cleaner. This step is essential to ensure that no cleaner or soap residue is left behind.
Now, take a clean microfiber cloth and wipe down the entire vanity top once again to remove any remaining moisture. This will prevent water spots and leave the surface looking clean and polished.
By using a gentle cleaning solution and taking care with your scrubbing, you can effectively remove stains and buildup without damaging the surface of your vanity top.
With the stains and buildup removed, it’s time to move on to the next step: rinsing the vanity top with clean water.
Use a mild cleaner and a soft cloth to wipe down the vanity top. Avoid harsh chemicals or abrasive materials that could damage the surface. Wipe dry to prevent water spots.
Read more: How To Attach A Vanity Top
Step 4: Rinse the vanity top with clean water
After cleaning the vanity top with a gentle cleaning solution, it is essential to rinse off any residue or remaining cleaning solution. Rinsing the surface with clean water will help remove any lingering traces of the cleaner and ensure a fresh and pristine result.
To begin, dampen a clean sponge or cloth with warm water. Starting from one end of the vanity top, gently wipe down the surface, making sure to cover all areas, including the edges and corners. Use long, sweeping motions to ensure thorough coverage.
While rinsing, be sure to remove any excess water by wringing out the sponge or cloth regularly. This will prevent excessive water from pooling on the vanity top and potentially leaving water spots.
If you have a removable faucet aerator, it is a good idea to detach it and run water through it as well. Sediment and mineral deposits can accumulate in the aerator over time and affect the water flow. Cleaning it will help maintain optimal performance.
Continue to rinse the vanity top until you no longer see any traces of the cleaning solution. The water should run clear, indicating that all residue has been effectively removed.
Once you have finished rinsing, take a clean microfiber cloth or towel and gently pat dry the vanity top. This will remove any remaining moisture and prevent water spots from forming as the surface dries.
Now that the vanity top is rinsed and dried, it’s time to move on to the next step: drying the surface thoroughly.
Step 5: Dry the surface thoroughly
After rinsing the vanity top, it is essential to dry the surface thoroughly to prevent any water spots or streaks from forming. Drying the surface will also ensure a polished and pristine finish.
To begin, take a clean and dry microfiber cloth or towel and gently pat the entire surface of the vanity top. Start from one end and work your way across, making sure to cover all areas, including the edges and corners.
Avoid rubbing the cloth or towel aggressively, as this may create friction and potentially scratch the surface. Instead, use light pressure and gentle patting motions to absorb the moisture.
If you notice any lingering moisture or wet spots, continue to pat dry those areas until they are completely dry. It is important not to leave any water residue on the surface, as it can lead to water spots or dullness.
For intricate or hard-to-reach areas, you can use a dry, soft-bristled brush or a hairdryer on a low, cool setting to remove any residual moisture.
Take your time to ensure that the entire vanity top is thoroughly dried. This will help maintain its shine and prevent any potential damage that could be caused by prolonged exposure to water.
With the vanity top dried, it’s time to move on to the next step: polishing the surface for a shiny finish.
Step 6: Polish the vanity top for a shiny finish
Polishing your vanity top is the final step in the cleaning process and will help enhance its shine and overall appearance. Polishing can be done with a dedicated polishing agent or a simple homemade solution.
If you have a specific polishing agent recommended for your vanity top material, follow the manufacturer’s instructions. Apply a small amount of the polishing agent onto a soft cloth or sponge, and gently buff the surface in circular motions. Make sure to cover all areas, including the edges and corners.
If you prefer a DIY approach, you can create a homemade polishing solution using a mixture of warm water and vinegar or lemon juice. Dampen a cloth with the solution and gently rub it onto the vanity top in circular motions. This will help remove any remaining residue and restore its shine.
Regardless of the polishing method you choose, avoid using excessive force or pressure, as this can cause damage to the surface. Gentle buffing and polishing is sufficient to achieve a shiny finish.
After polishing, take a clean and dry microfiber cloth or towel and gently wipe down the vanity top to remove any excess polishing agent or residue. This will leave the surface clean, shiny, and ready for use.
It is worth noting that not all vanity top materials require regular polishing. Some materials, such as quartz or laminate, have a protective coating that does not require additional polishing. In such cases, a gentle wipe down with a microfiber cloth is sufficient.
Now that you’ve polished the vanity top and achieved a shiny finish, it’s time to move on to the final step: placing back the items on the vanity top.
Step 7: Place back the items on the vanity top
With your vanity top now clean and shiny, it’s time to organize and put back all the items you removed in the first step. This step will help restore your vanity top’s functionality and add a personal touch to your bathroom.
Start by arranging the items in a way that suits your needs and preferences. Consider grouping similar items together, such as toothbrushes, soap dispensers, and makeup brushes. This will make it easier to access and use them when needed.
Take the time to organize and declutter your vanity top. Remove any unnecessary items or products that you no longer use or need. This will create a clean and visually appealing space.
Ensure that all items are clean and dry before placing them back on the vanity top. Wipe them down with a cloth if necessary to remove any dust or residue.
When placing items back on the vanity top, be mindful of their weight and height. Avoid overcrowding the space, as it can make it difficult to clean and maintain the surface in the future.
Consider using organizers or trays to keep items contained and prevent them from sliding around the vanity top. This will help maintain an organized and tidy appearance.
Finally, step back and assess the placement of the items on the vanity top. Make any necessary adjustments to ensure a visually pleasing and functional arrangement.
By taking the time to organize and place back the items on your vanity top, you’ll not only have a clean surface but also a well-organized and functional bathroom space.
Congratulations! You have successfully cleaned and restored the shine to your vanity top. By following these seven steps, you can keep your vanity top looking beautiful and pristine for years to come.
Remember to regularly clean and maintain your vanity top to prevent stains, buildup, and damage. With proper care, it will continue to be a stylish and functional centerpiece in your bathroom.
Thank you for reading, and we hope this guide has been helpful in your quest for a clean and shiny vanity top!
Read more: How To Seal Vanity Top
Conclusion
Your vanity top plays a crucial role in your bathroom’s overall appearance and functionality. Regularly cleaning and maintaining it will not only keep it looking its best but also prolong its lifespan. By following the seven steps outlined in this guide, you can effectively clean and restore the shine to your vanity top.
Remember:
1. Remove all items from the vanity top before cleaning to ensure thorough coverage.
2. Start by wiping down the surface with a microfiber cloth to remove loose dust and debris.
3. Use a gentle cleaning solution to remove stains and buildup, making sure to rinse thoroughly with clean water afterward.
4. Dry the surface thoroughly to prevent water spots and streaks from forming.
5. Polish the vanity top for a shiny finish, using either a dedicated polishing agent or a homemade solution.
6. Place back the items on the vanity top, organizing them in a functional and visually appealing manner.
By incorporating these steps into your regular cleaning routine, you can maintain the beauty and cleanliness of your vanity top. Remember to use the appropriate cleaning products and techniques that are suitable for your specific vanity top material.
Lastly, don’t forget to regularly declutter and organize your vanity top to create a clean and organized space. This will not only enhance the aesthetic appeal but also make it easier to clean and maintain.
Thank you for dedicating your time to learn how to clean your vanity top effectively. We hope this guide has been informative and helpful in achieving a sparkling and beautiful vanity top. Enjoy the refreshed and stylish look it brings to your bathroom!
Frequently Asked Questions about How To Clean Vanity Top
Was this page helpful?
At Storables.com, we guarantee accurate and reliable information. Our content, validated by Expert Board Contributors, is crafted following stringent Editorial Policies. We're committed to providing you with well-researched, expert-backed insights for all your informational needs.
0 thoughts on “How To Clean Vanity Top”