Articles
How To Refinish Cultured Marble Vanity Top
Modified: February 22, 2024
Learn valuable tips and techniques on refinishing a cultured marble vanity top with our informative articles. Enhance the look of your bathroom with our expert advice.
(Many of the links in this article redirect to a specific reviewed product. Your purchase of these products through affiliate links helps to generate commission for Storables.com, at no extra cost. Learn more)
Introduction
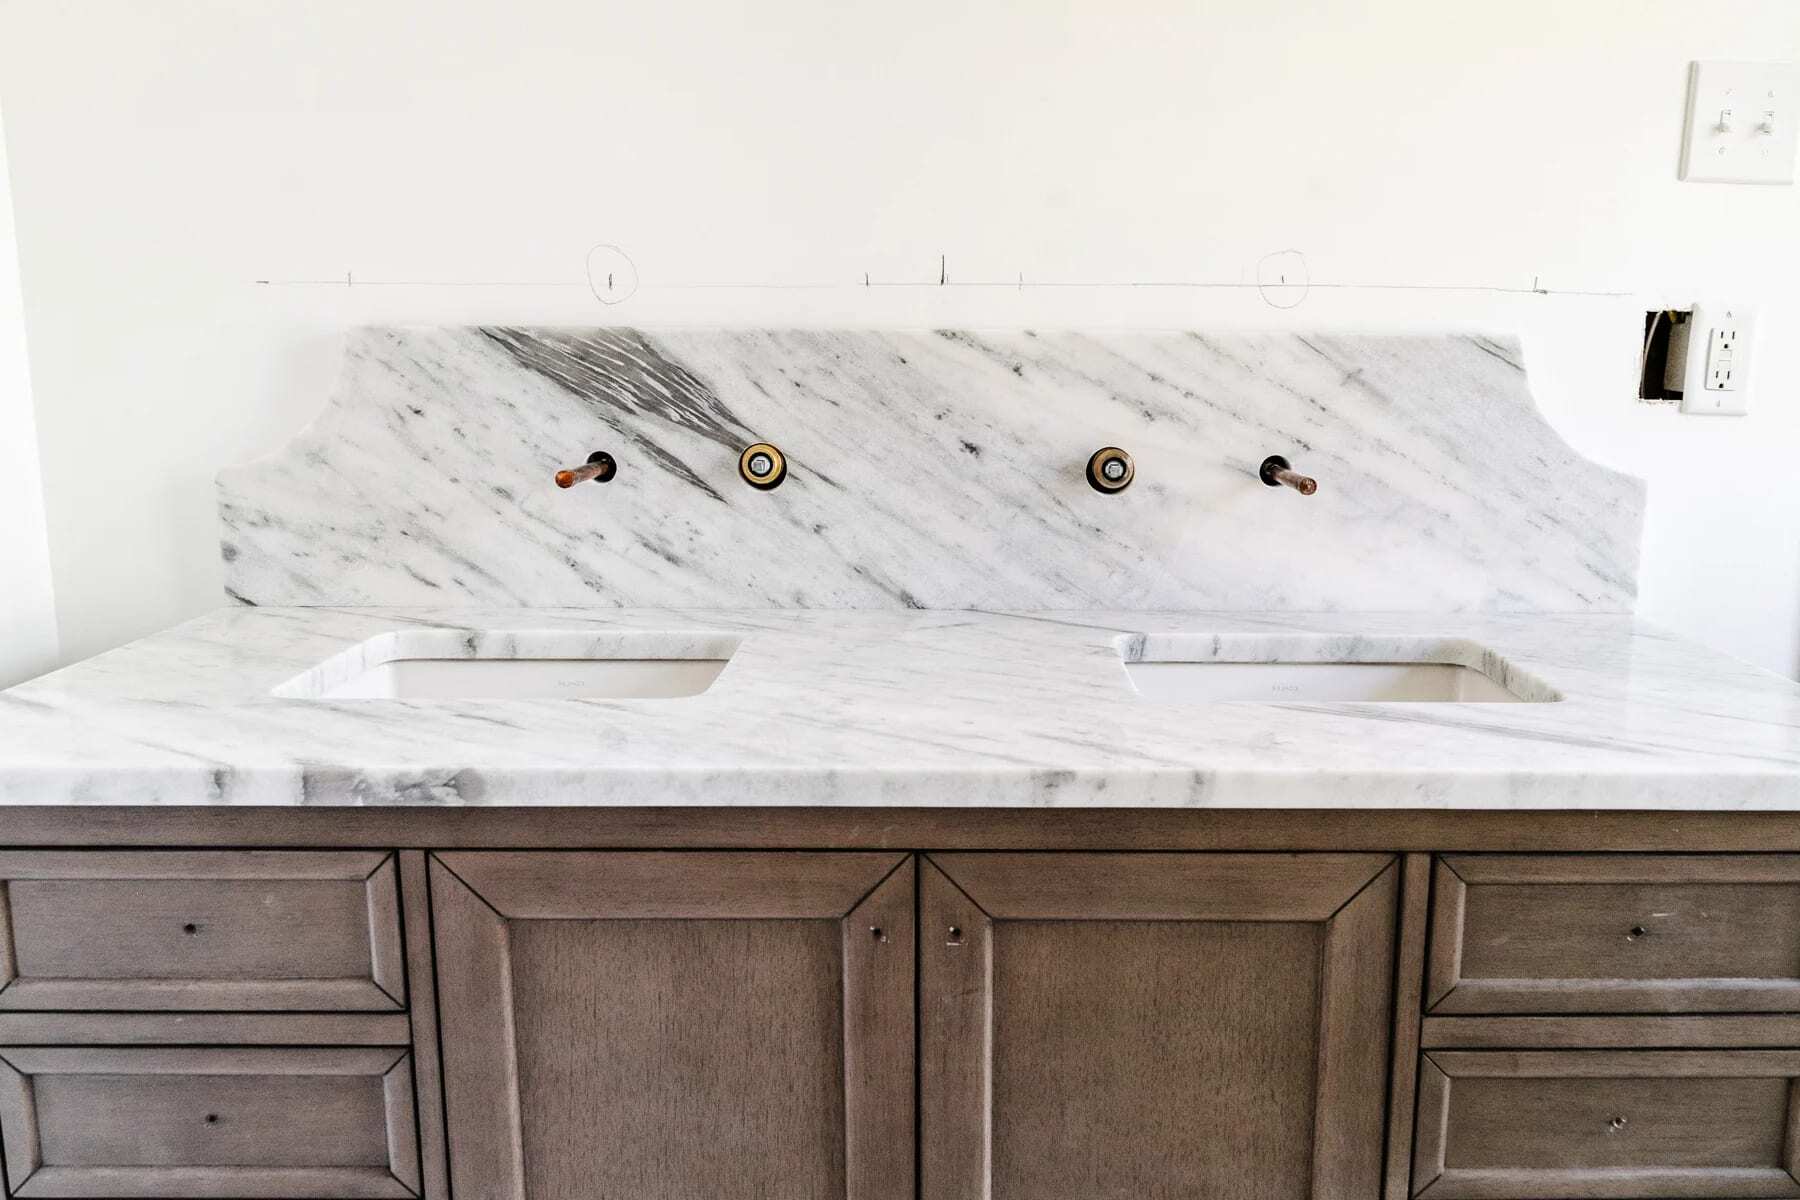
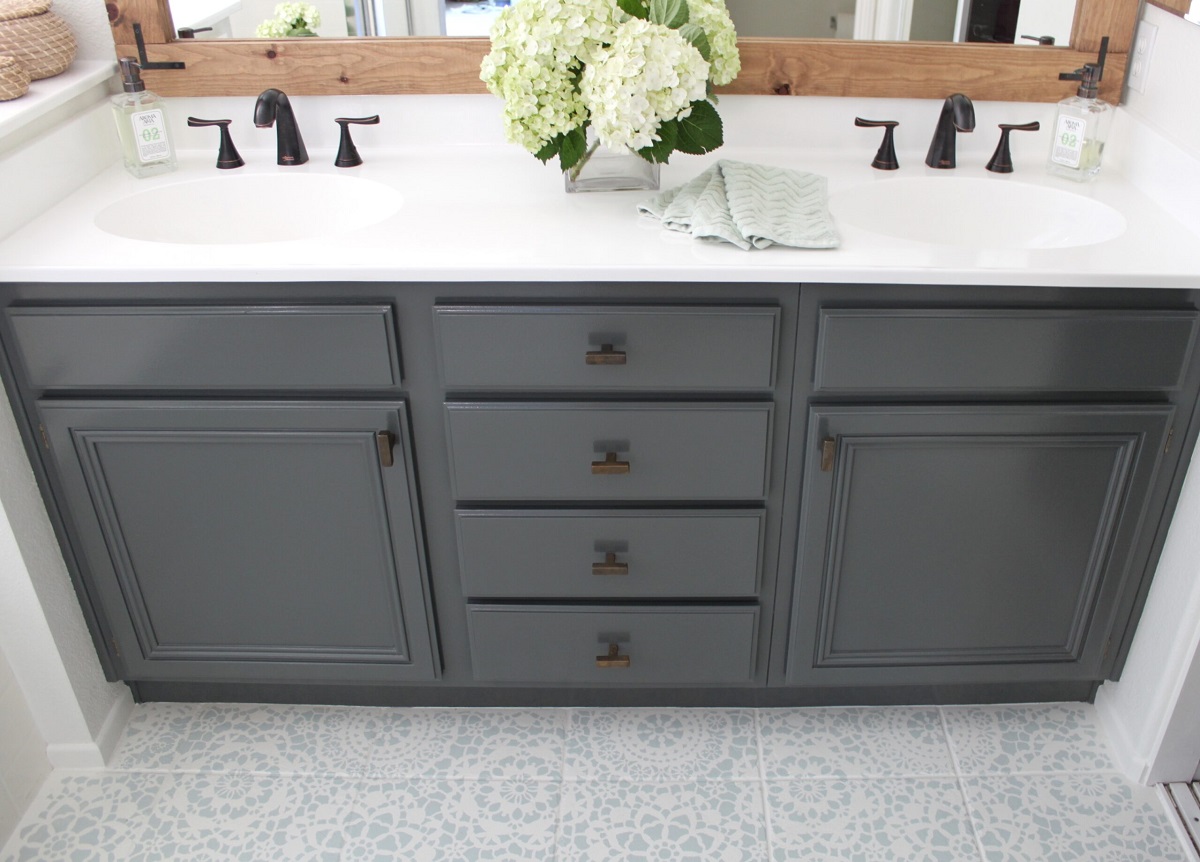
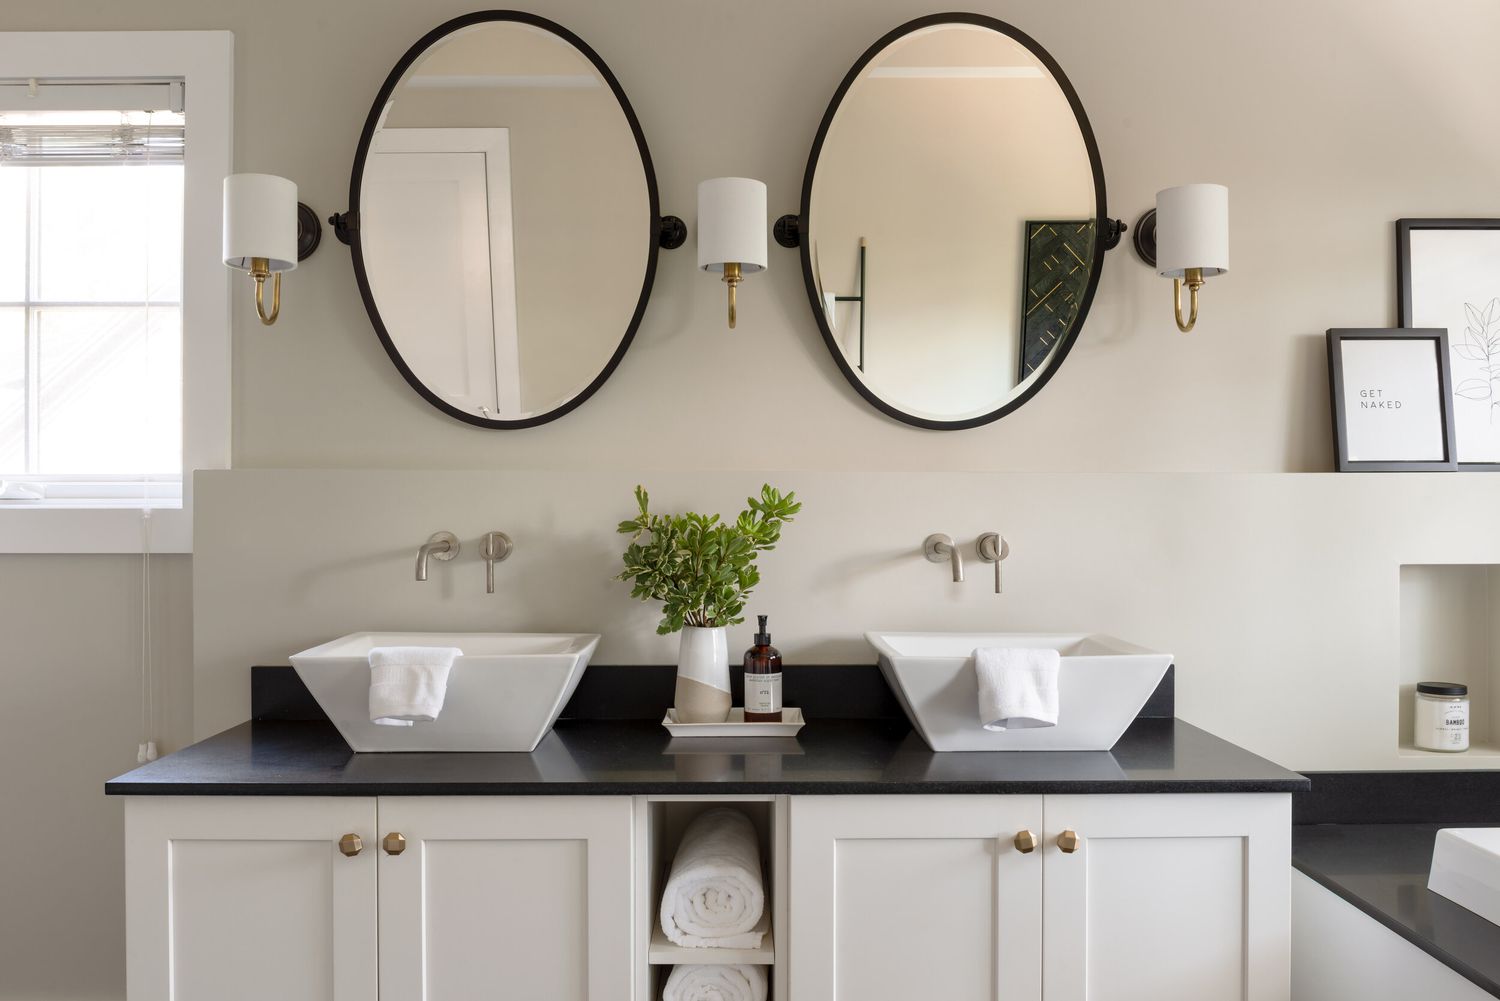
Revamping your bathroom can be an exciting project, but it doesn’t always have to break the bank. If your cultured marble vanity top is looking worn, stained, or outdated, refinishing it can breathe new life into your bathroom without the need for a costly replacement.
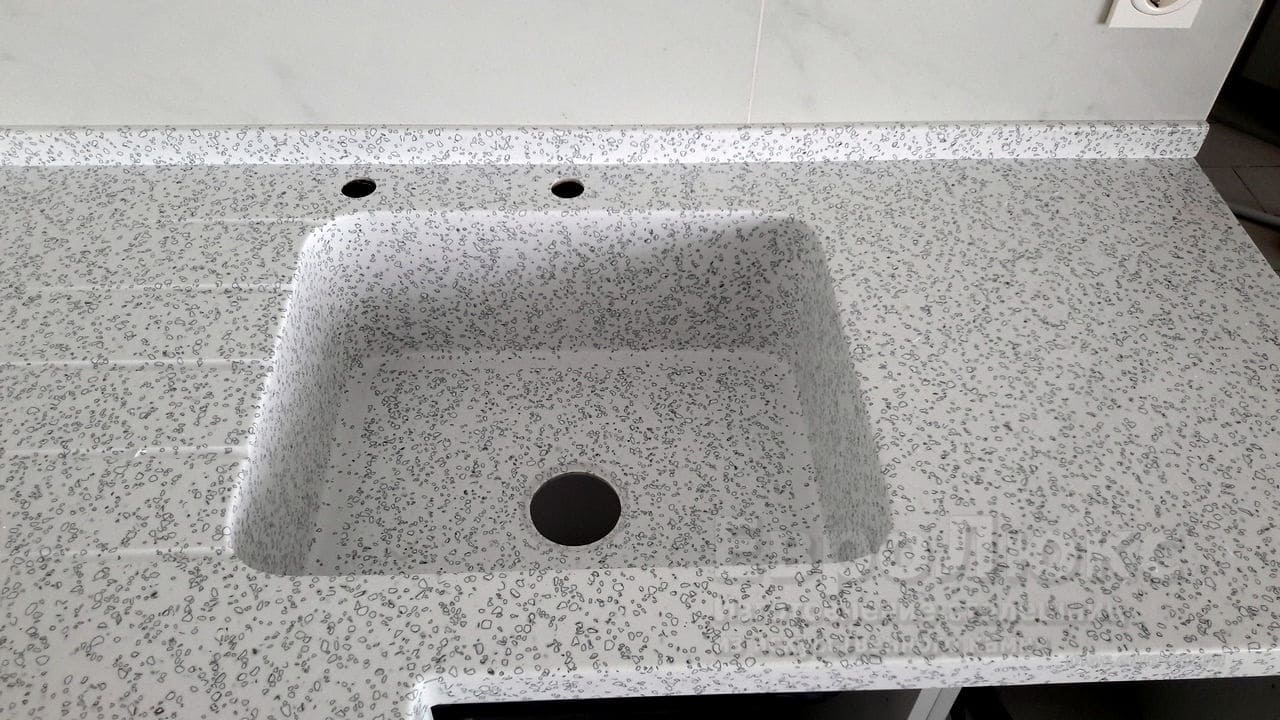
Cultured marble is a popular choice for vanity tops due to its durability, affordability, and aesthetic appeal. However, over time, it may start to lose its luster and show signs of wear and tear. By following a few simple steps, you can easily refinish your cultured marble vanity top and give it a fresh new look.
Before we dive into the refinishing process, it’s important to gather the necessary supplies. You will need a few basic tools and materials to successfully complete this project. Make sure you have the following items on hand:
Read more: What Is Cultured Marble Vanity Tops
Supplies Needed:
- Protective goggles
- Dust mask
- Gloves
- Plastic sheeting or drop cloth
- Masking tape
- Clean cloth or sponge
- Mild detergent or cleaner
- 400-grit sandpaper
- Primer
- Paint or gel coat
- Clear coat
With the supplies ready, it’s time to begin the process of refinishing your cultured marble vanity top.
Key Takeaways:
- Refinishing a cultured marble vanity top is a budget-friendly way to revitalize your bathroom. With proper preparation, cleaning, and application of primer, paint, and clear coat, you can achieve a professional-looking, long-lasting finish.
- Patience is key in the refinishing process. From preparing the surface to allowing the finish to cure, taking your time and following manufacturer’s instructions will result in a beautifully updated cultured marble vanity top that enhances your bathroom’s aesthetics.
Supplies Needed:
Before you start refinishing your cultured marble vanity top, it’s important to gather all the necessary supplies. Having everything on hand will ensure a smooth and efficient project. Here are the supplies you’ll need:
- Protective goggles: Safety should always be a priority. Make sure you have a pair of protective goggles to shield your eyes from any debris or chemicals.
- Dust mask: To protect your respiratory system, wear a dust mask to prevent inhaling any dust or fumes during the refinishing process.
- Gloves: It’s essential to protect your hands from chemicals and abrasive materials. Wear gloves to keep your hands safe and clean throughout the project.
- Plastic sheeting or drop cloth: To protect the surrounding area from any spills or splatters, cover the floor and any fixtures with plastic sheeting or a drop cloth.
- Masking tape: Use masking tape to cover any areas that you don’t want to be affected by the refinishing materials, such as the edges of the vanity or the surrounding walls.
- Clean cloth or sponge: Before refinishing, you’ll need to thoroughly clean the surface of the vanity top. Have a clean cloth or sponge ready to remove any dirt, dust, or residue.
- Mild detergent or cleaner: A mild detergent or cleaner will help remove any stains or grime from the vanity top. Make sure to choose a cleaner that is safe for marble surfaces.
- 400-grit sandpaper: Sanding the surface is an important step in the refinishing process. Use 400-grit sandpaper to gently sand the vanity top and create a smooth surface for the primer and paint.
- Primer: A good quality primer is essential to create a strong bond between the surface and the paint or gel coat. Choose a primer specifically designed for use on marble surfaces.
- Paint or gel coat: Depending on your preference and the desired look, you can either opt for traditional paint or a gel coat. Both options are available in a variety of colors and finishes.
- Clear coat: Applying a clear coat will add an extra layer of protection to the refinished surface, ensuring its durability and longevity.
Once you have gathered all the necessary supplies, you’ll be ready to proceed with the refinishing process. Remember to read and follow the instructions on each product carefully for the best results.
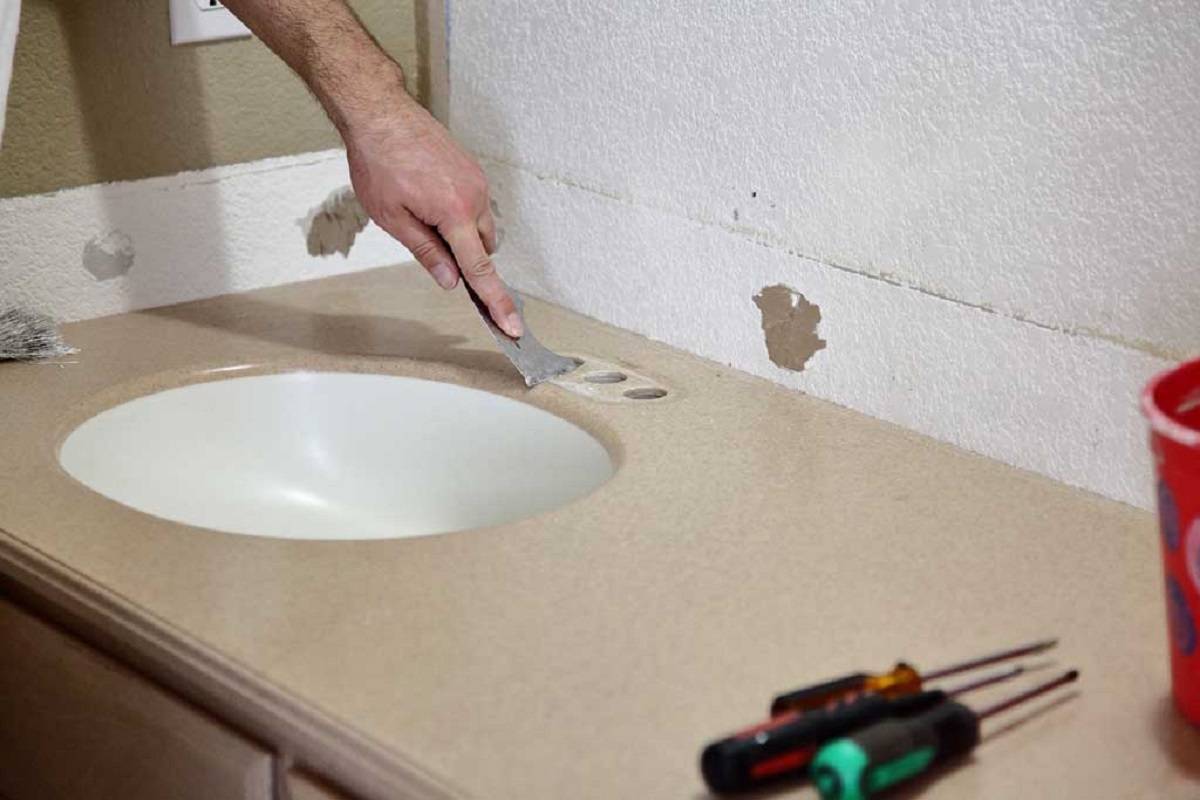
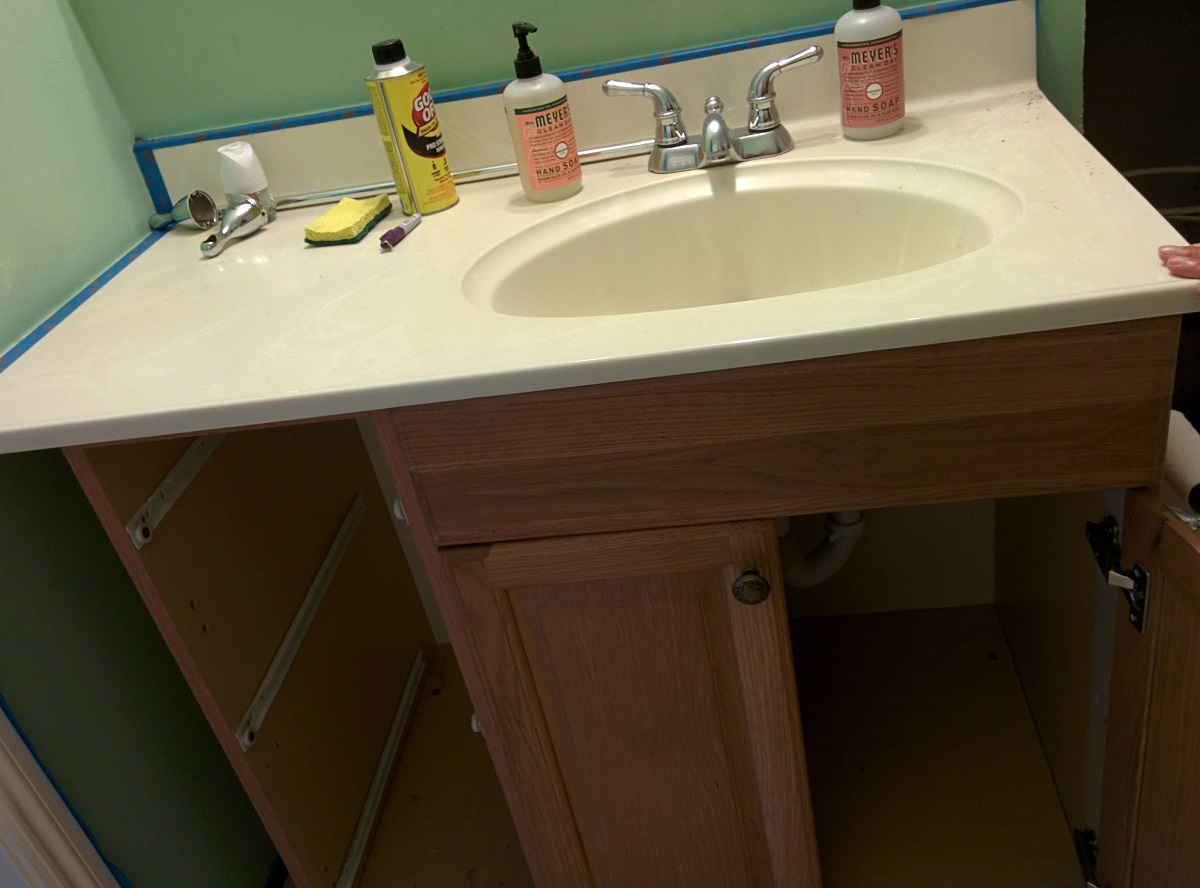
Step 1: Prepare the Vanity Top
Before you begin the refinishing process, it’s important to properly prepare the cultured marble vanity top. This will help ensure the best possible results and a long-lasting finish. Follow these steps to prepare the surface:
- Clean the surface: Start by cleaning the vanity top thoroughly to remove any dirt, dust, or residue. Use a mild detergent or cleaner specifically designed for use on marble surfaces. Ensure that the surface is completely dry before proceeding.
- Protect the surrounding areas: Use plastic sheeting or a drop cloth to cover the floor and any fixtures near the vanity top. This will protect them from any spills or splatters during the refinishing process.
- Mask off edges and walls: Apply masking tape along the edges of the vanity and any walls adjacent to the vanity top. This will protect these areas from being affected by the refinishing materials.
- Remove any hardware or accessories: If your vanity top has any hardware, such as faucets or drawer handles, remove them before proceeding. This will make the refinishing process easier and ensure a smooth and even finish.
- Sand any rough areas: If there are any rough or damaged areas on the vanity top, gently sand them using 400-grit sandpaper. Be careful not to apply too much pressure, as you don’t want to damage the surface further. The goal is to create a smooth and even base for the primer and paint.
- Wipe down the surface: After sanding, use a clean cloth or sponge to wipe down the entire surface of the vanity top. This will remove any sanding dust or debris, ensuring a clean surface for the next steps.
By following these preparation steps, you will create an optimal foundation for the refinishing process. Taking the time to properly prepare the vanity top will ensure that the new finish adheres well and results in an attractive and durable surface.
Step 2: Clean the Surface
Once you have completed the initial preparation of the cultured marble vanity top, it’s time to focus on thoroughly cleaning the surface. This step is crucial to remove any remaining residue, stains, or dirt, ensuring a clean and pristine base for the refinishing process. Follow these steps to clean the surface effectively:
- Choose the right cleaner: Select a mild detergent or cleaner that is specifically formulated for use on marble surfaces. Avoid using harsh chemicals or abrasive cleaners, as they can damage the cultured marble.
- Dilute the cleaner: Mix the cleaner with water according to the instructions on the bottle. This will help prevent any potential damage to the surface and ensure an effective cleaning solution.
- Apply the cleaner: Dip a clean cloth or sponge into the diluted cleaner and gently scrub the entire surface of the vanity top. Pay special attention to any stained or soiled areas, applying a bit more pressure if needed. Make sure to clean both the flat surface and the edges of the vanity top.
- Rinse thoroughly: Once you have finished scrubbing, rinse the surface thoroughly with clean water. This will remove any traces of the cleaning solution and ensure that there is no residue left behind.
- Dry completely: Use a clean, dry cloth or towel to dry the surface of the vanity top. Make sure that it is completely dry before proceeding to the next step. Any moisture left on the surface can affect the adhesion of the primer and paint.
Cleaning the surface of the cultured marble vanity top is essential to remove any dirt, stains, or build-up. By starting with a clean canvas, you will achieve a better and longer-lasting result in the refinishing process. Take your time and ensure that the surface is properly cleaned and dried before moving on to the next step.
Read more: How To Cut Marble Vanity Top
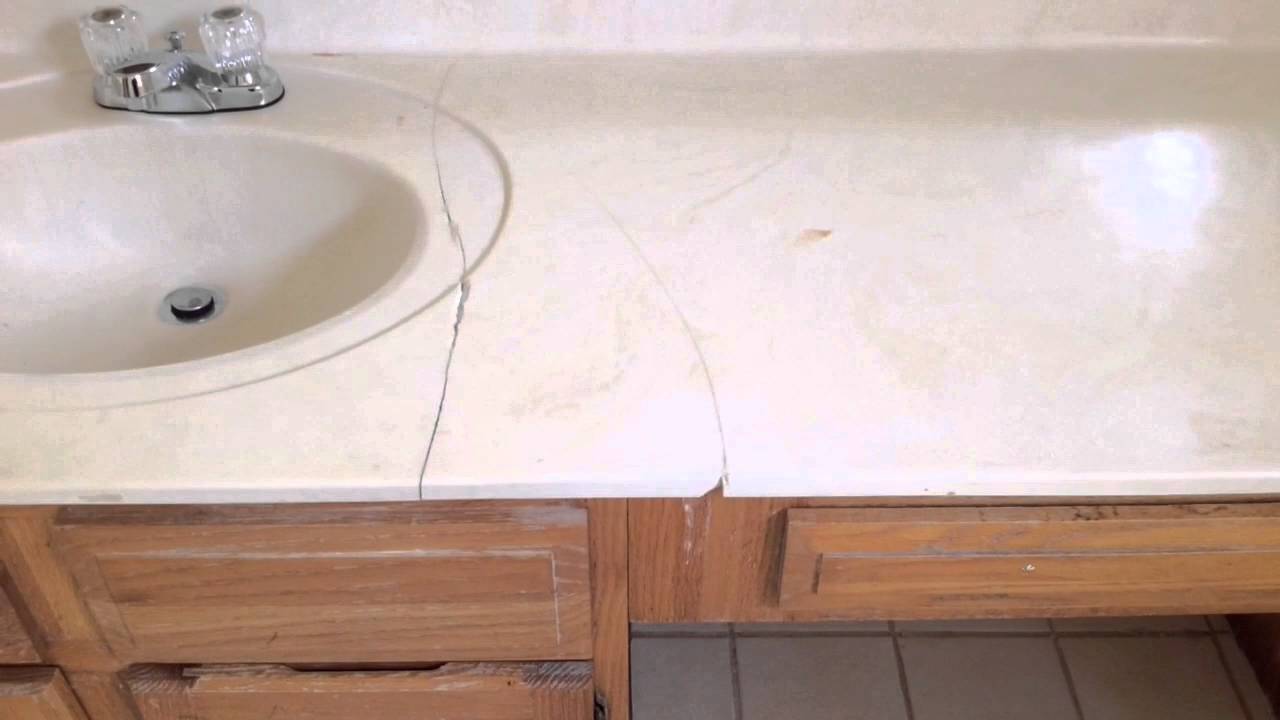
Step 3: Remove Stains and Scratches
Stains and scratches can be a common issue with cultured marble vanity tops, especially if they have been in use for a while. Before proceeding with the refinishing process, it’s important to address any visible stains or scratches on the surface. Follow these steps to remove stains and minimize the appearance of scratches:
- Identify the stains: Inspect the vanity top closely to identify any stains or discoloration. Common culprits include makeup, hair dye, and water marks. Different stains may require different cleaning methods, so it’s important to know what you’re dealing with.
- Create a stain-removing paste: For stubborn stains, you can create a paste by combining baking soda and water. Mix until you have a thick paste-like consistency. This paste is gentle enough for use on cultured marble but strong enough to tackle most stains.
- Apply the paste: Spread the paste over the stained areas of the vanity top. Use a soft cloth or sponge to gently scrub the paste into the stains. Allow the paste to sit on the surface for a few minutes to penetrate the stains.
- Rinse and repeat: Thoroughly rinse the surface with clean water to remove the paste. Inspect the area to see if the stain has been completely removed. If needed, repeat the process until the stain is no longer visible.
- Minimize scratches: To minimize the appearance of scratches, you can use a fine-grit sandpaper (e.g., 800 or 1000 grit) and lightly sand the affected areas. Be gentle and take care not to sand too aggressively, as this can damage the surface further. After sanding, wipe away any dust with a clean cloth.
- Polish the surface: To further enhance the appearance of the vanity top, you can use a marble polishing compound. Apply the compound according to the manufacturer’s instructions and use a soft cloth to buff the surface gently. This will help restore the shine and luster of the marble.
By addressing stains and scratches before proceeding with the refinishing process, you will ensure a smooth and seamless finish on your cultured marble vanity top. Take your time to remove stains and minimize scratches, and remember to be gentle to avoid causing further damage to the surface.
Step 4: Sand the Vanity Top
Sanding the vanity top is a crucial step in preparing the surface for refinishing. By sanding the cultured marble, you create a rough texture that allows the primer and paint to adhere properly. Follow these steps to sand the vanity top effectively:
- Select the right sandpaper: Choose a fine-grit sandpaper, such as 400-grit, for this task. Coarser sandpaper can damage the surface, while finer grits may not provide enough traction for the primer and paint to adhere to.
- Wet or dry sanding: Depending on your preference and the type of sandpaper, you can either wet sand or dry sand the vanity top. Wet sanding helps to minimize dust and prevents overheating of the surface.
- Sand in a circular motion: Begin sanding the surface of the vanity top in a circular motion. Apply light pressure and continue sanding until the entire surface is evenly sanded. Make sure to sand the edges and any other curved or detailed areas as well.
- Check your progress: Periodically wipe away the sanding dust with a clean cloth to assess your progress. This will give you a better idea of how much more sanding is needed to achieve a smooth and uniform texture.
- Smooth out any rough areas: If there are any remaining rough patches or imperfections on the surface, focus on sanding those areas a bit more to create a smooth and even texture.
- Wipe away the dust: Once you’re satisfied with the sanding, use a clean, damp cloth to wipe away any sanding dust. It’s important to remove all the dust to ensure a clean surface for the next steps.
Sanding the vanity top not only provides a better surface for the primer and paint to adhere to but also helps to smooth out any minor imperfections. Take your time and be thorough in your sanding process to achieve the best possible results in the refinishing process.
When refinishing a cultured marble vanity top, make sure to thoroughly clean and sand the surface before applying a new coat of finish. This will help the new finish adhere properly and result in a smooth, professional-looking surface.
Step 5: Apply Primer
After sanding the vanity top, it’s time to apply a primer. Primer is crucial in providing a smooth and durable base for the paint or gel coat. It helps the final finish adhere properly and enhances the longevity of the refinished surface. Here’s how you can apply the primer effectively:
- Choose the right primer: Select a primer specifically designed for use on marble or other solid surfaces. Consult with a paint specialist or check the manufacturer’s instructions for the best primer options.
- Prepare the primer: Follow the manufacturer’s instructions to prepare the primer. Most primers require stirring to ensure consistent coverage.
- Apply the primer: Use a high-quality brush or a foam roller to apply the primer to the vanity top. Start by applying the primer to the edges and corners, and then move on to the flat surface. Apply an even coat of primer, taking care to avoid drips or pooling. Work in small sections if necessary.
- Smooth out the primer: After applying the primer, use a brush or roller to smooth out any brush marks or unevenness. This will help ensure a uniform and professional-looking finish.
- Allow the primer to dry: Follow the manufacturer’s instructions regarding drying time. Typically, it takes a few hours for the primer to dry completely. Avoid touching or disturbing the primer while it’s drying.
- Inspect the primer coat: Once the primer is dry, inspect the vanity top for any missed areas or imperfections. If needed, apply a second coat of primer to ensure full coverage and a solid base for the paint or gel coat.
Applying primer is an essential step in the refinishing process as it creates a strong bond between the surface and the final finish. Take your time and apply the primer carefully, following the instructions provided by the manufacturer. This will lay the groundwork for a beautiful and long-lasting refinished vanity top.
Step 6: Apply Paint or Gel Coat
With the primer properly applied and dried, it’s time to move on to the next step: applying the paint or gel coat to your cultured marble vanity top. This step will give your surface a fresh, updated look. Here’s how you can effectively apply the paint or gel coat:
- Select your desired finish: Decide whether you want to use traditional paint or a gel coat. Both options are available in various colors and finishes, so choose the one that best suits your style and preferences.
- Prepare the paint or gel coat: Follow the manufacturer’s instructions to prepare the paint or gel coat properly. This may involve stirring, mixing, or thinning the product as necessary. It’s essential to do this step correctly to ensure the best application and finish.
- Test the color: Before applying the paint or gel coat to the entire vanity top, it’s a good idea to test a small area. This will allow you to confirm that the color and finish are to your liking before committing to the full application.
- Apply the paint or gel coat: Use a brush or foam roller to apply a thin, even coat of paint or gel coat to the vanity top. Start with the edges and corners, and then move on to the flat surfaces. Work in small sections, ensuring that there are no visible brush marks or uneven application.
- Allow the first coat to dry: Follow the drying time recommended by the manufacturer. It typically takes a few hours for the first coat to dry. Avoid touching or disturbing the surface while it’s drying to prevent any smudges or imperfections.
- Apply additional coats: Depending on the coverage and desired finish, you may need to apply additional coats. Follow the same process of applying thin, even layers, allowing each coat to dry before applying the next one. Be patient and take your time to achieve a flawless finish.
Applying the paint or gel coat is the transformative step that will give your cultured marble vanity top a fresh and updated appearance. Be diligent in your application, ensuring even coverage and following the manufacturer’s instructions. Take your time and be mindful of drying times to achieve a beautifully refinished surface.
Read more: How To Clean Marble Vanity Top
Step 7: Apply a Clear Coat
After applying the paint or gel coat to your cultured marble vanity top, it’s essential to apply a clear coat to provide an extra layer of protection and enhance the durability of the finish. The clear coat will add a glossy or satin sheen, depending on your preference. Follow these steps to effectively apply a clear coat:
- Select the right clear coat: Choose a clear coat that is formulated for use on marble surfaces. Look for a product that provides UV protection and is resistant to stains, water, and everyday wear and tear.
- Prepare the clear coat: Follow the manufacturer’s instructions to prepare the clear coat. This may involve stirring, mixing, or thinning the product if necessary. Proper preparation is essential for achieving a smooth and even finish.
- Apply the clear coat: Use a clean brush or foam roller to apply an even coat of clear coat over the entire surface of the vanity top. Apply thin layers to avoid drips or pooling. Work in small sections, starting with the edges and corners, and then move on to the flat surfaces.
- Smooth out the clear coat: After applying the clear coat, use a brush or roller to smooth out any brush marks or unevenness. This will help ensure a uniform and professional-looking finish.
- Allow the clear coat to dry: Follow the drying time specified by the manufacturer. It typically takes several hours for the clear coat to dry completely. Avoid touching or disturbing the surface while it’s drying to prevent any imperfections.
- Inspect the clear coat: Once the clear coat is dry, inspect the vanity top for any missed areas or imperfections. If necessary, apply a second coat of clear coat to ensure full coverage and enhance the durability and visual appeal of the refinished surface.
Applying a clear coat is the final step in the refinishing process for your cultured marble vanity top. It serves as a protective barrier and adds a beautiful sheen to the finish. Take your time and apply the clear coat carefully, following the instructions provided by the manufacturer. This will ensure a long-lasting and stunning result.
Step 8: Allow the Finish to Cure
After completing all the previous steps of refinishing your cultured marble vanity top, it’s crucial to allow the finish to cure properly. Curing is the process by which the paint, gel coat, and clear coat harden and reach their maximum durability. This step ensures that the surface is fully dry, hardened, and ready for use. Follow these guidelines for allowing the finish to cure effectively:
- Read the manufacturer’s instructions: Refer to the instructions provided by the manufacturer of the paint, gel coat, and clear coat for curing times and specific guidelines. They will provide the most accurate information for your particular products.
- Be patient: Curing times can vary depending on factors such as temperature and humidity. It’s essential to be patient and allow sufficient time for the finish to cure completely. Rushing the process can compromise the quality and durability of the refinished surface.
- Avoid touching or placing objects on the surface: During the curing process, it’s important to avoid touching or placing any objects on the vanity top. This will help prevent any damages or disruptions to the finish. Follow the manufacturer’s guidelines for recommended curing times before using the surface.
- Avoid cleaning the surface: While it may be tempting to clean the vanity top, it’s best to avoid doing so until the finish has fully cured. Cleaning too soon can disrupt the curing process and potentially damage the finish. Consult the manufacturer’s instructions for their recommended wait time before cleaning the surface.
- Protect the surface: Once the finish has cured, it’s a good practice to use caution when placing objects on the vanity top. Consider using coasters or mats to prevent scratching or staining the surface. Regular maintenance and preventative measures will help preserve the refinished appearance for years to come.
Curing is the final step in achieving a successful refinishing project for your cultured marble vanity top. By allowing the finish to cure properly, you ensure that it attains maximum durability and longevity. Follow the manufacturer’s guidelines and exercise patience to enjoy a beautifully refinished surface that will withstand everyday use and retain its beauty over time.
Conclusion
Refinishing a cultured marble vanity top can be a cost-effective way to breathe new life into your bathroom without the need for a full replacement. With the proper tools, supplies, and a step-by-step approach, you can achieve a fresh and updated look for your vanity top. By following the steps outlined in this guide, you can successfully transform the worn and outdated surface into a beautiful focal point in your bathroom.
From preparing the vanity top and cleaning the surface to removing stains and scratches, each step plays a crucial role in achieving a smooth and durable finish. Applying a primer and the chosen paint or gel coat, followed by a clear coat, helps protect the surface and enhance its appearance. Allowing the finish to cure properly ensures the maximum durability and longevity of the refinished vanity top.
Remember to exercise patience throughout the refinishing process. Rushing or skipping a step can have a negative impact on the final result. Take your time, read and follow the manufacturer’s instructions, and be meticulous in your application.
Once you have completed the refinishing process, your cultured marble vanity top will have a fresh new look, enhancing the overall aesthetics of your bathroom. Proper care and maintenance, such as using coasters and gentle cleaning agents, will help preserve the beauty of the refinished surface for years to come.
In conclusion, refinishing a cultured marble vanity top is an excellent way to update your bathroom on a budget. With the right supplies, careful preparation, and attention to detail, you can achieve professional-looking results. Embrace the satisfaction of transforming an outdated surface into a stunning focal point that you can enjoy for years to come.
Frequently Asked Questions about How To Refinish Cultured Marble Vanity Top
Was this page helpful?
At Storables.com, we guarantee accurate and reliable information. Our content, validated by Expert Board Contributors, is crafted following stringent Editorial Policies. We're committed to providing you with well-researched, expert-backed insights for all your informational needs.

0 thoughts on “How To Refinish Cultured Marble Vanity Top”