Articles
How To Cut Vinyl Fence
Modified: August 28, 2024
Learn the effective way to cut vinyl fence with these informative articles. Find step-by-step instructions to ensure a precise and professional result.
(Many of the links in this article redirect to a specific reviewed product. Your purchase of these products through affiliate links helps to generate commission for Storables.com, at no extra cost. Learn more)
Introduction
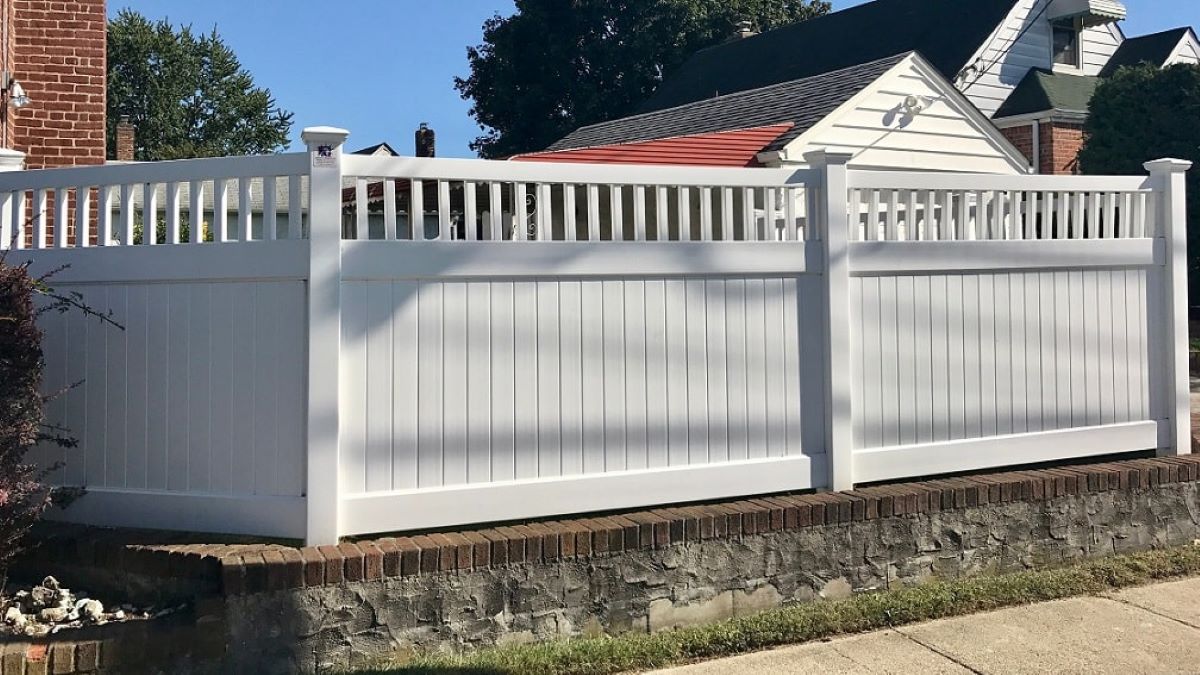
Welcome to our guide on how to cut vinyl fence panels. Vinyl fences are a popular choice for homeowners due to their durability, low maintenance, and aesthetic appeal. However, there are times when you may need to customize the size of your vinyl fence panels to fit specific areas or accommodate unique landscape features. In this article, we will provide you with step-by-step instructions on how to cut vinyl fence panels effectively, ensuring a clean and professional-looking result.
Before we begin, it’s important to note that cutting vinyl fence panels requires precision and proper tools. It’s always recommended to measure twice and cut once to avoid any mistakes or unnecessary waste. So, let’s gather all the tools and materials needed before we dive into the cutting process.
Key Takeaways:
- Cutting vinyl fence panels requires precision, proper tools, and careful preparation. Measure twice and cut once to avoid mistakes, and use a fine-toothed blade for clean cuts. Finish edges with sanding and adhesive for a professional look.
- Installing cut vinyl fence panels involves aligning, securing, and inspecting for a seamless appearance. Take the time to appreciate your customized fence, knowing you’ve followed the necessary steps for a polished outcome.
Read more: What Is A Vinyl Fence
Tools and Materials Needed
Before you start cutting vinyl fence panels, make sure you have the following tools and materials:
- Measuring tape
- Pencil or marker
- Circular saw with a fine-toothed blade (specifically designed for cutting vinyl)
- Safety goggles
- Gloves
- Ruler or straight edge
- Sanding block or sandpaper
- Vinyl glue or adhesive
These tools and materials are essential to ensure a smooth and accurate cutting process. The circular saw with a fine-toothed blade is specifically designed to cut through vinyl without causing any damage or splintering. The safety goggles and gloves are necessary to protect your eyes and hands from any potential injuries.
Additionally, you may need a ruler or a straight edge to ensure straight and precise cuts. A sanding block or sandpaper will come in handy to smooth out any rough edges or burrs that may occur during the cutting process. Lastly, vinyl glue or adhesive will be used to secure and reinforce the cut edges of the vinyl fence panels.
Once you have gathered all the necessary tools and materials, you are ready to move on to the next step: measuring and marking the vinyl fence panels.
Step 1: Measure and Mark
The first step in cutting vinyl fence panels is to accurately measure and mark the areas that need to be cut. This will ensure that the panels fit perfectly into the desired space and align with the existing fence sections.
Start by using a measuring tape to measure the length or height of the section that needs to be cut. Use a pencil or marker to make clear and visible marks on the vinyl fence panels, indicating where the cut will be made.
It’s important to carefully consider the measurements and allow for any necessary adjustments. Remember to double-check your measurements to avoid any errors that could negatively affect the final result. Always measure twice and cut once.
If you need to cut multiple panels to the same size, it’s helpful to mark them all at once. This will ensure consistency and uniformity in the appearance of your fence when the panels are installed.
Once you have accurately measured and marked the areas to be cut, you can proceed to the next step: preparing the vinyl panels for cutting.
Step 2: Prepare the Vinyl Panels
Before you begin cutting the vinyl fence panels, it’s crucial to prepare them properly to ensure a clean and precise cut. This step involves securing the panels securely and creating a stable cutting surface.
Start by placing the vinyl panels on a flat and stable surface. This can be a workbench, sawhorses, or any other sturdy platform that can support the weight of the panels. Make sure the panels are positioned securely to prevent any movement or instability during the cutting process.
If you’re cutting the panels vertically, make sure they are clamped or held in place to maintain their position. Use clamps or other suitable methods to secure the panels firmly before proceeding to cut them.
It’s also essential to ensure that the panels are supported evenly to avoid any bending or sagging. Placing additional support underneath the panels, such as a piece of wood or foam, can provide stability and maintain a level surface.
By properly preparing the vinyl panels, you create a solid foundation for accurate and controlled cutting. With the panels securely positioned and supported, you can now move on to the next step: cutting the vinyl fence panels.
When cutting vinyl fence, always use a fine-toothed saw blade to prevent chipping or cracking. Measure and mark the cut line carefully before cutting to ensure a clean and precise edge.
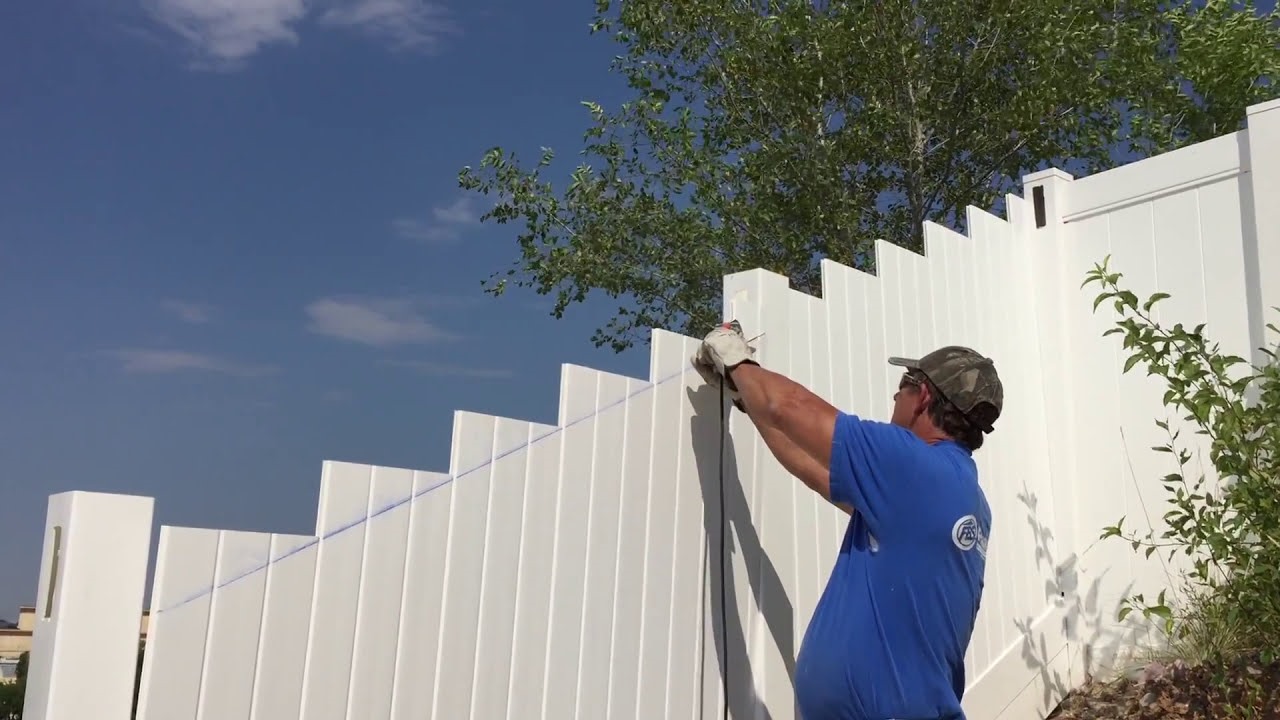
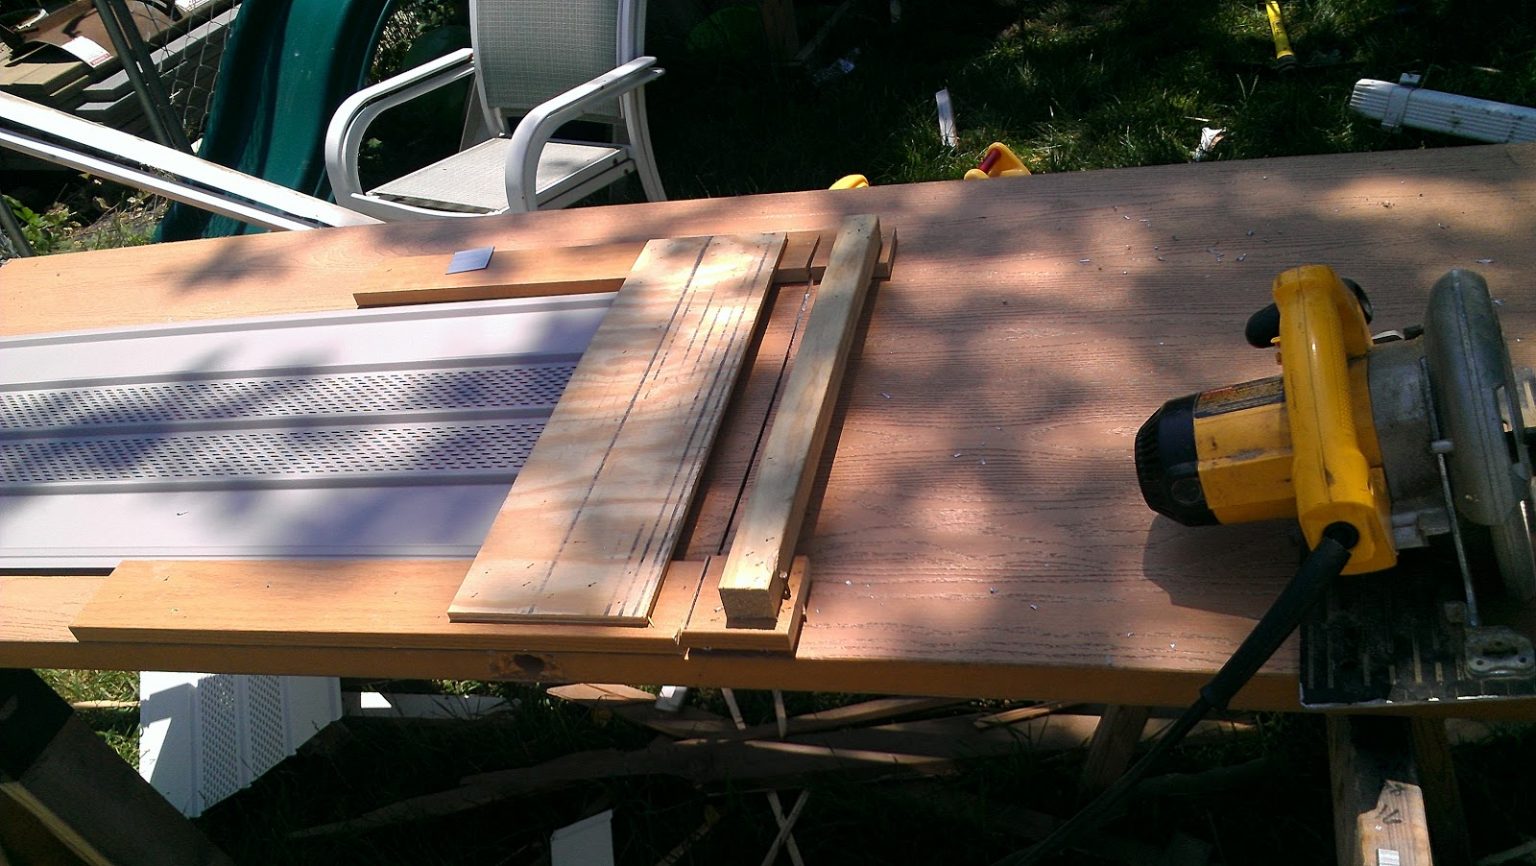
Step 3: Cut the Vinyl Fence Panels
Now that the vinyl panels are properly prepared, it’s time to cut them according to the marked measurements. This step requires caution and precision to achieve clean and accurate cuts.
First, ensure that you have the appropriate blade installed on your circular saw. Look for a fine-toothed blade specifically designed for cutting vinyl. This type of blade will minimize splintering and ensure smooth cuts.
Position the blade depth on your circular saw to slightly more than the thickness of the vinyl panels. This will allow for a clean cut without cutting too deep into the material.
When making the cut, ensure that the face side of the panel is facing up. This will help prevent any potential chipping or damage to the visible surface of the vinyl.
Use the circular saw to carefully follow the marked line, applying steady and even pressure as you cut through the vinyl. Take your time and maintain a consistent cutting speed to ensure a smooth and precise result.
It’s important to keep your fingers and hands clear of the blade and any moving parts of the saw to avoid injuries. Always prioritize safety and use protective gloves and goggles when operating power tools.
Once the cut is complete, set aside the trimmed piece and proceed to the next panel if you need to make multiple cuts.
With the vinyl fence panels successfully cut to size, it’s time to move on to the next step: trimming and finishing the cut edges.
Read more: How To Disassemble Vinyl Fence
Step 4: Trim and Finish the Cut Edges
After cutting the vinyl fence panels, it’s crucial to trim and finish the cut edges to ensure a clean and professional appearance. This step is essential for both aesthetic purposes and to prevent any potential damage to the panels.
Start by inspecting the cut edges of the vinyl panels. If there are any rough or jagged edges, use a sanding block or sandpaper to smooth them out. Gently sand the edges in a back-and-forth motion until they are smooth to the touch.
While sanding, be cautious not to apply excessive pressure, as this can cause damage or breakage to the vinyl. The goal is to achieve a smooth and even finish without compromising the integrity of the panels.
Once the edges are smoothed, wipe away any dust or debris with a clean cloth to ensure a clean surface for the next step.
Next, apply vinyl glue or adhesive to the cut edges of the panels. This will help reinforce the edges and prevent any potential lifting or separation over time. Use a small brush or applicator to evenly spread the adhesive along the cut edges.
Allow the adhesive to dry according to the manufacturer’s instructions. This usually takes a few hours or overnight, depending on the specific product. Avoid touching or moving the panels until the adhesive has fully cured to ensure a strong and secure bond.
Once the adhesive is dry and the cut edges are properly reinforced, you can proceed to the final step: installing the cut vinyl fence panels.
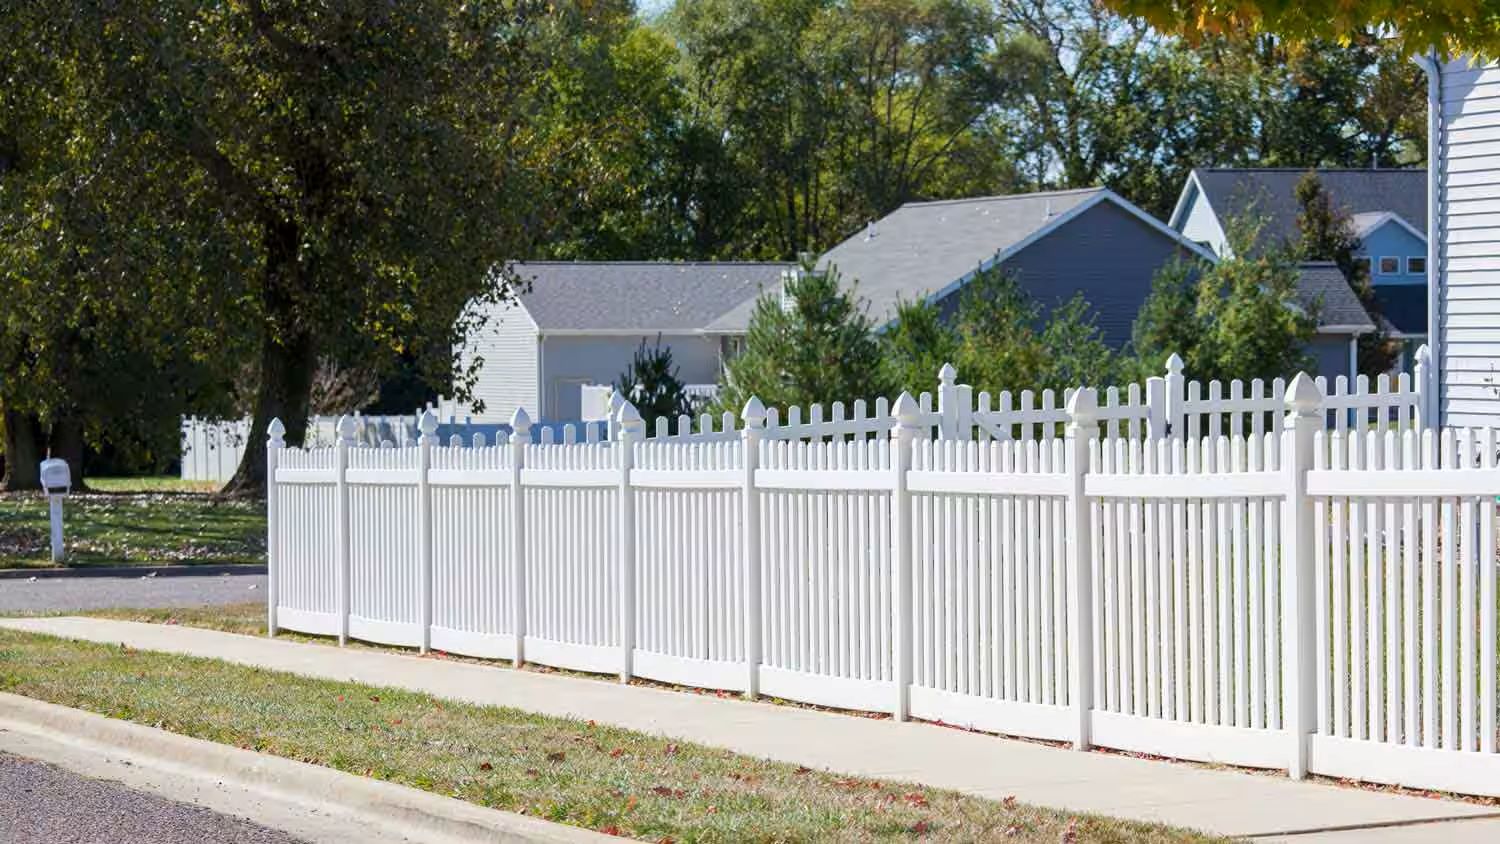
Step 5: Install the Cut Vinyl Fence Panels
Now that you have successfully cut and finished the vinyl fence panels, it’s time to install them. This step will involve attaching the panels to the existing fence system or creating a new fence section, depending on your specific project requirements.
Start by positioning the cut vinyl fence panels in the desired location. Ensure that they align properly with the existing fence sections or adjacent panels. Double-check the measurements and make any necessary adjustments before proceeding.
Depending on your fence design, you may need to use screws, brackets, or other fastening methods to secure the panels in place. Follow the manufacturer’s instructions or consult a professional for the recommended installation method for your specific fence system.
Align the pre-drilled holes of the panels with the corresponding holes or brackets on the support posts. Use the appropriate fasteners to securely attach the panels to the posts, ensuring that they are level and properly aligned.
As you install each panel, check for any gaps or unevenness. If needed, adjust the panels slightly to achieve a seamless and uniform appearance.
Repeat the installation process for each cut vinyl fence panel until all the desired sections are complete.
Once the panels are installed, step back and inspect the overall appearance of the fence. Ensure that everything is aligned correctly and that there are no visible gaps or inconsistencies.
Finally, take a moment to appreciate your work—a neatly cut and installed vinyl fence that perfectly complements your outdoor space.
With the cut vinyl fence panels securely installed, your project is complete. Enjoy the benefits of your customized fence, knowing that you have taken the necessary steps to achieve a professional and polished result.
Conclusion
Cutting vinyl fence panels may seem like a daunting task, but with the right tools, materials, and a step-by-step approach, it can be a manageable project. Whether you need to resize your vinyl fence to fit a specific area or accommodate unique landscape features, following the proper techniques will ensure a clean and professional outcome.
Remember to measure twice and cut once to avoid any unnecessary waste or mistakes. Take the time to properly prepare the vinyl panels, securing them in place and creating a stable cutting surface. Use a circular saw with a fine-toothed blade to make accurate cuts along the marked lines, applying steady and even pressure.
After cutting the panels, trim and finish the cut edges to achieve a smooth and polished appearance. Sand any rough edges and apply vinyl glue or adhesive to reinforce the edges and prevent any lifting or separation over time.
Finally, install the cut vinyl fence panels, ensuring they are aligned properly and securely attached to the existing fence system. Take a moment to appreciate your work and enjoy the fruits of your labor—a customized vinyl fence that adds beauty, functionality, and value to your outdoor space.
By following these steps, you can confidently cut vinyl fence panels and create a fence that perfectly fits your needs and enhances the overall aesthetics of your property. Remember to prioritize safety, use the correct tools and materials, and take your time to achieve the best results.
Now, go ahead and embark on your vinyl fence cutting journey, knowing that you have the knowledge and skills to achieve a stunning and personalized fence that will stand the test of time.
Frequently Asked Questions about How To Cut Vinyl Fence
Was this page helpful?
At Storables.com, we guarantee accurate and reliable information. Our content, validated by Expert Board Contributors, is crafted following stringent Editorial Policies. We're committed to providing you with well-researched, expert-backed insights for all your informational needs.


0 thoughts on “How To Cut Vinyl Fence”