
Articles
How To Build A Vinyl Fence Gate
Modified: December 7, 2023
Learn how to build a sturdy and durable vinyl fence gate with our comprehensive articles. Gain expert tips and step-by-step instructions to ensure a successful project.
(Many of the links in this article redirect to a specific reviewed product. Your purchase of these products through affiliate links helps to generate commission for Storables.com, at no extra cost. Learn more)
Introduction
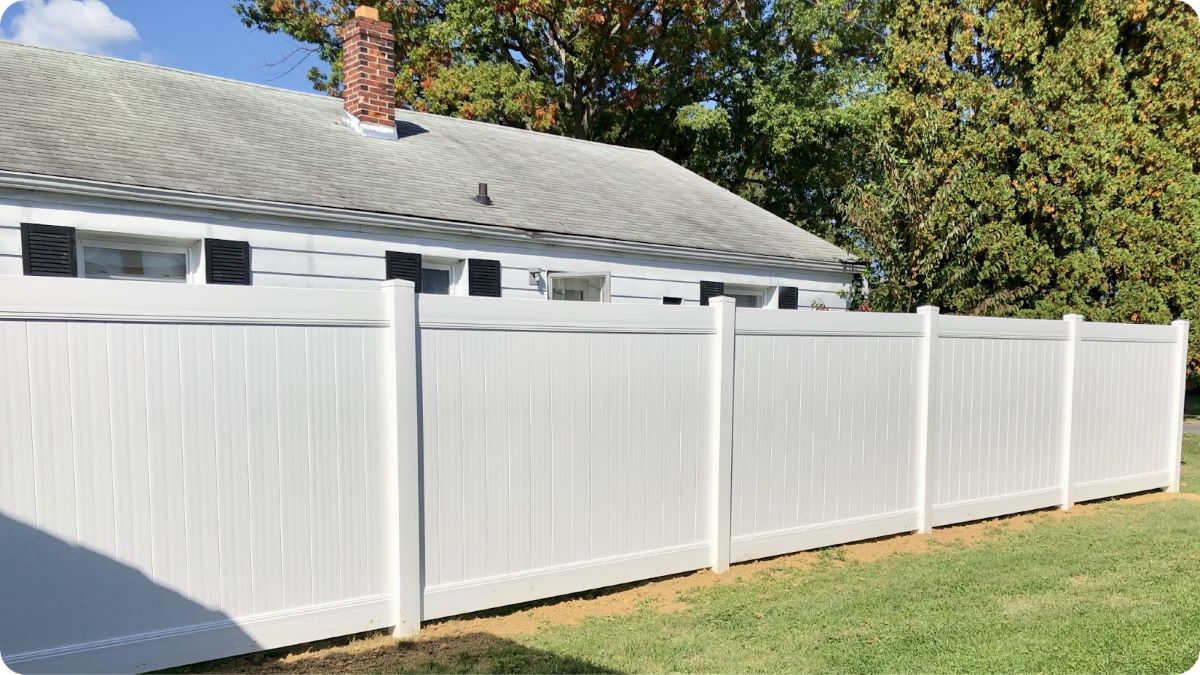
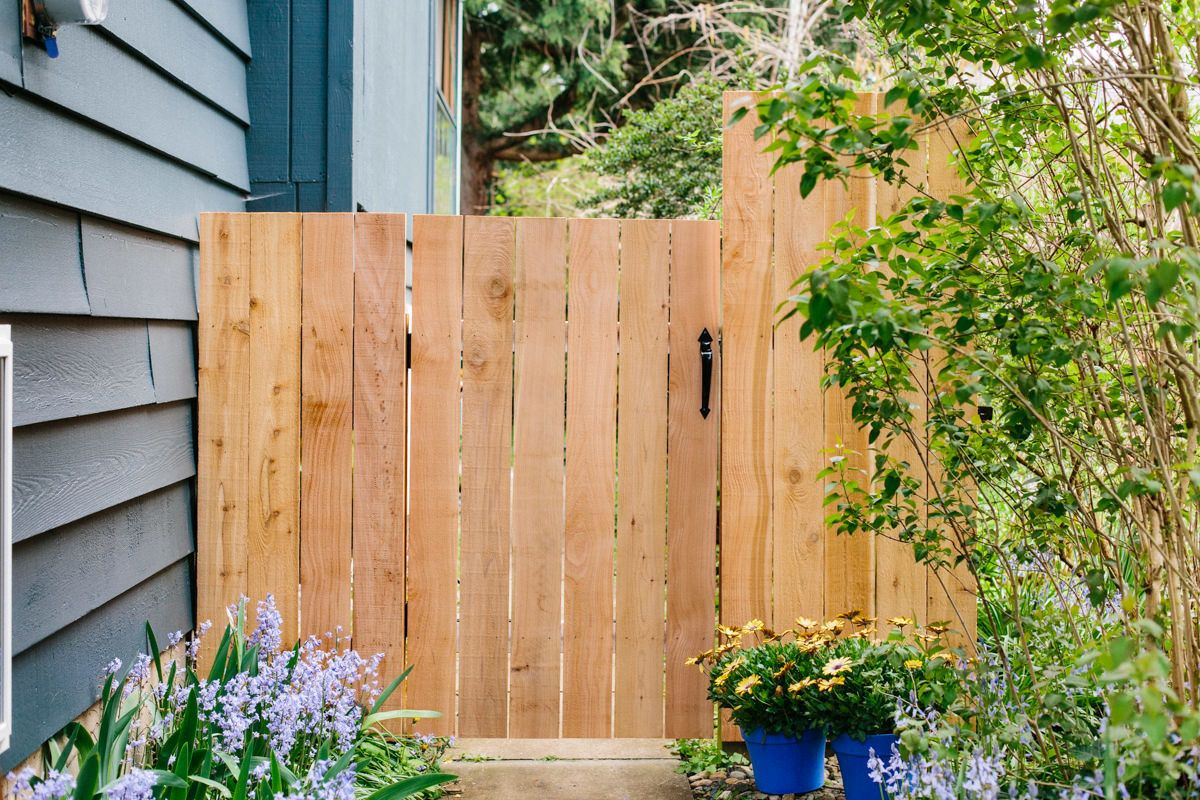
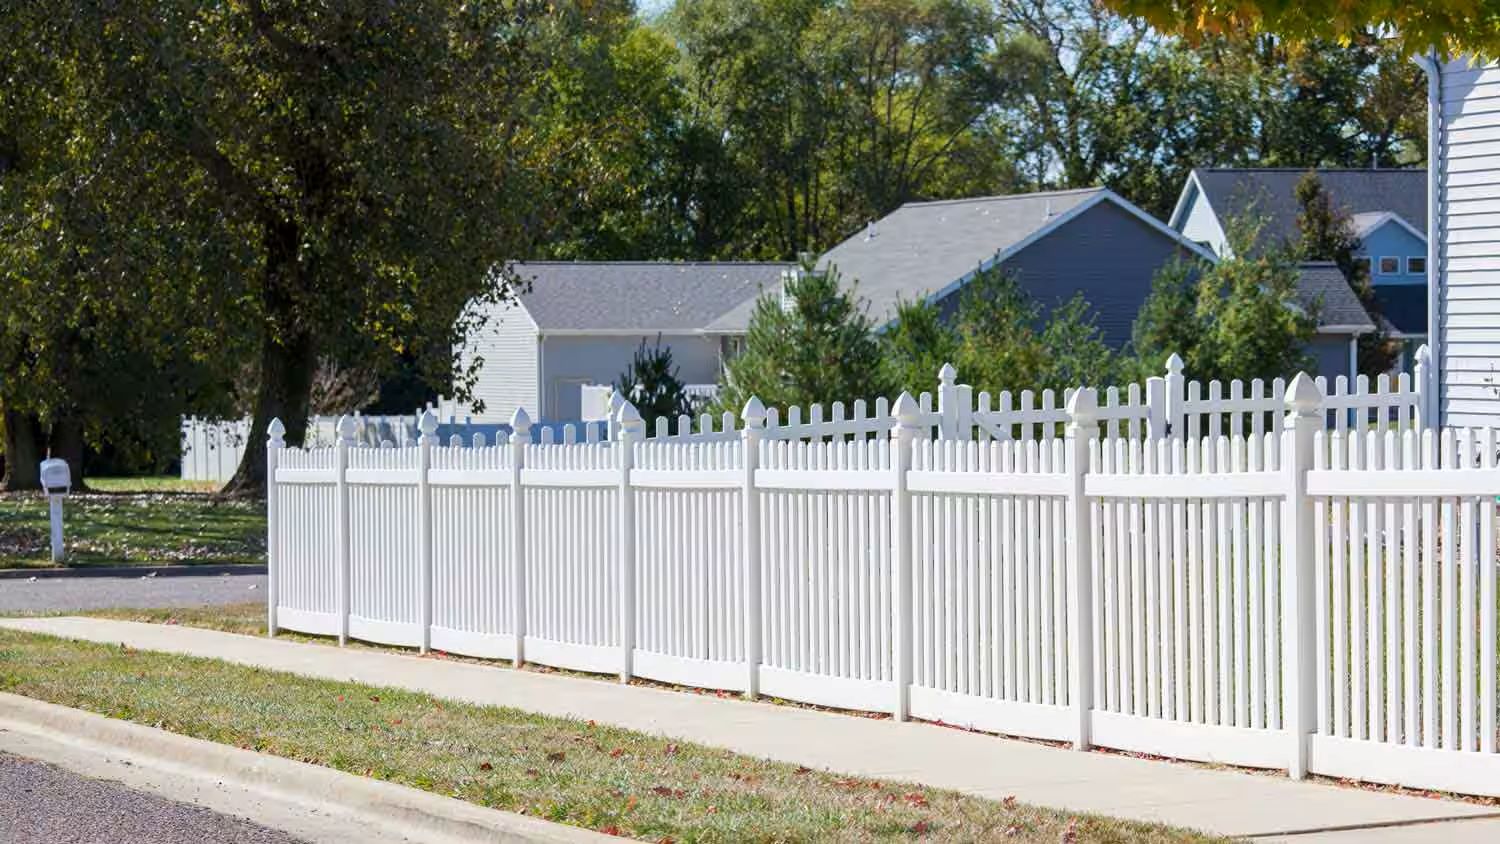
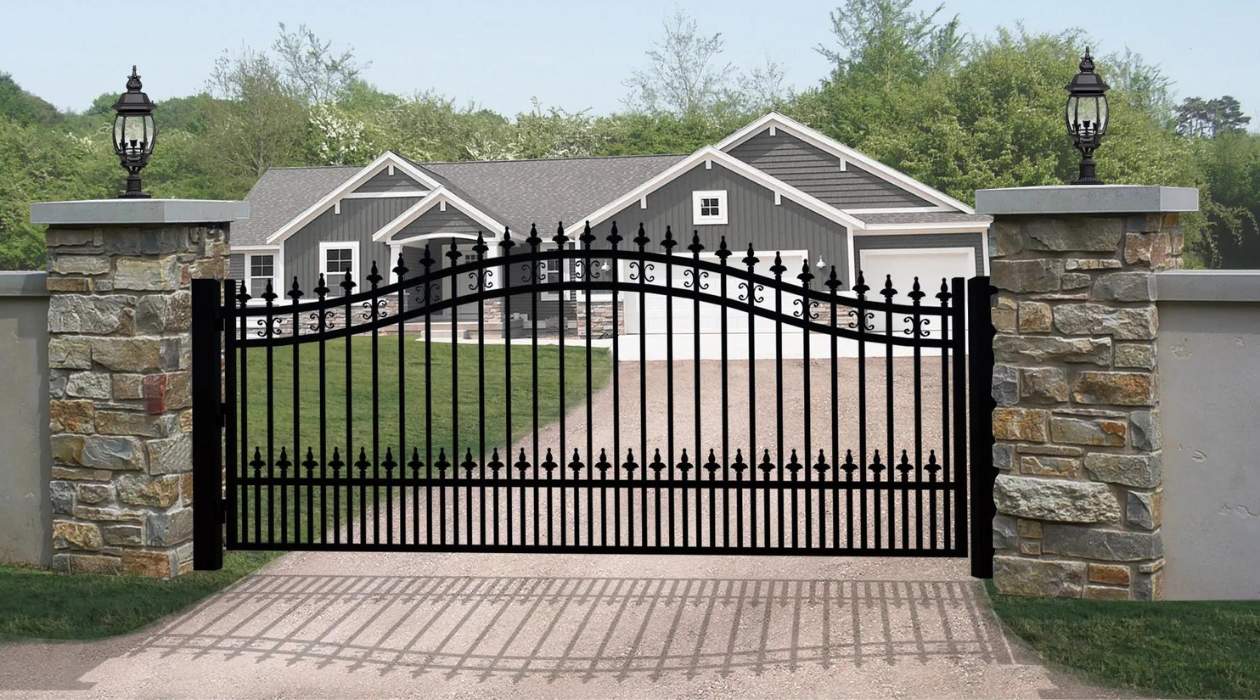
When it comes to adding functionality, privacy, and aesthetic appeal to your vinyl fence, a gate is an essential component. Whether you’re looking to create an entrance for your driveway, garden, or yard, building a vinyl fence gate can be a straightforward and rewarding DIY project.
Before jumping into the construction process, it’s important to gather all the necessary materials and tools. You’ll need vinyl boards, hinges, a latch, screws, a measuring tape, a saw, and a level. Make sure you have everything on hand so you can work efficiently.
In this step-by-step guide, we will walk you through the process of building a vinyl fence gate. From measuring and cutting the boards to attaching hinges and installing a latch, you’ll learn everything you need to know to successfully complete this project.
Remember, safety is crucial throughout the construction process. Wear protective gear, such as gloves and safety goggles, and use caution when handling tools and materials.
So, let’s get started and construct a beautiful and functional vinyl fence gate that will add value to your property and make your outdoor space more accessible.
Key Takeaways:
- Building a vinyl fence gate is a rewarding DIY project that adds functionality and aesthetic appeal to your outdoor space. By following the step-by-step guide, you can create a sturdy and attractive gate that provides security, privacy, and accessibility to your property.
- Prioritize safety, precision, and attention to detail throughout the construction process. From gathering materials to adding finishing touches, taking your time and ensuring accuracy will result in a well-constructed vinyl fence gate that stands the test of time.
Read more: How To Build A Chain Link Fence Gate
Step 1: Gather Materials
Before you begin constructing your vinyl fence gate, it’s important to gather all the necessary materials. Here’s a list of commonly needed items:
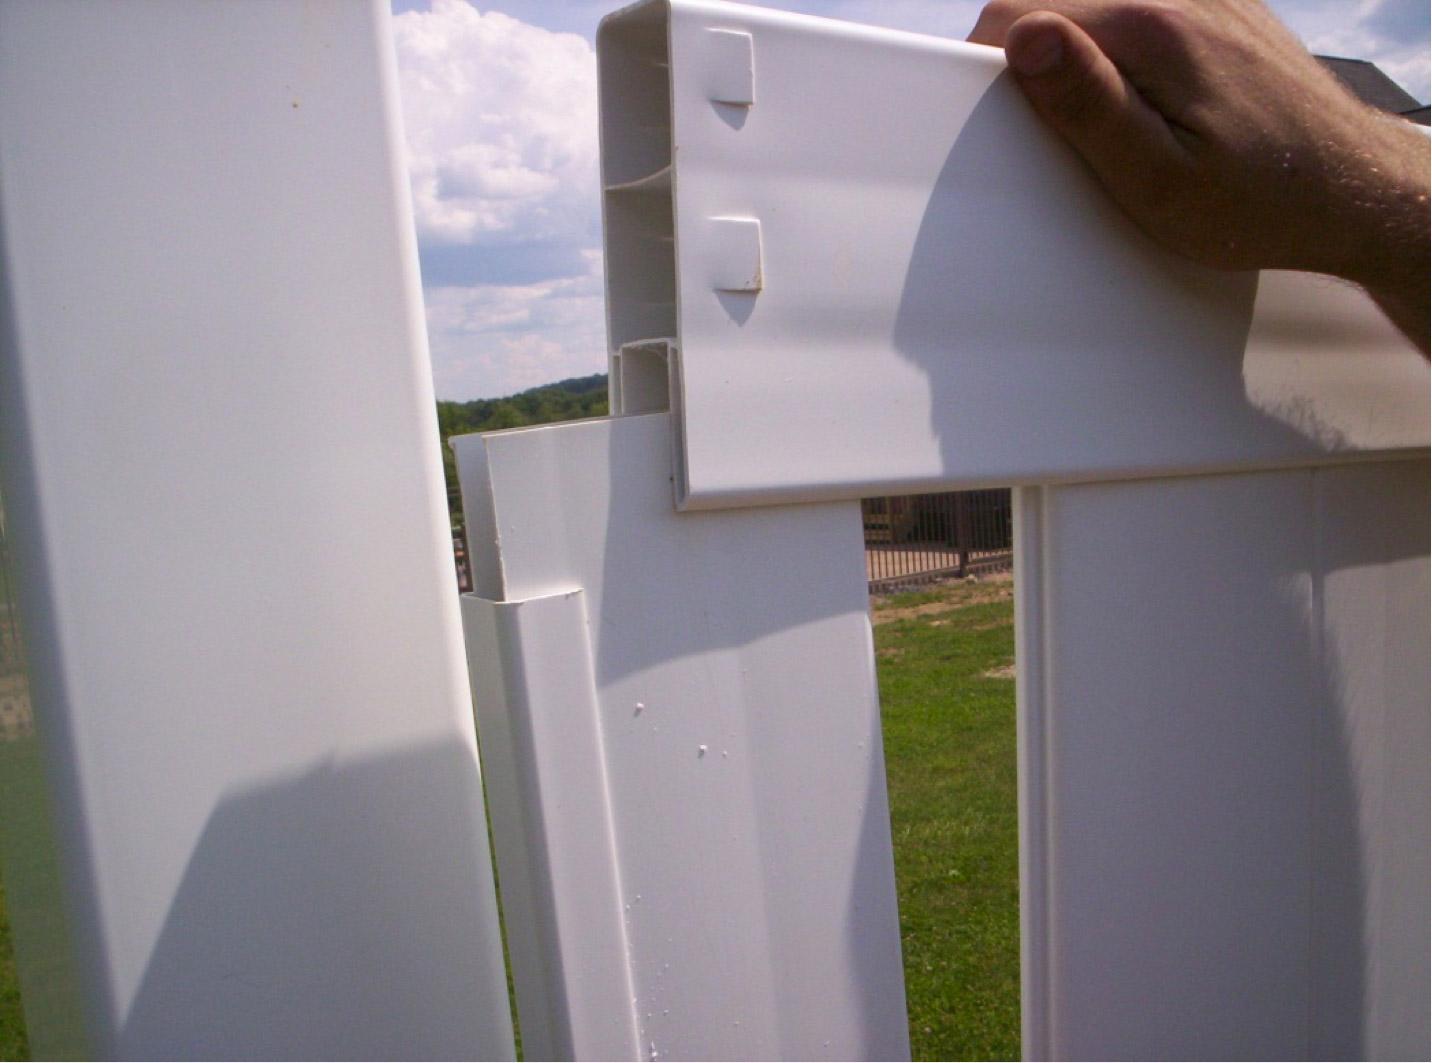
- Vinyl boards: These will form the main structure of your gate. Make sure to choose high-quality vinyl boards that are sturdy and durable.
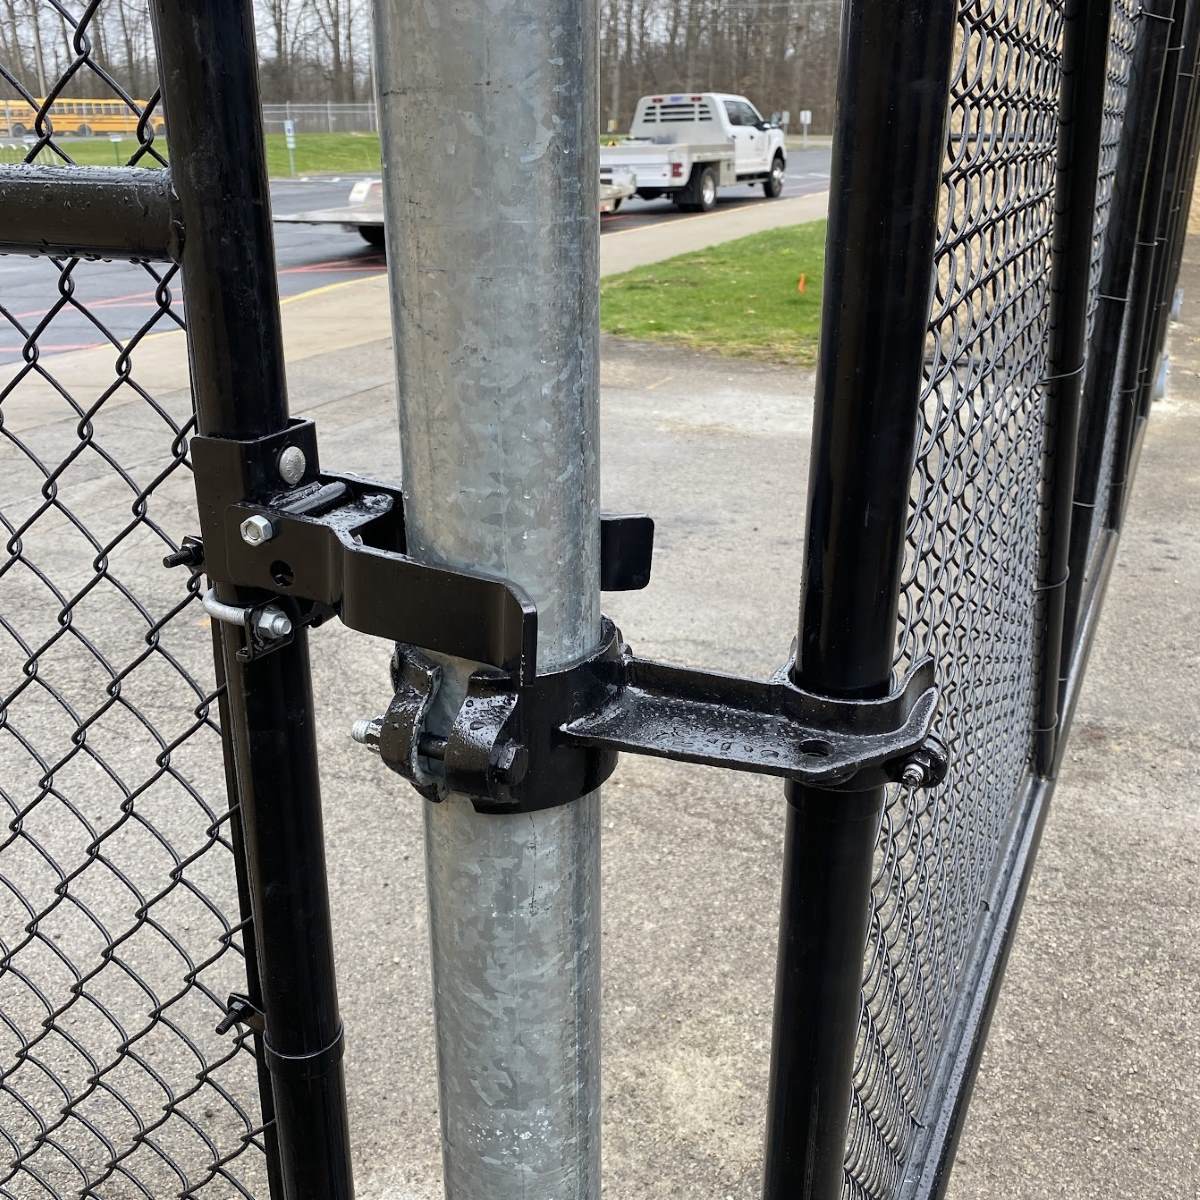
- Hinges: You’ll need hinges to attach the gate to the fence post. Opt for heavy-duty hinges that can support the weight of the gate.
- Latch: The latch will keep your gate securely closed. There are various types of gate latches available, such as latch handles and self-closing latches. Choose the one that suits your needs.
- Screws: Select rust-resistant screws that are suitable for outdoor use. Make sure they are long enough to securely fasten the vinyl boards and hinges.
- Measuring tape: Accurate measurements are crucial for a properly fitting gate. Have a measuring tape on hand to ensure precise dimensions.
- Saw: You’ll need a saw to cut the vinyl boards to the desired length. A circular saw or a miter saw with a fine-toothed blade is recommended.
- Level: A level will help ensure that your gate is straight and level when installed. This is important for both functionality and visual appeal.
Once you have gathered all the necessary materials, double-check to make sure you haven’t missed anything. It’s always better to be prepared before you start the construction process.
Remember to choose materials of good quality. Vinyl boards should be strong and resistant to fading and damage from the elements. Hinges and latch should be sturdy and reliable for long-term use.
With all the materials ready, you’re now set to move on to the next step – measuring and marking the gate dimensions.
Step 2: Measure and Mark
Before cutting the vinyl boards, it’s crucial to accurately measure and mark the dimensions of your gate. Follow these steps to ensure a precise fit:
- Take the measuring tape and measure the opening where you will install the gate. It’s important to measure both the width and height of the opening.
- Add an extra inch to each measurement to allow for clearance. This will ensure that your gate fits properly and opens and closes smoothly.
- Using a pencil or marker, mark the measurements on the vinyl boards. Make sure to mark the top and bottom rails as well as the vertical slats.
- Double-check your measurements to ensure accuracy. Measure twice, cut once to avoid any mistakes.
- If your gate will have diagonal bracing for added stability, mark those lines on the boards as well. Diagonal bracing is optional but can provide extra support.
Once you have marked all the necessary measurements on the vinyl boards, you’re ready to move on to the next step – cutting the boards to size.
Remember, precision is key. Take your time during the measuring and marking process to ensure accurate dimensions. This will save you from potential headaches later on when assembling the gate.
By carefully measuring and marking, you’re one step closer to building your vinyl fence gate. Proceed to the next step to start cutting the vinyl boards.
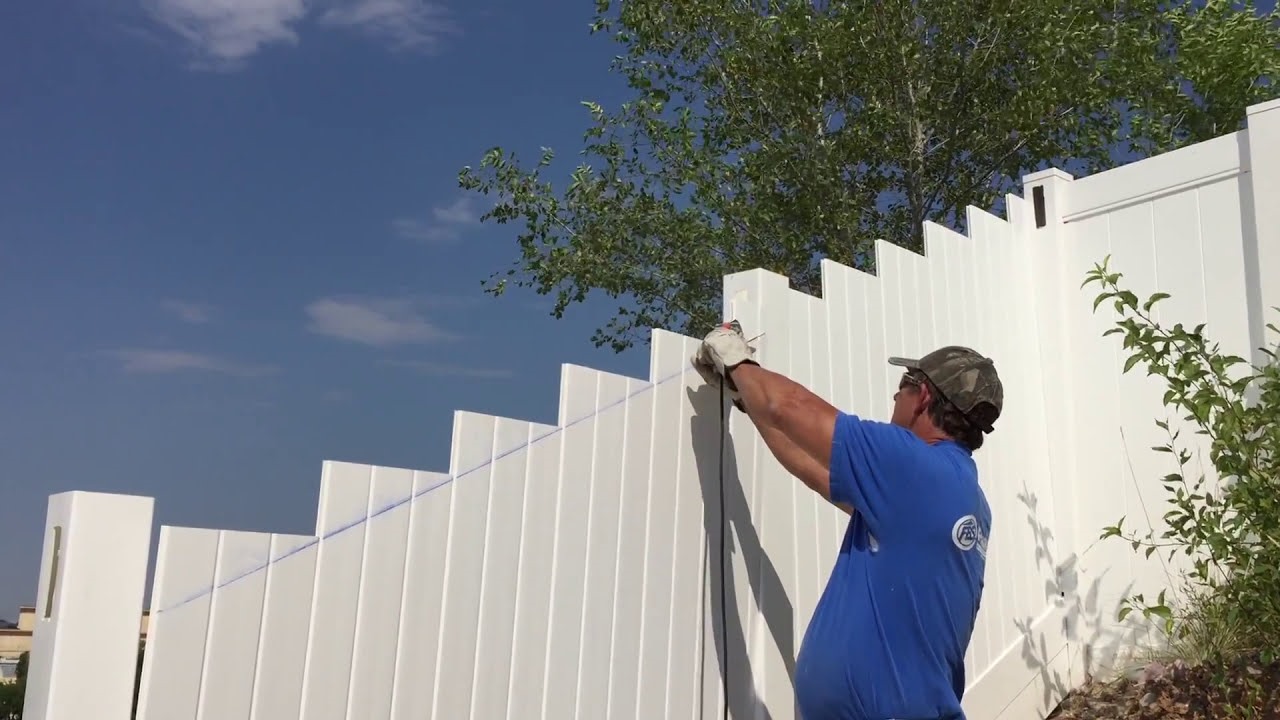
Step 3: Cut the Vinyl Boards
With the measurements marked on the vinyl boards, it’s time to cut them to the desired lengths. Follow these steps to ensure clean and precise cuts:
- Set up a stable work surface, such as a sawhorse or sturdy table, to safely cut the vinyl boards. Ensure that the work surface is level and secure.
- Put on safety goggles and gloves to protect yourself while using a saw. Safety should always be a top priority during any DIY project.
- Using a circular saw or a miter saw with a fine-toothed blade, carefully cut along the marked lines on the vinyl boards. Take your time to ensure straight and even cuts.
- After cutting each board, inspect the edges for any roughness or burrs. Use sandpaper or a file to smooth out any imperfections.
- Repeat this process for all the marked vinyl boards, including the top and bottom rails, vertical slats, and diagonal bracing if applicable.
It’s important to note that vinyl boards can be prone to chipping, so it’s best to cut them slowly and with a steady hand. This will help minimize the risk of any damage to the boards.
Once all the vinyl boards are cut to the proper lengths, you’re ready to move forward and start assembling the gate frame. Proceed to the next step to learn how to put the gate frame together.
Remember to always prioritize safety when using power tools. Follow the manufacturer’s instructions and take the necessary precautions to prevent injuries.
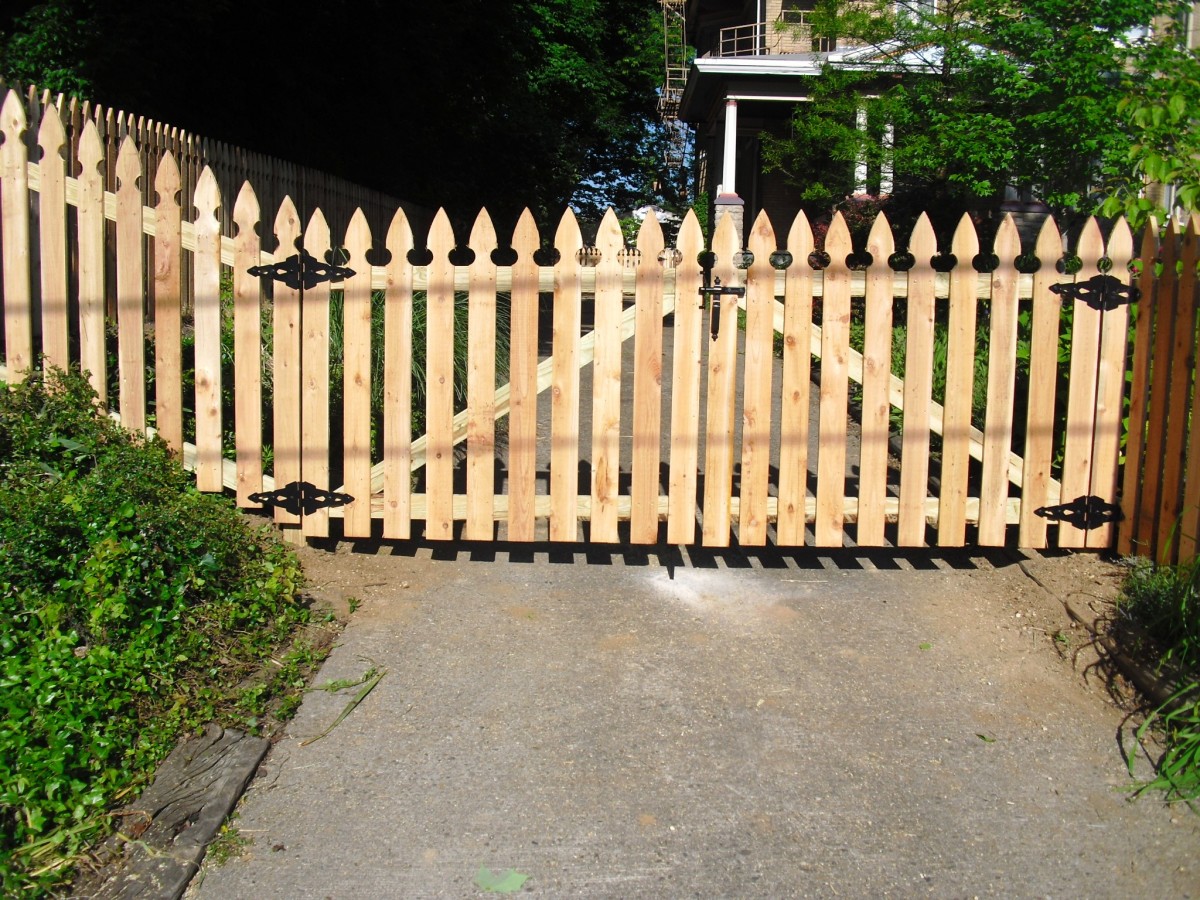
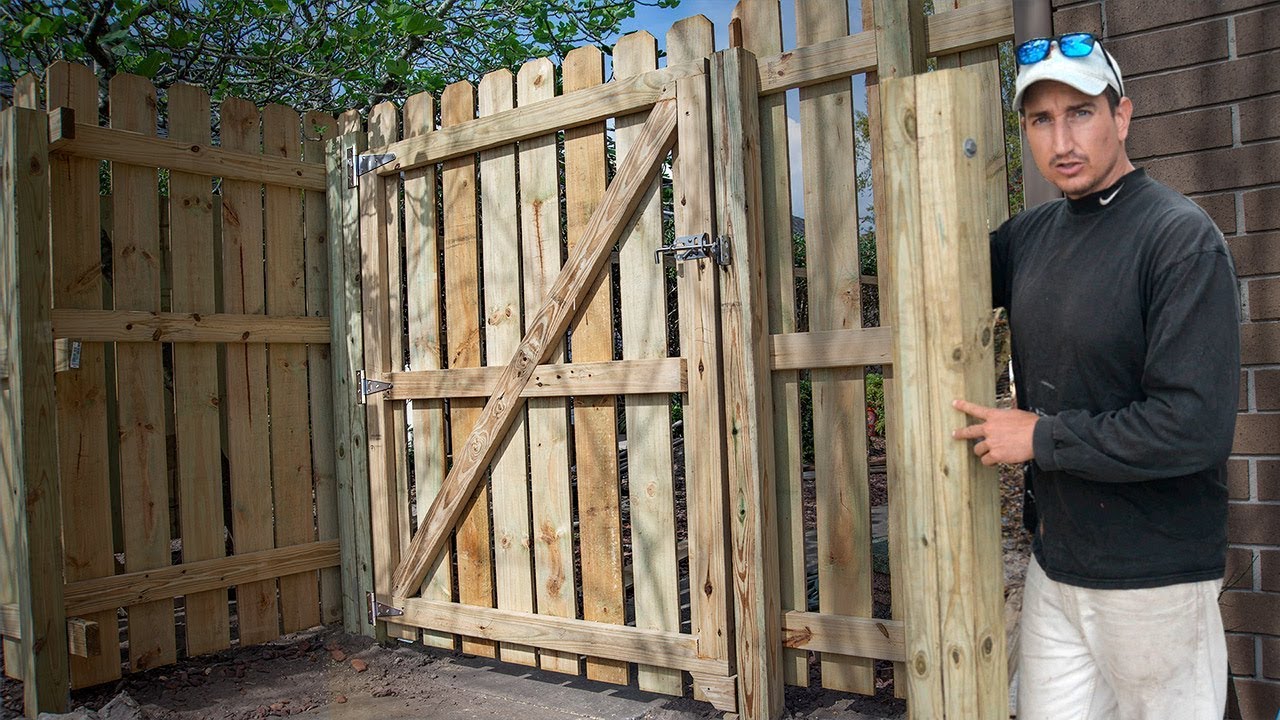
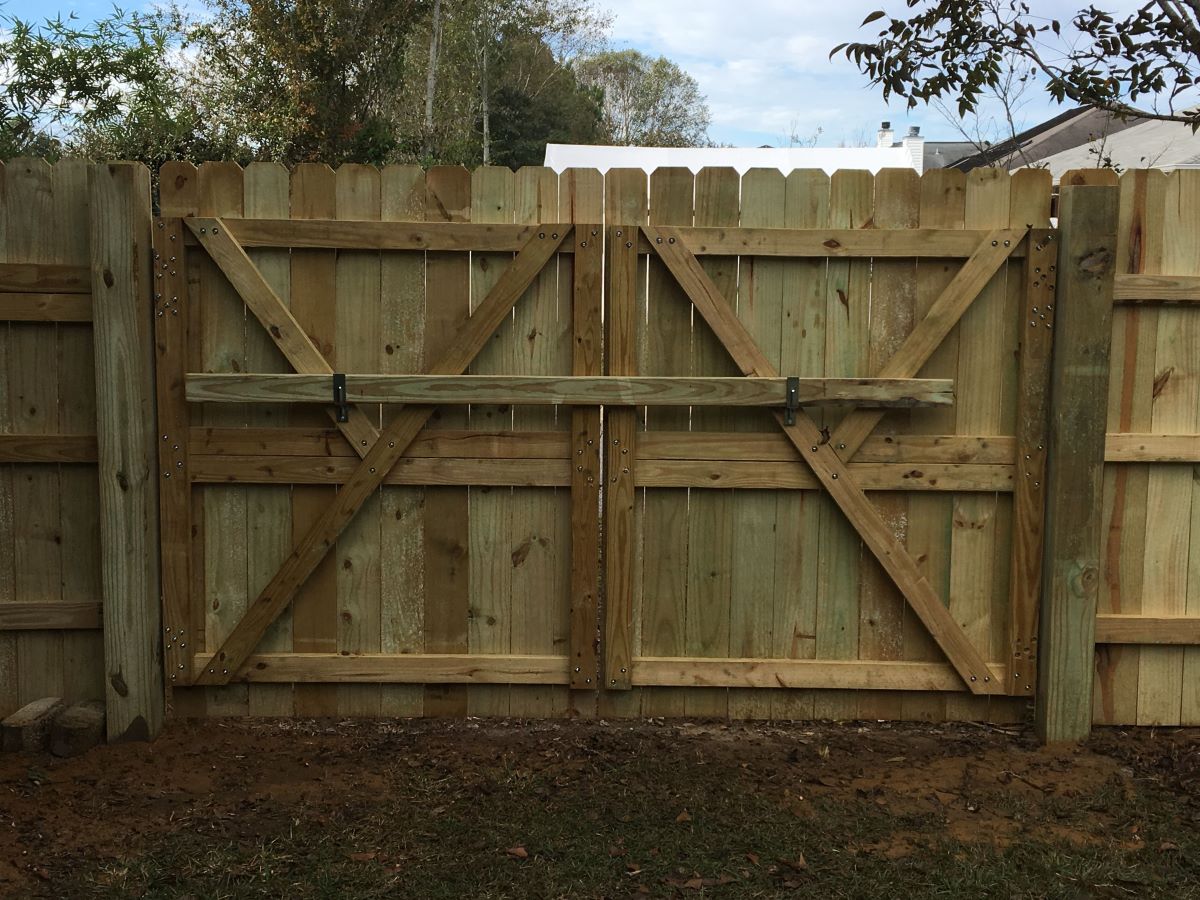
Step 4: Assemble the Gate Frame
Now that you have cut the vinyl boards to the correct lengths, it’s time to assemble the gate frame. Follow these steps to ensure a sturdy and well-constructed frame:
- Lay out the bottom rail on your work surface. Position it horizontally, ensuring that it is straight and level.
- Place the vertical slats evenly spaced along the bottom rail. Use a measuring tape to ensure equal distances between each slat.
- Align the top rail over the vertical slats to complete the frame. Make sure it is parallel to the bottom rail.
- Depending on your design and preference, you may choose to add diagonal bracing to the gate frame for added stability. Secure the bracing to the corners of the frame.
- Using screws and a screwdriver or drill, attach the vertical slats and bracing to the top and bottom rails. Drive the screws in at an angle to create a secure and durable connection.
- Double-check the frame for any misalignments or gaps. Make any necessary adjustments before proceeding.
During assembly, it’s important to ensure that the frame is square and level. This will contribute to the overall stability and functionality of the gate.
Once the gate frame is securely assembled, move on to the next step to attach the vinyl boards to the frame.
Remember to take your time during assembly and double-check each connection. A well-built gate frame will provide a solid foundation for the rest of the construction process.
Read more: How Much For A Fence Gate
Step 5: Attach the Vinyl Boards to the Frame
Now that you have constructed the gate frame, it’s time to attach the vinyl boards to complete the gate. Follow these steps to securely attach the boards:
- Position the gate frame on a stable surface, such as a sawhorse or table, making sure it is level and secure.
- Starting with the bottom rail, align one end of a vinyl board with the edge of the rail. Ensure that the board is centered and level.
- Using screws and a screwdriver or drill, secure the board to the rail by driving screws through the board and into the rail. Space the screws evenly along the length of the board.
- Repeat this process for each vinyl board, working your way from the bottom rail to the top rail. Make sure each board is aligned properly and securely attached.
- After attaching all the vertical vinyl boards, inspect the gate for any gaps or misalignments. Make any necessary adjustments before proceeding.
- If your gate includes a diagonal bracing, attach the diagonal vinyl boards to further strengthen the gate’s structure. Secure them with screws, ensuring they are properly aligned and provide stability.
When attaching the vinyl boards, be mindful of the spacing between each board. The spacing should be consistent and aesthetically pleasing. Use a spacer or measuring tape to ensure even gaps between the boards.
Take your time during this step to ensure the vinyl boards are securely attached to the gate frame. A well-built gate will not only enhance the functionality of your fence but also improve its visual appeal.
Once all the vinyl boards are attached, you’re ready to move on to the next step – installing the hinges.
When building a vinyl fence gate, make sure to measure and cut the gate frame accurately to ensure a proper fit. Use a level to ensure the gate is hanging straight and install sturdy hinges for long-lasting durability.
Step 6: Install the Hinges
Now that your vinyl fence gate is taking shape, it’s time to install the hinges that will allow it to swing open and closed. Follow these steps to properly install the hinges:
- Position the gate in its desired location, ensuring that it is level and aligned with the fence post or opening.
- Place the top hinge against the gate frame and align it with the vertical edge of the gate. Make sure it is centered both vertically and horizontally.
- Using a pencil or marker, mark the screw hole locations on both the hinge and gate frame.
- Pre-drill pilot holes in the marked locations to prevent the vinyl from cracking or splitting when you insert the screws.
- Align the hinge with the pilot holes and attach it to the gate frame using screws and a screwdriver or drill. Repeat this process for the bottom hinge.
- With the hinges securely attached to the gate, it’s time to install the hinge pins. Slide the hinge pins into the hinges, ensuring they fit snugly.
- Once the hinge pins are in place, test the gate by gently swinging it open and closed. Make any necessary adjustments to ensure smooth and unrestricted movement.
It’s important to use heavy-duty hinges that can support the weight of the gate. Depending on the size and weight of your gate, you may require multiple hinges for added support and stability.
During installation, double-check the alignment and levelness of the gate to ensure proper functionality. Adjust the hinges if needed to achieve the desired fit.
With the hinges successfully installed, you’re one step closer to completing your vinyl fence gate. Proceed to the next step to attach the latch.
Step 7: Attach the Latch
With the hinges in place, it’s time to install the latch that will keep your vinyl fence gate securely closed. Follow these steps to properly attach the latch:
- Decide on the location for the latch on your gate. Typically, it is placed on the opposite side of the hinges.
- Hold the latch against the gate in the desired position. Make sure it is level and centered vertically.
- Using a pencil or marker, mark the screw hole locations on both the latch and the gate.
- Pre-drill pilot holes in the marked locations to prevent the vinyl from cracking or splitting when you insert the screws.
- Align the latch with the pilot holes and attach it to the gate using screws and a screwdriver or drill.
- Once the latch is securely attached, test its functionality by opening and closing the gate. Ensure that the latch securely engages and disengages.
There are various types of gate latches available, such as latch handles and self-closing latches. Choose the latch that suits your needs and provides the level of security you desire.
During installation, pay attention to the alignment and levelness of the latch to ensure proper functionality. Adjust the latch if needed to achieve the desired fit.
Once the latch is successfully attached, your vinyl fence gate is almost complete. Proceed to the next step to hang the gate and integrate it into your fence.
Step 8: Hang the Gate
With the latch securely attached, it’s time to hang your vinyl fence gate and integrate it into your fence structure. Follow these steps to properly hang the gate:
- Position the gate in its desired location, aligning it with the fence post or opening.
- Place a level against the vertical edge of the gate to ensure it is plumb. Make any necessary adjustments by shimming the hinges or gate frame.
- With the gate level and aligned, mark the screw hole locations on the hinge side of the gate frame.
- Pre-drill pilot holes in the marked locations to prevent the vinyl from cracking or splitting.
- Secure the hinges to the gate frame using screws and a screwdriver or drill.
- Double-check the alignment of the gate and its functionality by opening and closing it. Make any necessary adjustments to ensure smooth movement.
- Install a gate stopper on the fence post to prevent the gate from swinging too far inwards or outwards.
It’s important to properly adjust the gate to ensure smooth opening and closing without any binding or misalignment. This will ensure that the gate functions effectively and provides a secure entrance to your property.
Once the gate is hung and aligned, test its functionality multiple times to ensure that it opens and closes smoothly. Make any necessary adjustments to ensure proper operation.
Congratulations! With the gate successfully hung, you have completed a major part of building your vinyl fence gate. Proceed to the next step for some finishing touches to enhance the gate’s appearance and functionality.
Step 9: Finishing Touches
With your vinyl fence gate hung and functional, it’s time to add some finishing touches to enhance its appearance and functionality. Follow these steps to complete your gate:
- Inspect the entire gate for any rough edges or imperfections. Use sandpaper or a file to smooth out any rough areas, ensuring a clean and polished finish.
- Consider adding decorative elements to your gate, such as finials or decorative caps, to enhance its visual appeal. These can be attached to the top of the gate posts or along the horizontal rails.
- Apply a protective coating or sealant to the vinyl boards to help them resist fading and damage from the elements. This will help maintain the appearance and longevity of your gate.
- Install a gate handle or pull to make opening and closing the gate more convenient. Choose a handle that matches the style of your gate and provides a comfortable grip.
- Check the gate’s latch mechanism for proper alignment and functionality. Adjust the latch if needed to ensure a secure closure.
- Keep the gate clean by periodically washing it with mild soap and water. This will help remove dirt and grime, keeping your gate looking its best.
By adding these finishing touches, you can elevate the overall look and functionality of your vinyl fence gate. They provide the final details that make your gate stand out and blend seamlessly with your fence and outdoor space.
Remember to regularly inspect and maintain your gate to ensure it remains in good condition. This includes checking the hinges, latch, and overall structure for any signs of wear or damage.
With the finishing touches complete, stand back and admire your beautifully constructed vinyl fence gate. You have successfully completed the process, and your gate is now ready to provide security, privacy, and a charming entrance to your property.
Congratulations on a job well done!
Conclusion
Building a vinyl fence gate is a rewarding DIY project that not only adds functionality but also enhances the overall appearance of your outdoor space. By following the step-by-step guide provided above, you have learned how to construct a sturdy and attractive vinyl fence gate that will provide security, privacy, and accessibility to your property.
Throughout the process, gathering the necessary materials, measuring accurately, cutting the vinyl boards, and assembling the gate frame were crucial steps in ensuring a solid foundation. Attaching the vinyl boards, installing the hinges, and attaching the latch were essential for the functionality and security of the gate. Finally, adding the finishing touches, such as decorative elements and a protective coating, further enhances the gate’s appearance and longevity.
Remember, safety should always be a top priority during any DIY project. Wear protective gear and use caution when handling tools and materials. Additionally, take your time in each step to ensure accuracy and precision, resulting in a well-constructed gate.
As you enjoy your newly built vinyl fence gate, don’t forget to regularly inspect and maintain it. This will ensure its continued functionality and longevity. Keep it clean, check the hinges and latch, and make any necessary adjustments as needed.
Building a vinyl fence gate allows you to customize and personalize your outdoor space while adding value to your property. Whether you’re creating an entryway to your driveway, garden, or yard, a well-constructed vinyl fence gate will not only provide practicality but also enhance the overall aesthetic appeal.
So, grab your tools, gather your materials, and embark on this DIY journey to build your very own vinyl fence gate. With patience and attention to detail, you’ll create a beautiful and functional entrance that will stand the test of time.
Frequently Asked Questions about How To Build A Vinyl Fence Gate
Was this page helpful?
At Storables.com, we guarantee accurate and reliable information. Our content, validated by Expert Board Contributors, is crafted following stringent Editorial Policies. We're committed to providing you with well-researched, expert-backed insights for all your informational needs.
0 thoughts on “How To Build A Vinyl Fence Gate”