Articles
How Do You Install A Vinyl Fence
Modified: December 7, 2023
Learn how to install a vinyl fence with our comprehensive articles. Discover step-by-step instructions and expert tips for a successful installation
(Many of the links in this article redirect to a specific reviewed product. Your purchase of these products through affiliate links helps to generate commission for Storables.com, at no extra cost. Learn more)
Introduction
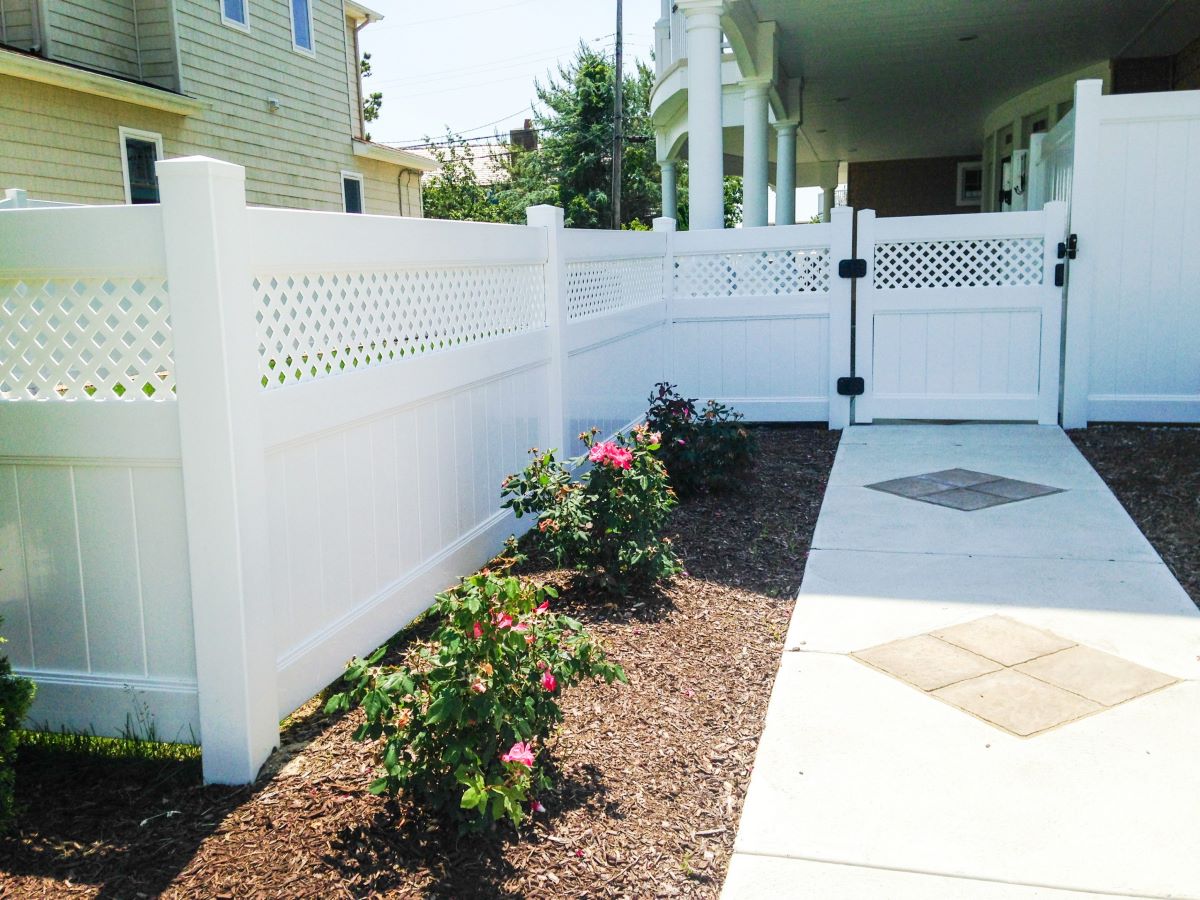
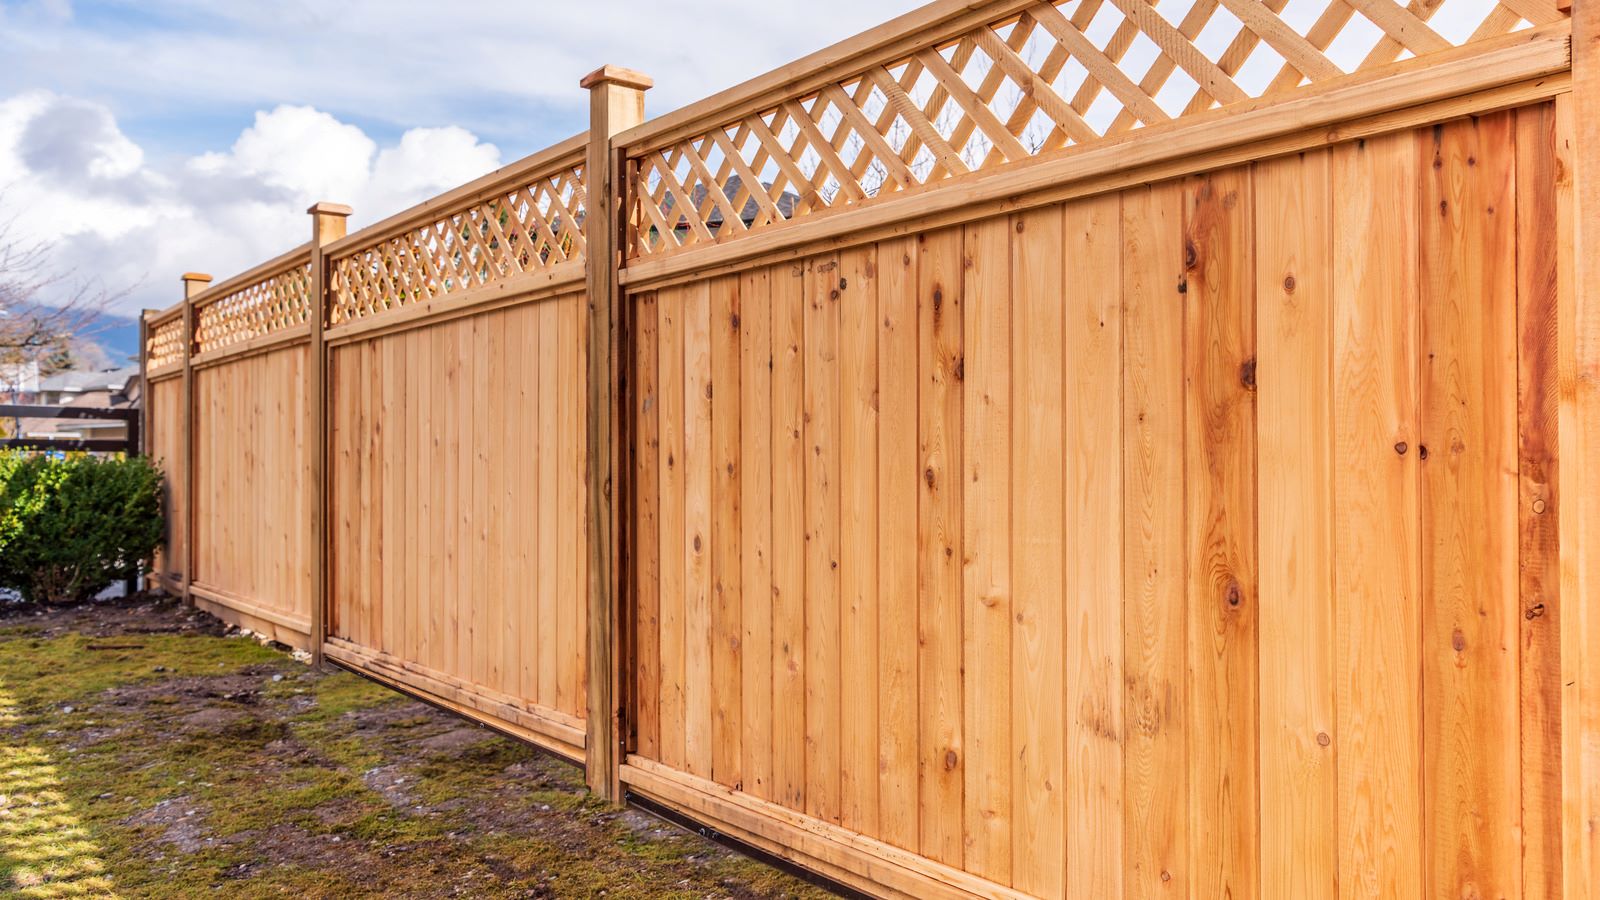
Installing a vinyl fence can be a great way to enhance the appearance and functionality of your property. Whether you’re looking to add privacy, improve security, or simply define boundaries, a vinyl fence is a durable and low-maintenance option. With its versatility, longevity, and aesthetic appeal, it’s no wonder that vinyl fencing has become increasingly popular among homeowners.
In this article, we will guide you through the step-by-step process of installing a vinyl fence. From gathering the necessary materials and tools to the finishing touches, we will cover everything you need to know to ensure a successful installation. So, let’s get started!
Before we dive into the installation process, it’s important to note that planning is crucial. Take the time to assess your needs and goals for the fence. Determine the desired height, style, and layout of the fence, as well as any specific features, such as gates or decorative accents.
Next, check with your local building department or homeowner’s association to understand any specific regulations or permits required for installing a fence in your area. This step will help you avoid any potential setbacks or violations.
With the necessary preparations in place, you’re ready to move on to the first step of installing a vinyl fence: gathering the materials and tools you’ll need. Read on to learn more.
Key Takeaways:
- Proper planning, accurate measurements, and secure installation of fence posts are crucial for a successful vinyl fence installation. Following the step-by-step guide ensures a durable and visually appealing outcome.
- Ongoing maintenance, including cleaning, inspections, and repairs, is essential for preserving the beauty and functionality of a vinyl fence. With proper care, the fence will provide long-lasting privacy and security.
Read more: How To Install Vinyl Fence On A Slope
Step 1: Gather Materials and Tools
Before you start the installation process, it is crucial to gather all the necessary materials and tools. Here is a list of what you will need:
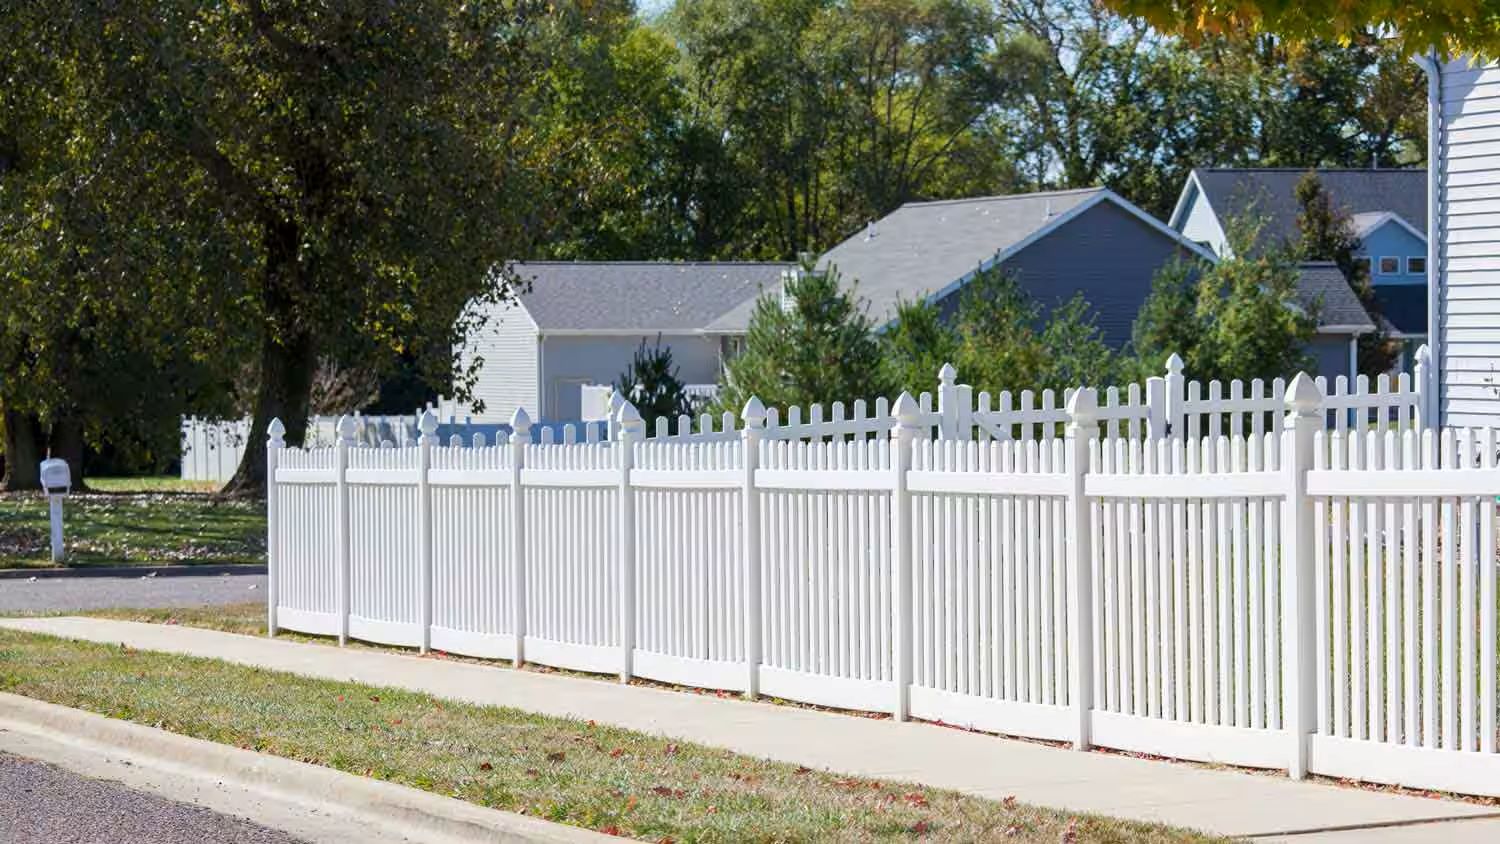
- Vinyl fence panels: These are available in various styles and sizes, choose the ones that best suit your needs.
- Fence posts: These provide the structural support for the fence. Make sure to select posts that are compatible with your chosen fence panels.
- Concrete mix: This is required for securing the fence posts in the ground.
- Gate(s): If you plan to install a gate, make sure to choose one that fits the style and size of your fence.
- Gate hardware: This includes hinges, latches, and handles required for the gate installation.
- Post hole digger: This tool is essential for digging the holes for the fence posts. A manual or mechanical post hole digger can be used.
- Level: A level will help ensure that your fence is straight and properly aligned.
- Measuring tape: This will be handy when measuring the fence layout and determining the spacing between posts.
- Saw: A saw may be needed to trim the fence panels to the correct size.
- Fasteners: Depending on the fence system you choose, you may require screws or other fasteners to secure the panels and posts.
- PVC adhesive: This adhesive is required if you need to connect any loose or separate parts of the fence.
- Safety equipment: It is important to prioritize safety during the installation process. Make sure you have gloves, safety goggles, and any other necessary protective gear.
Before purchasing these materials, take accurate measurements of the area where you plan to install the fence. This will help you estimate the quantity of materials needed and prevent any unnecessary trips to the store.
Once you have gathered all the materials and tools, you are ready to move on to the next step: measuring and marking the fence layout. Keep reading to learn more.
Step 2: Measure and Mark the Fence Layout
Measurements and proper marking are essential to ensure the accurate placement of your vinyl fence. Follow these steps to measure and mark the fence layout:
- Start by marking the corners of your fence perimeter. Use wooden stakes or markers and run a string between them to create a straight guideline.
- Take accurate measurements to determine the spacing between the fence posts. This will depend on the size of your fence panels. Typically, the distance between posts is around 6 to 8 feet.
- Use a measuring tape and mark the exact locations where the fence posts will be installed along the guideline. Make sure the spacing between the posts is consistent.
- For gate openings, measure and mark the appropriate locations. Take into account the width of the gate and any necessary clearance.
- Double-check your measurements and markings to ensure accuracy. It is recommended to consult a professional or refer to the manufacturer’s guidelines for specific spacing requirements.
During the marking process, consider the contour of the terrain and any existing structures or obstacles. Adjust your markings as needed to accommodate for these factors and maintain a visually appealing fence line.
Once you have marked the fence layout, take a step back and review the overall design. Visualize how it will enhance your property and make any necessary adjustments before proceeding to the next step.
With the fence layout marked and ready, it’s time to move on to the next crucial step: digging the fence post holes. Continue reading to learn more.
Step 3: Dig Fence Post Holes
Digging fence post holes is a vital step in ensuring the stability and longevity of your vinyl fence. Follow these steps to dig the fence post holes:
- Using a post hole digger, start digging the first hole at one of the marked locations. The depth of the hole should be approximately one-third the height of the fence post.
- Continue digging the remaining holes along the marked fence line, making sure to maintain a consistent depth.
- Remove any rocks, debris, or roots from the holes to ensure a clean and stable foundation for the fence posts.
- Check the alignment of the holes by tying a string between the corner posts. This will help you ensure that all the holes are in a straight line.
- Measure and adjust the hole depths, if necessary, to achieve a uniform and level fence height.
It is important to ensure that the holes are deep enough to provide adequate support for the fence posts, especially in areas with harsh weather conditions or heavy wind. If needed, consult a local contractor or refer to the manufacturer’s guidelines for specific recommendations.
Remember to take breaks and hydrate during this physically demanding task. Pace yourself and use proper lifting techniques to avoid injury. If you prefer not to dig the holes manually, you can also consider renting a mechanical post hole digger to expedite the process.
With the fence post holes dug, you’re ready to move on to the next step: preparing and setting the fence posts. Keep reading to learn more.
Step 4: Prepare and Set Fence Posts
Setting the fence posts properly is crucial for the stability and strength of your vinyl fence. Follow these steps to prepare and set the fence posts:
- Start by placing gravel at the bottom of each fence post hole. This will aid in drainage and prevent moisture accumulation around the posts.
- Insert the first fence post into the hole, ensuring it is aligned with the marked guideline. Use a level to check for plumbness and adjust the position, if necessary.
- Fill the hole around the post with quick-setting concrete mix. Follow the manufacturer’s instructions for the correct mixing ratio and water amount.
- Hold the post in place while pouring the concrete, making sure it remains level and aligned.
- Use a post level to double-check the alignment and adjust as needed before the concrete sets.
- Repeat the process for each fence post, taking care to maintain consistent height and alignment.
- Allow the concrete to set for the recommended time, which is usually around 24 to 48 hours.
During the setting process, it’s crucial to ensure that the fence posts are securely anchored in the ground and have a solid foundation. This will prevent any shifting or leaning of the fence over time.
After the concrete has fully set, remove any excess or spilled concrete around the posts and clean the area. Take this opportunity to double-check the alignment and plumbness of the posts one final time before proceeding with the installation of the fence rails and panels.
With the fence posts set and ready, it’s time to move on to the next step: installing the fence rails and panels. Continue reading to learn more.
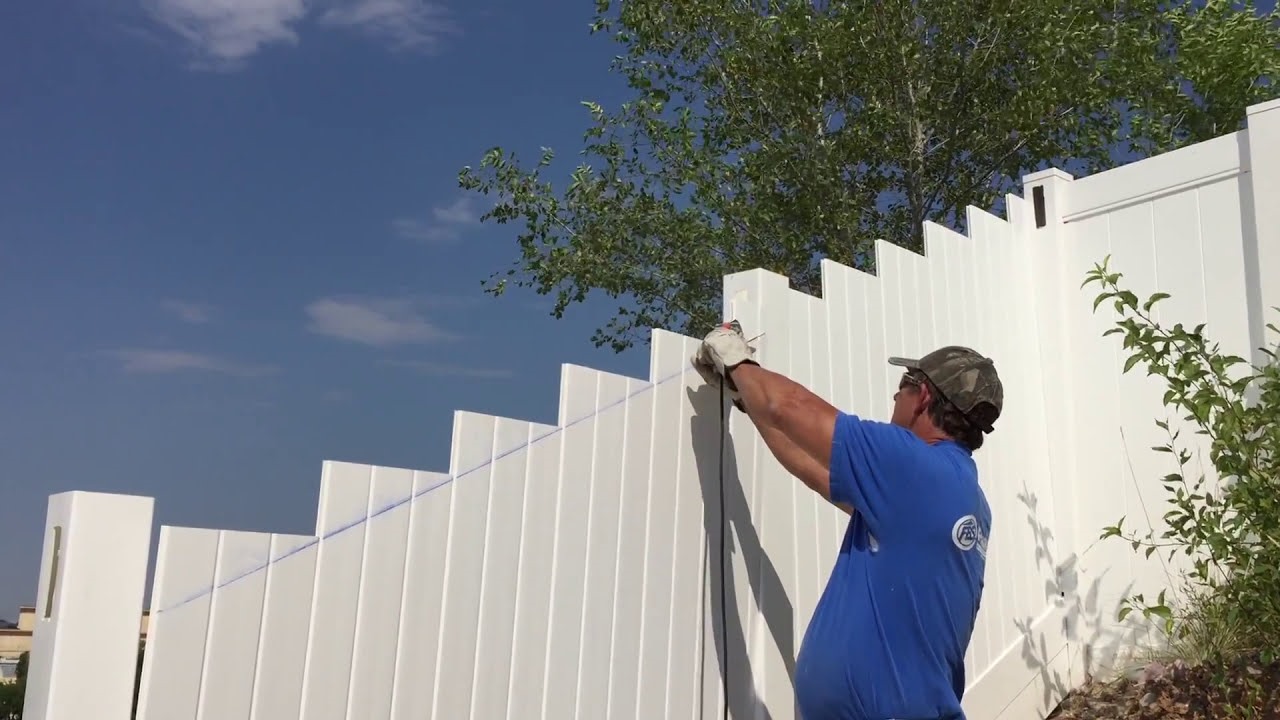
Before installing a vinyl fence, make sure to properly measure and mark the layout of the fence line. This will ensure that the fence is installed straight and in the correct location.
Read more: What Is A Vinyl Fence
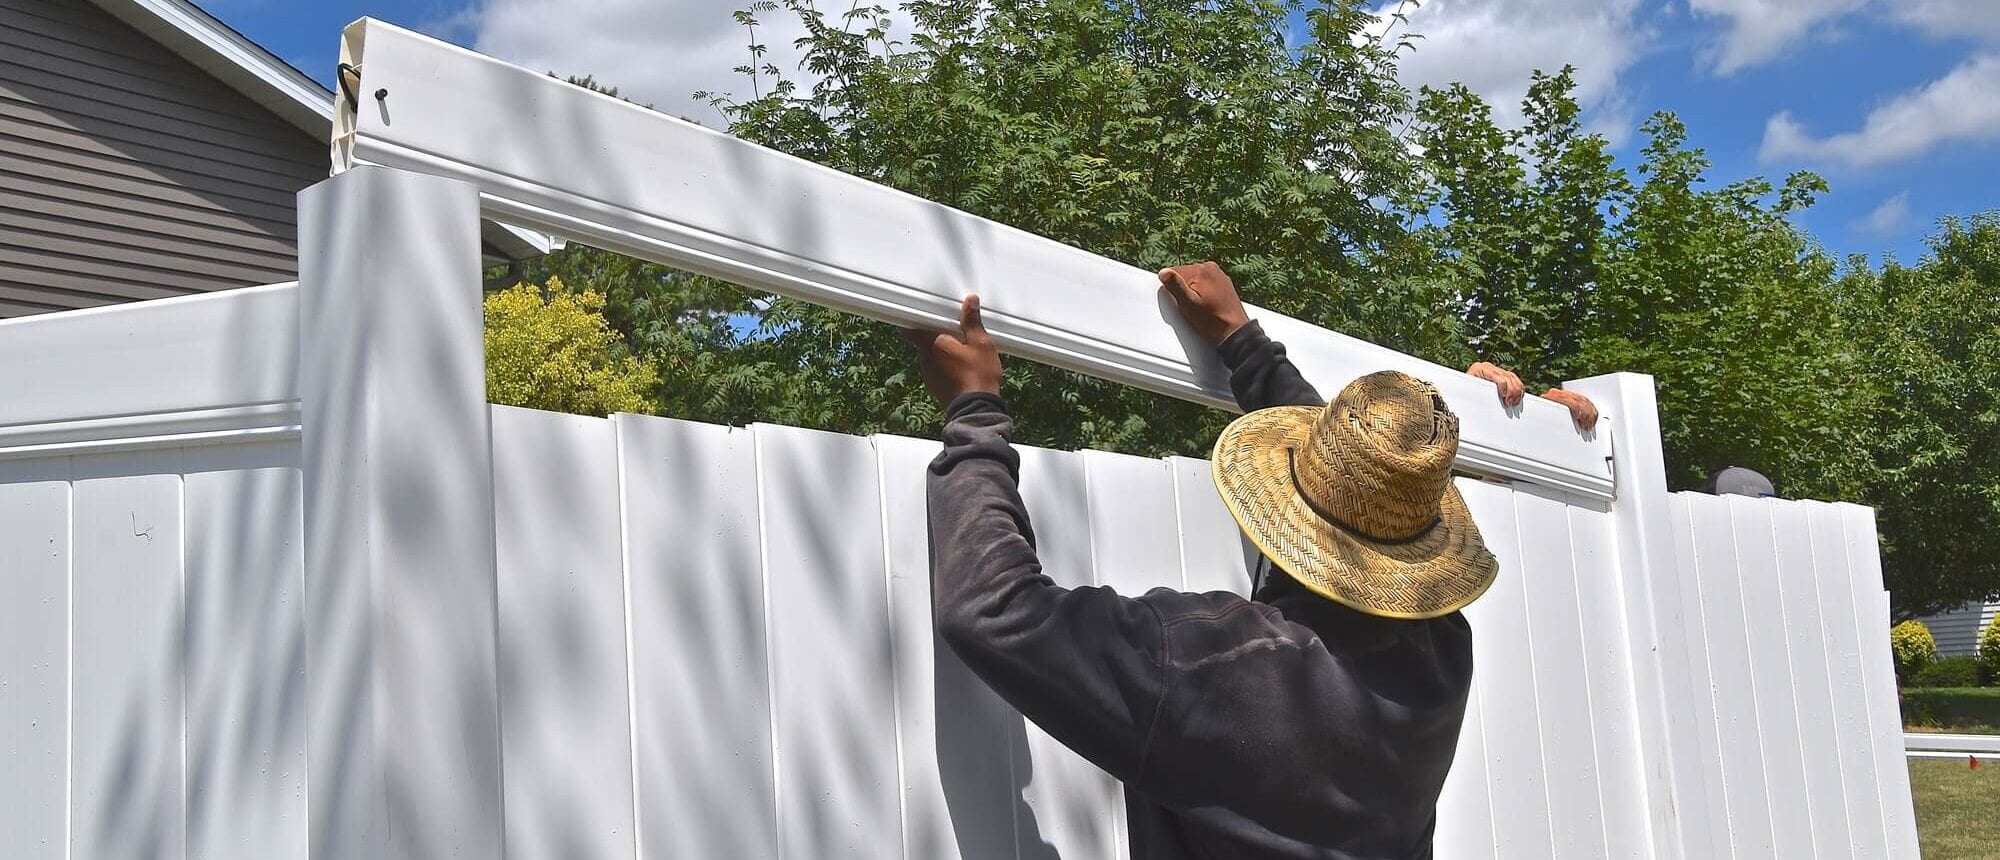
Step 5: Install Fence Rails and Panels
Installing the fence rails and panels is a crucial step in completing your vinyl fence. Follow these steps to properly install the fence rails and panels:
- Start by attaching the bottom rail to the first fence post. Position the rail at the appropriate height and secure it using screws or other fasteners provided with the fence system.
- Continue attaching the bottom rail to the remaining fence posts along the fence line. Ensure that the rail is level and aligned throughout the installation process.
- Once the bottom rail is secure, attach the top rail, following the same steps as for the bottom rail. Make sure the top rail aligns with the bottom rail and runs parallel to it.
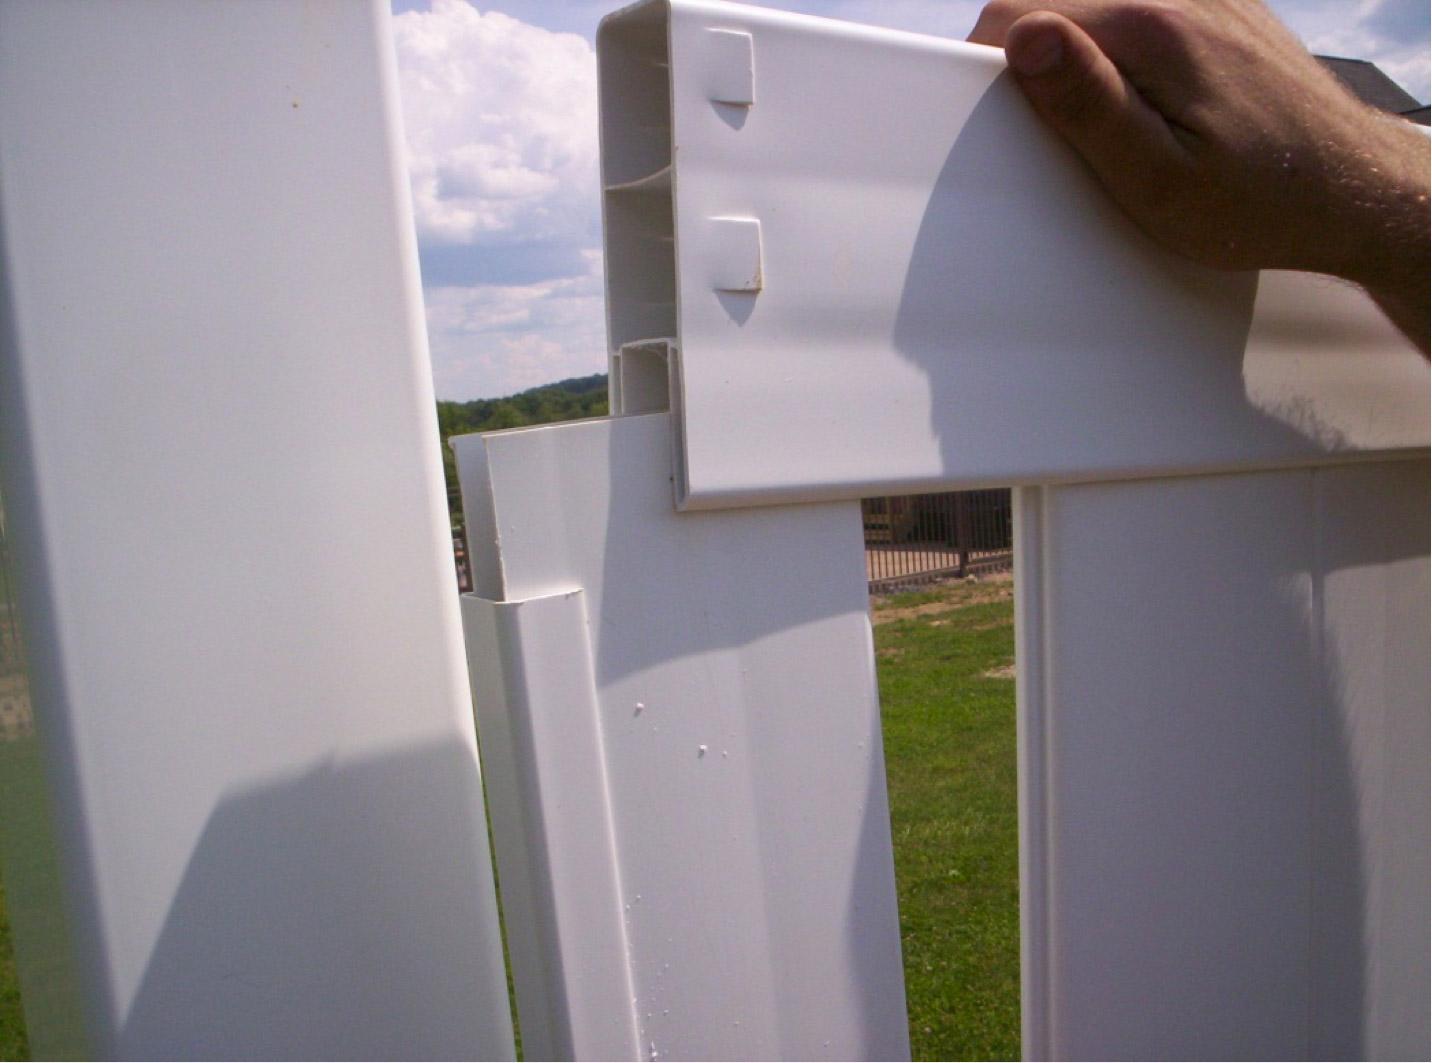
- With the rails in place, it’s time to install the vinyl fence panels. Lift the first panel and slide it into the brackets or slots on the fence posts. Ensure the panel is level and properly seated.
- Secure the panel to the rails using screws or other fasteners provided with the fence system. Repeat this process until all the fence panels are installed.
- For better stability, consider installing additional brackets or brackets with clips in the middle of each panel.
- If necessary, use a saw to trim the final fence panel to fit the remaining space at the end of the fence line.
- Double-check the alignment and stability of the fence panels and make any necessary adjustments to ensure a consistent and visually appealing fence.
During the installation process, it’s important to handle the vinyl fence panels with care to avoid any damage. Avoid excessive force or pressure that may cause warping, cracking, or bending.
While installing the fence panels, take breaks as needed and stay hydrated. The process may require physical exertion, so it’s important to pace yourself.
With the fence rails and panels installed, you’re one step closer to completing your vinyl fence. In the next step, we will discuss how to attach the gate and hardware. Continue reading to learn more.
Step 6: Attach Gate and Hardware
Attaching the gate and hardware is an important step in completing your vinyl fence installation. Follow these steps to properly attach the gate and hardware:
- Start by positioning the gate posts at the appropriate locations, ensuring they align with the fence line and the gate opening.
- Attach the gate posts to the adjacent fence posts using brackets or other hardware provided with your fence system. Make sure the gate posts are securely fastened.
- With the gate posts in place, hang the gate by attaching the hinges to the gate posts. Follow the manufacturer’s instructions for proper hinge placement.
- Ensure the gate is level and aligned with the fence line. Make any necessary adjustments to the hinges or gate position.
- Once the gate is properly aligned, attach the gate latch to the gate and the corresponding latch receiver to the adjacent fence post. Test the latch to ensure it securely fastens the gate.
- If your gate requires additional hardware, such as handles or decorative accents, attach them according to the manufacturer’s instructions.
- Double-check the gate’s operation by opening and closing it multiple times. Ensure that it swings freely and latches securely.
During the gate installation, it’s important to double-check the alignment and ensure that the gate is properly secured to prevent sagging or misalignment over time. Take the time to make any necessary adjustments for a seamless and functional gate.
Now that your gate and hardware are securely installed, you’re almost done! In the final step, we will discuss the finishing touches and maintenance of your vinyl fence. Continue reading to learn more.
Step 7: Finishing Touches and Maintenance
With your vinyl fence installed, it’s time to add the finishing touches and establish a routine for maintenance. Follow these steps to complete your fence project and ensure its longevity:
- Trim any excess or protruding parts of the fence panels, rails, or posts using a saw or appropriate cutting tool.
- Clean the fence with a mild soap and water solution using a soft brush or cloth. This will help remove any dirt or debris and keep the fence looking its best.
- Inspect the fence regularly for any damages, such as cracks, warping, or loose panels. If you notice any issues, repair them promptly to prevent further damage.
- If your vinyl fence has decorative accents or features, make sure to clean and maintain them as well, following the manufacturer’s guidelines.
- Consider applying a protective coating or sealant to the fence panels to enhance their durability and resistance to fading or discoloration from sun exposure.
- Trim any vegetation or shrubs near the fence to prevent them from growing into or placing strain on the fence.
- During the winter season, remove snow or ice from the fence to prevent excess weight and stress. Avoid using sharp objects that may damage the vinyl surface.
- Keep an eye on the gate hardware and hinges, ensuring they remain secure and properly lubricated. Replace any damaged or worn-out hardware as necessary.
By following these maintenance steps, you can extend the lifespan of your vinyl fence and keep it looking beautiful for years to come. Regular maintenance will help prevent costly repairs and ensure optimal functionality.
Congratulations! You have successfully installed a vinyl fence and completed all the necessary steps. Enjoy the added privacy, security, and aesthetic appeal that your vinyl fence brings to your property.
Remember, if you encounter any challenges or are unsure about any aspect of the installation process, consult a professional or refer to the manufacturer’s guidelines for proper guidance.
Thank you for reading, and we hope this guide has been helpful in your vinyl fence installation journey!
Conclusion
Installing a vinyl fence can be a rewarding project that enhances the appearance, privacy, and security of your property. By following the step-by-step guide outlined in this article, you can confidently tackle the installation process and enjoy the benefits of a durable and low-maintenance fence.
We began by emphasizing the importance of proper planning, including understanding your needs and obtaining any necessary permits or regulations. Gathering the necessary materials and tools is the first step, ensuring you have everything you need for a successful installation.
Measuring and marking the fence layout accurately is crucial for a precise installation. Digging the fence post holes to the appropriate depth and setting the fence posts securely will provide a solid foundation for your vinyl fence.
With the fence posts in place, the installation of the fence rails and panels can begin. Taking care to level and align each piece will result in a visually appealing and functional fence.
Attaching the gate and hardware adds the final touches to your vinyl fence. Proper alignment, secure attachment, and testing of the gate’s operation ensure a smoothly functioning access point.
Lastly, we discussed the importance of ongoing maintenance. Regular cleaning, inspections, repairs, and proper care will keep your vinyl fence looking its best and extend its lifespan.
Now that you have completed the installation and maintenance steps, you can enjoy the benefits of your vinyl fence for years to come. Whether it’s providing privacy, defining boundaries, or enhancing the appeal of your property, your vinyl fence will be a valuable addition to your outdoor space.
Remember, if you require any guidance or encounter challenges during the installation process, it’s always advisable to consult a professional or refer to the manufacturer’s guidelines for specific instructions.
Thank you for reading this comprehensive guide on how to install a vinyl fence. We hope it has been informative and helpful in your fencing project. Enjoy the beauty and functionality of your newly installed vinyl fence!
Frequently Asked Questions about How Do You Install A Vinyl Fence
Was this page helpful?
At Storables.com, we guarantee accurate and reliable information. Our content, validated by Expert Board Contributors, is crafted following stringent Editorial Policies. We're committed to providing you with well-researched, expert-backed insights for all your informational needs.


0 thoughts on “How Do You Install A Vinyl Fence”