Articles
How To Repair Vinyl Fence
Modified: December 7, 2023
Looking for helpful articles on how to repair your vinyl fence? Check out our comprehensive guides and expert tips to get your fence back in top shape!
(Many of the links in this article redirect to a specific reviewed product. Your purchase of these products through affiliate links helps to generate commission for Storables.com, at no extra cost. Learn more)
Introduction
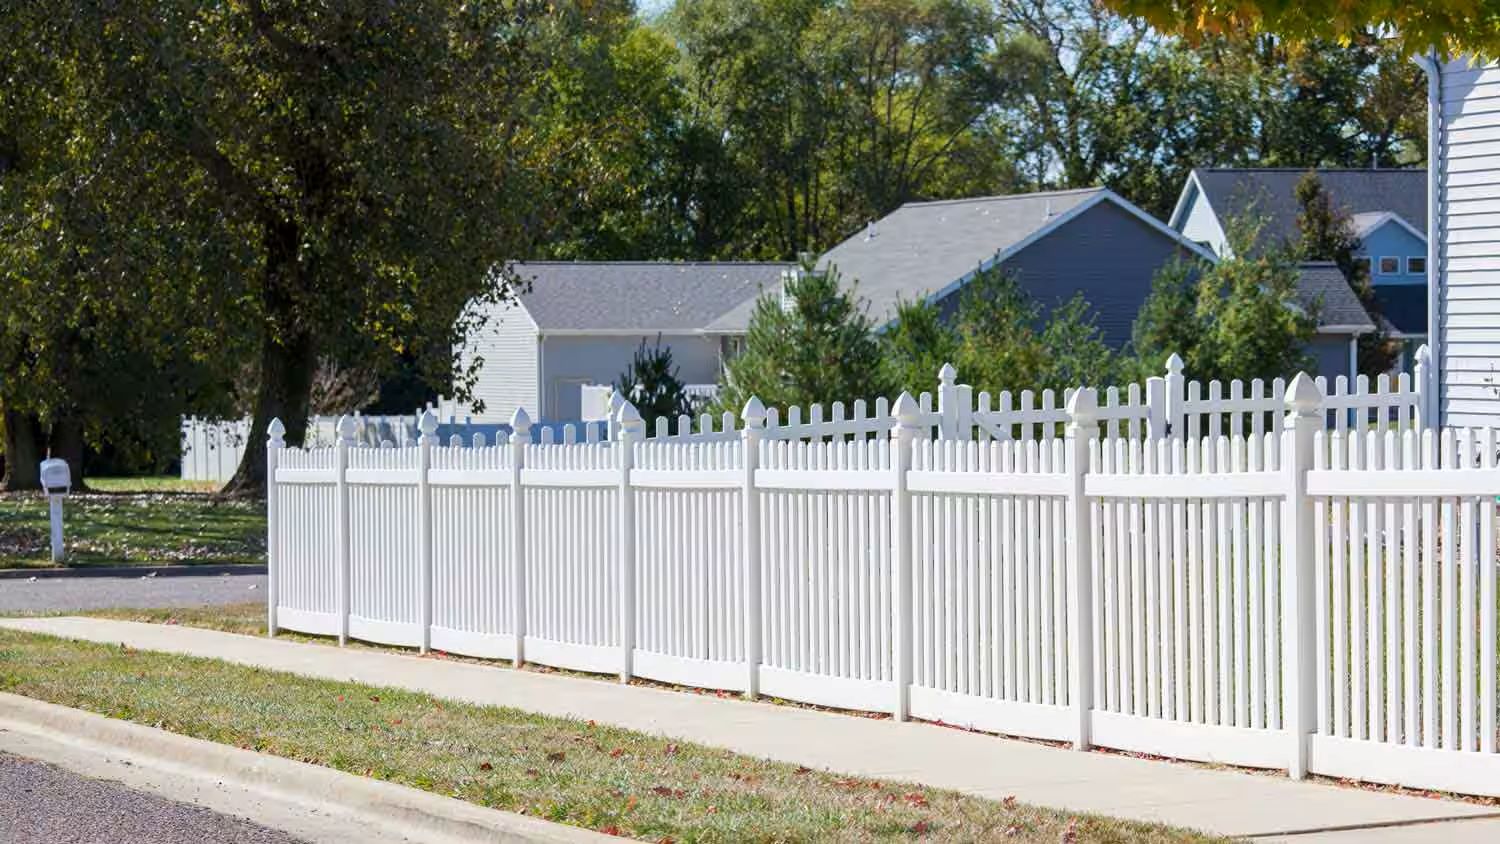
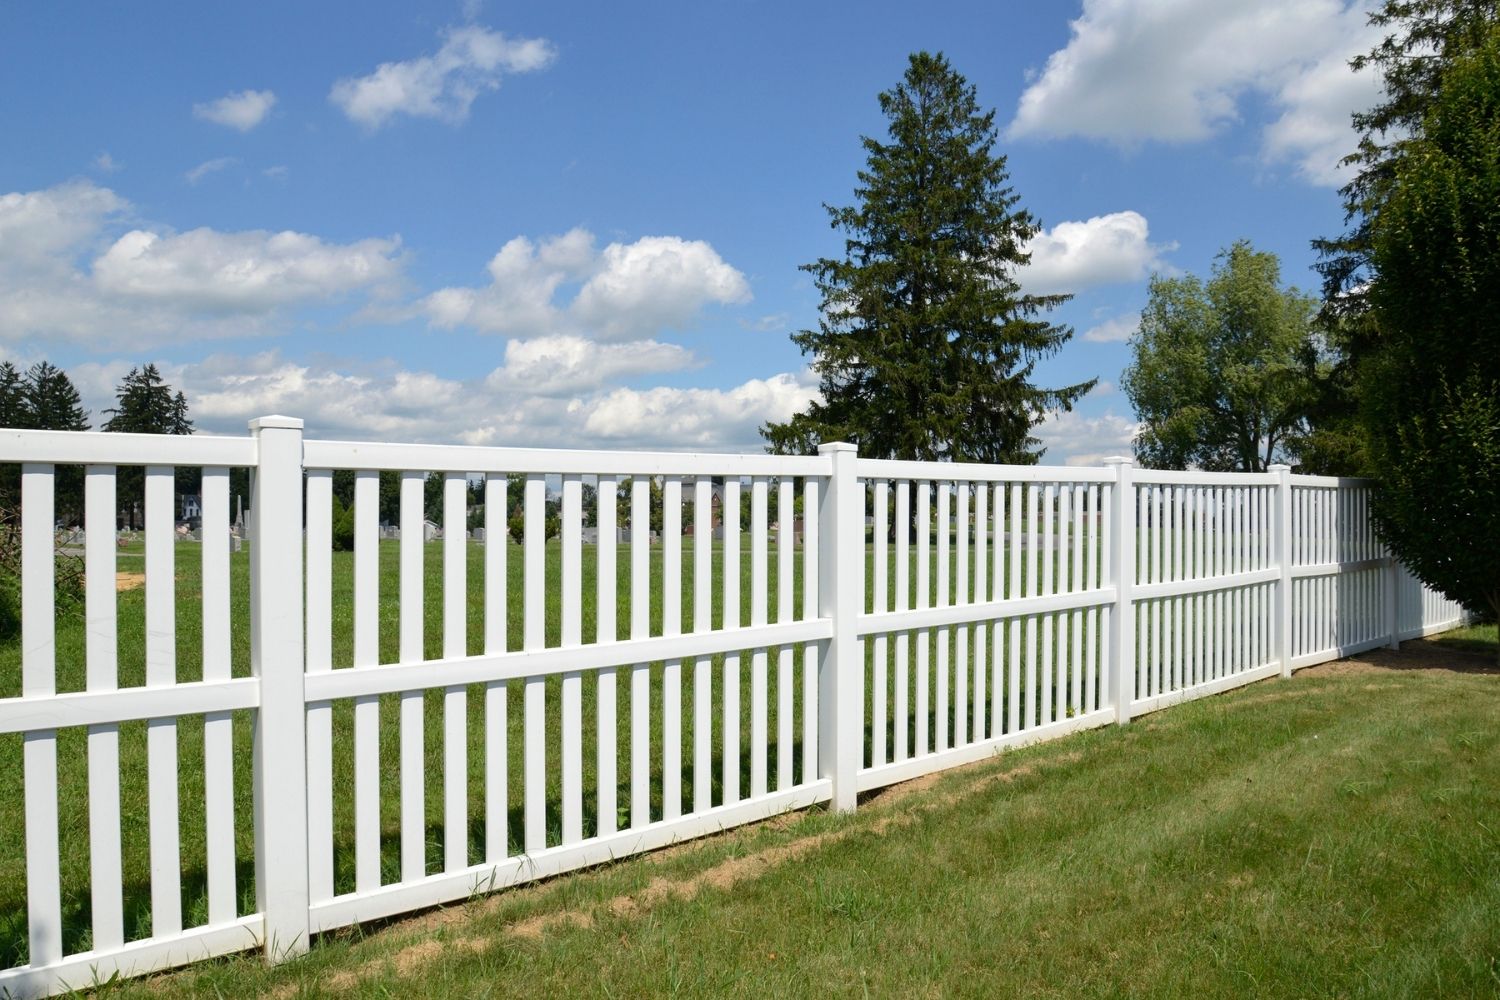
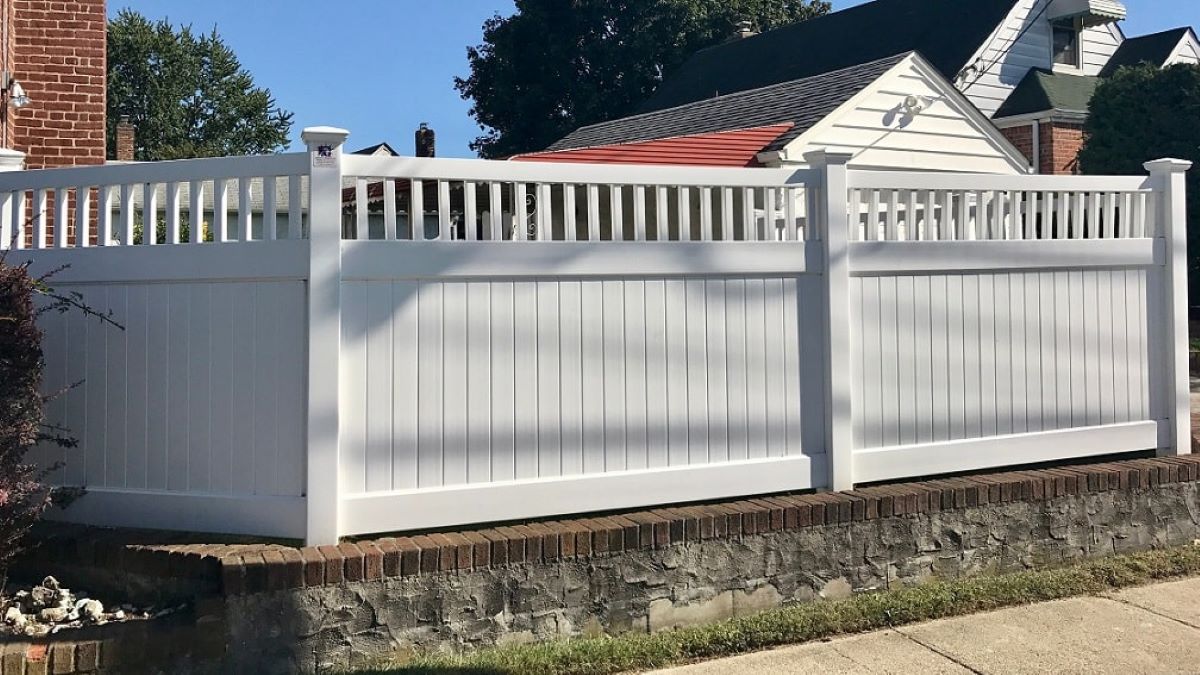
Vinyl fences are popular choices for homeowners due to their durability, low maintenance, and attractive appearance. However, like any outdoor structure, vinyl fences can sustain damage over time due to weather exposure, accidental impacts, or wear and tear. When your vinyl fence sustains damage, it’s important to address the issue promptly to prevent further deterioration and maintain the fence’s integrity.
In this article, we will guide you through the process of repairing a vinyl fence. Whether you’re dealing with small holes, cracks, or larger sections that need replacement, we’ll provide step-by-step instructions and offer tips to help you successfully tackle the repairs. So, grab your toolbox and let’s get started!
Before diving into the repair process, it’s essential to assess the extent of the damage and gather all the necessary materials. This ensures that you’re fully equipped and prepared for the task at hand. With the right approach and a little elbow grease, you can restore your vinyl fence to its former glory and keep it looking beautiful for years to come.
Key Takeaways:
- Assess the damage and gather the right materials before repairing your vinyl fence. Prompt attention to small issues can prevent larger, costlier repairs in the future.
- Whether patching small holes or replacing sections, proper cleaning, blending, and maintenance will keep your vinyl fence looking beautiful and durable for years to come.
Read more: How To Disassemble Vinyl Fence
Assessing the Damage
The first step in repairing a vinyl fence is assessing the extent of the damage. This allows you to determine the best course of action and identify the necessary repairs. Here’s how you can assess the damage:
- Walk along your fence and carefully inspect each section. Look for any signs of damage, such as cracks, holes, or missing pieces. Take note of the affected areas as you go.
- Pay attention to the stability of the fence. Check for any loose or wobbly posts or rails. These may indicate structural damage that needs to be addressed.
- Observe the overall condition of the fence. Look for any discoloration, warping, or fading, as these issues can contribute to the deterioration of the vinyl material.
- Consider any external factors that may have caused the damage. For example, high winds, extreme temperatures, or impact from tree branches or other objects can lead to fence damage.
Once you have assessed the damage, you can determine the appropriate repair method. Small holes or cracks can often be patched, while larger areas may require the replacement of entire sections. It’s important to consider the severity of the damage and consult with a professional if you’re unsure about the best course of action.
Remember, addressing the damage promptly can prevent it from spreading and potentially causing more extensive repairs in the future. So, take the time to thoroughly assess the damage before proceeding with the repair process.
Gathering the Necessary Materials
Once you have assessed the damage and determined the appropriate repair method, it’s time to gather the necessary materials. Having all the tools and supplies at hand will make the repair process smoother and more efficient. Here are the materials you’ll likely need:
- Vinyl patching kit or replacement sections: Depending on the type and extent of the damage, you will need either a vinyl patching kit to repair small holes or cracks, or replacement sections if larger areas need to be replaced.
- Cleaning solution: Before making any repairs, it’s important to clean the fence thoroughly. Gather an appropriate cleaning solution, such as mild soap or vinegar diluted in water, along with a soft brush or sponge for scrubbing.
- Sandpaper: You may need sandpaper to smooth rough edges or prepare the surface before applying a patch or adhesive.
- Adhesive or vinyl cement: If you’re using a vinyl patching kit, it will typically come with an adhesive or vinyl cement that is specially formulated for bonding vinyl materials. If not, make sure to have the appropriate adhesive or cement on hand.
- Scissors or utility knife: These tools will come in handy for cutting and shaping patches or replacement sections to fit the damaged areas.
- Screwdriver or drill: Depending on the type of fence and the repair needed, you may require a screwdriver or drill to remove or secure screws or fasteners.
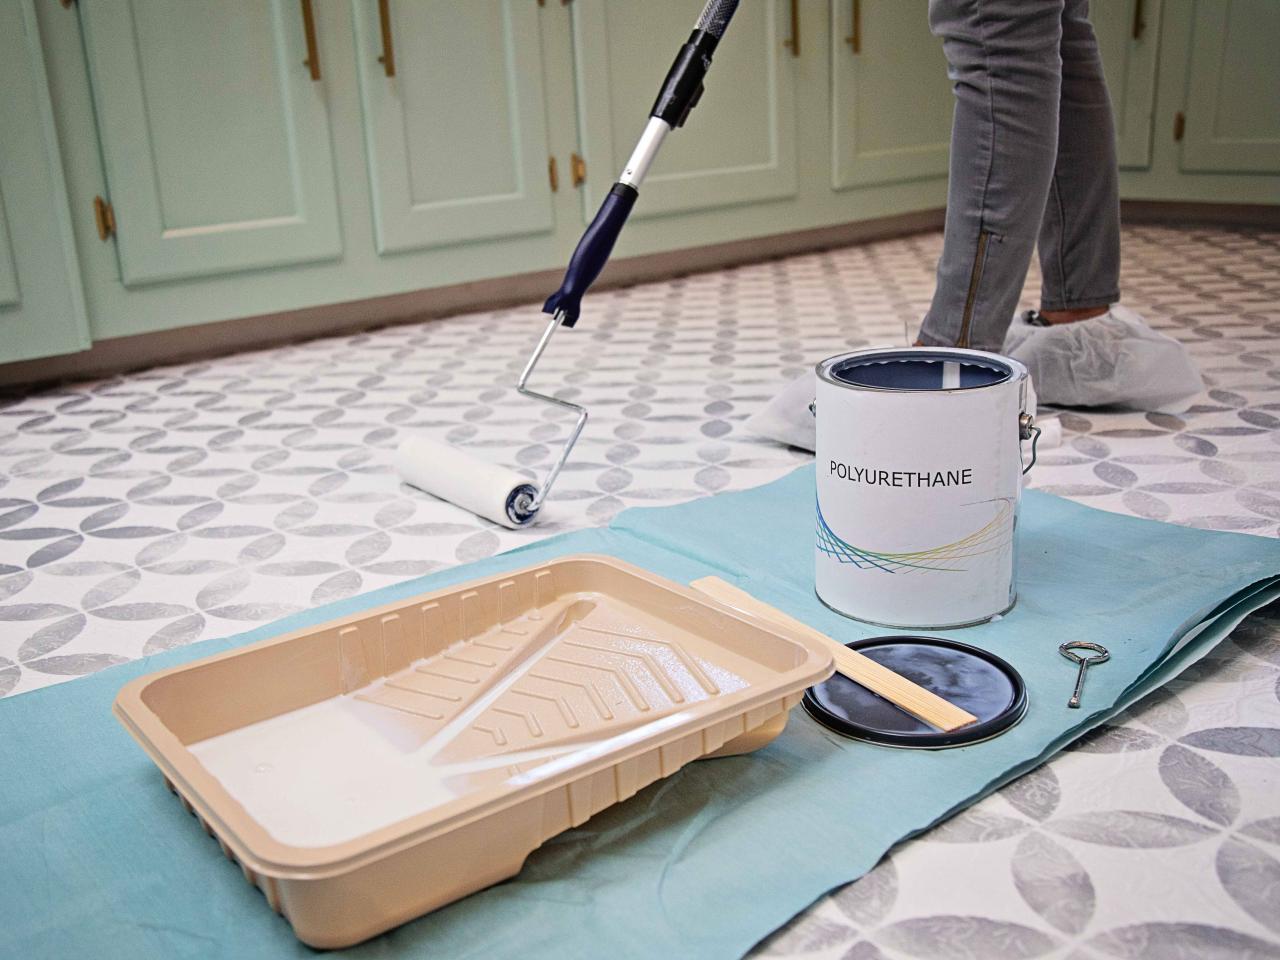
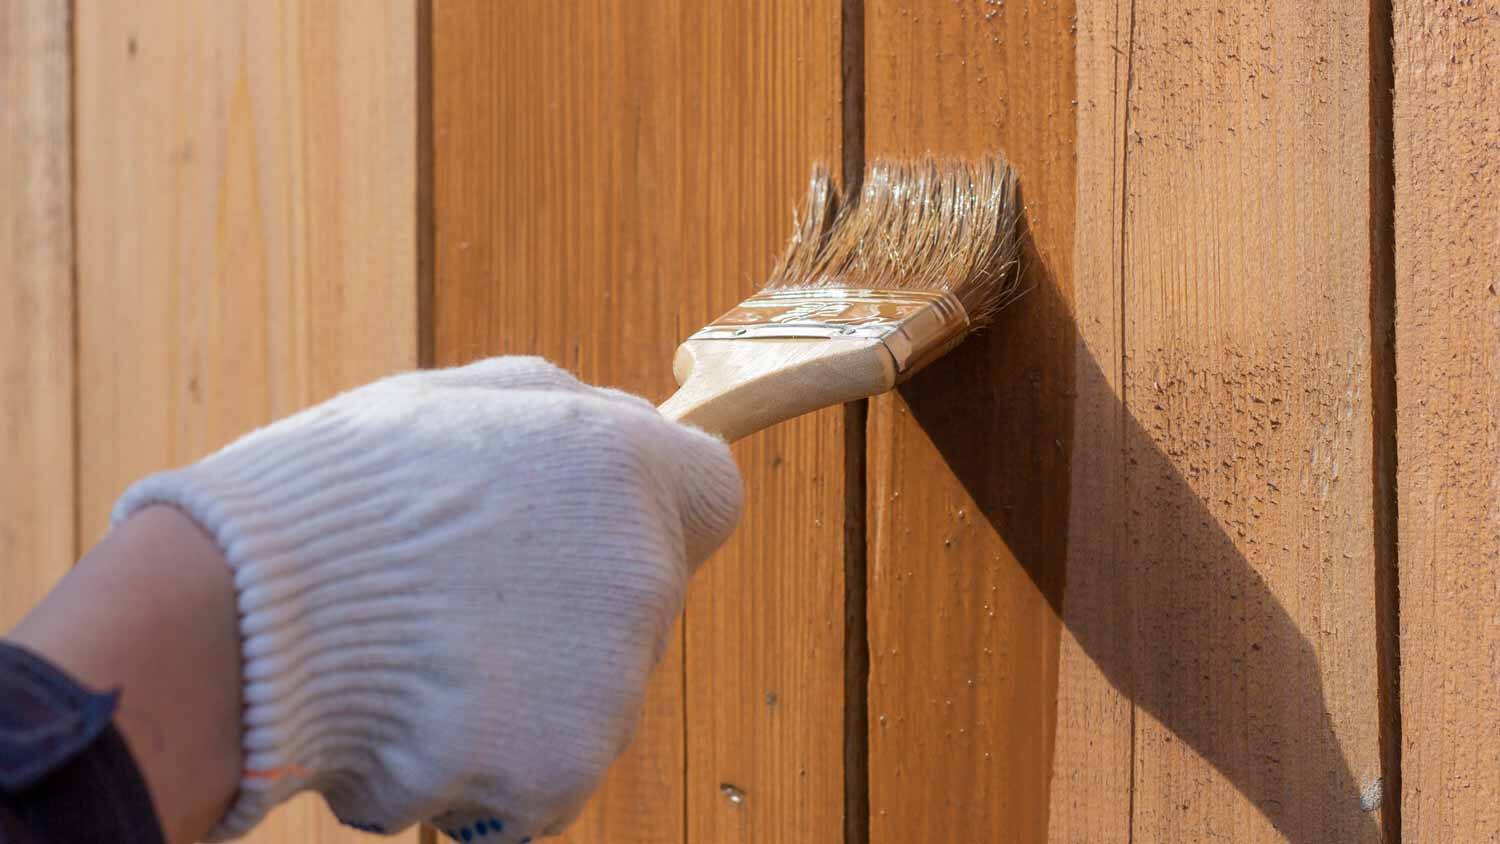
- Paint and brush (if desired): If you’re replacing sections of the fence, you may want to have paint that matches the color of your fence on hand. This will allow you to paint the replaced sections for a seamless blend.
- Protective gear: Since you will be working with cleaning solutions, adhesives, and potentially sharp tools, it’s important to have protective gear such as gloves, safety goggles, and a mask to ensure your safety.
Before you start the repair process, double-check that you have all the necessary materials and tools readily available. This will save you time and frustration during the repair process.
Cleaning and Preparing the Fence
Before you begin any repair work on your vinyl fence, it’s crucial to clean and prepare the surface. This step ensures that the repairs properly adhere and helps maintain the overall appearance of your fence. Follow these steps to clean and prepare the fence:
- Mix a cleaning solution: Dilute mild soap or vinegar in water to create a cleaning solution. Avoid using harsh chemicals or abrasive cleaners that can damage the vinyl material.
- Dampen a soft brush or sponge: Dip a soft brush or sponge in the cleaning solution and gently scrub the fence. Pay special attention to the damaged areas, removing any dirt, debris, or mildew that may have accumulated.
- Rinse with water: After thoroughly scrubbing the fence, rinse it with clean water to remove any remaining cleaning solution or residue.
- Allow the fence to dry: Give the fence sufficient time to air dry before proceeding with the repairs. This ensures that the surface is clean and free from moisture, allowing the adhesive or patching material to bond effectively.
- Inspect for any loose sections: While the fence is drying, inspect it for any loose sections or fasteners. Tighten screws or reattach any loose elements to ensure the fence is stable and secure before proceeding with the repairs.
- Sand rough areas (if necessary): If there are any rough edges or surfaces on the damaged areas of the fence, gently sand them with sandpaper to create a smooth, even surface. This helps the adhesive or patching material adhere better.
By cleaning and preparing the fence properly, you create an ideal surface for the repairs. Removing dirt, debris, and any loose elements ensures a solid foundation for the adhesive or patching materials, resulting in a more durable and professional-looking repair.
Once the fence is clean and dry, you’re ready to proceed with repairing the specific damage, whether it’s small holes or cracks, or larger section replacements.
Repairing Small Holes or Cracks
If your vinyl fence has small holes or cracks, you can easily patch them up using a vinyl patching kit. Follow these steps to repair small holes or cracks:
- Prepare the patching material: Follow the instructions provided with your vinyl patching kit to prepare the adhesive or vinyl cement. Make sure to mix it according to the manufacturer’s instructions.
- Cut the patch material: Measure the size of the hole or crack and cut a piece of the patch material from the kit that is slightly larger than the damaged area.
- Apply the adhesive or vinyl cement: Using a small brush or spatula, apply a thin layer of adhesive or vinyl cement to both the patch material and the damaged area of the fence. Ensure that the adhesive is evenly spread and covers the entire surface.
- Attach the patch: Carefully place the patch material over the damaged area, pressing it firmly to adhere it to the fence. Smooth out any wrinkles or air bubbles using a clean cloth or your fingers.
- Allow it to dry: Let the patching material dry completely according to the manufacturer’s instructions. This may take several hours or overnight, depending on the product used.
- Sand and blend (optional): Once the patch has dried, gently sand any rough edges to create a smooth finish. If desired, you can also paint the patched area to blend it with the color of the fence using a paint that is specifically formulated for vinyl materials.
By following these steps, you can effectively repair small holes or cracks in your vinyl fence. The patching material will provide a strong and seamless bond, restoring the integrity of the fence and preventing further damage.
Keep in mind that it’s important to handle the adhesive or vinyl cement carefully and work in a well-ventilated area. Follow all safety precautions mentioned in the product instructions to protect yourself and achieve the best results.
When repairing a vinyl fence, make sure to clean the damaged area thoroughly before applying any adhesive or patch. This will ensure a strong and long-lasting repair.
Read more: How To Cut Vinyl Fence
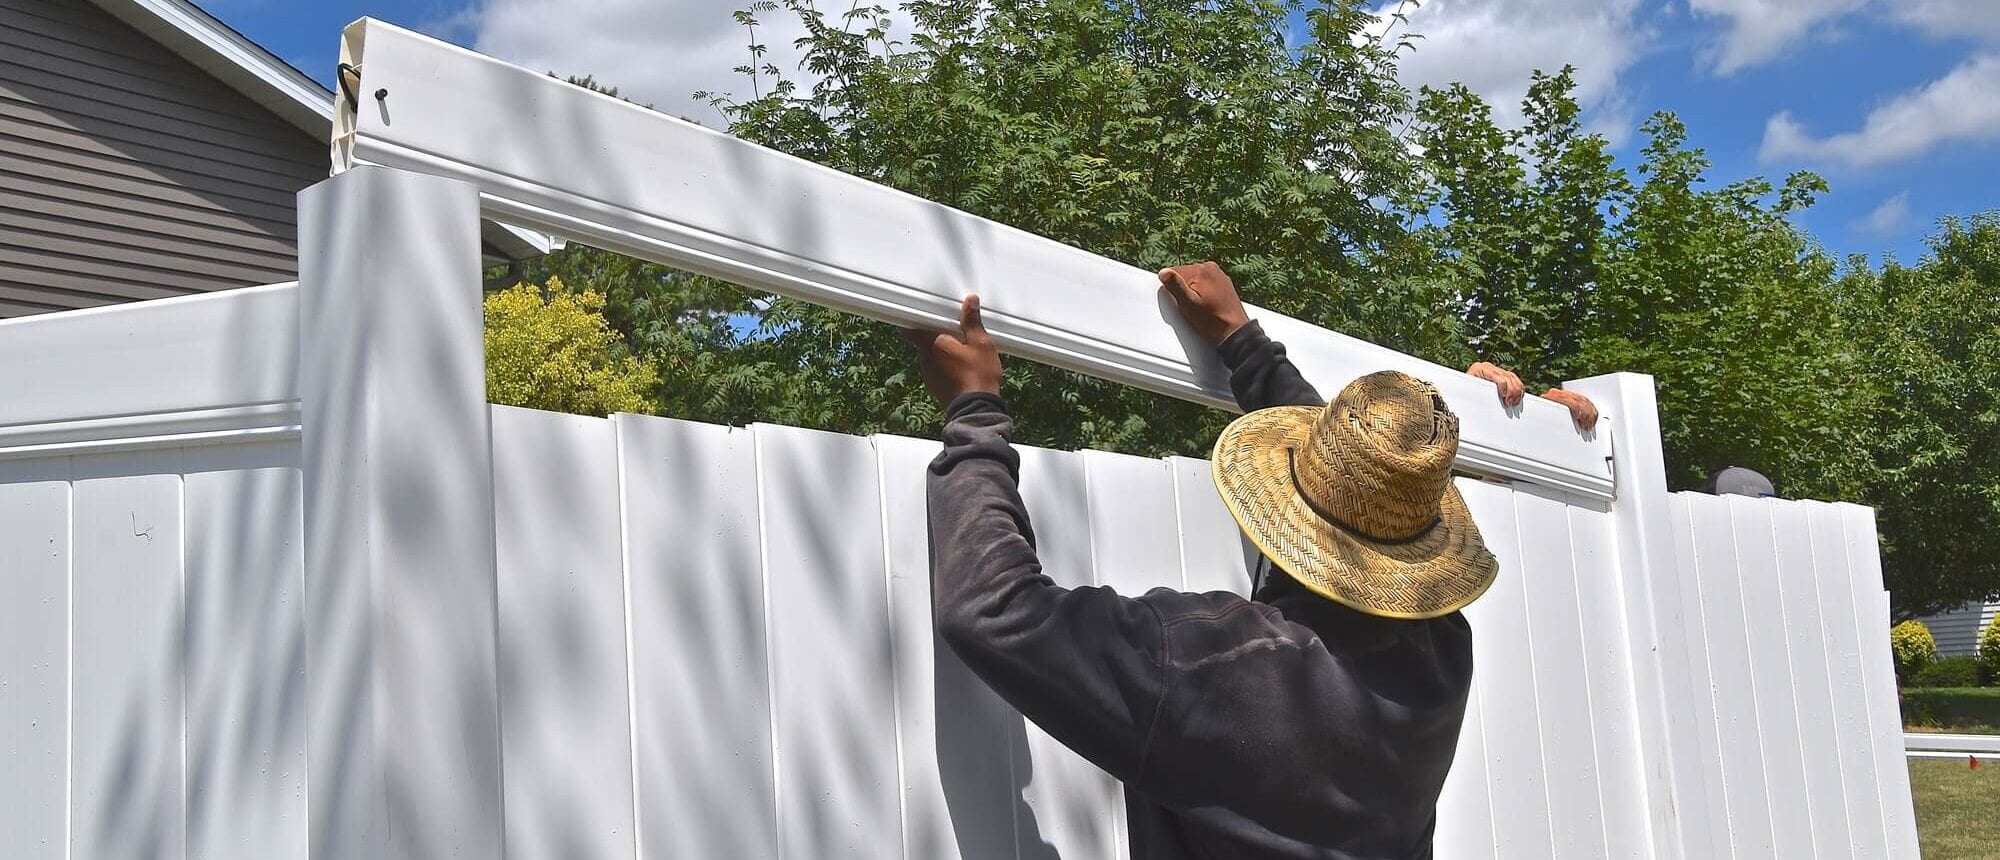
Replacing Damaged Sections
If your vinyl fence has larger areas of damage that cannot be successfully patched, it may be necessary to replace those sections. Here’s a step-by-step guide on how to replace damaged sections of a vinyl fence:
- Identify the damaged section: Determine the extent of the damage and identify the specific section that needs to be replaced. This could be a single panel or a larger section between posts.
- Remove any screws or fasteners: Use a screwdriver or drill to remove any screws or fasteners that are holding the damaged section in place. Keep these screws or fasteners for later use.
- Detach the damaged section: Carefully detach the damaged section from the surrounding fence by gently prying it loose. This may require some force, so take your time to avoid causing further damage.
- Measure and cut the replacement section: Take accurate measurements of the opening left by the removed section and cut a replacement piece from a new vinyl panel. Ensure that the replacement section matches the height and width of the original fence components.
- Attach the replacement section: Slide the replacement section into the opening, aligning it with the existing fence posts or rails. Secure it in place using the same screws or fasteners that were removed earlier.
- Check for stability: Double-check that the replacement section is securely attached and stable. Give it a gentle push to ensure it doesn’t wobble or shift out of position. Make any necessary adjustments to achieve a solid fit.
Replacing damaged sections of a vinyl fence restores the structural integrity and aesthetics of the fence. It’s important to choose replacement sections that match the style and color of the existing fence to create a seamless appearance.
If desired, you can also paint the replacement section with a vinyl-specific paint to match the color of the rest of the fence. Remember to follow the paint manufacturer’s instructions and allow sufficient drying time before handling or exposing the fence to the elements.
By following these steps, you can successfully replace damaged sections and restore the functionality and appearance of your vinyl fence.
Patching and Blending the Repairs
After repairing or replacing damaged sections of your vinyl fence, it’s essential to patch and blend the repairs to achieve a seamless finish. This step ensures that the repairs are not only structurally sound but also visually appealing. Follow these steps to patch and blend the repairs:
- Inspect the repaired areas: Take a close look at the patched or replaced sections of your fence. Check for any rough edges, inconsistencies, or noticeable color differences between the repaired and original sections.
- Sand any rough edges: If you notice any rough edges or unevenness on the repaired areas, gently sand them using fine-grit sandpaper. Be careful not to sand too aggressively, as you don’t want to damage the surrounding vinyl surface.
- Blend the color: To achieve a consistent color appearance, you can use a vinyl-specific paint that matches the color of your fence. Apply the paint to the repaired areas, following the manufacturer’s instructions. Use a small brush or sponge to carefully blend the colors and create a seamless look.
- Allow the paint to dry: Give the paint sufficient time to dry completely before touching or exposing the fence to any elements. This will ensure the paint adheres properly and provides a long-lasting finish.
- Inspect the blended repairs: Once the paint has dried, inspect the repaired and painted areas once again. Ensure that the color matches the surrounding fence and that the repairs are not noticeable.
By patching and blending the repairs, you can achieve a professional-looking finish and maintain the overall aesthetics of your vinyl fence. Taking the time to carefully blend the color and remove any rough edges will make the repairs virtually undetectable.
Remember, if you’re unsure about your painting skills or color matching, it’s always a good idea to consult with a professional or seek advice from your local hardware store. They can provide guidance on the right type of paint to use and offer tips for achieving the best blending results.
With the repairs patched and blended, your vinyl fence will once again look visually appealing and be ready to withstand the elements for years to come.
Finishing Touches and Maintenance Tips
Now that you’ve successfully repaired and blended your vinyl fence, there are a few finishing touches and maintenance tips to keep in mind to ensure its longevity and continued beauty. Consider the following:
- Inspect and maintain regularly: Schedule regular inspections of your fence to catch any signs of damage or wear early on. Addressing minor issues promptly can prevent them from becoming larger, more costly problems.
- Keep the fence clean: Regularly clean your vinyl fence using a mild soap and water solution. Gently scrub away dirt, grime, and any debris using a soft brush or sponge. Rinse thoroughly with water to remove any residue.
- Trim nearby vegetation: Trim any overhanging branches or shrubs near your fence. This prevents them from rubbing against the vinyl, causing damage or discoloration over time.
- Avoid using harsh chemicals: When cleaning your fence, avoid using harsh chemicals or abrasive cleaners that can damage the vinyl material. Stick to mild soap or vinegar diluted in water for safe and effective cleaning.
- Protect from extreme temperatures: Vinyl can expand and contract in extreme temperatures. Avoid leaning heavy objects against your fence during hot weather, as this can cause it to warp or bend.
- Prevent accidental impacts: Be mindful of any activities or objects that may bump into your fence, such as lawnmowers, bicycles, or gardening equipment. Taking precautions can help prevent accidental damage.
- Consider UV protection: If your fence is exposed to direct sunlight for prolonged periods, consider applying a UV protectant to prevent fading and discoloration. Check with a professional for the best product and application method.
By following these finishing touches and maintenance tips, you can extend the lifespan and beauty of your vinyl fence. Regular upkeep and proactive care will help keep it in optimal condition and minimize the need for future repairs.
Remember, if you encounter any significant damage or complex repairs that you’re unsure how to handle, it’s always best to consult with a professional. They can provide expert advice and ensure that the repairs are done correctly, helping you maintain a durable and beautiful vinyl fence for years to come.
Conclusion
Repairing a vinyl fence may seem daunting at first, but with the right knowledge and tools, it is a manageable task. By assessing the damage, gathering the necessary materials, cleaning and preparing the fence, and addressing small holes or cracks with patching kits, you can successfully restore the integrity of your vinyl fence.
In cases where the damage is more extensive, replacing damaged sections is the best approach. With careful measurements and proper installation, you can seamlessly blend the new sections with the existing fence for a cohesive look.
Once the repairs are complete, it’s important to give attention to the finishing touches and maintenance of your vinyl fence. Regular inspections and cleaning, along with protecting the fence from harsh weather and accidental impacts, will help keep it looking great for years to come.
Remember, DIY repairs are feasible depending on the scope of the damage, but when in doubt, it’s always wise to consult with a professional for guidance and assistance. They can offer expert advice tailored to your specific situation.
By following the steps outlined in this article and maintaining your vinyl fence properly, you can ensure its longevity, beauty, and functionality. So, roll up your sleeves and take pride in restoring and maintaining your vinyl fence, adding value and charm to your outdoor space.
Frequently Asked Questions about How To Repair Vinyl Fence
Was this page helpful?
At Storables.com, we guarantee accurate and reliable information. Our content, validated by Expert Board Contributors, is crafted following stringent Editorial Policies. We're committed to providing you with well-researched, expert-backed insights for all your informational needs.


0 thoughts on “How To Repair Vinyl Fence”