
Articles
How To Repair Potholes In Asphalt Driveway
Modified: January 18, 2024
Learn how to repair potholes in your asphalt driveway with our informative articles. Get step-by-step guidance and expert tips for a smooth and lasting repair.
(Many of the links in this article redirect to a specific reviewed product. Your purchase of these products through affiliate links helps to generate commission for Storables.com, at no extra cost. Learn more)
Introduction
Welcome to our comprehensive guide on how to repair potholes in an asphalt driveway. Potholes can be a frustrating and unsightly issue for homeowners, causing potential damage to vehicles and posing a safety hazard. Fortunately, with the right tools and materials, repairing these potholes can be a relatively straightforward process that can save you money on professional repairs. In this article, we will walk you through a step-by-step process to effectively repair potholes in your asphalt driveway.
Before jumping into the repair process, it’s important to understand that safety is paramount. It’s crucial to take the necessary precautions to protect yourself and others while working on your driveway. We will cover those safety measures in the following section.
Once you’ve ensured your safety, you’ll need to gather the essential tools and materials for the repair job. Having the right equipment will make the process more efficient and effective. We’ll outline the necessary tools and materials in the next section.
After gathering the tools and materials, we can move on to the actual repair process. This involves several steps, including cleaning the area, preparing the asphalt patching material, filling the pothole, compacting the patching material, and ultimately sealing the repair. We’ll provide detailed instructions for each of these steps in the subsequent sections.
Once the repair is complete, it’s important to allow the patch to cure properly before subjecting it to heavy traffic. We’ll explain the curing process and provide some additional tips for maintaining your asphalt driveway to prevent future potholes.
By the end of this guide, you’ll be equipped with the knowledge and confidence to tackle pothole repairs in your asphalt driveway. So, let’s get started with the safety precautions you need to take before beginning your repair project.
Key Takeaways:
- Ensure safety by wearing protective clothing, working in well-ventilated areas, and following manufacturer instructions. Properly clean and prepare the pothole before filling and compacting the patching material for a durable repair.
- Regular maintenance, including inspections, crack filling, and seal coating, is essential to prevent future potholes and maintain the condition of your asphalt driveway. By being proactive, you can extend the lifespan of your driveway and ensure its longevity.
Read more: What Is An Asphalt Driveway
Safety Precautions
Before starting any repair job, it’s crucial to prioritize safety. Working with asphalt materials and tools can pose certain risks, so taking the necessary precautions is essential to prevent accidents and injuries. Here are some safety measures to keep in mind when repairing potholes in your asphalt driveway:
- Wear protective clothing: To shield yourself from potential hazards, wear long pants, a long-sleeved shirt, gloves, and safety goggles. This will help protect your skin from contact with chemicals and hot asphalt, and your eyes from flying debris.
- Use proper tools and equipment: Ensure that you have the right tools for the job. This includes a sturdy shovel, a tamping tool, a broom, and a heavy-duty wheelbarrow. Using the correct equipment will make the repair process easier and safer.
- Work in a well-ventilated area: Asphalt materials can release strong fumes, so it’s important to work outdoors or in a well-ventilated area. This will help prevent any respiratory issues from prolonged exposure to fumes.
- Be cautious of hot asphalt: When working with hot asphalt, exercise caution as it can cause severe burns. Avoid direct contact with the material and use appropriate tools to handle it safely.
- Keep children and pets away: Ensure that children and pets are kept at a safe distance from the work area to prevent accidents. Pothole repair requires focused attention, and distractions could lead to injuries.
- Stay hydrated: Working outdoors in warm weather can be physically demanding. Remember to stay hydrated by drinking plenty of water throughout the repair process.
- Follow manufacturer instructions: If you’re using specific products for the repair, carefully read and follow the manufacturer’s instructions. This includes guidelines for mixing and applying patching materials.
By adhering to these safety precautions, you can minimize the risk of accidents and injuries while working on your asphalt driveway. Now that you are aware of the safety measures, let’s move on to the essential tools and materials you’ll need for the repair job.
Tools and Materials Needed
Before you begin repairing the potholes in your asphalt driveway, it’s important to gather the necessary tools and materials. Having the right equipment will ensure a smooth and efficient repair process. Here’s a list of the tools and materials you’ll need:
- Sturdy shovel: A sturdy shovel is essential for removing debris and loose asphalt from the potholes.
- Tamping tool: A tamping tool, such as a hand tamper or a plate compactor, is used to compact the patching material once it’s in place.
- Broom: A broom will be needed to sweep away any remaining debris and ensure a clean surface for the patching material.
- Heavy-duty wheelbarrow: This will be used to mix and transport the asphalt patching material to the repair site.
- Protective clothing: Wear long pants, a long-sleeved shirt, gloves, and safety goggles to protect yourself from potential hazards.
- Hot asphalt or cold patching material: You can choose between hot asphalt or cold patching material, depending on your preference and availability. Hot asphalt generally provides a more durable and long-lasting repair, while cold patching material offers a quick and temporary solution.
- Crack filler: Depending on the condition of your asphalt driveway, you may need crack filler to repair any cracks or smaller potholes before proceeding with the patching material.
- Sealant: Once the pothole repair is complete, a sealant can be applied to protect the repaired area from further damage and extend the lifespan of your driveway.
- Safety goggles: Safety goggles will protect your eyes from any debris or flying particles during the repair process.
- Warning signs or cones: Use warning signs or cones to create a safe working area and inform others of the repair project.
Make sure to gather all the necessary tools and materials before starting the repair process. This will save you time and ensure that you have everything you need to complete the job. With the tools and materials ready, let’s move on to the step-by-step process of repairing potholes in your asphalt driveway.
Step 1: Clean the Area
The first step in repairing a pothole in your asphalt driveway is to thoroughly clean the damaged area. Cleaning the area ensures proper adhesion of the patching material and improves the longevity of the repair. Follow these steps to clean the pothole:
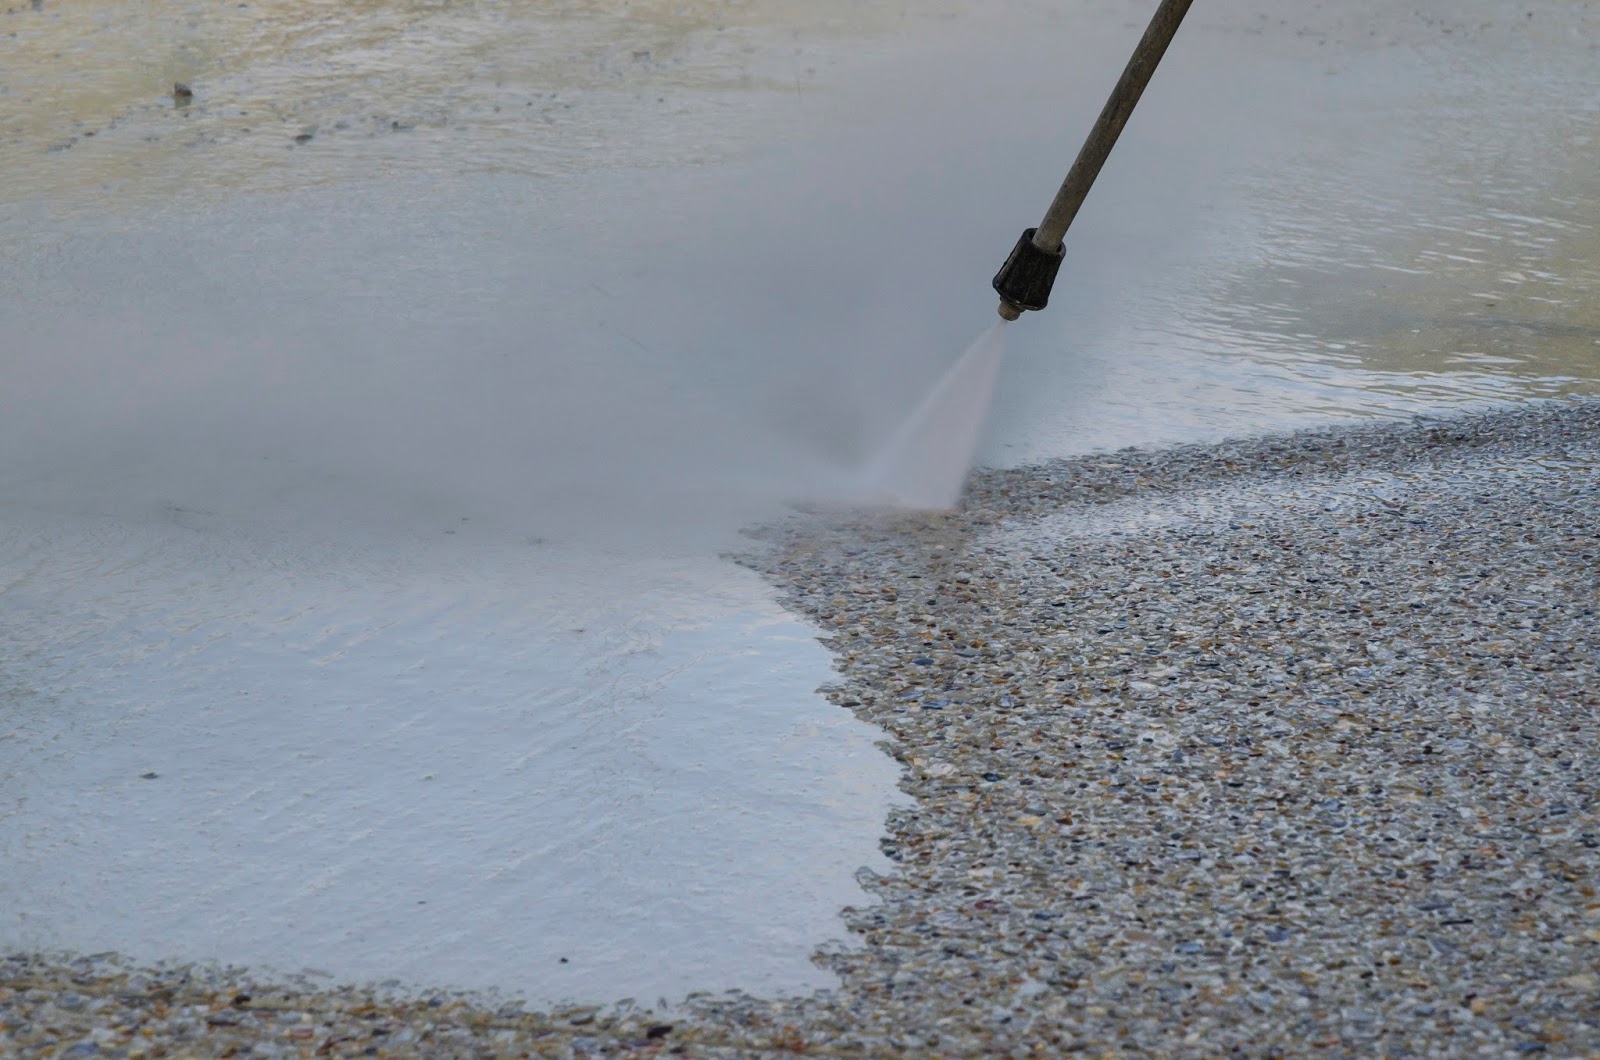
- Use a sturdy shovel to remove any loose debris, such as rocks, gravel, and vegetation, from the pothole. Clearing away loose materials will provide a clean surface for the patching material to adhere to.
- Inspect the pothole for any weeds or grass growing in the area. Remove them by pulling or using a weed killer, if necessary. Weeds can compromise the integrity of the repair, so it’s important to eliminate them.
- If there are any cracks in the surrounding area, clean them with a wire brush to remove any dirt, debris, or loose asphalt. This will ensure a smooth and seamless repair.
- Once the area is cleared, use a broom to sweep away any remaining debris and dust. This will help create a clean and smooth surface for the patching material.
It’s important to note that a clean surface is crucial for the success of the repair. Any dirt, debris, or loose materials left in the pothole can prevent proper adhesion of the patching material, leading to a less durable repair. Take your time to thoroughly clean the area before moving on to the next step.
Now that the area is clean and prepared, we can move on to the next step: preparing the asphalt patching material.
Step 2: Prepare the Asphalt Patching Material
Before filling the pothole, it’s essential to prepare the asphalt patching material. The type of patching material you use will depend on whether you opt for hot asphalt or cold patching material. Here’s how to prepare each type:
Read more: How To Edge An Asphalt Driveway
Hot Asphalt:
- Start by heating the asphalt mixture in a hotbox or a hot asphalt kettle. Follow the manufacturer’s instructions for the heating process.
- Once the asphalt mixture reaches the recommended temperature (typically between 275-325 degrees Fahrenheit), stir it thoroughly to ensure a consistent and smooth texture.
- If necessary, add a small amount of fine sand to the mixture to improve the overall consistency and stability.
- Ensure that the hot asphalt is workable but not overly liquid. It should have a thick and pliable texture that can be easily spread over the pothole.
Cold Patching Material:
- If using cold patching material, carefully read and follow the manufacturer’s instructions for preparation. Some cold patching materials come ready-to-use, while others may require mixing or warming before application.
- Make sure that the cold patching material is well-mixed, ensuring an even distribution of the aggregate and binder.
- If the cold patching material feels too stiff, you can add a small amount of water to improve its workability. However, be cautious not to add too much water, as it can affect the quality of the repair.
Regardless of the type of patching material you choose, it’s crucial to follow the manufacturer’s instructions for preparation. This will ensure that the patching material is in the optimal condition for filling the pothole and achieving a long-lasting repair.
With the asphalt patching material prepared, we’re ready to move on to the next step: filling the pothole.
Step 3: Fill the Pothole
Now that the area is clean and the asphalt patching material is prepared, it’s time to fill the pothole. Follow these steps to effectively fill the pothole:
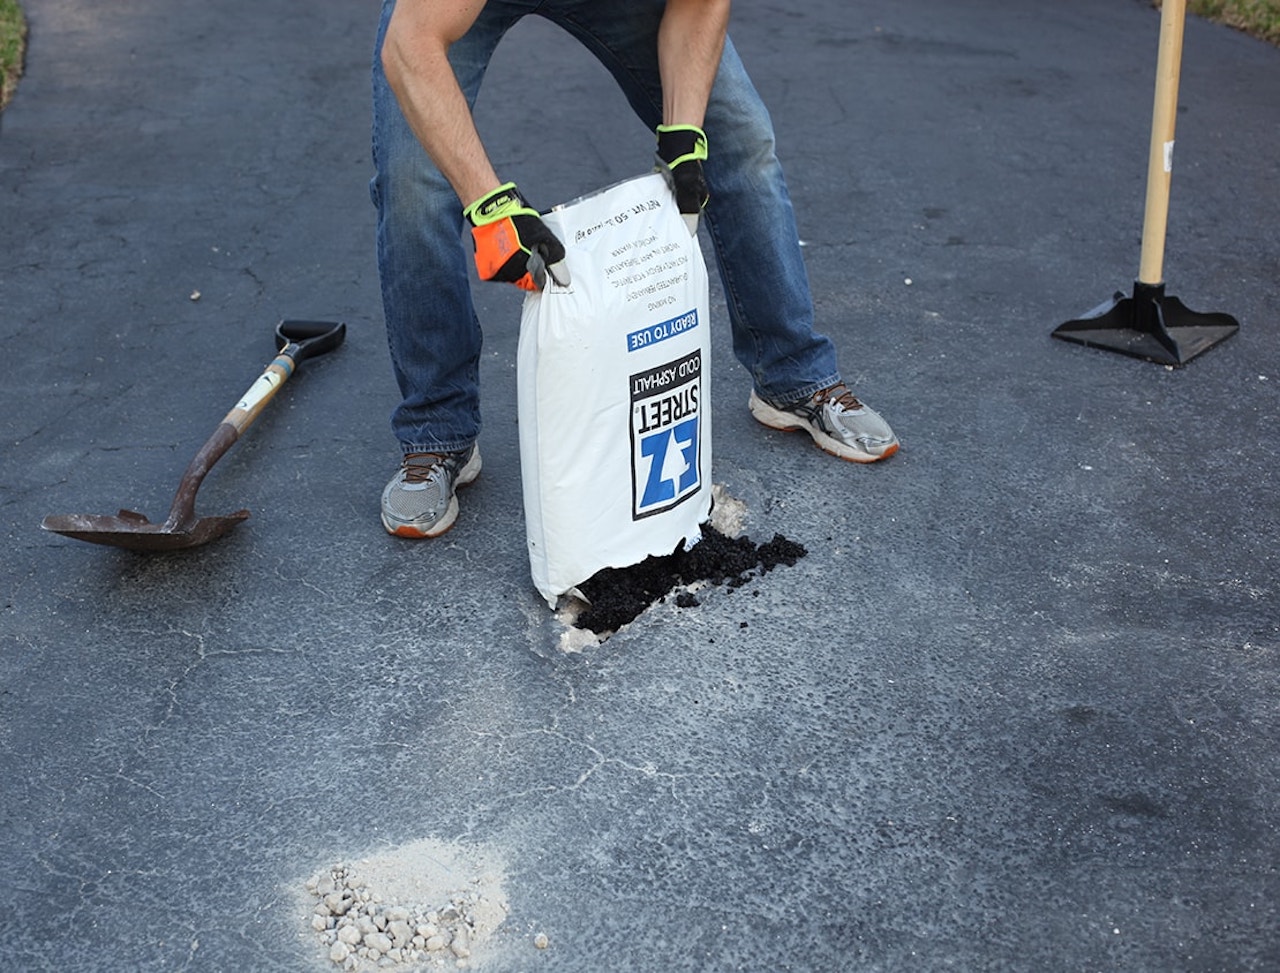
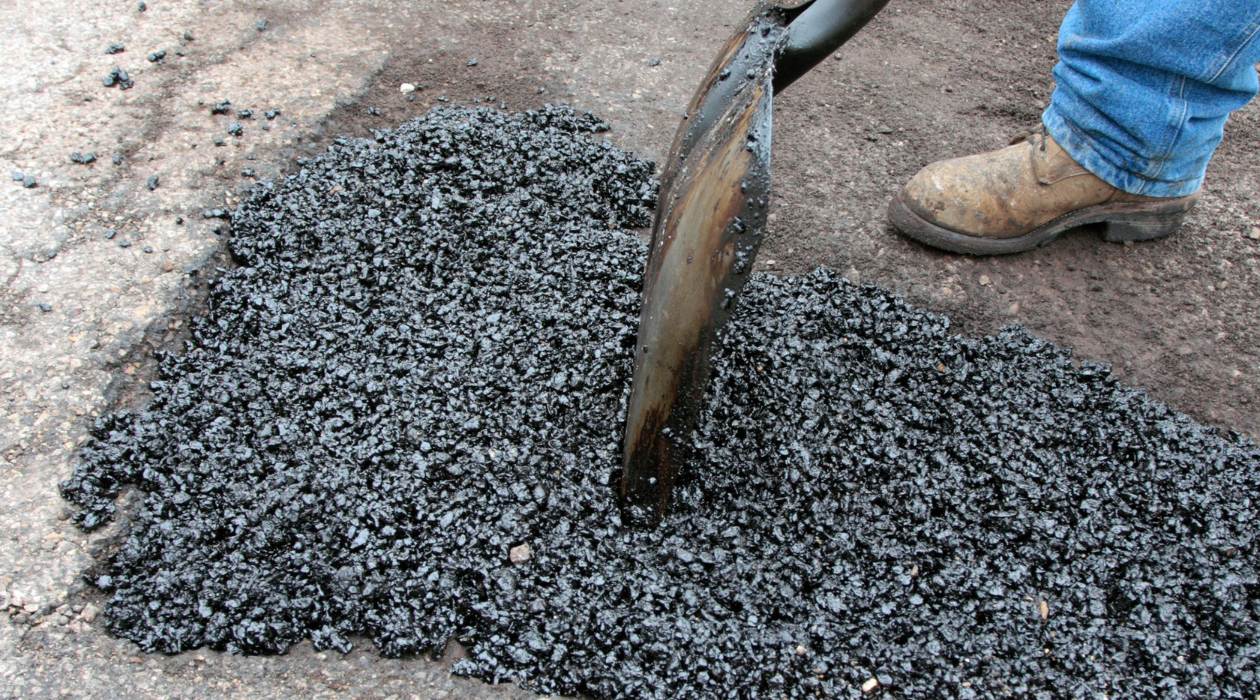
- Carefully pour the prepared hot asphalt or cold patching material into the pothole. Start from the lowest point of the pothole and gradually build up the material until it slightly overfills the hole.
- Use the back of a shovel or a tamping tool to compact the material firmly. Apply pressure to ensure that the patching material is densely packed and level with the surrounding asphalt surface.
- If necessary, add more patching material to fill any remaining gaps or depressions in the pothole. Smooth out the surface with the back of the shovel to achieve an even finish.
- Make sure that the filled pothole is slightly higher than the surrounding area. This is because the patch will settle over time, and you want it to end up level with the rest of the driveway.
While filling the pothole, be mindful of the recommended thickness of the patching material. Make sure to apply an adequate amount of material to ensure a strong and durable repair. Additionally, work efficiently to prevent the patching material from cooling or hardening before you finish filling the entire pothole.
Once the pothole is filled, compacted, and slightly overfilled, it’s time to move on to the next step: compacting the patching material.
Clean out the pothole by removing any debris and loose asphalt. Fill the hole with cold patch asphalt and compact it with a tamper. Add more cold patch as needed and compact again until the hole is filled and level with the surrounding pavement.
Step 4: Compact the Patching Material
After filling the pothole with the asphalt patching material, the next step is to compact it to ensure a solid and long-lasting repair. Compacting the patching material helps eliminate any air pockets and provides a smooth and even surface. Follow these steps to effectively compact the patching material:
- Use a tamping tool, such as a hand tamper or a plate compactor, to firmly compact the patching material. Start from the edges of the filled pothole and work your way towards the center.
- Apply even pressure while compacting to achieve a uniform density throughout the patch. Make sure to focus on the edges of the pothole, as they are more prone to future damage.
- If using a hand tamper, strike the surface of the patching material with the tamper in a vertical motion. Repeat this process several times, gradually moving across the entire filled area.
- If using a plate compactor, carefully follow the manufacturer’s instructions for operation and safety. Pass the compactor over the patching material in multiple directions to achieve optimal compaction.
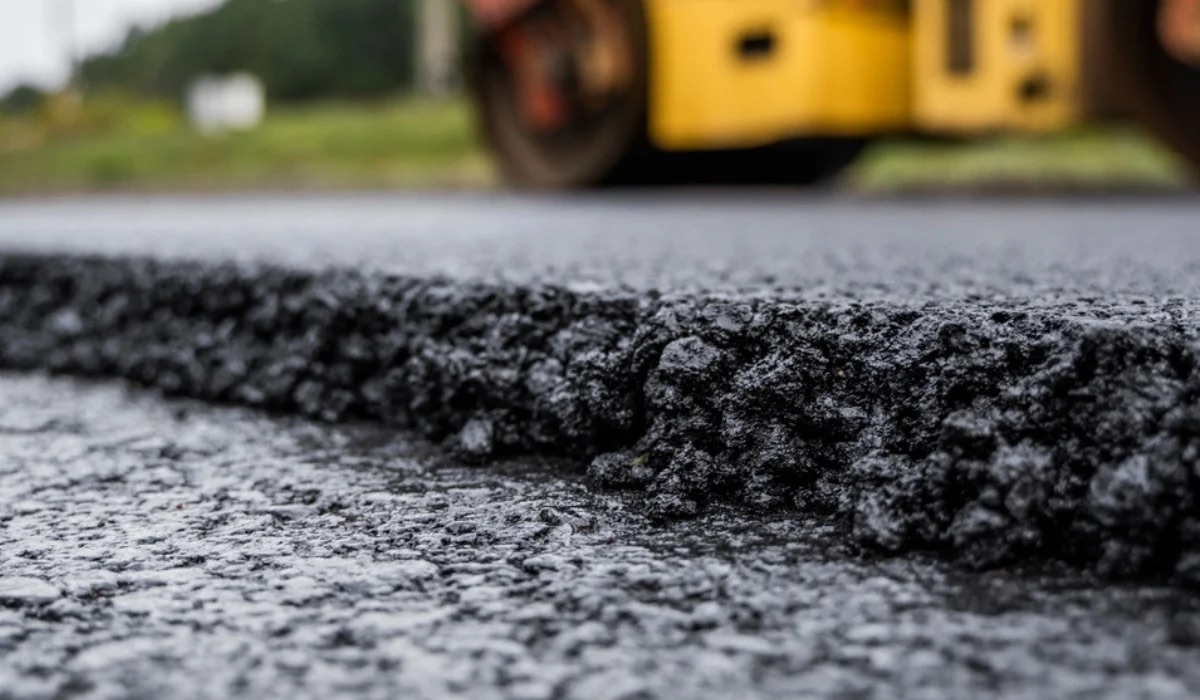
- Continue compacting until the patching material is firmly packed and level with the surrounding asphalt surface. This will ensure a seamless blend between the patch and the rest of the driveway.
Properly compacting the patching material is crucial for a durable and long-lasting repair. It helps prevent future deterioration and ensures that the patch will withstand the weight and traffic on your driveway. Take your time and ensure that the patching material is thoroughly compacted before moving on to the next step.
With the patching material compacted, let’s move on to the next step: sealing the repair.
Read more: How To Resurface An Asphalt Driveway
Step 5: Seal the Repair
After completing the pothole repair and compacting the patching material, it’s important to seal the repair to protect it from further damage caused by water, sunlight, and other elements. Sealing the repair will also improve the overall aesthetics of your asphalt driveway. Follow these steps to effectively seal the repair:
- Allow the patching material to fully cure according to the manufacturer’s instructions. The curing time may vary depending on the type of patching material used.
- Once the patch is fully cured, thoroughly clean the repaired area, removing any loose debris, dust, or dirt.
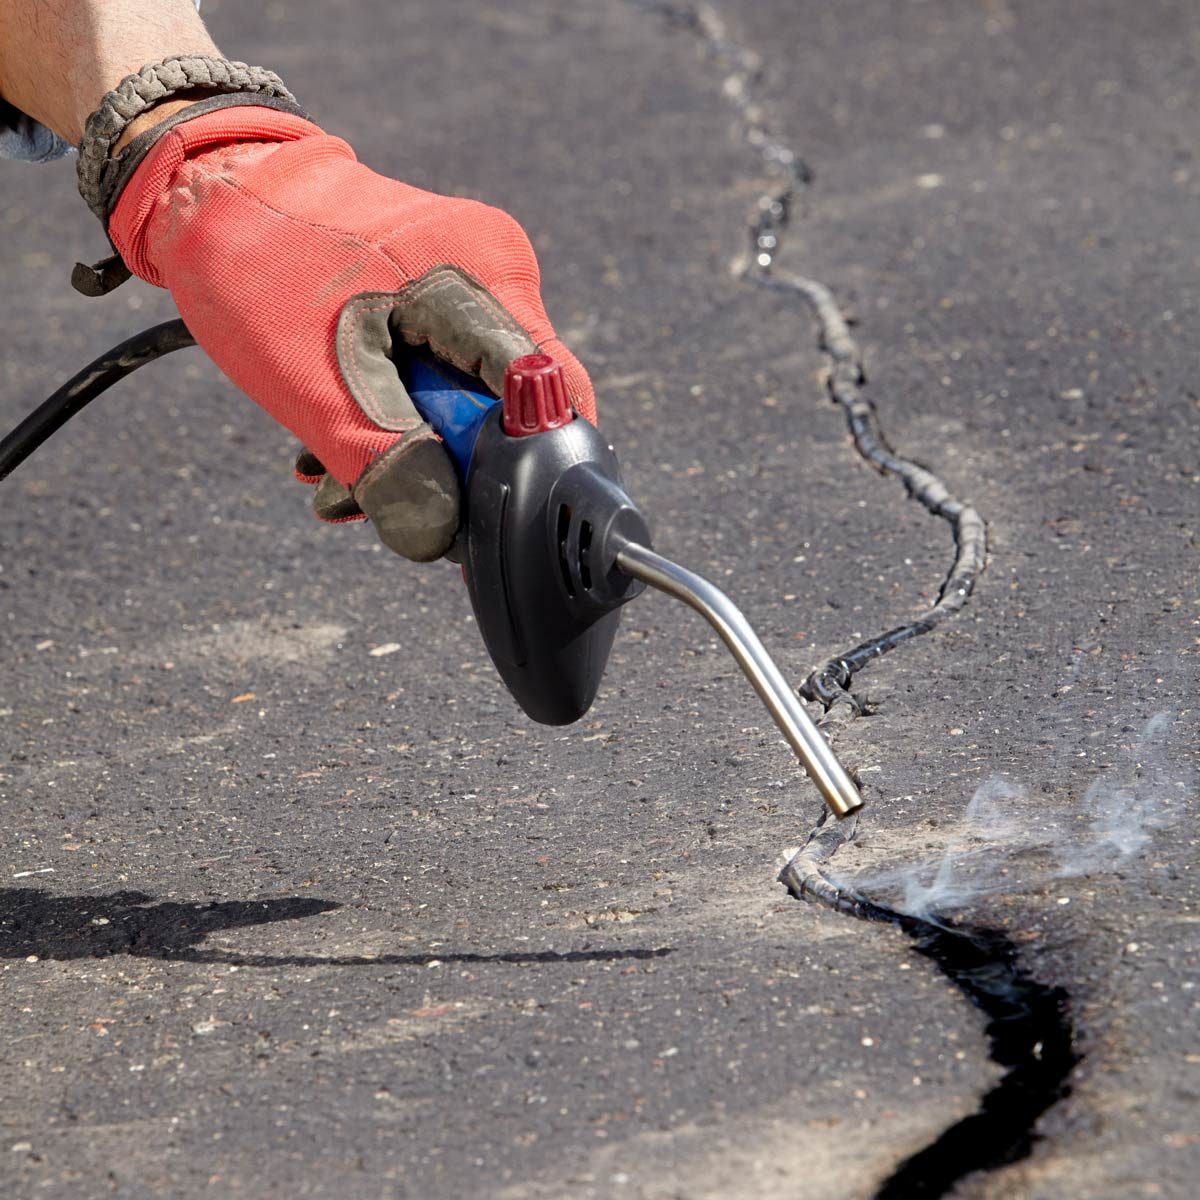
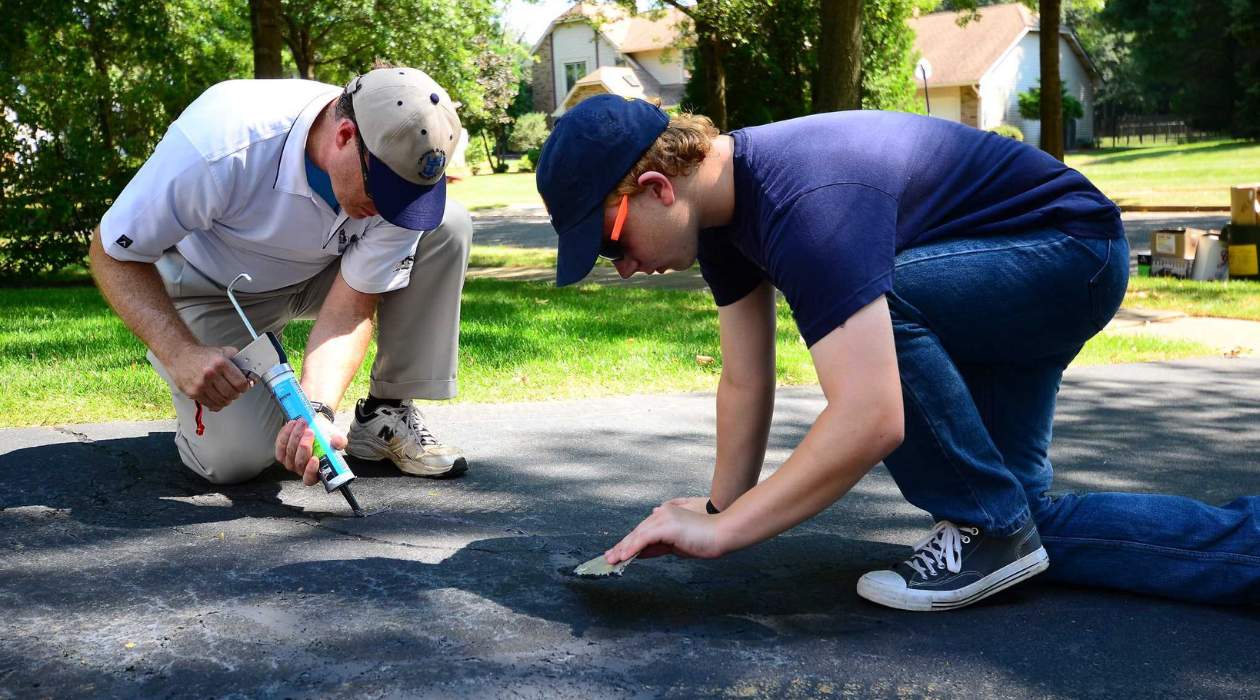
- If necessary, use a crack filler to fill any small cracks or imperfections around the repaired pothole. Smooth out the crack filler with a putty knife or a trowel.
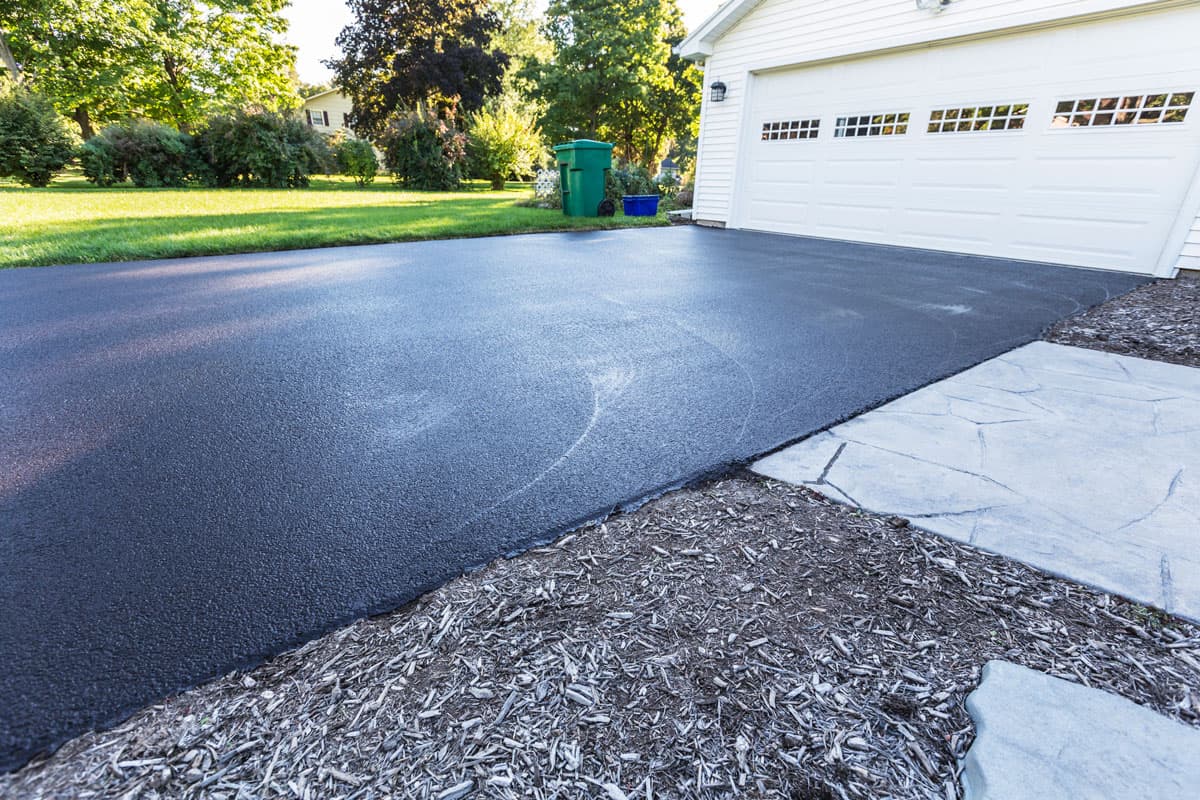
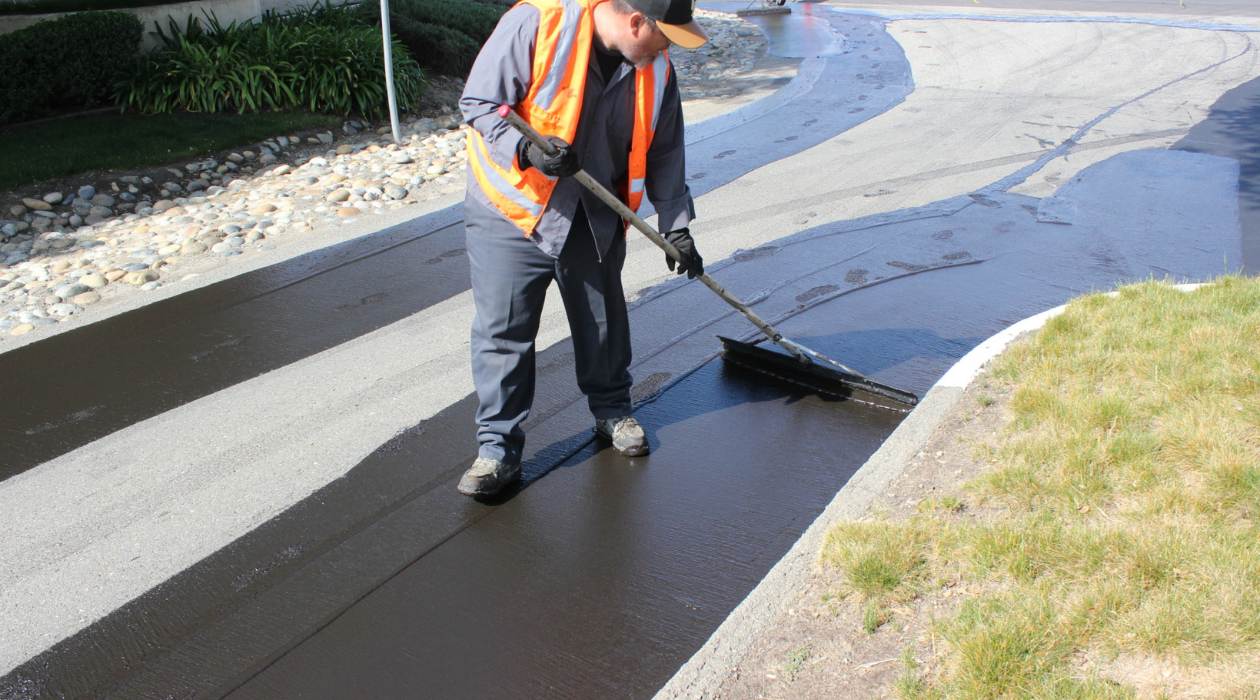
- Apply a layer of asphalt driveway sealer over the entire repaired area, following the manufacturer’s instructions for application.
- Use a squeegee or a brush to spread the sealer evenly, ensuring complete coverage over the repaired pothole and the surrounding area.
- Allow the sealer to dry according to the manufacturer’s instructions. This typically takes a few hours, but curing times may vary.
- Inspect the sealed repair for any missed spots or areas that require additional sealing. Apply a second coat of sealer if necessary.
Sealing the repair adds an extra layer of protection to your asphalt driveway and helps maintain its integrity over time. It’s essential to follow the manufacturer’s instructions for the sealer, including proper application techniques and curing times. This will ensure the effectiveness and durability of the seal.
With the repair sealed, we can move on to the final step: allowing the patch to cure.
Step 6: Allow the Patch to Cure
After completing the pothole repair and sealing the patch, it’s important to allow sufficient time for the patching material to cure and set properly. Curing time may vary depending on the type of patching material used and environmental conditions. Follow these guidelines to ensure proper curing:
- Check the manufacturer’s instructions for the recommended curing time of the patching material. This information will give you a general idea of how long the material needs to cure before being subjected to regular use.
- Avoid driving or parking on the repaired area during the curing process. The weight of vehicles can leave impressions or cause damage to the fresh patch. Place warning signs or cones to deter any traffic or foot traffic from the area.
- Keep the repaired area dry during the curing process. Water or moisture can compromise the integrity of the patching material and delay the curing time. If necessary, cover the repair with a tarp or plastic sheeting to protect it from rain or other sources of moisture.
- Allow ample time for the patching material to fully cure. This can range from a few days to a week, depending on the specific product used and environmental factors such as temperature and humidity.
- Regularly inspect the repaired area during the curing process. If any signs of damage or deterioration appear, take immediate action to address them. This may involve adding additional patching material or reapplying the sealer.
Properly allowing the patching material to cure will ensure its durability and longevity. Rushing the curing process may result in a weaker repair that is more prone to future damage. By giving the patch sufficient time to cure, you’ll ensure that it is ready to withstand regular use and the elements.
Congratulations! You have successfully completed the pothole repair process for your asphalt driveway. By following these steps and taking proper care of your driveway, you can minimize the occurrence of potholes and extend the lifespan of your asphalt surface.
Remember to conduct regular maintenance on your driveway, including periodic inspections, crack sealing, and seal coating, to prevent future potholes and maintain its overall condition. A well-maintained driveway not only enhances the curb appeal of your home but also provides a safe and durable surface for you and your family.
Thank you for reading this comprehensive guide on how to repair potholes in an asphalt driveway!
Conclusion
Repairing potholes in an asphalt driveway is an essential maintenance task that can prevent costly damages and ensure the safety of your vehicles and pedestrians. By following the step-by-step process outlined in this guide, you can effectively repair potholes and restore the integrity of your driveway.
Remember that safety is paramount throughout the repair process. Wear protective clothing, work in well-ventilated areas, and keep children and pets away from the work area to prevent accidents or injuries. Additionally, gather all the necessary tools and materials beforehand to ensure a smooth and efficient repair process.
Cleaning the area and preparing the asphalt patching material are crucial steps in achieving a successful repair. Clearing the pothole of debris and weeds and ensuring a clean surface will improve the adhesion of the patching material. Whether you choose hot asphalt or cold patching material, follow the manufacturer’s instructions for preparation to achieve the optimal consistency and workability.
Filling the pothole and compacting the patching material are key steps that provide a solid and level repair. Concentrate on achieving suitable thickness and density while filling, and use a tamping tool to firmly compact the material. This will ensure a durable and long-lasting patch.
Sealing the repair adds an extra layer of protection and enhances the aesthetics of your asphalt driveway. Follow the manufacturer’s instructions for applying the sealant, and allow sufficient time for the patching material to fully cure before subjecting it to regular use.
Regular maintenance, including inspections, crack filling, and seal coating, will help prevent future potholes and maintain the condition of your driveway. By being proactive and addressing any issues early on, you can extend the lifespan of your asphalt surface and ensure its longevity.
Thank you for reading this comprehensive guide on how to repair potholes in an asphalt driveway. By following these steps and taking proper care of your driveway, you can enjoy a smooth and safe surface for years to come.
Frequently Asked Questions about How To Repair Potholes In Asphalt Driveway
Was this page helpful?
At Storables.com, we guarantee accurate and reliable information. Our content, validated by Expert Board Contributors, is crafted following stringent Editorial Policies. We're committed to providing you with well-researched, expert-backed insights for all your informational needs.





0 thoughts on “How To Repair Potholes In Asphalt Driveway”