Articles
How To Fix Cracks In Asphalt Driveway
Modified: February 23, 2024
Learn effective methods for fixing cracks in your asphalt driveway with these informative articles.
(Many of the links in this article redirect to a specific reviewed product. Your purchase of these products through affiliate links helps to generate commission for Storables.com, at no extra cost. Learn more)
Introduction
Welcome to our comprehensive guide on how to fix cracks in an asphalt driveway. Over time, exposure to the elements and regular wear and tear can cause cracks to develop in your driveway. Not only do these cracks detract from the aesthetic appeal of your home, but they can also lead to more extensive damage if left untreated.
Fortunately, repairing cracks in an asphalt driveway is a relatively simple process that can be done by homeowners with basic DIY skills. In this article, we will guide you through each step of the repair process and provide you with useful tips and insights along the way.
To successfully fix cracks in your asphalt driveway, you will need a few tools and materials. Before we dive into the repair process, let’s take a look at the items you will need to gather:
- Crack filler (choose a quality asphalt-based product)
- A wire brush
- A broom or leaf blower
- A scraper or chisel
- A watering can or hose
- A trowel or putty knife
- Patching compound (if necessary)
- Asphalt sealant
- A squeegee or brush for sealing
- Protective gloves and safety goggles
Now that you have gathered all the necessary tools and materials, let’s proceed to the first step of repairing cracks in your asphalt driveway: cleaning the area thoroughly.
Please note that before starting any repair work, it is important to read and follow the instructions provided by the manufacturer of the crack filler and sealant you have chosen.
Key Takeaways:
- Timely crack repair and regular maintenance are crucial for preserving the integrity and appearance of your asphalt driveway. Understanding the types of cracks and following proper repair steps can extend the lifespan of your driveway and save you from costly repairs in the future.
- By cleaning, preparing, filling, smoothing, and sealing your asphalt driveway, you can achieve a professional-quality repair that protects against further damage and enhances the overall aesthetics of your property. Regular maintenance and proactive repairs are key to a long-lasting and visually appealing driveway.
Read more: How To Fix A Hole In An Asphalt Driveway
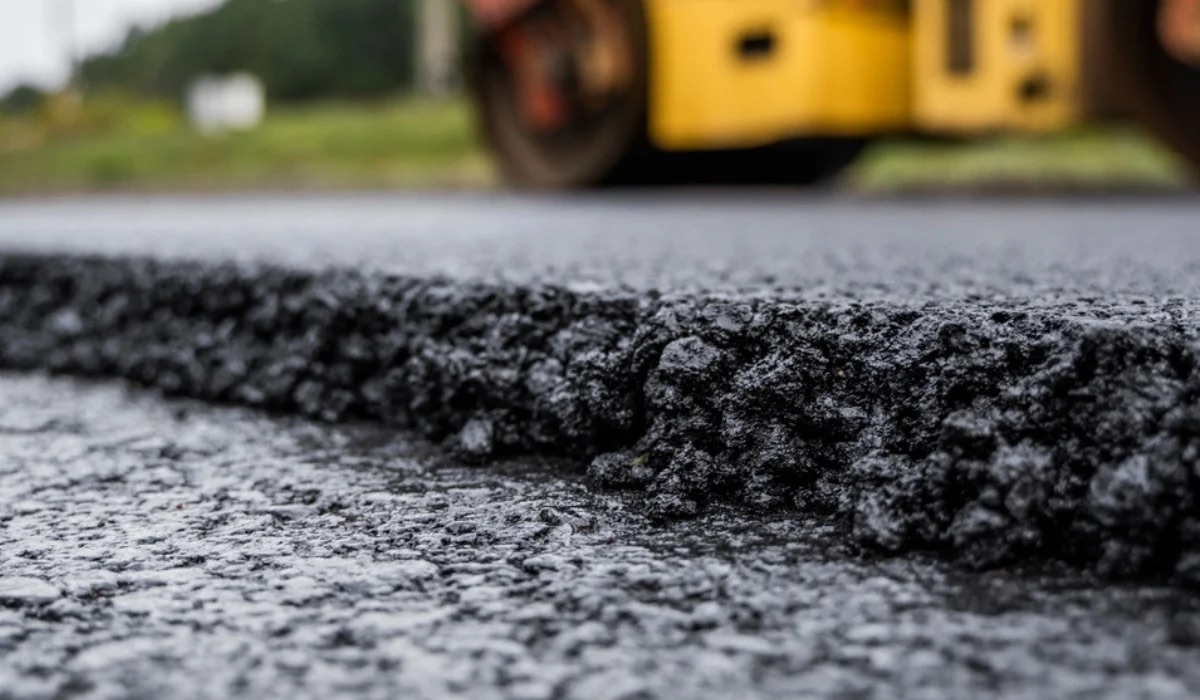
Understanding Asphalt Driveway Cracks
Before diving into the repair process, it’s important to have a basic understanding of asphalt driveway cracks. Asphalt driveways are prone to developing cracks due to various factors, including weather conditions, heavy traffic, and age.
There are different types of cracks that can occur in an asphalt driveway, each with its own characteristics and causes:
- Linear or longitudinal cracks: These cracks run parallel to the direction of the driveway and are commonly caused by the natural settling of the ground beneath the asphalt or by improper installation.
- Transverse cracks: Transverse cracks extend across the width of the driveway and are often caused by changes in temperature, inadequate drainage, or heavy loads.
- Alligator or spiderweb cracks: These cracks resemble a web or the skin of an alligator and are typically caused by a weak base or excessive weight on the pavement. They are indicative of more serious damage and may require professional intervention.
- Potholes: Potholes are large, bowl-shaped cavities that can develop when small cracks in the driveway are left untreated. They result from water seeping into the cracks, freezing, and expanding.
Understanding the type and cause of the cracks in your asphalt driveway will help you determine the most appropriate repair method. For small, hairline cracks, a basic crack filler can be sufficient. However, for larger cracks or extensive damage, you may need to consider more advanced repair techniques or consult a professional.
When it comes to repairing asphalt driveway cracks, it’s important to act promptly. Cracks allow water to penetrate the surface, leading to further deterioration and potential structural damage. Regular maintenance and timely repairs can significantly extend the lifespan of your asphalt driveway and save you from costly repairs down the line.
Now that you have a better understanding of asphalt driveway cracks, let’s move on to the practical steps involved in fixing them.
Tools and Materials Required
Before you begin repairing cracks in your asphalt driveway, it’s essential to gather the necessary tools and materials. Here’s a list of what you’ll need:
- Crack filler: Choose a high-quality asphalt-based crack filler specifically designed for driveways. Look for a product that is durable, flexible, and resistant to weather elements.
- Wire brush: A stiff wire brush will be used to clean debris and loose materials from the cracks in the driveway. Ensure that the brush has firm bristles for effective cleaning.
- Broom or leaf blower: You’ll need a broom or a leaf blower to remove any dirt, dust, or leaves from the surface of the driveway before applying the crack filler.
- Scraper or chisel: A scraper or chisel will come in handy for removing any loose or crumbling asphalt from the cracks, creating clean edges for a more effective repair.
- Watering can or hose: You’ll need access to water to clean the cracks and wet the surrounding area before applying the crack filler.
- Trowel or putty knife: A trowel or putty knife will be used to apply the crack filler into the cracks and smooth it out for a seamless repair.
- Patching compound (if necessary): If there are any deep or wide cracks that cannot be adequately filled with the crack filler alone, you may need a patching compound to level the surface before applying the filler.
- Asphalt sealant: Once the cracks are filled and repaired, applying an asphalt sealant is recommended for added protection against future damage and to restore the appearance of the driveway.
- Squeegee or brush for sealing: A squeegee or brush will be required to evenly spread the asphalt sealant over the entire surface of the driveway.
- Protective gloves and safety goggles: It’s important to protect yourself during the repair process. Wear gloves to protect your hands from chemicals and goggles to shield your eyes from debris.
Make sure to gather all the necessary tools and materials before starting the repair process. This will ensure that you have everything you need on hand, making the process smoother and more efficient.
Now that you’re equipped with the right tools and materials, let’s move on to the step-by-step process of fixing the cracks in your asphalt driveway.
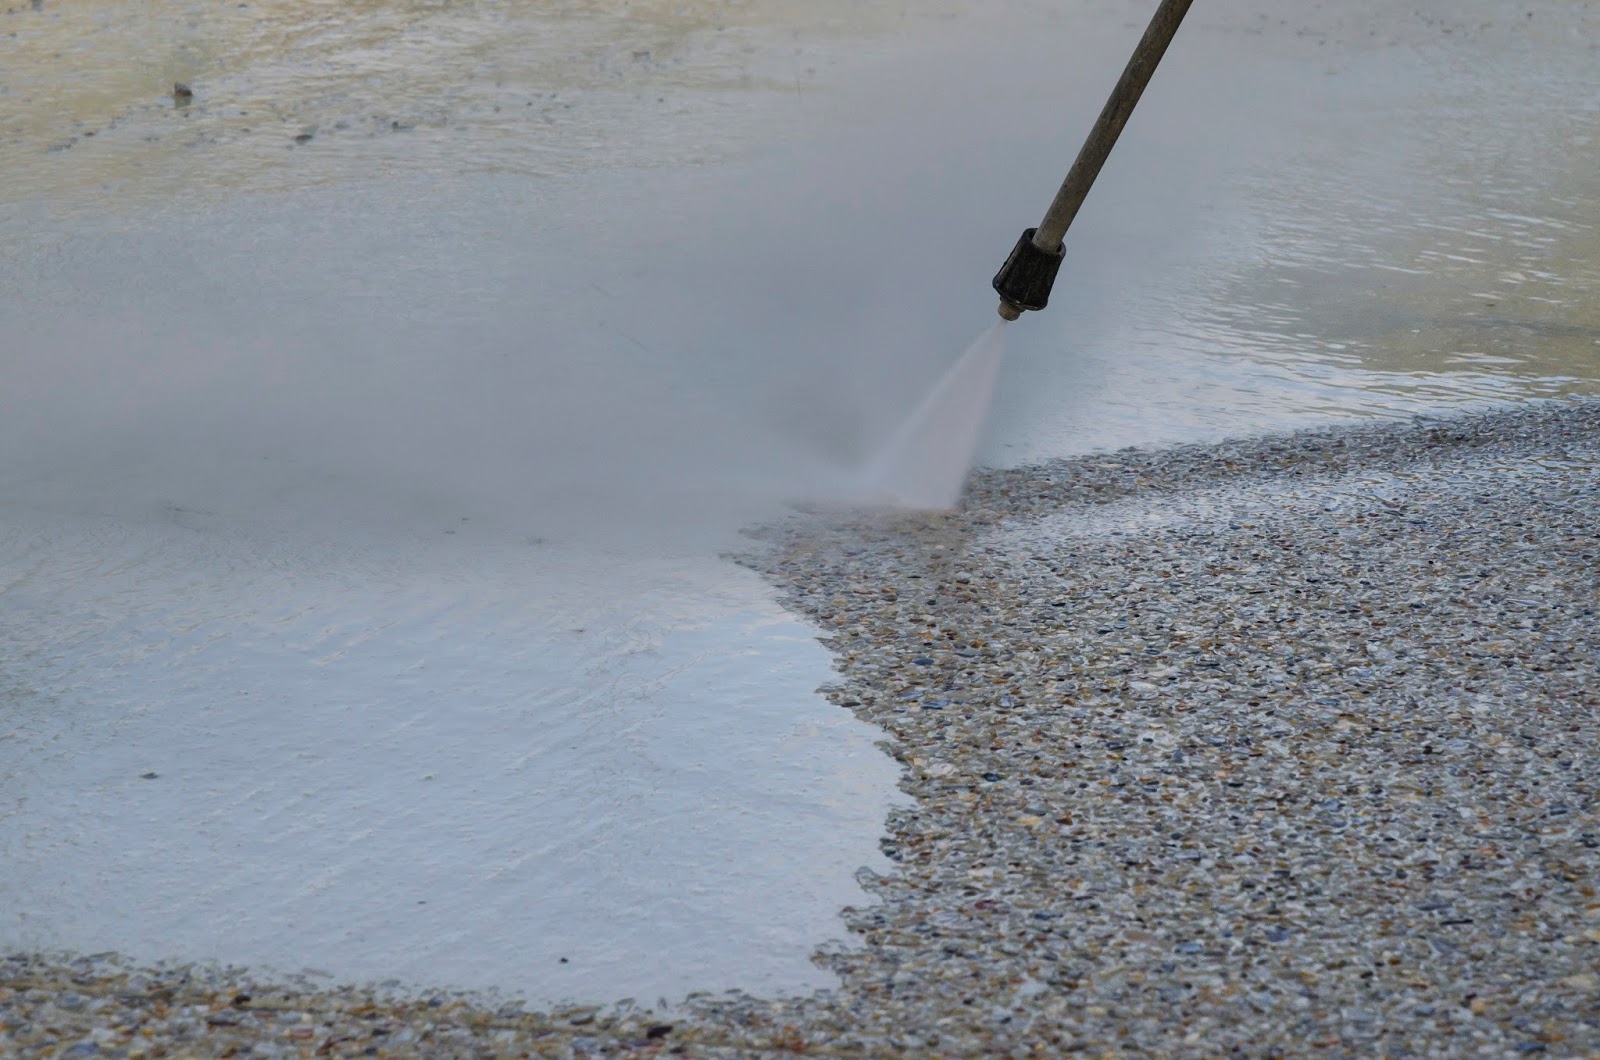
Step 1: Cleaning the Driveway
The first step in fixing cracks in your asphalt driveway is to thoroughly clean the surface. This will ensure that the crack filler adheres properly and maximizes the effectiveness of the repair.
Here’s how to clean your driveway:
- Start by removing any loose debris or vegetation from the cracks. Use a wire brush with firm bristles to scrub away dirt, dust, and loose asphalt fragments. This will help create a clean surface for the crack filler to adhere to.
- Once you’ve removed the loose debris, use a broom or a leaf blower to sweep the entire driveway, removing any remaining dirt, dust, or loose particles. Pay close attention to the cracks, ensuring that they are free from any debris.
- If the cracks are especially dirty or contain stubborn stains, you can use a mild detergent mixed with water to clean them. Scrub the cracks gently with a stiff-bristled brush and then rinse them thoroughly with water.
- Before applying the crack filler, it’s crucial to wet the cracks and the surrounding area. This will help the crack filler bond with the existing asphalt more effectively. Use a watering can or a hose to wet the cracks, making sure the entire surface is damp but not flooded.
- Allow the surface to dry completely before moving on to the next step. This will ensure that the crack filler adheres properly and doesn’t become diluted or washed away.
By thoroughly cleaning the cracks and the entire driveway, you are creating an optimal surface for the crack filler to adhere to. This will maximize the longevity and effectiveness of the repair.
Now that your driveway is clean and dry, we can proceed to the next step: preparing the cracks for filling and repair.
Step 2: Preparing the Crack
Once you’ve cleaned the driveway, the next step in fixing cracks is to prepare the cracks themselves. Proper preparation will ensure that the crack filler adheres well and provides a strong and long-lasting repair.
Here’s how to prepare the crack:
- Inspect the cracks carefully and identify any loose or crumbling asphalt. Use a scraper or chisel to remove any loose material from the cracks, creating clean edges. This will allow the crack filler to bond properly and prevent further damage.
- If the cracks are wider and deeper, you may need to use a patching compound to level the surface. Follow the instructions on the packaging to prepare and apply the compound. Smooth it out with a trowel or putty knife, ensuring that the patch is flush with the surrounding asphalt.
- After preparing the cracks, use a wire brush or a compressed air blower to remove any loose debris or dust from the crack and surrounding area. This clean surface will provide optimal adhesion for the crack filler.
- It is advisable to use a primer before applying the crack filler, especially for wider and deeper cracks. The primer will help the crack filler adhere better to the asphalt and enhance the overall durability of the repair.
By properly preparing the cracks, you are creating a solid foundation for the crack filler application. This will ensure a stronger and more effective repair, preventing further deterioration and extending the lifespan of your driveway.
With the cracks prepared, you are now ready to move on to the next step: applying the crack filler.
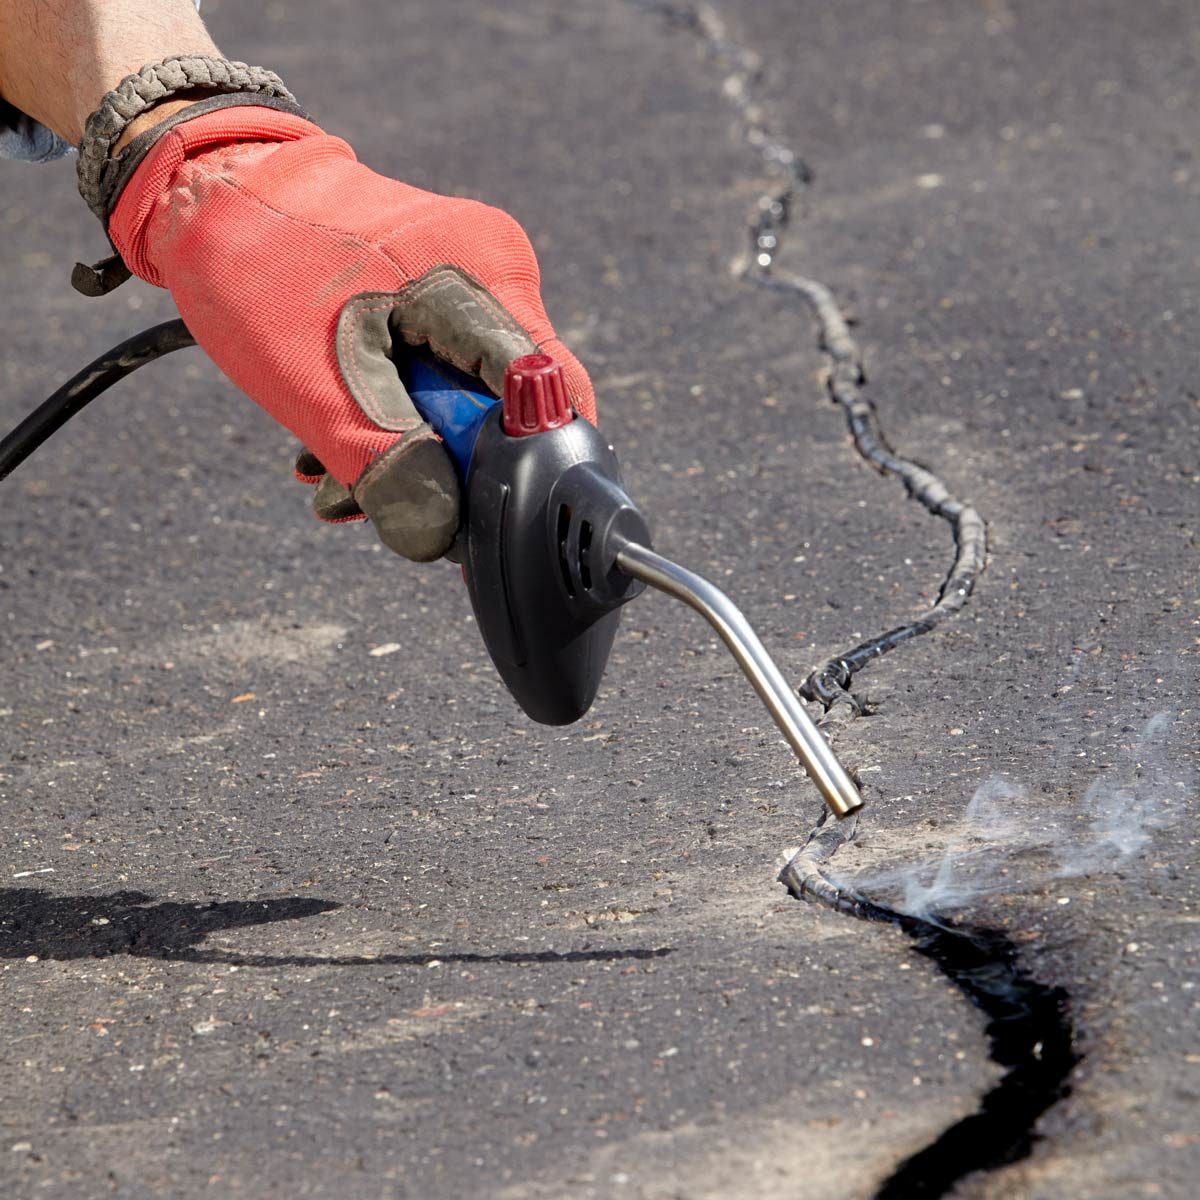
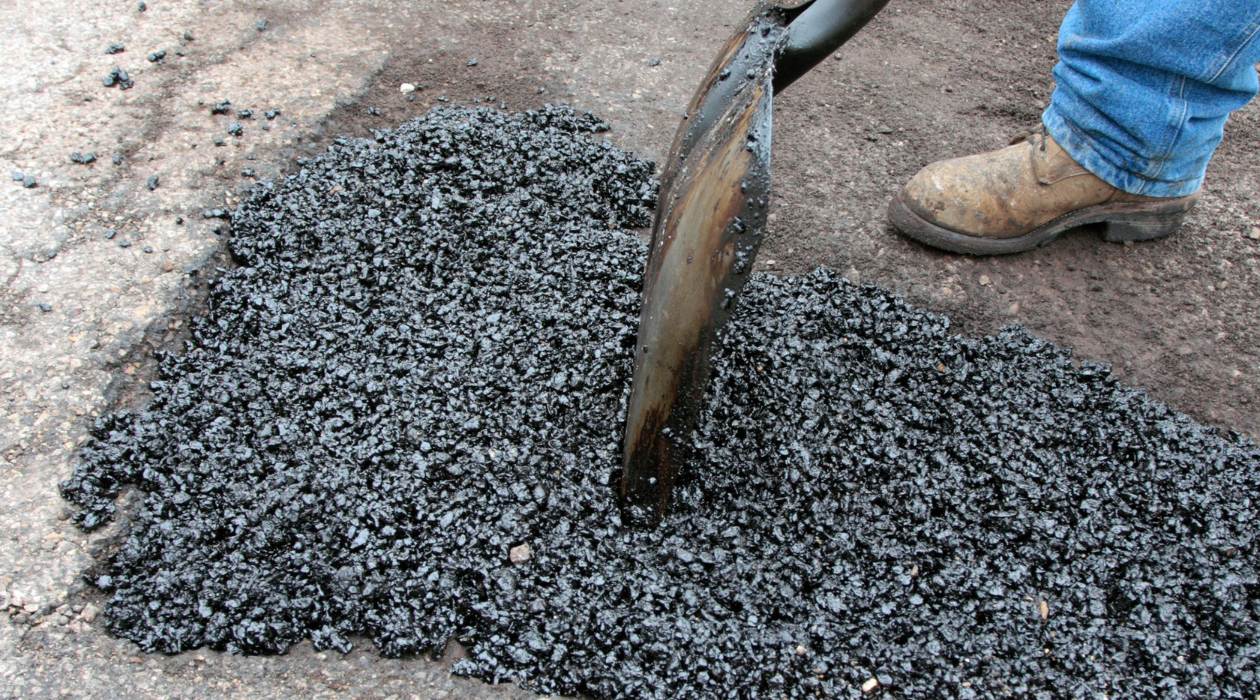
Clean out the crack with a wire brush, then fill it with asphalt crack filler. Compact the filler with a tamper or the back of a shovel.
Read more: How To Edge An Asphalt Driveway
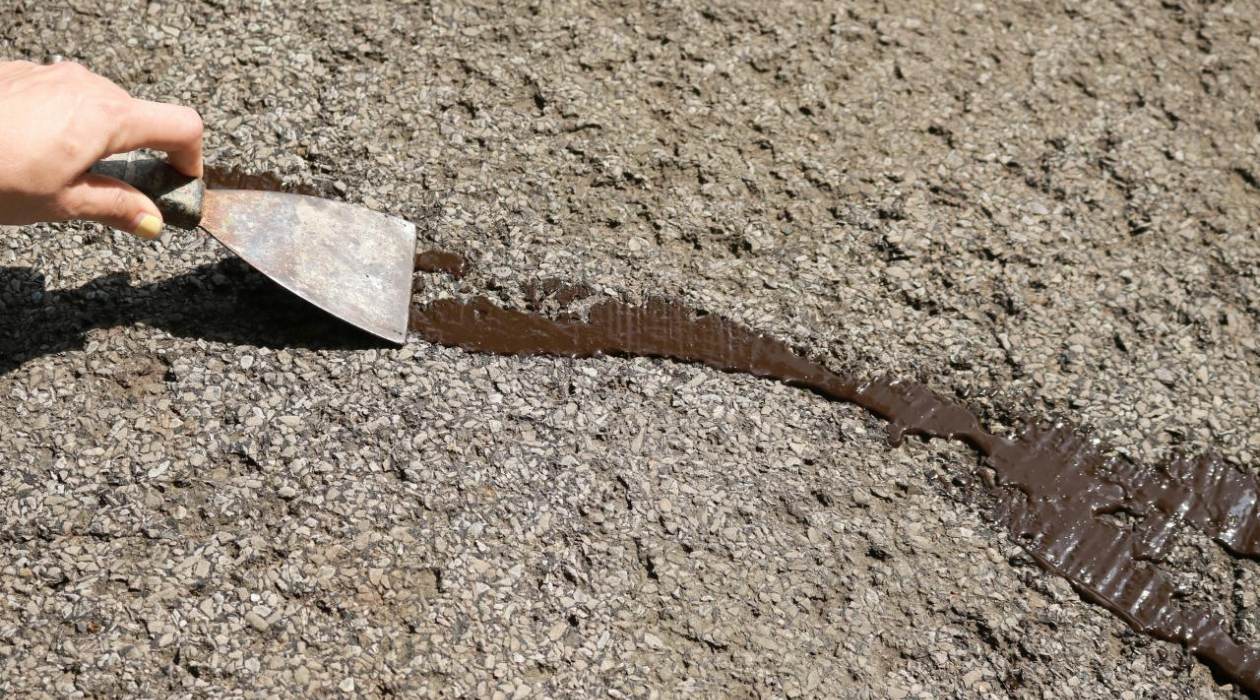
Step 3: Applying Crack Filler
Now that you have prepared the cracks in your asphalt driveway, it’s time to apply the crack filler. This step will fill the cracks, sealing them off from moisture and further damage.
Follow these steps to apply the crack filler:
- Start by carefully reading and following the instructions on the packaging of your chosen crack filler product. Different products may have specific application guidelines, so it’s important to adhere to them.
- Using a trowel or putty knife, scoop up a sufficient amount of crack filler from the container. Fill the crack from the bottom up, ensuring that it is slightly overfilled to allow for compaction and settling.
- Press the crack filler into the crack, making sure it reaches the base. Use downward pressure to compact the filler and ensure proper adhesion. Continue this process until all cracks are filled.
- If the crack is deep or wide, apply the filler in layers, allowing each layer to dry before adding the next. This will prevent the crack filler from sinking and provide a more effective repair.
- Smooth out the surface of the crack filler using a trowel or putty knife. Feather the edges of the filler to blend it with the surrounding asphalt and create a seamless appearance.
- Remove any excess filler from the surface by scraping it with a trowel or putty knife. This will ensure a smooth finish and prevent any tripping hazards.
Remember to work efficiently as the crack filler may dry quickly, depending on the product and weather conditions. It’s important to fill the cracks completely, ensuring a tight seal and preventing future water penetration.
Once you have applied the crack filler and smoothed out the surface, allow it to dry and cure according to the instructions provided by the manufacturer. This typically takes a few hours, but it’s best to allow for adequate drying time before moving on to the next step.
With the crack filler applied, we are one step closer to completing the repair process. The next step involves smoothing the filler to achieve a seamless repair.
Step 4: Smoothing the Filler
After applying the crack filler to your asphalt driveway, the next step is to smooth out the filler for a seamless and professional-looking repair. Smoothing the filler will ensure an even surface and enhance the appearance of your driveway.
Follow these steps to smooth the filler:
- Once the crack filler has dried and cured according to the manufacturer’s instructions, inspect the filled cracks. Use your fingers or a trowel to check if the filler is firm and solid.
- If there are any uneven areas or excess filler on the surface, use a scraper or trowel to carefully remove them. Be gentle to avoid damaging the filled cracks.
- With a smooth and clean surface, use a wire brush or broom to remove any loose debris or dust that may have settled on the repaired area. This will help maintain the overall cleanliness and appearance of your driveway.
- If desired, you can lightly sand the filled cracks to ensure an even and uniform finish. This step is optional but can help create a smoother transition between the repaired areas and the surrounding asphalt.
- Inspect the smoothed surface to ensure that it blends well with the rest of the driveway. If necessary, you can add additional crack filler to any spots that require touch-ups or further leveling.
By taking the time to smooth out the crack filler, you’re enhancing the overall aesthetic appeal of your driveway and ensuring a seamless repair. The smooth finish will also help prevent any tripping hazards and create a more polished look.
With the filler now smoothed out, we are ready to move on to the final step of the repair process: sealing the driveway to provide long-lasting protection.
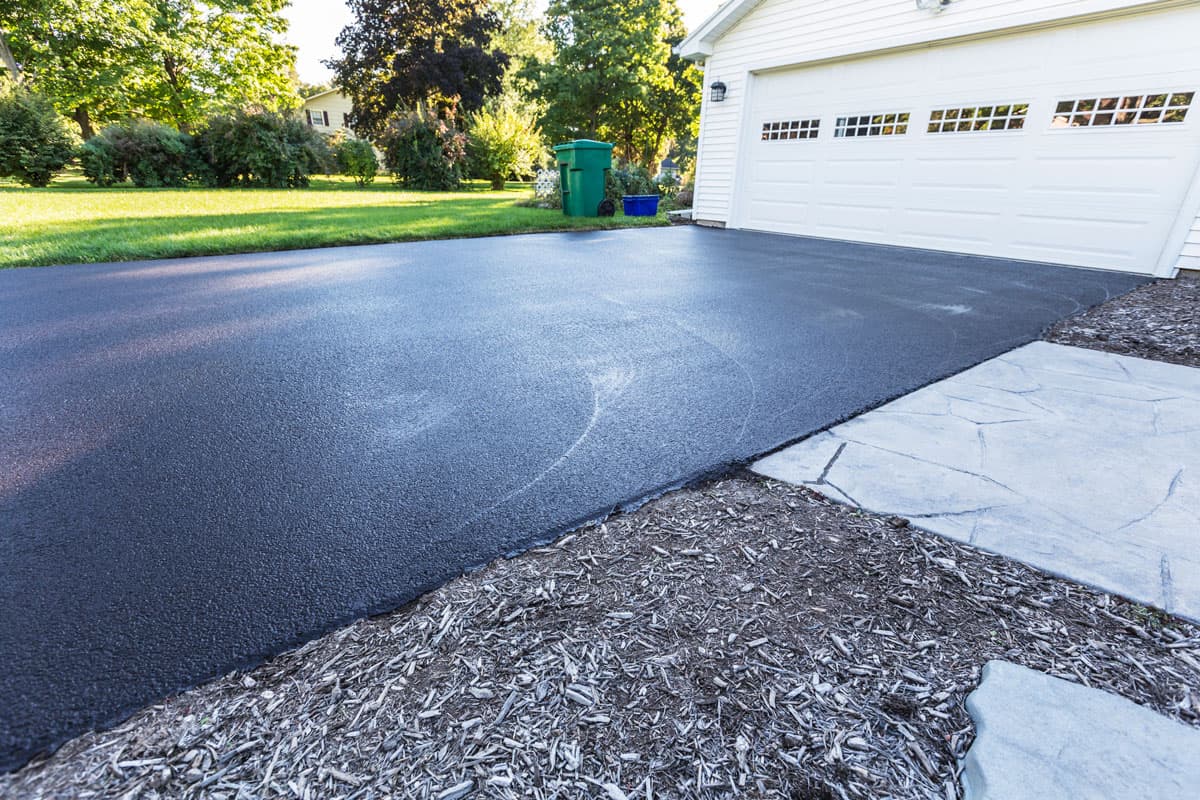
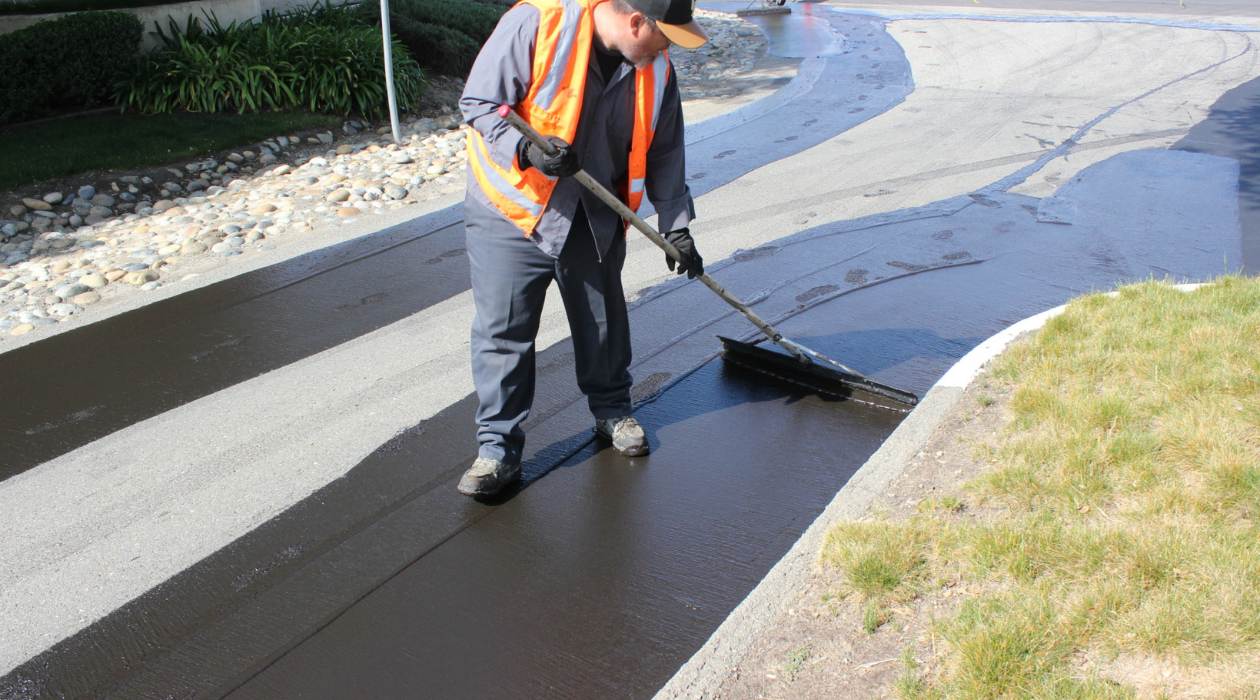
Step 5: Sealing the Driveway
The final step in fixing cracks in your asphalt driveway is to seal the entire surface. Sealing the driveway helps protect it from further damage caused by UV rays, water penetration, and everyday wear and tear. It also restores the appearance of the driveway, giving it a fresh and polished look.
Follow these steps to seal your asphalt driveway:
- Before sealing, ensure that the weather conditions are ideal. It’s best to choose a day when the temperature is between 50 and 80 degrees Fahrenheit, and there is no rain in the forecast.
- Clean the entire surface of the driveway using a broom or leaf blower to remove any loose debris, dirt, or dust. This will help ensure proper adhesion of the sealant and a smooth finish.
- If there are any oil stains or stubborn marks on the driveway, consider using an asphalt cleaner or degreaser to remove them. Follow the instructions provided and thoroughly rinse the area before proceeding.
- Once the driveway is clean and dry, start applying the asphalt sealant. Pour a generous amount of sealant onto the driveway and use a squeegee or brush to spread it evenly. Work in small sections, applying the sealant in a thin, even layer.
- Use long, sweeping motions to ensure complete coverage. Pay special attention to the cracks and patched areas, making sure they are well-sealed and blended with the rest of the driveway.
- Allow the first coat of sealant to dry completely, typically between 24 to 48 hours, depending on the product and weather conditions. Once dry, apply a second coat in the same manner as the first, ensuring thorough coverage.
- After the final coat is applied, allow the sealant to dry according to the manufacturer’s instructions. This may take several days, so avoid driving or parking on the driveway during this time.
By sealing your asphalt driveway, you are providing long-lasting protection against the elements and preserving its appearance. Regularly sealing the driveway every few years will help extend its lifespan and prevent future cracks and damage.
With the sealing process complete, your asphalt driveway is now repaired and protected. Remember to follow any specific recommendations or maintenance guidelines provided by the manufacturer of the sealant used.
Congratulations! You have successfully repaired the cracks in your asphalt driveway and taken steps to maintain its integrity. Regular driveway maintenance, such as cleaning, sealing, and addressing cracks promptly, will help ensure a beautiful and functional driveway for years to come.
Thank you for following our guide. We hope you found it helpful and that your repaired driveway brings you satisfaction and peace of mind.
Conclusion
Repairing cracks in your asphalt driveway is a vital maintenance task that helps preserve the durability and appearance of your driveway. By following the steps outlined in this comprehensive guide, you can confidently fix cracks and ensure the long-term integrity of your driveway.
Remember that timely repairs are essential to prevent further damage and costly repairs in the future. It’s crucial to understand the different types of cracks and properly prepare the driveway before applying crack filler. Take the time to clean the driveway thoroughly, remove any loose debris, and create clean edges in the cracks for a more effective repair.
Once the cracks are prepared, apply a high-quality crack filler that is specifically designed for asphalt driveways. Be sure to follow the manufacturer’s instructions for application and allow the filler to dry and cure properly.
After filling the cracks, smooth out the filler with a trowel or putty knife for a seamless finish. This step enhances both the appearance and safety of your driveway, ensuring it blends well with the surrounding asphalt.
Finally, seal the entire driveway to protect it from the elements, UV rays, and everyday wear and tear. Regularly sealing your asphalt driveway offers prolonged protection and helps maintain its aesthetics.
Remember, regular maintenance and proactive repairs can extend the lifespan of your asphalt driveway, saving you time and money in the long run.
Thank you for utilizing our guide on how to fix cracks in an asphalt driveway. With the knowledge and steps provided, you can confidently tackle this DIY project and enjoy a well-maintained, functional, and visually appealing driveway for years to come.
Frequently Asked Questions about How To Fix Cracks In Asphalt Driveway
Was this page helpful?
At Storables.com, we guarantee accurate and reliable information. Our content, validated by Expert Board Contributors, is crafted following stringent Editorial Policies. We're committed to providing you with well-researched, expert-backed insights for all your informational needs.


0 thoughts on “How To Fix Cracks In Asphalt Driveway”