Articles
How To Fix A Hole In An Asphalt Driveway
Modified: December 7, 2023
Learn how to fix a hole in your asphalt driveway with our comprehensive articles. Get step-by-step instructions and expert tips for seamless repairs.
(Many of the links in this article redirect to a specific reviewed product. Your purchase of these products through affiliate links helps to generate commission for Storables.com, at no extra cost. Learn more)
Introduction
Having a hole in your asphalt driveway can be both unsightly and potentially hazardous. Whether it’s due to weathering, heavy traffic, or the natural settling of the ground, repairing these holes is a necessary task to ensure the longevity and safety of your driveway. While hiring a professional to fix the hole may seem like the easiest option, it can be quite costly. Fortunately, with the right tools and materials, you can easily tackle this task yourself and save some money in the process.
In this article, we will guide you through the step-by-step process of fixing a hole in an asphalt driveway. We will cover everything from assessing the damage to applying the patching compound and providing final touches to ensure a seamless repair. So, let’s get started and turn that eyesore into a smooth and functional driveway once again!
Key Takeaways:
- Save money and restore your driveway’s functionality by fixing asphalt holes yourself. Follow step-by-step instructions for a seamless repair using basic tools and materials.
- Prioritize safety, regular maintenance, and prompt repairs to extend the lifespan of your asphalt driveway. Achieve impressive results and enjoy a smooth, immaculate surface for years to come.
Read more: How To Fix Cracks In Asphalt Driveway
Tools and Materials Needed
Before you begin your asphalt driveway repair project, make sure you have the following tools and materials on hand:
- Asphalt patching compound
- Trowel
- Driveway cleaner or degreaser
- Wire brush or broom
- Gloves and safety glasses
- Water hose or pressure washer
- Chisel or hammer
- Crack filler (if necessary)
- Sealant (optional)
The asphalt patching compound is the key ingredient in repairing the hole. It’s important to choose a high-quality compound that matches the color and consistency of your existing asphalt. The trowel will be used to apply the compound and ensure a smooth finish.
Next, you’ll need driveway cleaner or degreaser to thoroughly clean the area around the hole. This will remove any dirt, debris, or oil that could affect the adhesion of the patching compound. Use a wire brush or broom to scrub the surface and ensure it’s free from loose materials.
Gloves and safety glasses are essential protective gear to wear during the repair process. They will shield your hands and eyes from any chemicals or debris that may come into contact with them.
If the hole has any cracks, you may also need crack filler to fill them in before applying the patching compound. This will prevent further damage and ensure a more durable repair. Additionally, you may consider using sealant to protect the repaired area from future weather damage.
Lastly, a water hose or pressure washer can be used to clean the hole and surrounding area. This will help remove any remaining debris and ensure a clean and stable surface for the patching compound.
With these tools and materials ready, you’re now prepared to move on to the next step – assessing the damage.
Step 1: Assess the Damage
The first step in fixing a hole in an asphalt driveway is to assess the extent of the damage. Take a close look at the hole and surrounding area to determine its size and depth. This will help you determine the amount of patching compound needed and the level of repair required.
If the hole is small and shallow, you may only need to apply a thin layer of patching compound. However, if the hole is larger or deeper, you may need to excavate the area slightly to ensure proper adhesion and a more durable repair.
Additionally, inspect the surrounding surface for any cracks or damage. It’s important to address these issues as well to prevent further deterioration and ensure a seamless repair.
During the assessment, make sure to also consider any underlying issues that may have caused the hole, such as poor drainage or tree roots. Addressing these problems will help prevent future damage and extend the lifespan of your repaired driveway.
Once you have assessed the damage and determined the necessary repairs, it’s time to move on to step 2 – preparing the area for repair.
Step 2: Prepare the Area
Preparing the area is a crucial step in fixing a hole in an asphalt driveway. It involves cleaning the hole and surrounding surface to ensure proper adhesion of the patching compound.
Start by using a driveway cleaner or degreaser to remove any dirt, debris, or oil from the hole and the area around it. Follow the manufacturer’s instructions for mixing and applying the cleaner, ensuring that you cover the entire area thoroughly. This will help the patching compound adhere better and create a strong bond.
Once the cleaner has been applied, use a wire brush or broom to scrub the surface and loosen any stubborn particles. Be thorough in your cleaning, making sure to remove all loose materials. This will provide a clean and stable base for the patching compound.
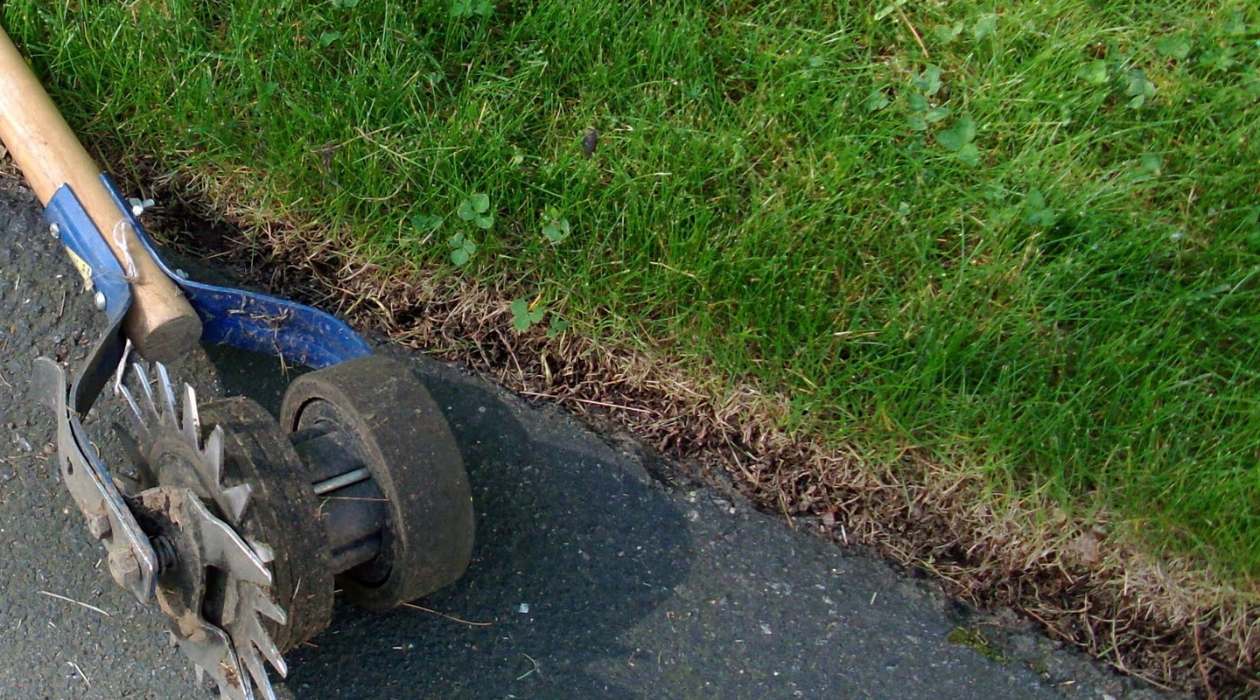
If the hole has any cracks, it’s important to address them as well. Use a chisel or hammer to widen the cracks slightly, creating a V-shaped groove. This will allow the crack filler to penetrate and bond effectively. Clean out the cracks using a wire brush to remove any debris or loose material.
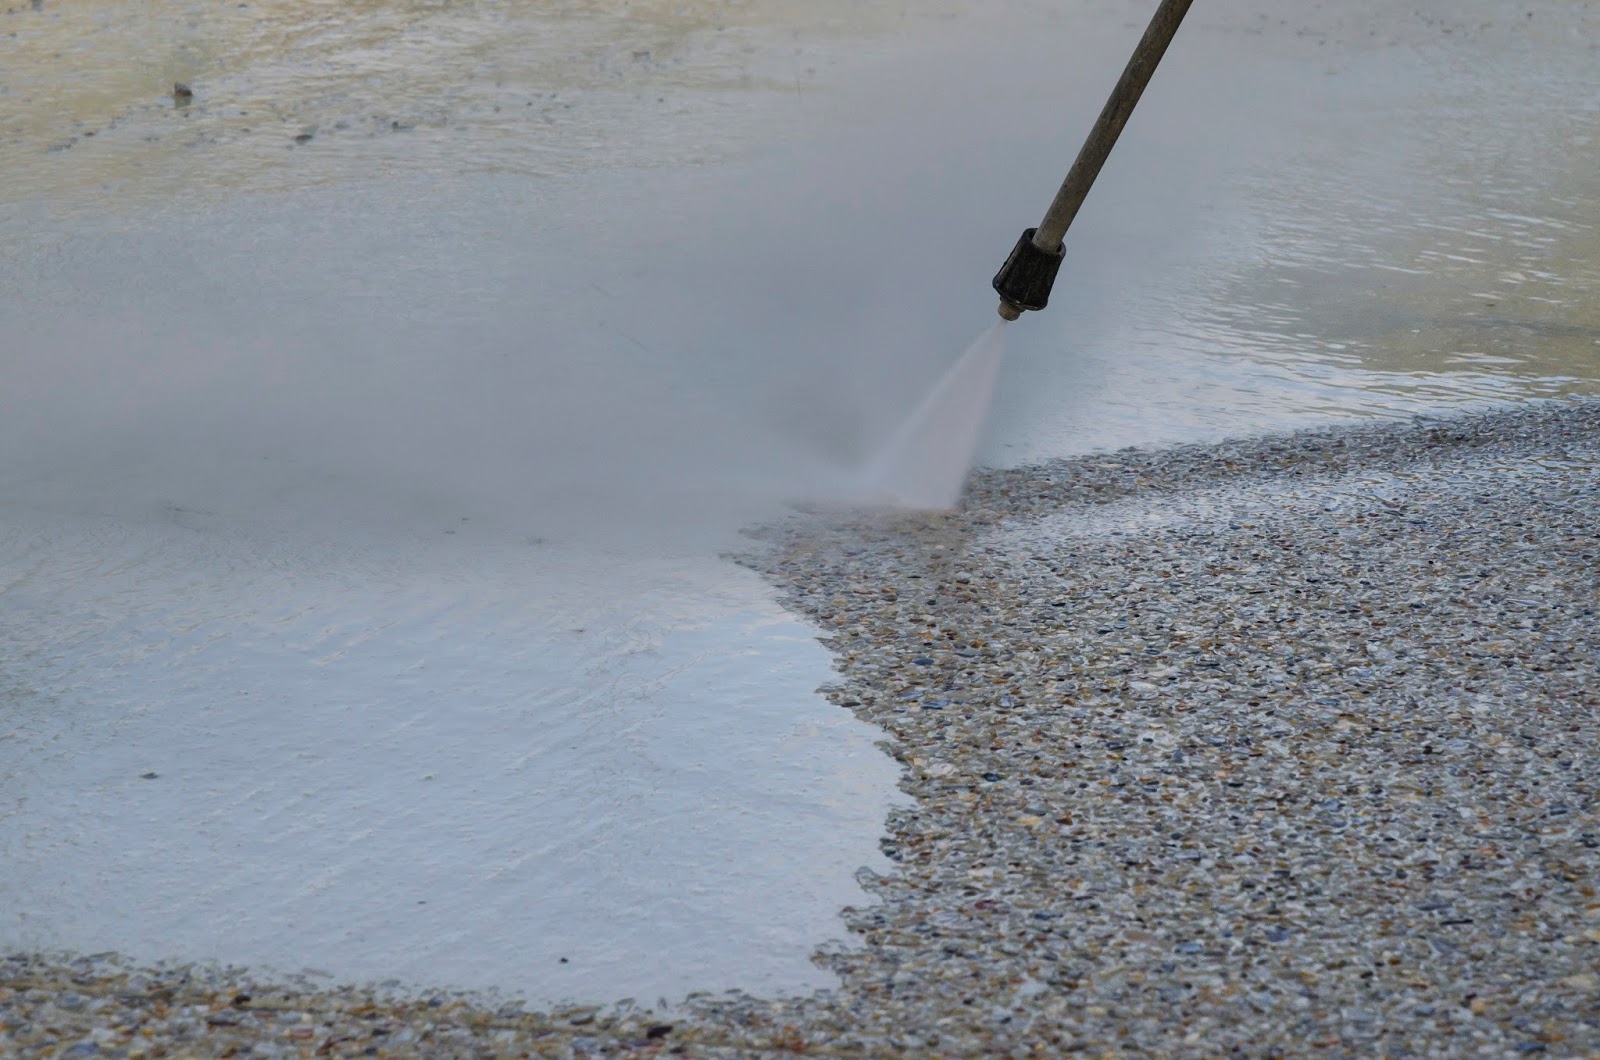
After the area has been cleaned and the cracks have been prepared, rinse the entire area with a water hose or pressure washer. This will remove any remaining cleaner or debris, leaving a clean and damp surface ready for the patching compound.
With the area thoroughly cleaned and prepared, you are now ready to move on to step 3 – cleaning the hole.
Step 3: Clean the Hole
Cleaning the hole is a crucial step in the process of fixing a hole in an asphalt driveway. It ensures that the patching compound adheres properly and forms a strong bond with the existing asphalt. Follow these steps to clean the hole effectively:
- Use a broom or brush to remove any loose debris or dirt from the hole. Sweep the area thoroughly to ensure that it is free from any loose particles that could hinder the adhesion of the patching compound.
- Next, use a water hose or pressure washer to spray the hole and remove any remaining loose particles. This will also help moisten the surface, which will aid in the bonding process.
- If there are any weeds or plant growth in or around the hole, it’s essential to remove them completely. Use a garden trowel or shovel to dig out any plant roots or growth from the hole.
- If the hole is deep, you may need to compact the base before applying the patching compound. Use a tamper or the back of a shovel to compact the soil and create a solid foundation.
- After cleaning and compacting the hole, use a broom or brush to remove any excess moisture or loose debris.
It is important to ensure that the hole is completely clean and free from any loose particles or debris. This will allow the patching compound to bond effectively and create a seamless repair.
With the hole thoroughly cleaned and prepared, you are now ready to move on to step 4 – applying the patching compound.
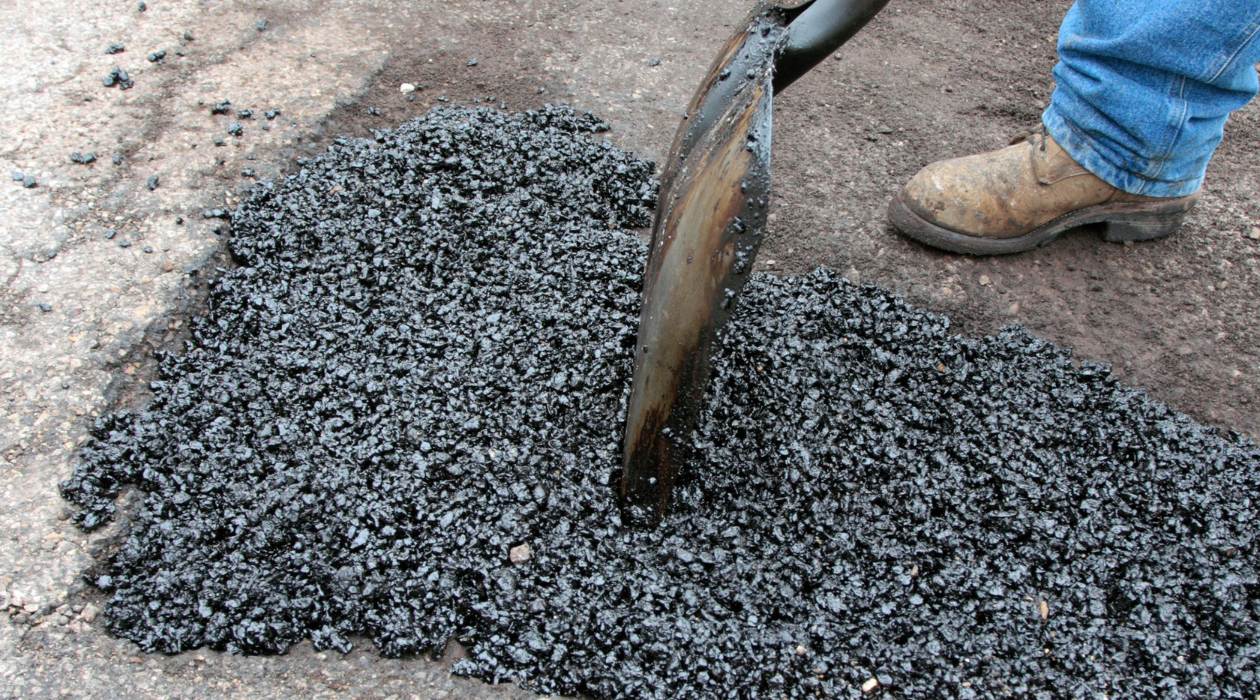
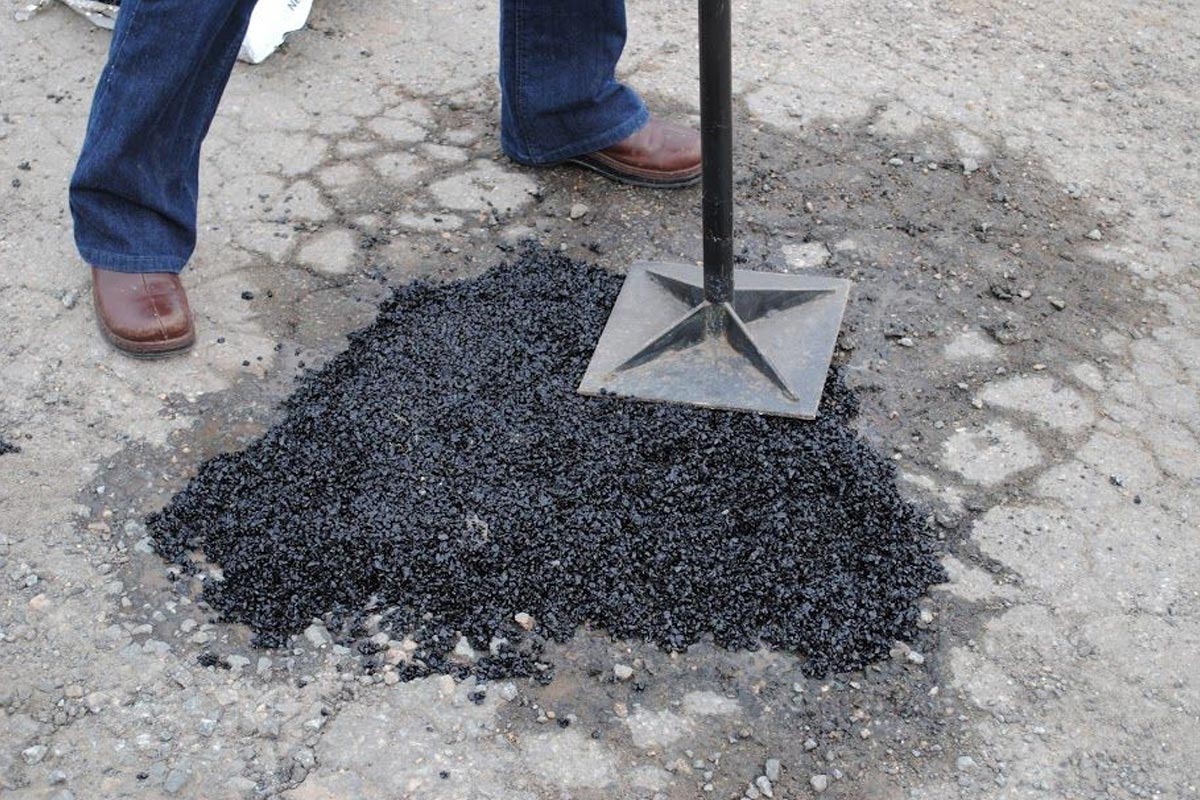
Clean the hole with a wire brush and remove any debris. Fill the hole with cold patch asphalt and compact it with a tamper. Add more asphalt as needed and compact again until the hole is filled and level with the surrounding driveway.
Read more: How To Fix Holes In A Concrete Driveway
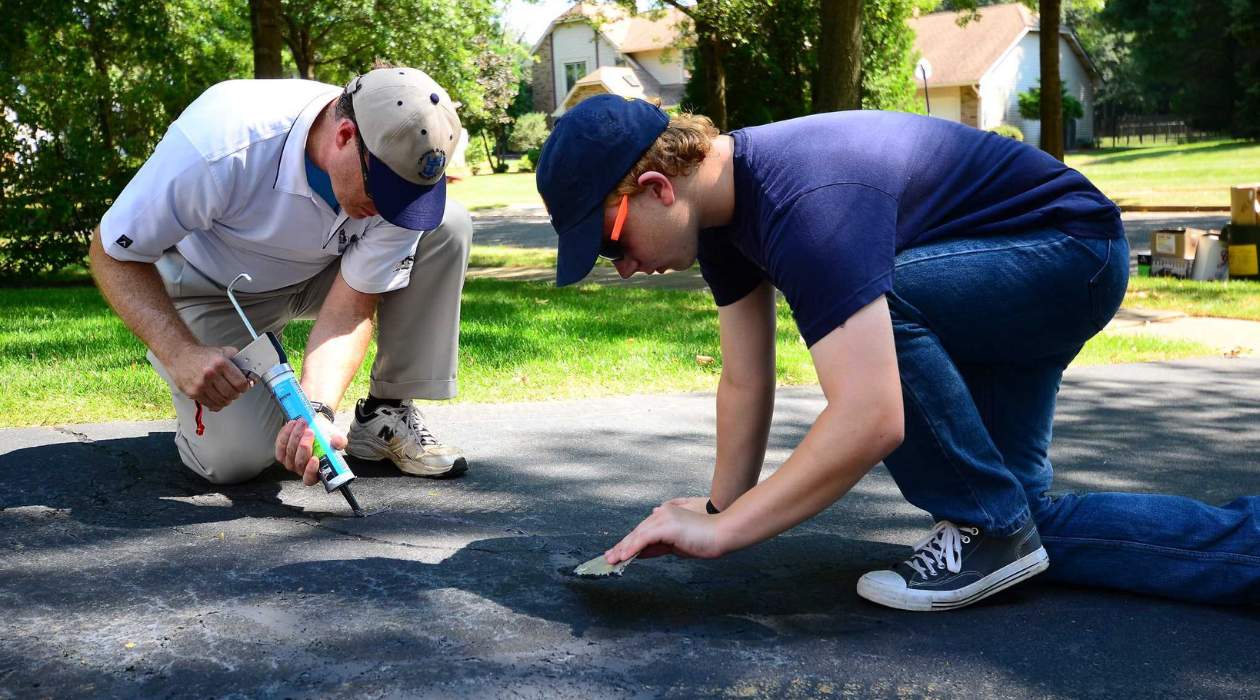
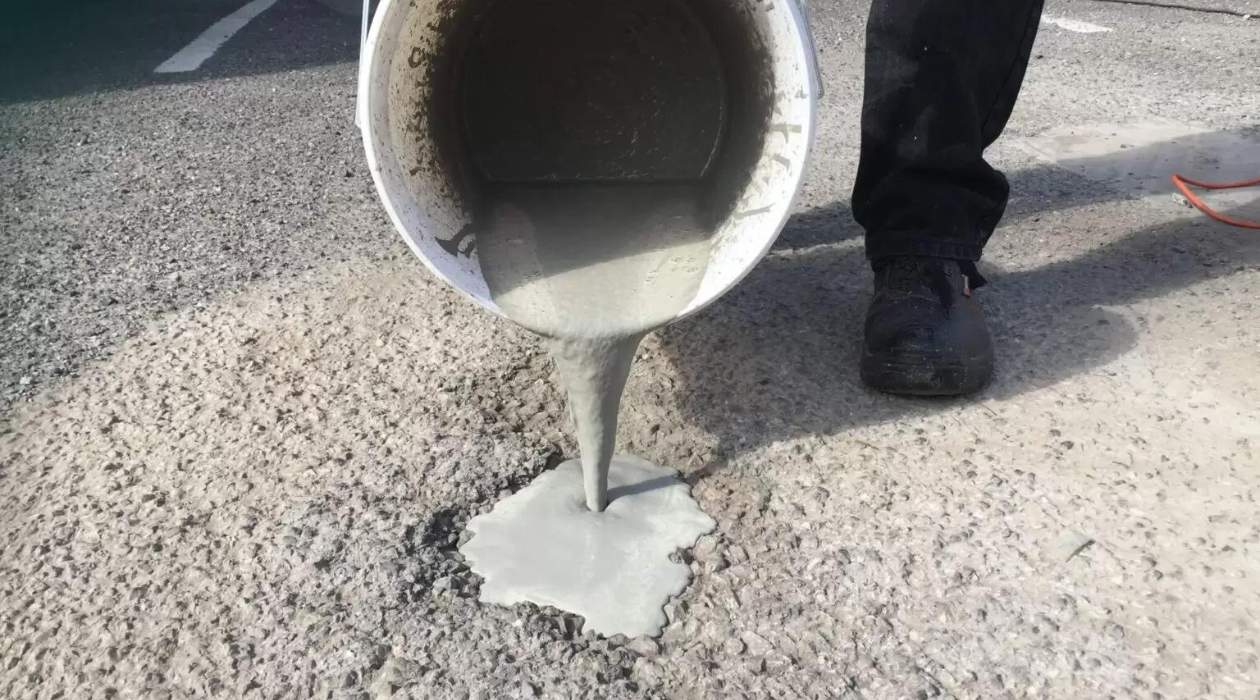
Step 4: Apply the Patching Compound
Applying the patching compound is a critical step in fixing a hole in an asphalt driveway. It involves filling the cleaned and prepared hole with the compound to create a seamless repair. Follow these steps to apply the patching compound properly:
- Start by carefully reading and following the manufacturer’s instructions for the patching compound. Different compounds may have different mixing ratios and application methods, so it’s essential to understand the specific guidelines.
- Using a trowel, begin by applying a thin layer of the patching compound over the cleaned hole. Spread the compound evenly, ensuring that it extends slightly beyond the edges of the hole to create a smooth transition with the surrounding asphalt.
- If the hole is deeper than the first layer of patching compound, apply additional layers as needed. Make sure to compact each layer before adding the next by using the back of the trowel or a tamper. This will help remove air pockets and ensure a tight bond.
- Continue applying and compacting the patching compound until the hole is filled and level with the surrounding surface. Smooth the surface of the compound with the trowel to achieve a seamless finish.
- Allow the patching compound to cure according to the manufacturer’s instructions. This duration may vary depending on the specific compound used, so be sure to follow the recommended curing time.
During the application process, it’s important to work efficiently and avoid leaving any gaps or voids in the patching compound. A thorough and even application will result in a more durable and aesthetically pleasing repair.
With the patching compound applied, compacted, and allowed to cure, you are now ready to move on to step 5 – compacting the patch.
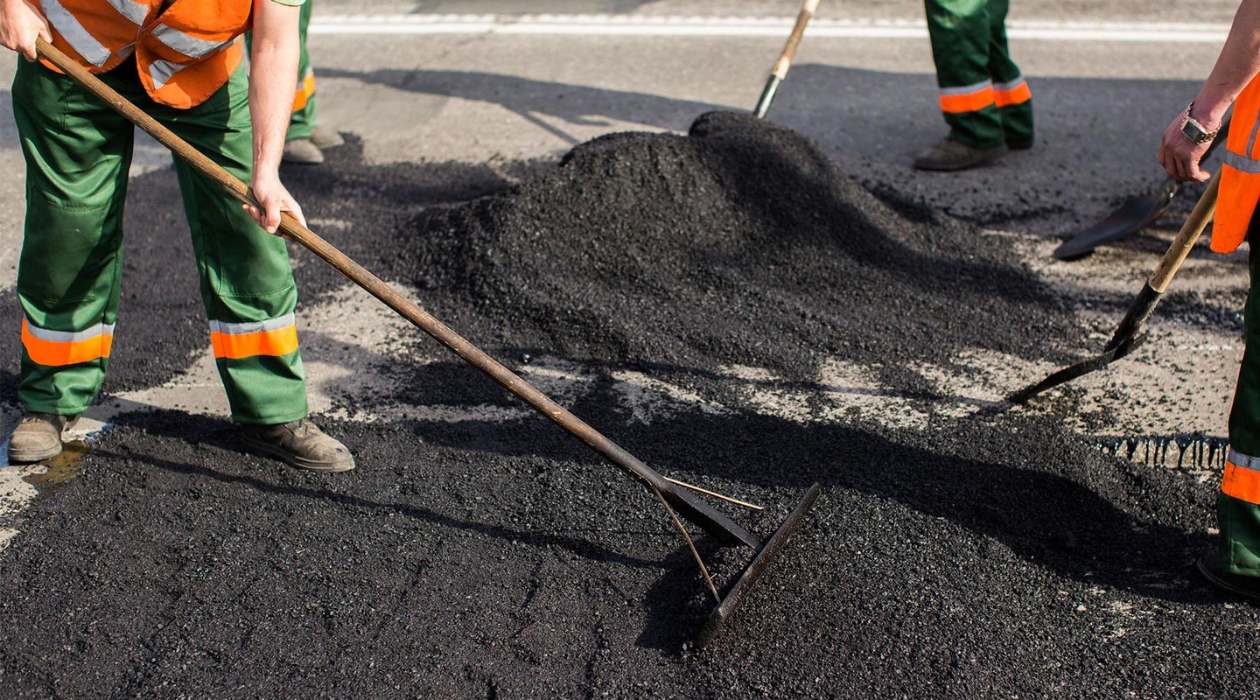
Step 5: Compact the Patch
Compacting the patch is a crucial step in fixing a hole in an asphalt driveway. It ensures that the patching compound is firmly bonded to the surrounding asphalt, providing a long-lasting and seamless repair. Follow these steps to compact the patch effectively:
- Using a hand tamper or the back of a shovel, firmly press down on the patching compound. Start from the edges and work your way towards the center, applying even pressure. This will help remove any air pockets and ensure a tight bond.
- Continue compacting the patch until it is level with the surrounding asphalt. Pay extra attention to the edges to create a smooth and seamless transition.
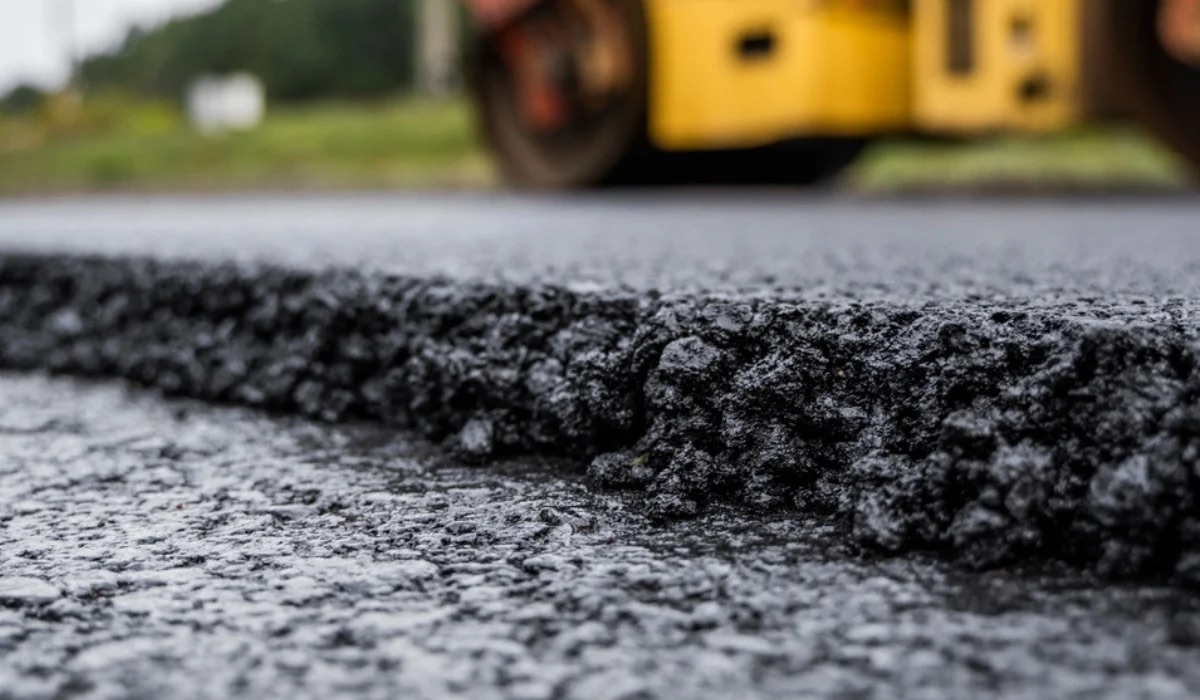
- If you have access to a driveway roller or plate compactor, use it to further compress the patching compound. This equipment will provide even more pressure and ensure an optimal bond. Follow the manufacturer’s instructions for proper use and technique.
- After compacting, inspect the patch to ensure that it is level and smooth. Use a trowel or the back of a shovel to make any necessary adjustments or corrections.
Proper compaction is essential to achieve a durable repair. It helps eliminate voids, improves the bond between the patching compound and the existing asphalt, and enhances the overall stability of the repaired area.
With the patch successfully compacted, you are now ready to move on to step 6 – adding the final touches.
Step 6: Final Touches
The final touches in fixing a hole in an asphalt driveway involve making sure the repair blends seamlessly with the surrounding area. Here are some steps to add those finishing touches:
- If there are any excess or uneven areas in the patched hole, use a trowel or the back of a shovel to smooth them out. Make sure the surface is even and matches the surrounding asphalt.
- Inspect the edges of the patch for any gaps or inconsistencies. Use the trowel to blend the edges with the existing asphalt, creating a seamless transition.
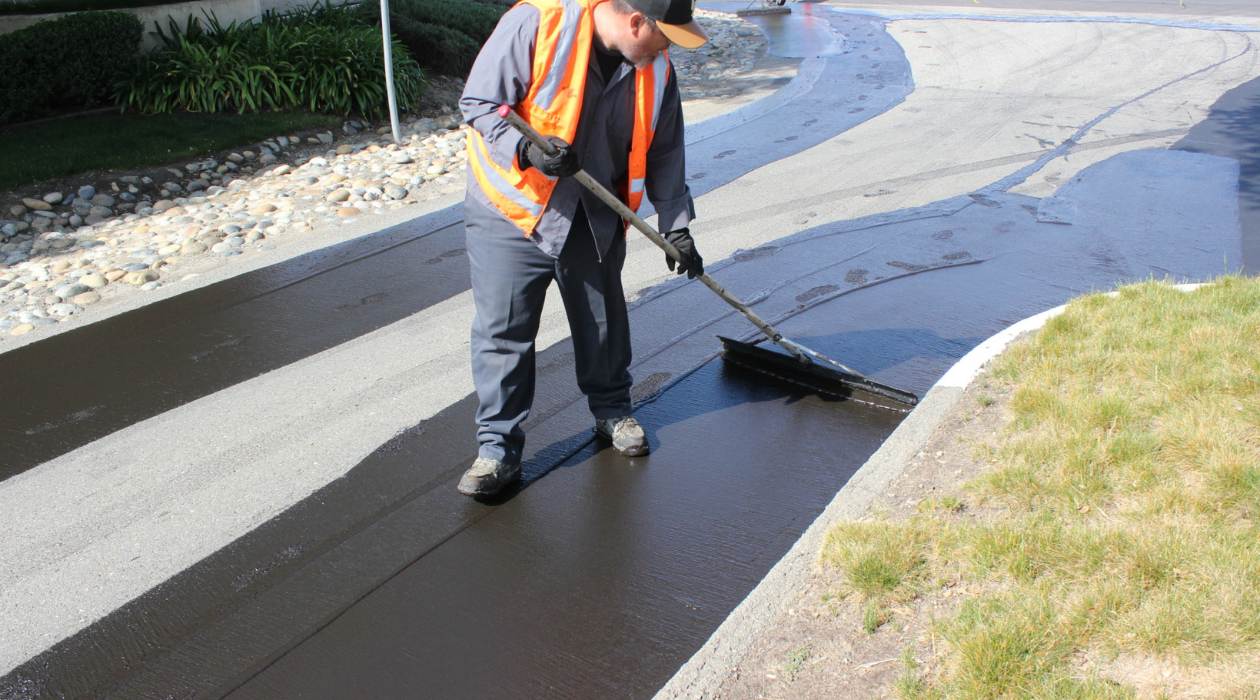
- If necessary, apply a sealant to the repaired area. This will help protect the patch from moisture, UV rays, and general wear and tear. Follow the manufacturer’s instructions for proper application.
- Allow the sealant to dry completely before using the driveway. This may take several hours or even a full day, depending on the product used. Be patient to ensure the best results.
- Once the sealant is dry, inspect the entire repaired area to ensure a smooth, uniform appearance. Make any final adjustments or touch-ups as needed.
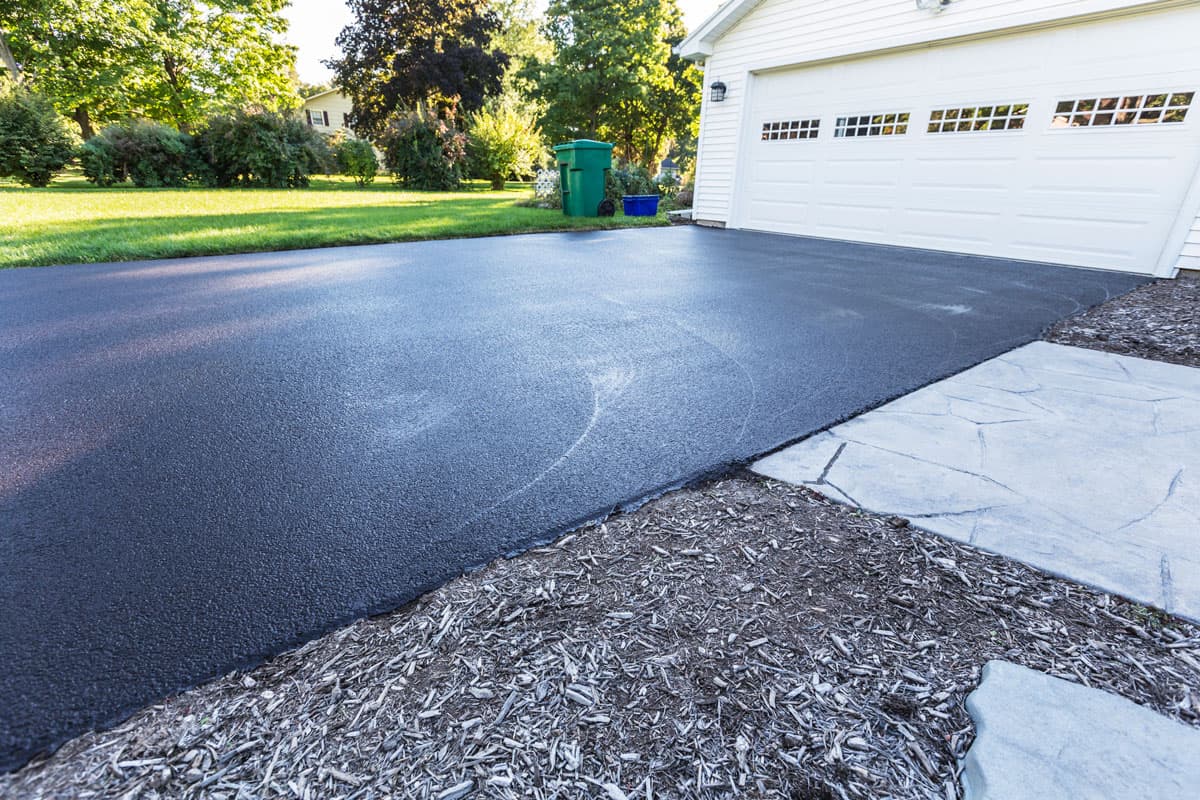
By paying attention to the final touches, you can achieve a professionally repaired asphalt driveway that not only looks great but also provides long-lasting durability.
With the final touches complete, step back and admire your handiwork. You have successfully fixed a hole in your asphalt driveway, saving money and ensuring the continued functionality of your driveway.
Remember, regular maintenance and prompt repairs are key to extending the lifespan of your asphalt driveway. Keep an eye out for any signs of damage or deterioration, and address them promptly to avoid larger problems in the future.
Congratulations on a job well done!
Conclusion
Fixing a hole in an asphalt driveway may seem like a daunting task, but with the right tools, materials, and know-how, it can be a manageable DIY project. By following the step-by-step process outlined in this article, you can successfully repair a hole in your driveway and restore its functionality and appearance.
Assessing the damage, preparing the area, and cleaning the hole are crucial initial steps to ensure a successful repair. Applying the patching compound and compacting it effectively are key to creating a durable and seamless repair. Adding the final touches, such as smoothing out any uneven areas and applying a sealant, will ensure a professional finish.
Regular maintenance and prompt repairs are essential for maintaining the integrity of your asphalt driveway. By addressing any holes or cracks as soon as they appear, you can prevent further damage and prolong the lifespan of your driveway.
Remember to prioritize safety throughout the repair process by wearing gloves and safety glasses. Additionally, carefully follow the manufacturer’s instructions for the patching compound and other materials used.
With patience and attention to detail, you can achieve impressive results and save money by fixing a hole in your asphalt driveway yourself. Enjoy the satisfaction of a job well done as you drive or walk on your newly repaired and seamless surface.
So, roll up your sleeves, gather the necessary tools and materials, and embark on the journey of fixing a hole in your asphalt driveway. With this guide as your roadmap, you can confidently tackle the project and enjoy the benefits of a smooth and immaculate driveway for years to come.
Frequently Asked Questions about How To Fix A Hole In An Asphalt Driveway
Was this page helpful?
At Storables.com, we guarantee accurate and reliable information. Our content, validated by Expert Board Contributors, is crafted following stringent Editorial Policies. We're committed to providing you with well-researched, expert-backed insights for all your informational needs.


0 thoughts on “How To Fix A Hole In An Asphalt Driveway”