Articles
How To Edge An Asphalt Driveway
Modified: May 6, 2024
Learn the best techniques and tips for edging an asphalt driveway in this comprehensive articles guide. Master the art of creating clean and defined edges for a polished and professional look.
(Many of the links in this article redirect to a specific reviewed product. Your purchase of these products through affiliate links helps to generate commission for Storables.com, at no extra cost. Learn more)
Introduction
Welcome to the comprehensive guide on how to edge an asphalt driveway. If you want to give your driveway a polished and professional look, edging is a crucial step. Edging not only defines the boundaries of your driveway but also enhances its appearance and longevity. In this article, we will walk you through the step-by-step process of edging an asphalt driveway, ensuring that you achieve clean and crisp edges that will make your driveway stand out.
Before we dive into the details, let’s take a look at the tools and materials you will need for this project:
- Asphalt edger
- Driveway cleaner
- Crack filler
- Patching compound
- Sealant
- Broom
- Safety gloves
- Safety goggles
- Dust mask
- Water hose
- Pressure washer
Now that you have an overview of the tools and materials required, let’s proceed to the next section, where we will guide you through the process of preparing the driveway for edging.
Key Takeaways:
- Properly preparing the driveway by cleaning, filling cracks, and allowing for drying time is crucial for achieving clean and well-defined edges when edging an asphalt driveway.
- Applying a sealant after edging and allowing it to dry will not only protect the driveway but also add a professional and polished finish, enhancing the overall curb appeal of the property.
Tools and Materials Needed
Before you begin edging your asphalt driveway, make sure you have the following tools and materials at hand:
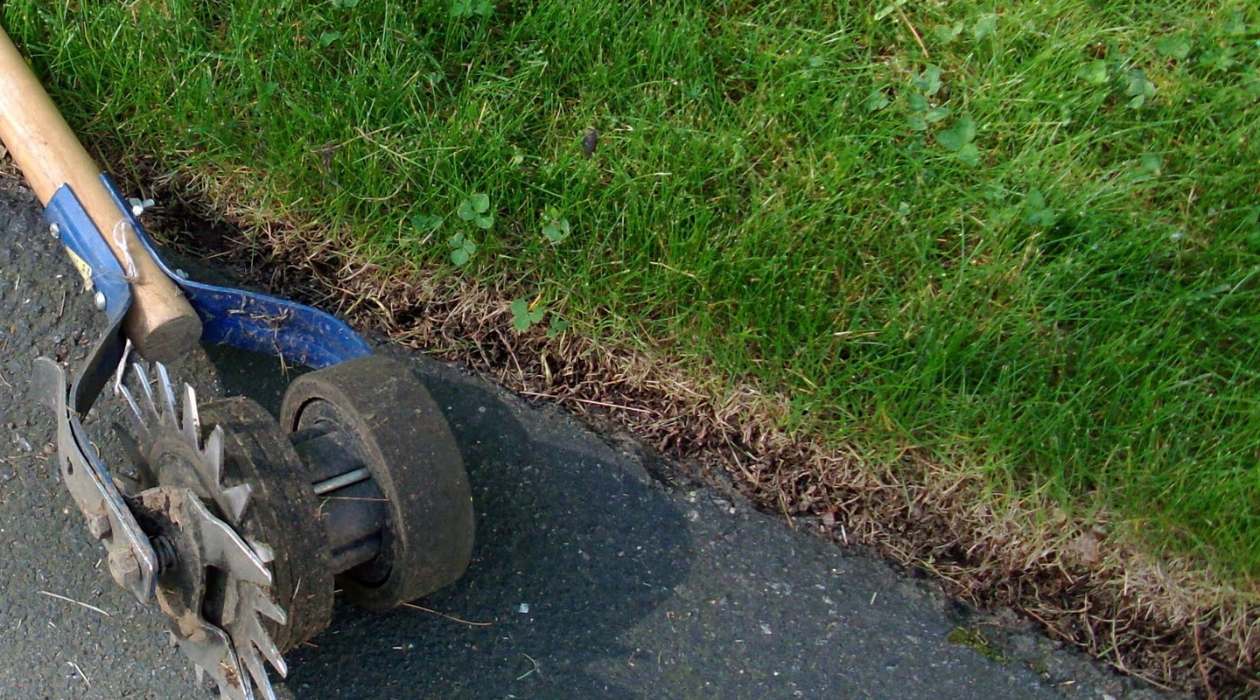
- Asphalt edger: This tool is specifically designed for edging asphalt driveways. It has a sharp blade that cuts through the asphalt, creating smooth and clean edges.
- Driveway cleaner: A good-quality driveway cleaner will effectively remove dirt, oil stains, and other debris from the surface of your driveway. This step is essential to ensure proper adhesion of the edging materials.
- Crack filler: Fill any cracks or gaps in your driveway using a high-quality crack filler. This will prevent water from seeping into the asphalt and causing further damage.
- Patching compound: If you have any potholes or larger damaged areas on your driveway, you will need a reliable patching compound to repair them. This will ensure a level and smooth surface for edging.
- Sealant: Applying a sealant after edging will protect your driveway from harmful UV rays, cracks, and other damages caused by weather conditions. Choose a sealant specifically formulated for asphalt surfaces.
- Broom: A broom with stiff bristles will help you remove loose debris and dirt from your driveway before you start the edging process.
- Safety gloves: Protect your hands and fingers by wearing safety gloves throughout the edging process. It will shield your skin from sharp edges and chemicals.
- Safety goggles: Safety goggles are essential to protect your eyes from flying debris, dust, and any potential chemical splashes while using the driveway cleaner or sealant.
- Dust mask: A dust mask is recommended to prevent inhalation of airborne particles and dust while working on your asphalt driveway.
- Water hose: A water hose will come in handy to rinse off any residue from the cleaning process and assist with the application of the driveway cleaner.
- Pressure washer: If your driveway is heavily soiled or has stubborn stains, a pressure washer can be used to thoroughly clean the surface before edging.
By ensuring you have all the necessary tools and materials, you’ll be well-prepared to tackle the edging process with confidence. With everything in place, let’s move on to the next section, where we’ll guide you through the steps of preparing your driveway for edging.
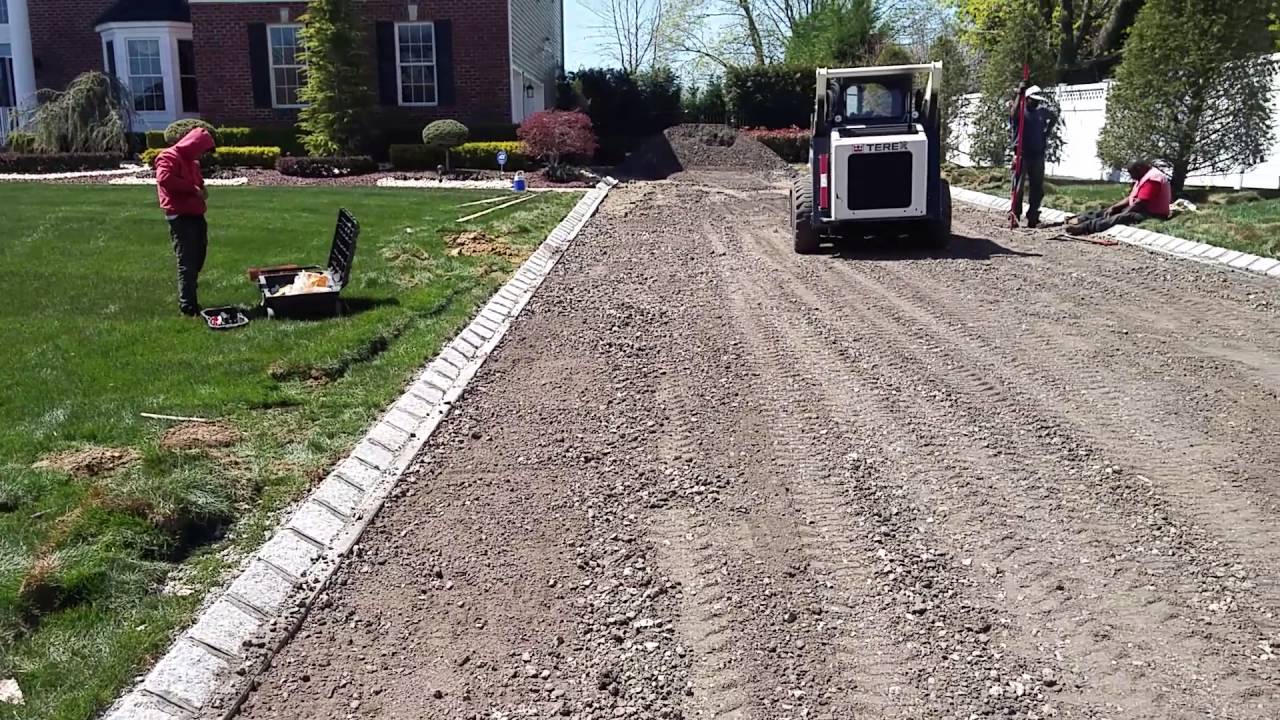
Preparing the Driveway
Before you start edging your asphalt driveway, it’s important to properly prepare the surface. Follow these steps to ensure the best results:
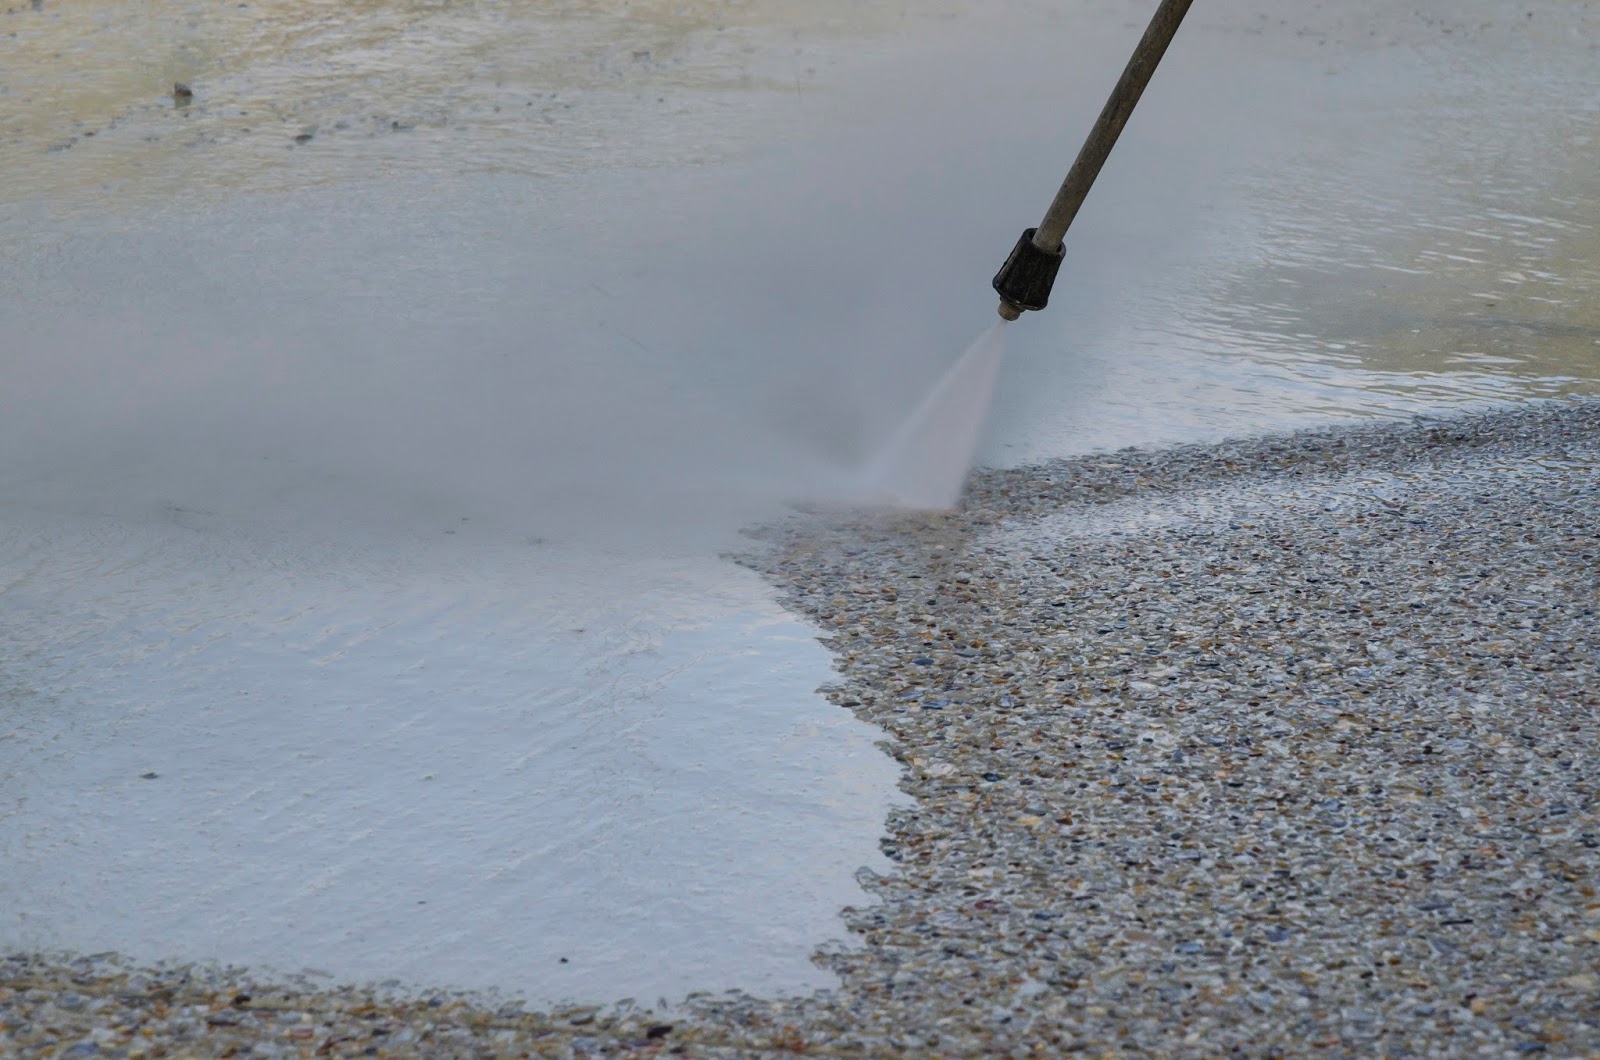
- Clean the surface: Begin by thoroughly cleaning the entire surface of your driveway. Remove any loose dirt, debris, or vegetation using a broom or a leaf blower. For stubborn stains or oil spots, consider using a driveway cleaner and follow the manufacturer’s instructions for application. Rinse the surface with a water hose or use a pressure washer to remove any remaining dirt and grime.
- Fill cracks and holes: Inspect your driveway for any cracks, holes, or other types of damage. Fill these areas with a suitable crack filler or patching compound, following the manufacturer’s guidelines. Use a trowel or putty knife to ensure the filler is applied evenly and smoothly. Allow sufficient time for the filler to dry completely, as per the manufacturer’s instructions. This step is crucial to prevent further deterioration and maintain the integrity of your driveway.
- Allow time for drying: After cleaning and repairing your driveway, it’s important to give it enough time to dry thoroughly. The drying time can vary depending on the climate and the type of crack filler or patching compound used. Make sure to refer to the product instructions for the recommended drying time. It’s crucial to have a dry surface before proceeding with the edging process to ensure proper adhesion of the edging materials.
By taking the time to clean the surface, fill cracks and holes, and allow for adequate drying time, you will create a solid foundation for edging your asphalt driveway. With the surface prepared, we can now move on to the exciting part – edging the driveway.
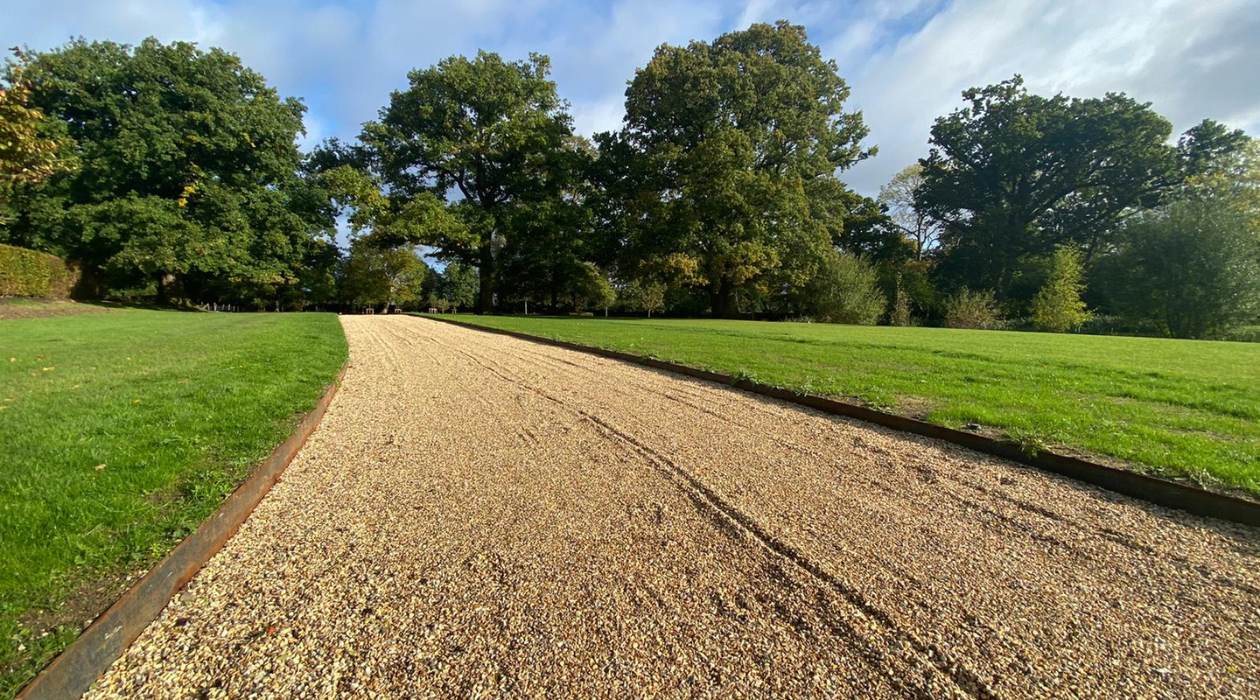
Regularly edging your asphalt driveway with a spade or edging tool can help prevent grass and weeds from encroaching onto the surface, maintaining a clean and well-maintained appearance.
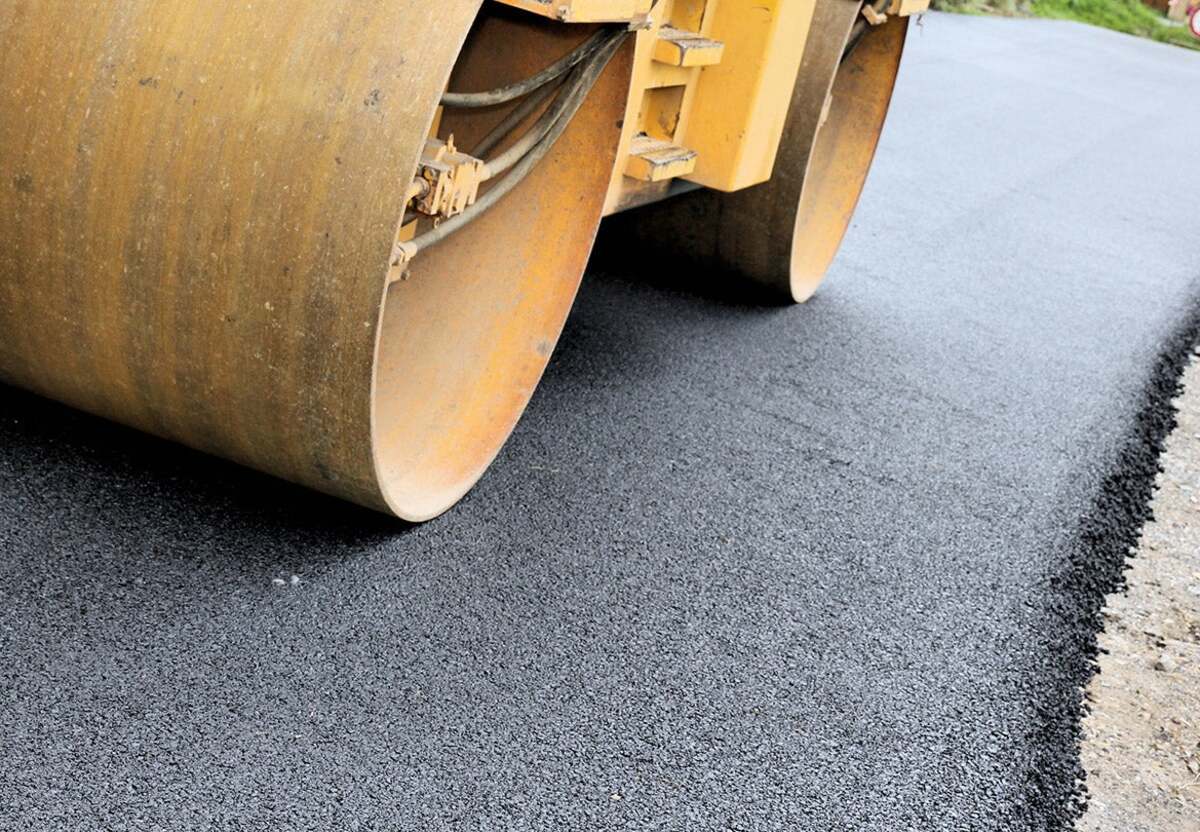
Edging the Driveway
Now that your driveway is properly prepared, it’s time to start edging. Follow these steps to achieve clean and well-defined edges:
- Mark the desired edge line: Start by marking the desired edge line using spray paint or chalk. This will help guide you as you edge the driveway and ensure a consistent and visually appealing result.
- Start at one end: Begin the edging process at one end of your driveway. This will allow you to work systematically and maintain a consistent edge throughout the entire length of the driveway.
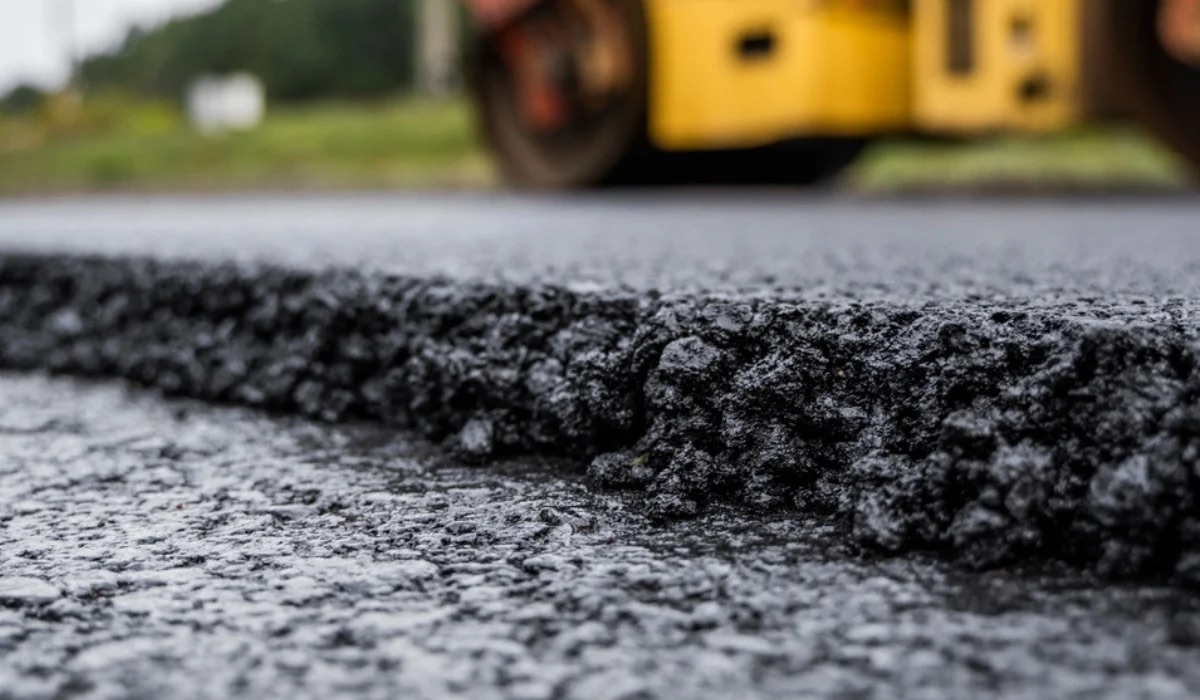
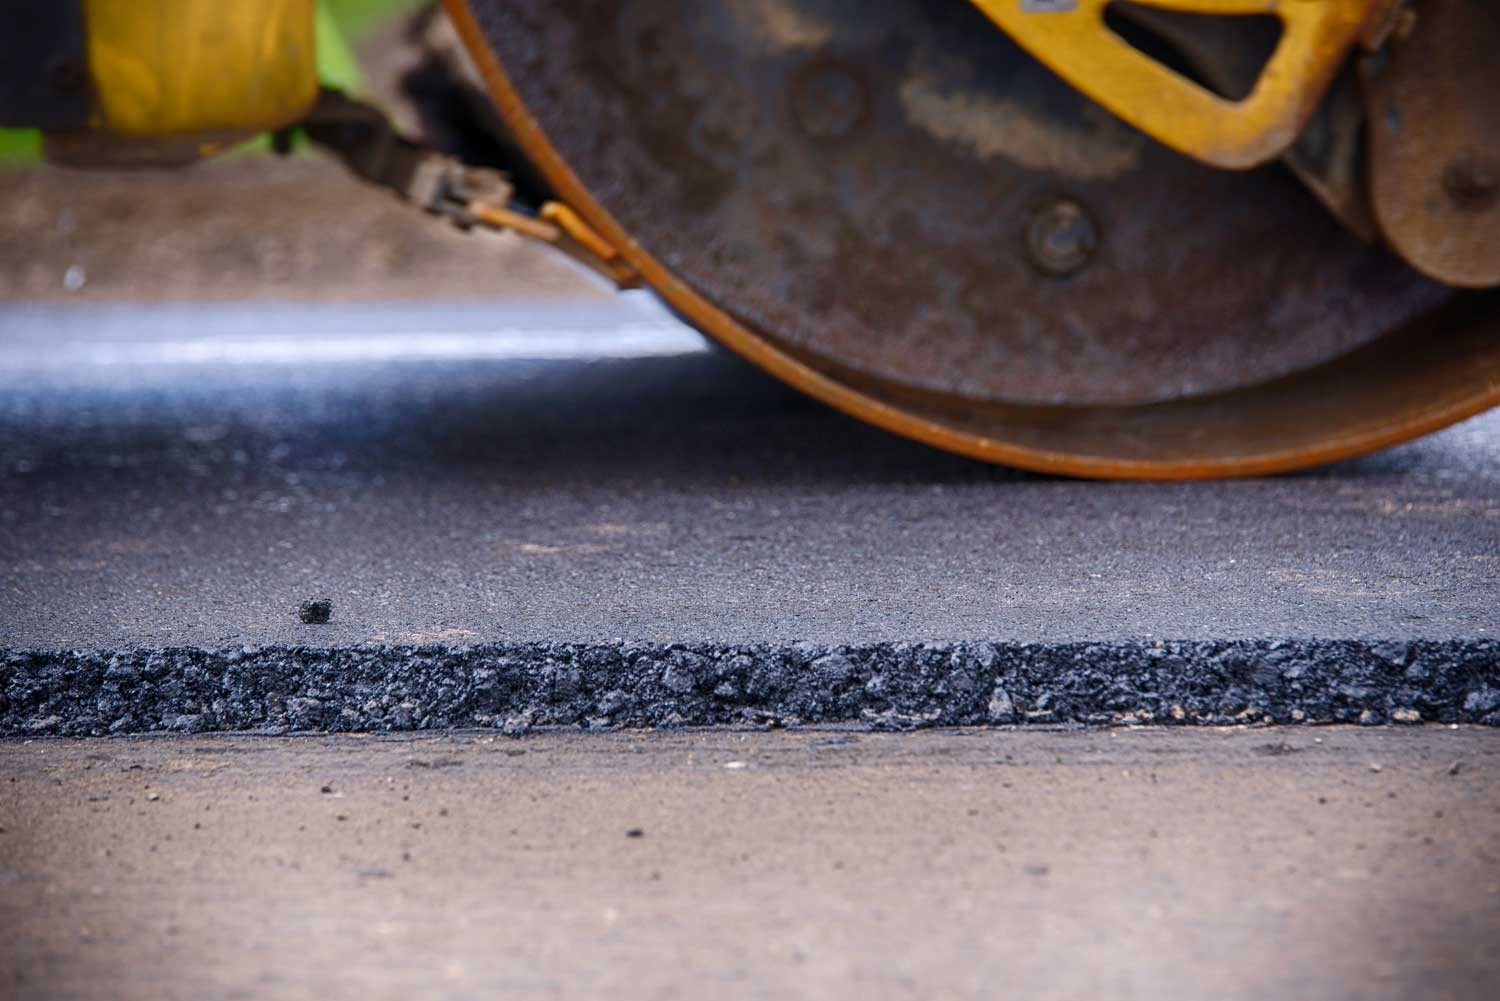
- Use the asphalt edger: Take your asphalt edger and position it at the edge line you’ve marked. Hold the edger firmly and with a smooth, controlled motion, guide it along the edge, cutting through the asphalt. The sharp blade of the edger will create a crisp and clean edge.
- Work in small sections: It’s best to work in small sections, typically around 3 to 4 feet in length. This allows you to maintain control and precision as you edge. Move along the driveway, keeping a steady pace and ensuring a consistent depth and angle for each section.
- Maintain a straight line: Pay close attention to the edge line you’ve marked and make sure to follow it as closely as possible. This will help you achieve straight and symmetrical edges. Periodically step back and assess your progress to ensure that the edging line remains straight and consistent throughout.
Edging an asphalt driveway requires patience and attention to detail. By marking the desired edge line, starting at one end, using the asphalt edger properly, working in small sections, and maintaining a straight line, you’ll be able to create tidy and well-defined edges that enhance the overall appearance of your driveway.
With the edging process complete, it’s time for the finishing touches that will add the final touches of polish to your driveway. Let’s move on to the next section.
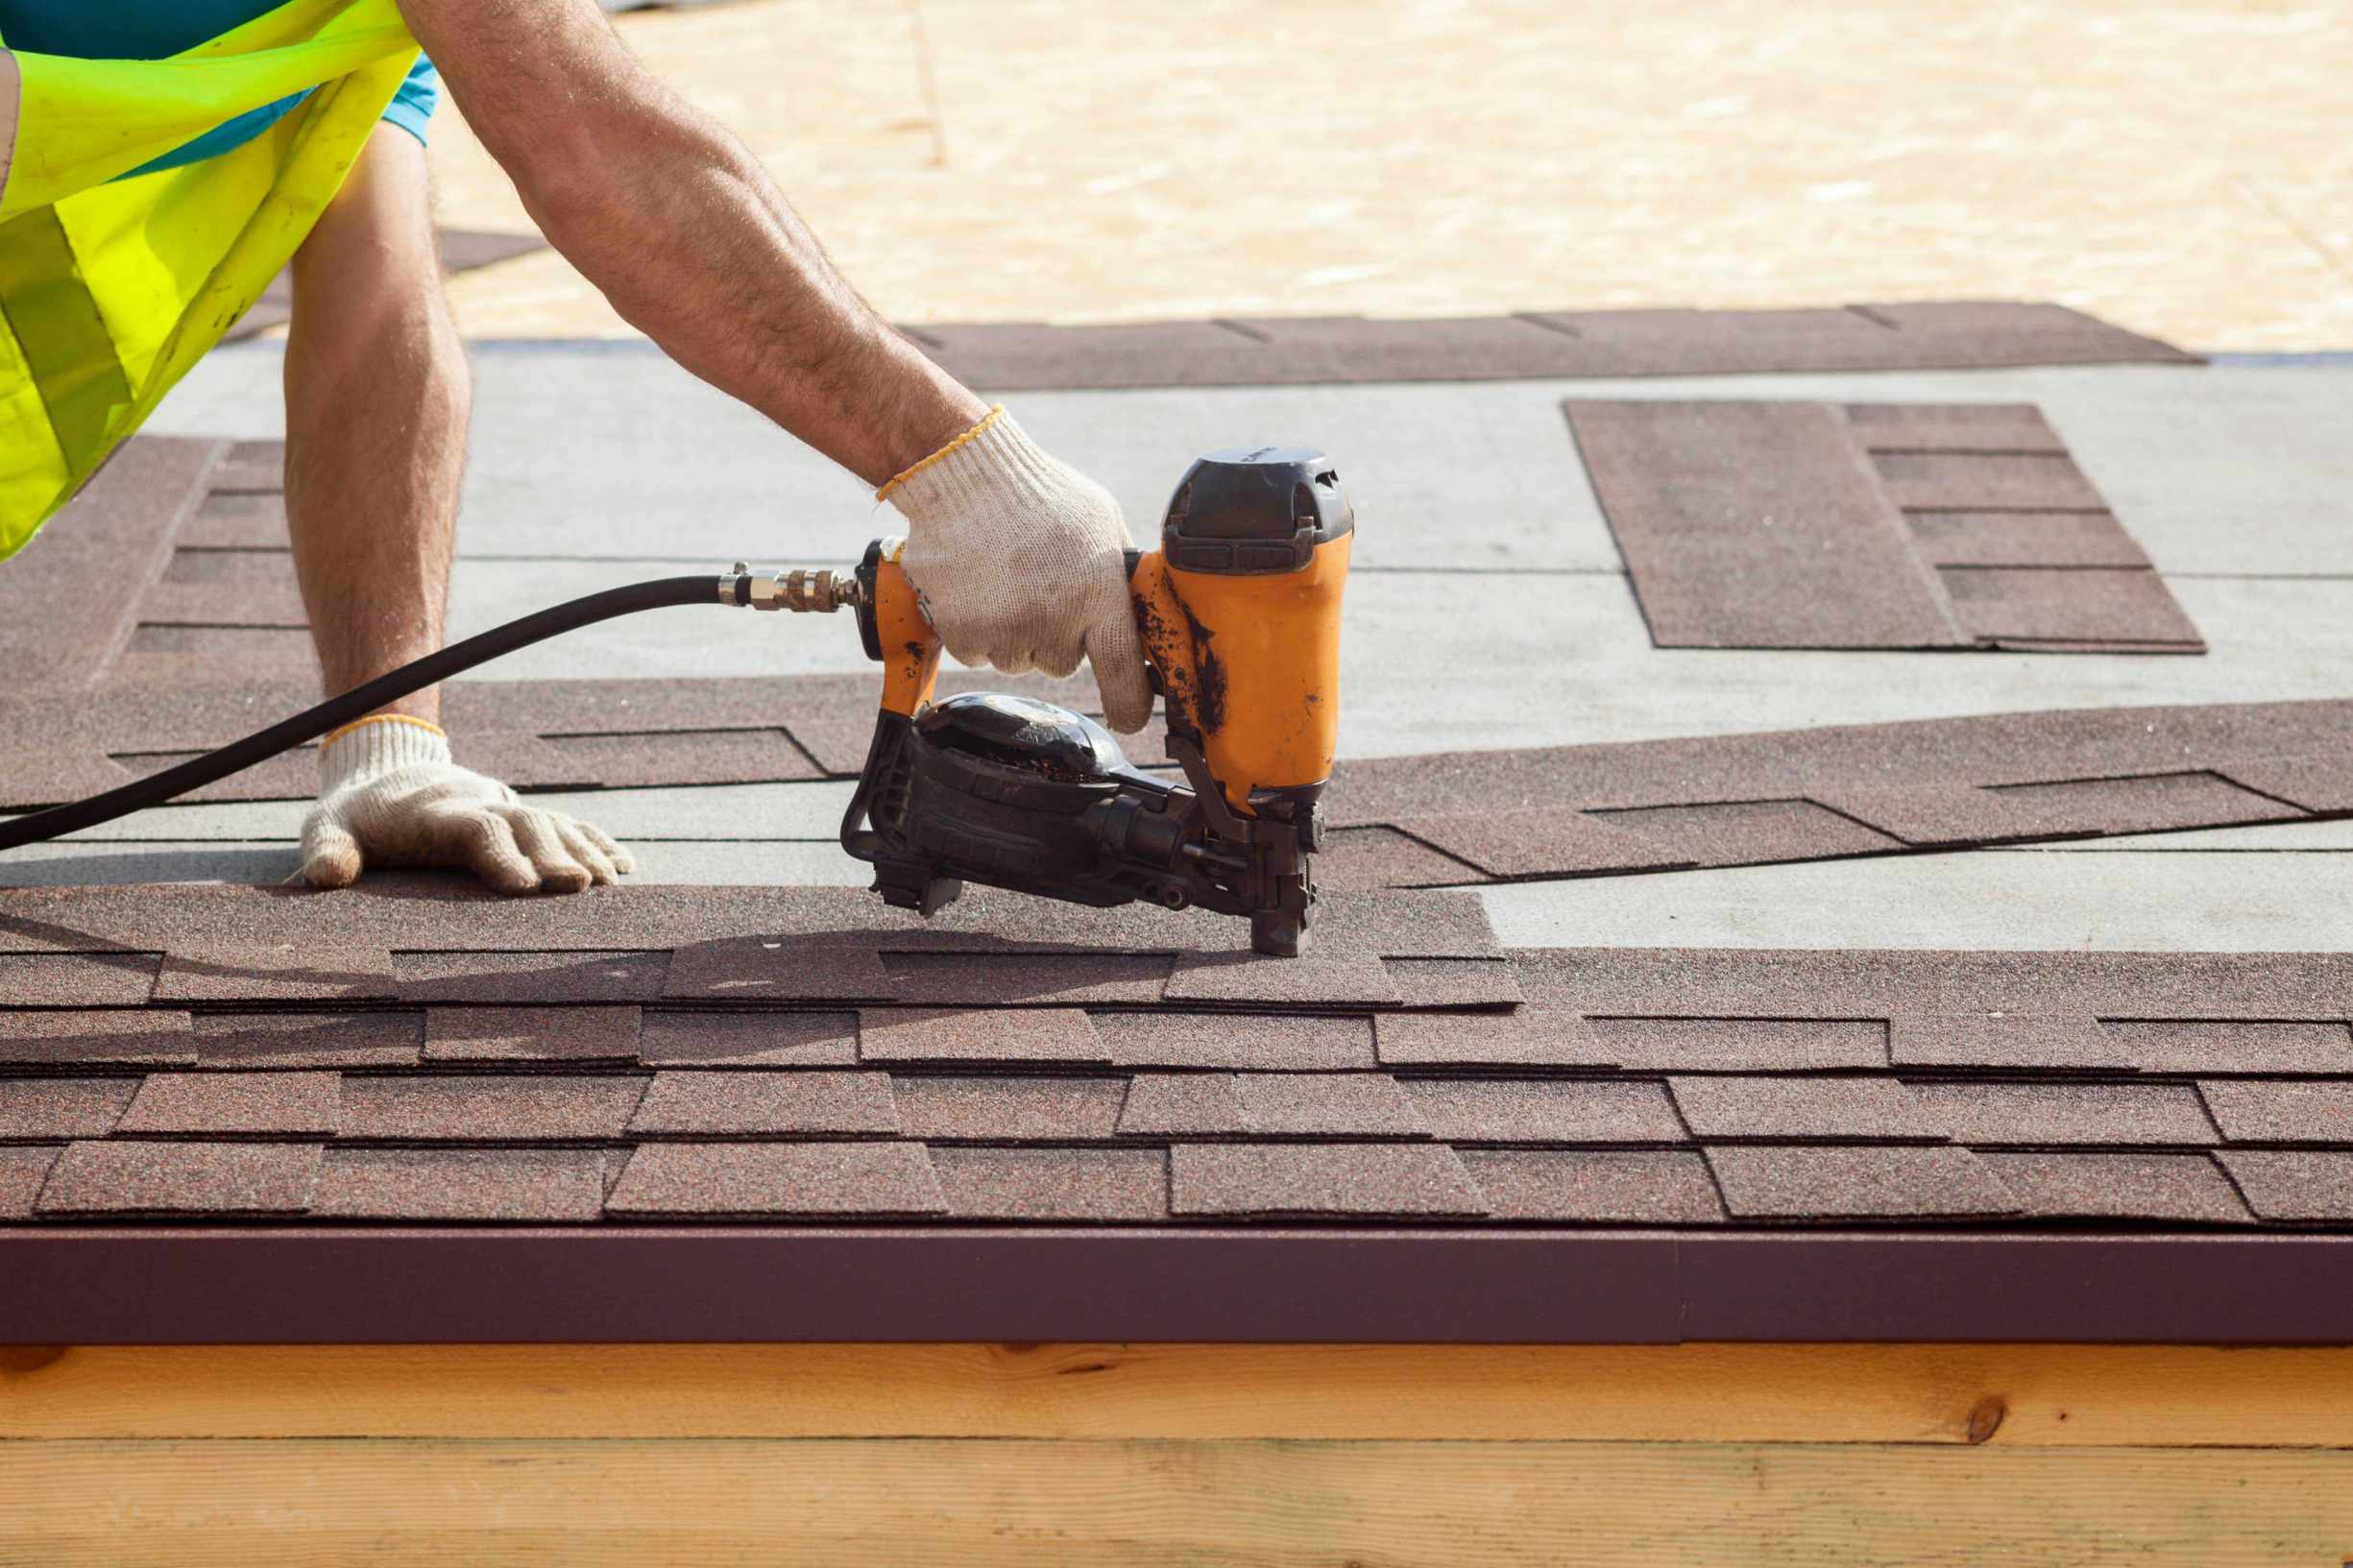
Finishing Touches
Now that you have successfully edged your asphalt driveway, it’s time to add the finishing touches. These final steps will help ensure a clean and polished look while also protecting your driveway. Follow these guidelines to complete the edging process:
- Sweep off debris: Use a broom or a leaf blower to sweep off any loose debris or dirt from the newly edged areas. This will give your driveway a neat and tidy appearance.
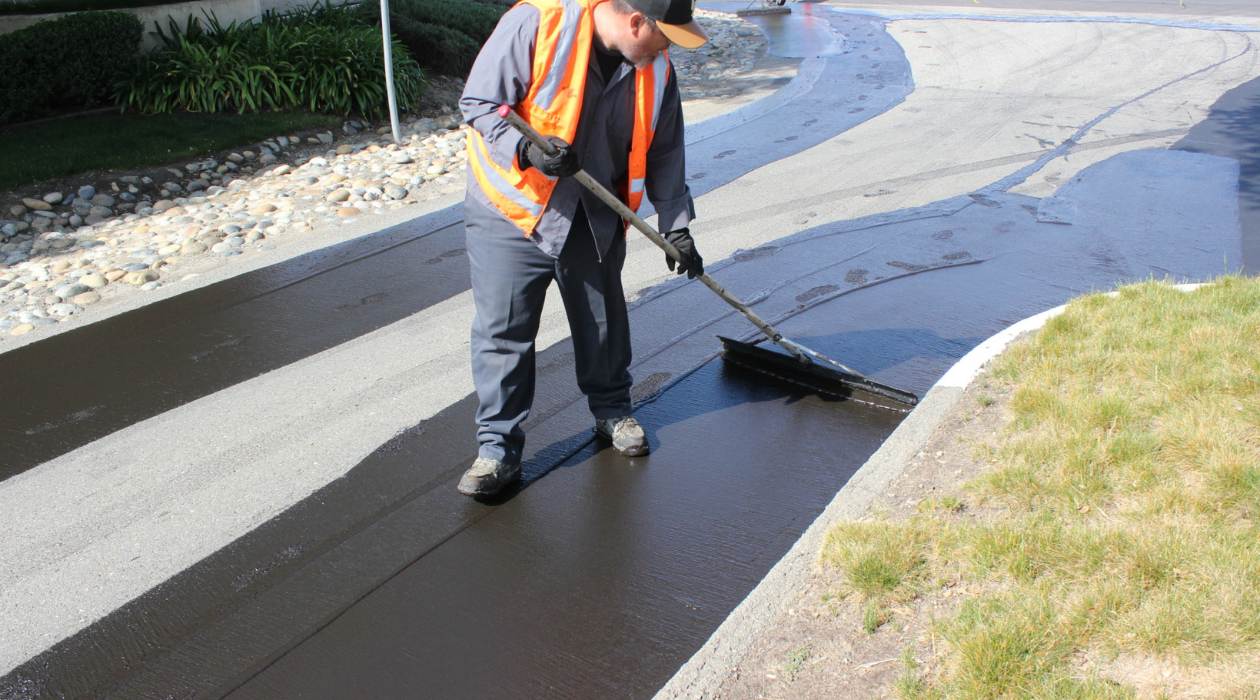
- Apply sealant: Applying a sealant is an essential step to protect your asphalt driveway and prolong its lifespan. Choose a high-quality asphalt sealant that is specifically formulated for driveways. Follow the manufacturer’s instructions to apply an even coat of sealant over the entire surface, including the newly edged edges. Use a brush or a sprayer for an even application.
- Allow time to dry: After applying the sealant, allow sufficient drying time as recommended by the manufacturer. This will ensure proper curing and effectiveness of the sealant. Avoid walking or driving on the driveway until the sealant is completely dry to avoid any damage or smudging.
By sweeping off debris, applying sealant, and allowing time to dry, you can give your newly edged driveway that extra touch of professionalism and ensure its longevity. Regular maintenance, including regular reapplication of sealant, will help keep your driveway looking its best for years to come.
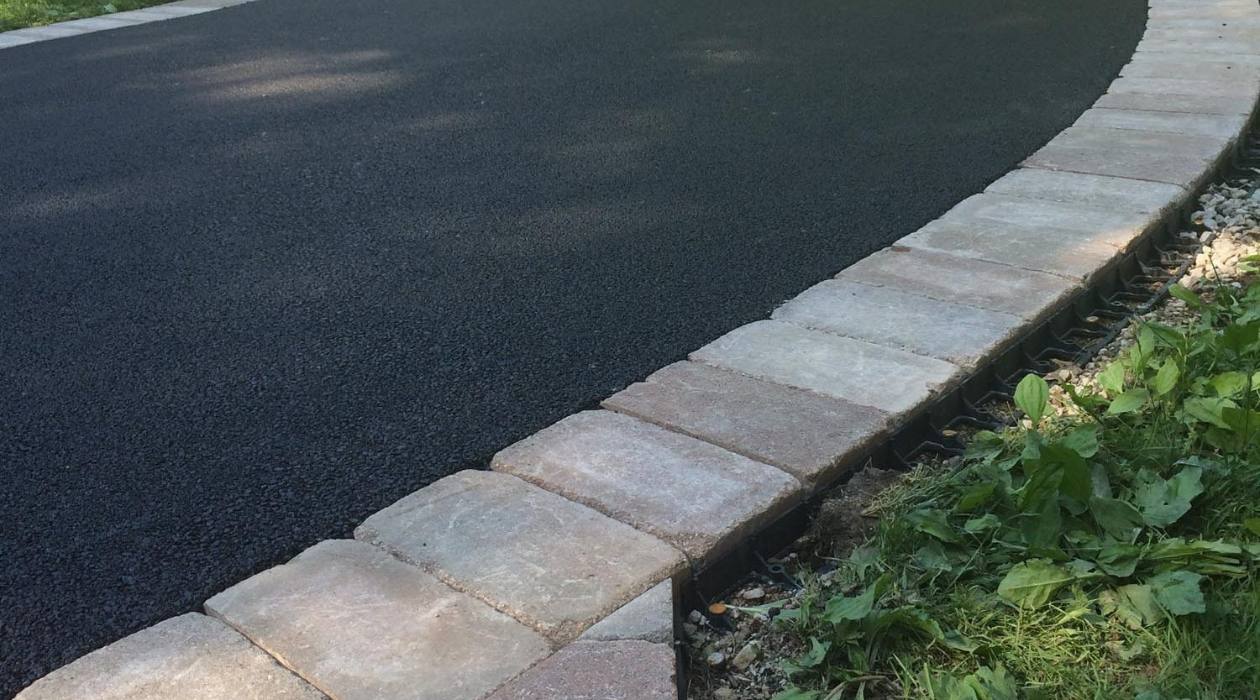
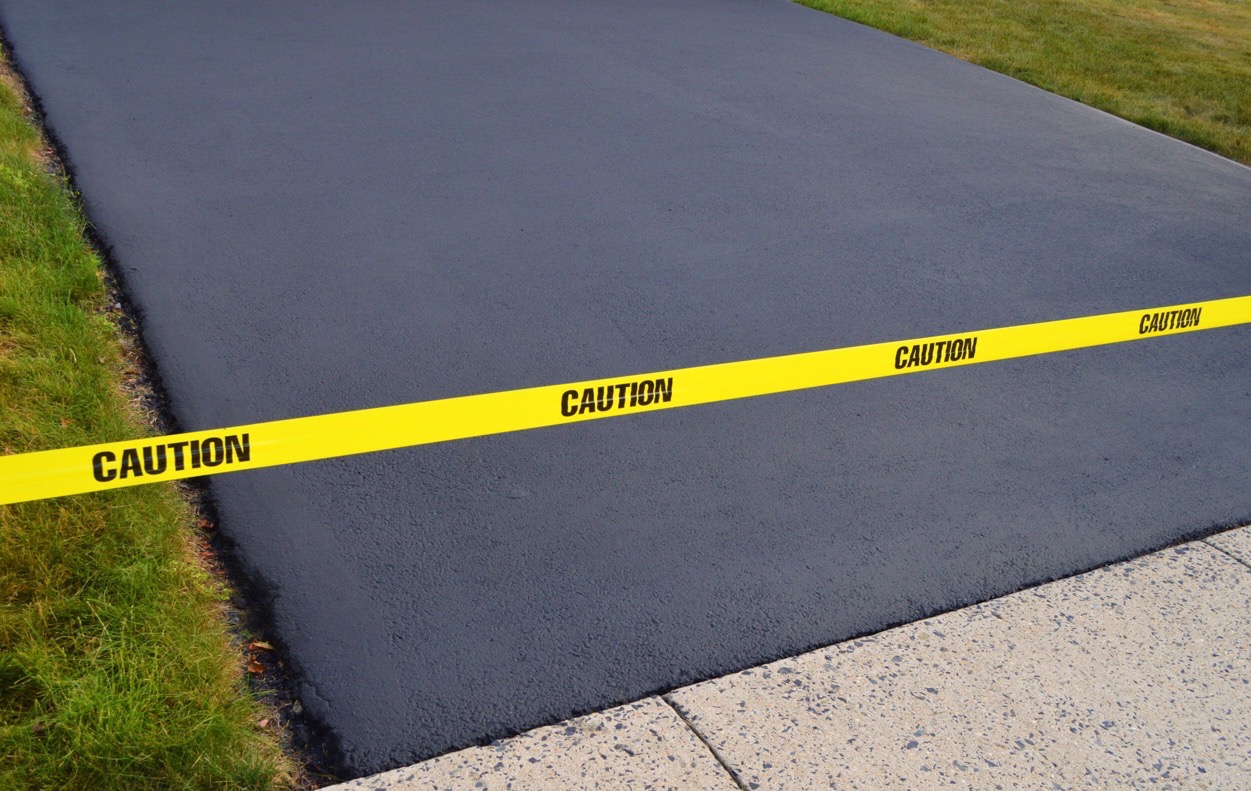
Congratulations! You have successfully completed the process of edging your asphalt driveway. By following the steps outlined in this guide, you have achieved clean and defined edges that enhance the overall appearance and functionality of your driveway. With proper care and maintenance, your newly edged driveway will continue to impress for years to come.
Remember, edging an asphalt driveway is not only an aesthetic enhancement but also a practical step in preserving the integrity of your driveway. By taking the time to properly edge your driveway, you are investing in its long-term durability and curb appeal.
Read more: How To Resurface An Asphalt Driveway
Conclusion
Edging an asphalt driveway is an essential step in maintaining its appearance and longevity. By following the step-by-step process outlined in this guide, you can achieve clean and crisp edges that enhance the overall look of your driveway. The keys to successful edging are proper preparation, using the right tools, and attention to detail.
Before you begin the edging process, make sure you have all the necessary tools and materials, including an asphalt edger, driveway cleaner, crack filler, patching compound, sealant, broom, safety gloves, safety goggles, dust mask, water hose, and pressure washer. These tools will allow you to clean and prepare the surface of your driveway, fill cracks and holes, and apply a protective sealant after edging.
Once you have prepared the driveway, carefully mark the desired edge line and start edging from one end. Use the asphalt edger to cut through the asphalt, working in small sections and maintaining a straight line. This will ensure consistent and professional-looking edges.
After edging, don’t forget the finishing touches. Sweep off any debris from the newly edged areas and apply a sealant to protect your driveway from UV rays, cracks, and other damage. Allow sufficient drying time for the sealant to cure before using the driveway.
By following these steps and regularly maintaining your edged driveway, you can not only enhance its visual appeal but also prolong its lifespan. Properly edged edges will prevent crumbling, cracking, and water damage, ensuring that your driveway remains in great condition for years to come.
Thank you for reading our comprehensive guide on how to edge an asphalt driveway. We hope you found the information helpful and that it empowers you to take on this project with confidence. Remember to prioritize safety by wearing protective gear and always follow the manufacturer’s instructions for any tools or materials used. Edging your asphalt driveway is a rewarding task that will give it a professional and polished look, enhancing the overall curb appeal of your property.
Ready to spruce up your home’s exterior even more? After mastering driveway edges, consider transforming your mailbox area into a stunning focal point to enhance curb appeal. Our guide on mailbox landscaping provides creative ideas to turn that everyday spot into a charming highlight. And if you're curious about maintaining that fresh look, our insights on driveway sealing will ensure your efforts stand the test of time and weather. Dive into these guides for more practical tips on enhancing your outdoor space.
Frequently Asked Questions about How To Edge An Asphalt Driveway
Was this page helpful?
At Storables.com, we guarantee accurate and reliable information. Our content, validated by Expert Board Contributors, is crafted following stringent Editorial Policies. We're committed to providing you with well-researched, expert-backed insights for all your informational needs.


0 thoughts on “How To Edge An Asphalt Driveway”