Articles
How To Replace A Deck Board
Modified: February 25, 2024
Learn how to replace a deck board with our informative articles. Find step-by-step instructions, tips, and expert advice to help you complete your deck repair project.
(Many of the links in this article redirect to a specific reviewed product. Your purchase of these products through affiliate links helps to generate commission for Storables.com, at no extra cost. Learn more)
Introduction
Welcome to our guide on how to replace a deck board. Over time, deck boards can become damaged or worn out due to exposure to the elements, constant foot traffic, or other factors. Being able to replace a deck board is a valuable skill that can help you maintain the integrity and aesthetic appeal of your outdoor living space.
In this article, we will provide you with step-by-step instructions on how to replace a deck board. We will cover the tools and materials you’ll need, as well as the process of assessing the damaged deck board, removing it, choosing a suitable replacement, and installing the new deck board. Let’s get started!
Key Takeaways:
- Replacing a deck board is a straightforward process that involves assessing the damage, choosing a suitable replacement, and carefully installing it to maintain the beauty and functionality of your outdoor living space.
- Proper preparation, including prepping the replacement board and adding finishing touches, ensures a seamless and visually appealing result. Regular maintenance and prompt replacement of damaged deck boards contribute to the longevity and safety of your deck.
Read more: How To Replace Decking Boards
Tools and Materials Needed
Before you begin replacing a deck board, make sure you have the following tools and materials on hand:
- Hammer or pry bar: Used to remove the old deck board.
- Circular saw: Helps in cutting the replacement deck board to the correct size.
- Drill: Needed for drilling pilot holes and securing the new deck board.
- Tape measure: Allows you to accurately measure the dimensions of the deck board.
- Safety goggles: Protects your eyes from any flying debris or dust.
- Gloves: Provides hand protection while handling tools.
- Replacement deck board: Choose a deck board that matches the type, size, and color of the existing ones.
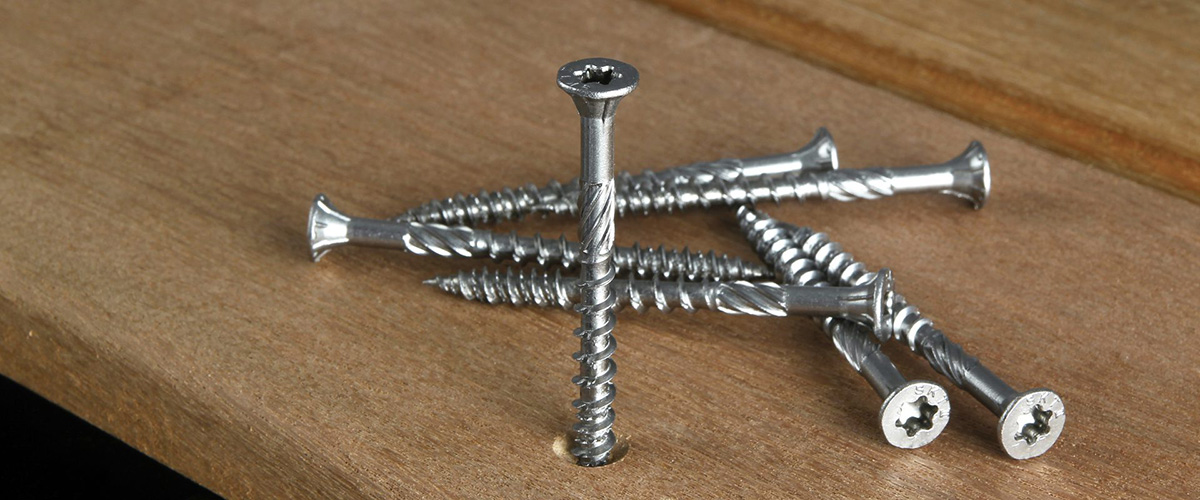
- Screws or nails: Use corrosion-resistant screws or nails to attach the new deck board securely.
- Sandpaper: Helps smoothen any rough edges on the replacement deck board.
- Deck stain or paint (optional): If desired, you can apply a finish to match the rest of the deck.
Having these tools and materials readily available will ensure a smooth and efficient replacement process. Now that you’re equipped with the necessary items, let’s move on to assessing the damaged deck board.
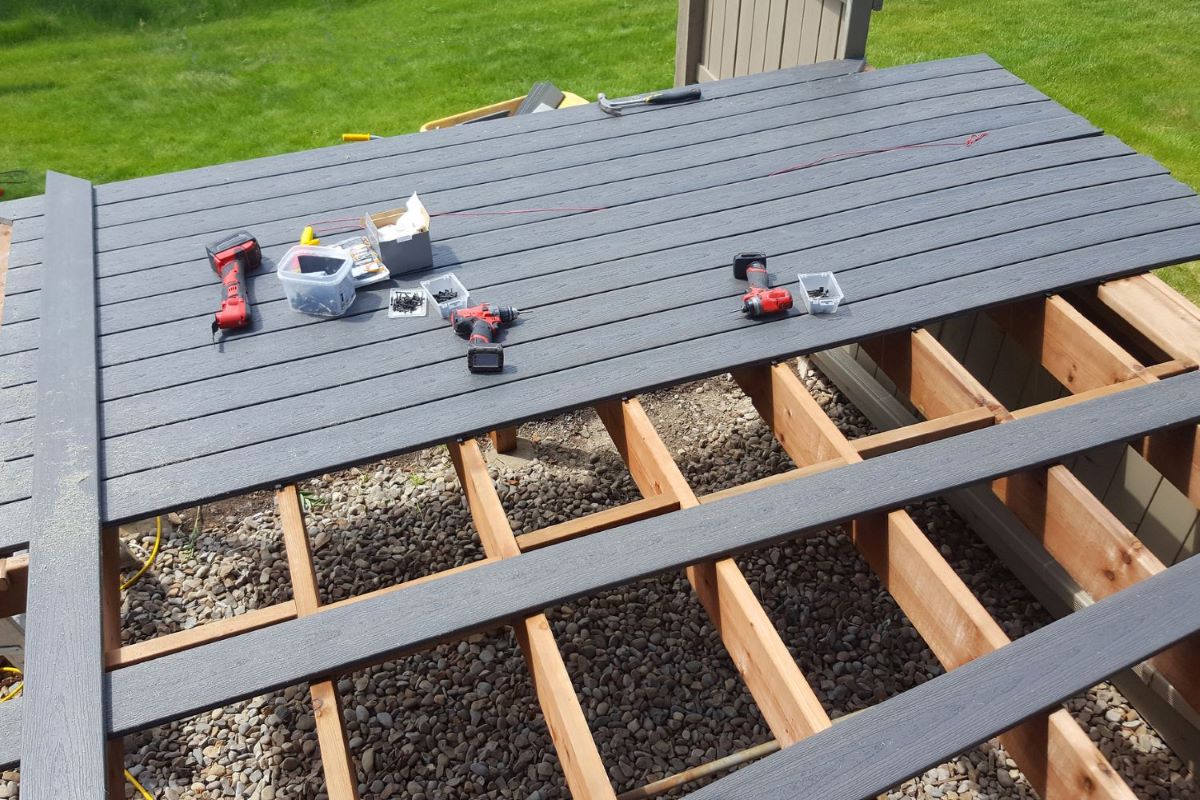
Assessing the Damaged Deck Board
The first step in replacing a deck board is to assess the extent of the damage. This will help you determine whether the entire board needs to be replaced or if only a section of it requires repair.
Begin by thoroughly inspecting the deck board. Look for signs of rot, decay, or excessive splintering. If the damage is limited to a specific area, you may be able to cut out that section and install a patch. However, if the damage is widespread or compromises the structural integrity of the board, it’s best to replace the entire board.
If you’re unsure about whether to replace the board or opt for a patch, consult with a professional or seek advice from a local hardware store. They can offer expert guidance based on the specific condition of your deck board.
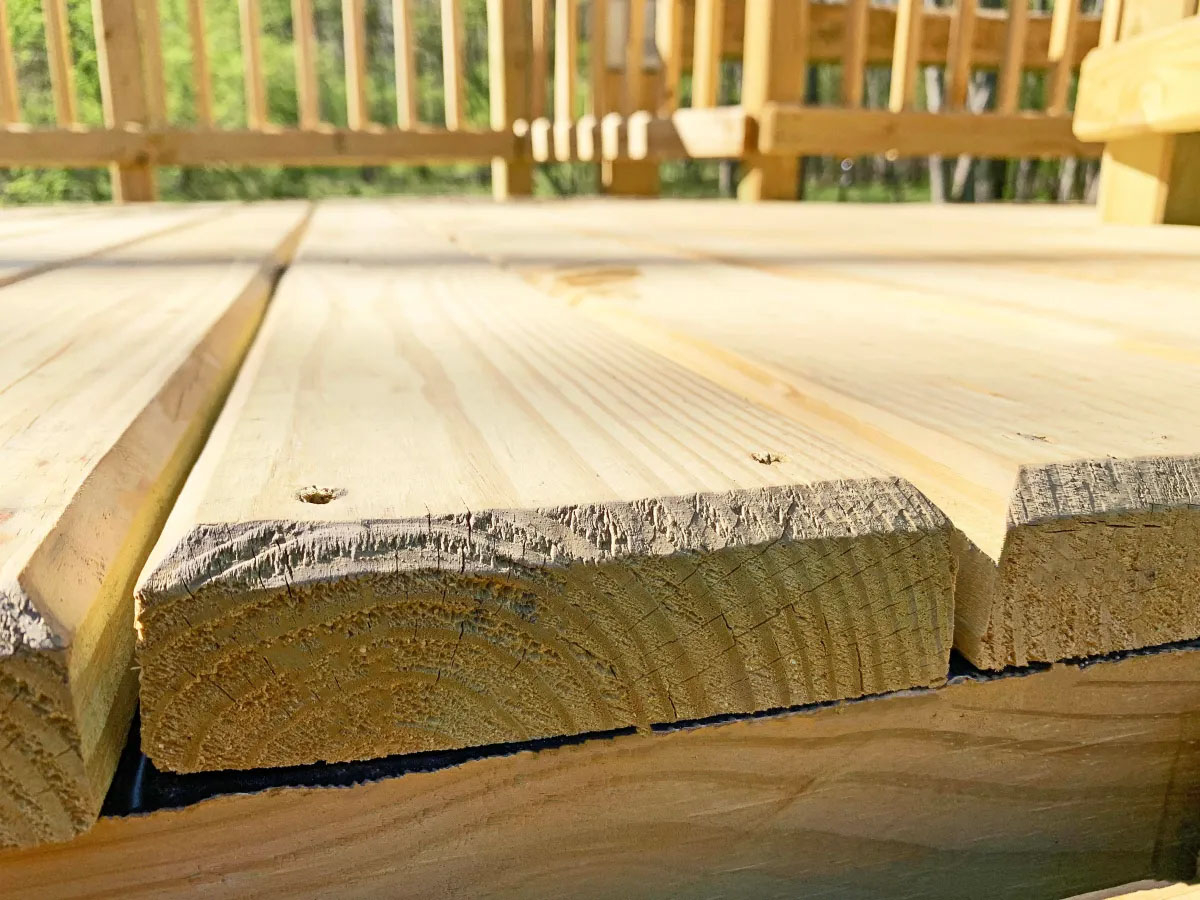
Once you’ve determined the extent of the damage, take accurate measurements of the deck board. Record the length, width, and thickness of the board. This will help you find a suitable replacement that matches the dimensions of the existing board.
Additionally, take note of any connectors, nails, or screws that are holding the deck board in place. Make sure to remove and replace these along with the damaged board.
With a clear understanding of the damage and the necessary measurements, you’re ready to move on to the next step: removing the old deck board.
Removing the Old Deck Board
Now that you have assessed the damaged deck board, it’s time to remove it to make way for the replacement. Follow these steps to remove the old deck board:
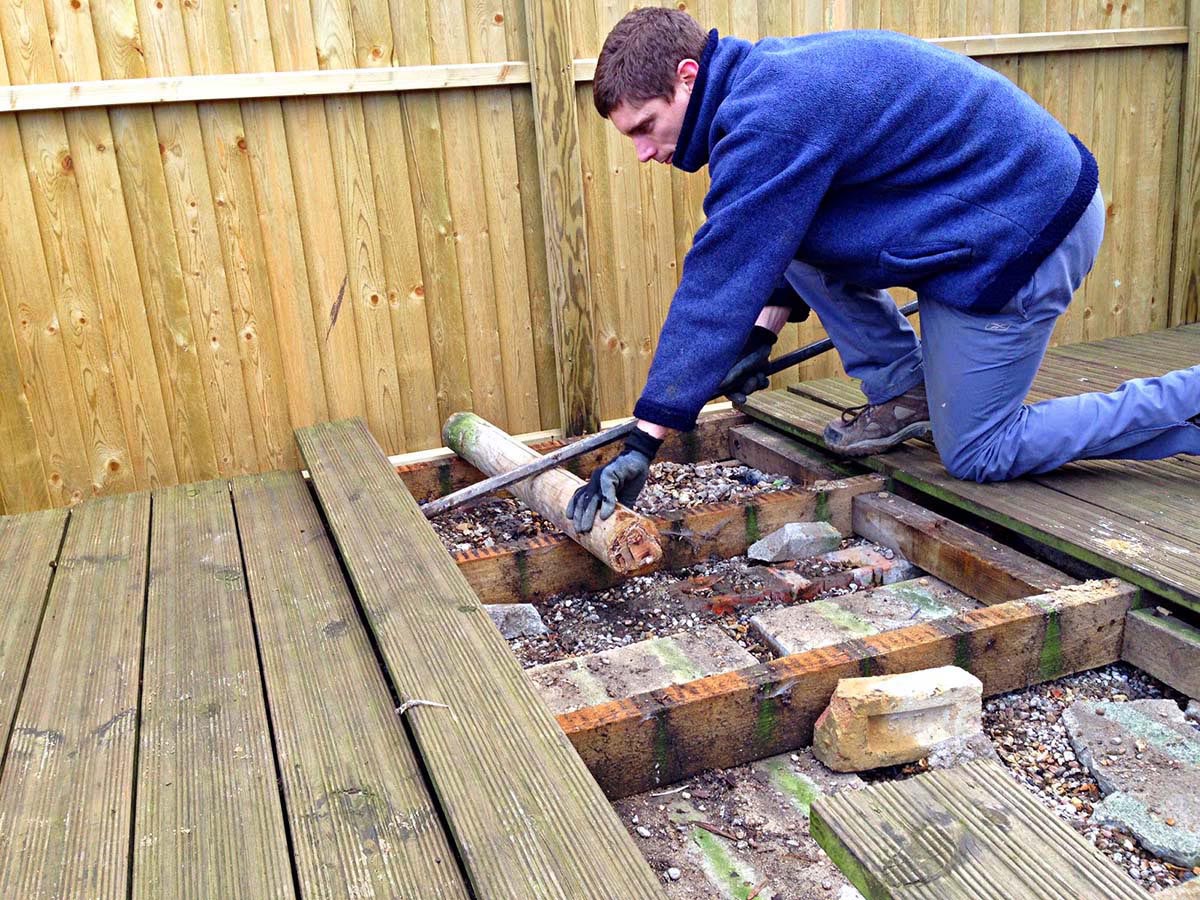
- Start by removing any screws or nails that are securing the deck board to the joists. Use a hammer or pry bar to carefully pry them out.
- If the deck board is nailed down, you may need to use a reciprocating saw to cut through the nails. Be cautious when using power tools and wear protective goggles.
- Once the fasteners are removed, use a hammer or pry bar to gradually lift the damaged board. Start from one end and work your way towards the middle, being careful not to damage adjacent boards.
- If the board is stubborn or difficult to remove, you can use a circular saw to cut it into smaller sections. This will make it easier to pry the pieces out.
- Continue this process until the entire damaged board is removed, leaving a clean space where the replacement board will be installed.
- Inspect the joists and supporting structure for any signs of damage. Replace or repair any compromised components before proceeding with the installation of the new deck board.
Properly removing the old deck board ensures a clean and stable foundation for the replacement. Take your time and exercise caution during this step to avoid any unnecessary damage.
With the old board successfully removed, it’s time to move on to choosing the perfect replacement board.
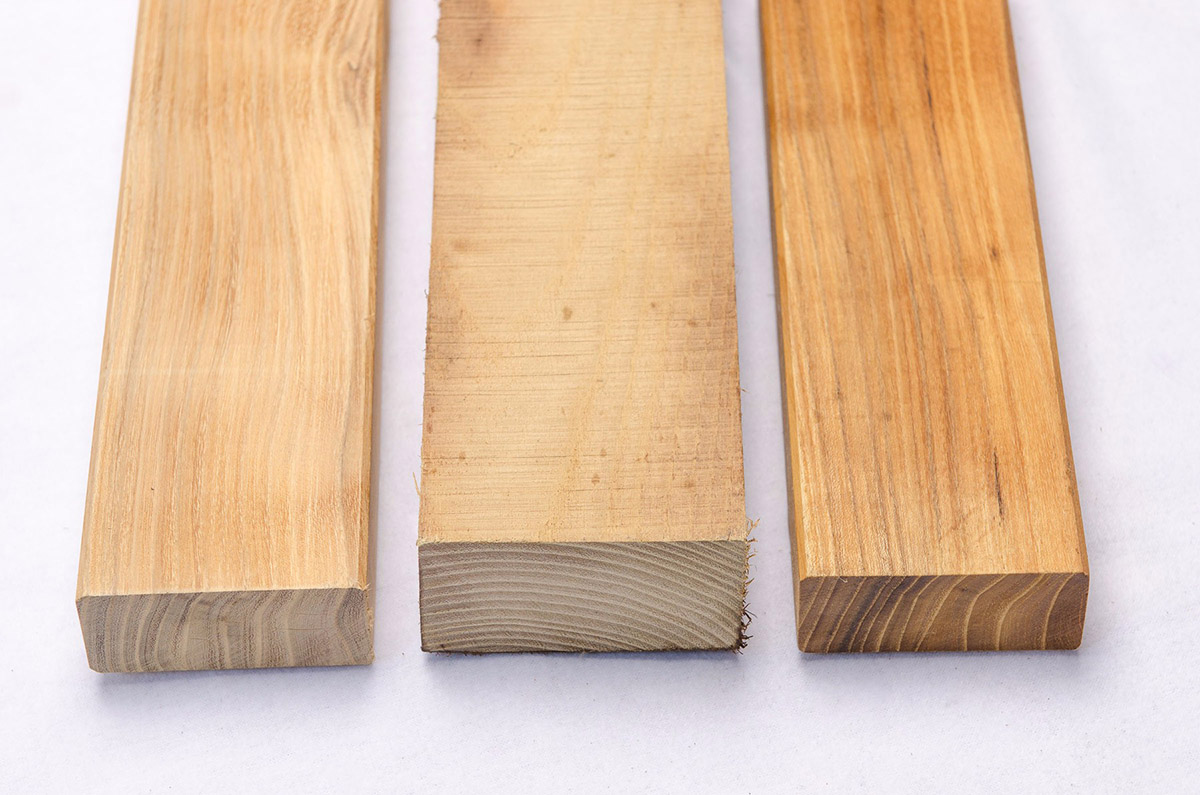
Choosing the Replacement Deck Board
When selecting a replacement deck board, there are a few factors to consider to ensure a seamless integration with the existing deck. Follow these guidelines to choose the perfect replacement:
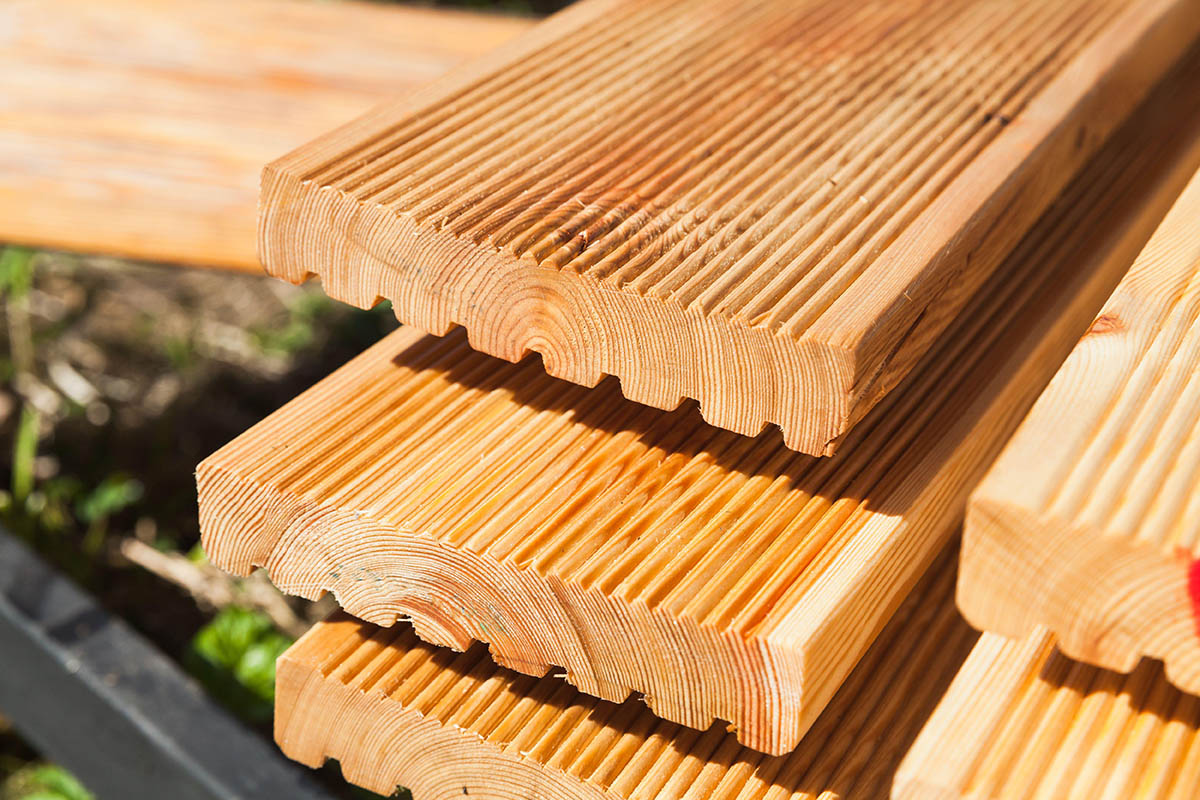
- Material: Select a replacement deck board that matches the material of the existing deck boards. Common options include wood (such as cedar, redwood, or pressure-treated lumber), composite, or PVC.
- Size: Measure the length, width, and thickness of the old deck board to find a replacement that matches these dimensions. This will ensure a consistent and level deck surface.
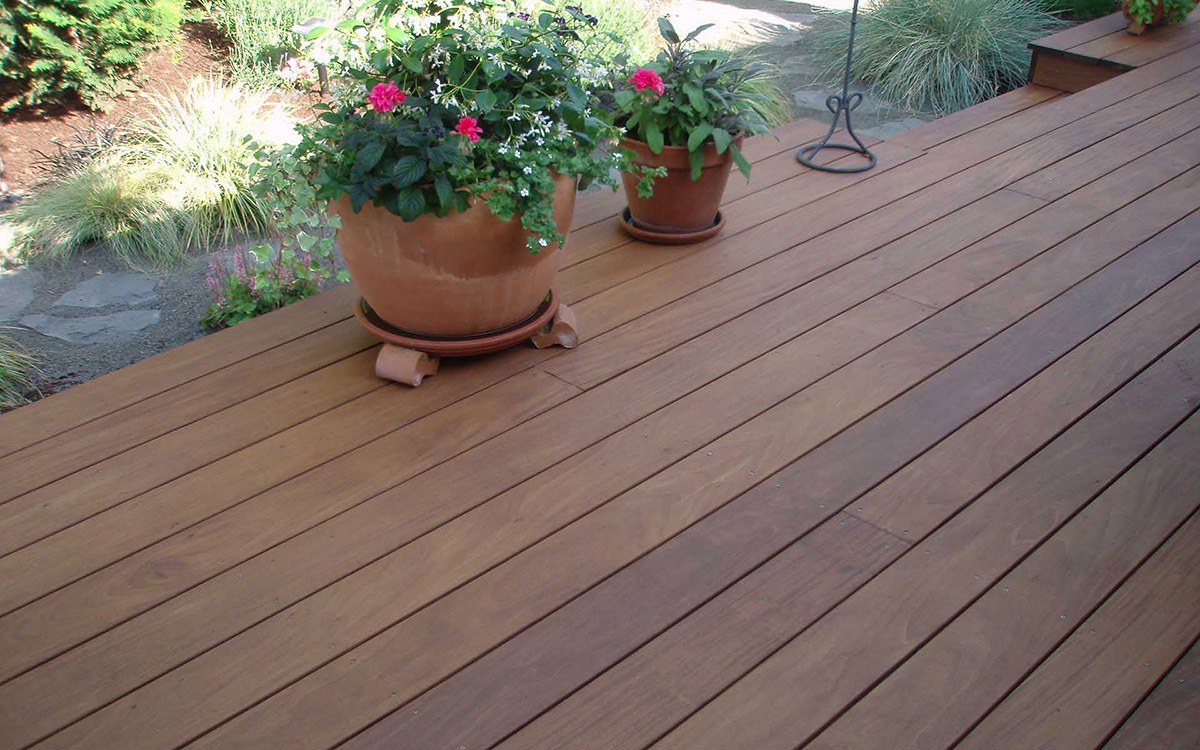
- Color and Texture: If maintaining a uniform appearance is important to you, choose a replacement deck board that closely matches the color and texture of the existing ones. This will create a cohesive and visually appealing deck.
- Quality: Look for a replacement board that is of the same or superior quality to the existing deck boards. This will help maintain the long-term durability and integrity of the deck.
- Budget: Consider your budget when choosing a replacement deck board. Prices can vary depending on the material and quality, so find a balance between affordability and longevity.
Additionally, if you plan to stain or paint the deck, take into account the type of finish you will apply. Some materials may require specific types of stains or paints for optimal results.
Remember, it’s always recommended to seek professional advice or consult a knowledgeable salesperson when choosing a replacement deck board. They can provide guidance based on your specific deck requirements and help you make an informed decision.
Once you have selected the perfect replacement board, it’s time to move on to the next step: prepping the replacement deck board.
When replacing a deck board, make sure to measure and cut the new board to fit precisely. Use a pry bar to remove the old board and secure the new one with galvanized screws. Sand the edges for a smooth finish.
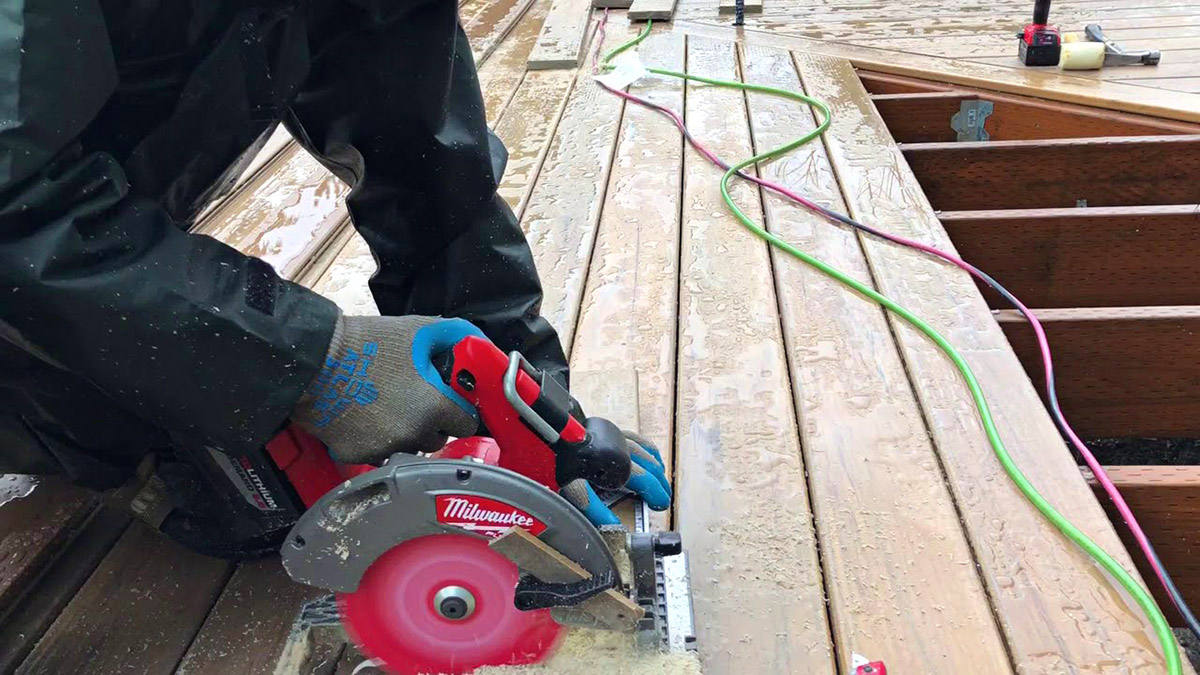
Prepping the Replacement Deck Board
Before installing the replacement deck board, it’s essential to properly prep it to ensure a smooth and long-lasting result. Follow these steps to prepare the replacement deck board:
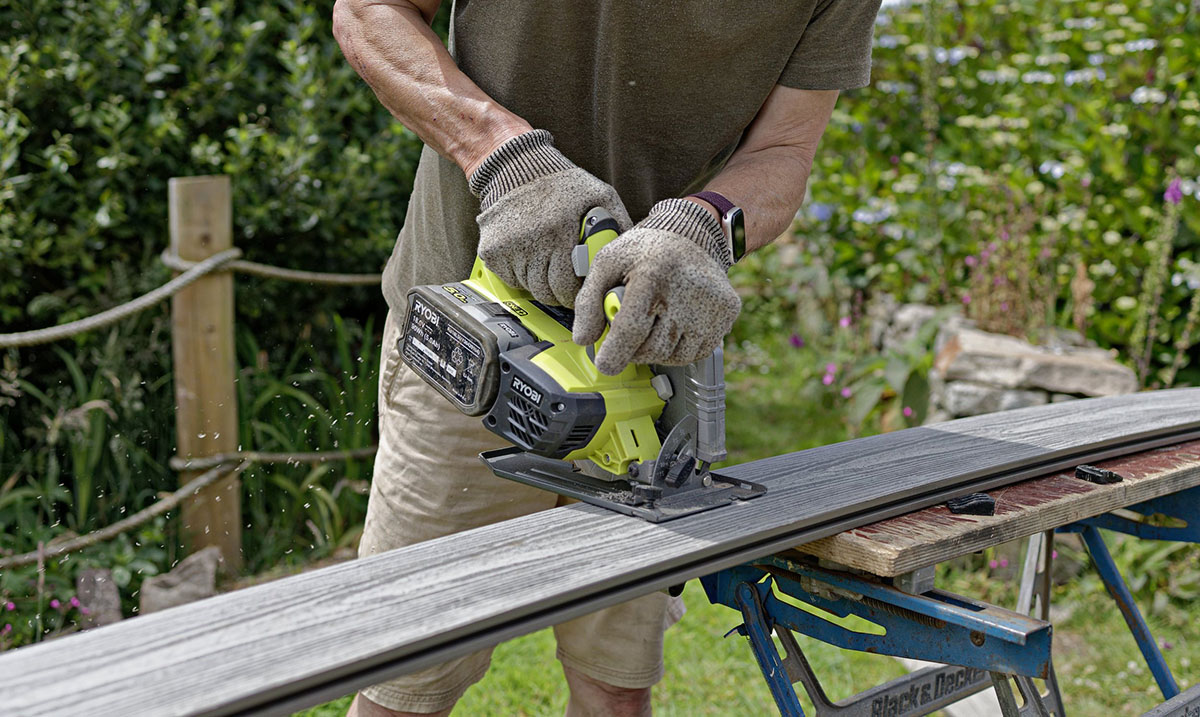
- Trim to size: Use a circular saw to cut the replacement board to the appropriate length, matching the measurements of the old deck board.
- Smooth the edges: Use sandpaper to sand any rough edges or splinters on the cut ends of the replacement board. This will create a seamless transition between boards.
- Drill pilot holes: To prevent splitting, it’s crucial to drill pilot holes in the replacement board before securing it to the joists. Measure and mark the locations of the fasteners, then use a drill bit slightly smaller than the diameter of the screws or nails you’ll be using.
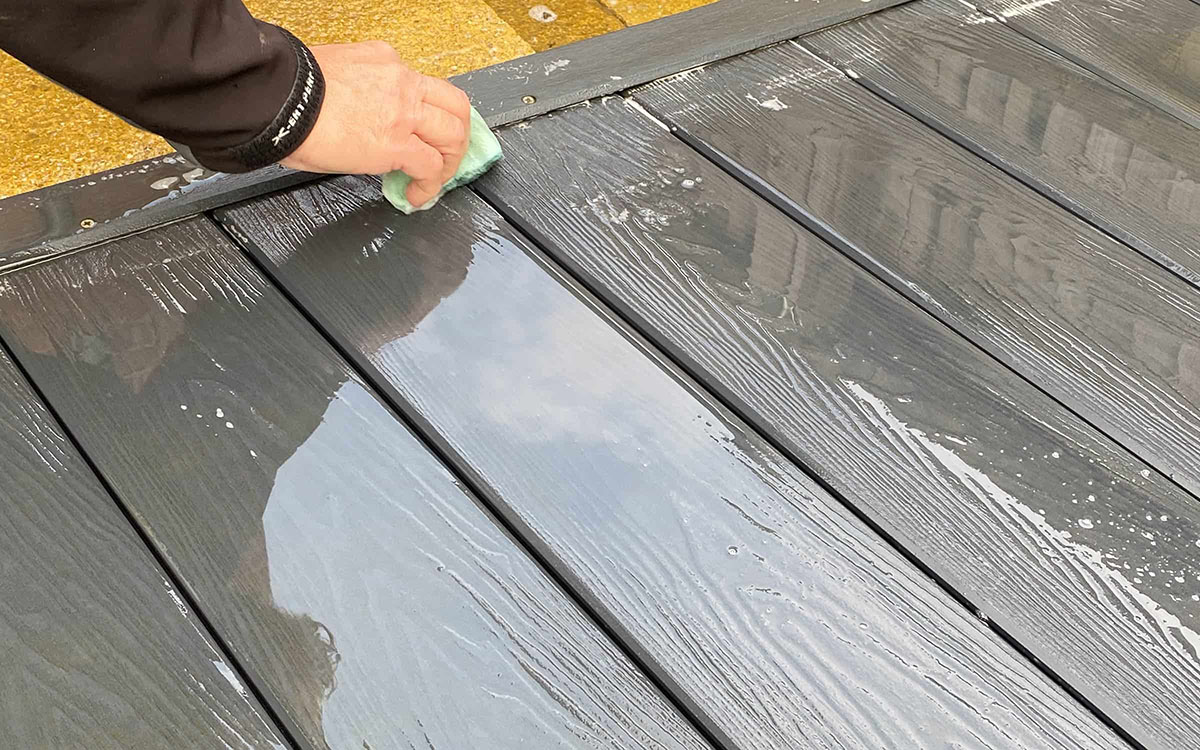
- Apply finish (optional): If desired, you can apply a deck stain or paint to the replacement board to match the rest of the deck. Follow the manufacturer’s instructions and allow sufficient drying time before installation.
By properly prepping the replacement deck board, you’ll ensure a seamless installation and enhance the overall aesthetics of your deck. Take your time during this step to achieve the desired result.
Now that the replacement deck board is prepped and ready, it’s time to move on to the exciting part: installing the new deck board.
Installing the New Deck Board
With the prepped replacement deck board in hand, it’s time to install it and bring your deck back to its former glory. Follow these steps to properly install the new deck board:
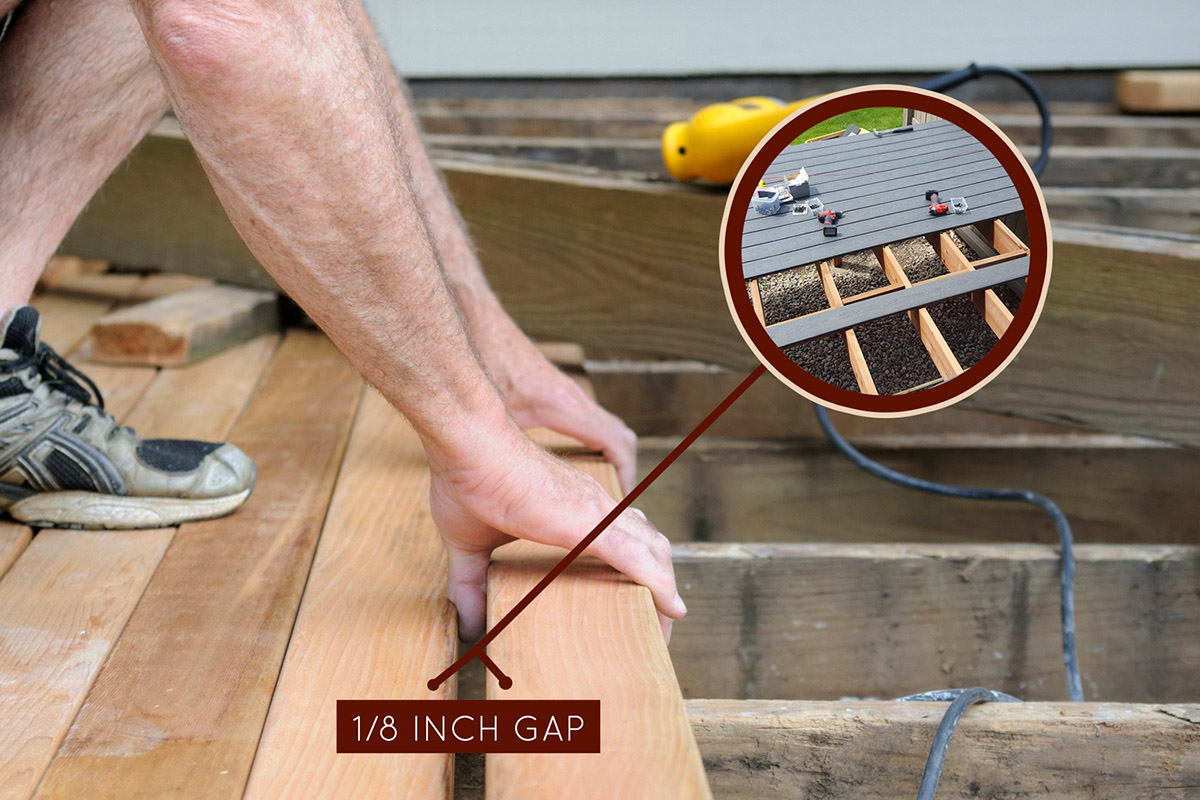
- Position the board: Carefully place the replacement deck board onto the joists, aligning it with the existing deck boards. Ensure that the board is flush with the surrounding boards.
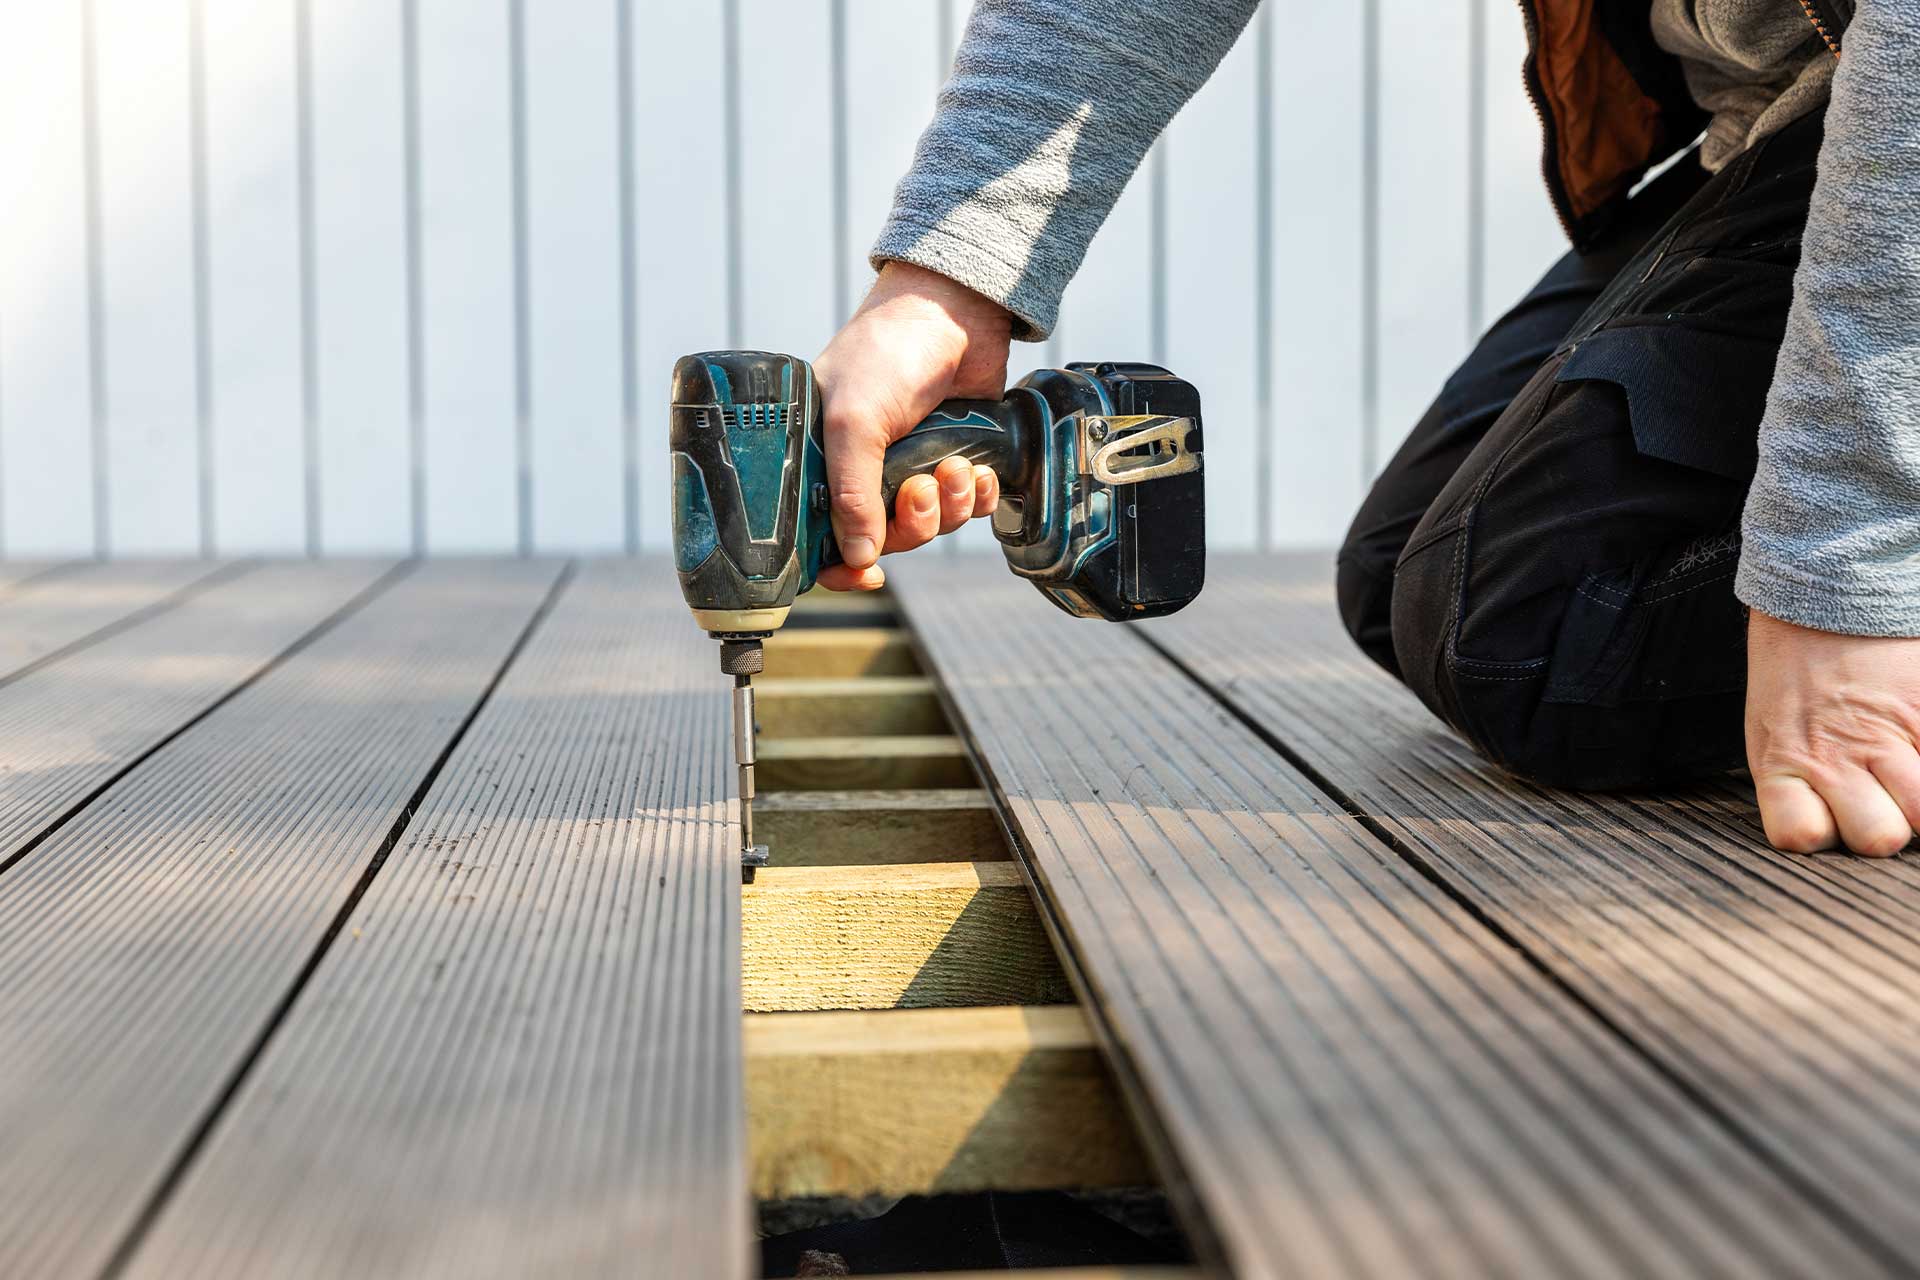
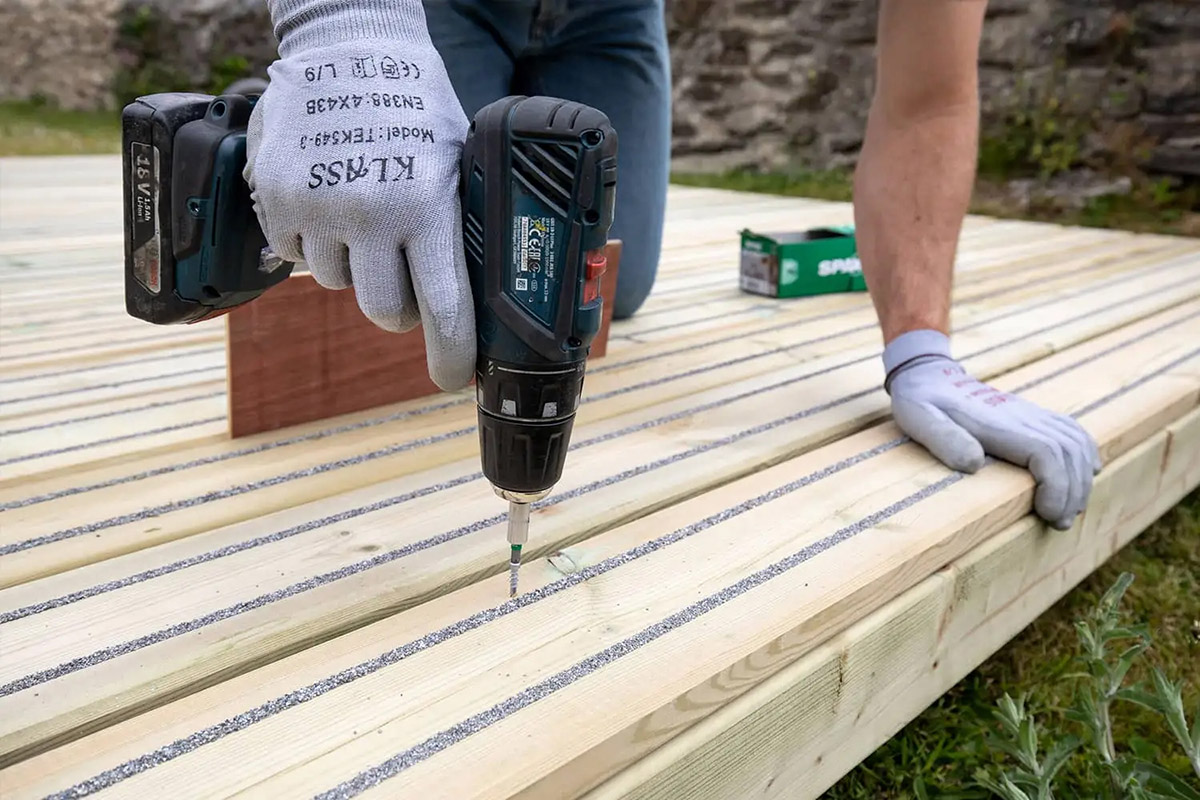
- Secure the board: Begin by driving screws or nails through the pilot holes you drilled earlier. Work your way along the length of the board, placing fasteners approximately every 16 inches or as recommended by the manufacturer.
- Counter-sink the fasteners: Use a countersink bit to create a shallow hole on the surface of the board for the screw or nail heads to sit flush. This will prevent any trip hazards and improve the appearance of the deck.
- Tighten the fasteners: Use a drill or hammer to securely tighten the screws or nails, ensuring the board is firmly attached to the joists.
- Check for stability: Step on the newly installed board and test its stability. Ensure it feels secure and doesn’t have any excessive give or movement.
Repeat these steps if you’re replacing multiple deck boards. Take care to maintain even spacing between the boards for a visually appealing result.
Once the new deck board is securely installed, you can move on to adding the finishing touches.
Finishing Touches
With the new deck board successfully installed, it’s time to add the finishing touches to ensure a polished and professional appearance. Follow these steps to complete the deck board replacement:
- Check for any protruding fasteners: Carefully inspect the surface of the deck board to ensure that no screws or nails are sticking out. If you find any, use a hammer or drill to countersink them further.
- Sand and smooth: Take a sanding block or sandpaper and gently sand the surface of the replacement board, as well as any other rough or uneven areas on the deck. This will create a smooth and splinter-free surface for safe and comfortable use.
- Clean the deck: Remove any debris, dust, or sawdust from the deck surface. Use a broom or leaf blower to sweep away loose particles or hose down the area if needed.
- Apply a protective finish (optional): If desired, you can apply a deck sealer, stain, or paint to protect the wood from weathering and enhance its appearance. Follow the manufacturer’s instructions for the specific product you choose.
- Inspect for any additional repairs: Take this opportunity to inspect the entire deck for any other areas that may require repair or maintenance. Look for loose boards, damaged joists, or any signs of rot or decay. Address these issues promptly to ensure the long-term integrity of your deck.
Completing these finishing touches will not only improve the visual appeal of your deck but also contribute to its overall durability and longevity.
With the replacement deck board securely installed and the finishing touches complete, your deck is now ready to be enjoyed once again!
Conclusion
Replacing a damaged deck board is a simple yet essential task to maintain the beauty and functionality of your outdoor living space. By following the steps outlined in this guide, you can easily assess the damage, remove the old board, choose a suitable replacement, and install it with ease.
Remember to gather the necessary tools and materials before starting the project, and take your time to ensure proper measurements and preparations. Assess the damage to determine if a partial patch or a full replacement is needed, and choose a replacement board that matches the material, size, and color of the existing ones.
As you remove the old board, be mindful of any connectors or fasteners that need to be replaced, and inspect the supporting structure for any signs of damage. Prepping the replacement board by trimming, sanding, drilling pilot holes, and applying finish, if desired, will ensure a seamless installation.
Installing the new deck board involves carefully securing it to the joists, checking for stability, and making any necessary adjustments. Once the replacement is complete, don’t forget to add the finishing touches such as countersinking fasteners, sanding the surface, and cleaning the deck.
Regular maintenance and prompt replacement of damaged deck boards will not only enhance the aesthetics of your outdoor space but also contribute to the longevity and safety of your deck. By following this guide, you can confidently replace a deck board and enjoy your deck for years to come.
Now that you’re armed with the knowledge and skills required, go ahead and tackle that damaged deck board, and bring your outdoor space back to life!
Frequently Asked Questions about How To Replace A Deck Board
Was this page helpful?
At Storables.com, we guarantee accurate and reliable information. Our content, validated by Expert Board Contributors, is crafted following stringent Editorial Policies. We're committed to providing you with well-researched, expert-backed insights for all your informational needs.


0 thoughts on “How To Replace A Deck Board”