Home>Furniture>Outdoor Furniture>How To Cut Decking Boards
Outdoor Furniture
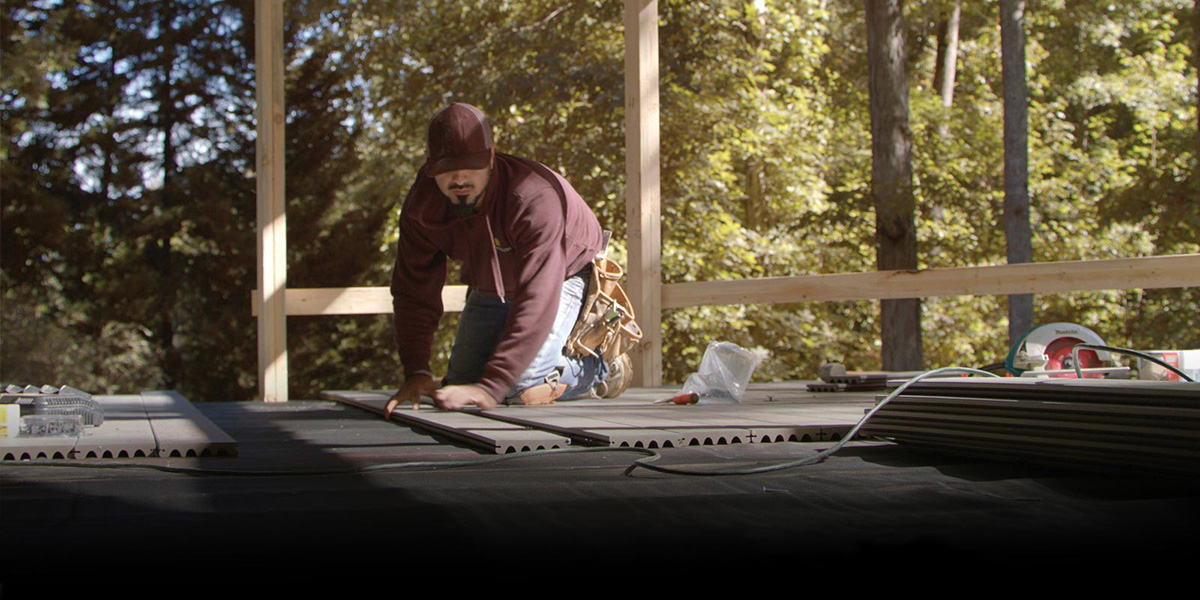
How To Cut Decking Boards
Modified: August 23, 2024
Learn how to cut decking boards for your outdoor furniture projects with our step-by-step guide. DIY techniques and tips for precision cuts.
(Many of the links in this article redirect to a specific reviewed product. Your purchase of these products through affiliate links helps to generate commission for Storables.com, at no extra cost. Learn more)
Introduction
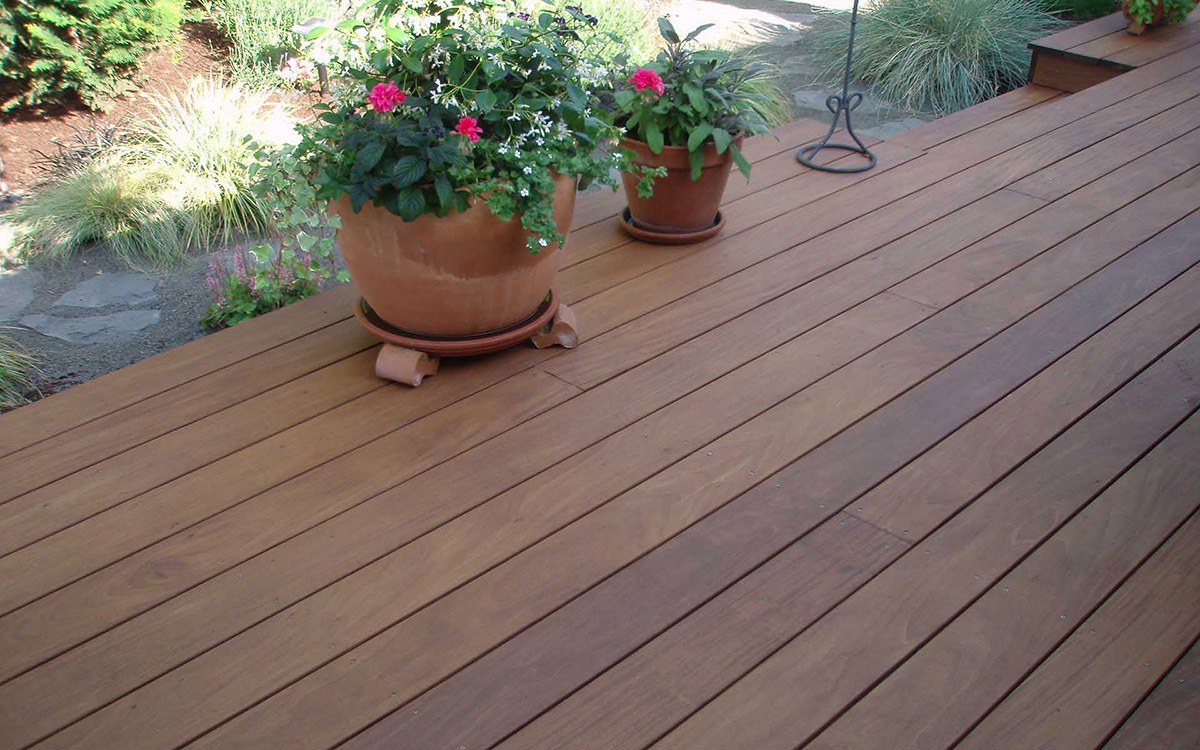
When it comes to creating the perfect outdoor space, one crucial element is decking. It not only provides a sturdy foundation for your furniture but also adds an aesthetic appeal to your backyard. However, sometimes you may find that the standard decking boards available in the market don’t quite fit the dimensions of your project. That’s where cutting decking boards comes in handy!
Whether you need to shorten a few boards to fit a specific area or want to create a unique design by cutting the boards into different shapes, knowing how to cut decking boards correctly is essential. In this article, we will guide you through the step-by-step process of cutting decking boards like a pro!
Before we dive into the details, it’s important to note that safety should always be your top priority. Make sure you have the necessary tools and protective equipment before starting the cutting process. Additionally, double-check the manufacturer’s instructions and warranty to ensure that cutting the decking boards won’t void any guarantees.
Now, let’s get started on this exciting DIY project!
Key Takeaways:
- Measure and mark the desired length of the decking boards accurately to achieve a uniform look and ensure a perfect fit for your outdoor space.
- Prioritize safety and gather the necessary tools and equipment before cutting decking boards to create a safe and efficient cutting process.
Read more: How To Store Cutting Board
Step 1: Measure and mark the desired length
The first step in cutting decking boards is to accurately measure and mark the desired length. Before you begin, it’s important to have a clear plan for your decking project and determine the specific measurements needed.
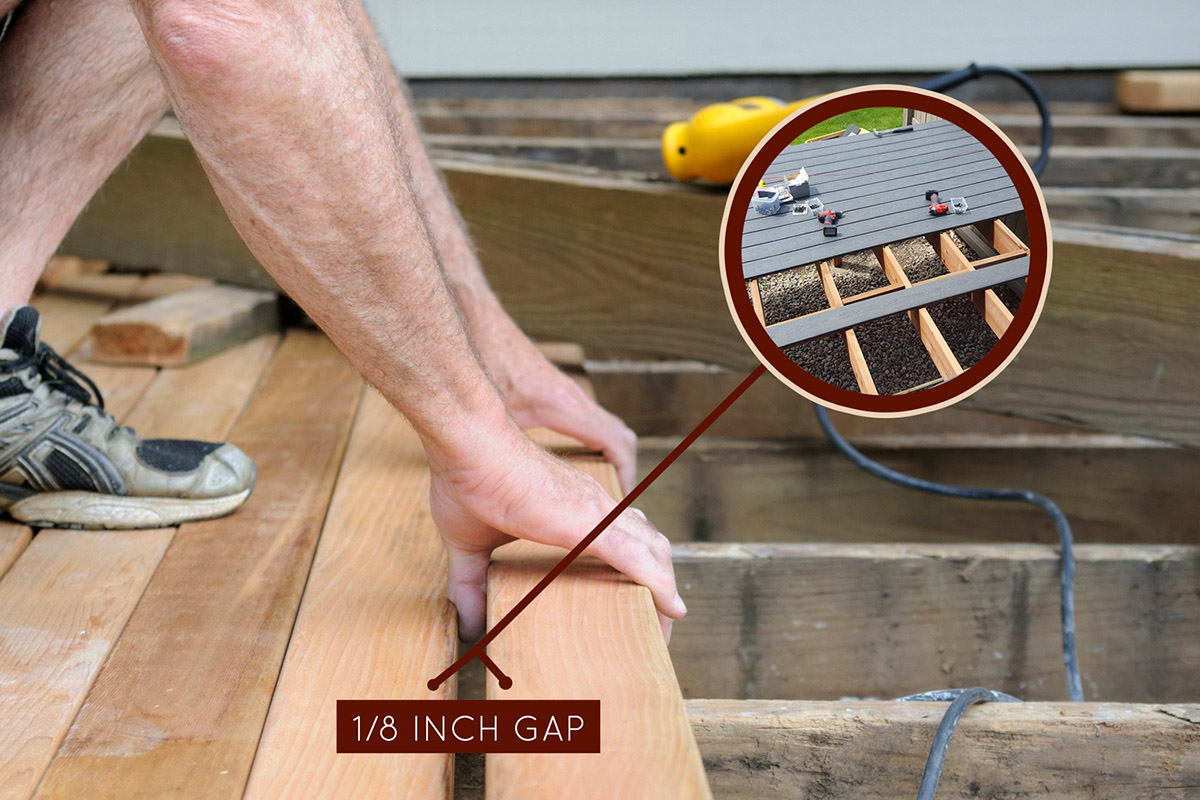
Start by using a measuring tape to measure the length you want your decking boards to be. Take into account any spacing or gaps that you want to leave between the boards. Once you have the measurement, mark it clearly on the board using a pencil or a marker.
It’s crucial to ensure that your measurements are precise and consistent across all the boards. This will help you achieve a uniform look in your project. Remember to double-check your measurements to avoid any cutting mistakes.
If you are cutting multiple boards to the same length, it can be useful to use a straightedge or a speed square to create a guide line. This will help ensure that your cuts are straight and accurate.
Keep in mind that when measuring and marking the desired length, it’s essential to consider any overhang or additional space you may want to leave for aesthetic purposes or future modifications. Taking these factors into account will help you achieve the desired outcome for your decking project.
Once you have measured and marked the desired length, you’re ready to move on to the next step: preparing the tools and safety equipment.
Step 2: Prepare the tools and safety equipment
Before you begin cutting decking boards, it’s essential to gather all the necessary tools and safety equipment. By doing so, you’ll ensure a smooth and safe cutting process.
Here are some of the tools and equipment you’ll need:
- A circular saw or a miter saw: These power tools are commonly used to cut decking boards. A circular saw is more versatile and suitable for larger projects, while a miter saw provides precise and angled cuts.
- A measuring tape: This tool will help you accurately measure the length and mark the cutting points on the decking boards.
- A pencil or a marker: These will be used to mark the cutting lines on the boards.
- A straightedge or a speed square: These tools will help you create straight and accurate cutting lines.
- Safety goggles: Protect your eyes from any debris or flying wood particles during the cutting process.
- Ear protection: Cutting decking boards can be noisy, so wearing ear protection will help prevent any hearing damage.
- Gloves: Protect your hands from splinters and ensure a better grip on the tools.
- A dust mask: Cutting decking boards can generate dust, so wearing a mask will prevent you from inhaling any fine particles.
Once you have gathered all the necessary tools and safety equipment, make sure they are in good working condition. Inspect the saw blades for any signs of damage or dullness and replace them if necessary. Additionally, ensure that you have a stable and well-lit work area where you can safely perform the cutting process.
Now that you have everything prepared, it’s time to move on to setting up the cutting area.
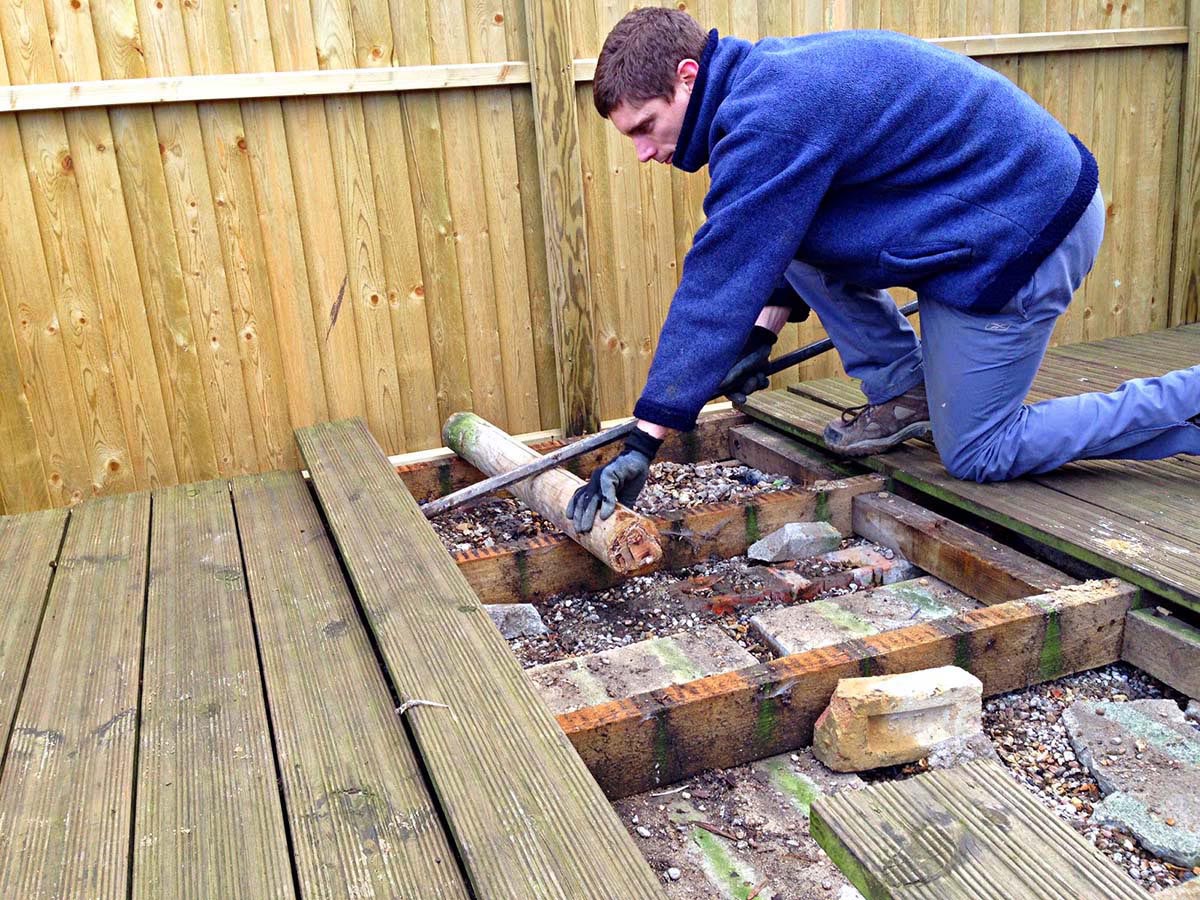
Step 3: Set up the cutting area
Creating a proper cutting area is crucial to ensure a safe and efficient cutting process for your decking boards. Follow these steps to set up the cutting area:
- Choose a suitable location: Find a well-ventilated area with enough space to maneuver the decking boards and operate your cutting tools. Ideally, set up the cutting area outdoors to minimize dust and debris buildup.
- Clear the area: Remove any obstacles or clutter that may obstruct your movements during the cutting process. This includes branches, rocks, and other debris that could impact your safety or the accuracy of your cuts.
- Secure the decking board: Use clamps or a vice grip to secure the board firmly in place. This will prevent it from moving or vibrating during the cutting process, ensuring cleaner and more accurate cuts.
- Create a cutting surface: Place a sacrificial piece of wood or a cutting mat underneath the area where you’ll be making the cuts. This will protect your work surface and prevent any potential damage to your tools.
- Check for stability: Ensure that your work surface and the secured board are stable and level. This will help maintain the accuracy of your cuts and reduce the risk of accidents.
By properly setting up the cutting area, you’ll ensure a safe and controlled environment for cutting your decking boards. Now that everything is in place, let’s move on to the exciting part: cutting the decking boards!
When cutting decking boards, make sure to measure and mark the board accurately before cutting. Use a sharp saw blade and support the board properly to prevent splintering. Always wear safety goggles and gloves.
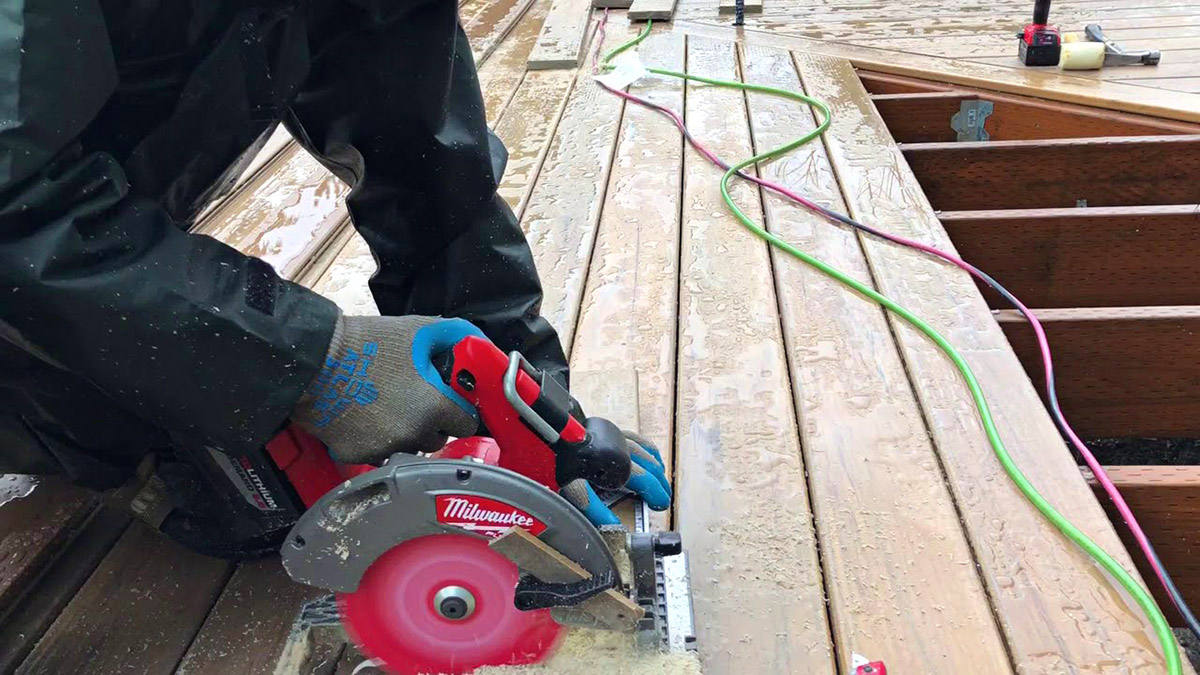
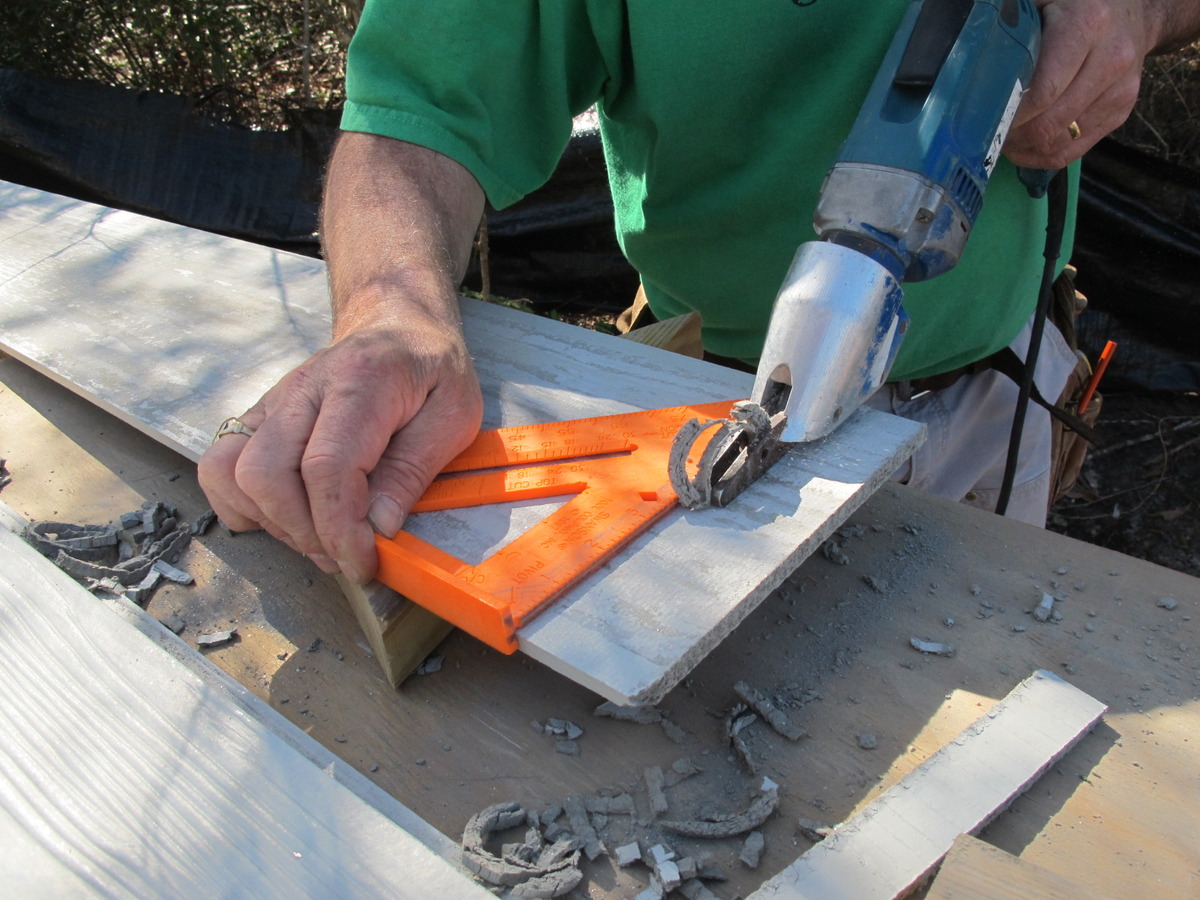
Step 4: Cut the decking boards
Now that you have measured, marked, and set up your cutting area, it’s time to start cutting your decking boards. Follow these steps to ensure accurate and clean cuts:
- Position the saw: If using a circular saw, adjust the cutting depth to slightly deeper than the thickness of the decking board. This will allow for clean cuts without causing any damage to the work surface. If using a miter saw, adjust the angle and position of the saw according to your desired cut.
- Align the blade: Position the cutting line on the decking board with the edge of the saw blade. This will ensure that your cuts are precise and aligned with your markings.
- Start the saw: Turn on the saw and let it reach full speed before making contact with the decking board. This will ensure smoother cuts and prevent any kickback or accidents.
- Make the cut: Apply gentle pressure and guide the saw along the marked cutting line. Use steady and controlled movements to ensure a clean and straight cut. If you’re cutting at an angle, maintain the appropriate angle throughout the cut.
- Take breaks when needed: If you’re working on a larger project or making multiple cuts, take short breaks in between to prevent fatigue and maintain accuracy.
Remember to stay focused and maintain a firm grip on the saw throughout the cutting process. Take your time and don’t rush the cuts to avoid any mistakes or accidents.
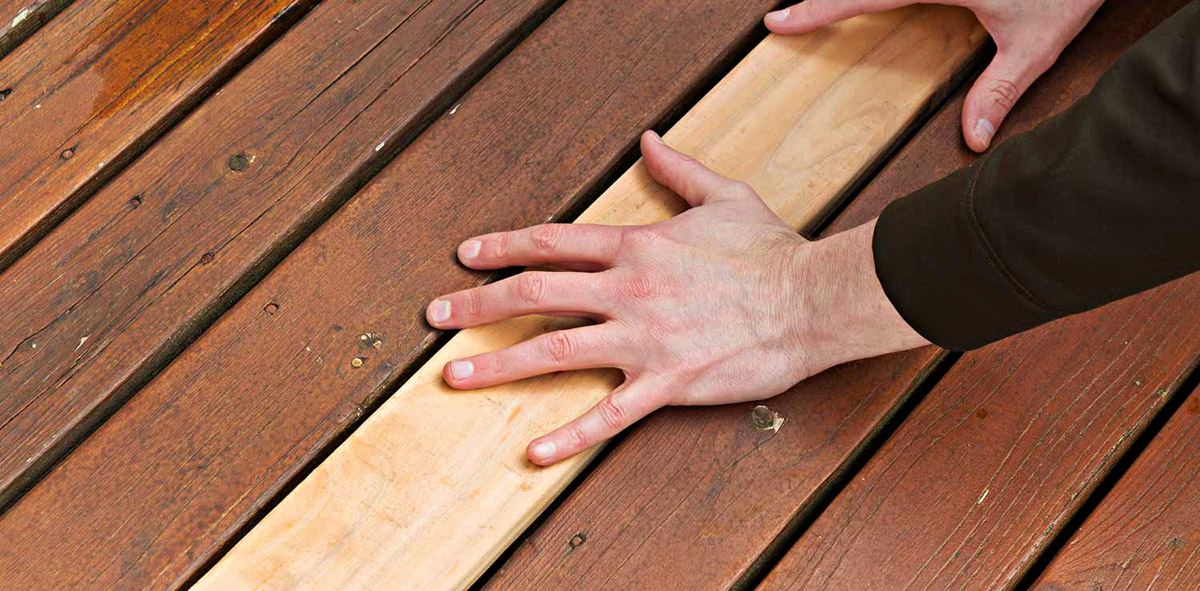
Once you have finished cutting a decking board, release the clamps or vice grip and carefully remove the cut piece. Inspect the cut end to ensure it is clean and without any splinters. If needed, use sandpaper or a file to smooth out any rough edges.
Continue repeating the cutting process for each decking board until you have achieved the desired lengths or shapes for your project.
With the decking boards cut to the appropriate sizes, let’s move on to the next step: smoothing any rough edges.
Read more: How Wide Are Decking Boards
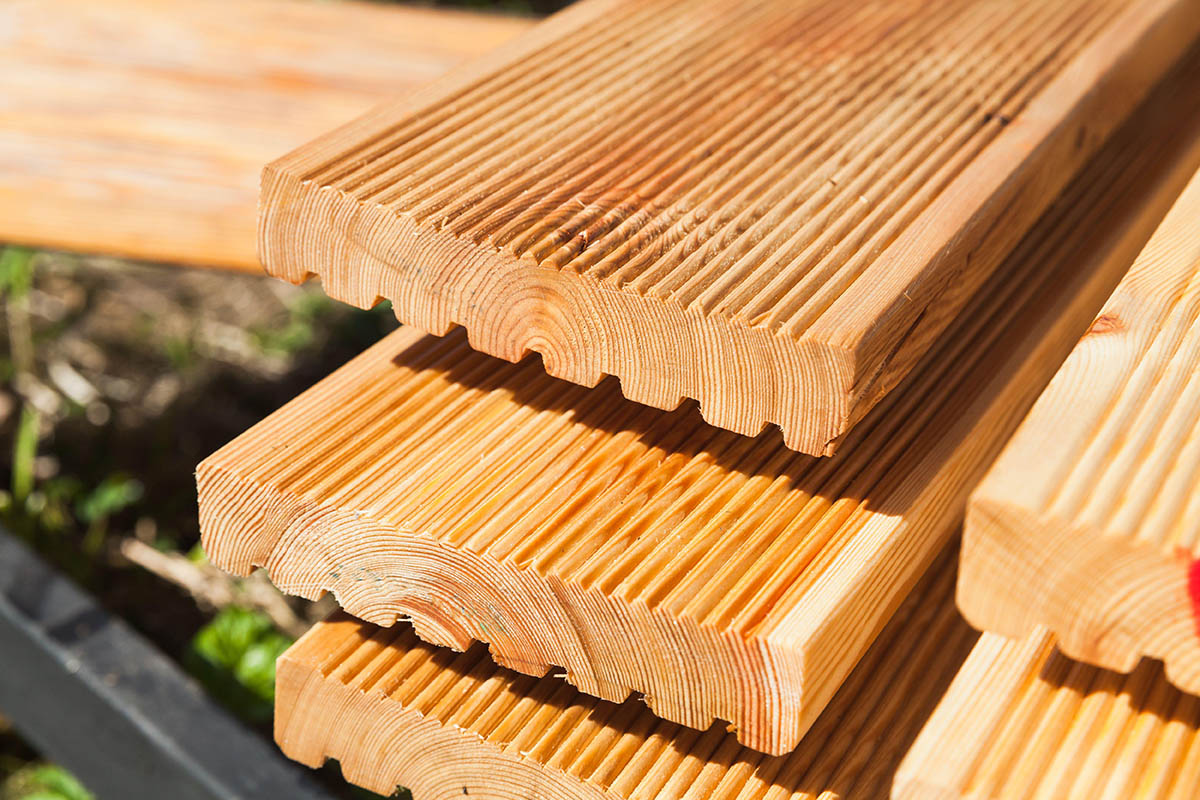
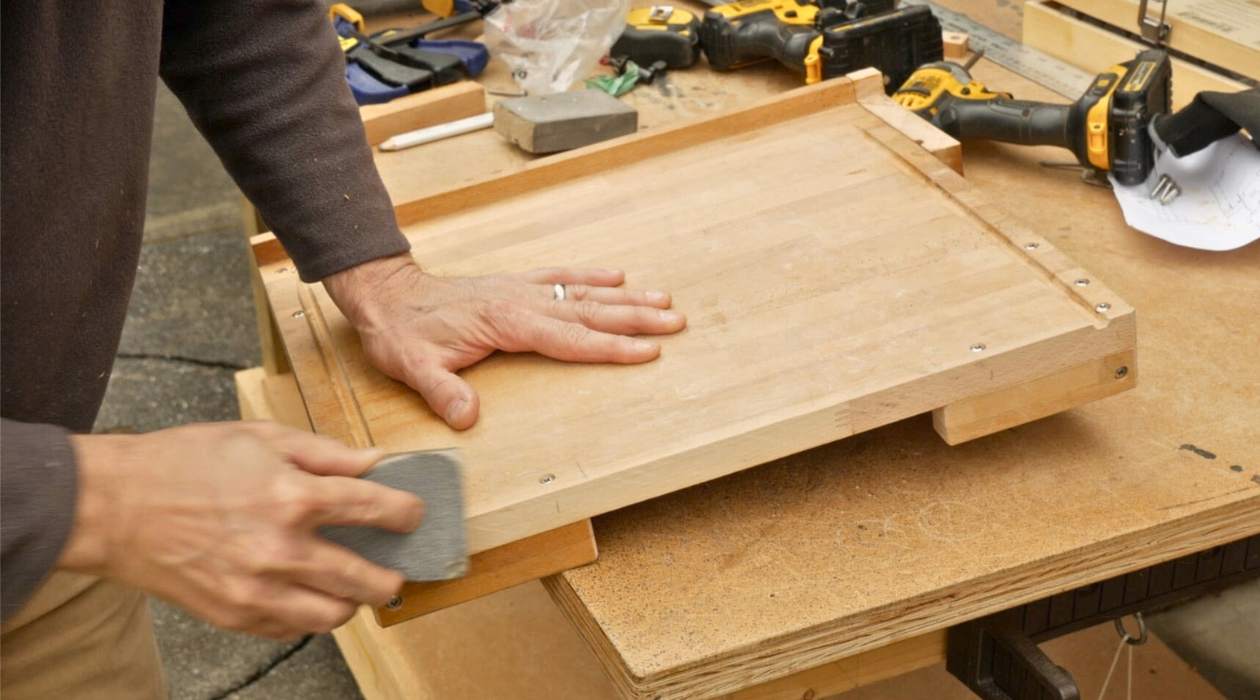
Step 5: Smooth any rough edges
After cutting your decking boards, it’s common to have some rough or jagged edges. It’s important to smooth out these rough edges to ensure a polished and finished look, as well as to prevent any potential hazards. Follow these steps to smooth the edges of your cut decking boards:
- Inspect the cut edges: Take a close look at the cut ends of the decking boards to identify any rough or uneven areas that need to be smoothed.
- Use sandpaper or a file: Depending on the severity of the rough edges, choose an appropriate grit sandpaper or a file. Start with a coarse grit and gradually move to a finer grit for a smoother finish.
- Gently sand or file the rough edges: Hold the sandpaper or file against the rough edges and apply light pressure. Move the sandpaper or file back and forth in a smooth motion to gradually smooth out the roughness. Be sure to sand or file in the same direction as the grain of the wood for the best results.
- Check the smoothness: Periodically check the smoothness of the edges by running your fingers along the sanded or filed area. If needed, continue sanding or filing until you achieve the desired smoothness.
- Remove any remaining debris: After smoothing the edges, use a soft brush or cloth to remove any dust or debris resulting from the sanding or filing process.
It’s essential to take your time while smoothing the rough edges to avoid damaging the decking board or creating uneven surfaces. By ensuring smooth edges, you not only improve the overall appearance of your decking project but also create a safer environment for anyone in contact with the boards.
Now that you have successfully smoothed out any rough edges, it’s time to move on to the final step: cleaning up the work area.
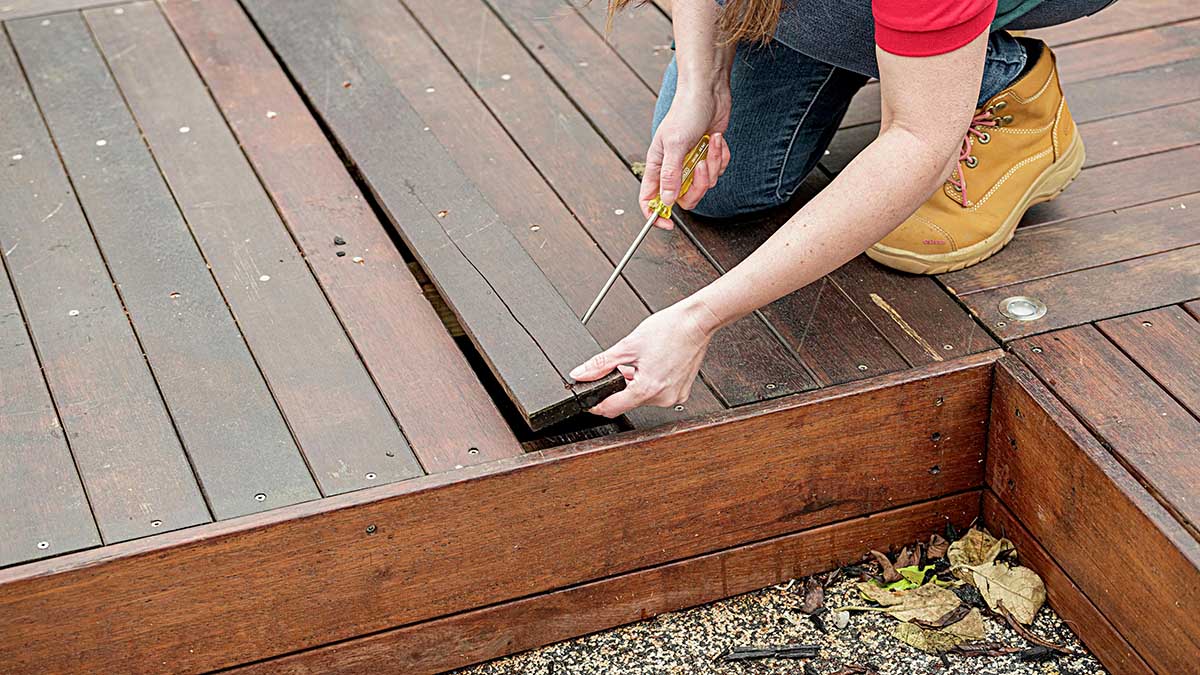
Step 6: Clean up the work area
Once you have finished cutting and smoothing the decking boards, it’s important to clean up the work area to ensure a safe and organized space. Follow these steps to properly clean up:
- Collect and safely dispose of any wood scraps or debris: Gather all the leftover pieces of cut decking boards and any other debris that may have accumulated during the cutting process. Place them in a designated area or dispose of them according to your local waste regulations.
- Pack away your tools: Safely store your cutting tools, such as the circular saw or miter saw, in their appropriate storage locations. Make sure they are turned off and unplugged before putting them away.
- Return any borrowed tools: If you borrowed any tools from friends or neighbors, make sure to clean them and return them to their owners in good condition.
- Sweep or vacuum the work area: Use a broom or vacuum cleaner to remove any sawdust, wood chips, or debris from the work area. This will help maintain a clean and safe environment.
- Inspect the area for any potential hazards: Double-check the work area for any sharp objects, loose nails, or other hazards that may have been overlooked during the cutting process. Address any safety concerns immediately to prevent accidents.
By thoroughly cleaning up the work area, you not only create a safer space for future projects but also demonstrate good practice and consideration for the environment.
Congratulations! You have successfully cut decking boards and completed the necessary steps to achieve the desired lengths and smooth edges. Your outdoor space is now ready for the next phase of your project, whether it’s decking installation or any other creative endeavor you have in mind.
Remember, practice makes perfect! The more you work with cutting decking boards, the better you will become at achieving accurate cuts and smooth finishes. Enjoy your newfound skills and the satisfaction of creating a beautiful outdoor area!
Conclusion
Cutting decking boards is a valuable skill to have when it comes to customizing and creating the perfect outdoor space. By following the step-by-step process outlined in this article, you can confidently tackle this DIY project and achieve professional-looking results.
From measuring and marking the desired length to setting up the cutting area and making clean cuts, each step plays a crucial role in the success of your decking project. Taking the time to properly prepare the tools, ensure safety, and create a suitable work environment contributes to both the quality of your cuts and your overall satisfaction with the end result.
Don’t forget the importance of smoothing any rough edges, as it not only enhances the appearance of your decking boards but also eliminates potential hazards. And, of course, cleaning up the work area is the final step to ensure a safe and organized space for your next project.
With the knowledge gained from this article, you are now ready to take on cutting decking boards with confidence. Remember to prioritize safety, double-check measurements, and always follow best practices for using cutting tools.
Whether you are creating a deck, building an outdoor furniture piece, or embarking on any other decking project, the ability to cut decking boards accurately and efficiently will prove invaluable. Enjoy the process, get creative, and have fun as you bring your outdoor vision to life!
Frequently Asked Questions about How To Cut Decking Boards
Was this page helpful?
At Storables.com, we guarantee accurate and reliable information. Our content, validated by Expert Board Contributors, is crafted following stringent Editorial Policies. We're committed to providing you with well-researched, expert-backed insights for all your informational needs.


0 thoughts on “How To Cut Decking Boards”