Home>Furniture>Outdoor Furniture>How To Replace Decking Boards
Outdoor Furniture
How To Replace Decking Boards
Modified: March 7, 2024
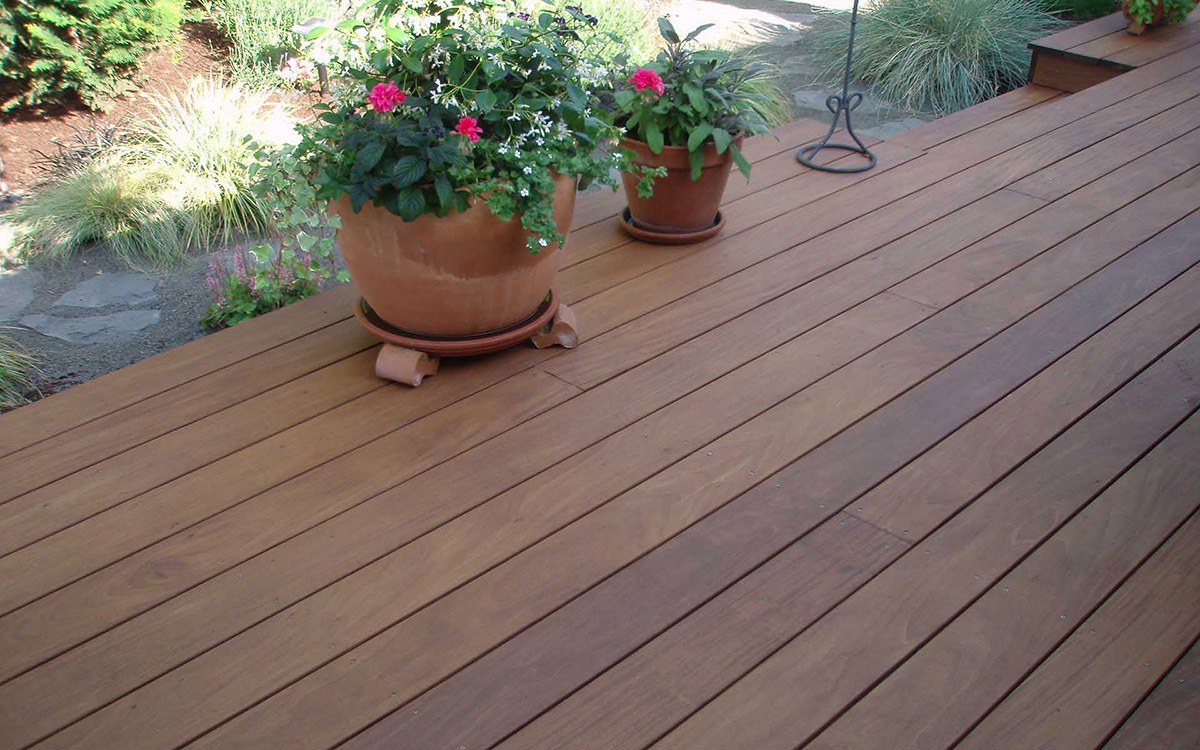
Learn how to replace decking boards and enhance your outdoor furniture. Step-by-step guide to restore your deck's beauty and functionality.
(Many of the links in this article redirect to a specific reviewed product. Your purchase of these products through affiliate links helps to generate commission for Storables.com, at no extra cost. Learn more)
Introduction
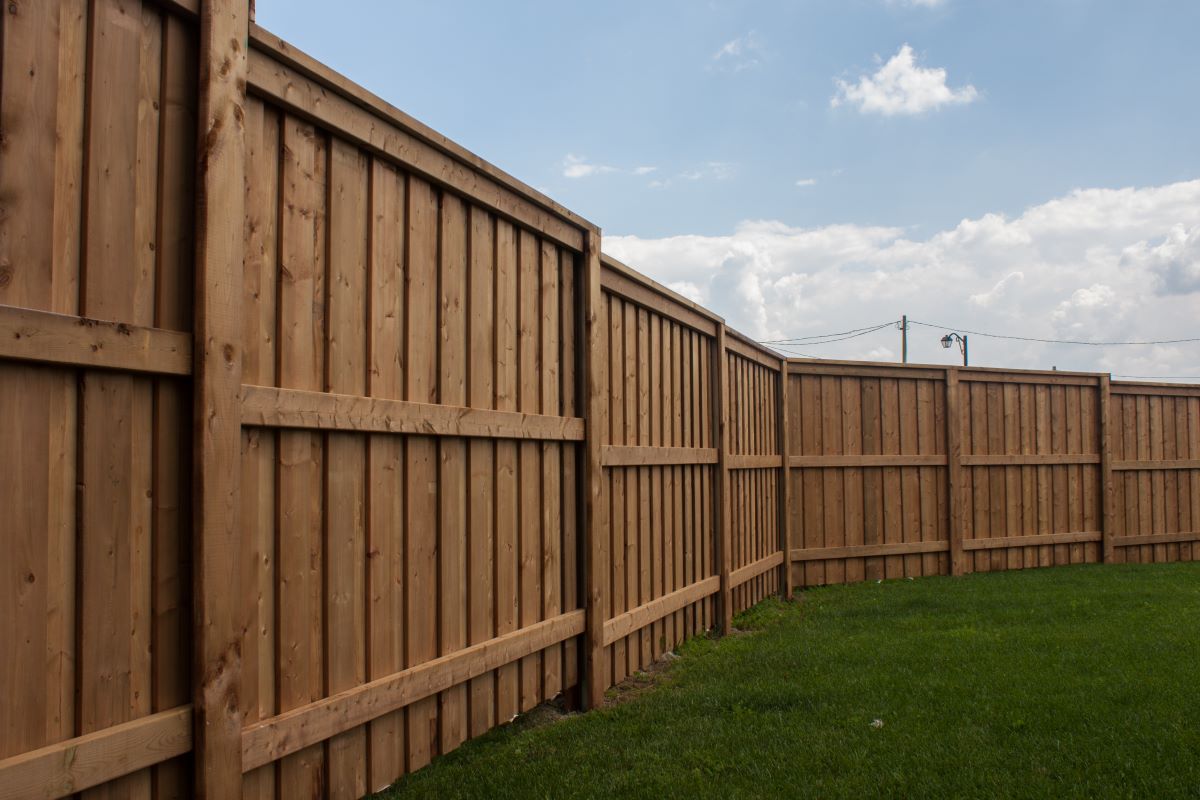
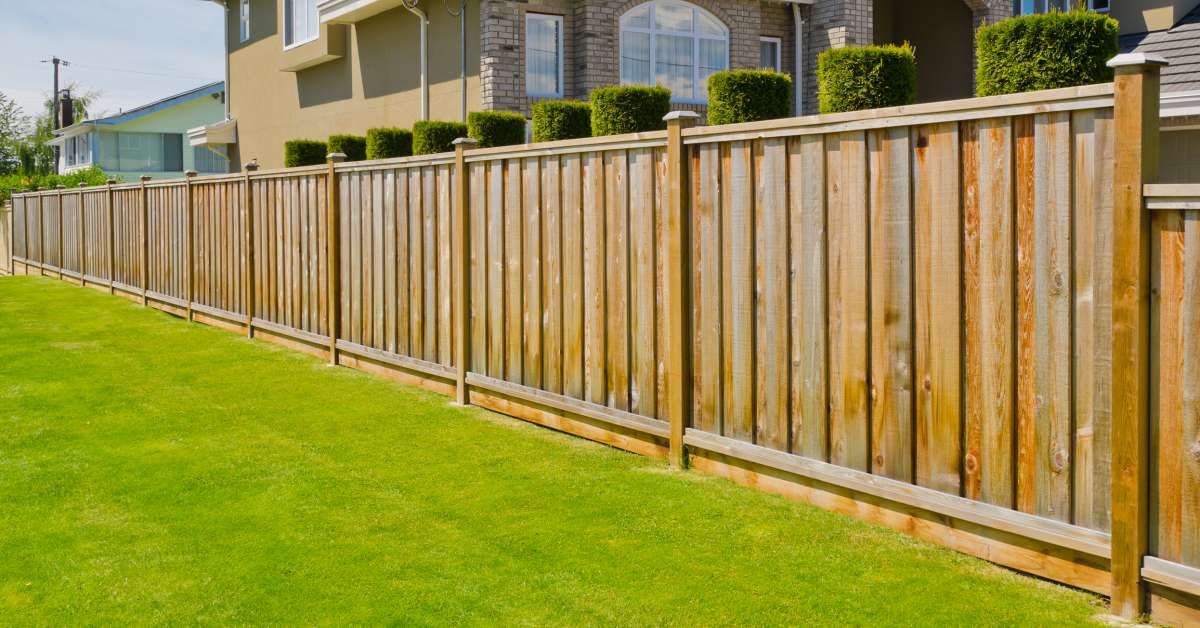
Welcome to our guide on how to replace decking boards. Over time, decking boards can become worn, damaged, or begin to rot, compromising the safety and aesthetic appeal of your outdoor space. Fortunately, with a few basic tools and a little know-how, you can easily replace your decking boards and give your outdoor area a fresh new look.
Before we dive into the step-by-step process, it’s important to assess the condition of your current decking boards. Look for signs of rot, warping, or loose fasteners. If you notice any significant structural issues or the entire deck seems compromised, it may be best to consult a professional to evaluate the situation. In most cases, however, replacing individual decking boards is a straightforward DIY project.
In this guide, we’ll walk you through the process of removing the old decking boards, inspecting and repairing the deck frame, measuring and cutting new boards, and installing and securing them properly. So, grab your tools and let’s get started on transforming your outdoor space!
Key Takeaways:
- Revitalize your outdoor space by replacing worn decking boards with a few basic tools and DIY know-how. Ensure safety and aesthetic appeal by following the step-by-step process outlined in this guide.
- Take on the rewarding project of replacing decking boards to create a beautiful and functional outdoor deck. From removal to finishing touches, follow the steps and infuse your creativity for a space to enjoy for years to come.
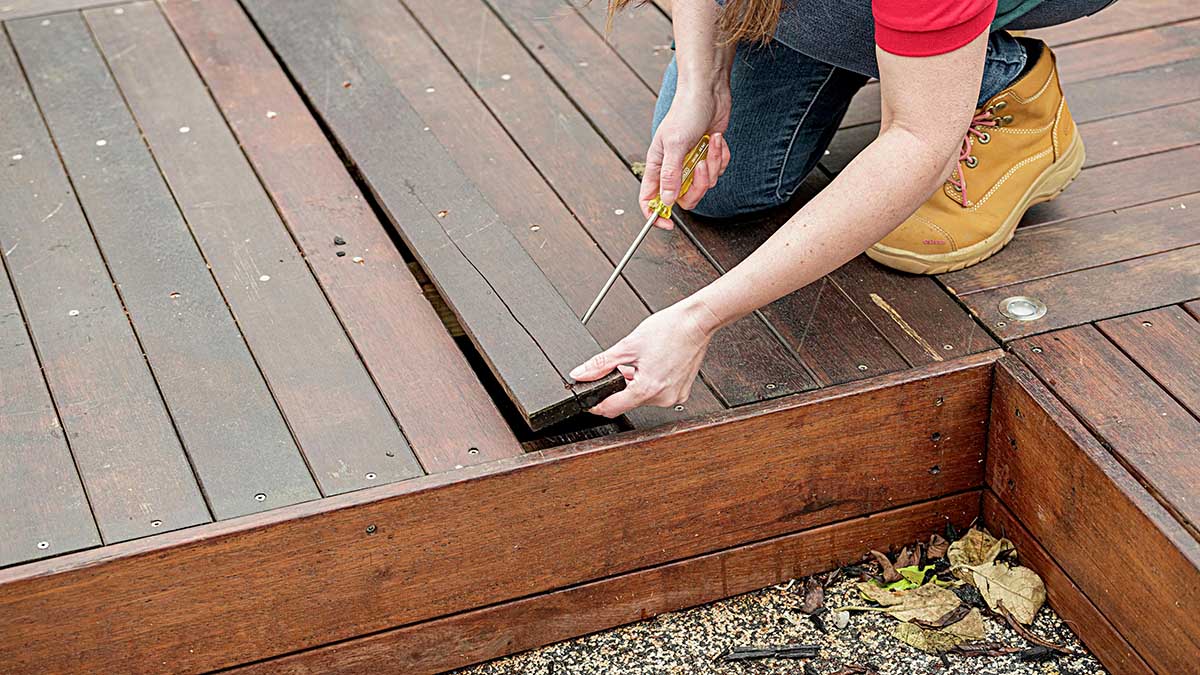
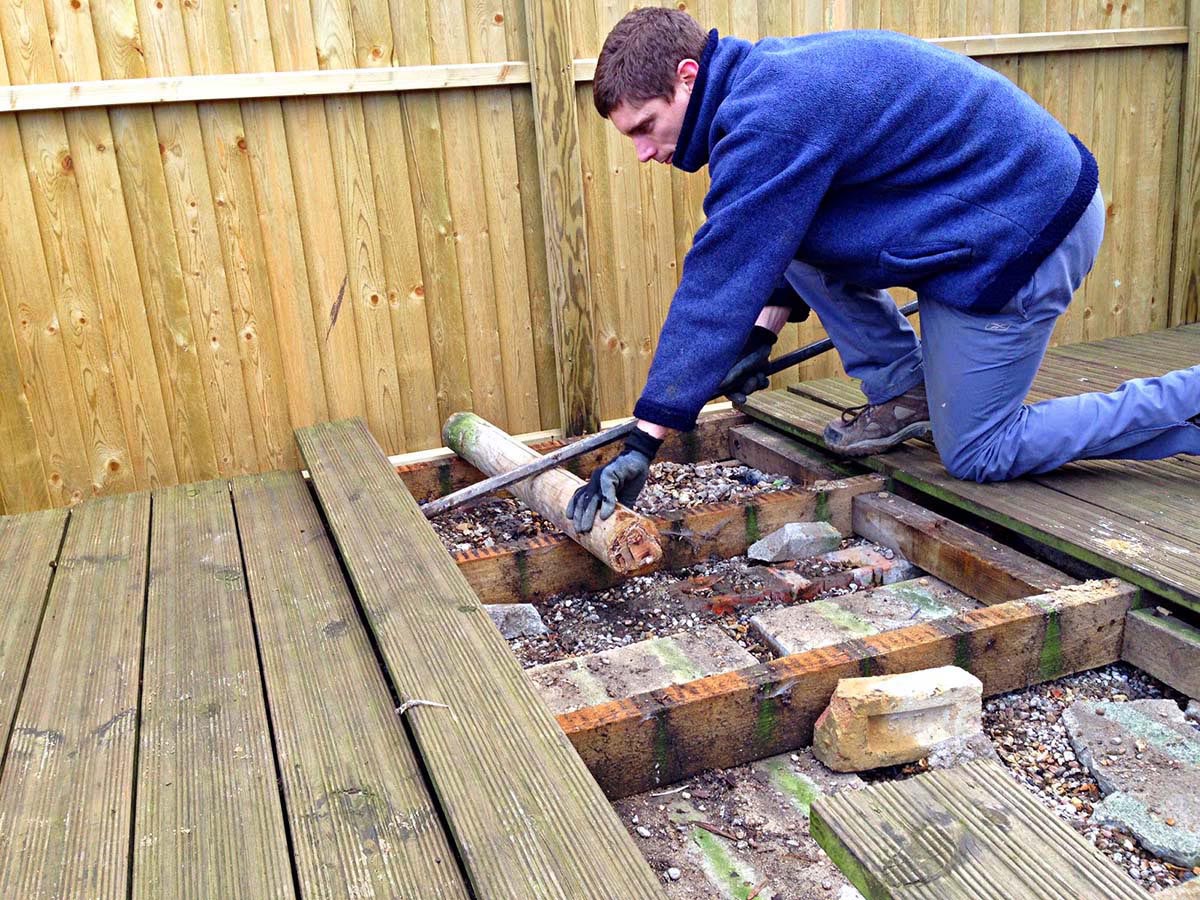
Step 1: Remove old decking boards
The first step in replacing your decking boards is to remove the old ones. This can be a bit labor-intensive but with the right tools and techniques, it can be done efficiently.
1. Start by clearing the deck area of any furniture, plants, or debris to create a safe and clutter-free work environment.
2. Using a pry bar or a deck board removal tool, carefully pry up the first old board. Start at one end and work your way across. If the boards are fastened with screws, use a drill with a screwdriver bit to remove them.
3. Once the first board is removed, repeat the process for the remaining boards. Take your time to ensure that you don’t damage the underlying deck structure or any neighboring boards.
4. If any of the old boards are stuck or difficult to remove, you can use a circular saw to make a cut down the center of the board. This will help relieve any pressure and make it easier to pry up.
5. As you remove each board, inspect the condition of the underlying joists and beams. Look for any signs of rot or damage that may require repair or reinforcement.
6. Once all the old boards are removed, clean the deck surface with a broom or a leaf blower to remove any loose debris.
Keep in mind that removing old decking boards can be physically demanding. It’s important to use proper lifting techniques and take breaks as needed to avoid strain or injury. If you’re unsure or uncomfortable with this step, it’s always wise to seek assistance or consult a professional.
Step 2: Inspect and repair the deck frame
Once the old decking boards have been removed, it’s crucial to inspect the deck frame for any structural issues or damage. This step is essential to ensure the stability and longevity of your new deck boards.
1. Carefully examine the condition of the deck joists and beams. Look for signs of rot, insect infestation, or any other damage that may compromise the structural integrity of the deck.
2. If you notice any soft or rotted areas in the wood, it’s important to remove and replace the affected sections. This can be done by cutting out the damaged portion of the joist or beam and installing a new section of pressure-treated lumber.
3. Inspect the deck hardware, such as metal brackets and connectors, for any signs of rust or corrosion. Replace any damaged or worn-out hardware to ensure a secure and stable deck.
4. Check the spacing between the joists to ensure they are evenly spaced and meet local building codes. Adjust the spacing if necessary by adding new joists or removing unnecessary ones.
5. If the deck frame is in good condition but there are minor issues such as loose nails or screws, take the time to tighten them or replace them with new ones. This will help prevent any squeaks or movement once the new decking boards are installed.
6. Consider applying a wood preservative or sealer to the deck frame. This will provide added protection against moisture damage and prolong the lifespan of the wood.
By thoroughly inspecting and repairing the deck frame, you can ensure a solid foundation for your new decking boards. Taking the time to address any structural issues now will save you time and headaches in the long run.
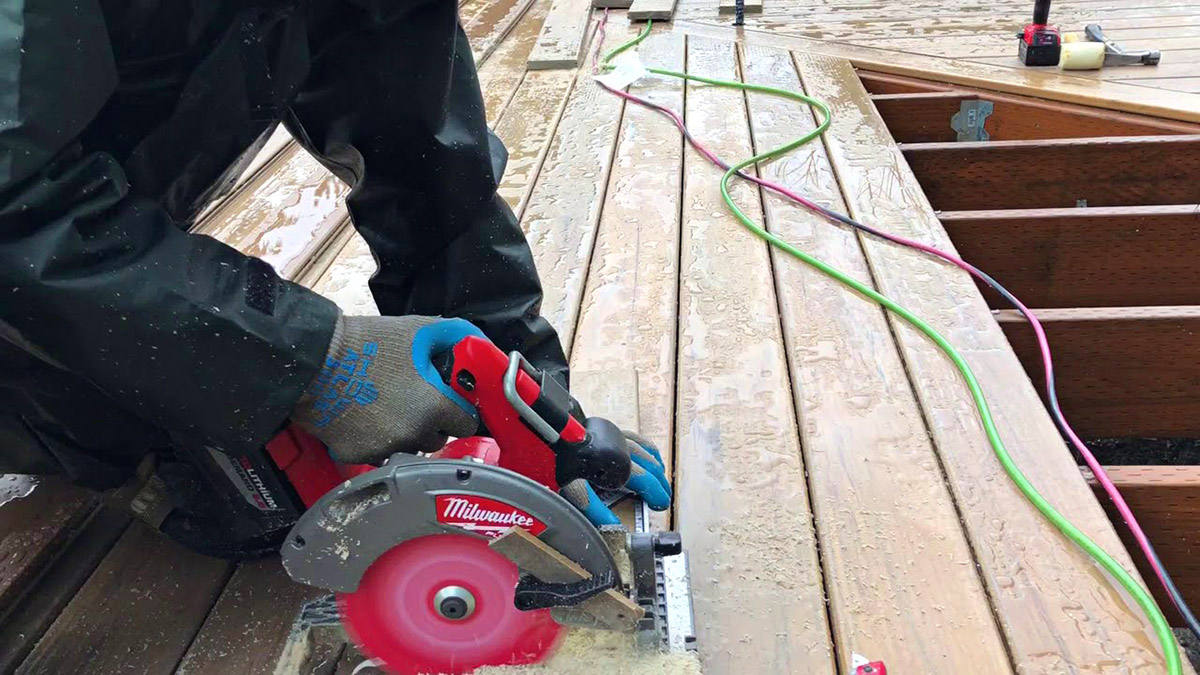
Step 3: Measure and cut new decking boards
With the deck frame inspected and repaired, it’s time to move on to the next step: measuring and cutting the new decking boards. Accurate measurements and precise cuts are essential for a professional-looking and well-fitted deck.
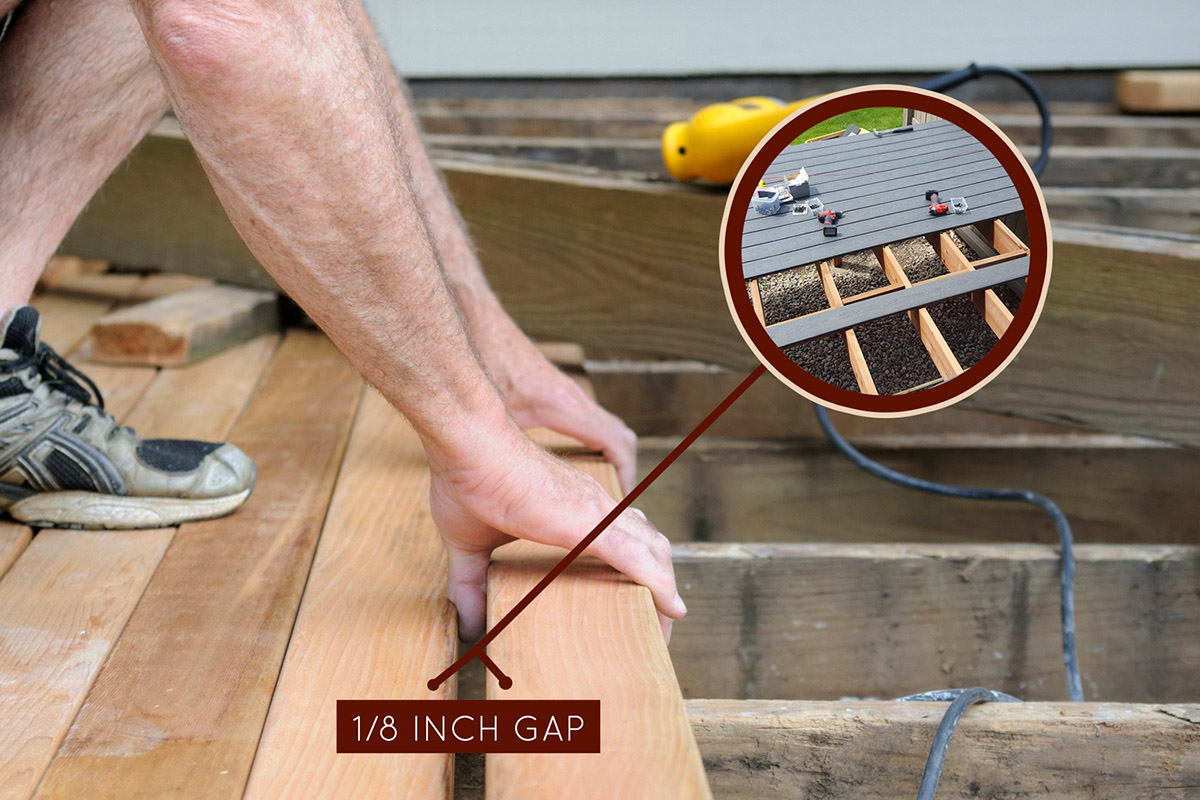
1. Start by measuring the length and width of the deck area where the new decking boards will be installed. Take into account any existing gaps between the joists or any desired spacing between the boards.
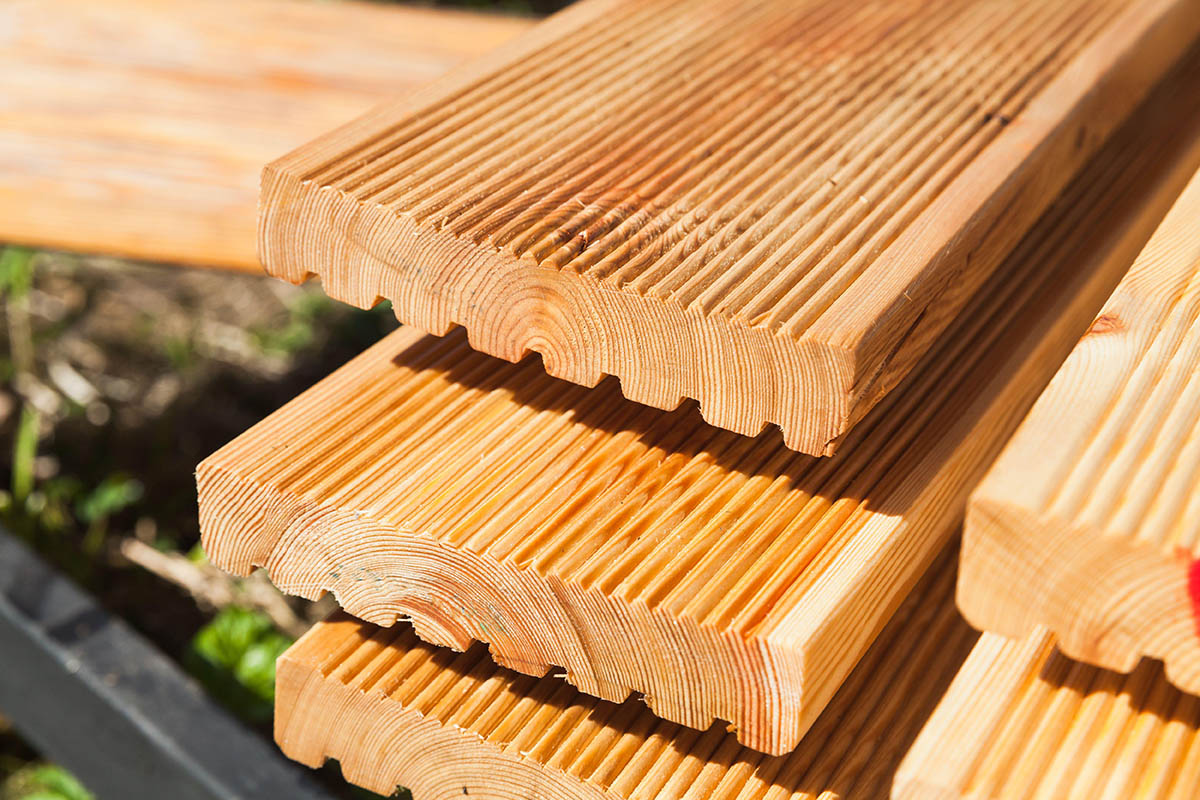
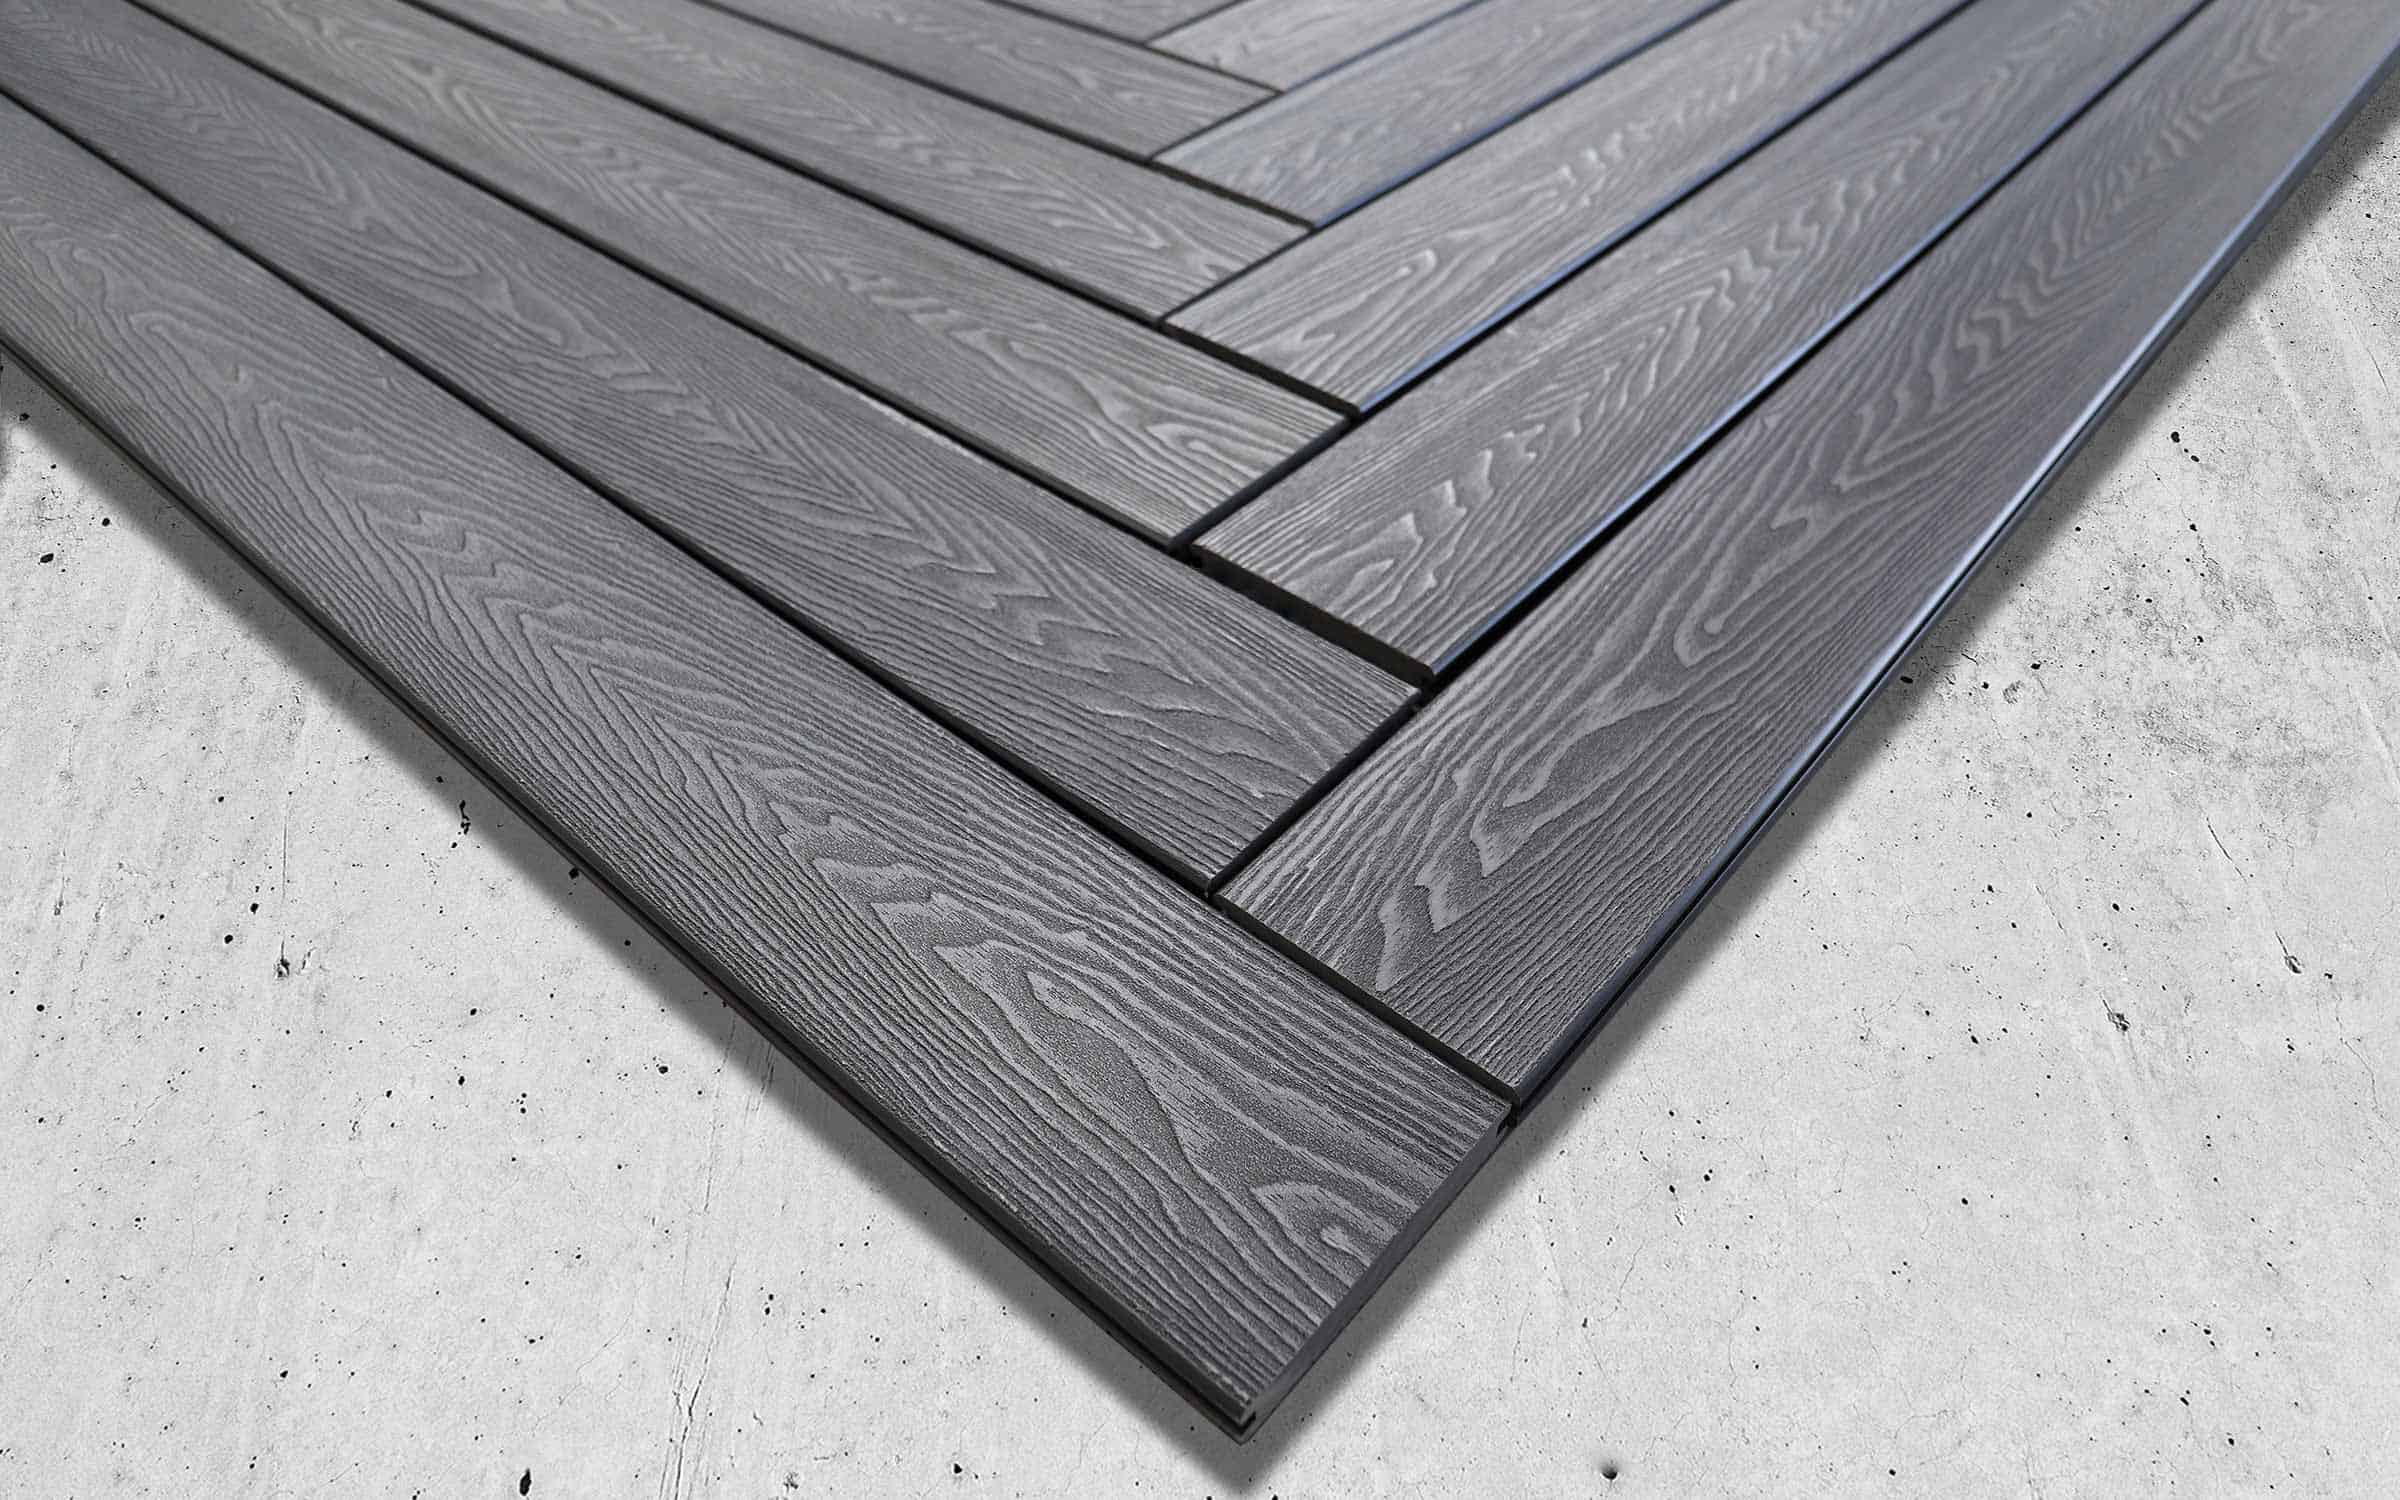
2. When selecting the new decking material, consider factors such as durability, maintenance requirements, and aesthetics. Common choices include pressure-treated lumber, composite decking, or hardwood options like cedar or tropical hardwoods.
3. Once you have the measurements and the chosen decking material, carefully mark and cut the boards to the appropriate lengths using a circular saw or a miter saw. Take accurate measurements and double-check them to ensure precise cuts.
4. If your deck has any angles or curves, use a jigsaw or a coping saw to carefully cut the boards to fit the shape of the deck. This may require more time and attention to detail, but it will result in a seamless and professional-looking deck surface.
5. As you cut the boards, make sure to wear protective eyewear and follow all safety guidelines provided by the manufacturer of the cutting tools.
6. Before installing the new boards, it’s a good idea to lay them out on the deck to double-check the fit and make any necessary adjustments. This will help ensure a smooth installation process.
By taking accurate measurements and making precise cuts, you’ll be one step closer to achieving a beautiful and well-fitted deck. Remember to allow for any necessary spacing between the boards to allow for natural expansion and contraction of the wood.
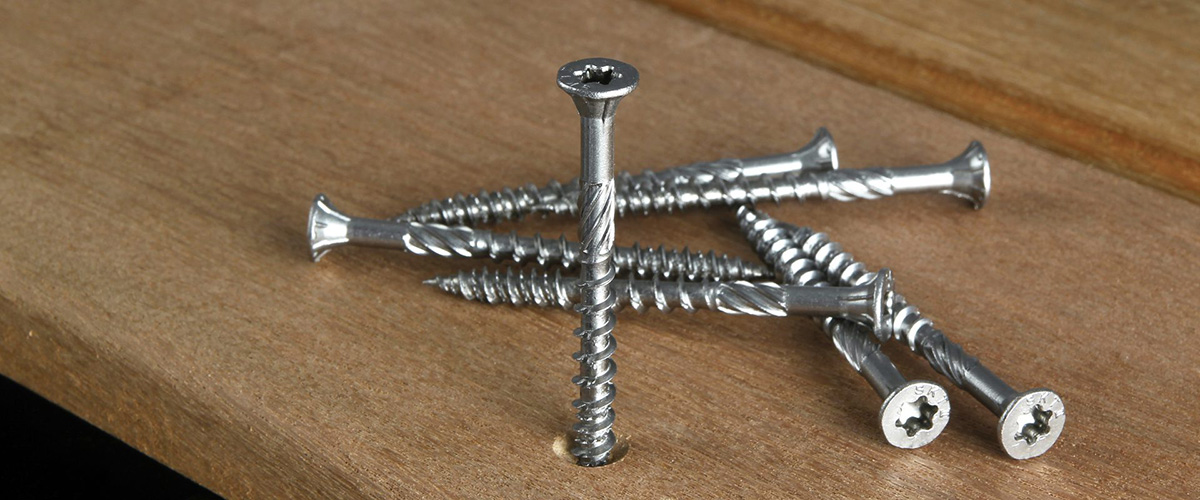
When replacing decking boards, make sure to measure and cut the new boards accurately to fit the existing space. Use stainless steel or coated screws for durability and to prevent rusting. Always wear safety goggles and gloves when working with power tools.
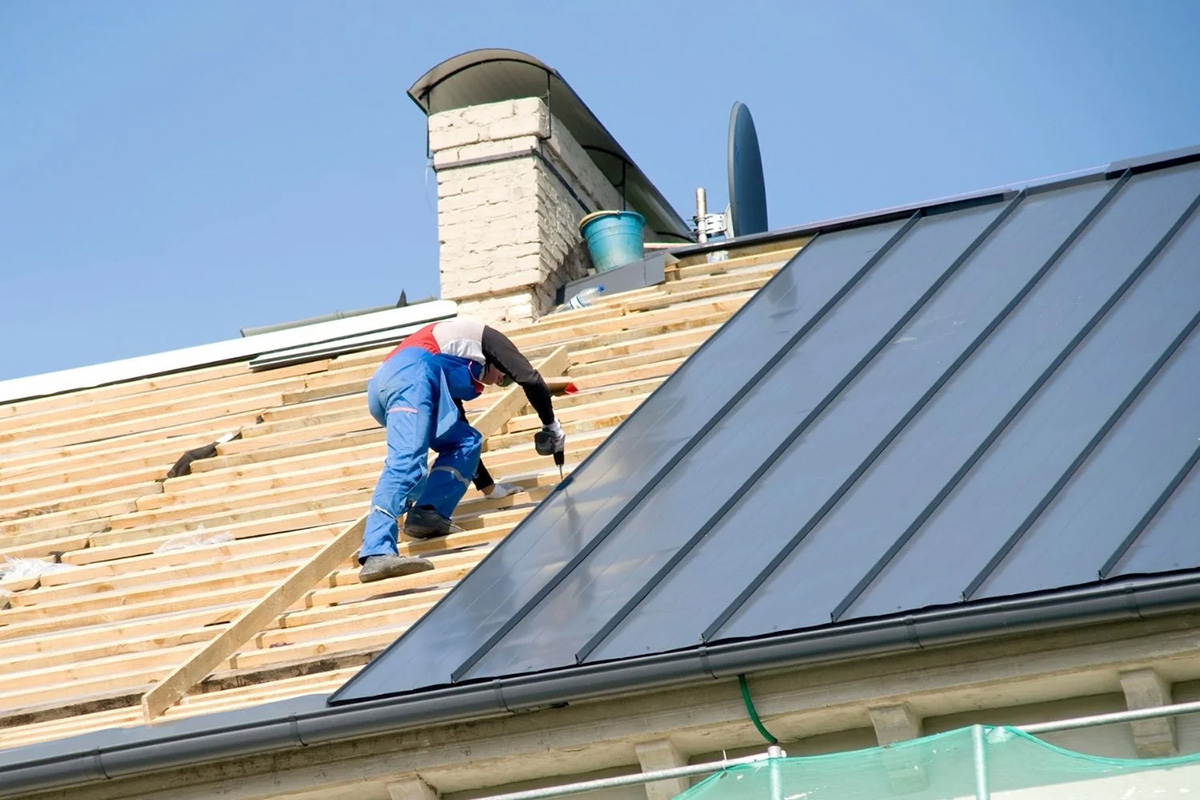
Step 4: Install new decking boards
Now that you have measured and cut the new decking boards, it’s time to move on to the installation process. Proper installation is crucial for ensuring a sturdy and visually pleasing deck.
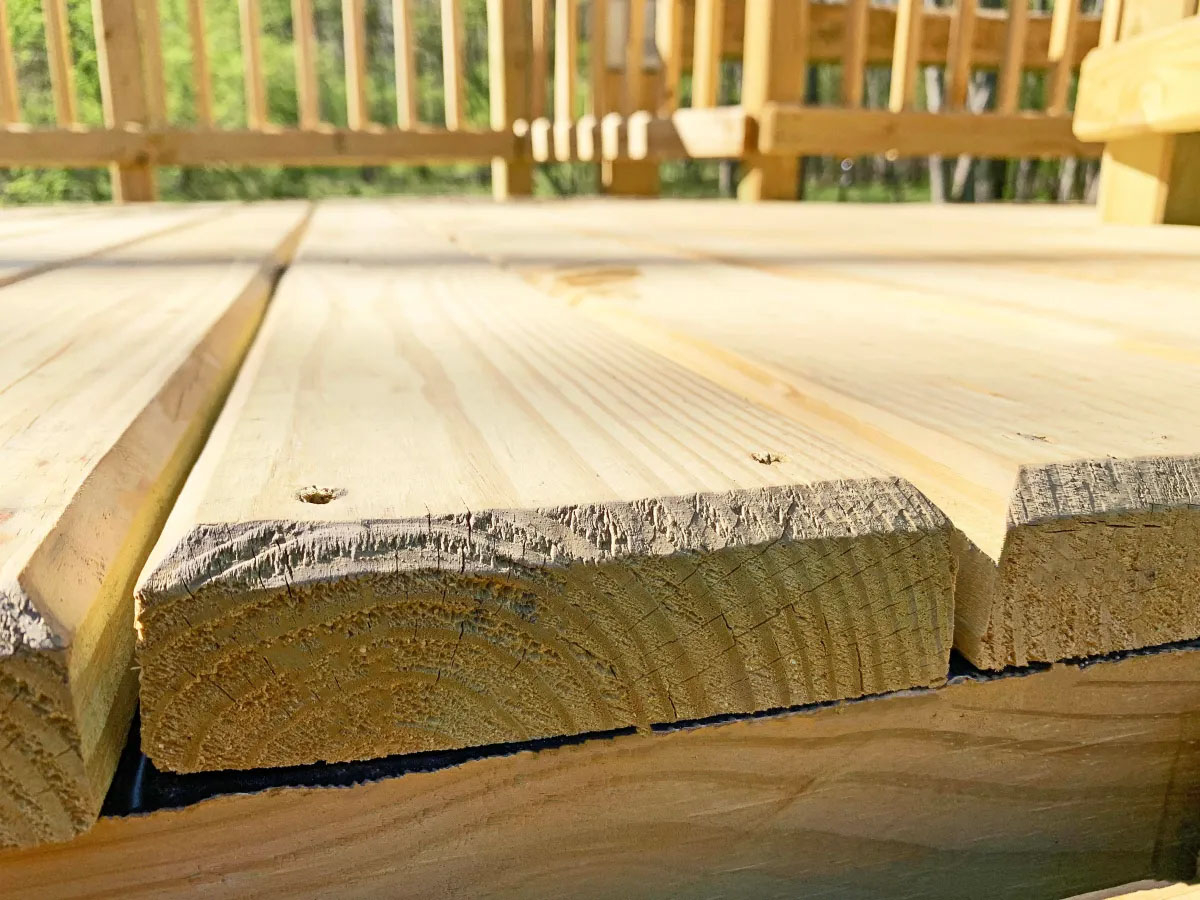
1. Start by placing the first board along one edge of the deck, ensuring that it is flush with the outer edge of the deck frame. Use deck screws or nails to secure the board into place. It’s recommended to use corrosion-resistant fasteners to prevent rust and corrosion over time.
2. As you move to the next board, ensure a consistent spacing between the boards. You can use spacers or small blocks of wood as a guide to maintain even spacing between each board. This will not only enhance the visual appeal but also allow for proper expansion and contraction of the wood.
3. Continue to install the remaining boards, working row by row. Use a level to check for any unevenness in the boards and adjust as necessary. Make sure each board is securely fastened to the deck frame.
4. For a professional finish, consider using hidden fastening systems. These systems create a clean and seamless look by hiding the fasteners beneath the surface of the boards. Follow the manufacturer’s instructions for the specific system you choose.
5. If your deck has any stairs or edges, cut the boards to fit accordingly. Use a jigsaw or a circular saw to carefully make the necessary cuts. Ensure a proper fit and secure the boards in place.
6. Take your time during the installation process to ensure that the boards are aligned and firmly attached. This will contribute to the overall stability and longevity of your deck.
By following these steps and paying attention to detail, you’ll be able to install the new decking boards and transform your deck into a beautiful and functional outdoor space.
Read more: How Wide Are Decking Boards
Step 5: Secure and finish the new decking boards
After installing the new decking boards, it’s important to properly secure them and add the finishing touches. This final step will ensure the longevity and visual appeal of your newly replaced deck.
1. With all the decking boards in place, go back and tighten any screws or nails that may have loosened during the installation process. This will help prevent any squeaks or movement in the future when the deck is in use.
2. If you opted for a hidden fastening system, double-check that all fasteners are properly tightened and hidden beneath the surface of the boards.
3. Inspect the entire deck surface for any protruding screws or nails. If you find any, use a hammer or screwdriver to carefully countersink them, making sure they are flush with the surface of the boards.
4. Consider applying a protective finish to the new decking boards. This can help protect the wood from UV damage, moisture, and general wear and tear. Options include clear sealers, stains, or paints. Be sure to choose a product specifically formulated for outdoor use.
5. Follow the manufacturer’s instructions for applying the finish. Use a brush, roller, or sprayer to evenly coat the boards. Allow sufficient drying time before placing any furniture or heavy objects on the deck.
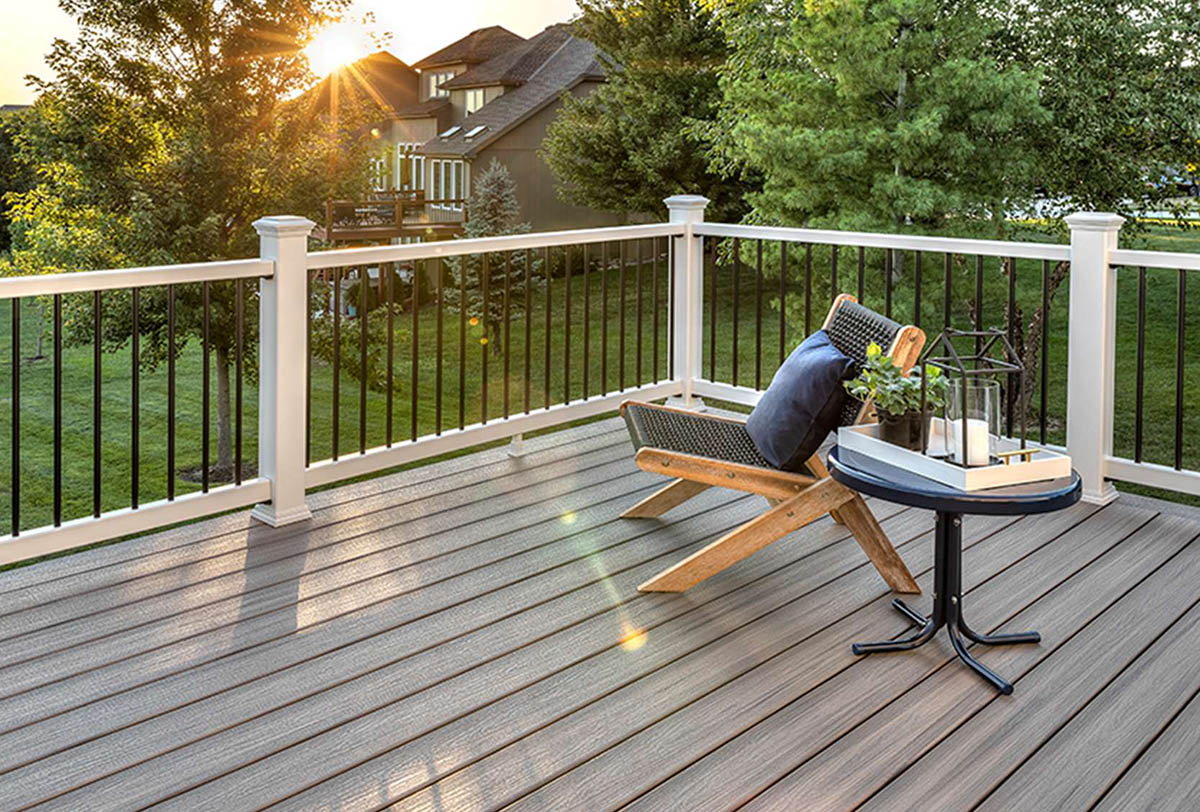
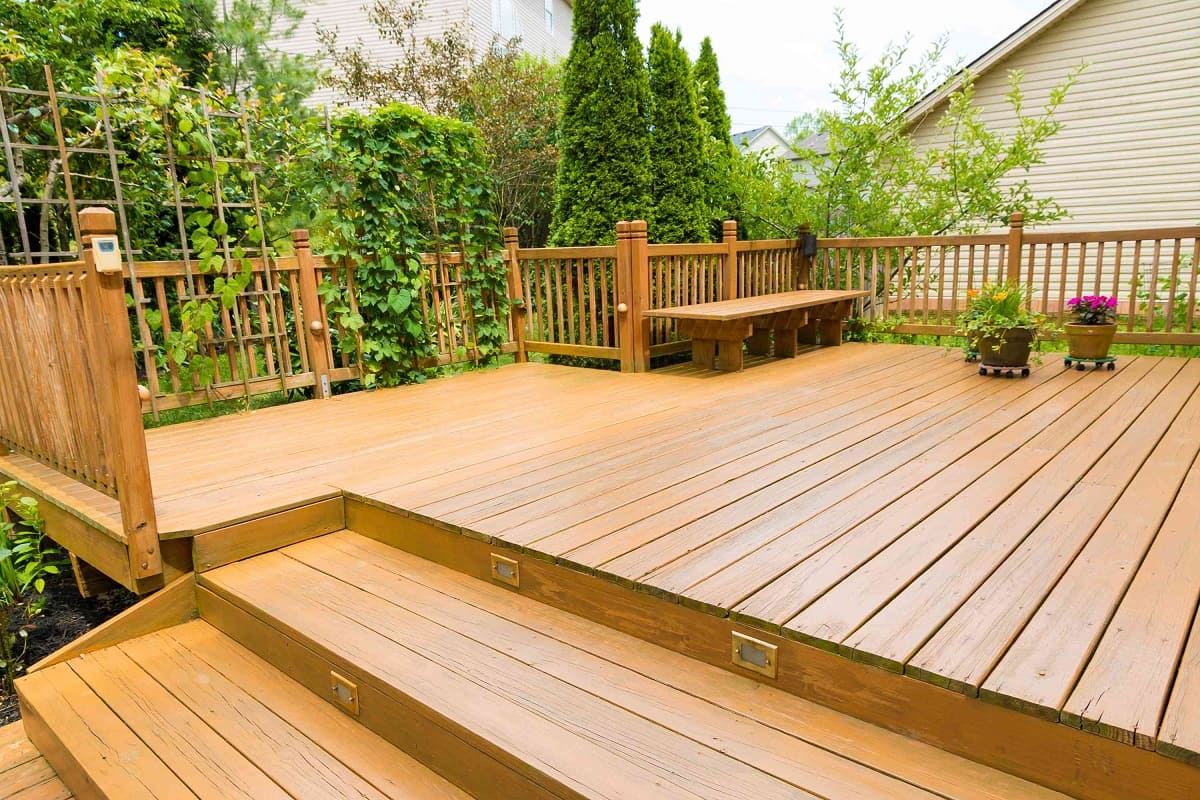
6. Lastly, consider adding some final touches to enhance the aesthetic appeal of your deck. This can include adding decorative elements such as railings, post caps, or lighting to create an inviting and visually appealing outdoor space.
By securing and finishing the new decking boards, you’ll not only ensure the durability and longevity of your deck but also enhance its overall appearance. Remember to regularly maintain and clean your deck to keep it in optimal condition for years to come.
Conclusion
Replacing decking boards is a rewarding project that can breathe new life into your outdoor space. By following the steps outlined in this guide, you can confidently take on the task of replacing your decking boards and create a beautiful and functional deck.
Start by removing the old decking boards, taking care to inspect and repair the deck frame along the way. Measure and cut the new boards accurately, ensuring a proper fit. Install the new boards securely, maintaining consistent spacing and using appropriate fasteners. Finish off the project by securing the boards, adding a protective finish, and considering any final touches that will enhance the overall look and feel of your deck.
Remember, safety is key throughout the entire process. Use appropriate tools, take breaks when needed, and consider consulting a professional for any structural concerns or if you’re unsure about any step of the process.
With your newly replaced decking boards in place, take the time to enjoy and maintain your deck. Regularly clean and inspect it to prevent any issues and promote its longevity. Consider adding furniture, plants, and other personal touches to create a space that reflects your style and provides a relaxing outdoor oasis.
By following the steps outlined in this guide and infusing your own creativity, you can create a deck that not only enhances the beauty of your home but also provides a space for you and your loved ones to enjoy for years to come.
Frequently Asked Questions about How To Replace Decking Boards
Was this page helpful?
At Storables.com, we guarantee accurate and reliable information. Our content, validated by Expert Board Contributors, is crafted following stringent Editorial Policies. We're committed to providing you with well-researched, expert-backed insights for all your informational needs.
0 thoughts on “How To Replace Decking Boards”