Articles
11 Amazing Vinyl Siding Repair Kit For 2024
Modified: January 10, 2024
Discover the top 11 vinyl siding repair kits for 2023. Fix cracks, dents, and scratches with these amazing products. Enhance the appearance and durability of your home's exterior.
(Many of the links in this article redirect to a specific reviewed product. Your purchase of these products through affiliate links helps to generate commission for Storables.com, at no extra cost. Learn more)
Introducing the 11 Amazing Vinyl Siding Repair Kit for 2023! Vinyl siding is a popular choice for homeowners due to its durability and low maintenance requirements. However, over time, wear and tear or unforeseen accidents may lead to damages that need immediate attention. That's where these incredible repair kits come in. Designed specifically for vinyl siding, these kits offer innovative solutions to fix cracks, holes, or other imperfections seamlessly. With a wide range of options available, homeowners can easily find the perfect kit to restore their siding's pristine appearance. Stay tuned to discover the very best repair kits that will elevate your home's curb appeal and keep it looking its best for years to come.
")
Overall Score: 8.4/10
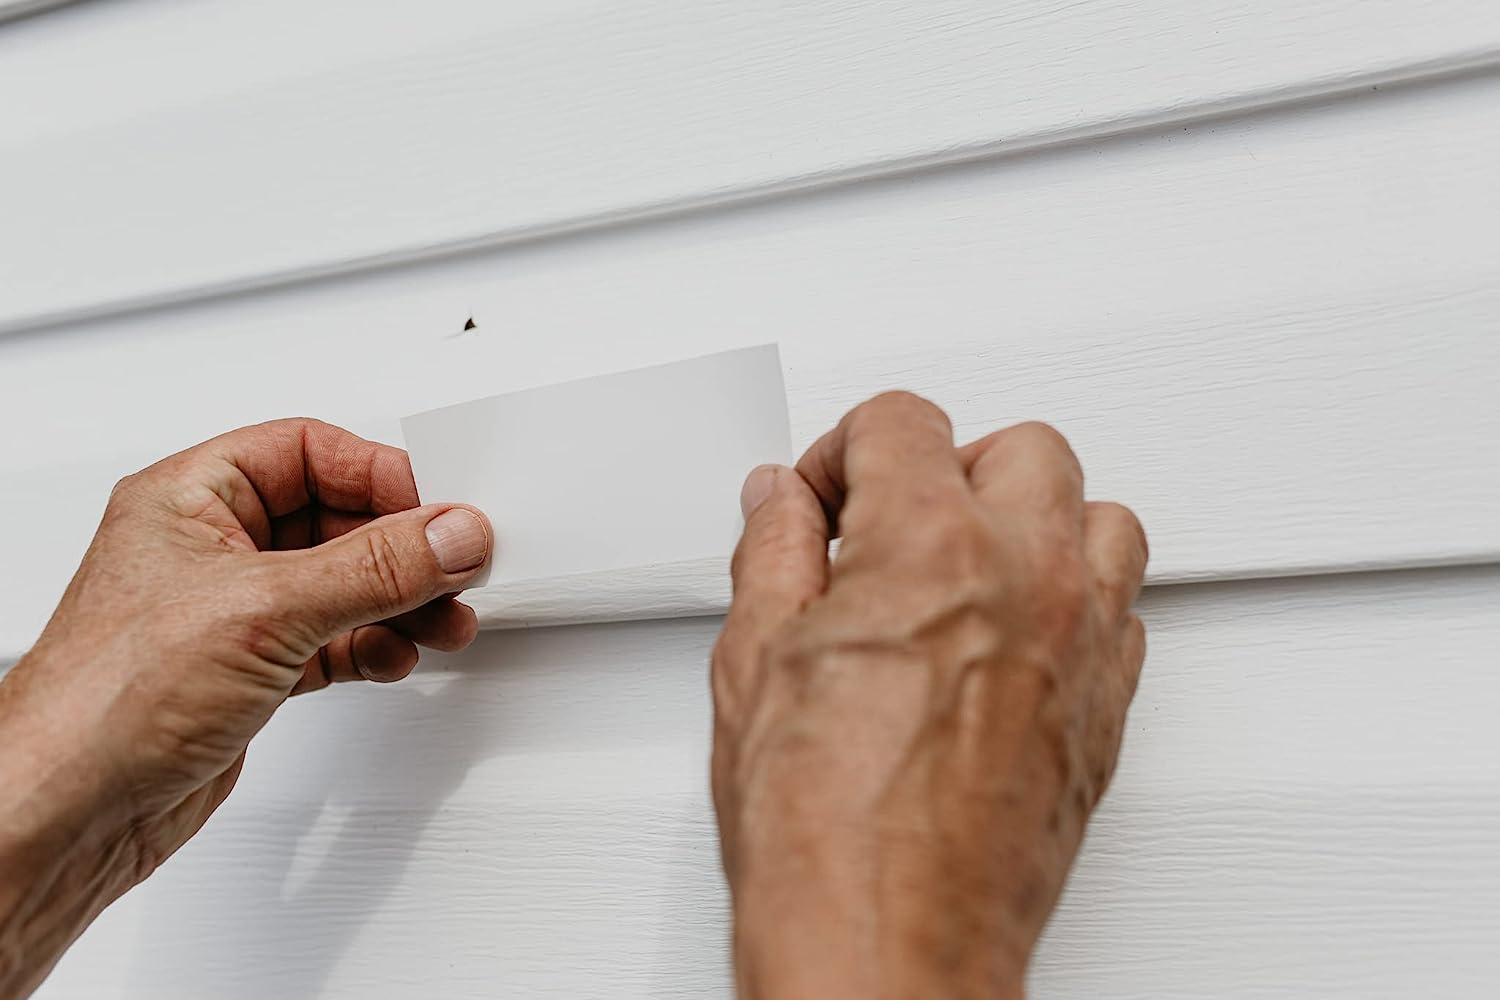
The Stick N Repair Cracked Bathtub, Pool Liner, Roof, Skylight, Vinyl Skirting, Siding Repair Kit is a versatile repair kit that comes in a convenient size of 6" x 12". Whether you need to fix a cracked bathtub, pool liner, roof, skylight, or vinyl skirting and siding, this repair kit has got you covered. The patch is UV protected and built to withstand the outdoors without delaminating or deteriorating. It works just as well above or below water lines. However, it is important to note that this repair patch is not paintable. With a tan color, it blends seamlessly with most surfaces. Overall, the Stick N Repair Cracked Bathtub, Pool Liner, Roof, Skylight, Vinyl Skirting, Siding Repair Kit is an effective solution for various repair needs.
Key Features
- 6" x 12" Repair Patch, Color: TAN
- Use on: Roofs, Pool Liners, Skylights, Cracked Bathtub/Shower/Sink, Vinyl Skirting/Siding, Etc
- UV Protected, Won't Delaminate or Deteriorate In The Outdoors
- Works Above or Below Water Lines
- Not paintable
Specifications
- Color: Tan
Pros
- Versatile repair kit for various surfaces and items
- UV protected and durable for outdoor use
- Works above or below water lines
- Blends seamlessly with most surfaces
Cons
- Not paintable
The Stick N Repair Cracked Bathtub, Pool Liner, Roof, Skylight, Vinyl Skirting, Siding Repair Kit is a reliable and convenient solution for a wide range of repair needs. It offers a durable repair patch that can be used on different surfaces such as roofs, pool liners, skylights, bathtubs, and vinyl siding. The patch is UV protected and designed to withstand outdoor conditions without delaminating or deteriorating. While it is not paintable, the tan color blends well with most surfaces, ensuring a seamless appearance. With positive customer reviews and a high rating, the Stick N Repair Cracked Bathtub, Pool Liner, Roof, Skylight, Vinyl Skirting, Siding Repair Kit is a recommended choice for anyone in need of an effective repair solution.

Overall Score: 8.4/10
The LitKiwi 10PCS Vinyl Siding Repair Tapes offer a practical and convenient solution for repairing cracks, holes, or blemishes on vinyl siding. Made of durable PVC material, these self-adhesive tapes are weather-resistant, water and oil-proof, and suitable for both indoor and outdoor applications. With a temperature range of minus 40 to 130 degrees Fahrenheit, they can withstand various weather conditions. The classic white design allows for customization with paint or patterns to match your preferences. These tapes are versatile and can also be used to fix holes and scratches on furniture, vinyl fences, and floors. The package includes 10 pieces of 6"x8" tapes, providing ample material for multiple repairs.
Key Features
- Includes 10pcs of 6"x8" vinyl siding repair tapes
- Made of durable PVC material with good weather resistance
- Self-adhesive and easy to apply
- Can be trimmed to desired size
- Suitable for both indoor and outdoor applications
Specifications
- Color: White
- Size: 6"x8"
Pros
- Durable and weather-resistant
- Easy to install and trim
- Can be painted to match surroundings
- Versatile for various applications
Cons
- Doesn't absorb paint well
- Thin material may not be suitable for all repairs
The LitKiwi 10PCS Vinyl Siding Repair Tapes provide an efficient and cost-effective way to fix cracks and holes in vinyl siding. With their self-adhesive and easy-to-apply design, these durable PVC tapes offer a long-lasting solution. The ability to customize them with paint or patterns adds a creative touch to the repairs. However, it’s important to note that the tapes may not absorb paint well, and their thinness may limit their effectiveness in certain repair scenarios. Overall, if you’re looking for a convenient and versatile option to repair vinyl siding, these tapes are worth considering.

Overall Score: 8/10
The Guppyhill Vinyl Siding Repair Kit is a convenient solution for covering up cracks, holes, or blemishes on vinyl siding. This kit includes 6 patches made from a thin piece of PVC, which makes them easy to install. Simply clean the area, peel off the backing, stick the patch onto the damaged area, flatten it, and paint over it for a seamless finish. The patches are weatherable and can withstand temperatures ranging from 5 degrees Fahrenheit to 140 degrees Fahrenheit. With a size of 6.3 inches x 4.75 inches, these patches provide ample coverage. Overall, they do a good job of stopping water penetration, although they may be noticeable without paint. The adhesive is strong, and once painted, the patches blend in well with the surrounding siding. However, finding a matching paint color may be necessary for a more seamless appearance.
Key Features
- Size: 6.3 Inches x 4.75 inches
- Material: Made from a thin piece of PVC
- Easy to Install: Clean, peel, stick, flatten, and paint
- Weatherable: Works fine from 5 degrees Fahrenheit to 140 degrees Fahrenheit
- Package Includes: 6 Patches Repair Kit & 1 User's Manual
Specifications
- Color: 6 Patches
- Dimension: 8.00Lx6.00Wx0.50H
- Size: 6.3"x4.75"
Pros
- Easy to install and use
- Strong adhesive
- Provides a temporary fix for cracks, holes, and blemishes
- Weather-resistant
Cons
- Patches may be noticeable without paint
- Finding a matching paint color can be a challenge
The Guppyhill Vinyl Siding Repair Kit is a practical solution for quickly addressing cracks, holes, and blemishes on vinyl siding. With easy installation and strong adhesive, the patches provide a temporary fix and effectively prevent water penetration. While the patches may be noticeable without paint, a coat of matching paint helps blend them seamlessly with the surrounding siding. The weather-resistant material ensures durability in various temperature conditions. However, finding a matching paint color may require additional effort. Overall, this repair kit offers a convenient option for homeowners looking to maintain the aesthetics and functionality of their vinyl siding.

Overall Score: 8/10
The Mendyl Vinyl and Stucco Siding Repair Kit is a durable and customizable solution for repairing cracks, holes, or blemishes in your vinyl siding. Made from thin PVC, these repair patches can withstand extreme weather conditions and work both indoors and outdoors. The white color of the patches allows for easy painting to match the surrounding color of your siding. Each kit includes 2 large patches, measuring 6 1/2 by 4 3/4 inches, which are suitable for repairing most cracks, holes, or defects. With its easy do-it-yourself installation, you can quickly and efficiently repair your siding without the need for a contractor. Overall, the Mendyl Vinyl and Stucco Siding Repair Kit is a reliable and convenient solution for maintaining the appearance of your home's exterior.
Key Features
- Durable in extreme weather conditions
- Customizable shape with scissors
- Large surface area for significant repairs
- Easily color match and paint
- Easy and efficient do-it-yourself installation
Specifications
- Color: White
- Size: 6 1/2" X 4 3/4"
Pros
- Survives in extreme weather
- Easily customizable
- Large enough for significant repairs
- Easily color match and paint
- Simple do-it-yourself installation
Cons
- Not a perfect color match
- Thin material
- May not pass a professional inspection
The Mendyl Vinyl and Stucco Siding Repair Kit provides a reliable and convenient solution for repairing cracks, holes, or blemishes in your vinyl siding. With its durable and weather-resistant material, you can trust that the repairs will hold up well over time. The customizable shape allows for easy installation, and the large patches are suitable for most repair needs. While the white color may not perfectly match your existing siding, it can easily be painted to blend in seamlessly. Overall, this repair kit offers a cost-effective alternative to hiring a contractor for minor siding repairs, making it a valuable addition to any homeowner’s toolkit.
")
Overall Score: 8.1/10
The USA Made Stepsaver Products Vinyl Siding Repair Patch Kit is a reliable solution for repairing vinyl siding and fence damage. With its self-adhesive lower surface and paint-ready upper surface, this kit is easy to apply. The included center reinforcement patches and uneven edges help the patches blend seamlessly into the repaired area. Made in the USA since 1999, this repair patch kit provides a durable and long-lasting solution for your vinyl siding repair needs.
Key Features
- Self-Adhesive lower surface, paint ready upper surface
- Easily repair vinyl siding & fence damage
- Uneven edges help blend into repaired area
- Center reinforcement patches included
- Made in USA since 1999
Specifications
- Dimension: 7.00Lx5.00Wx0.02H
- Size: 5"x 7"
Pros
- Self-adhesive for easy application
- Durable and long-lasting
- Blends seamlessly into repaired area
- Includes center reinforcement patches
Cons
- May crinkle if applied on warped siding
- Larger holes may leave noticeable ripples
- Thin and requires painting over
The USA Made Stepsaver Products Vinyl Siding Repair Patch Kit is a reliable and cost-effective solution for small to medium-sized vinyl siding repairs. It is easy to apply and blends seamlessly into the repaired area. However, care should be taken when applying it to warped siding or larger holes, as it may result in crinkling or noticeable ripples. Despite these limitations, this repair patch kit provides an excellent option for DIY repairs and offers a durable and long-lasting solution. Whether you have minor damage or need to appease your HOA, this repair patch kit is worth considering.

Overall Score: 7.2/10
The 20 Pieces Vinyl Siding Repair Kit is a practical and convenient assistant for repairing holes and blemishes on vinyl siding. With its self-adhesive PVC vinyl tapes and classic white color, it allows for easy application and the option to paint over it. Made of PVC material, it has good weather resistance and self-adhesive performance, making it suitable for both indoor and outdoor use. Each kit includes 20 pieces of vinyl repair tools, providing ample content for your needs. While it may not be a permanent solution and some reviewers found it to be thin, it still offers a functional and effective way to patch up your vinyl siding.
Key Features
- Practical to apply with no additional tools required
- Classic white color for easy customization
- Made of weather-resistant PVC material
- Includes 20 pieces of vinyl repair tools
- Suitable for repairing holes and blemishes on vinyl siding
Specifications
- Color: White
- Size: Delicate Style
Pros
- Easy to apply and customizable
- Good weather resistance
- Suitable for indoor and outdoor use
- Ample content with 20 repair tools
Cons
- Thin material
- Not a permanent solution
- Color match may not be perfect
The 20 Pieces Vinyl Siding Repair Kit offers a practical and convenient solution for patching up holes and blemishes on vinyl siding. While it may not be the most durable option and the color match may not be perfect, it provides a functional way to temporarily repair your siding. With its easy application and customizable design, it allows you to maintain the appearance of your home while waiting for a more permanent solution. Overall, this repair kit is a handy tool to have for any homeowner dealing with vinyl siding issues.

Overall Score: 7/10
The Vinyl Siding Repair Kit is a white self-adhesive vinyl siding patch that can be cut to fit and cover any cracks, holes, or blemishes on your PVC fence or house. Made of high-quality PVC material, it is durable, waterproof, and can withstand temperature changes. With easy do-it-yourself installation, all you need to do is trim the size, peel, stick, and paint to match the surrounding colors. This vinyl siding repair kit is suitable for repairing and covering most cracks and holes in wallboards, as well as other furniture scratches. It is designed in a standard white color that can be painted over to blend seamlessly. The kit includes 6 packs of 6.5 X 4.75 Inch patches, making it large enough for bigger repairs. Overall, it provides an economical and temporary fix until new siding can be installed.
Key Features
- Standard white color for easy painting
- Made of durable, weather-resistant PVC material
- Can withstand temperature range from -40 to 130 degrees Fahrenheit
- Easy DIY installation
- Suitable for repairing cracks, holes, and defects
- Stick to virtually any surface
Specifications
- Color: 6 Pack
Pros
- Barely noticeable when painted over
- Good value for the money
- Thin and flexible for easy installation
- Long-lasting and waterproof repair
Cons
- Adhesive could be stickier
- Peels up at bends or angles
- Not a perfect color match
- May require additional paint for blending
The Vinyl Siding Repair Kit offers a convenient and cost-effective solution for repairing cracks, holes, or blemishes in your vinyl siding. Its self-adhesive design and easy installation process make it accessible to anyone, and the durable PVC material ensures a long-lasting repair. While it may not provide a perfect color match, painting over the patches can help them blend seamlessly into the surrounding siding. The kit includes enough patches for larger repairs, making it an economical choice. Overall, this vinyl siding repair kit is a great temporary fix until new siding can be installed, providing peace of mind and protecting your home from further damage.

Overall Score: 7/10
The 20Pcs Vinyl Siding Repair Kit is a practical and convenient solution for repairing cracks, holes, or defects in your home. The package includes 20 sheets of waterproof and non-tearable stickers made of PVC material. With their classic white color, you can easily paint on them to match your desired colors or patterns. The kit is easy to use, as you just need to trim the size and stick it onto the damaged area. It is suitable for both indoor and outdoor applications, thanks to its durable and heat-resistant properties. Whether you need to repair cracked wallboards or cover scratches on furniture, this vinyl siding repair kit is a reliable and functional assistant.
Key Features
- Package: 20 sheets of waterproof, 6 x 8 inches, oil-proof and non-tearable stickers
- Colors: PVC vinyl tapes designed with standard white color
- Application: Easy to trim, clean, peel, stick, and paint
- Durable and stable: Made of PVC material, suitable for indoor and outdoor use
- Functional usages: Repair cracks, holes, or defects, and cover scratches on furniture
Specifications
- Color: White
- Size: Large
Pros
- Waterproof and non-tearable
- Simple colors for customization
- Easy to use and apply
- Durable and suitable for indoor/outdoor use
- Multi-functional for various repairs
Cons
- Thin sheets may be see-through
- Weak adhesive
- Backings not easy to remove on some sheets
The 20Pcs Vinyl Siding Repair Kit offers a practical solution for various repair needs in your home. While the thin sheets may be see-through and the adhesive could be stronger, the kit is still easy to use and provides durable results. Customers have found it useful for covering holes in skirting, repairing mobile home siding, and more. However, some tweaking may be required for optimal adhesion. Overall, this product is a cost-effective option for anyone looking to repair and cover cracks, holes, or blemishes in their home’s surfaces.

Overall Score: 7.2/10
The LitKiwi 12PCS Vinyl Siding Repair Kit is a durable self-adhesive PVC tape designed to cover cracks, holes, or blemishes on vinyl siding fences. Made of high-quality PVC material, it offers good weather resistance and is both water and oil proof. The kit includes 12 pieces of tape in three different sizes, allowing you to choose the one that best fits your needs. The self-adhesive nature of the tape makes it easy to apply, clean, peel, stick, and even paint based on surrounding colors. With its classic white design, you have the freedom to paint the color or pattern you desire. Suitable for repairing and covering cracks, holes, or blemishes on vinyl siding and other surfaces such as furniture and vinyl floors.
Key Features
- 12pcs vinyl siding repair durable PVC tape
- Three different sizes to meet various needs
- Good weather resistance, water and oil proof
- Easy to apply, clean, peel, stick, and paint
- Standard white color for customization
- Suitable for repairing vinyl siding and other surfaces
Specifications
- Color: White
- Size: 12PCS Tape
Pros
- Durable and weather-resistant PVC material
- Variety of tape sizes for different needs
- Easy to apply and customize with paint
- Versatile usage for various surfaces
Cons
- Color may not perfectly match in all cases
- Thin sticker-like appearance on larger holes
The LitKiwi Vinyl Siding Repair Kit is a practical and convenient solution for covering cracks, holes, or blemishes on vinyl siding fences. The durable PVC tape offers good weather resistance and can be easily applied, cleaned, and painted to match any color or pattern. While the standard white color allows for customization, it may not perfectly match in all cases. Additionally, the thin sticker-like appearance on larger holes may require using multiple patches for a better result. Overall, this kit is a cost-effective option for DIY repairs and offers versatility in usage for various surfaces.

Overall Score: 7/10
The 20 Pieces Vinyl Siding Repair Kit is a practical and convenient repairing assistant for your home. Made of durable PVC material with good weather resistance, this self-adhesive tape is suitable for repairing and covering cracks, holes, and blemishes on vinyl siding and furniture. It is also waterproof and oil-proof, making it suitable for indoor and outdoor use. With easy application instructions, you can quickly and conveniently repair any damaged areas. Each sheet of vinyl siding tape is large enough for various uses and can be customized to fit your specific needs. The kit includes 20 pieces of repair tape, providing you with enough quantity to meet your repair and decorating needs. Make your home cleaner and brighter with this reliable vinyl siding repair kit.
Key Features
- Repairing assistant for cracks, holes, and blemishes
- Made of durable PVC material with good weather resistance
- Self-adhesive and waterproof
- Easy to measure, cut, and apply
- Includes 20 pieces for sufficient repair demands
Specifications
- Color: White
Pros
- Good value compared to others sold here
- Easy to use
- Durable and weather-resistant material
- Includes sufficient quantity for multiple repairs
- Suitable for indoor and outdoor use
Cons
- Material is very thin and rips easily
- Not completely opaque, shows slight transparency
- May not provide airtight seal for larger holes
The 20 Pieces Vinyl Siding Repair Kit is a reliable and practical solution for repairing cracks, holes, and blemishes in vinyl siding and furniture. Its durable PVC material ensures long-lasting performance, while the self-adhesive and waterproof properties make it suitable for multiple uses both indoors and outdoors. With 20 pieces included, this kit provides ample quantity for various repair demands. While the material could be thicker and more opaque, it still offers an effective solution for smaller holes and imperfections. Overall, this repair kit offers good value compared to other options available on the market.

Overall Score: 8/10
The Vinyl Siding Repair Kit Self-Adhesive PVC Tape is a practical tool for covering cracks, holes, or blemishes on vinyl fences. Made of durable PVC material, these repair patches are suitable for outdoor use and have a long lifespan. The kit includes multiple patches, providing you with options for various repair demands and decorative updates. With adhesive backing, the repair process is convenient and the patches stay firmly in place. The proper size of each patch allows for easy customization to fit different hole sizes and shapes. Although the tape is thin, it effectively covers the damaged areas and blends well with existing siding. Overall, this repair kit offers a simple and cost-effective solution for enhancing the appearance of your vinyl fence.
Key Features
- Practical tool for covering cracks, holes, or blemishes
- Made of durable PVC material for outdoor use
- Easy to customize and apply with adhesive backing
- Includes multiple patches for various repair demands
- Blends well with existing siding
Specifications
- Color: White
Pros
- Durable and long-lasting material
- Convenient and easy to use
- Provides customization options
- Blends well with existing siding
Cons
- Tape thickness may be a concern for some
- Difficult to separate due to thinness
The Vinyl Siding Repair Kit Self-Adhesive PVC Tape offers an effective solution for covering cracks, holes, or blemishes on vinyl fences. Made of durable PVC material, these patches are easy to customize and apply with their adhesive backing. While the tape is thin, it provides sufficient coverage and blends well with existing siding. It is worth considering for a cost-effective and convenient repair option. However, individuals who prefer thicker repair materials may find the tape’s thinness to be a drawback. Overall, this repair kit is a reliable choice for enhancing the appearance of your vinyl fence and making it look as good as new.
Buyer's Guide: Vinyl Siding Repair Kit
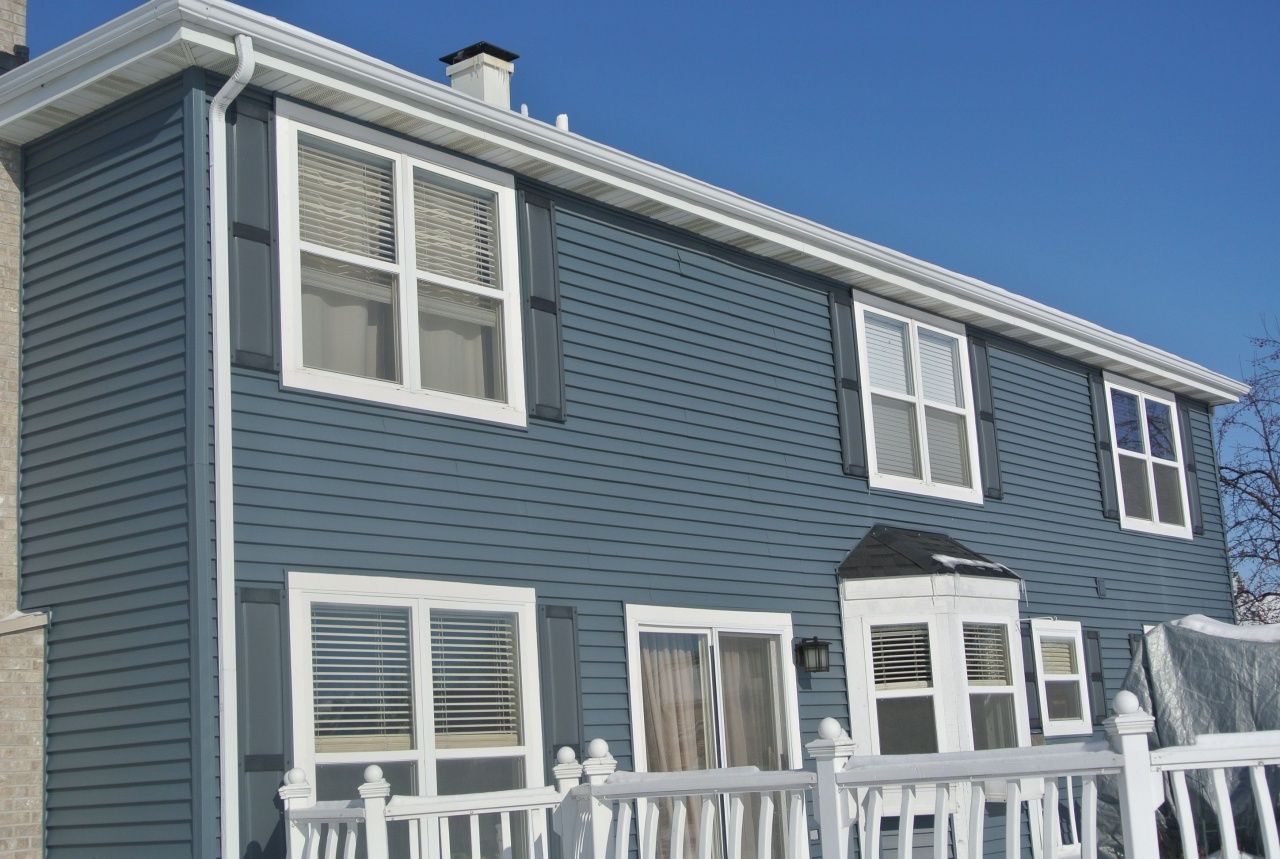
Vinyl siding is a popular choice for many homeowners due to its durability and low maintenance. However, like any other material, vinyl siding can get damaged over time. Luckily, a vinyl siding repair kit can come to your rescue! These kits offer an easy and cost-effective solution for fixing small to moderate damages on your siding. To help you make an informed purchase, we have put together this comprehensive buyer's guide.
Read more: What Causes Vinyl Siding To Warp
Key Considerations
When looking for the perfect vinyl siding repair kit, keep the following factors in mind to ensure you make the right choice:
- Versatility: Look for a repair kit that can cater to various types of vinyl siding, as different brands and styles may require different repair methods.
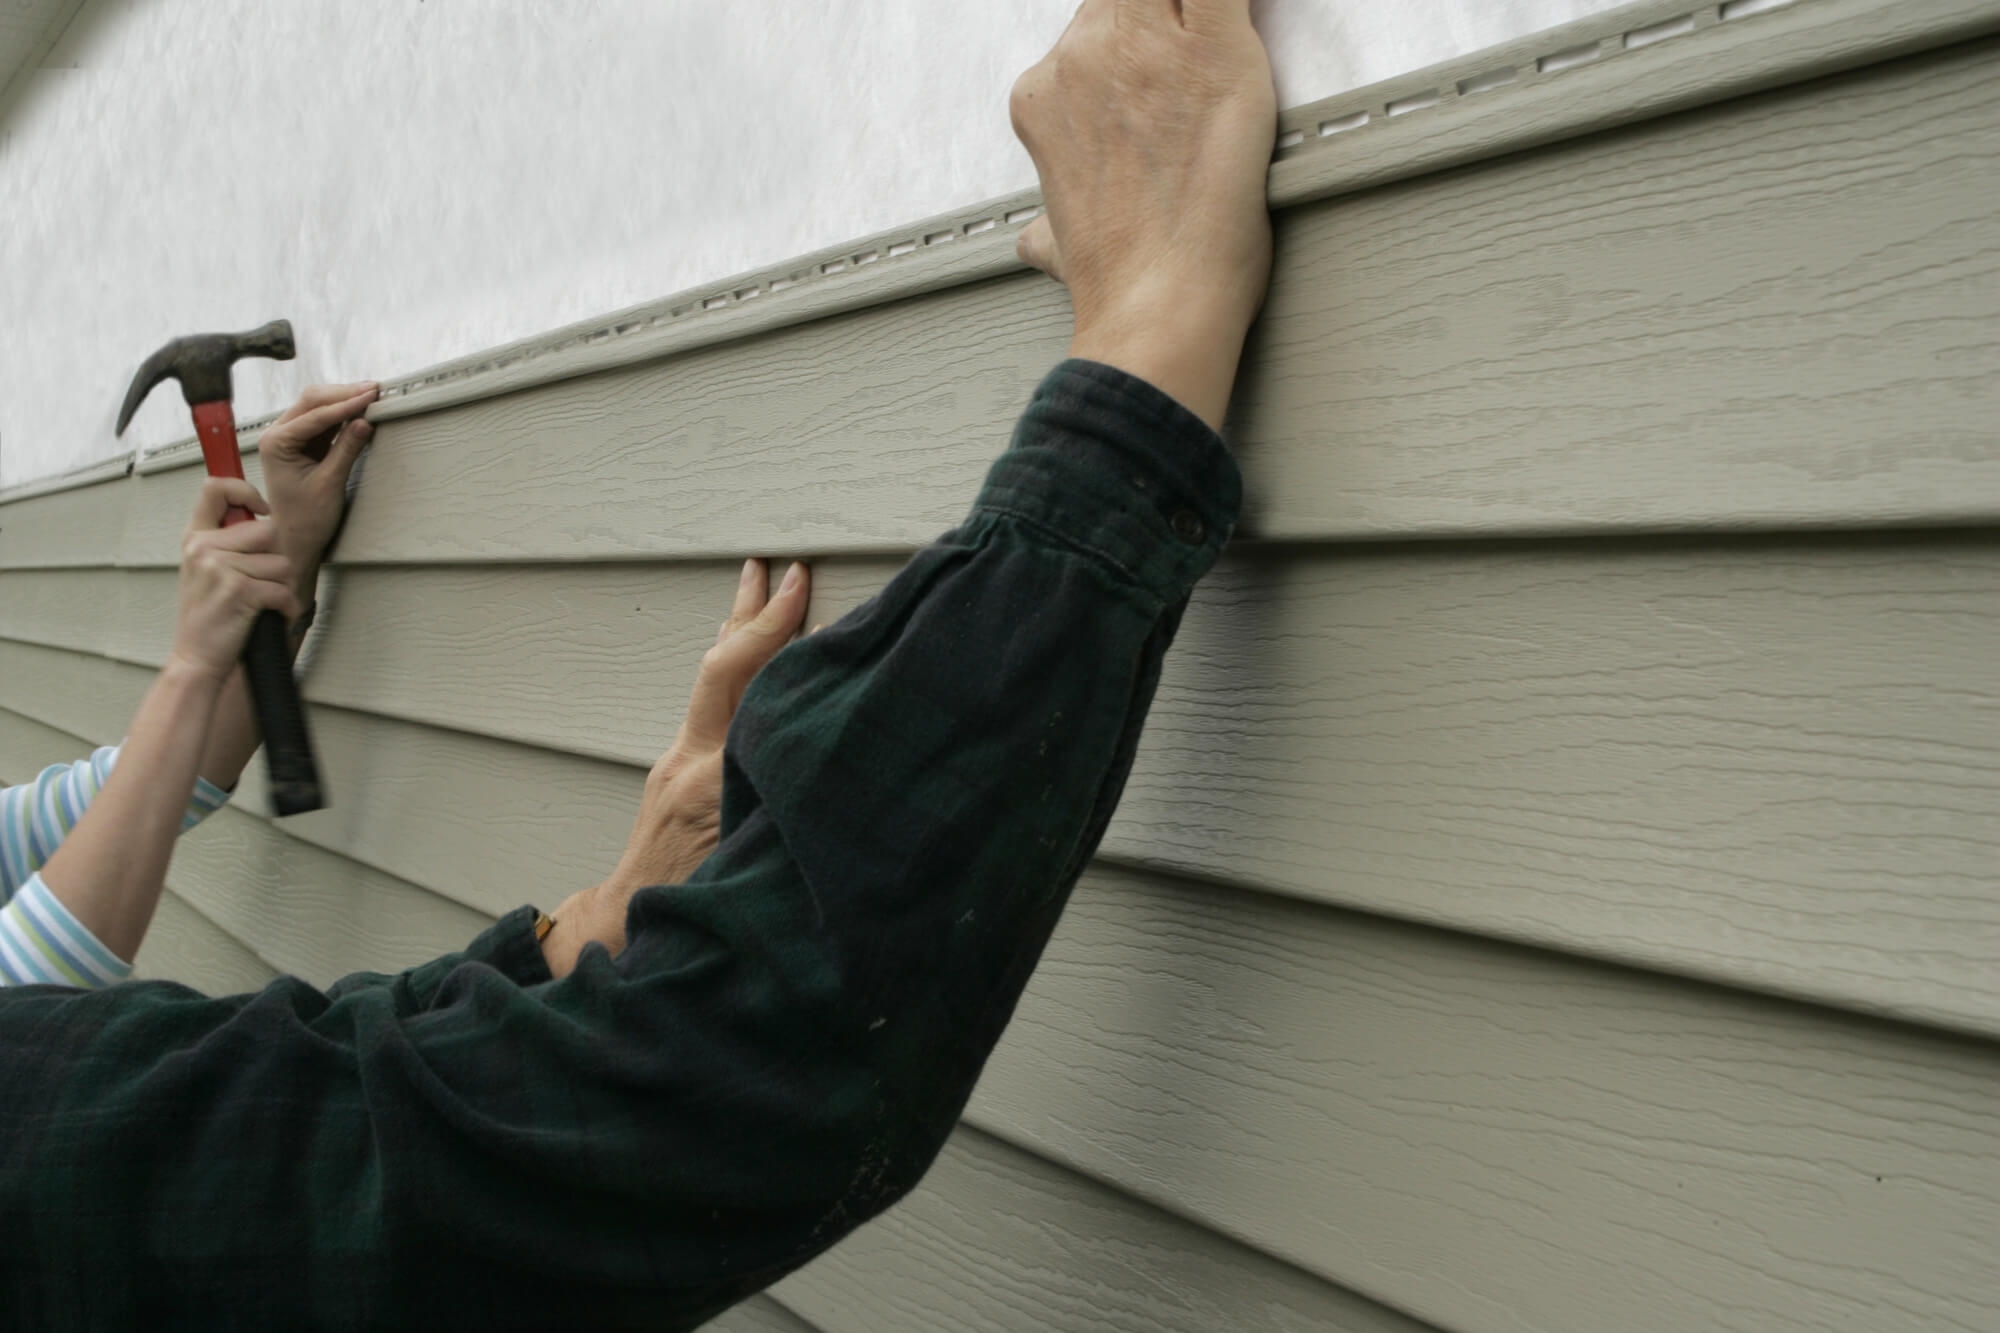
- Ease of Use: Opt for a kit that comes with clear, step-by-step instructions and all the necessary tools and materials. This way, you'll have everything you need to complete the repair successfully.
- Color Matching: Check if the repair kit offers color options that match your existing siding. It's essential to ensure a seamless look after the repair is completed.
- Weather Resistance: Consider the kit's ability to withstand different weather conditions, such as extreme temperatures, UV rays, and moisture. This will ensure the repaired area maintains its integrity over time.
- Durability: Assess the durability of the repair materials included in the kit. You want to choose a kit that provides long-lasting results, avoiding the need for frequent repairs in the future.
Top Vinyl Siding Repair Kit Features
To simplify your decision-making process, here are some essential features to look for in a quality vinyl siding repair kit:
- Complete Repair Solution: Look for kits that include fillers, adhesives, sealants, and color-matching paints. This ensures you have everything necessary to fix cracks, holes, or other damages of your vinyl siding.
- Variety of Tools: A comprehensive kit often comes with tools like putty knives, shaping knives, scrapers, and texture mats. These tools make it easier to manipulate and blend the repair materials for a professional finish.
- UV Protection: Ensure the kit includes UV-protected materials or coatings. Vinyl siding is exposed to the sun's rays, and it's crucial that the repaired area resists fading or discoloration over time.
- Quick Drying Time: Choose a repair kit with fast-drying materials, allowing you to complete the repair efficiently. This is particularly important if you live in an area with unpredictable weather conditions.
- Non-Toxic Formulas: Prioritize kits that use non-toxic and eco-friendly formulas. This ensures a safe working environment while also reducing the impact on the environment.
Frequently Asked Questions about 11 Amazing Vinyl Siding Repair Kit For 2024
Many minor vinyl siding damages can be repaired yourself using a vinyl siding repair kit. However, for significant damages or if you feel uncomfortable tackling the repair, it’s recommended to seek professional assistance.
The time required to complete a vinyl siding repair depends on the extent of the damage and your experience with DIY repairs. Simple repairs may take a few hours, while more complex ones might need a full day.
With a good vinyl siding repair kit and proper technique, the repair should be virtually unnoticeable. Color matching and blending the texture of the repair materials with your existing siding are crucial for achieving optimal results.
Vinyl siding repair kits are designed to handle various types of damages, including cracks, small holes, and minor dents. However, extensive or structural damages may require professional intervention or, in some cases, replacing entire sections of the siding.
A well-executed repair using a high-quality vinyl siding repair kit can last for many years. However, it’s important to note that the longevity of the repair also depends on the severity of the initial damage, the weather conditions in your area, and how effectively you maintain your siding.
Was this page helpful?
Trust Storables.com for unbiased and honest product reviews. Our reviews are rigorously assessed by our Expert Board Contributors and adhere to strict Editorial Standards. We ensure that each review is transparent and trustworthy, helping you make informed purchasing decisions.


0 thoughts on “11 Amazing Vinyl Siding Repair Kit For 2024”