Home>Furniture>Outdoor Furniture>What Size Screw For Decking Boards
Outdoor Furniture
What Size Screw For Decking Boards
Modified: August 23, 2024
Find the perfect size screw for your decking boards and ensure a secure and sturdy installation with our outdoor furniture screws.
(Many of the links in this article redirect to a specific reviewed product. Your purchase of these products through affiliate links helps to generate commission for Storables.com, at no extra cost. Learn more)
Introduction
When it comes to building or repairing a deck, one of the most important considerations is the choice of screws for securing the decking boards. The right screw size not only ensures the structural integrity of the deck but also contributes to its overall appearance. Selecting the correct screw size is crucial for achieving a long-lasting and visually appealing deck.
In this guide, we will delve into the world of decking screws and explore the factors to consider when choosing the size of screws for decking boards. We will also discuss the common screw sizes available and provide some best practices for selecting and using screws for your outdoor deck projects.
Whether you are a seasoned DIY enthusiast or a professional deck builder, this article will equip you with the knowledge you need to make informed decisions when it comes to screw selection for your decking boards.
Key Takeaways:
- Choose the right screw size for your decking boards by considering material, thickness, and fastening method. This ensures a secure and visually appealing deck that lasts.
- Follow best practices like using high-quality screws, pre-drilling pilot holes, and maintaining regular maintenance for a strong and beautiful deck.
Read more: What Size Are Decking Boards
Understanding Decking Boards
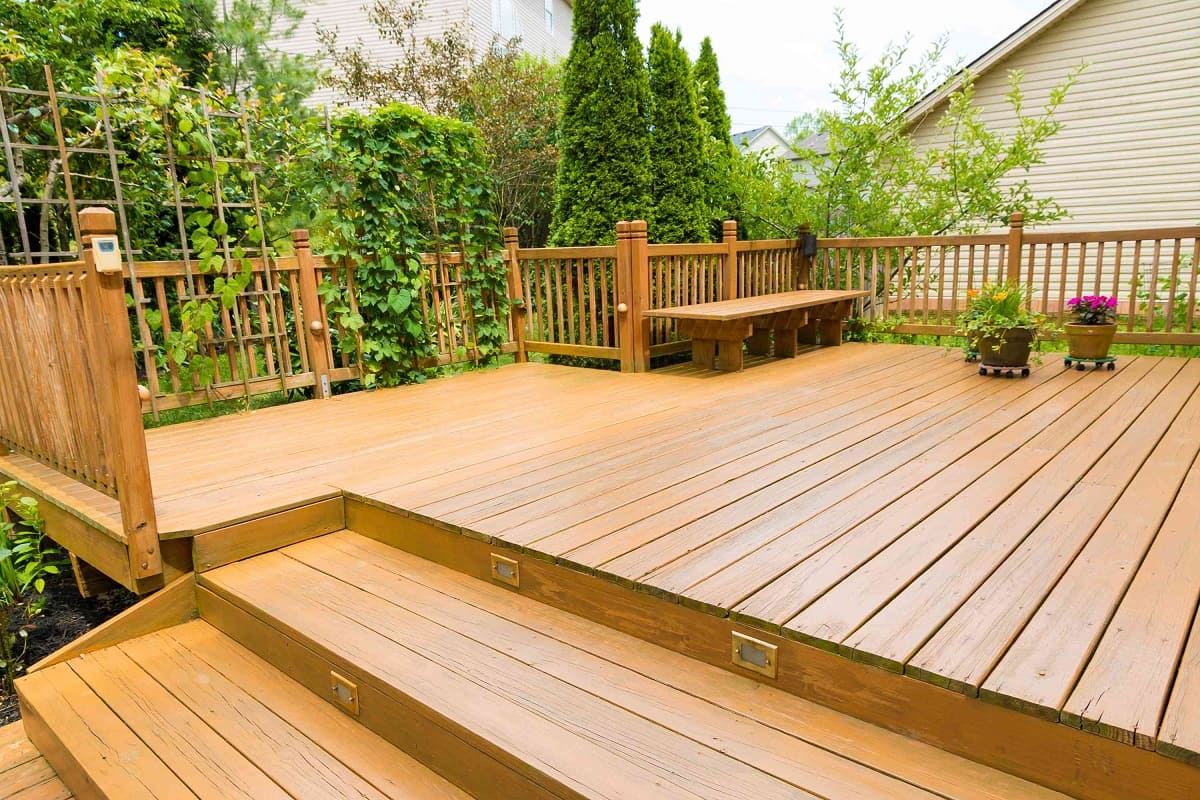
Before we dive into the specifics of screw size selection, it’s important to have a basic understanding of decking boards. Decking boards are the primary elements that make up the surface of a deck. They are typically made of wood, composite materials, or PVC, and come in various sizes and profiles.
One of the most common types of decking boards is pressure-treated lumber, which is widely used due to its durability and affordability. Other popular options include cedar, redwood, and tropical hardwoods, which offer natural beauty and resistance to decay and insects.
Composite decking boards, made from a combination of wood fibers and recycled plastics, are gaining popularity as they require less maintenance and are available in a wide range of colors and grains. PVC decking boards, on the other hand, are made entirely from synthetic materials, providing excellent durability and resistance to fading, staining, and moisture.
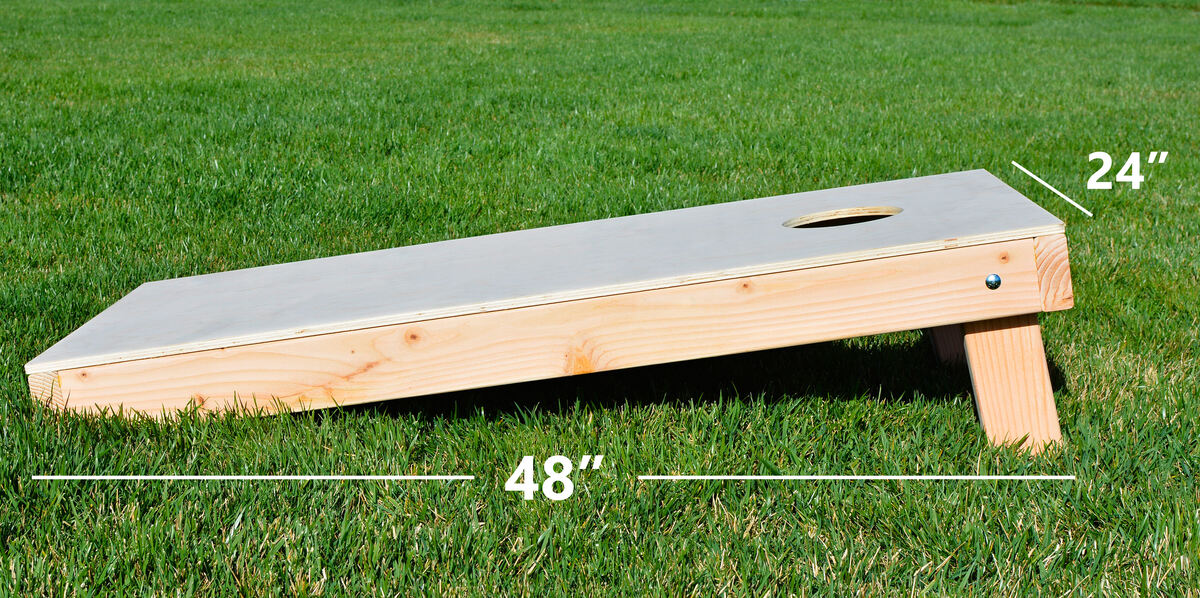
The size and thickness of decking boards can vary depending on the specific application and design preferences. The most common widths range from 4 inches to 8 inches, with lengths typically ranging from 8 feet to 16 feet. Different profiles, such as grooved or smooth surfaces, are also available to accommodate various installation methods.
Understanding the characteristics of your chosen decking material is crucial when selecting the appropriate screw size. Different materials have different structural requirements, and using the wrong screw size can compromise the integrity of the deck.
Now that we have a basic understanding of decking boards, let’s explore the factors to consider when determining the size of screws to use for securing them.
Factors to Consider when Choosing Screw Size for Decking Boards
Choosing the right screw size for decking boards involves considering several factors to ensure a secure and long-lasting deck. Here are some key considerations to keep in mind:
- Decking Material: Different materials have different structural requirements. Hardwood decking, for example, may require larger screws than softwood or composite decking. Consult the manufacturer’s guidelines or seek professional advice to determine the recommended screw size for your specific decking material.
- Board Thickness: The thickness of the decking boards will influence the length of the screw needed. Thicker boards may require longer screws to penetrate and secure them effectively. It’s important to select screws that provide enough penetration without going too deep, as this can weaken the boards.
- Fastening Method: The method used to fasten the decking boards can impact the choice of screw size. If face screwing is preferred, shorter screws may be sufficient. However, if a hidden fastening system or clips are used, longer screws may be required to reach through the boards and into the underlying support structure.
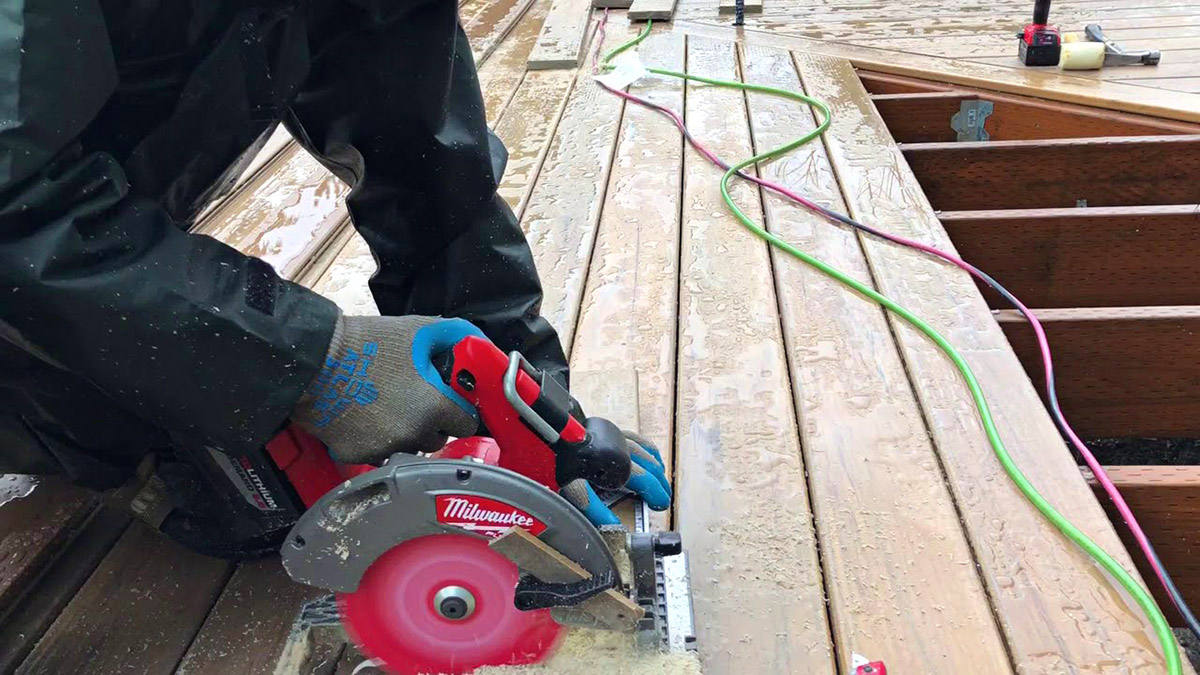
- Environmental Factors: Consider the environmental conditions your deck will be exposed to. If your location experiences extreme temperature fluctuations or high levels of moisture, it’s important to choose screws that are resistant to rust and corrosion. Stainless steel or coated screws are recommended for enhanced durability.
- Code Compliance: Depending on your local building codes, there may be specific requirements for deck construction. It’s essential to ensure that the chosen screw size meets these regulations to ensure a safe and compliant deck.
By carefully considering these factors, you can make an informed decision about the appropriate screw size for your decking boards. This will contribute to the stability, longevity, and overall performance of your deck.
When choosing screws for decking boards, use 2 1/2-inch stainless steel or coated screws for 5/4-inch decking, and 3-inch screws for 2-inch decking. This will ensure a secure and long-lasting installation.
Common Screw Sizes for Decking Boards
When it comes to screw sizes for decking boards, there are a few common options that are widely used in the industry. These sizes have proven to be effective in securing various decking materials and provide the necessary strength and stability for a well-constructed deck. Here are some of the most common screw sizes for decking boards:
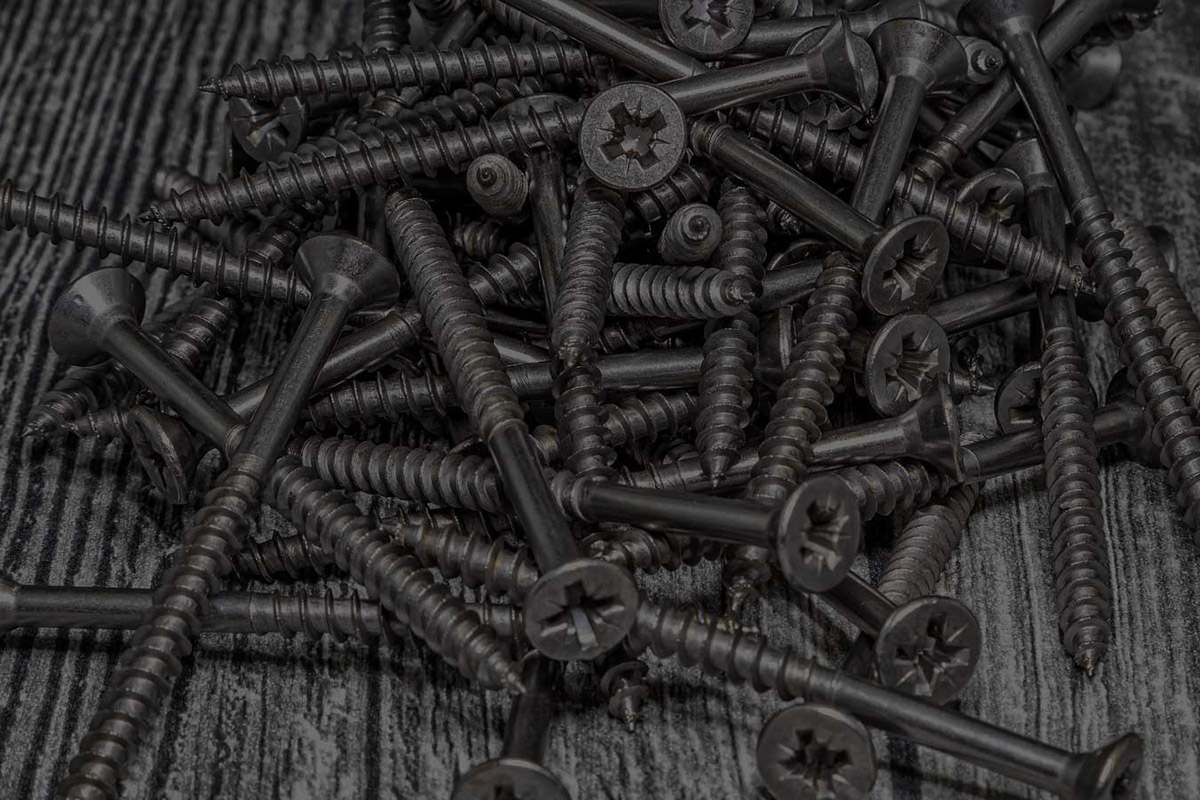
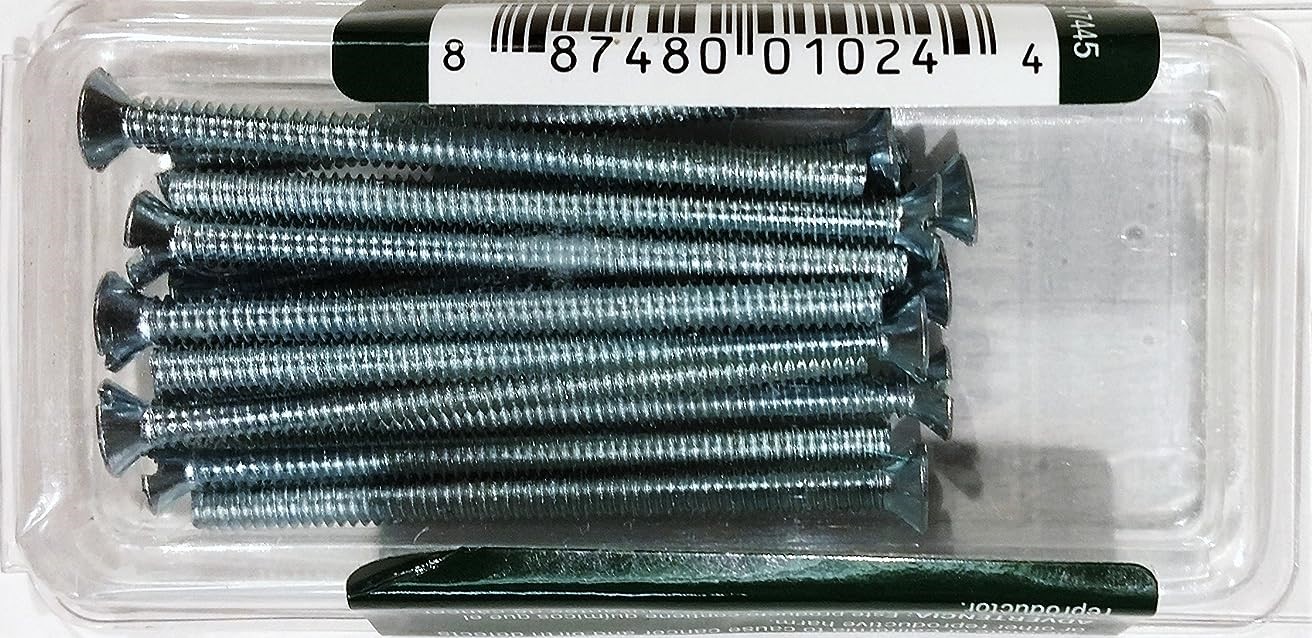
- #8 Screws: The #8 screw size is popular for general deck construction. These screws have a diameter of approximately 4.2mm and are available in lengths ranging from 2.5 inches to 3 inches. They are suitable for most decking materials and provide sufficient holding power when screwed into the underlying framing.
- #10 Screws: The #10 screw size is slightly larger, with a diameter of around 5mm. These screws are commonly used for thicker or denser decking materials, such as hardwoods or composites. They offer increased shear strength and better resistance to wood splitting. #10 screws are available in lengths ranging from 2.5 inches to 3.5 inches.
- #12 Screws: The #12 screw size is the largest commonly used for decking. With a diameter of approximately 6mm, these screws are suitable for heavy-duty applications and extremely thick decking boards. #12 screws are often used in areas where high loads or structural integrity are important. They come in lengths ranging from 3 inches to 4 inches.
It’s important to note that the specific screw sizes needed for your project may vary depending on the factors mentioned earlier, such as decking material, board thickness, and fastening method. Always consult the manufacturer’s recommendations or seek advice from professionals to determine the most suitable screw size for your deck.
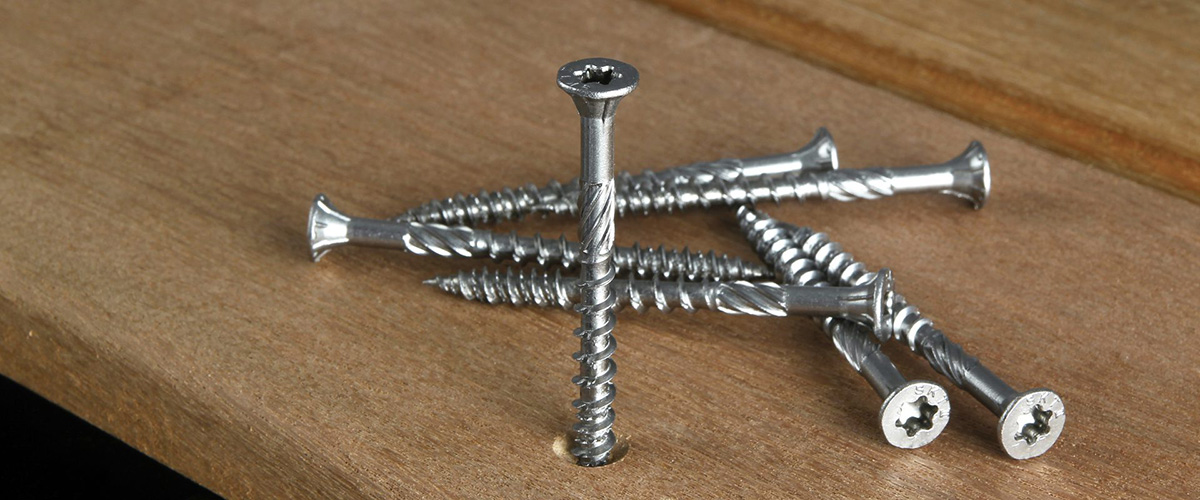
Additionally, consider the type of screw head that best suits your needs. Some common options include Phillips, square drive (Robertson), and star drive (Torx). Each type of screw head has its advantages in terms of ease of use, torque transfer, and resistance to stripping.
By choosing the right screw size and type, you can ensure the strength, stability, and aesthetic appeal of your deck. Now, let’s explore some best practices for choosing and using screws for decking boards.
Best Practices for Choosing and Using Screws for Decking Boards
Choosing and using screws for decking boards requires more than just selecting the right size. It’s important to follow best practices to ensure proper installation and maximize the performance of your deck. Here are some tips to consider:
- Quality Screws: Invest in high-quality screws specifically designed for outdoor use. Stainless steel or coated screws are recommended as they provide excellent resistance to corrosion and rust, ensuring durability in various weather conditions.
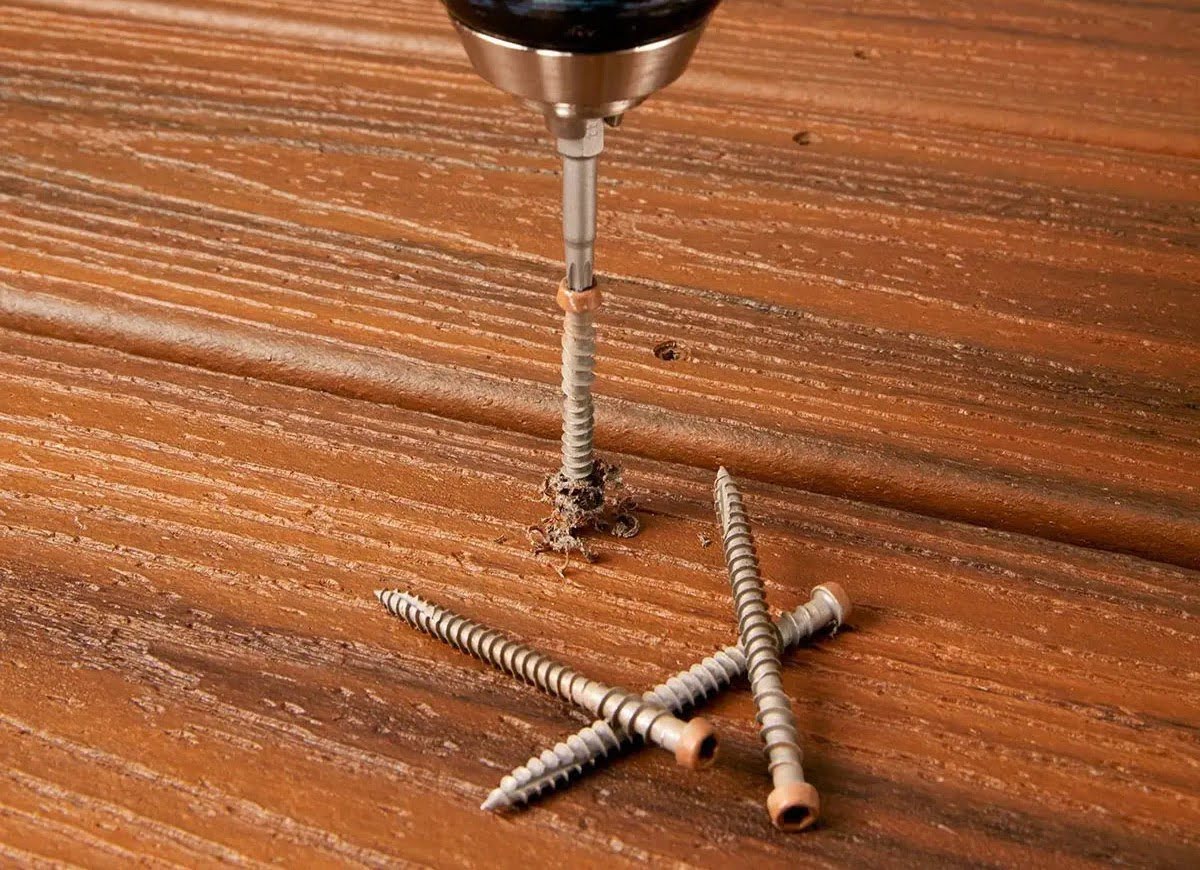
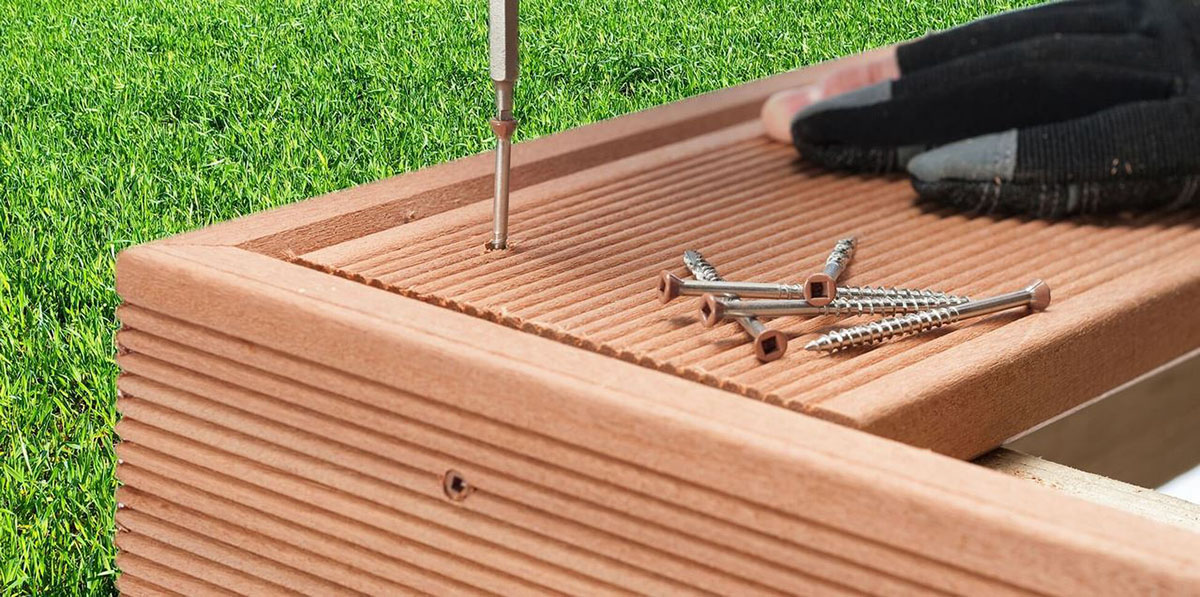
- Pre-drilling: In some cases, especially when working with hardwood or thinner decking boards, pre-drilling pilot holes can prevent the wood from splitting. Use an appropriately sized drill bit to create pilot holes that are slightly narrower than the screw diameter. This will make screwing easier and reduce the risk of damaging the boards.
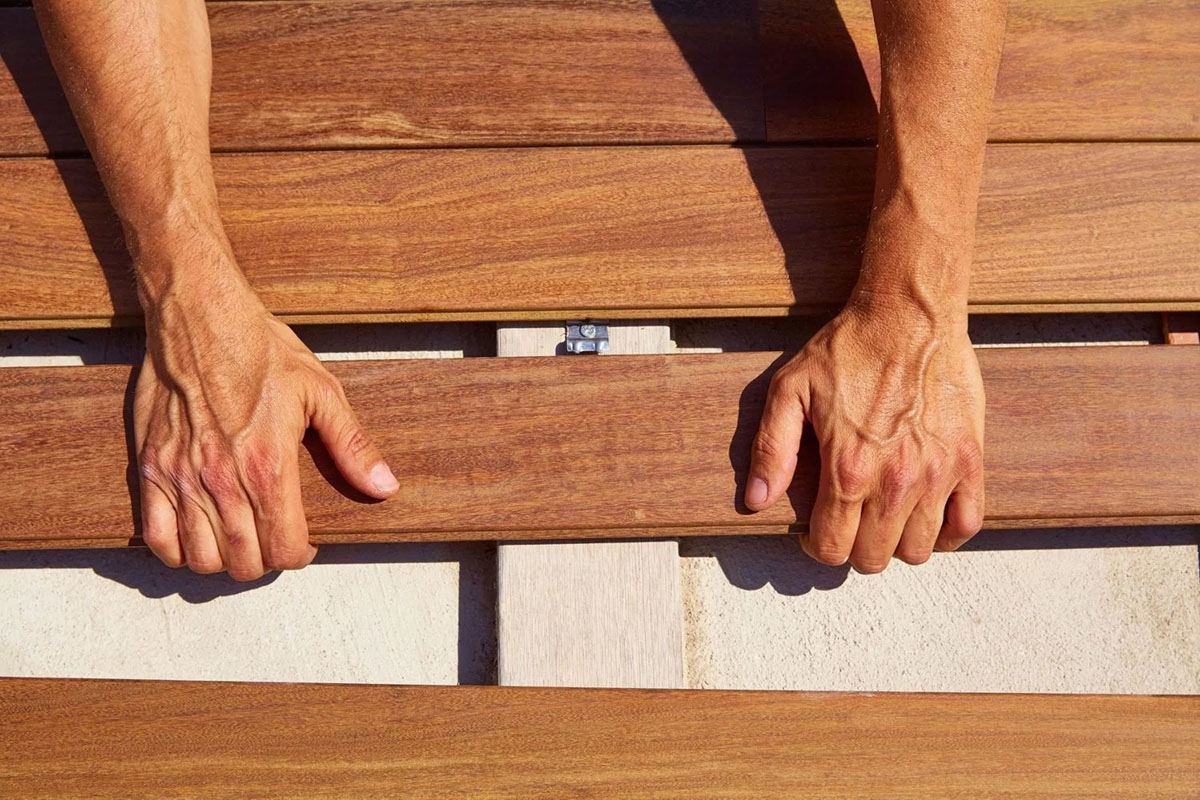
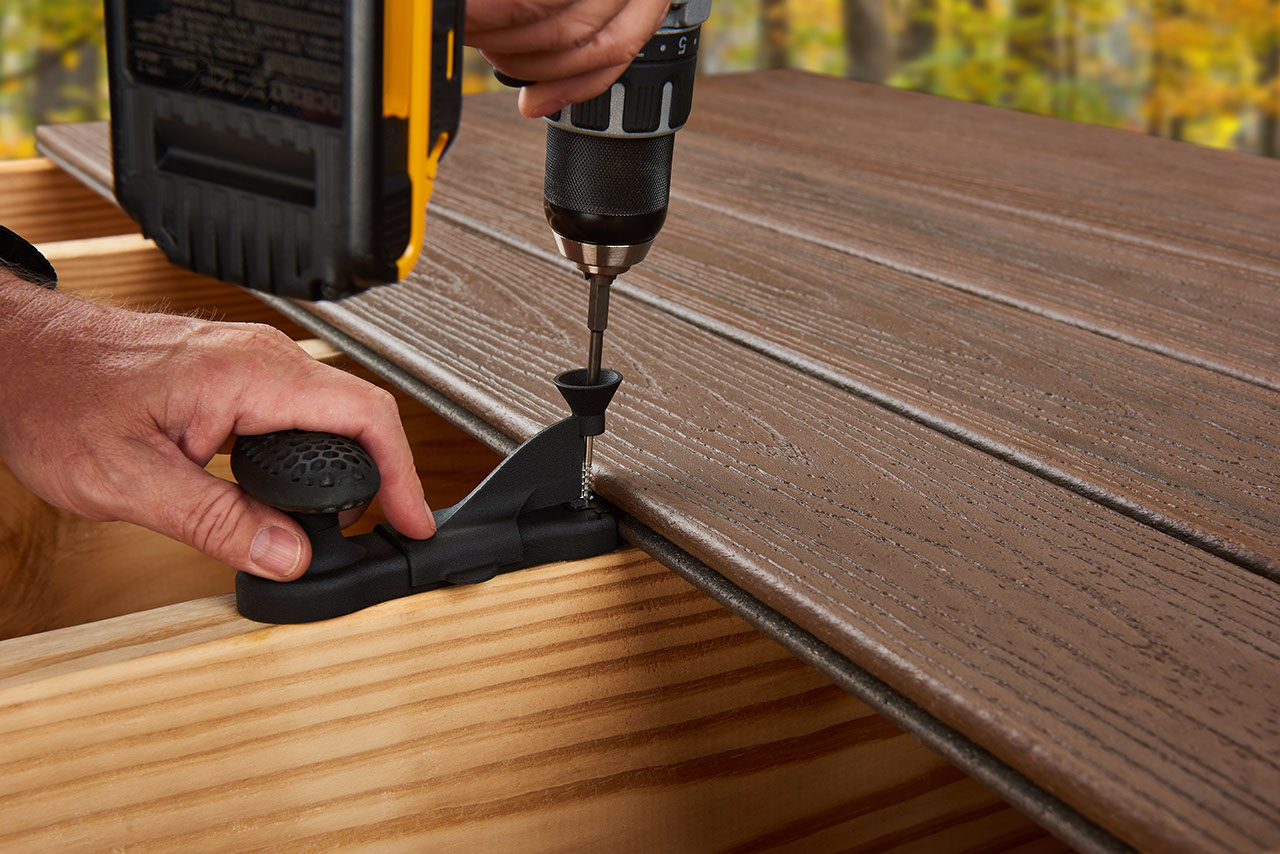
- Spacing and Alignment: Maintain proper spacing between decking boards for adequate drainage and ventilation. Use spacers or a specialized decking tool to ensure consistent spacing. Additionally, ensure proper alignment of the screws, keeping them parallel to the board’s edge for a neat and professional appearance.
- Depth and Countersinking: Screw the boards down until the screw heads are flush or slightly countersunk to prevent tripping hazards and snagging. Avoid over-driving the screws, as this can weaken the boards or strip the screw heads. Use a countersink bit to create a recess for the screw heads if a flush finish is desired.
- Hidden Fastening Systems: If you prefer a seamless and clean look without visible screw heads, consider using hidden fastening systems or deck clips. These systems allow for a smooth surface by attaching the decking boards from underneath. Follow the manufacturer’s instructions for the appropriate screw size and installation process.
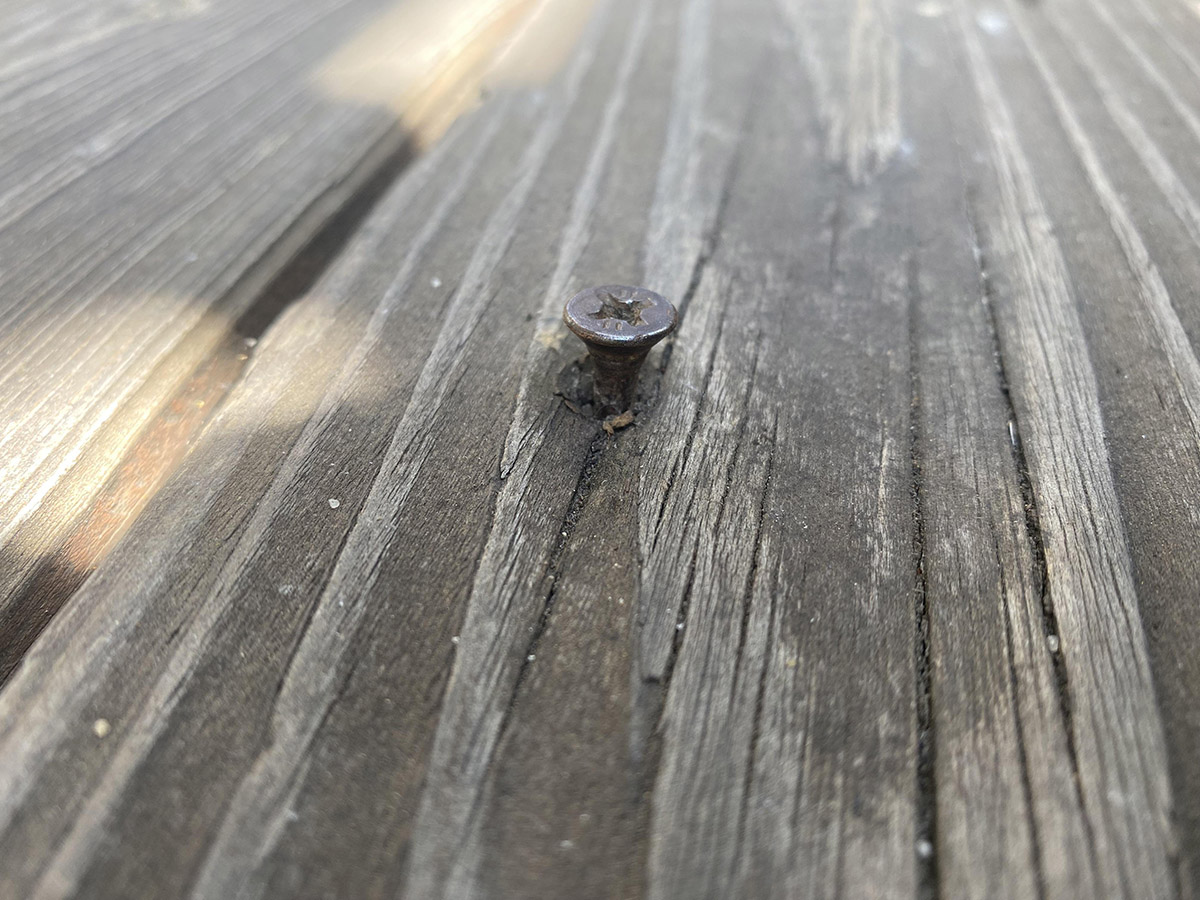
- Maintenance: Regularly inspect your deck for loose or damaged screws and tighten or replace them as needed. Perform routine maintenance such as cleaning, sealing, and refinishing to prolong the life of your deck and maintain its appearance.
By following these best practices, you can ensure a strong and visually pleasing deck that will withstand the test of time. Remember to prioritize safety and seek professional guidance if you have any doubts or specific requirements for your decking project.
Read more: What Size Screw For 5/4 Decking
Conclusion
Choosing the right screw size for your decking boards is a critical aspect of building a secure and visually appealing deck. By considering factors such as the decking material, board thickness, fastening method, environmental conditions, and code compliance, you can make an informed decision that ensures the longevity and structural integrity of your deck.
Common screw sizes for decking boards, such as #8, #10, and #12, provide varying levels of strength and suitability for different decking materials and applications. It is essential to select the appropriate size based on the specific requirements of your project.
Following best practices for choosing and using screws for decking boards, such as using high-quality screws, pre-drilling pilot holes, spacing and aligning the boards properly, and maintaining regular maintenance, will enhance the overall performance, durability, and aesthetic appeal of your deck.
Remember to consult the manufacturer’s recommendations, building codes, and seek professional advice when needed. With careful consideration and proper installation techniques, you can enjoy a beautiful, long-lasting, and safe outdoor space that brings joy and relaxation for years to come.
So, whether you are embarking on a DIY deck project or hiring a professional, make sure to choose the right screw size and utilize best practices to create a deck that you can be proud of.
Frequently Asked Questions about What Size Screw For Decking Boards
Was this page helpful?
At Storables.com, we guarantee accurate and reliable information. Our content, validated by Expert Board Contributors, is crafted following stringent Editorial Policies. We're committed to providing you with well-researched, expert-backed insights for all your informational needs.


0 thoughts on “What Size Screw For Decking Boards”