Home>Furniture>Outdoor Furniture>How To Remove Old Decking Boards
Outdoor Furniture
How To Remove Old Decking Boards
Modified: March 7, 2024
Learn how to remove old decking boards and make way for new outdoor furniture. Follow our step-by-step guide to ensure a smooth and effortless deck renovation.
(Many of the links in this article redirect to a specific reviewed product. Your purchase of these products through affiliate links helps to generate commission for Storables.com, at no extra cost. Learn more)
Introduction
When it comes to maintaining your outdoor space, sometimes the old needs to make way for the new. If your decking boards have seen better days and are in need of replacement, fear not! In this guide, we will walk you through the step-by-step process of removing old decking boards and installing new ones. Whether you’re a seasoned DIY enthusiast or a beginner, with the right tools and a little bit of patience, you’ll have your deck looking fresh and inviting in no time.
Before diving into the removal process, it’s important to gather the necessary tools and materials to ensure a smooth and successful project. Let’s take a look at what you’ll need:
- Deck board removal tool
- Circular saw or reciprocating saw
- Flat pry bar
- Gloves
- Safety goggles
- Work gloves
- Trash bags or a dumpster for disposal of old boards
- Hammer or power drill
- Replacement decking boards
- Screws or nails for securing new boards
- Deck sealant or stain (optional)
Now that you have your tools and materials ready, it’s time to get started. Follow these steps to remove your old decking boards:
Key Takeaways:
- Removing old decking boards requires preparation, the right tools, and careful steps. Once removed, disposing of the old boards responsibly is important for a successful deck renovation.
- Installing new decking boards involves thorough cleaning, proper securing, and applying sealant for protection and aesthetics. Regular maintenance is key to enjoying a long-lasting, refreshed outdoor space.
Read more: How Wide Are Decking Boards
Tools and Materials Needed
To successfully remove old decking boards and install new ones, you will need the following tools and materials:
Tools:
- Deck board removal tool: This specialized tool is designed to pry up deck boards without damaging the underlying structure. It will make the removal process much easier and faster.
- Circular saw or reciprocating saw: Depending on the size and thickness of your decking boards, you may need either a circular saw or a reciprocating saw to cut through them.
- Flat pry bar: A sturdy pry bar will help you pry up the boards and remove any nails or screws holding them in place.
- Gloves: Protect your hands from splinters and potential injuries with a pair of heavy-duty work gloves.
- Safety goggles: Safety goggles are essential to protect your eyes from flying debris during the removal process.
Materials:
- Trash bags or a dumpster: You will need a way to dispose of the old decking boards. Use trash bags or rent a dumpster to collect and dispose of the removed boards properly.
- Hammer or power drill: Depending on how the decking boards are secured, you may need either a hammer or a power drill to remove any remaining screws or nails.
- Replacement decking boards: Measure the dimensions of your deck and purchase new boards of the same size and material for replacement.
- Screws or nails: Depending on the type of decking boards and your preference, choose either screws or nails to secure the new boards in place.
- Deck sealant or stain (optional): Once the new decking boards are installed, you may choose to apply a sealant or stain to protect them from moisture and UV damage.
Gather these tools and materials before starting the removal process, and ensure you have everything you need for a smooth and efficient deck renovation project.
Step 1: Prepare the Work Area
Before you begin removing the old decking boards, it’s important to prepare the work area to ensure safety and efficiency. Follow these steps to get started:
- Clean the deck: Remove any furniture, plants, or debris from the deck surface. Clearing the area will give you ample space to work and minimize the risk of tripping or damaging items.
- Put on protective gear: Wear safety goggles to protect your eyes from flying debris and gloves to prevent splinters. Consider wearing sturdy shoes with good traction for better stability.
- Secure the perimeter: If there are any nearby plants, shrubs, or structures that could be in the way, secure them with plastic sheeting or move them temporarily to avoid any accidental damage during the removal process.
- Mark the location of any utility lines: Before you start removing the old decking boards, identify and mark the location of any utility lines, such as electrical or water lines, to avoid damaging them in the process. If you’re unsure, contact your local utility company for assistance.
- Create a disposal area: Designate a designated area for the disposal of the old decking boards. If you’re using trash bags, have them readily available nearby, or rent a dumpster for larger projects.
Taking the time to properly prepare the work area will make the removal process safer and more organized. Once you’ve completed these preparations, you can move on to the next step: removing any screws or nails from the old decking boards.
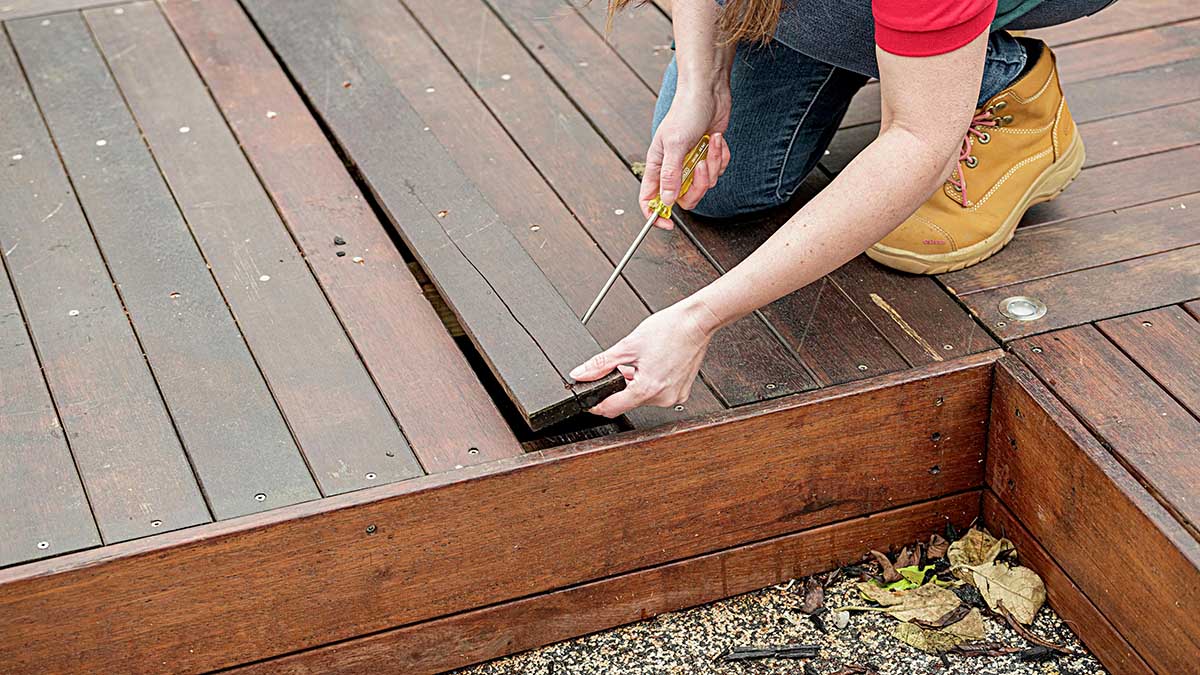
Step 2: Remove any Screws or Nails
Now that you have prepared the work area, it’s time to start removing any screws or nails from the old decking boards. Follow these steps:
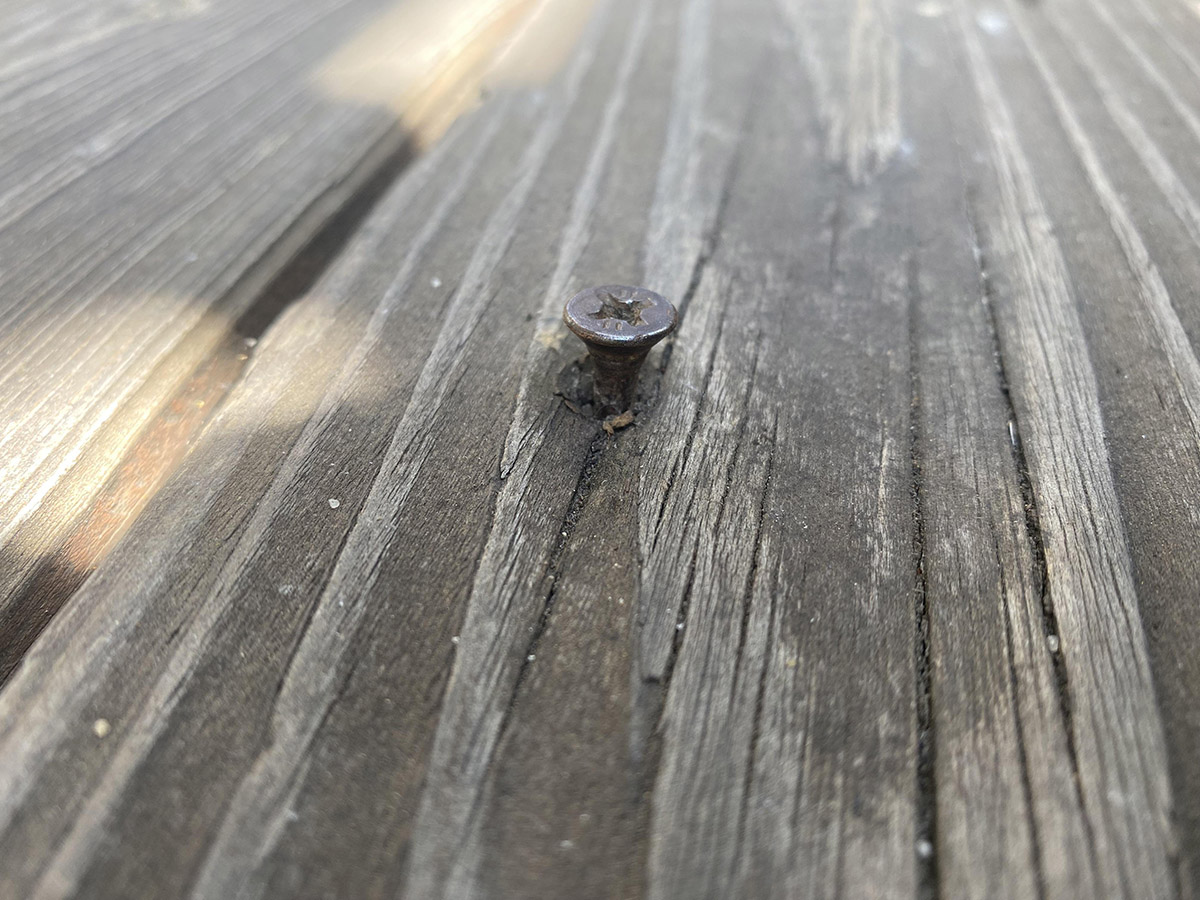
- Inspect the boards: Carefully examine the surface of the old decking boards. Look for any visible screws or nails that are securing the boards to the joists. Make note of their location.
- Choose the right tool: Depending on the type of fasteners used, you’ll need either a hammer or a power drill with a suitable screw or nail bit.
- Remove screws: If the boards are secured with screws, use a power drill to drive the screws counterclockwise until they are loose enough to remove by hand. Place the screws in a container for later use or proper disposal.
- Remove nails: If the boards are secured with nails, use a hammer to carefully pry up each nail. Position the pry bar under the nail head and apply gentle pressure to lift the nail out of the board. Be cautious not to damage the surrounding wood.
- Repeat the process: Inspect each board and remove all the screws or nails. Take your time to ensure that every fastener is removed. This step is crucial to ensure a smooth removal process.
By removing the screws or nails, you’ll make it easier to pry up the old decking boards in the next step. Dispose of the screws or nails properly and keep them in a safe place if you plan on reusing them for the new decking boards.
Now that you have removed the fasteners, you are ready to move on to the next step: prying off the old deck boards.
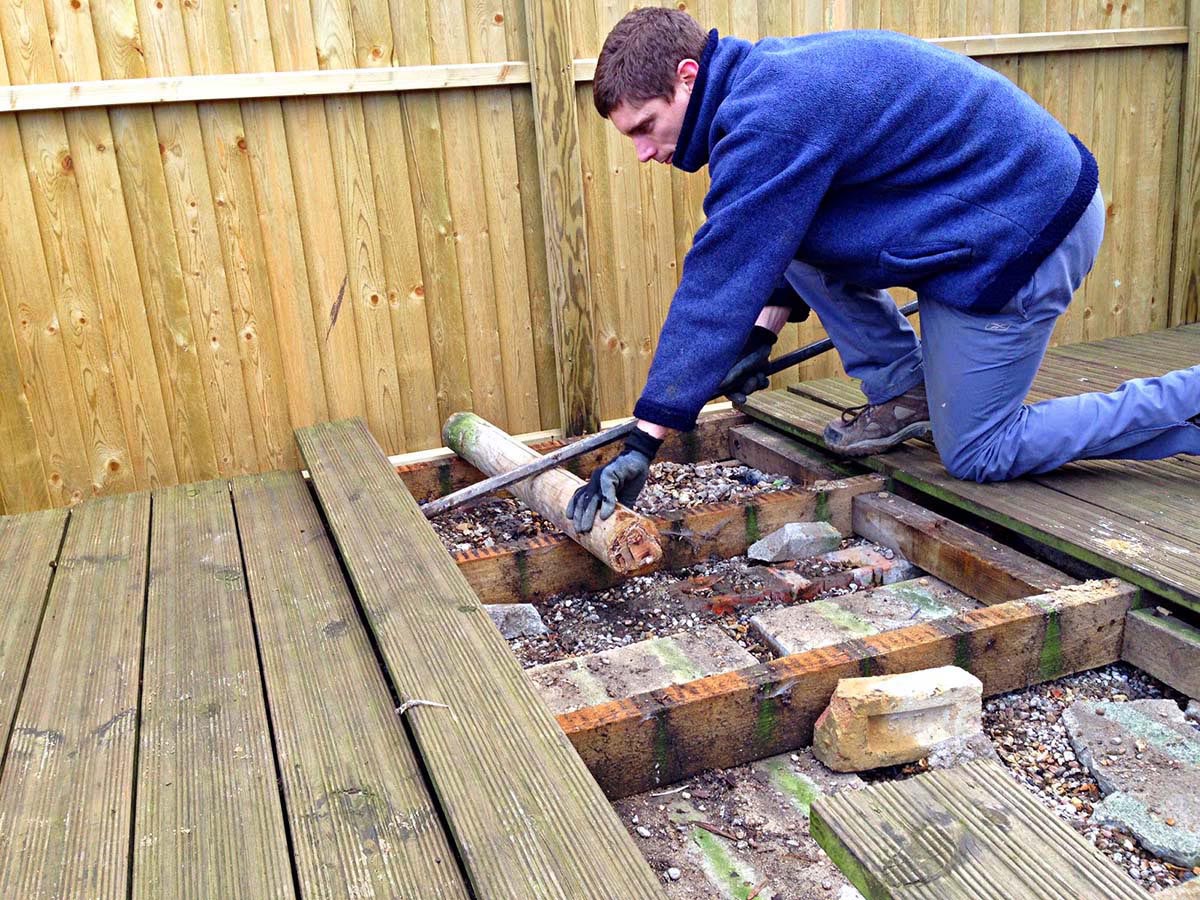
Step 3: Pry off the Old Deck Boards
With the fasteners removed, it’s time to start prying off the old deck boards. Follow these steps:
- Position the deck board removal tool: Place the deck board removal tool on the edge of the first board, positioning it so that the curved end is underneath the board.
- Apply downward pressure: Using your body weight or a mallet, apply downward pressure on the deck board removal tool to lift the board up slightly.
- Pry up the board: With the board lifted, continue to apply pressure and pry up the board using the removal tool or a flat pry bar. Work your way along the length of the board, gradually lifting it from the joists.
- Repeat the process: Move on to the next board and repeat the same steps, working your way across the deck. Take your time and be careful not to damage the joists or adjacent boards as you pry off each one.
- Remove any stubborn boards: Some boards may be more stubborn than others. If a board isn’t coming up easily, you may need to use a circular saw or reciprocating saw to cut the board into smaller sections for easier removal.
As you remove each board, place it in the designated disposal area you prepared earlier. Depending on the condition of the boards, you may consider salvaging any usable pieces for future projects or recycling them if possible.
Continue the process until all the old deck boards have been removed, leaving a clean and empty deck. Next, you’ll need to dispose of the old decking boards properly before moving on to the next step.
Read more: How To Cut Decking Boards
Step 4: Dispose of the Old Decking Boards
Now that you have successfully removed the old decking boards, it’s important to dispose of them properly. Follow these steps to ensure responsible disposal:
- Inspect the boards: Before disposing of the old decking boards, inspect them for any reusable or salvageable pieces. If you find boards that are still in good condition, you may consider repurposing them for smaller projects or donating them to someone in need.
- Separate recyclable materials: If your old decking boards are made of recyclable materials, such as plastic composite or pressure-treated wood, check with your local recycling center to determine if they can be recycled. Separate these materials from any non-recyclable pieces.
- Arrange for pickup or drop-off: Contact your local waste management or recycling center to arrange for pickup or drop-off of the old decking boards. They will provide guidance on the proper disposal methods based on your location and the materials involved.
- Consider repurposing: If you have creativity and a bit of DIY spirit, you can repurpose old decking boards into various projects. They can be transformed into outdoor furniture, raised garden beds, or even decorative wall panels. Let your imagination run wild!
- Dispose responsibly: If you’re unable to repurpose or recycle the old decking boards, ensure that they are disposed of in accordance with local regulations. Avoid illegal dumping or burning, as these practices can harm the environment.
Properly disposing of the old decking boards not only keeps your outdoor space tidy but also promotes sustainable waste management practices.
Now that you have disposed of the old decking boards, it’s time to prepare the joists for the installation of the new decking boards. The next step is to clean the joists thoroughly.
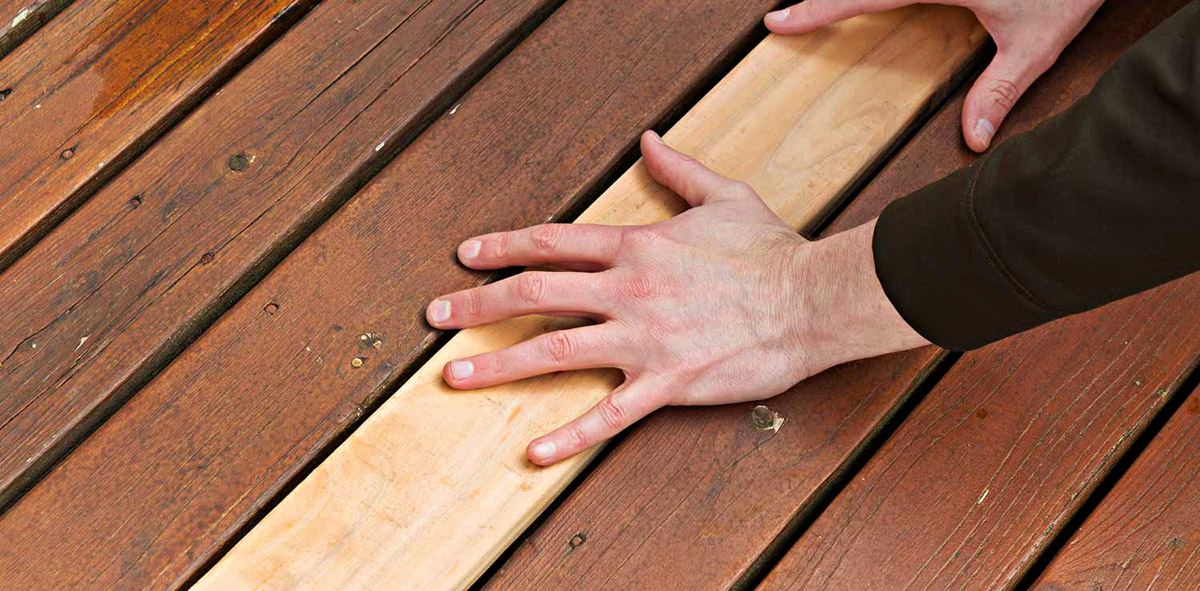
Before removing old decking boards, make sure to wear protective gear such as gloves and safety glasses. Use a pry bar to carefully lift and remove the boards, starting from the outer edges and working your way inwards. Be mindful of any nails or screws that may be sticking out.
Step 5: Clean the Joists
Before installing the new decking boards, it’s crucial to clean the joists thoroughly to ensure a solid and long-lasting foundation. Follow these steps to clean the joists:
- Sweep off debris: Use a broom or brush to sweep off any dirt, leaves, or other debris from the surface of the joists. This will provide a clean and smooth surface for the new decking boards to be installed on.
- Scrape off old adhesive or gunk: Use a scraper or putty knife to remove any old adhesive, paint, or other stubborn residue from the joists. If necessary, you can lightly sand the surface to ensure a clean and even finish.
- Inspect for rot or damage: Take the time to closely inspect the joists for any signs of rot or damage. Look for areas that are soft, discolored, or crumbling. If you notice any issues, it’s important to address them before proceeding with the installation of the new decking boards.
- Repair or replace damaged joists: If you do come across any damaged or rotting joists, it’s crucial to repair or replace them. Depending on the extent of the damage, you may need to consult a professional or take on the repairs yourself. Ensure that the joists are structurally sound and capable of supporting the new decking boards.
- Clean with a mild detergent: For a thorough clean, mix a mild detergent with water and scrub the joists with a brush or sponge. This will help remove any remaining dirt or grime. Rinse the joists with water to remove any soapy residue.
- Allow the joists to dry: Before proceeding with the installation of the new decking boards, it’s important to allow the joists to dry completely. This will ensure proper adhesion and reduce the risk of moisture-related issues in the future.
By cleaning the joists, you are creating a solid and clean surface for the new decking boards to be installed on. This step is crucial for the longevity and performance of your outdoor deck.
Once the joists are clean and dry, you can move on to the next step: inspecting and repairing the joists, if necessary.
Step 6: Inspect and Repair the Joists if Necessary
After cleaning the joists, it’s important to thoroughly inspect them for any signs of damage or decay. Identifying and addressing any issues at this stage will ensure a sturdy and long-lasting deck. Follow these steps to inspect and repair the joists:
- Closely examine each joist: Take the time to closely inspect each joist for any signs of rot, insect damage, or structural issues. Look for discoloration, soft spots, or cracks in the wood.
- Probe the wood: Use a screwdriver or awl to gently probe the wood. If it sinks easily or feels soft, it may indicate rot or decay. Pay close attention to areas where the joists come into contact with the ground or other elements that may promote moisture buildup.
- Replace damaged joists: If you come across any joists that are significantly damaged, weak, or structurally compromised, it’s essential to replace them. Remove the affected joist and install a new one of the same size and material.
- Repair minor damage: For minor issues such as small cracks or splits, you can use wood filler or epoxy to fill in the damaged areas. Follow the manufacturer’s instructions for the specific product you are using.
- Reinforce weak joists: If you identify weak or sagging joists that are still in manageable condition, you can reinforce them with additional support. This may involve adding sister joists or installing cross bracing to improve the overall strength and stability of the deck structure.
- Consult a professional if needed: If you are unsure about the extent of the damage or how to properly repair the joists, it is recommended to consult a professional contractor or a structural engineer who can provide expert advice and guidance.
By inspecting and repairing the joists before installing the new decking boards, you are ensuring a solid foundation for your deck. This step is crucial for the safety and longevity of your outdoor space.
Once you have completed the necessary repairs, you can move on to the exciting step of installing the new decking boards!
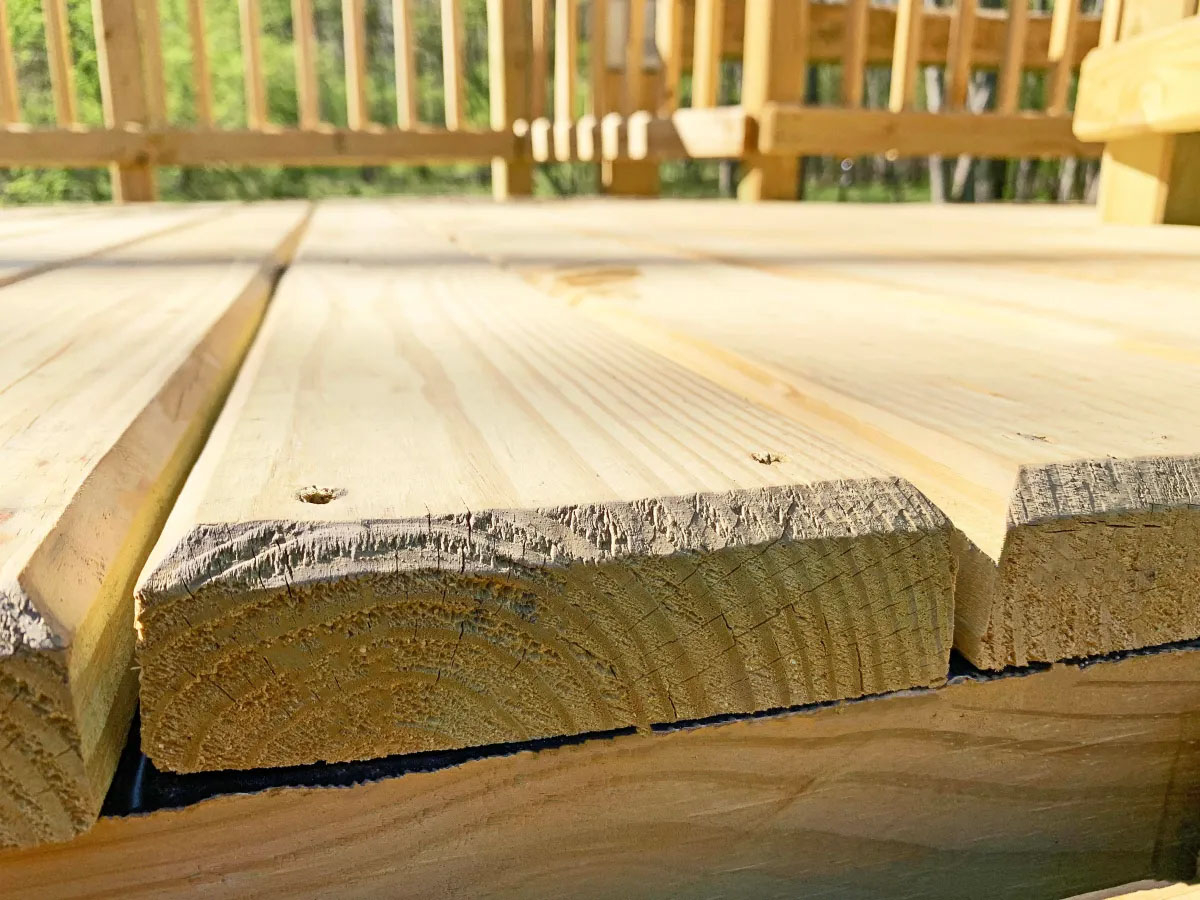
Step 7: Install New Decking Boards
With the joists in good condition and ready to support the new decking boards, it’s time to begin the installation process. Here’s how you can install the new decking boards:
- Plan the layout: Before you start installing the boards, take some time to plan the layout. Consider factors such as board orientation, pattern, and any design elements you want to incorporate.
- Start from one end: Begin by placing the first board against the outer edge of the deck, ensuring it is flush with the edge and properly aligned with the joists below.
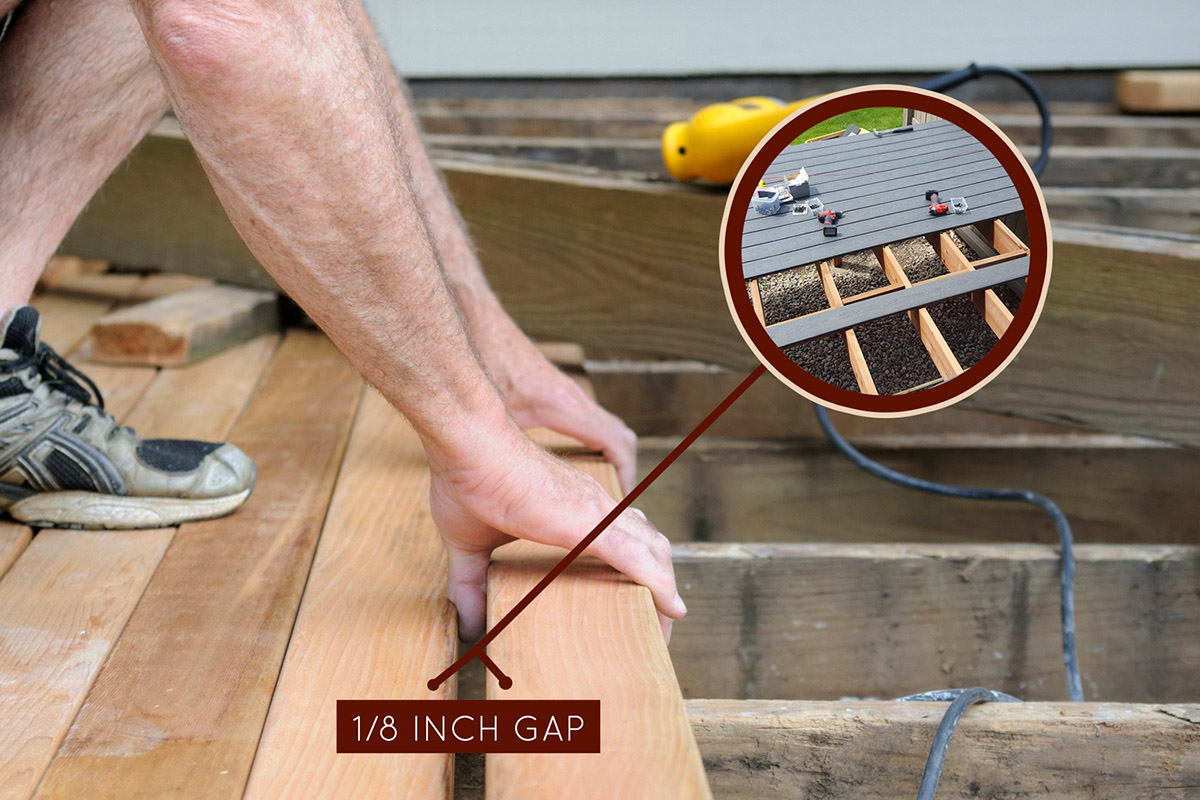
- Use spacers: Insert spacers between the first board and the adjacent boards to allow for proper drainage and expansion. These spacers will ensure consistent spacing between the boards.
- Secure the boards: Use screws or nails to secure the first board to the joists. Position fasteners near the outer edges of the board, ensuring they penetrate the joists properly.
- Continue with the rest of the boards: Place the next board beside the first one, creating the desired spacing between the boards. Use spacers as needed and secure each subsequent board to the joists.
- Trim or cut boards to fit: At the end of each row or when reaching obstacles such as posts or stair openings, you may need to trim or cut the boards to fit. Use a circular saw or reciprocating saw to make the necessary cuts.
- Use a square to ensure straight lines: When installing the boards, use a square to ensure that they are aligned properly and create straight lines across the deck surface.
- Continue until the entire area is covered: Repeat the process of placing, spacing, and securing the boards until the entire deck surface is covered. Take your time to ensure that each board is properly aligned and securely fastened.
As you install the new decking boards, take breaks to check for any potential issues or patterns that may need adjustment. This will help maintain a uniform and visually appealing deck surface.
Once all the new decking boards are installed, you can move on to the next step: securing the boards in place.
Read more: How Much Are Decking Boards
Step 8: Secure the New Boards
Now that you have installed the new decking boards, it’s time to ensure they are securely fastened to the joists. Follow these steps to properly secure the new boards:
- Choose the right fasteners: Select the appropriate screws or nails based on the type of decking boards you are using. It’s recommended to use corrosion-resistant and durable fasteners to ensure long-lasting stability.
- Position the fasteners: Place the fasteners at regular intervals along the length of each board, approximately 2-3 inches from the edge. This will provide adequate support and prevent warping or cupping of the boards.
- Pre-drill holes: To prevent splitting or cracking of the boards, pre-drill pilot holes for the screws or nails. Use a drill bit slightly smaller than the diameter of the fasteners.
- Drive the fasteners: Insert the screws or nails into the pre-drilled holes and drive them flush with the surface of the boards. Be careful not to over-tighten, as this can damage the wood.
- Check for evenness: As you secure each board, ensure that they are sitting evenly on the joists and maintain a consistent height. Make any necessary adjustments to ensure a level and uniform deck surface.
- Continue securing all boards: Repeat the process of pre-drilling and driving the fasteners for each board until all the new decking boards are securely attached to the joists.
By properly securing the new decking boards, you are ensuring a solid and stable deck structure. This step will help minimize movement and potential issues, such as loose boards and uneven surfaces.
Once all the boards are securely fastened, you can move on to the final step: applying a sealant or stain to protect and enhance the appearance of the deck.
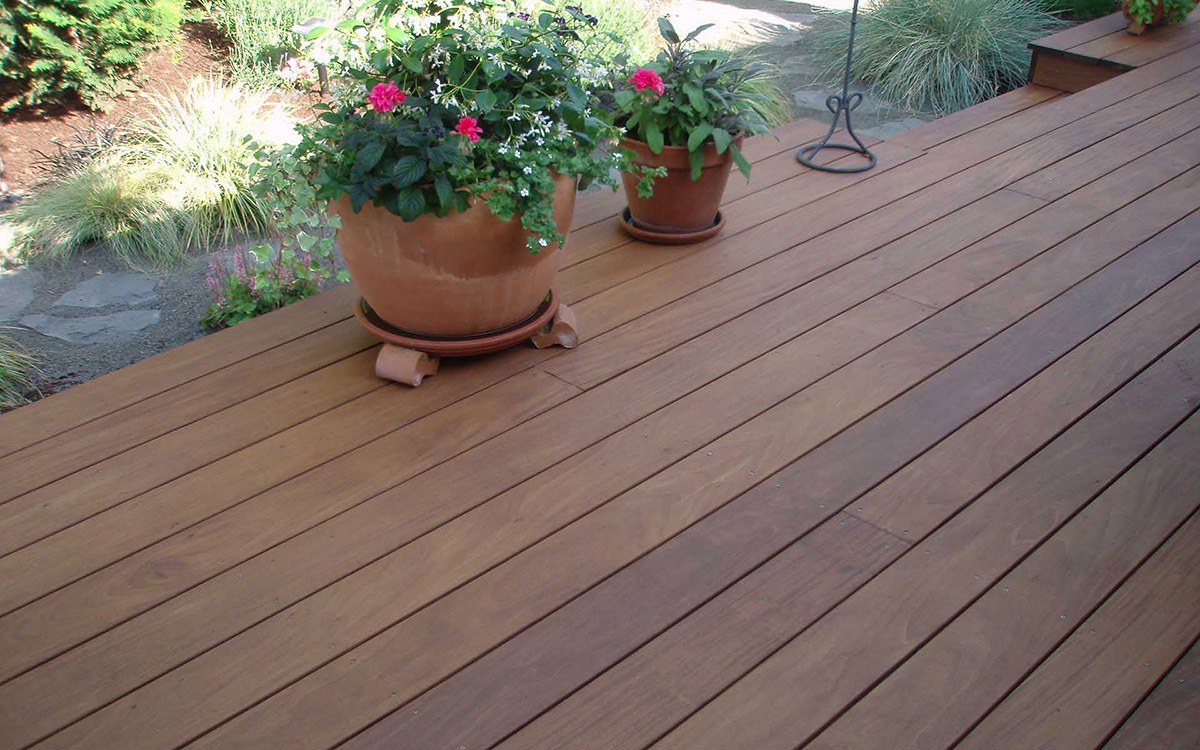
Step 9: Apply Sealant or Stain
After the new decking boards are secured to the joists, the final step is to apply a sealant or stain to protect and enhance the appearance of the deck. Here’s how you can complete this step:
- Clean the deck: Before applying any sealant or stain, ensure that the deck surface is clean and free of debris. Sweep away any dirt or dust, and use a deck cleaner if necessary to remove any stains or discoloration.
- Choose the right product: Select a high-quality sealant or stain that is specifically designed for outdoor use and compatible with the type of decking boards you have installed. Consider factors such as UV protection, weather resistance, and desired color or finish.
- Read and follow the instructions: Before applying the sealant or stain, carefully read and follow the manufacturer’s instructions for the specific product you have chosen. This will ensure proper application and maximum effectiveness.
- Prepare the area: Use plastic sheeting or drop cloths to protect any nearby surfaces, plants, or furniture from accidental spills or splatters. Mask off any areas you wish to keep free from sealant or stain.
- Apply the sealant or stain: Using a brush, roller, or sprayer, apply the sealant or stain evenly to the deck surface, following the recommended coverage rate and direction of the wood grain. Work in small sections, starting from one end and moving towards the other.
- Allow time for drying and curing: Give the sealant or stain sufficient time to dry and cure according to the manufacturer’s instructions. This will vary depending on the product and climate conditions. Avoid foot traffic and exposure to moisture during this time.
- Apply additional coats if desired: Depending on the type of sealant or stain you are using, you may choose to apply additional coats for added protection and depth of color. Follow the recommended drying times between coats.
- Clean up: Once you have finished applying the sealant or stain, clean your brushes, rollers, and other tools according to the manufacturer’s instructions. Dispose of any unused product and packaging responsibly.
By applying a sealant or stain, you are adding an extra layer of protection to the new decking boards, safeguarding them against moisture, UV rays, and wear. Additionally, a sealant or stain can enhance the natural beauty of the wood and provide a finished look to your deck.
Congratulations! You have successfully completed all the steps to remove old decking boards and install new ones. Your deck is now ready for you to enjoy and create lasting memories in your outdoor space.
Remember to regularly maintain and inspect your deck to ensure its longevity and safety.
Enjoy your newly refreshed deck!
Conclusion
Replacing old decking boards can breathe new life into your outdoor space, transforming it into a beautiful and inviting area for relaxation and entertainment. By following the step-by-step process outlined in this guide, you have learned how to remove old decking boards, prepare the work area, clean and inspect the joists, and install new boards to create a sturdy and visually appealing deck.
Proper preparation and careful execution are key to a successful deck renovation project. By gathering the necessary tools and materials, taking the time to clean the joists, and ensuring the new boards are securely fastened, you have laid the foundation for a durable and long-lasting outdoor space.
Applying a sealant or stain at the end of the installation process provides vital protection against the elements and enhances the beauty of the wood. This final step adds the finishing touch to your deck, elevating its overall aesthetics and ensuring its longevity.
Remember, regular maintenance and inspections are crucial for maintaining the integrity of your deck. Keep an eye out for signs of damage, rot, or loose fasteners, and address any issues promptly to prevent further damage and ensure the safety of your deck.
Now that you’re equipped with the knowledge and skills to remove and replace old decking boards, it’s time to enjoy your revitalized outdoor space. Gather your friends and family, relax on your newly installed boards, and create memorable moments in your rejuvenated deck.
Happy decking!
Frequently Asked Questions about How To Remove Old Decking Boards
Was this page helpful?
At Storables.com, we guarantee accurate and reliable information. Our content, validated by Expert Board Contributors, is crafted following stringent Editorial Policies. We're committed to providing you with well-researched, expert-backed insights for all your informational needs.

0 thoughts on “How To Remove Old Decking Boards”